When you click on links to various merchants on this site and make a purchase, this can result in this site earning a commission. Affiliate programs and affiliations include, but are not limited to, the eBay Partner Network.
1 full coating took me 5 hrs, most of it was waiting the 2 minutes per panel for it to cure before buffing it off on each panel. Very time consuming but very worth it. I had planned to do 2 coats, but after taking 5 hrs to do 1, I didn't have the time to do a whole nother round of coating. I did the Hydrosilex recharge spray on top which last 6 months for added protection, but I know I got a good coating with the 1 coat of ceramic that I applied.
Here's another project that I actually started Labor Day weekend before the detail, but didn't finish until last night. I got most of the hard stuff done back then but had a few things that needed to be finished up. I got a front and rear dash camera, and installed them before I started my marathon detailing, polishing, ceramic coating extravaganza. I got the Blackvue 2 channel 4K dash cam with the backup battery.
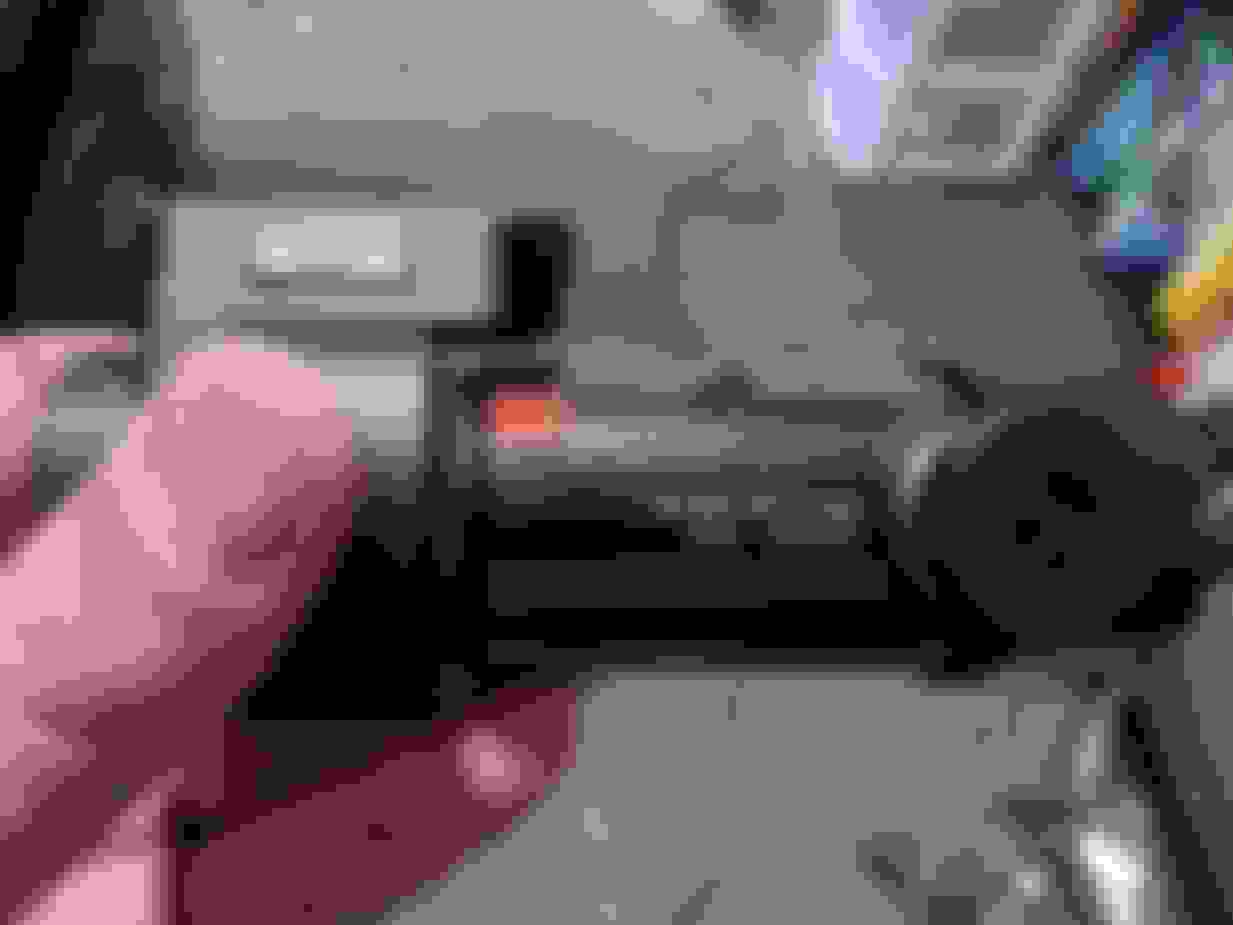
I didn't want to mount the battery under the seat so the glovebox was the most logical. Here's a before.
And all cleared out. I changed my cabin filter before I installed everything.
I also spent big money on a blend mount for the rear view mirror. This thing was a HUGE pain in the ass to install, but so worth it to stealthily hide the dash cam. The rear mount was 3D printed by a member on my 4Runner forum
Here's a before of the rearview mirror.
And here's the new fancy camera
Here's the camera mounted up to the rear view mirror. I didn't like how low the camera hung down with the middle piece in the bracket so I removed it to raise the camera up more behind the mirror.
And here's the camera all installed. It took me an hour and a half of fighting with the blend mount to get it where I wanted, but I had never worked with one before.
Like I said these have been installed for about a month, so if you had looked closely at my detailing photos or roof rack install photos you would have seen it hiding
Here's the rear mount all installed, I'm debating going for something more low profile. The guy who 3D Printed this wanted it to hang down to the area where the rear wiper cleans the glass.
I didn't take any pics of fishing the wire back, but it was actually very quick and easy. Here's the rear camera all mounted up.
After playing with it I got it situated to where it should go
I'm not crazy about how far it hangs down so I have been debating moving it up toward the roof.
I also bought this fancy backup battery so that the camera can record in parking mode without having to draw on the car's battery.
One thing that set back my install was they provided 3 types of fuse taps, but not the kind I need for my truck. My truck uses the low profile blade fuses, I had the same problem when I tried to install my amber grille lights back in the day.
Here's the fuse tap all installed, it's the one to the right with the yellow fuses. I needed a 20 amp circuit that only came on when the key/ACC was on, so I tapped the heated seats circuit. I was able to fish the wires up behind the dash and get the positive and negative completely out of the way of my foot when I hit the e-brake. This is the hardwire for the battery power to charge and activate when the car is started.
The dash cam power comes from cigarette lighter plugs, male on the camera power and this female connector coming out of the battery unit.
I didn't want to have to hide the bulky cigarette lighter plugs, so I hacked them up.I tested which wire was positive and negative and then I cut the plugs up.
The 12v cigarette lighter plug had a built in glass fuse, so I got a fuse holder to take care of that. Here I spliced that into the positive wire.
Then I soldered it up.
And here's the fuse all ready to be installed. I hooked everything
In order to hide the wires I tucked the excess in behind the dash, and trimmed a corner of the glove box panel to better feed the wires. I had my iPod wire running through here and it was being pinched.
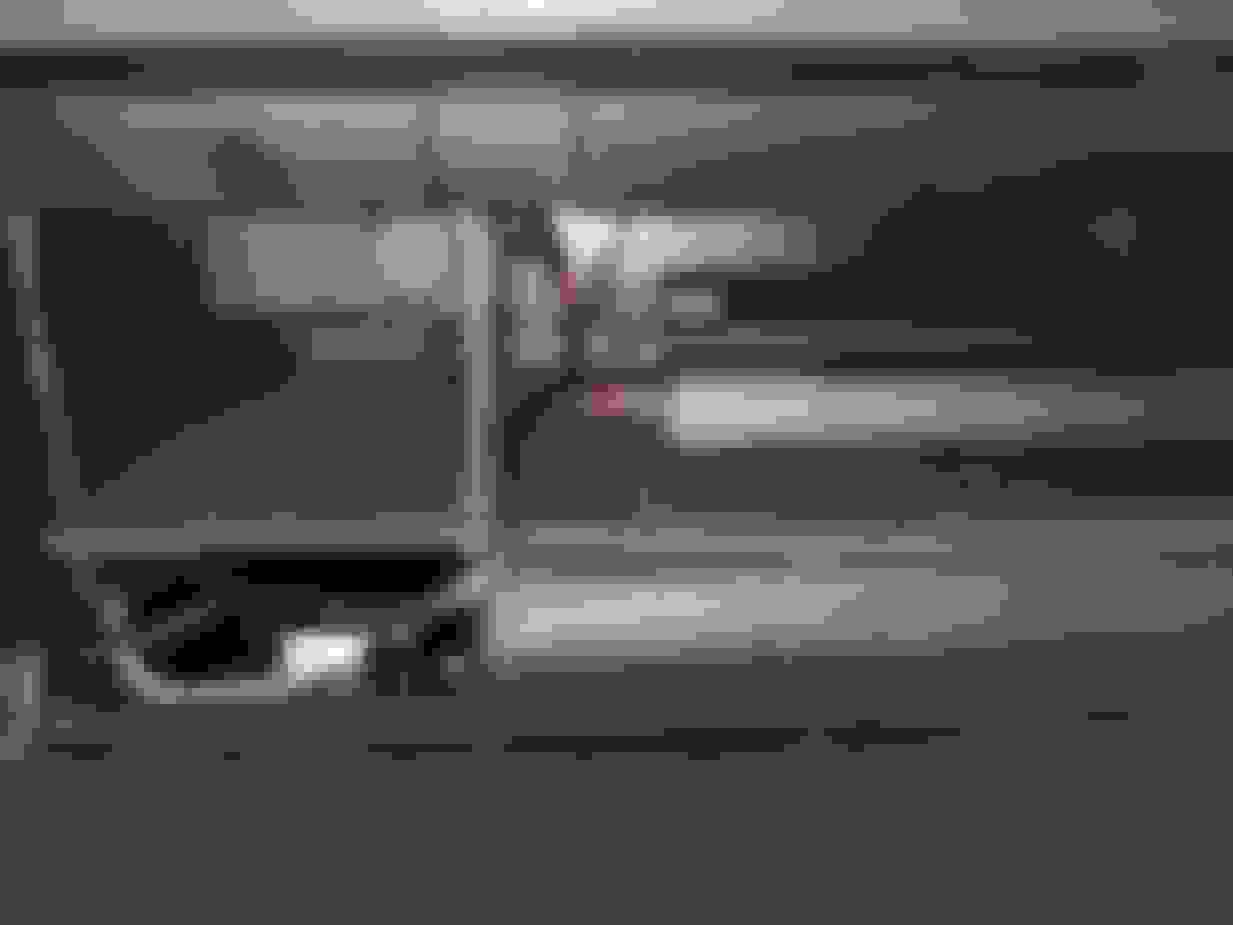
Here's the battery all installed. I plan to reroute the wires through the cigarette plug grommet to the left, but I will have to take the glove box out to do that. I wanted to try everything out before completely burying the wires. Still came out pretty clean
And here's the glovebox closed, you can't see any wires sticking out anywhere.
I really want to run a rear view camera like that but you illustrated the issue I always come up against; the damn thing sticks so far down into the opening when the hatch is up. I'm afraid I'd snap it off almost immediately.
It hasn't been an issue yet. It stays in place but can swing if I need to fit something large in there. It hasn't bothered me in the rear view mirror and I've had it there for the last month. I'm still debating raising it up higher to the roof though.
lol, no since I just hooked up the power last night. I drove the Ack today, but given how many close calls I've had lately with getting cut off I'm sure they'll come soon. Also, after that fuckhead keyed my truck that was the last straw that made me buy one.
Last edited by 97BlackAckCL; Sep 27, 2019 at 10:04 AM.
Looking good. I have to ask though why didn't you want to install the battery somewhere else that wouldn't take up valuable storage space?
I wanted somewhere stealth that I could lock up when needed, after what a giant pain it was to wire my amp under the passenger seat I didn't want to wire it under the driver's seat. I don't keep much in my glovebox anyway
Couple small updates.... beads!!!! I never get tired of seeing this
Also I installed the Kurgo rear seat bridge for the dogs. I didn't like the drop off between the rear seats and the front seats. Always was worried one of the dogs would fall into the gap. Had a few close calls. Not a big fan of where the straps go on my seats, but I can always adapt.
Oh yeah, and those light things... I blacked out the big chrome eyebrows
I left the center projector shroud chrome, going to try and mock everything up to see how it looks before I decide for sure. I think it gives a Johnny 5 eye kind of look
Last edited by 97BlackAckCL; Oct 7, 2019 at 10:22 AM.
I don't think a mod should be able to moderate their own thread.
Why not just make a wheelwell page to document pictures and get likes if you don't want dialogue.
I want the ability to clean up what I think is "crap" on here too including OP posts with repetitive images
or what I consider trivial modifications.
He doesn't want thread spammed. I get it.
Originally Posted by 97BlackAckCL
I made it very clear that off topic stuff would be removed, MM posting weird shit about peoples' kids is not cool
Sorry bud, there was an inside joke over in 3GR and I guess I slipped and posted here without realizing it.
Just block MM!
That's what everyone else is doing!
and visit other people's threads sometimes.
After the black TL I swore I didn't want to open any more lights
The blue TL had a spec of shit in it so I had to...but I cringe at the idea
of having to open things up.
Just block MM!
That's what everyone else is doing!
and visit other people's threads sometimes.
After the black TL I swore I didn't want to open any more lights
The blue TL had a spec of shit in it so I had to...but I cringe at the idea
of having to open things up.
You can get past the permaseal headlights? I thought
those were a no go on opening. If I thought I hated dealing
with butyl, I can only imagine how sucky that would be.