
DIY: Tweeter Replacement and Custom Mounting


Thread Starter
Pro
Joined: May 2004
Posts: 534
Likes: 8
From: Southern Cali.
DIY: Tweeter Replacement and Custom Mounting
Ok here is what I did for a tweeter swap.
I have Diamond Audio s600s up front. The tweeters are 1�. They are silk and sound great.
To pop out the current tweeters all you have to do is find something VERY thin that is pretty strong.
Stick it under the edge of the tweeter and pry it up. It feels like it is going to break�but it won�t.
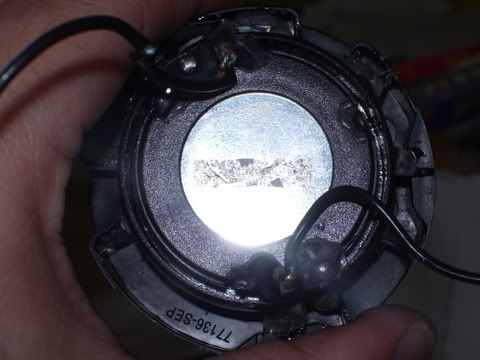
Once you get them out you will see a TINY tweeter with a little thingy attached to it. From what people have said, that little �thingy� is the crossover. This is good.
Good as you don�t have to worry about finding a crossover anywhere else in the car.
From the write up on the amp install you will see a link in the third section that points to the wire schematic for the amp. Also mentioned there is that there is a small junction box behind the glove box where the tweeter and midrange wires are split to go to each.
I thought it would be great to tie into that��BUT could never find it
So all I did is run new wire. This is VERY easy.
All you need to do is drop wire INTO the hole for the tweeter and then go underneath and grab it. It is NOT hard to find. Just fish your hand around in there.
The hard part about the tweeter replacement, at least for me, is getting the new tweeters mounted!!
They will NOT fit in the hole in the current mount. PLUS most tweeters have a dome grill on top of them. Well these current mounts will not do!!
So here is what I did.
I used an exacto knife and cut the hard plastic mounts out of the inside of the plastic mounting.
Then I placed the tweeter inside the mount and used the exacto knife to leave a little circle on the inside so I knew the size of the tweeter.
Then I used the knife and cut a hole so that the top of the tweeter would stick out of the top of the mount.
Once I got that fit correctly. I had to figure out how to make this look decent.
So I took some spare speaker grille cloth and cut a large square out of it.
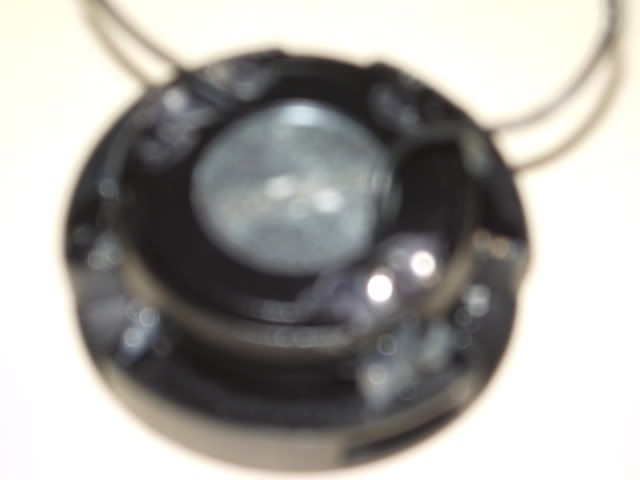
Then I took some of the 3M spray glue and sprayed some on TOP of the mount�.then stuck it onto the grille cloth. Ending up with:
(This is a view from the inside of the tweeter mount. Please note the larger hole I made to fit the dome from my tweeter )
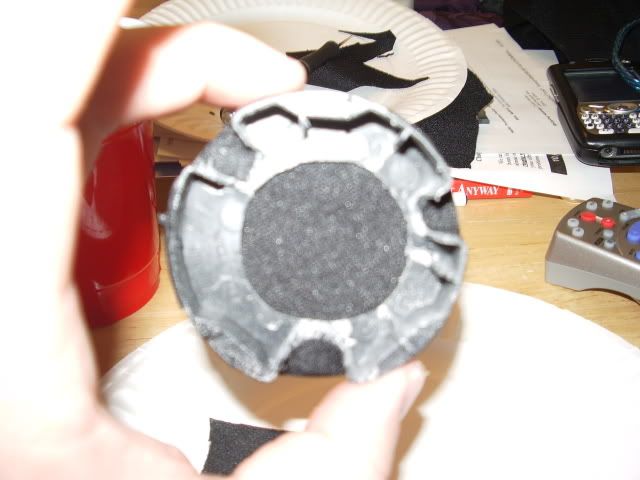
Then what I did is cut the cloth at various parts of the mount so that when bent around the mount, the cloth would fit around. (Notice in the picture above there are three areas where you can see the cloth folded over into the three grooves)
This is very important as if you look at the sides of the mount, you will see specific grooves so that the mount fits perfectly into the hole on the dash.
BEFORE spraying anymore glue make sure you place a small circle piece of paper on the INSIDE of the mount covering the hole for the tweeter dome so that NO glue gets on that part of the cloth. If you DON�T do that, then you will get clue on your tweeter dome, then on the tweeter and that is not good!
Once something is placed on the circle, spray some more glue around the sides of the mount and wrap the cloth around the mount.
What it will look like is this:
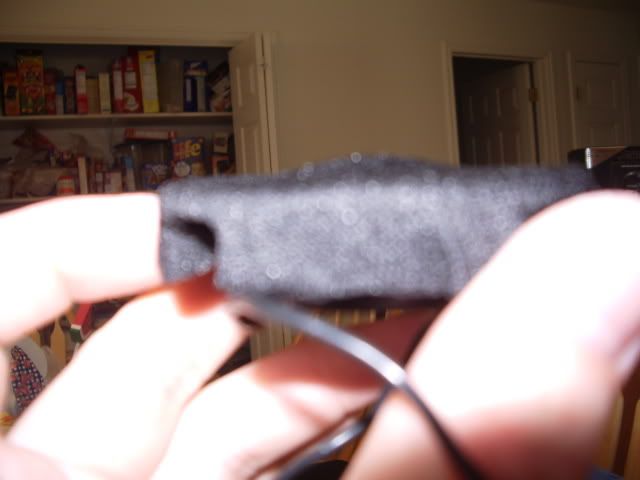
Now also note that I have the tweeter inside the mount during this pic and you can see the �bubble� of the dome tweeter.
Once you do this with both mounts (make sure not to mix them up as they are not universal, there is a LEFT and RIGHT) let them dry.
You don�t want ANY GLUE on the tweeters at all.
Then the next part of this is up to what you want to do.
I chose to use my wife�s hot glue gun to mount the tweeters into the mounts.
I placed them inside and then hot glued them in. Being careful to get any in the grille and on the connections for the wires.
Once that dries, you are all set.
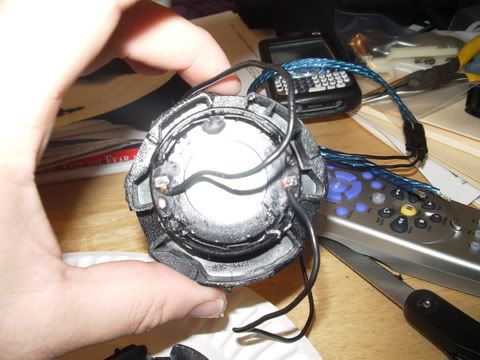
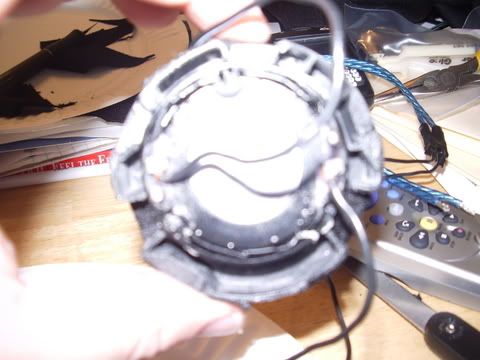
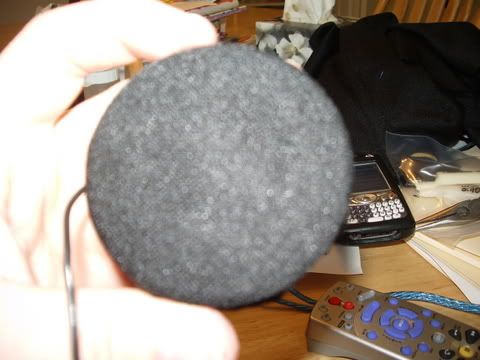
My final product:

Then just use either barrel connectors, quick disconnects or solder the wires for the tweeters to the extra wires you ran inside the dash for the tweeter extension wires.
Then CAREFULLY push the tweeters into the mounts and you are all done.
Does the black grille cloth match perfectly�.NO�. but since I don�t work for Acura, I don�t know how to match them perfectly.
They look great, but more importantly SOUND great.
As always all comments are welcome.
I have Diamond Audio s600s up front. The tweeters are 1�. They are silk and sound great.
To pop out the current tweeters all you have to do is find something VERY thin that is pretty strong.
Stick it under the edge of the tweeter and pry it up. It feels like it is going to break�but it won�t.
Once you get them out you will see a TINY tweeter with a little thingy attached to it. From what people have said, that little �thingy� is the crossover. This is good.
Good as you don�t have to worry about finding a crossover anywhere else in the car.
From the write up on the amp install you will see a link in the third section that points to the wire schematic for the amp. Also mentioned there is that there is a small junction box behind the glove box where the tweeter and midrange wires are split to go to each.
I thought it would be great to tie into that��BUT could never find it
So all I did is run new wire. This is VERY easy.
All you need to do is drop wire INTO the hole for the tweeter and then go underneath and grab it. It is NOT hard to find. Just fish your hand around in there.
The hard part about the tweeter replacement, at least for me, is getting the new tweeters mounted!!
They will NOT fit in the hole in the current mount. PLUS most tweeters have a dome grill on top of them. Well these current mounts will not do!!
So here is what I did.
I used an exacto knife and cut the hard plastic mounts out of the inside of the plastic mounting.
Then I placed the tweeter inside the mount and used the exacto knife to leave a little circle on the inside so I knew the size of the tweeter.
Then I used the knife and cut a hole so that the top of the tweeter would stick out of the top of the mount.
Once I got that fit correctly. I had to figure out how to make this look decent.
So I took some spare speaker grille cloth and cut a large square out of it.
Then I took some of the 3M spray glue and sprayed some on TOP of the mount�.then stuck it onto the grille cloth. Ending up with:
(This is a view from the inside of the tweeter mount. Please note the larger hole I made to fit the dome from my tweeter )
Then what I did is cut the cloth at various parts of the mount so that when bent around the mount, the cloth would fit around. (Notice in the picture above there are three areas where you can see the cloth folded over into the three grooves)
This is very important as if you look at the sides of the mount, you will see specific grooves so that the mount fits perfectly into the hole on the dash.
BEFORE spraying anymore glue make sure you place a small circle piece of paper on the INSIDE of the mount covering the hole for the tweeter dome so that NO glue gets on that part of the cloth. If you DON�T do that, then you will get clue on your tweeter dome, then on the tweeter and that is not good!
Once something is placed on the circle, spray some more glue around the sides of the mount and wrap the cloth around the mount.
What it will look like is this:
Now also note that I have the tweeter inside the mount during this pic and you can see the �bubble� of the dome tweeter.
Once you do this with both mounts (make sure not to mix them up as they are not universal, there is a LEFT and RIGHT) let them dry.
You don�t want ANY GLUE on the tweeters at all.
Then the next part of this is up to what you want to do.
I chose to use my wife�s hot glue gun to mount the tweeters into the mounts.
I placed them inside and then hot glued them in. Being careful to get any in the grille and on the connections for the wires.
Once that dries, you are all set.
My final product:
Then just use either barrel connectors, quick disconnects or solder the wires for the tweeters to the extra wires you ran inside the dash for the tweeter extension wires.
Then CAREFULLY push the tweeters into the mounts and you are all done.
Does the black grille cloth match perfectly�.NO�. but since I don�t work for Acura, I don�t know how to match them perfectly.
They look great, but more importantly SOUND great.
As always all comments are welcome.
Thread Starter
Pro
Joined: May 2004
Posts: 534
Likes: 8
From: Southern Cali.
Originally Posted by ed99
I understand our OEM tweeter is pretty decent and how would you compare your new aftmkt tweeters? Does it sound sharper and plays higher frequency compare to the OEM?
Well first thing is that I am not going to hook up diamond audio components and use the stock tweeter

When I looked at the stock tweeter, the actual 'cone' center was pushed in!!! I cannot imagine that it is supposed to be that way.
All I can tell you is that everything is MUCH more clear, crisp, bright, and just sounds a hell of alot better!!
Those are my thoughts.
The DVD-A Script Guy


Joined: Apr 2005
Posts: 2,012
Likes: 186
From: CT
Nice post. As suggestion...
I have always used my feeler gauge to do this. Some of the thicker blades are perfect for popping out covers such as the one in this post. Resist the temptation to use sharp things like knives. They will hack up the edges of the covers and worse....
...To pop out the current tweeters all you have to do is find something VERY thin that is pretty strong.

Trending Topics
Team Anthracite Member
Joined: Oct 2004
Posts: 1,333
Likes: 1
From: Montreal, QC
Toasters,
Quick question... what amp are you using to drive the speakers that you replaced? The stock one? Are you planning on changing the center channel and stock sub as well? If you don't mind, how much did all this cost you?
Quick question... what amp are you using to drive the speakers that you replaced? The stock one? Are you planning on changing the center channel and stock sub as well? If you don't mind, how much did all this cost you?
Thread Starter
Pro
Joined: May 2004
Posts: 534
Likes: 8
From: Southern Cali.
Originally Posted by JackSprat01
Has anyone posted on any nice drop in tweeters? Is there any such thing available? I'm just not that graceful with my wife's glue gun. :dog:
EVNS TL
Joined: Jan 2008
Posts: 290
Likes: 0
ok i swapped my OEM tweeters out for a set of alpine r series that come with my components. I used an inline crossover on them both. im getting a slight buzz/hmm from the passenger side. i know its not the crossover or tweeter cause i swapped the drivers side over just to check. same buzz on pass side. drivers side has no buzz. so im thinking its something with the car that is adding the buzz. anyone come across this? the next step would be to ditch the inline crossover for the big boxy ones that came with the alpines. but i would have to mount them under the dash and run wires. the buzz is gone when the radio is off and is present with every source( dvda,xm,cd,radio).
any suggestions?
any suggestions?

Thread
Thread Starter
Forum
Replies
Last Post
sockr1
Car Parts for Sale
22
Oct 1, 2015 01:31 AM
DiamondJoeQuimby
Car Parts for Sale
1
Sep 10, 2015 11:40 AM