When you click on links to various merchants on this site and make a purchase, this can result in this site earning a commission. Affiliate programs and affiliations include, but are not limited to, the eBay Partner Network.
Just got in rv6 j pipe (deletes 3rd cat) and rv6 high flow pre cats. Lets talk price, the total shipped to my door was $1378CAD. I bought them during their "black Friday/holiday sale" which can hardly be considered on sale. But I figured it was better than nothing. j pipe cost 449USD and hfpc cost 535USD plus 86 USD for shipping. I ordered through heeltoe instead of directly from rv6 and that's only because rv6 had one shipping option which was about 136USD while heeltoe had many shipping options, the lowest being 86USD (ups standard). I got an email from heeltoe saying the j pipes were on backorder and would be shipped to me directly from rv6 in about 4-6weeks. It got here in almost exactly 4 weeks from when I ordered. Once the package got to the boarder I was emailed by ups saying I owed them $190CAD to import it. 90 as tax to the cdn gov and the rest to ups as a "brokerage fee". I guess UPS figured the 86USD I was paying them to ship it to me wasn't enough. Anyways the total then is 1070 USD = 1378 CAD + 190CAD (for import) = $1568CAD. My mechanic wants about 350 to install both. Im excited to get them installed but haven't set a date yet.
re some various other pictures for no particular reason...
Good to know how much customs and duties would come to. I've been waiting for the right time to get the j pipe.
Also, sorry if i missed it, but how much did you lower by on the Tein SA's? is there room to have it higher?
KarKrazeWow !!
You have a great build going, congrats on all the upgrades. Keep up the good work, car looks awesome.
Thanks means a lot from an OG such as yourself!!
Good to know how much customs and duties would come to. I've been waiting for the right time to get the j pipe.
Also, sorry if i missed it, but how much did you lower by on the Tein SA's? is there room to have it higher?
Yeah the only reduction in price for those parts that im aware of is the black Friday/holiday sale which is why I pulled the trigger on them. Saved a whopping $75USD combined on the hfpcs and jpipe lol.
Its lowered about an inch and a quarter (1 and 1/4 inches) on all four corners. It could go higher and it could go lower. Im happy with the height its at but I think im going to get some control arms to put a tiny bit more negative camber on the backs. It just needs a little more for my summer rims to clear the edge of the wheel wells.
Nothing new to report but I'm hoping to make some moves once the weather improves. In the meantime I thought in the interest of thoroughness I could comment on what kind of maintenance ive done to it. Especially considering that it was a sight unseen auction buy. Its been a year now since I bought it and so far so good. The following is in order of when I had it done. Also consider it was a dealer maintained lease return so it was not at all neglected. I understand it only went to auction due to mileage (105,000km) and a $2000 report on the car fax report when it was a couple years old. I understand that was a dent/scratch repair on rear quarter panel which was repaired really well.
First off to get it running, driving, certified, registered and on the road it needed a new battery, new rotors and a front license plate bracket (had been sitting for an estimated 1-2 months during winter)
At that time it also got 4 new brake pads, brake fluid change and oil/filter change.
-Transmission software update including fluid change (done by dealership at no charge)
-Anti rust sprayed by Krown rust (did this yearly to my previous vehicle and it had no rust underneath which helped me sell the 23 year old car for decent money)
-rear differential fluid change
-new gas cap (tighten fuel cap message was coming on randomly)
-coolant fluid change
-new engine air filter
-new cabin air filter
-oil/filter change
-new windshield wipers (just the rubber strips from the dealer which made a huge difference, should not have waited so long)
-Scheduled for another anti rust spray next week
That's all that I can think of right now.
Check out this video of how the exhaust sounds with the rv6 jpipe&hfpcs through the stock catback.
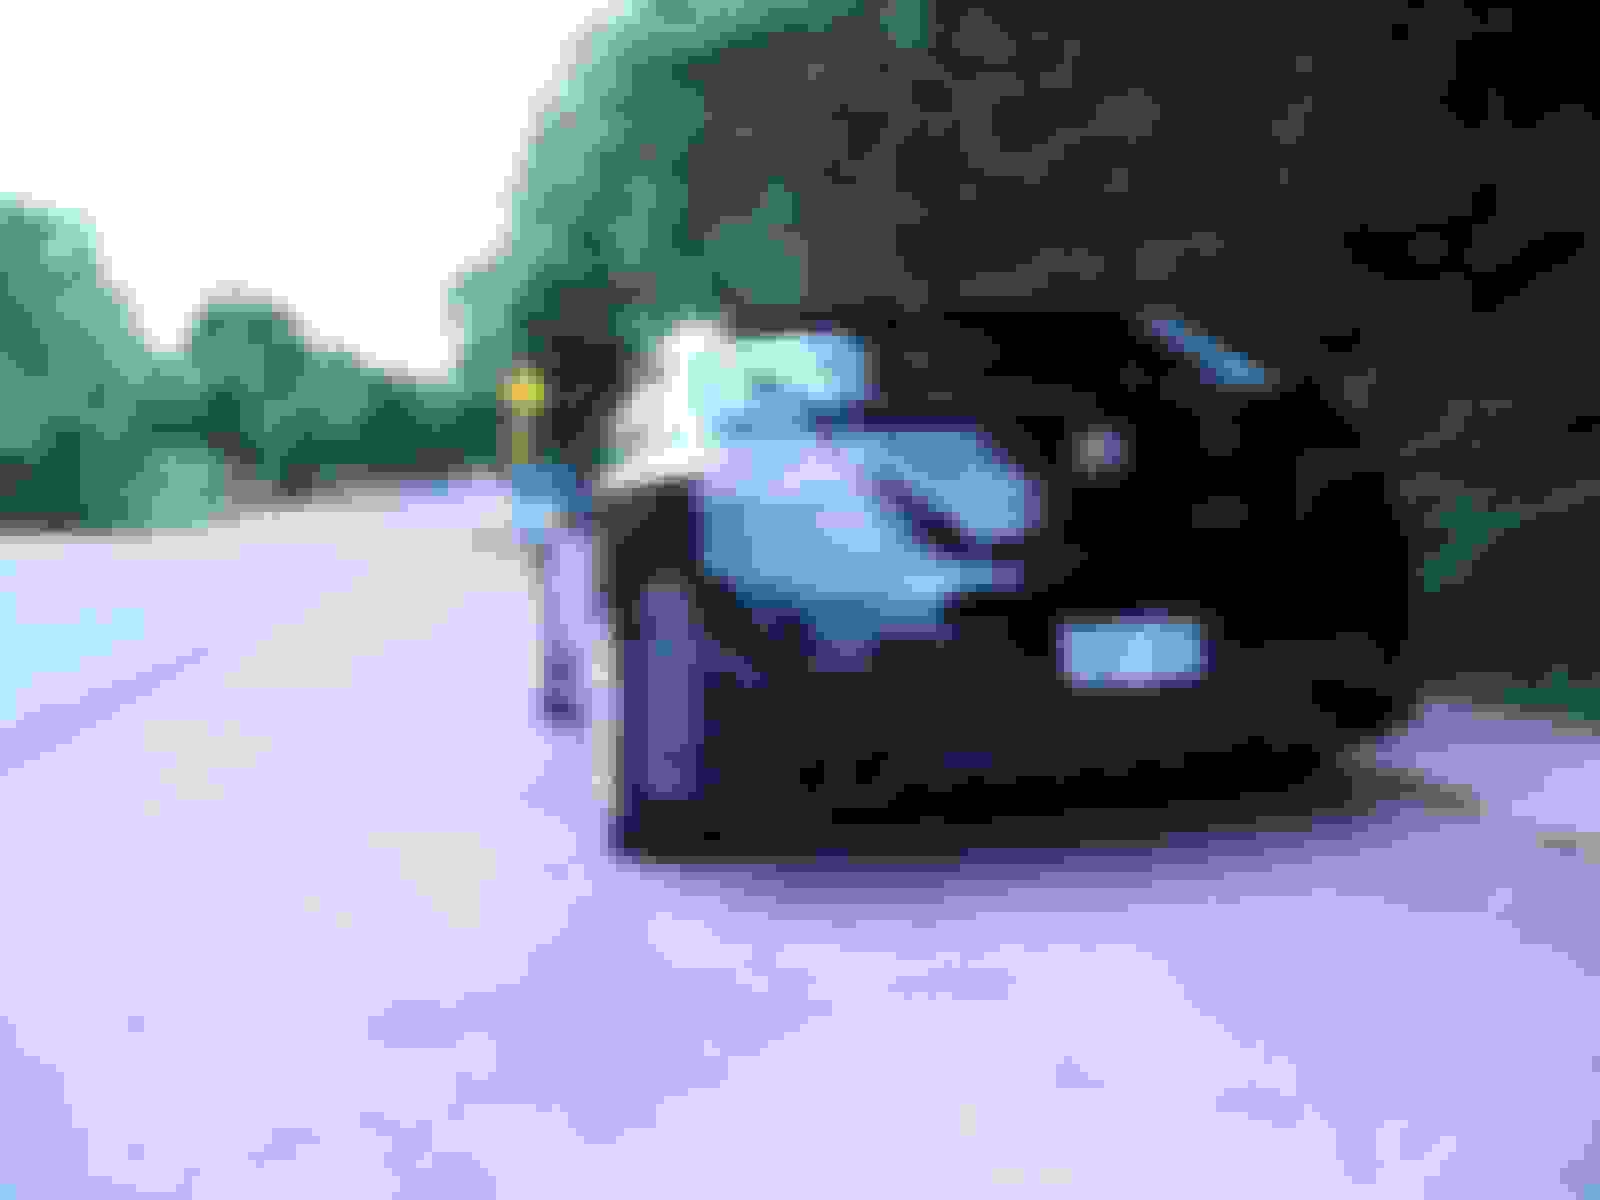
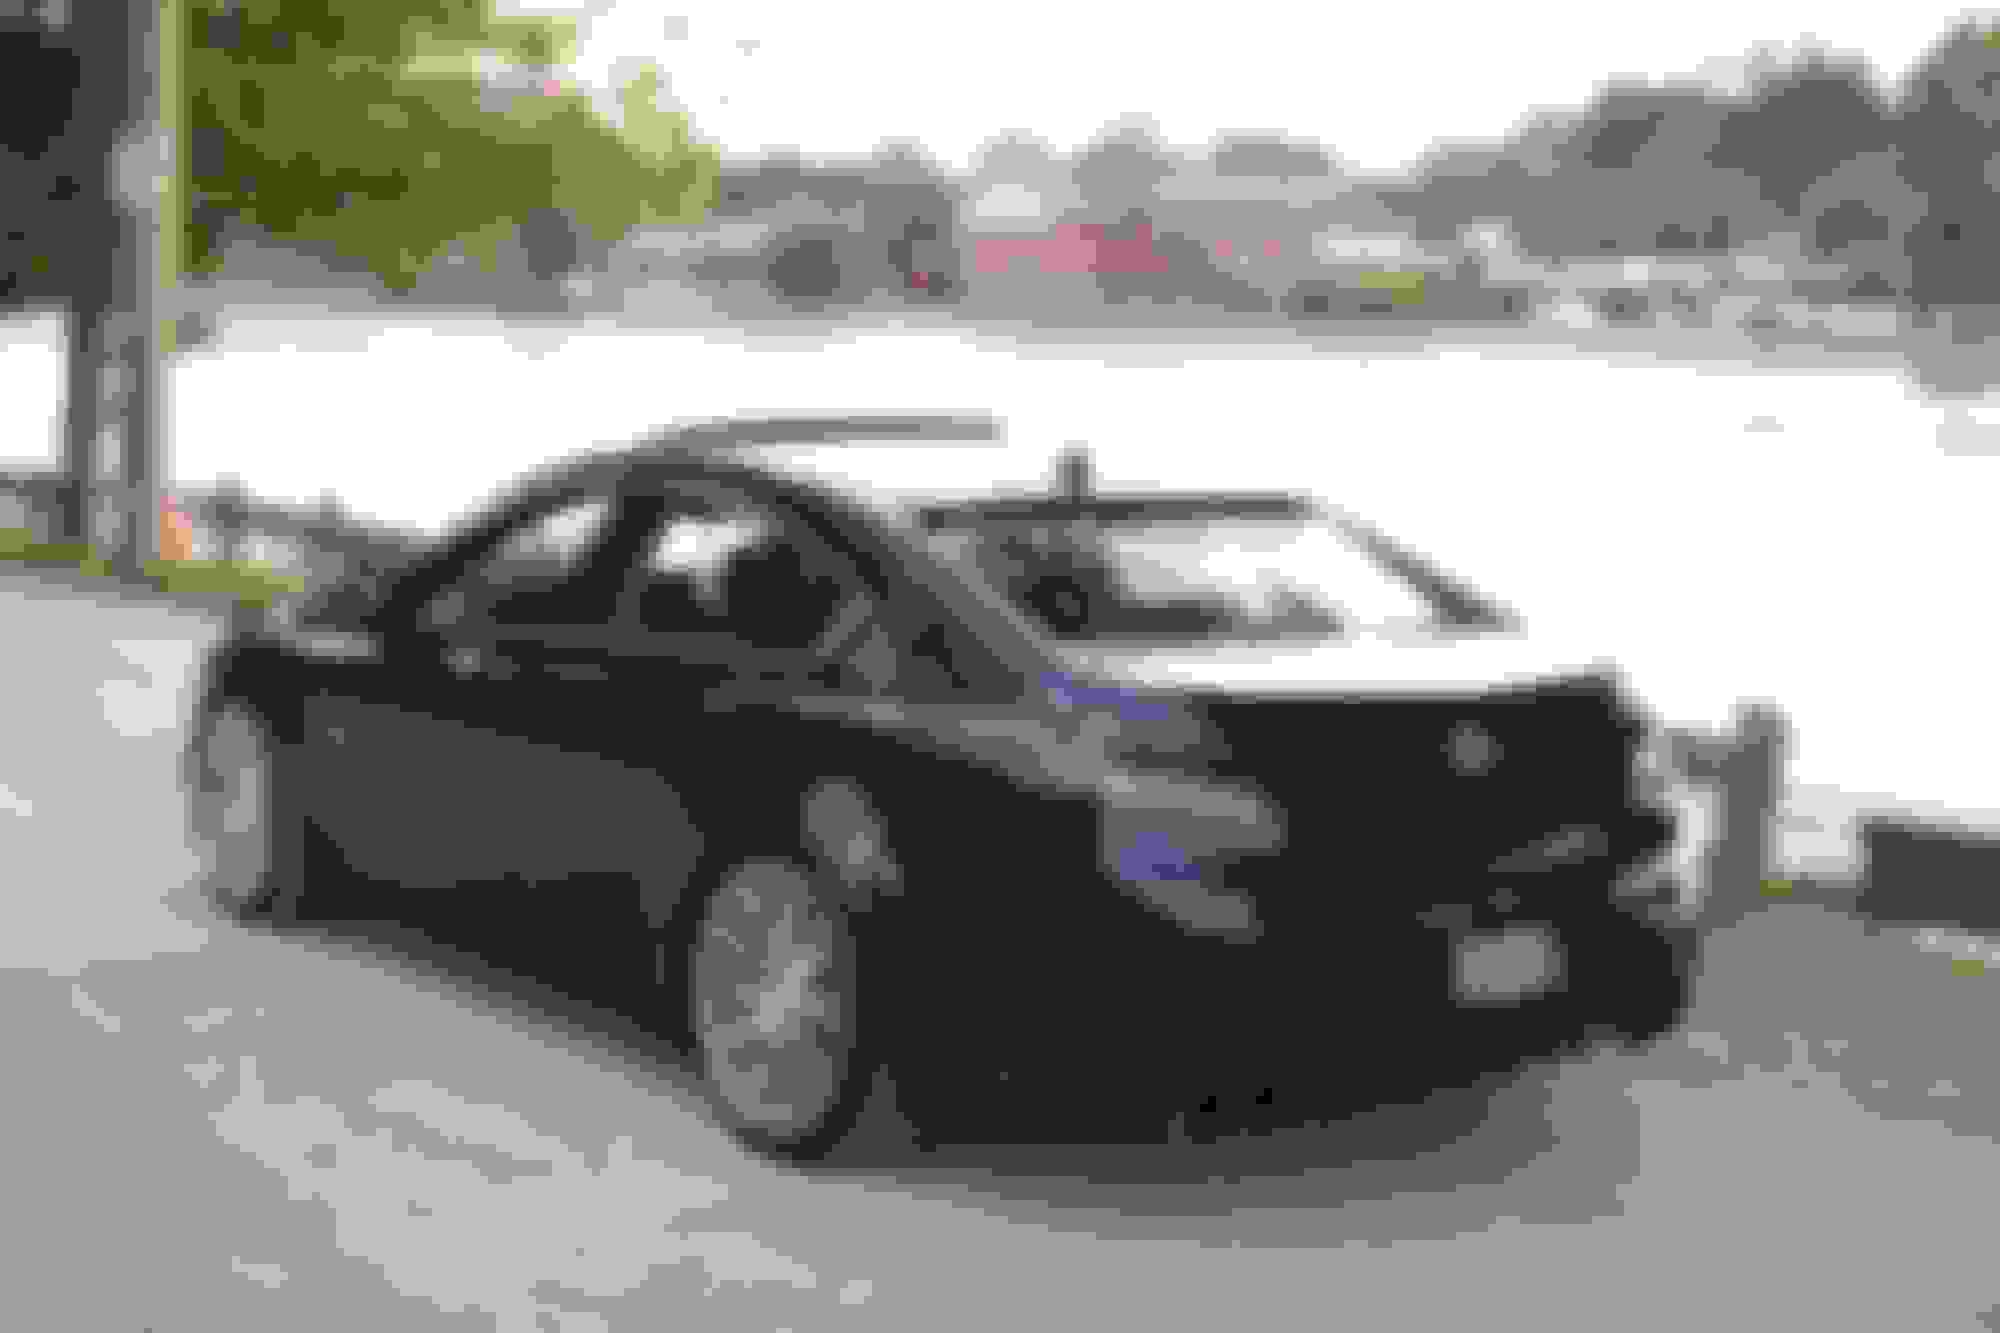
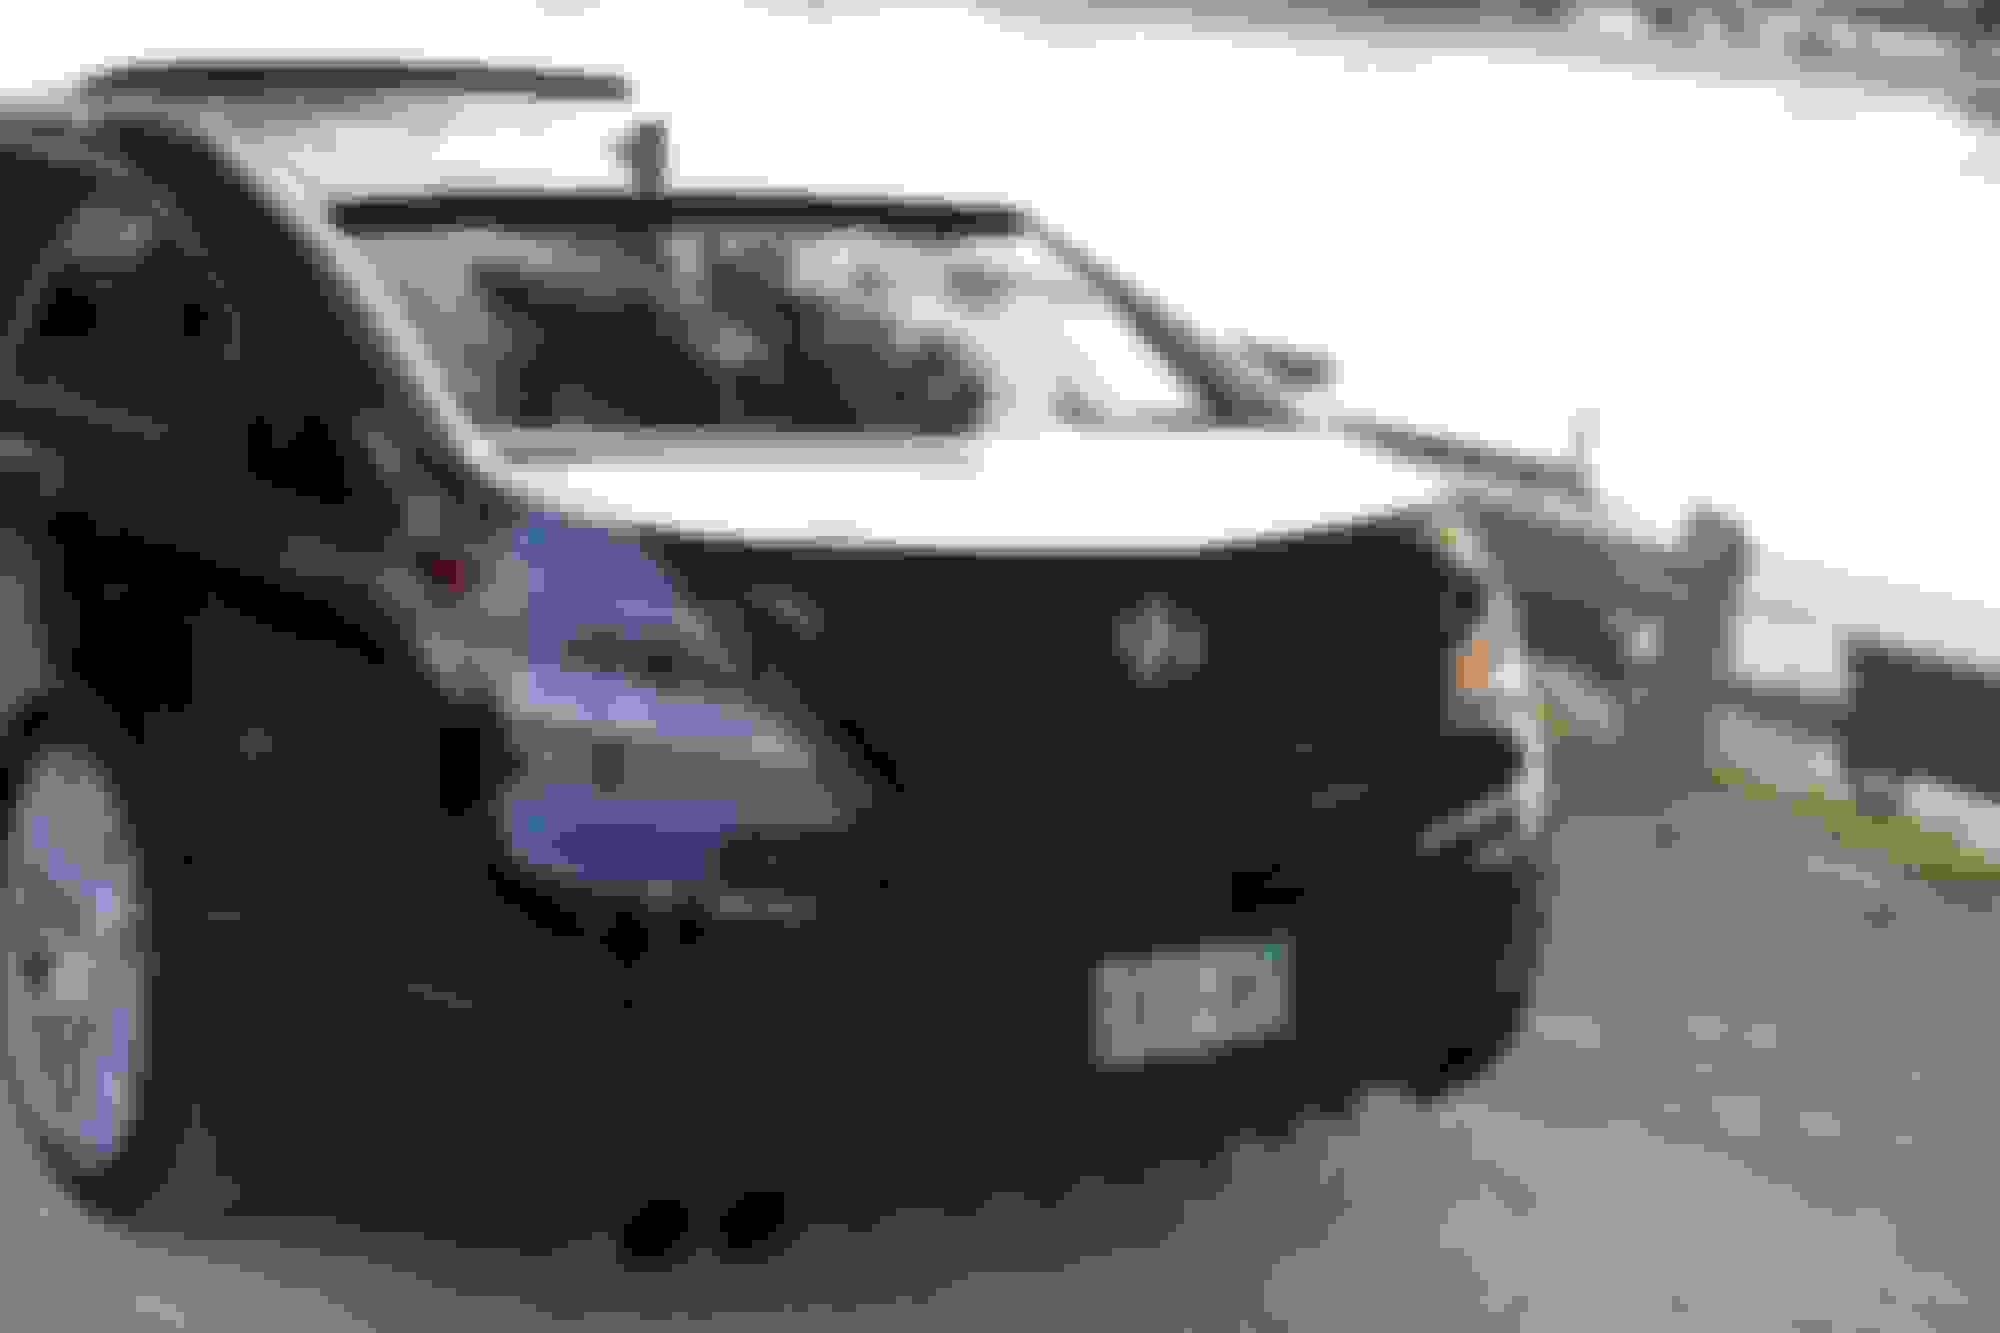
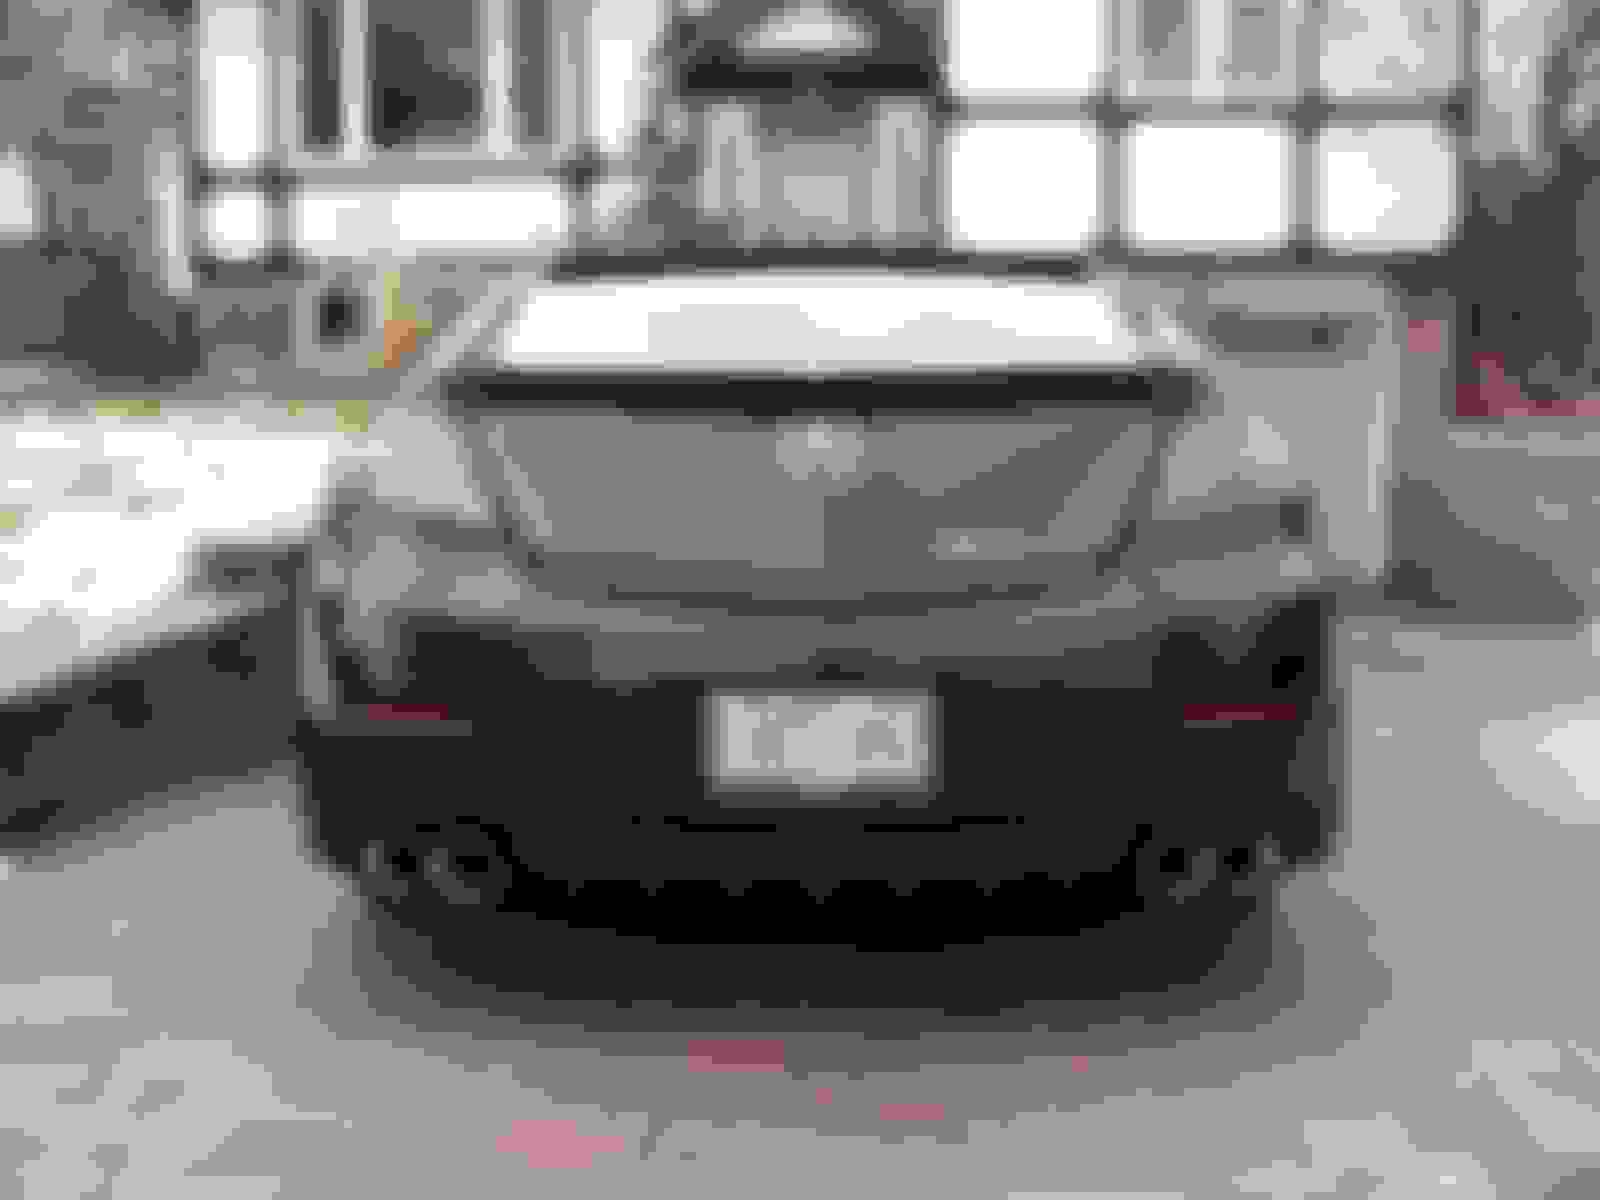
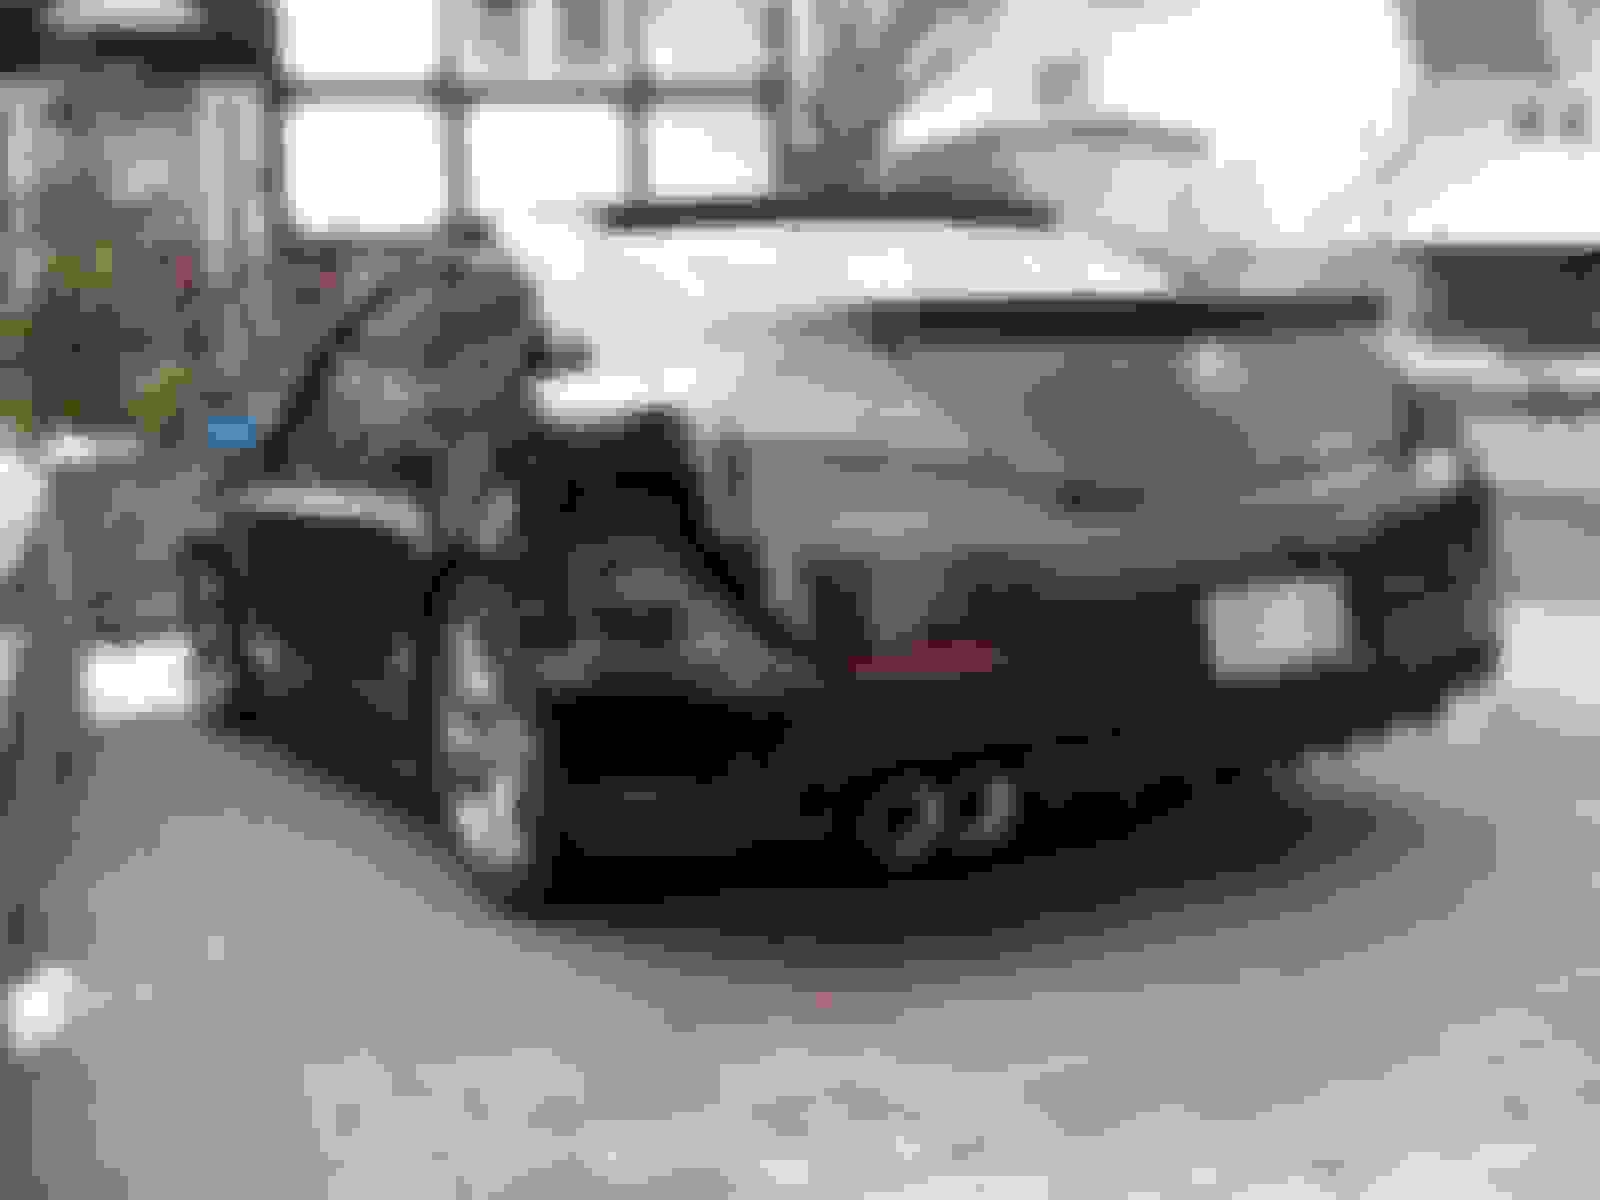
Some recent pics I took after a quick wash. Made it through the winter pretty good. Only thing is I lost a small piece of my passenger side turn signal housing lol. You can kinda see it if you look closely. Funny the front grill wrap still perfect but a small bit of the corner of the front turn signal goes. Pretty sure it happened one night when I merged onto the highway a little bit behind of two snow plows that were salting. Putting the TSW's back on in a few weeks.
Few comments here, first the TEIN EDFC arrived. Not sure when it will be installed, I have to first figure out where to mount the controller. There doesn't seem to be an obvious spot so im still thinking about it.
Since I got the rv6 pipes, these exhaust tips require like weekly polishing. They quickly get covered in black soot.
Before
After
Wanted to take a look at my winter tires since im driving around on -2.5 camber in the backs. Little wear on the inside right rear tire but that's about it, the lighting makes it look worse than it is. With regular rotating im sure they'll be fine for many more seasons. I really like these blizzaks they are awesome in the snow.
If you can make the Controller fit in the cubby that has "this is not an ashtray", that would be sweet ! .
At -2.5 Camber my Super Sports died a premature death , tons of thread with the exception of the inside which led to a thumping like noise that drove me nuts. Replaced with new Super Sports and installed the SPC 3 Pc Kit, the car feels perfect now.
I was thinking of putting it in the not ashtray tray too! It would be so so clean. But it would require modifying the tray because the controller doesn't fit in there (it wont close) and of course there is the issue of the wiring. Im leaning towards just mounting it under the dash either in front of the hood lever on the left or off to the right.
Id love to get the spc kit and fix the camber but then the TSWs wouldnt fit. Their fitment right now is sooo tight in the backs i cant even fit a finger in the wheel wells. Oddly enough last summer they did rub here and there on decent bumps and big dips in the road but since ive put them on this season they have yet to rub at all. And ive gone over the same bumps and dips that they used to rub on. Not sure what the deal with that is lol.
FYI, I installed mine in the armrest storage facing up on a velcro so that I can remove it if I want to. Once you find your preference and program them in the 3 memory setting you will not need to access the controller too much.
I tried installing in the ashtray thingy but it would not fit. Even if I would cut out the back there was some sort of sensor behind it that would need to be relocated. I don't recall what sensor it was since I did it 5 years ago but it sounded serious so I did not want to move it.
I would look nice in that location but I guess sometimes we need to compromise.
Good luck with the install. The new version looks eve nicer. Too bad it is not direct swap I would be all over it.
I like that in the armrest idea. Anywhere hidden is most ideal. Any idea where/how to run the wires into the armrest?
I had to cut out a very small hole on the bottom front facing wall of the armrest storage. Just big enough for the plugs for the EDFC to pass. Then I had to remove the trim around the shifter and under the "ashtray" then under the front dashboard.
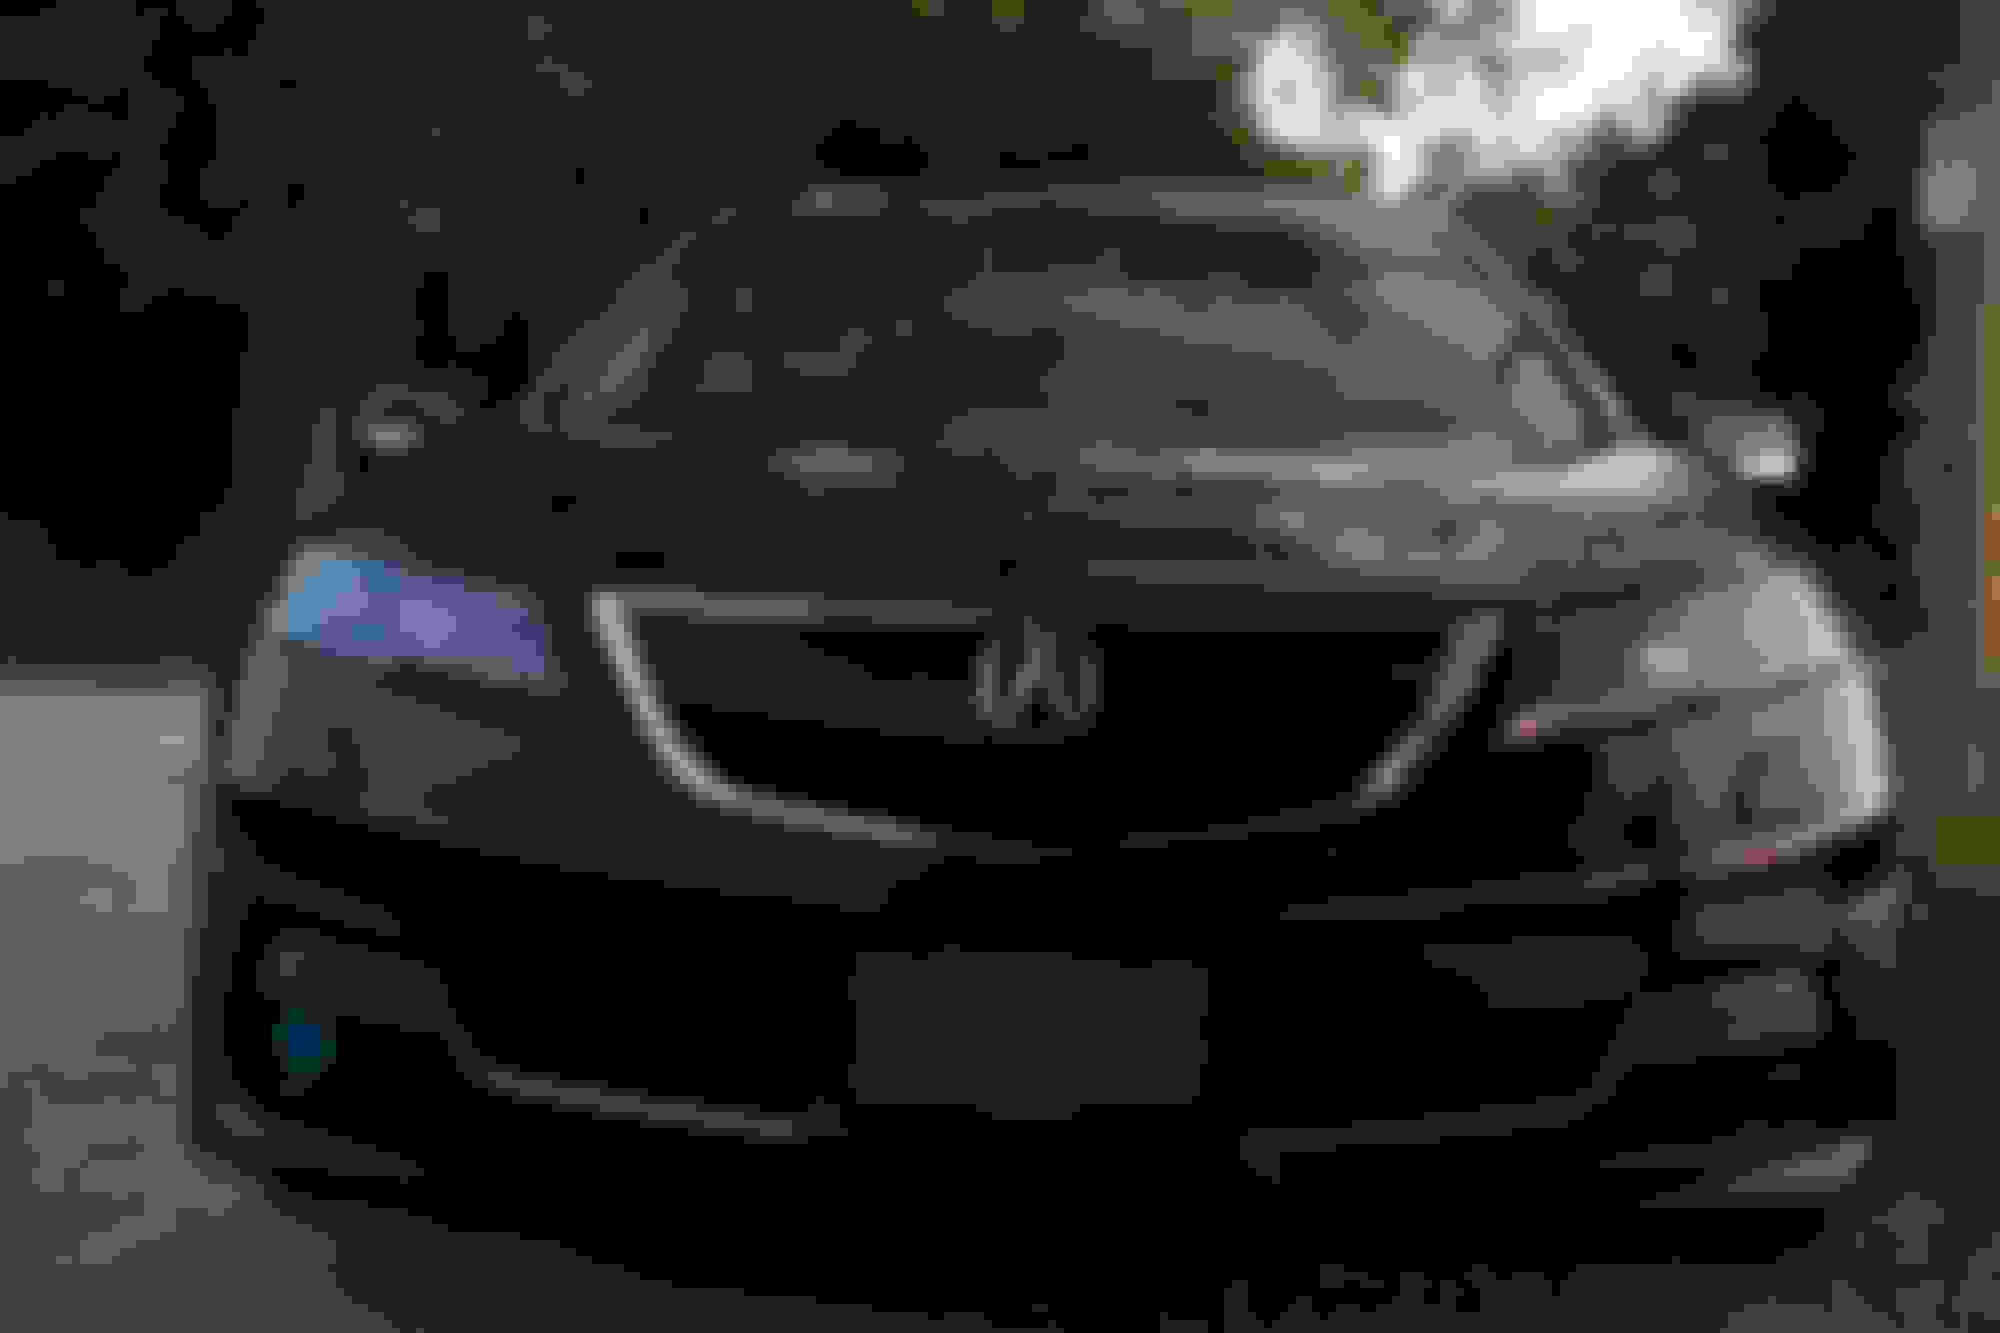
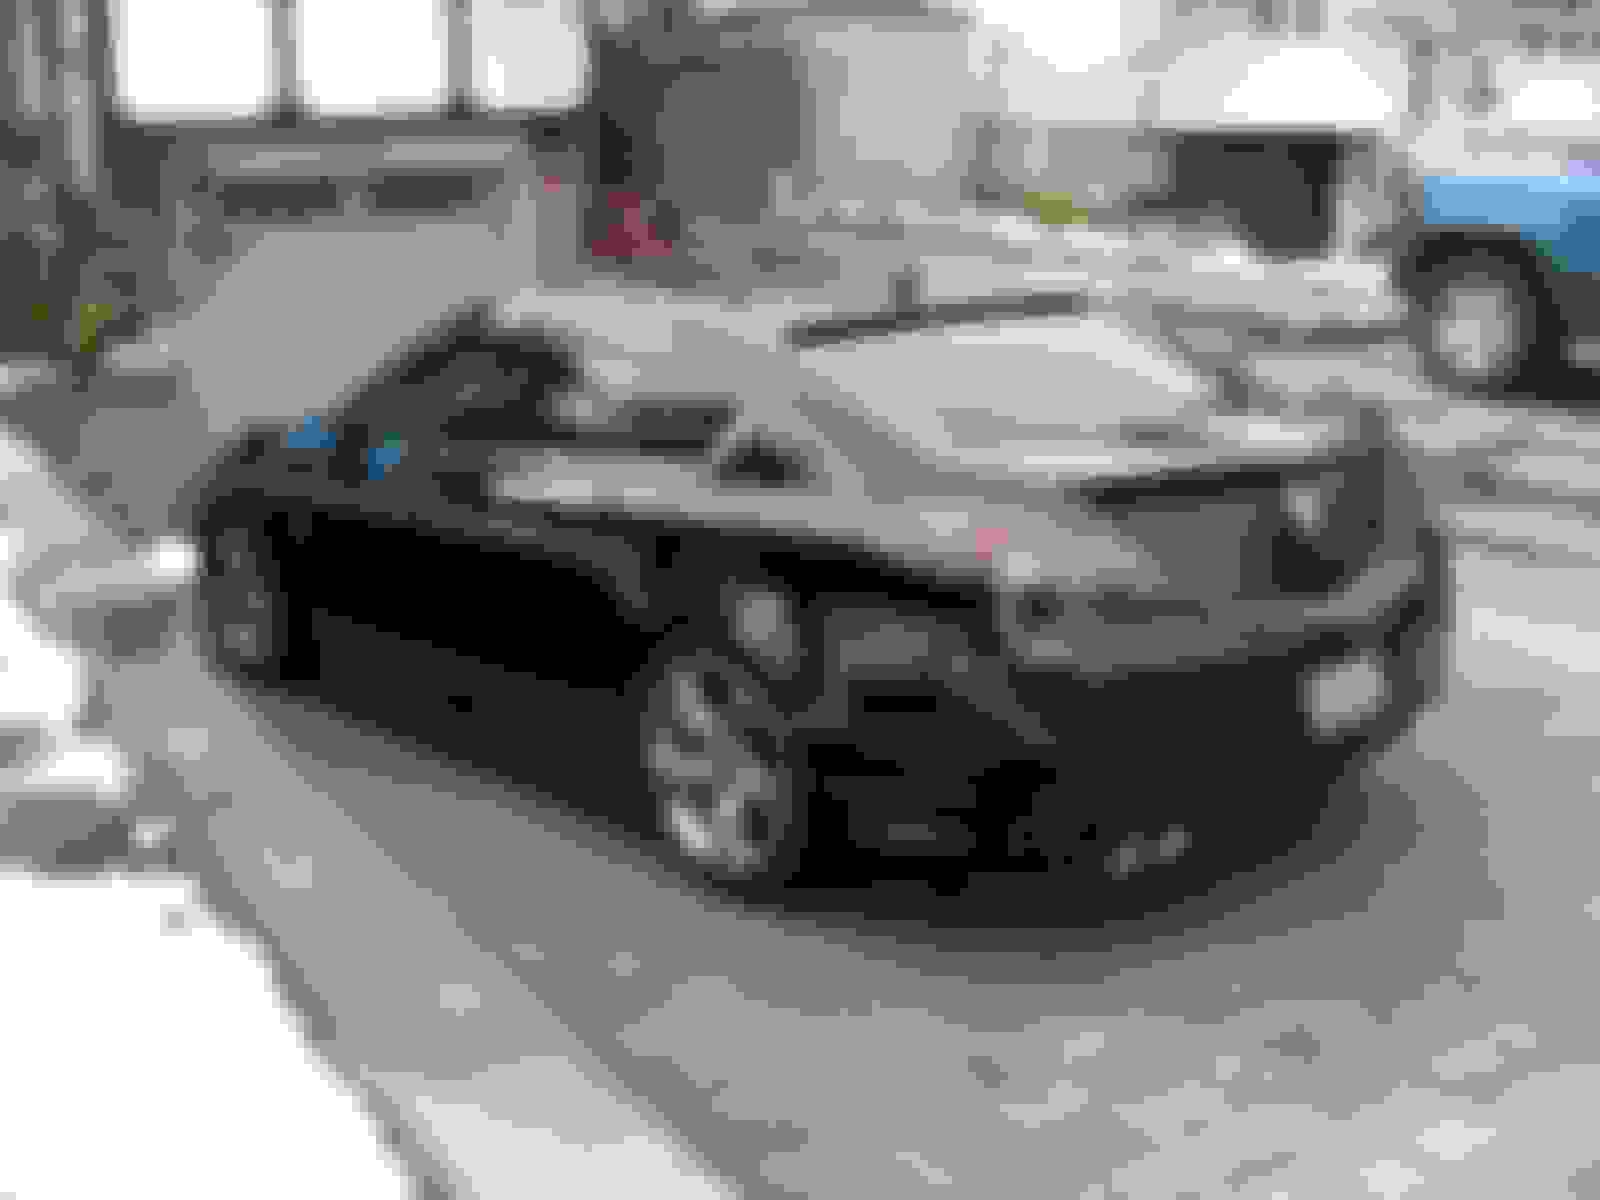
Tein EDFC got installed today and its awesome so far. Finally no more soft suspension, teins recommended setting was nice for cruising but after a while felt too soft and bouncy. Drove it a little bit today and I'm liking 4 in the front and 6 in the back. Otherwise not much going on just trying to keep it clean. I've got clear headlight reflectors that I want to put in at some point this summer. Planning on replacing the bulb behind it with white LED while I am at it. Took the headlight tint off in anticipation for the clear reflectors. Here's some pictures from today.
Oh ya and the other thing I wanted to mention was the position of the controller. I decided to mount it just to the right of the hood release latch. Wasn't sure at first but I think it was a good choice because its nice and out of the way but I can see the screen through the steering wheel. I also don't have to reach to press the buttons.
Been thinking of adding the Clear Reflectors on my retrofit . I also like the contrast between the black and chrome when the amber is removed so I am undecided for now.
Got them off of EBay?
Been thinking of adding the Clear Reflectors on my retrofit . I also like the contrast between the black and chrome when the amber is removed so I am undecided for now.
Got them off of EBay?
I got them off of the acurazine marketplace. I've been looking for them for a while and couldn't find any since I guess they don't make them anymore.
Any ideas what else I could do while I have my headlights open... Where do you get parts for your headlights your doing? Like those little chrome strips that go on the side by the low beam.
Ok, thanks. Yes, they stopped making the clear markers, there is a limited supply on EBay .
I purchased the Lens / LED's from The Retrofit Source and had them Laser Etched there as well. The Chrome Strip is part of the headlight. The other parts were custom made by myself.
It is really up to your imagination with regards to what can be done to the Headlights when you open them up. I would recommend changing the Lens to the clear TSXR ones. If you want to do a passive Demon Eye look you can do so without the use of a back lit LED. You will need to paint (High Heat Paint) the front of the Cut off Shield in the color of your choice, that way the color will show through the Clear Lens when the Low Beam is off and then get washed out when the Low Beam is on.
I have never seen my setup done before and that is why I decided to go that route. Making the second Projector and getting it to fit in that area due to limited space was no easy task. Also, keep in mind I am using all stock mounting areas and no modification to the back of the light housing. There is modification to the high beam bowl and a few other areas but it is so well integrated that you cannot see it. Also, I am not using Red Demon eyes like most people do even though it would look sick, I am doing a Quad White DRL instead and the side marker bulbs will be replaced with a White LED.
Yeah I am excited for yours the quad lights sound really cool. I'll probably add the tsx-r lens as well and call it a day. Whats the install like with that lens...does it require the spacer kit? Also what white LED are you going with for the side marker bulbs? These ones below seem nice but im just starting to look into which ones to get.
Yeah I am excited for yours the quad lights sound really cool. I'll probably add the tsx-r lens as well and call it a day. Whats the install like with that lens...does it require the spacer kit? Also what white LED are you going with for the side marker bulbs? These ones below seem nice but im just starting to look into which ones to get.
You may or may not need to use spacers, it appears that the Lens are not all perfectly the same. I know this because the Lens received were not within what I would refer to as acceptable tolerances. I had a chat with them and was told that they changed suppliers.
If you place an Order make sure you check the sizes carefully when you receive them.
Decided to touch up the rotors a little. Its been about a year since I painted them. The calipers look good all I did was wipe them down with a damp rag to get the dust off. The rotors I touched up a little and then put another full coat on them. I still had some paint left over from a year ago and it was still good. Now they looking nice and fresh again.
Just a follow up on the Lens Spacer for the TSX-R, if you decide to go through with it.
I used a thickness of .115" and the cutoff looks nice and sharp. I would definitely recommend the Lens as the light output is noticeably improved.
Okay thanks yeah I want to get it still. I have some time off in august so thats when im thinking ill have time to do it. Is that the optional spacer kit on retrofitsource.com or did you make a custom one?
Okay thanks yeah I want to get it still. I have some time off in august so thats when im thinking ill have time to do it. Is that the optional spacer kit on retrofitsource.com or did you make a custom one?
I did my own. Made 3 Stainless Steel Washers that mounted between the Lens Retainer and Reflector bowl.
Let me know if you need a set, not sure how to get them to you but I can make those up easily or any other size you need. No cost .
I did my own. Made 3 Stainless Steel Washers that mounted between the Lens Retainer and Reflector bowl.
Let me know if you need a set, not sure how to get them to you but I can make those up easily or any other size you need. No cost .
That would be seriously awesome if you would be willing to do that. Maybe you could mail them to me? I would cover whatever it cost if you want. Let me know and I can PM you my address.
That would be seriously awesome if you would be willing to do that. Maybe you could mail them to me? I would cover whatever it cost if you want. Let me know and I can PM you my address.
Sound good, will get the info from you later.
Will run them next week when I return to work and include some thinner pieces in case you need to use them
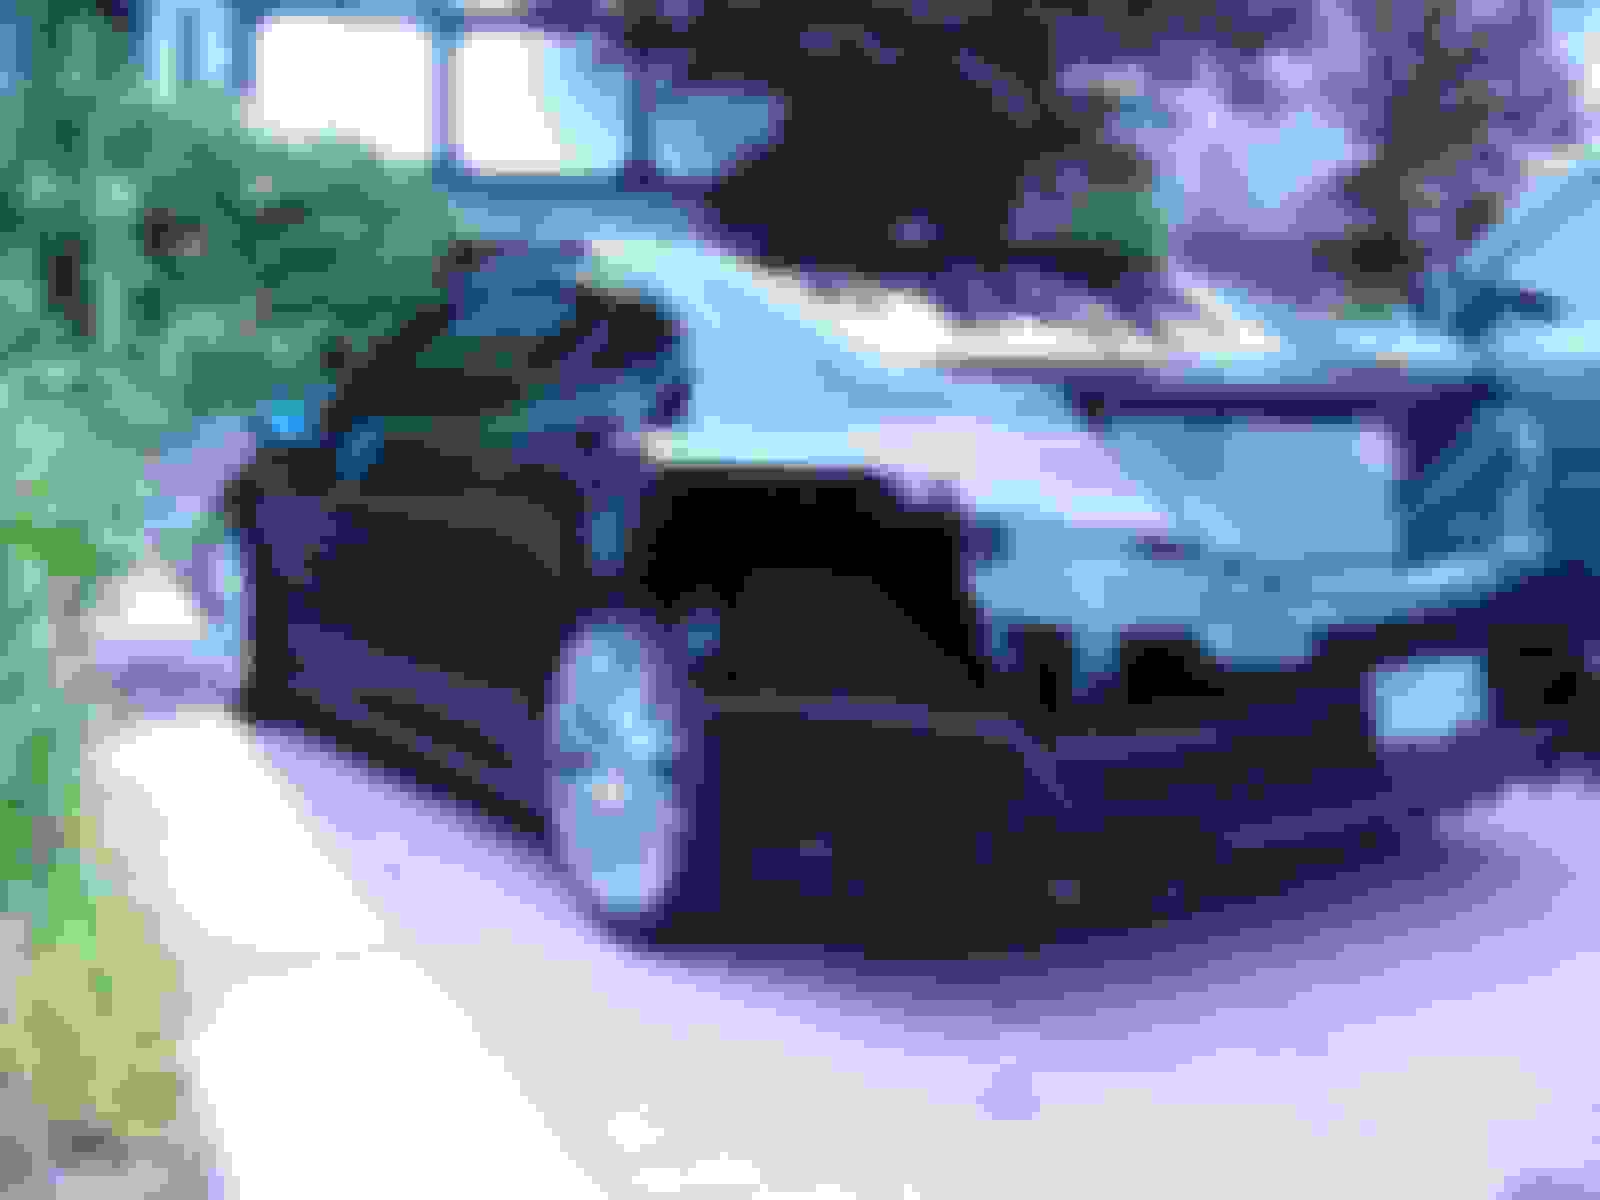
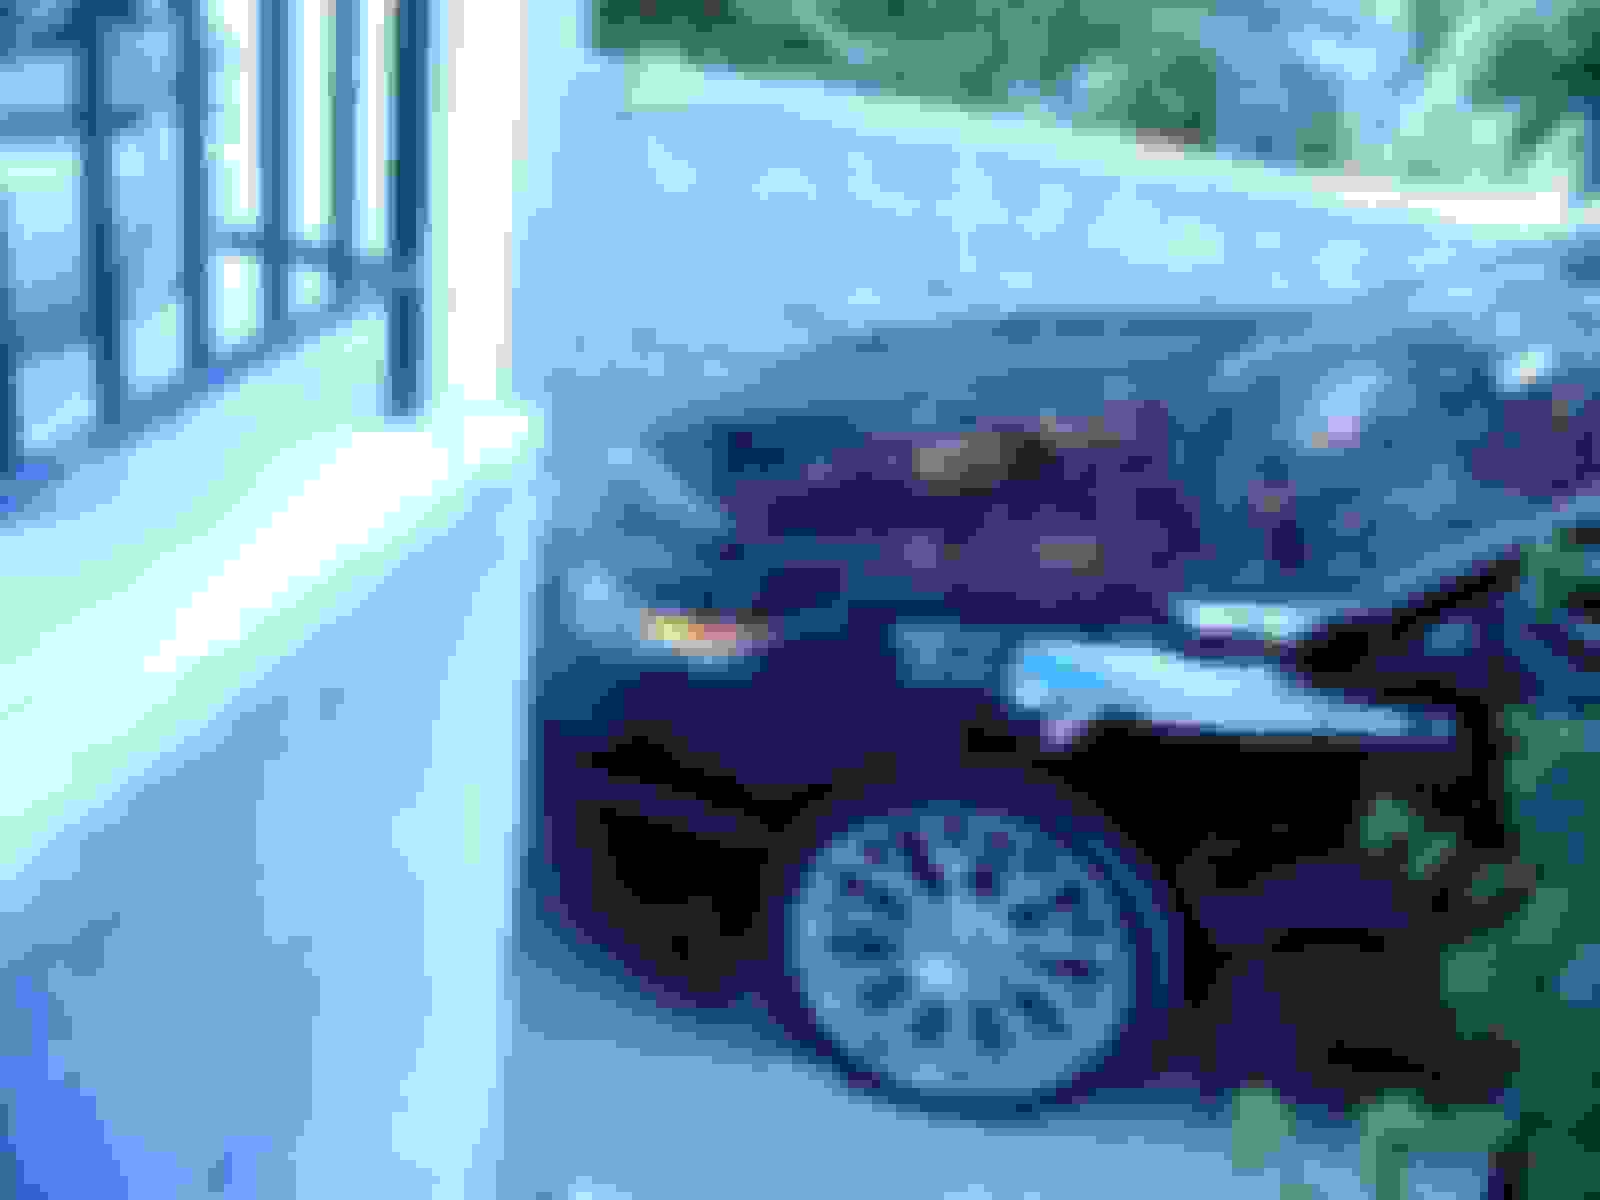
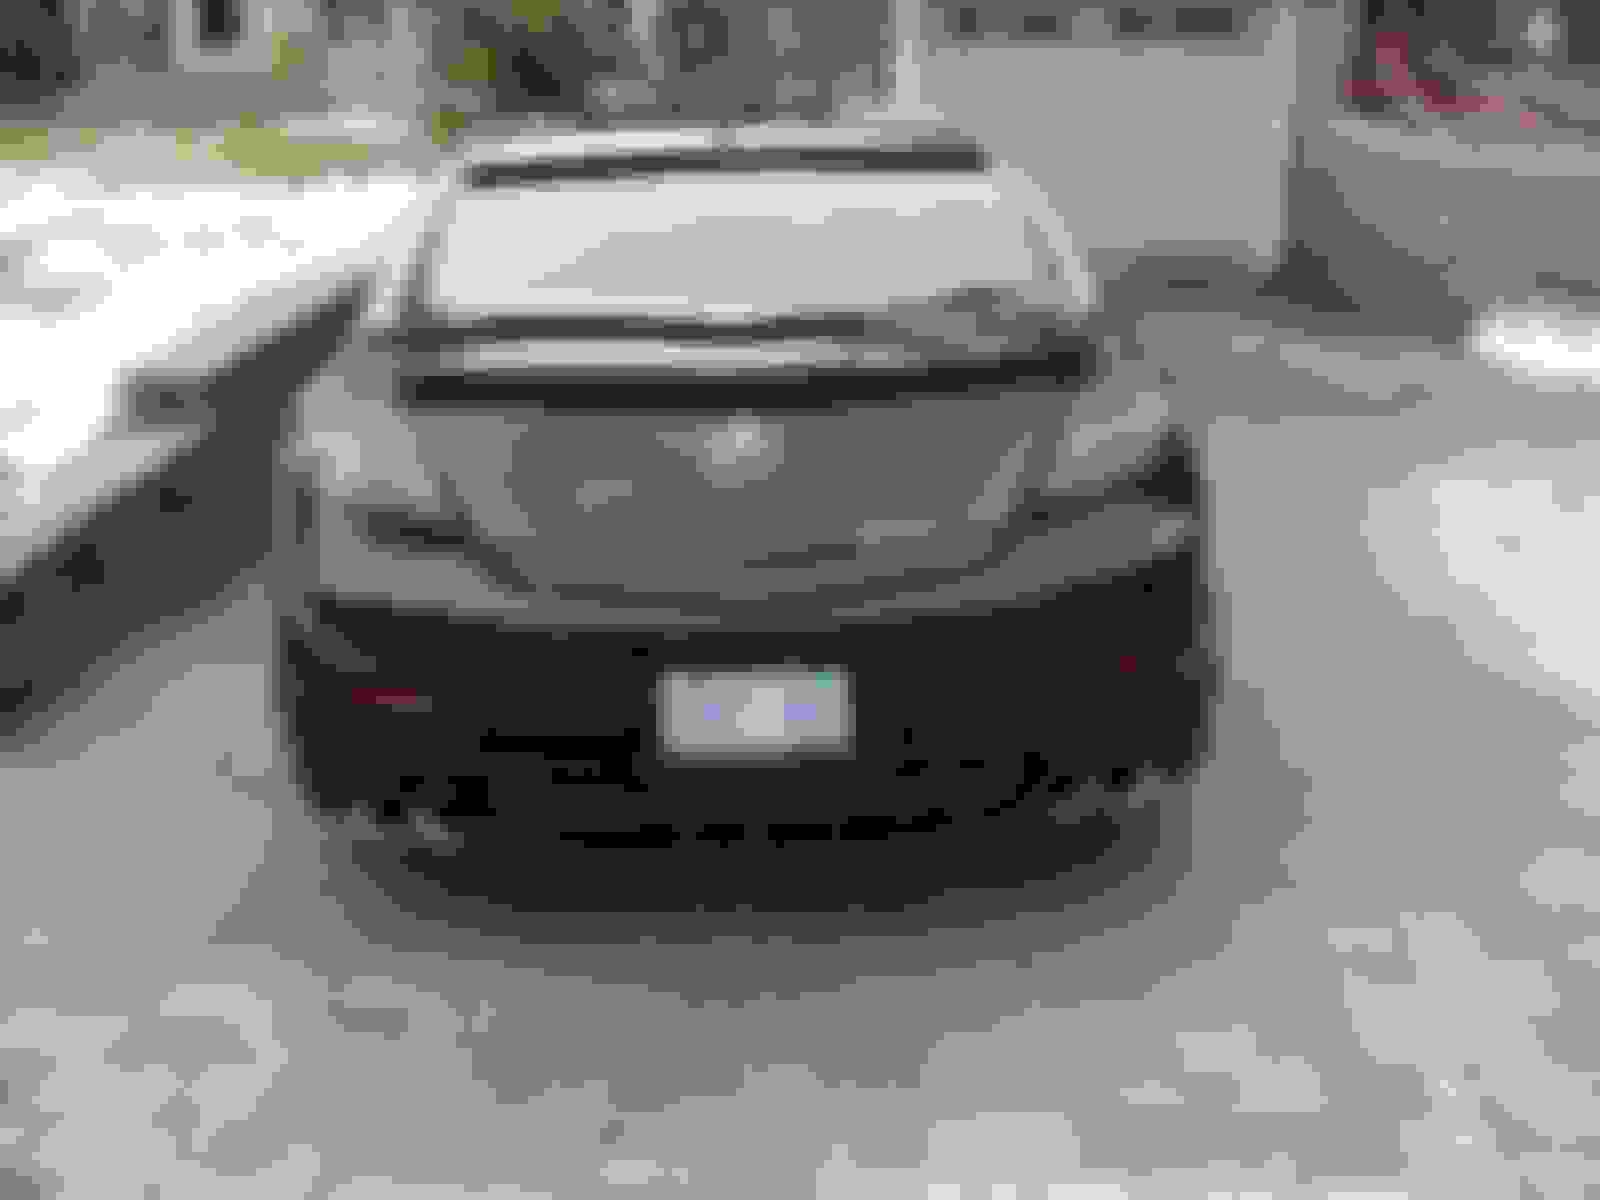
Not much new for me. Still waiting on theretrofitsource to ship me the stuff I need to mod the headlights. Anyways I managed to get some photos of the car taken with a decent camera for once lol.
awesome thread man I literally had to read every step slowly! LOL
got some great ideas and I will be sure to post something like this in the future to show folks my Acura transformation as well.
question for you on the LED fogs - did you just replace the lights themselves or did you need resistors/switchback for these as well? Bear w me I am not familiar with lighting/electrical but my fogs just cracked from rocks in the hwy and while replacing the actual lights I wanted to swap in some bright whites LED preferably.
Thanks in advance!!! BTW those quad exhaust tips and wheels are the one! added the tips in my ebay cart just now and looking forward to this Spring to throw these along w coilovers on!
Hey thanks for lookin out. Sounds like your car will be taking a journey too haha.
The fog LED's are plug and play, I only replaced the actual bulbs and no resistors needed for them. LED replacements are defiantly the best bang for your buck replacement.
But if your fogs are cracked and you need to replace them anyways then consider these
They are full replacements of the entire fog housing and supposed to be really really bright. Not cheap but if you need to replace your whole fog anyways then im sure its not much more than the OEM fog housings + led bulbs.

 01-31-2018, 01:48 PM


 , tons of thread with the exception of the inside which led to a thumping like noise that drove me nuts. Replaced with new Super Sports and installed the SPC 3 Pc Kit, the car feels perfect now.