
Well... I did my own headlights. (Long Version)
 03-10-2012 | 12:00 AM
#1
Thread Starter
2012 TL Tech
Joined: Nov 2009
Posts: 310
Likes: 1
From: Memphis TN
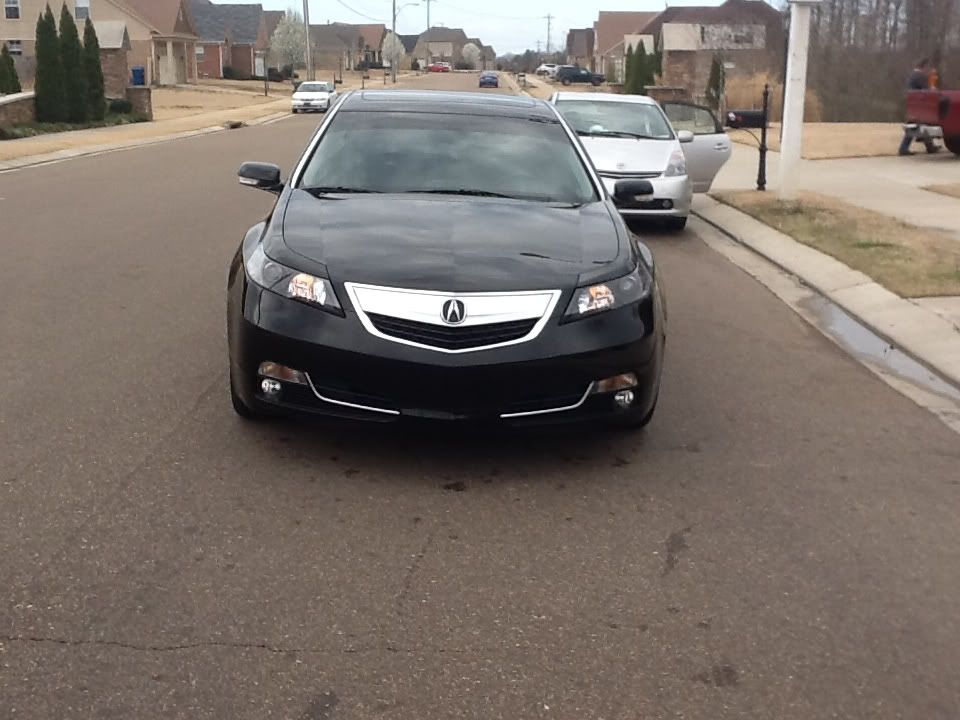
Well... I did my own headlights. (Long Version)
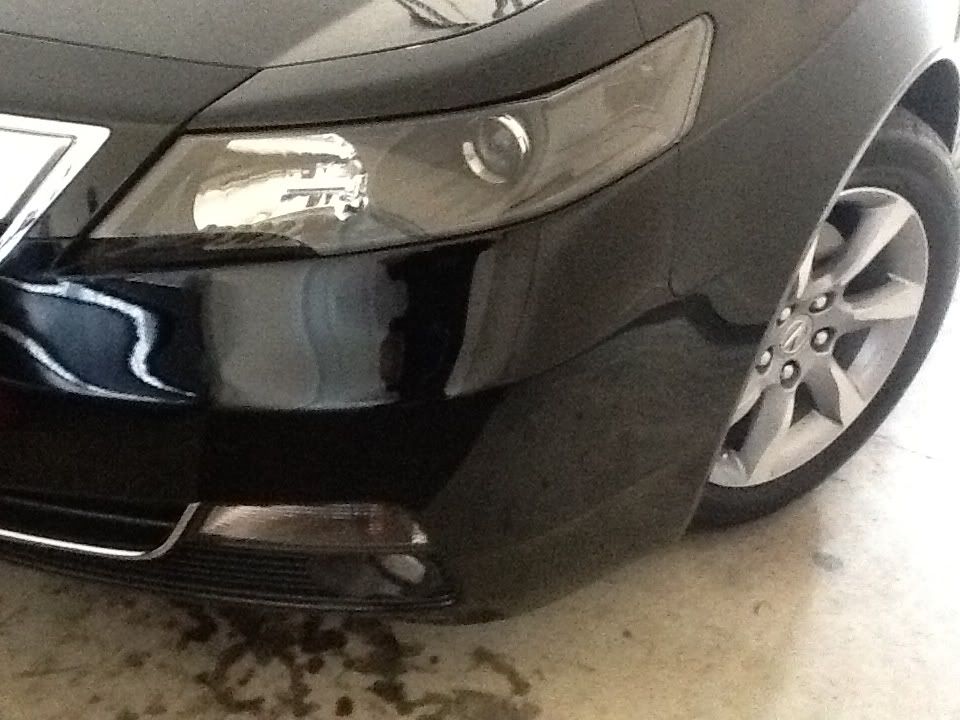
Okay, so I can't believe I actually did what I did, but “project headlight transformation” was a complete success. I began by taking the bumper off which ended up being only a 30 minute task along with the lights. I highly recommend during the bumper removal process to bag, tag, document, and take pictures of everything as you take them out ensuring and easy reinstallation. This goes the same with removing the ballasts, bulbs and various screws throughout the headlight assembly. I really must say, the whole job was not that hard but it does involve lots of attention to detail, steady hands, various tools and supplies, and of course, all the necessary items being used for the project. Now that I have officially done this on my own, I can say you need to be sure to have all of the parts you wish to replace on hand and an overall idea of what you intend to do before ever beginning this procedure. Once you pull the outer clear lens assembly apart from the housing, there is no turning back. This gave me a WHOLE new respect for JnC and ACKTL due to the fact that this is not as easy as it looks.
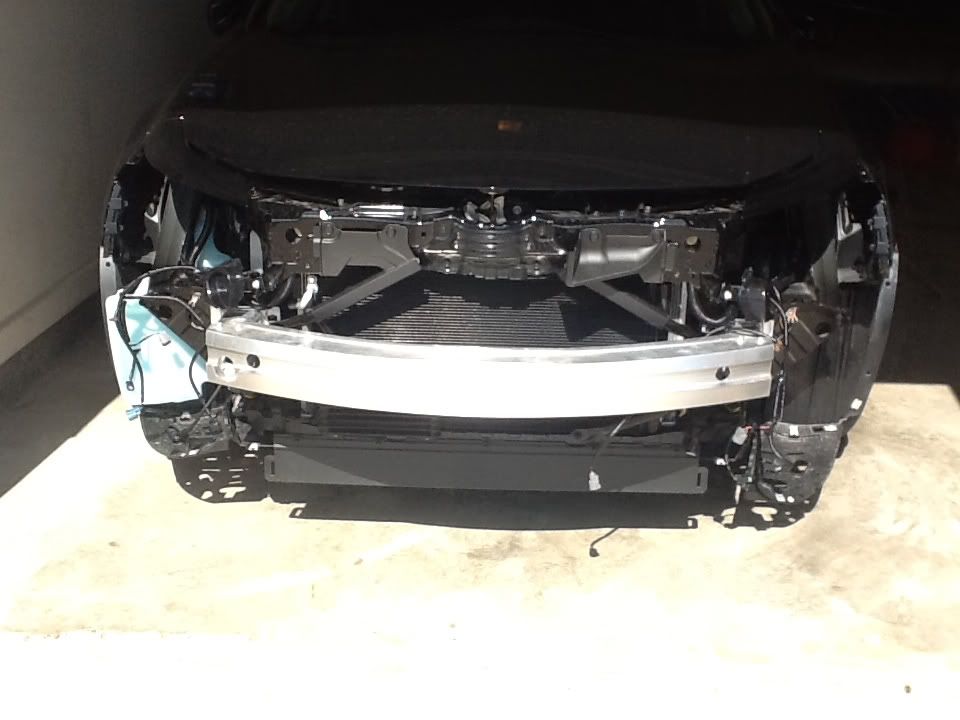
The bumper removal is super easy. All you need is a 10mm ratchet and a flathead screwdriver with a narrow head in order to remove the clips. I had to learn from the old TL how to remove the clips safely in order to ensure I didn't break the head of the clips. For those of you that are not savvy to things like this, find the area of the tab that is notched out and slip the flathead into the notch and apply a little pressure towards the center of the clip. You will feel a sort of springy feel to it. While holding pressure to the center of the tab, simply twist the screwdriver ever so gently and you will see the head of the tab lift from the centers out a quarter to half an inch. This is all you need and just reached down and grabbed the entire clip and remove it from the hole. Like I said it is a very easy process and does take two people to remove the bumper in order to ensure you don't scratch the vehicle. Once you have the bumper removed, simply remove the plastic housing underneath the headlights are and the two bolts on top of the headlight assembly underneath the hood and your lights are ready to slip out. Don't forget to bag and tag the bolts and take pix but honestly the bumper is the easy part.
Here is the link to remove 4g bumper:
http://acura.bernardiparts.com/Image...r_BII42529.pdf
Moving on...
Now to the headlights. Go ahead and remove all of the bulbs from the headlight housing and wrap them in a paper towel or soft cloth and place out of the way. I do know that it doesn't matter which side the bulbs go to but I like to keep things the way they were. Once all of the bulbs and ballast wires to the ballast, back caps from the bulb housing, and everything has been removed now it's time to place her in the oven.
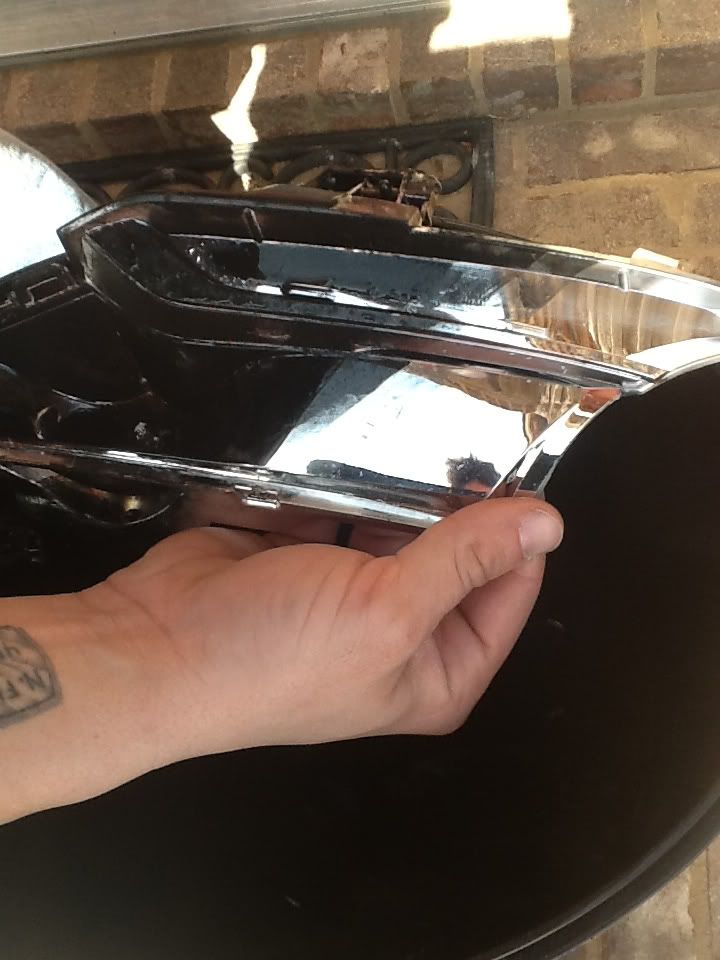
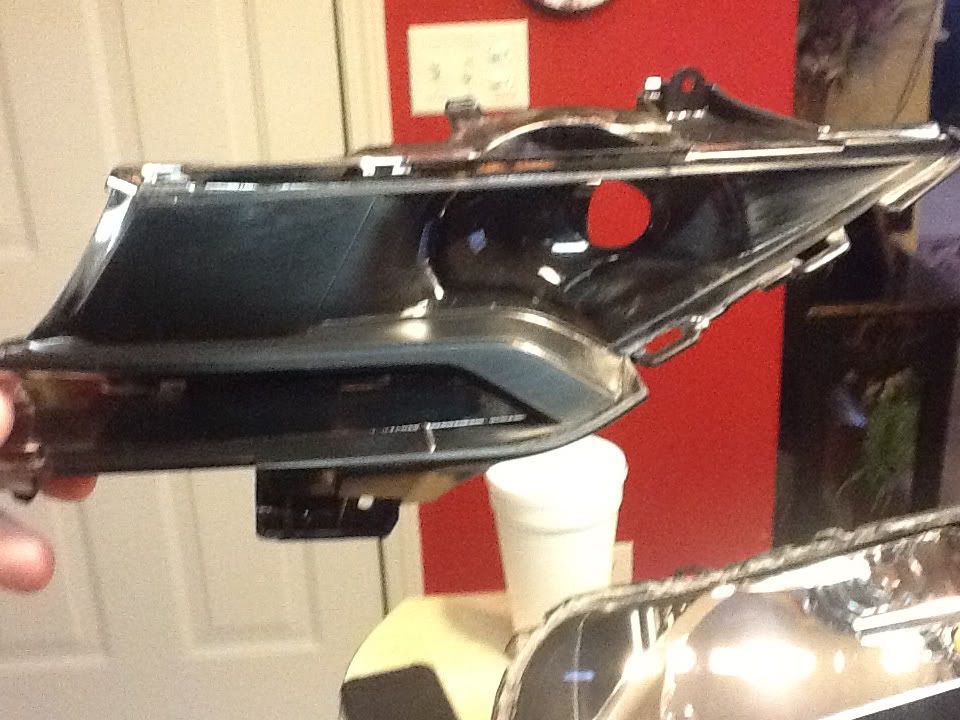
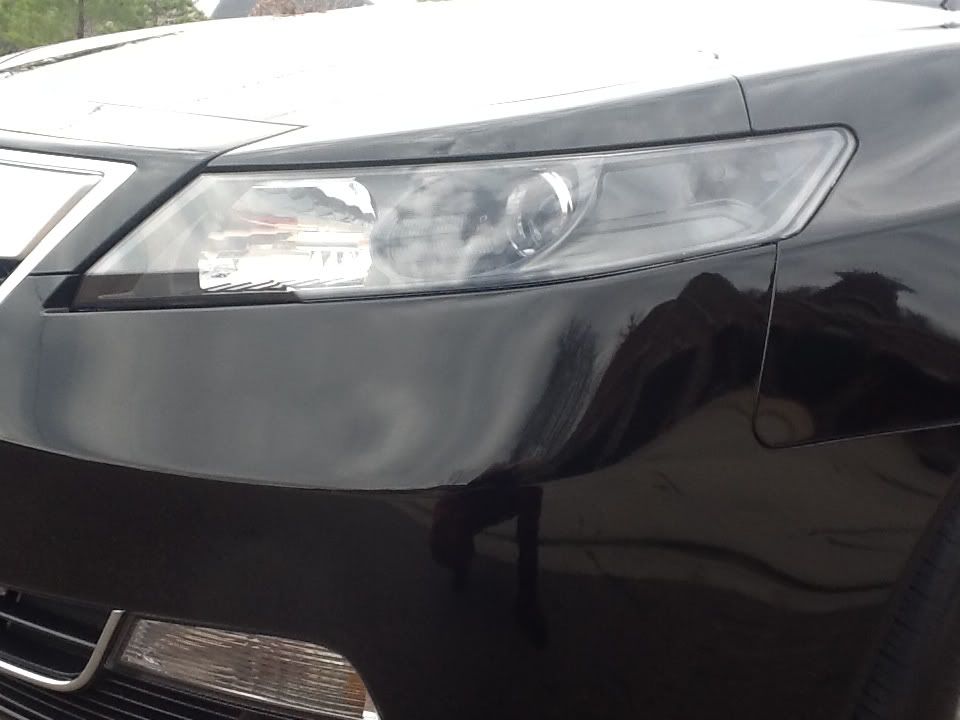
Be sure to do a test fit of the housing in your oven to ensure a proper fit before you preheat. This way if the housing does not fit in your oven, you don't get caught up with having to drop off at this point in your project and move to a different location. Twenty minutes at 200 degrees is ample time to ensure the epoxy holding the lens to the housing is good and loose. Be warned when you attempt to start removing the lens from the housing due to several factors: 1. The clear outer lens will be hot to the touch enough that you can't grab it well enough to manipulate the separation by yourself. Make sure that you have someone there to help you with this process. 2. Be sure not to pull from one side alone with out cutting the stretched epoxy in between the lens and the housing so you don't break the chrome reflective piece hidden behind the main piece that you see here
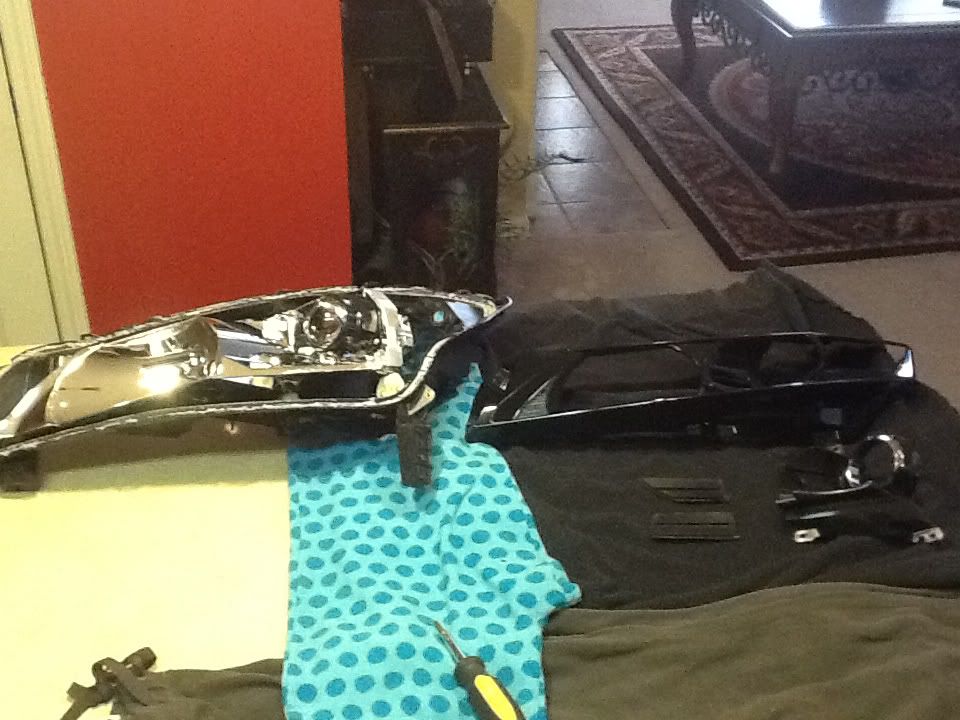
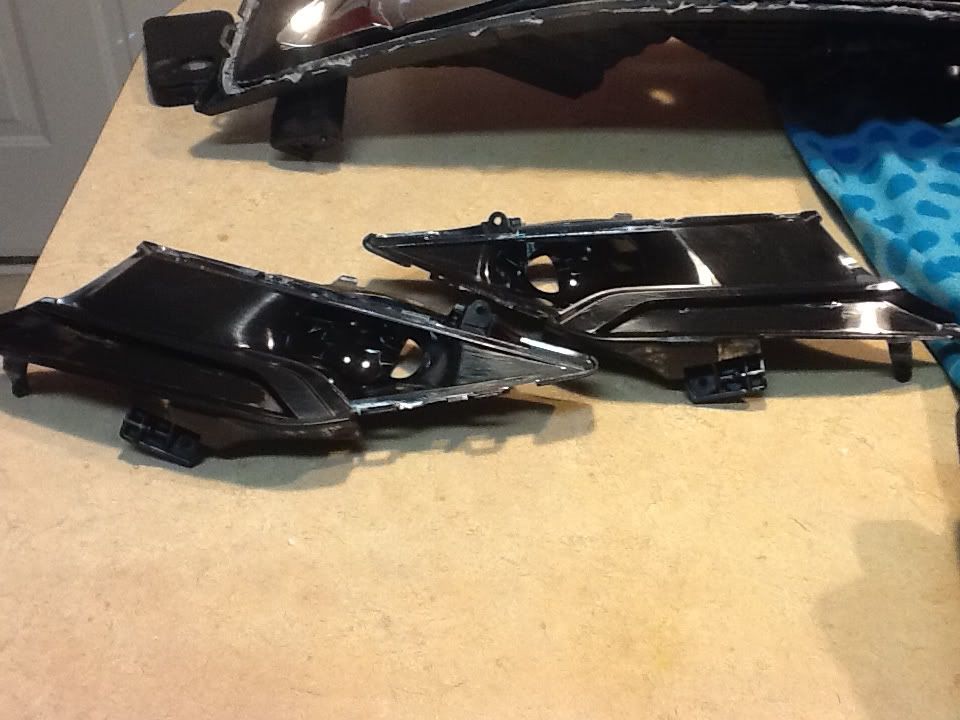
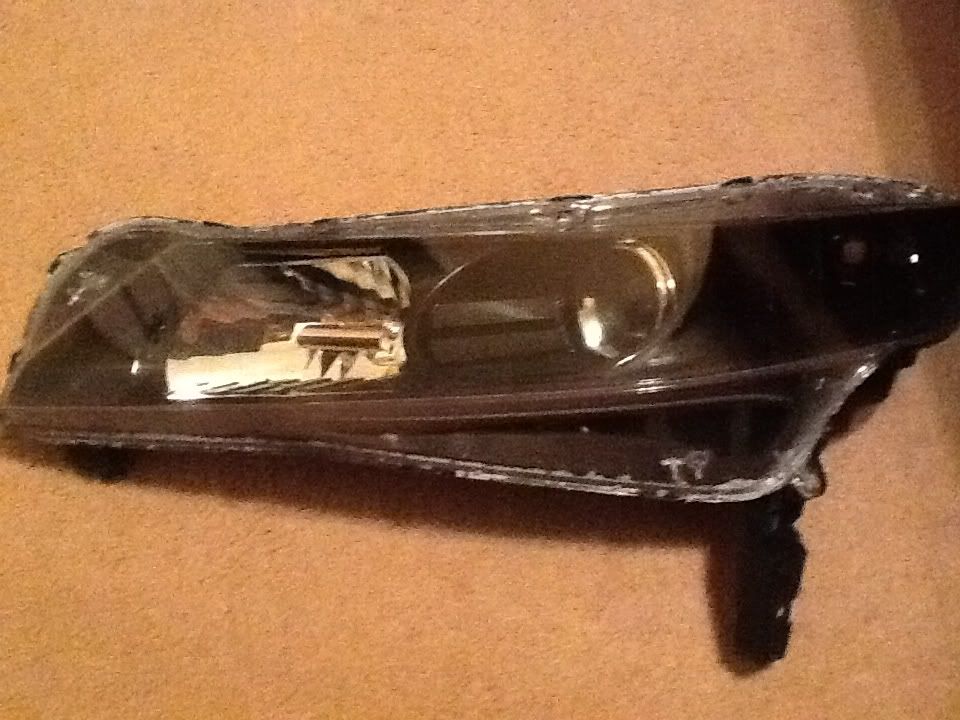
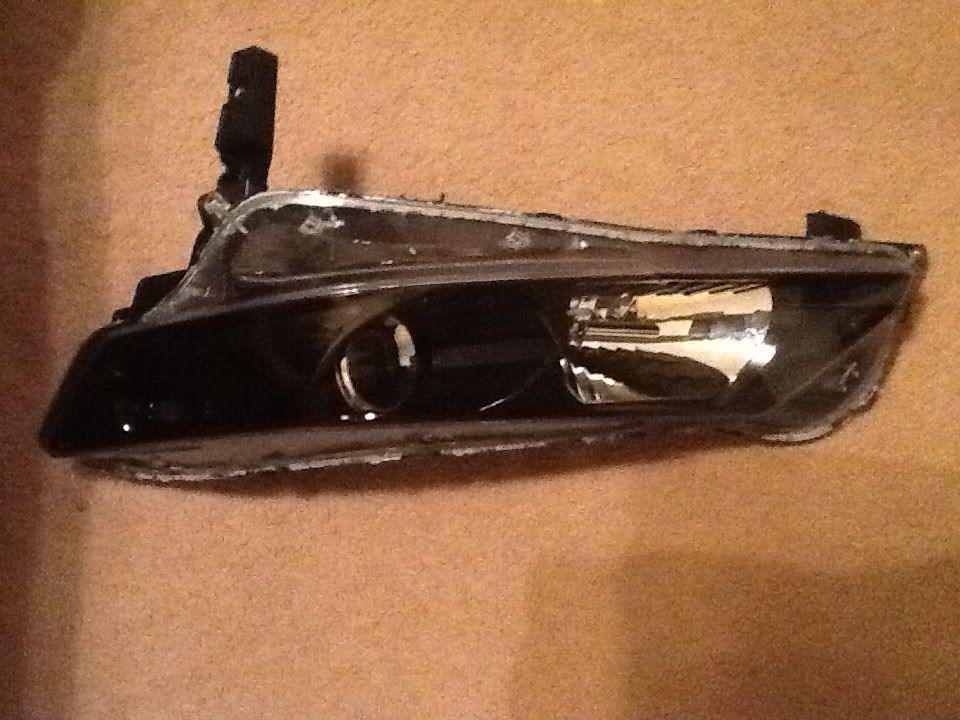
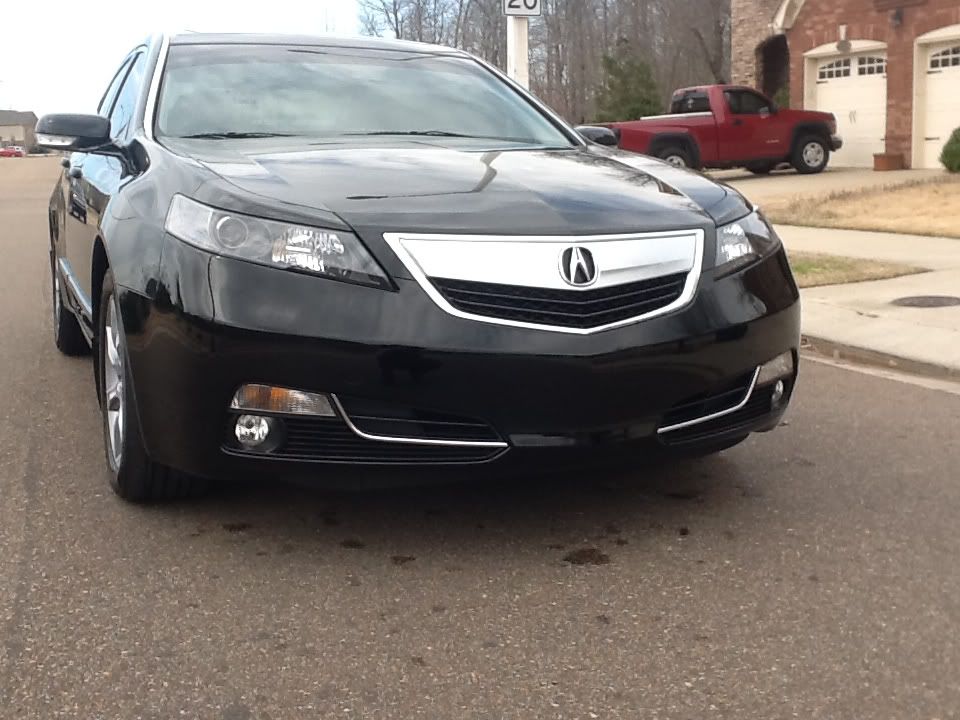
. I am sorry that I did not take any pictures during this process due to the fact that my hands were too busy to stop to take pictures. Once you have separated the outer lens from the housing, the hard part is now over and you can celebrate your success!! Complete the process by taking the rest of the screws out, bagging and tagging them along with taking pictures so that you can begin the process of upgrades and modifications. Removing the factory projector lenses and replacing them with the TSX lenses is significantly easy, as well as removing the amber diffuser.
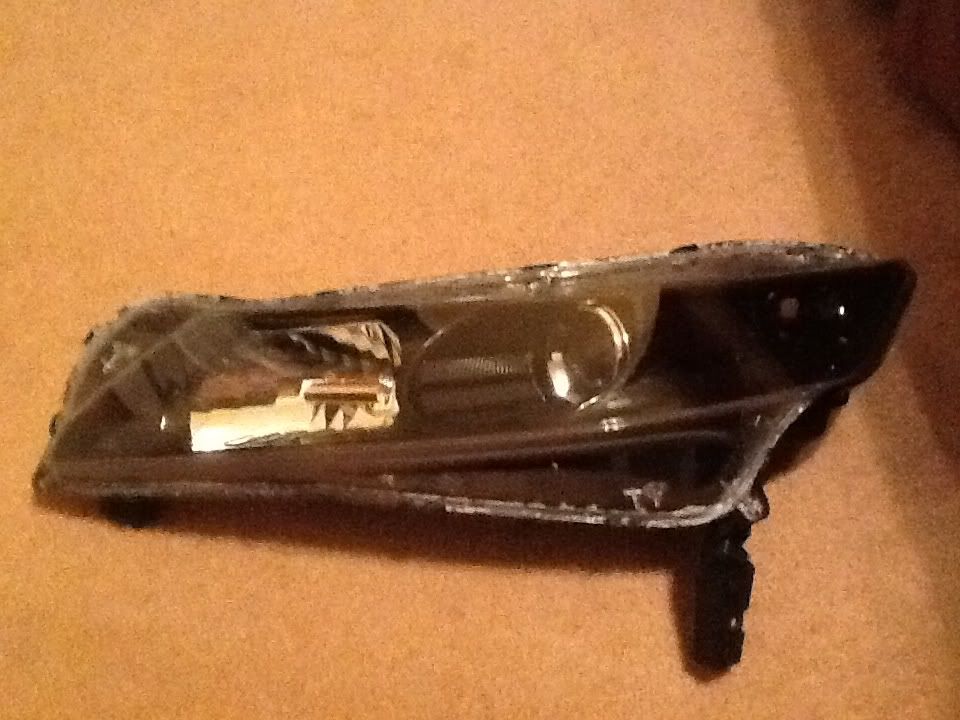
You may now begin to do whatever you choose to do be it angel eyes, led strip lighting, or WHATEVER you choose to do. I elected to take the chrome piece behind the amber diffuser and soak it in bleach in order to remove the chrome plating from the plastic. This is a very safe practice done to keep the surface primed from its original state. DO NOT attempt to paint over the chrome finish as you will find that the paint will not stick at all.
Soaking in the bleach worked perfectly. I found that frequent changing out the old bleach with new bleach about every 30 minutes speeds up the process significantly. Soaking in the old bleach took much longer than planned.
I used Dupli-color paint for Honda to paint the plastic and used a clear coat enamel to finish the job. I forgot that I had access to carbon fiber vinyl so again, IF you do decide to take on this project yourself, map out an overall plan and obtain all of your pieces so you don’t run into the “gee I wish I would’ve….” Scenario and regret NOT doing something you wanted to do.
CLEAN CLEAN CLEAN everything you touch inside and out especially the clear outer lens, the projector lens (inside and out. Don’t forget to clean the back of it before you put the projector back together, otherwise you just added 30-45 mins to your overall time) Check for any hairs or lint and move on.
After you have completed everything you have planned and you are ready to reseal the lights. MAKE SURE you have some weatherproof epoxy and get ready for the most important step of all. Now during the separation phase, I didn’t remove any of the old epoxy and here’s why. I was able to locate some of the same stuff that was used originally so with a caulking gun and a damn steady hand, I added a Ľ” seem of epoxy around the entire housing. I took the outer lens and squeezed them together but there was an obvious gap so I put it back into the oven and after about ten minutes the original layer of epoxy was soft enough that I was able to not only squeeze it back together, but I was able to remold any warped plastic from the separation phase from all the pulling etc OH and the little tabs. When the tabs are hot, they fold up and kind of stay that way as the plastic dries and stiffens. Screw back together the housing to the lens and place in the freezer for about 5 – 10 mins or until the epoxy has cooled and hardened. Slip the bulbs back in, if you are going to add corner LED’s be sure to buy a quality brand bulb because the only way I can see to get to the corner marker is by pulling the entire headlight out. Put the ballast back together and you are about 30 minutes away from your car being back to normal.
If you are going to order switchbacks or LED fogs I suggest (if you are going to do a headlight mod) install everything when you have the bumper off in order to hide excess wires or resisters. It also is MUCH easier to slap in the lights as opposed to reaching up under your car to install fogs or switchbacks. If you for one minute think there is a part that you are uncomfortable with, stick to the Pro’s (JnC or ACKTL or whoever) and let them do
Would I do this again? Yes
Would I have done this by myself? HELL to the NO! I want to thank MEM04TL and my neighbor AC for the help. Different knowledge in different fields has made a serious difference.
I know I was detail specific in some places that I’m sure some of you may think I didn’t need to be, but I felt like I had so many questions and wanted a one stop place to look to get most of those questions answered so… sorry to bore some of you if I did…
So that’s it….

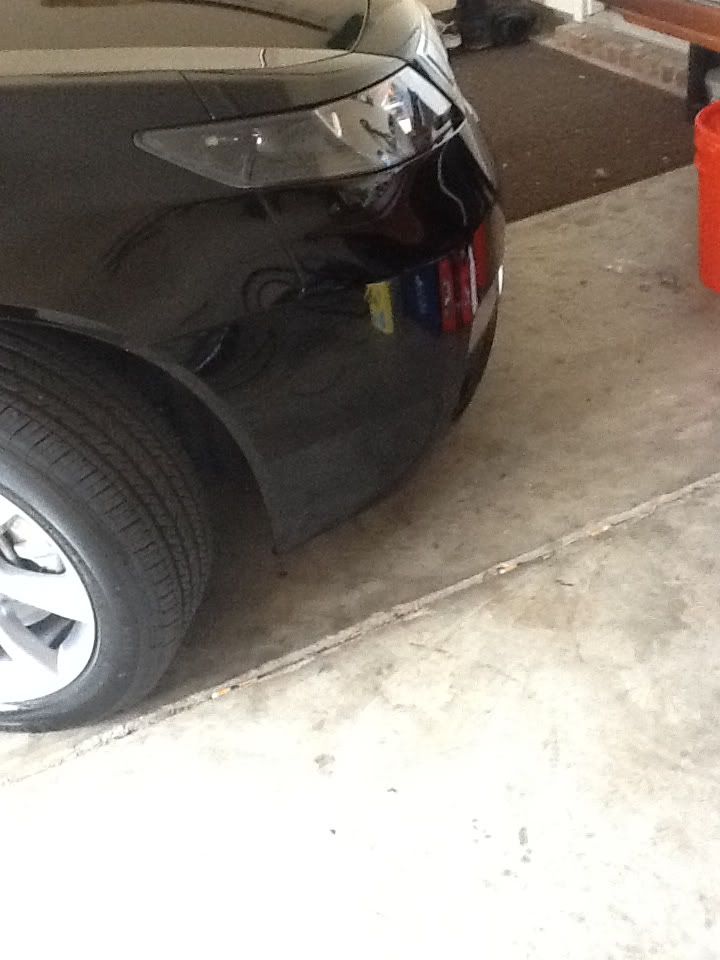
The bumper removal is super easy. All you need is a 10mm ratchet and a flathead screwdriver with a narrow head in order to remove the clips. I had to learn from the old TL how to remove the clips safely in order to ensure I didn't break the head of the clips. For those of you that are not savvy to things like this, find the area of the tab that is notched out and slip the flathead into the notch and apply a little pressure towards the center of the clip. You will feel a sort of springy feel to it. While holding pressure to the center of the tab, simply twist the screwdriver ever so gently and you will see the head of the tab lift from the centers out a quarter to half an inch. This is all you need and just reached down and grabbed the entire clip and remove it from the hole. Like I said it is a very easy process and does take two people to remove the bumper in order to ensure you don't scratch the vehicle. Once you have the bumper removed, simply remove the plastic housing underneath the headlights are and the two bolts on top of the headlight assembly underneath the hood and your lights are ready to slip out. Don't forget to bag and tag the bolts and take pix but honestly the bumper is the easy part.
Here is the link to remove 4g bumper:
http://acura.bernardiparts.com/Image...r_BII42529.pdf
Moving on...
Now to the headlights. Go ahead and remove all of the bulbs from the headlight housing and wrap them in a paper towel or soft cloth and place out of the way. I do know that it doesn't matter which side the bulbs go to but I like to keep things the way they were. Once all of the bulbs and ballast wires to the ballast, back caps from the bulb housing, and everything has been removed now it's time to place her in the oven.
Be sure to do a test fit of the housing in your oven to ensure a proper fit before you preheat. This way if the housing does not fit in your oven, you don't get caught up with having to drop off at this point in your project and move to a different location. Twenty minutes at 200 degrees is ample time to ensure the epoxy holding the lens to the housing is good and loose. Be warned when you attempt to start removing the lens from the housing due to several factors: 1. The clear outer lens will be hot to the touch enough that you can't grab it well enough to manipulate the separation by yourself. Make sure that you have someone there to help you with this process. 2. Be sure not to pull from one side alone with out cutting the stretched epoxy in between the lens and the housing so you don't break the chrome reflective piece hidden behind the main piece that you see here
. I am sorry that I did not take any pictures during this process due to the fact that my hands were too busy to stop to take pictures. Once you have separated the outer lens from the housing, the hard part is now over and you can celebrate your success!! Complete the process by taking the rest of the screws out, bagging and tagging them along with taking pictures so that you can begin the process of upgrades and modifications. Removing the factory projector lenses and replacing them with the TSX lenses is significantly easy, as well as removing the amber diffuser.
You may now begin to do whatever you choose to do be it angel eyes, led strip lighting, or WHATEVER you choose to do. I elected to take the chrome piece behind the amber diffuser and soak it in bleach in order to remove the chrome plating from the plastic. This is a very safe practice done to keep the surface primed from its original state. DO NOT attempt to paint over the chrome finish as you will find that the paint will not stick at all.
Soaking in the bleach worked perfectly. I found that frequent changing out the old bleach with new bleach about every 30 minutes speeds up the process significantly. Soaking in the old bleach took much longer than planned.
I used Dupli-color paint for Honda to paint the plastic and used a clear coat enamel to finish the job. I forgot that I had access to carbon fiber vinyl so again, IF you do decide to take on this project yourself, map out an overall plan and obtain all of your pieces so you don’t run into the “gee I wish I would’ve….” Scenario and regret NOT doing something you wanted to do.
CLEAN CLEAN CLEAN everything you touch inside and out especially the clear outer lens, the projector lens (inside and out. Don’t forget to clean the back of it before you put the projector back together, otherwise you just added 30-45 mins to your overall time) Check for any hairs or lint and move on.
After you have completed everything you have planned and you are ready to reseal the lights. MAKE SURE you have some weatherproof epoxy and get ready for the most important step of all. Now during the separation phase, I didn’t remove any of the old epoxy and here’s why. I was able to locate some of the same stuff that was used originally so with a caulking gun and a damn steady hand, I added a Ľ” seem of epoxy around the entire housing. I took the outer lens and squeezed them together but there was an obvious gap so I put it back into the oven and after about ten minutes the original layer of epoxy was soft enough that I was able to not only squeeze it back together, but I was able to remold any warped plastic from the separation phase from all the pulling etc OH and the little tabs. When the tabs are hot, they fold up and kind of stay that way as the plastic dries and stiffens. Screw back together the housing to the lens and place in the freezer for about 5 – 10 mins or until the epoxy has cooled and hardened. Slip the bulbs back in, if you are going to add corner LED’s be sure to buy a quality brand bulb because the only way I can see to get to the corner marker is by pulling the entire headlight out. Put the ballast back together and you are about 30 minutes away from your car being back to normal.
If you are going to order switchbacks or LED fogs I suggest (if you are going to do a headlight mod) install everything when you have the bumper off in order to hide excess wires or resisters. It also is MUCH easier to slap in the lights as opposed to reaching up under your car to install fogs or switchbacks. If you for one minute think there is a part that you are uncomfortable with, stick to the Pro’s (JnC or ACKTL or whoever) and let them do
Would I do this again? Yes
Would I have done this by myself? HELL to the NO! I want to thank MEM04TL and my neighbor AC for the help. Different knowledge in different fields has made a serious difference.
I know I was detail specific in some places that I’m sure some of you may think I didn’t need to be, but I felt like I had so many questions and wanted a one stop place to look to get most of those questions answered so… sorry to bore some of you if I did…
So that’s it….
Trending Topics
03-10-2012 | 12:37 PM
#8
Thread Starter
2012 TL Tech
Joined: Nov 2009
Posts: 310
Likes: 1
From: Memphis TN
I know it sounds crazy but it's really not that hard.. Just follow the steps..
LMAO.. Thanks
Still have to say I wouldnt've been able to do it without your help.. Thanks buddy..
olo
Just follow the steps and take your time.
Lol.. I had people drive by the house and say "Oh crap !!!What happened?? " lol.. the crazy thing is I'm not kidding when I say that bumper came off in 30 minutes.. I took the resonator off too.. It was much easier than the 3g TL..
Trust me when I say there were threats from my better throughout this job lol
LMAO.. Thanks
Just follow the steps and take your time.
Trust me when I say there were threats from my better throughout this job lol
03-10-2012 | 01:37 PM
#10

AZ Community Team
Joined: May 2007
Posts: 32,488
Likes: 7,771
From: N35°03'16.75", W 080°51'0.9"

The only thing I would suggest changing/amending the re-sealing. Instead of an epoxy, use the Nissan Butyl Rubber sealant. It comes in a roll and is perfectly suited to filling the bead in the headlight with no mess or fuss.
Then put everything back together, reheat the housing and clamp it until it cools.
The Nissan sealant is made and designed for exactly this job (sealing headlights).
03-11-2012 | 06:07 PM
#14
Thread Starter
2012 TL Tech
Joined: Nov 2009
Posts: 310
Likes: 1
From: Memphis TN
Thanks..
The only thing I would suggest changing/amending the re-sealing. Instead of an epoxy, use the Nissan Butyl Rubber sealant. It comes in a roll and is perfectly suited to filling the bead in the headlight with no mess or fuss.
Then put everything back together, reheat the housing and clamp it until it cools.
The Nissan sealant is made and designed for exactly this job (sealing headlights).
Thanks. I was hoping this would be helpful to anyone wanting to do this. I still say two things: 1. If you are going to do this yourself, there has to be 100% confidence in the project. 2. If you have even 1% doubt, get JnC and ACKTL to do them.. PERIOD.


Thread
Thread Starter
Forum
Replies
Last Post
MrHeeltoe
1G TSX Tires, Wheels, & Suspension
20
02-23-2023 01:54 PM
LogicWavelength
3G TL Photograph Gallery
33
11-01-2015 09:38 AM
Sarlacc
Console & Computer Gaming
5
09-30-2015 02:15 PM
MrHeeltoe
2G TSX Tires, Wheels & Suspension
3
09-29-2015 10:43 PM
MrHeeltoe
3G TL Tires, Wheels & Suspension
0
09-28-2015 05:43 PM