When you click on links to various merchants on this site and make a purchase, this can result in this site earning a commission. Affiliate programs and affiliations include, but are not limited to, the eBay Partner Network.
They are doing a major construction on 25 miles of interstate over the next 2 - 3 years. I have a 30 mile one way daily commute 12 of which will be in this zone. They are doing it in sections and they started on the section not in my commute except for maybe a 1/2 mile. They have ground up the asphalt and it is like driving through sand/rock storm. Currently I am only dealing with this for 1/2 mile in 1 direction at the slowest point while I am exiting the interstate. I will either have to take a longer route which I am seriously considering and/or get some protection.
I have looked into the xpel ultimate which is the best, clearest & 10 year warranty and self healing(whatever that means) versus the 3m which my installer told me the latest batch might have some issues.
I have looked into clear bra's.
Xpel installed bumber, full hood, full fender, headlights, rockers lower doors & A frame for $1900 by a serious profesional (does all of the M1 for BMW performance school and other high dollar cars) - Seems like a more than fair price as it cost about this much to order all the kits from xpel
xpel cutouts bikini cut for hood and fended and bumber not installed $750 (ordered from site) installed by pro $900
3m same as above not installed $260
Paying $1000 - $2000 sounds insane if I could get close to the same protection for $250. I watched a number of installation video and can see how grooves and fingers could be tricky for a first timer but if I did it slowly using the correct tact points I feel I could get it right.
My question has anyone installed this them self 1st timer and had it come out OK? How hard is this install as everything I read says it is not a DIY although it does not look terribly hard.
How hard is it to remove if I screw it up and get tired of it?
Is xpel really that much better than the 3m?
I just need it to last 2 years if I do it myself is there any chance I could screw up the car putting it on or taking it off a few years later?
my plan would be fill in all chips, do a light swirl removal, glaze, wax a week before then do a dawn wash on the parts I plan clear bra. Do it slow in small sections starting with headlights - then fender - then hood - then bumber (possibly dividing this into sections depending on difficulty) as to gain experience doing the easiest parts first.
Last edited by Grateful Laz; 09-16-2014 at 03:03 PM.
I tried installing a clear film onto my headlights and I was not able to do it, the curves make it very hard.
I recently (yesterday actually) just had a SunTek clear bra installed on my car for 800, 1900 seems a little steep. Mine covered partial hood/fenders, front bumper, side mirrors, fog lights and headlights.
I had the expel bra installed on my 13 TL (partial hood, front grill, front bumpers, side mirrors, fog lights, headlights), paid $700 installation included. I tried to do it myself with previous cars but never got all the bubbles out and it would peel easily after months. I'm pretty handy and always like to do stuff myself, but this is one of the thing I would leave to a pro. They do this day in and day out so they know all the right tricks. After more than a year, my bra is still intact and no issue whatsoever. It's definitely worth the investment since it keeps rock chips at bay.
One thing to consider is that the main cost is LABOR, not MATERIAL. So, you might consider calling around and negotiating with several installers, for the best price.
For example, just to install film on my headlights (RDX) and fog lights, I received estimates ranging from $150 to $60 (which I accepted). And it helped, for me, to visit and discuss installation, and have a look at the shop, and see which installers were working w/ a car dealer, etc. The place I chose was next door to an Acura dealer, installed for that dealer's cars, and gave me a price 1/2 the dealer price.
Second, I understand that while 3M is one of the best films, the installers that I talked to did not like it. They preferred to use large sheets, so that they could more easily cover the various parts, and cut to size. With pre-cut patterns, you must match exactly and it can be difficult to stretch the proper areas - hence its even more difficult for the DIYer who is only doing it once.
So, I chose the CLEARBRA brand, which sells only in the western states, because that is what the installer that I chose uses - they are a licensed outlet for that brand. And I checked the specs for the product itself. Based on the published specs, it seemed like a good product, easy to clean and maintain, has been installed on my headlights for almost 6 years, has not lifted, and still looks new. It is so tough I use Meguiars M21 paint sealant to remove bugs, scratches, etc - same as I use on the body paint. I have even used M9 scratch and swirl remover on the film.
So, bottom line, the major cost is LABOR, not the product. And that allows you max flexability in negotiating the total install price.
My tint guy showed pictures this morning of a Mercedes where someone installed 3M clear bra for the whole car. Six years later the 3M dry rotted and cracked and is showing mold spots. He mentioned Suntek does not have this problem.
I will try the headlight and fog light cover to see how it goes. I found a kit for $49.99 save 15% with code AA15 and free shipping.
Xpel brand 20MM thick it supposed to protect from a 1 oz stone travelling 120MPH
My tint guy showed pictures this morning of a Mercedes where someone installed 3M clear bra for the whole car. Six years later the 3M dry rotted and cracked and is showing mold spots. He mentioned Suntek does not have this problem.
no shit 6 years.. these clear bra things require attention on a monthly basis, if the owner does not keep that up and just brings the car into a automatic car wash every time it will rot. It needs to be waxed for maximum protection.. I have seen 3m clear bra that lasted 10+ years. The owner was a moderate retailed and took care of his car. Always parked in the shade.
also as we are developing in technology, things do get better, you cant based your thoughts on something that happened 6 years ago. Things change, and things do get better.
They are doing a major construction on 25 miles of interstate over the next 2 - 3 years. I have a 30 mile one way daily commute 12 of which will be in this zone. They are doing it in sections and they started on the section not in my commute except for maybe a 1/2 mile. They have ground up the asphalt and it is like driving through sand/rock storm. Currently I am only dealing with this for 1/2 mile in 1 direction at the slowest point while I am exiting the interstate. I will either have to take a longer route which I am seriously considering and/or get some protection.
I have looked into the xpel ultimate which is the best, clearest & 10 year warranty and self healing(whatever that means) versus the 3m which my installer told me the latest batch might have some issues.
I have looked into clear bra's.
Xpel installed bumber, full hood, full fender, headlights, rockers lower doors & A frame for $1900 by a serious profesional (does all of the M1 for BMW performance school and other high dollar cars) - Seems like a more than fair price as it cost about this much to order all the kits from xpel
xpel cutouts bikini cut for hood and fended and bumber not installed $750 (ordered from site) installed by pro $900
3m same as above not installed $260
Paying $1000 - $2000 sounds insane if I could get close to the same protection for $250. I watched a number of installation video and can see how grooves and fingers could be tricky for a first timer but if I did it slowly using the correct tact points I feel I could get it right.
My question has anyone installed this them self 1st timer and had it come out OK? How hard is this install as everything I read says it is not a DIY although it does not look terribly hard.
How hard is it to remove if I screw it up and get tired of it?
Is xpel really that much better than the 3m?
I just need it to last 2 years if I do it myself is there any chance I could screw up the car putting it on or taking it off a few years later?
my plan would be fill in all chips, do a light swirl removal, glaze, wax a week before then do a dawn wash on the parts I plan clear bra. Do it slow in small sections starting with headlights - then fender - then hood - then bumber (possibly dividing this into sections depending on difficulty) as to gain experience doing the easiest parts first.
It's important to know that not all films are created equally. Also, that with paint protection film half the battle is finding a great installer. Yes there are spray on paint protection films but those are only warrantied for 1 year opposed to the many year warranties of other films.
As you have already mentioned XPEL ULTIMATE is backed by a 10-Year Warranty, is
(which means it's capable of healing fine scratches and swirl marks), stain resistant (non-yellowing) and extremely easy to maintain/wash.
Paint protection film is not a product we recommend you DIY as it can be very tedious at times. The video link below is of a 2014 RLX that was protected with XPEL Clear Bra.
As potmilkz mentioned, "as we are developing in technology, things do get better, you cant based your thoughts on something that happened 6 years ago. Things change, and things do get better." The technology and chemistry of paint protection film has come a long way and is better than ever.
If anyone has any questions feel free to reply here or PM us.
Headlight PPF went on without any problems. Where there were curves it was cloudy for a few days but disappeared after a couple days in the sun. I ordered some rocker panels and will give those a try as they are probably the most exposed area to rocks.
Last edited by Grateful Laz; 10-02-2014 at 01:13 PM.
I went fully with suntek last year on my 2012 TL and it is very easy to maintain and clean. It is installed on my half hood, fenders, full bumper, head lights, fog lights, turn signal lights, both mirrors, rear top of bumper and four side door handles. It cost me about $450can in total. It was done by suntek installer. I just wash and wax the whole car. It is also self-healing. It comes only with 5 year warranty but it is cheaper than xple ppf.
I installed 3m on the rocker panels since I found some for cheap. I am now going to order Suntek front bumber kit and install it myself. The headlights and rockers went on pretty easy. I had one minor mistake where I was trying to remove a small bubble of the solution and it popped creating a small dimple also one of the rocker panel dipped about an 1/8 of an inch at the front end. So it is not perfect but nothing I can't live with. Not worth the extra $200 I would have paid the installer for perfection installing the headlights and rocker panels. If my car was new I would have used an installer but for a car with 22,000 miles I can live wth a few basically unnoticeable mistakes. I will now attempt the bumber which they say is most difficult part. They say Suntek is the easiest to install since it is thinner and the adhesive is more forgiving. I plan on putting XPEL ultimate on the hood and fenders later.
Last edited by Grateful Laz; 10-12-2014 at 06:38 PM.
1 piece bumper equal epic fail
I should have cut it into 3 section as it was impossible to get it to follow the bumper correctly just too much material. I think the 3 lines created would have been better than cutting the fingers that were created due to bad angles. I will leave it on until they finish paving the interstate but I could have gone with the $40 spray can instead of a $150 bumper kit and the 2 hours of aggravation.
Anyone know how a person can tell which type of PPF was actually installed on a vehicle?
I have reason to believe I may have been hoodwinked by a dealer who says they installed the more expensive Xpel Ultimate and wrote down 3m on all documentation
I had 3m put on my 3G TL when I bought it new. 9 years later it has not discolored and has absorbed a lot of debris. So the front end could use a new piece but the hood is still fine.
I've done nothing special to maintain it and have treated it just like I do the paint. Once or twice a year it gets a four step polish job along with the rest of the vehicle.
Don't kid yourself guys, it's difficult enough to install a small clear bra on a flat hood let alone an entire bumper. This kind of work is best left for the pros at the shops, those guys have all the gear to install and know all the tricks of the trade. I installed a protector for a front lip on one of my old cars and I'm pretty good at stuff like this and it took me several hours just to get that lip covered and it still wasn't an amazing job. Never again will I bother tackling it.
I had the 3M Clear Bra installed on my 10' TL.
I had the side view mirrors and front bumper covered.
I would recommend professional installation for ANY brand clear bra.
I've had mine covered for a few years now.
I haven't encountered cracking, molding, or yellowing.
Plus, the installer did an amazing job. No bubbles or ripples.
Did some running around and found out the product I had installed does indeed look like Xpel Ultimate.
A lot of people in this thread have mentioned getting a good experienced installer.
Let me reiterate that point!
I just spent $1400 on Xpel Ultimate from the Lexus Dealer on my new Gs350. Go to pickup the vehicle and notice crap under the bra on the hood. Excuses from Sales and delivery people on why it was being delivered that way. He goes back to the shop and the installer tells him he saw that and figured the customer could come back to get it fixed as we MUST deliver the vehicle on time. Salesman know's I live 90 miles away and asks if I can wait a couple hours for them to install a new piece on the hood. Ya Ok get her done as I hate the drive north.
Car comes back, no crap under the bra. OK, let's get this dog and pony show done so I can go home.
Get home and park the new car in the garage. Get out of the car and notice a build up of dirt along the trailing edge of the hood PPF? As I look and wonder what all the dirt is about as it was a beautiful sunny day, I notice the film was not cut straight and the edge feels serrated? Look a little closer and see a nice big scratch in the paint, look further and see at least 3 more fairly deep scratches. WTF, now I'm upset! Take some pics and try and calm down. This installer obviously used a dull knife and his knife slipped a few times gouging the paint! As I'm calming down I look at the rest of the install and notice large gaps between edges that expose the paint. This can't be right, can it?
Take her down to a local dealer who IS an authorized Xpel installer. He has a look at it and nicely says well the hood is cut crooked, which is odd. Then wonders aloud why the installer even took a knife to the hood, as the product is machine cut to fit? Asks his other two employees to have a look and none of them can understand why anyone would have taken a knife to the hood. The only thing they could think of was that the side panels didn't match up so he cut the hood PPF to match the sides.
They continue to look at the install and point out edges on the front end don't match up and there are large 1" gaps in some cases. Also noted the mirrors aren't done properly, exposing the paint. The owner was very good and didn't trash talk the other installer, just showed me areas of the car that were not done properly. He even spent time on the computer to show me they did not use the Xpel template to cut the original material.
So now I get to fight with the dealer that is 90 miles away on a path forward!
I've told my salesperson I want the entire hood painted and I'm not sure I want this installer touching my vehicle again as he's obviously a hack and one that doesn't even care about damaging a brand new vehicle, as he never told anyone about either issue.
There is a TOP notch installer in Edmonton where I bought the car. So I've suggested to the dealer they have it re- done there instead of their shop.
Of course the dealer wants to see the car before they committ to anything, so here I am 90 miles away stewing about the issue.
Moral of the story get a pro to install the PPF!
The dealer in my home town told me it takes at least a year before a new installer is can apply PPF by himself, and even then the owner needs to provide direction as each vehicle and product is so different. They like to stay with one product line ( don't recall the name) so they have a good feel for the product and how it reacts to various situations on the vehicle.
All I can really say is, wow. That's really unfortunate I'd say it's definitely worth a couple trips to and from the dealership to get them to fix their mistakes - I agree a repaint would be a reasonable solution at the very least. Once that's done, get it installed by someone who knows what the fuck they are doing.
Thanks for posting - good for anyone looking at getting this done.
Update:
Sent pics to the dealer and told him I want my money back for the PPF and I'll take care of getting it installed. As well I want the hood repainted or buffed. With the film on, only one scratch catches my finger nail, so it might be able to be buffeted ( don't know what's under the PPF) I'd still like the factory paint, but not if the scratches are deep enough to have gone completely through the clear coat and into the paint.
Called my salesman yesterday and asked about the email with the pics. He said he hadn't showed it to anyone else yet I tell him I'll call him back in two hours and I'd like some answers at that time. He called back and said a couple of the mangers looked at the pics. and where disappointed with what happened ( no shit Sherlock). The installer blamed it on the rush job he was given to install.
Of course they want to see it before they decide if the scratches can be buffed out. Can't bring it in tomorrow as we have no loaners right now
Well what about my request for my $$ back for the install? Gives me a song and dance about nothing, and tells me they will take it to another installer! NO, I ALREADY TOLD YOU , I want my money back as I'll be brining it to the shop of my choice and one of them is in the city I live in. Ok I hear you he says, I'll talk to the sales manager ??
As an aside I found the Lexus dealer was charging twice as much for the same install as two of the best accredited shops in Alberta! I knew I was going to be upsold on stuff and thought I was prepared for it. But those salesman are good and I ended up caving in when they reduced the price.
Moral of this story. Have your ducks in a row. Know exactly what products they have that they might try and sell you, exact product. Do your comparison shopping BEFORE you go in to sign the papers.
So I finished the front of the car (front bumber, full hood, 95% of fenders, grill, all lights, rockers and mirrors) and right when I did the interstate project (my reason for doing this) has been put on hold. There were so many complaints and insurance filings for broken windshield that the construction firm has been fired and it is all under review.
I am slowly figuring things out and plan on doing the doors & A frame in the next weeks. I will also be redoing my hood and bumper in the spring as I made mistakes on my bumper and my hood was done with two pieces. I plan on using 1 piece of 5'X5' Bulk film in the spring on the hood.
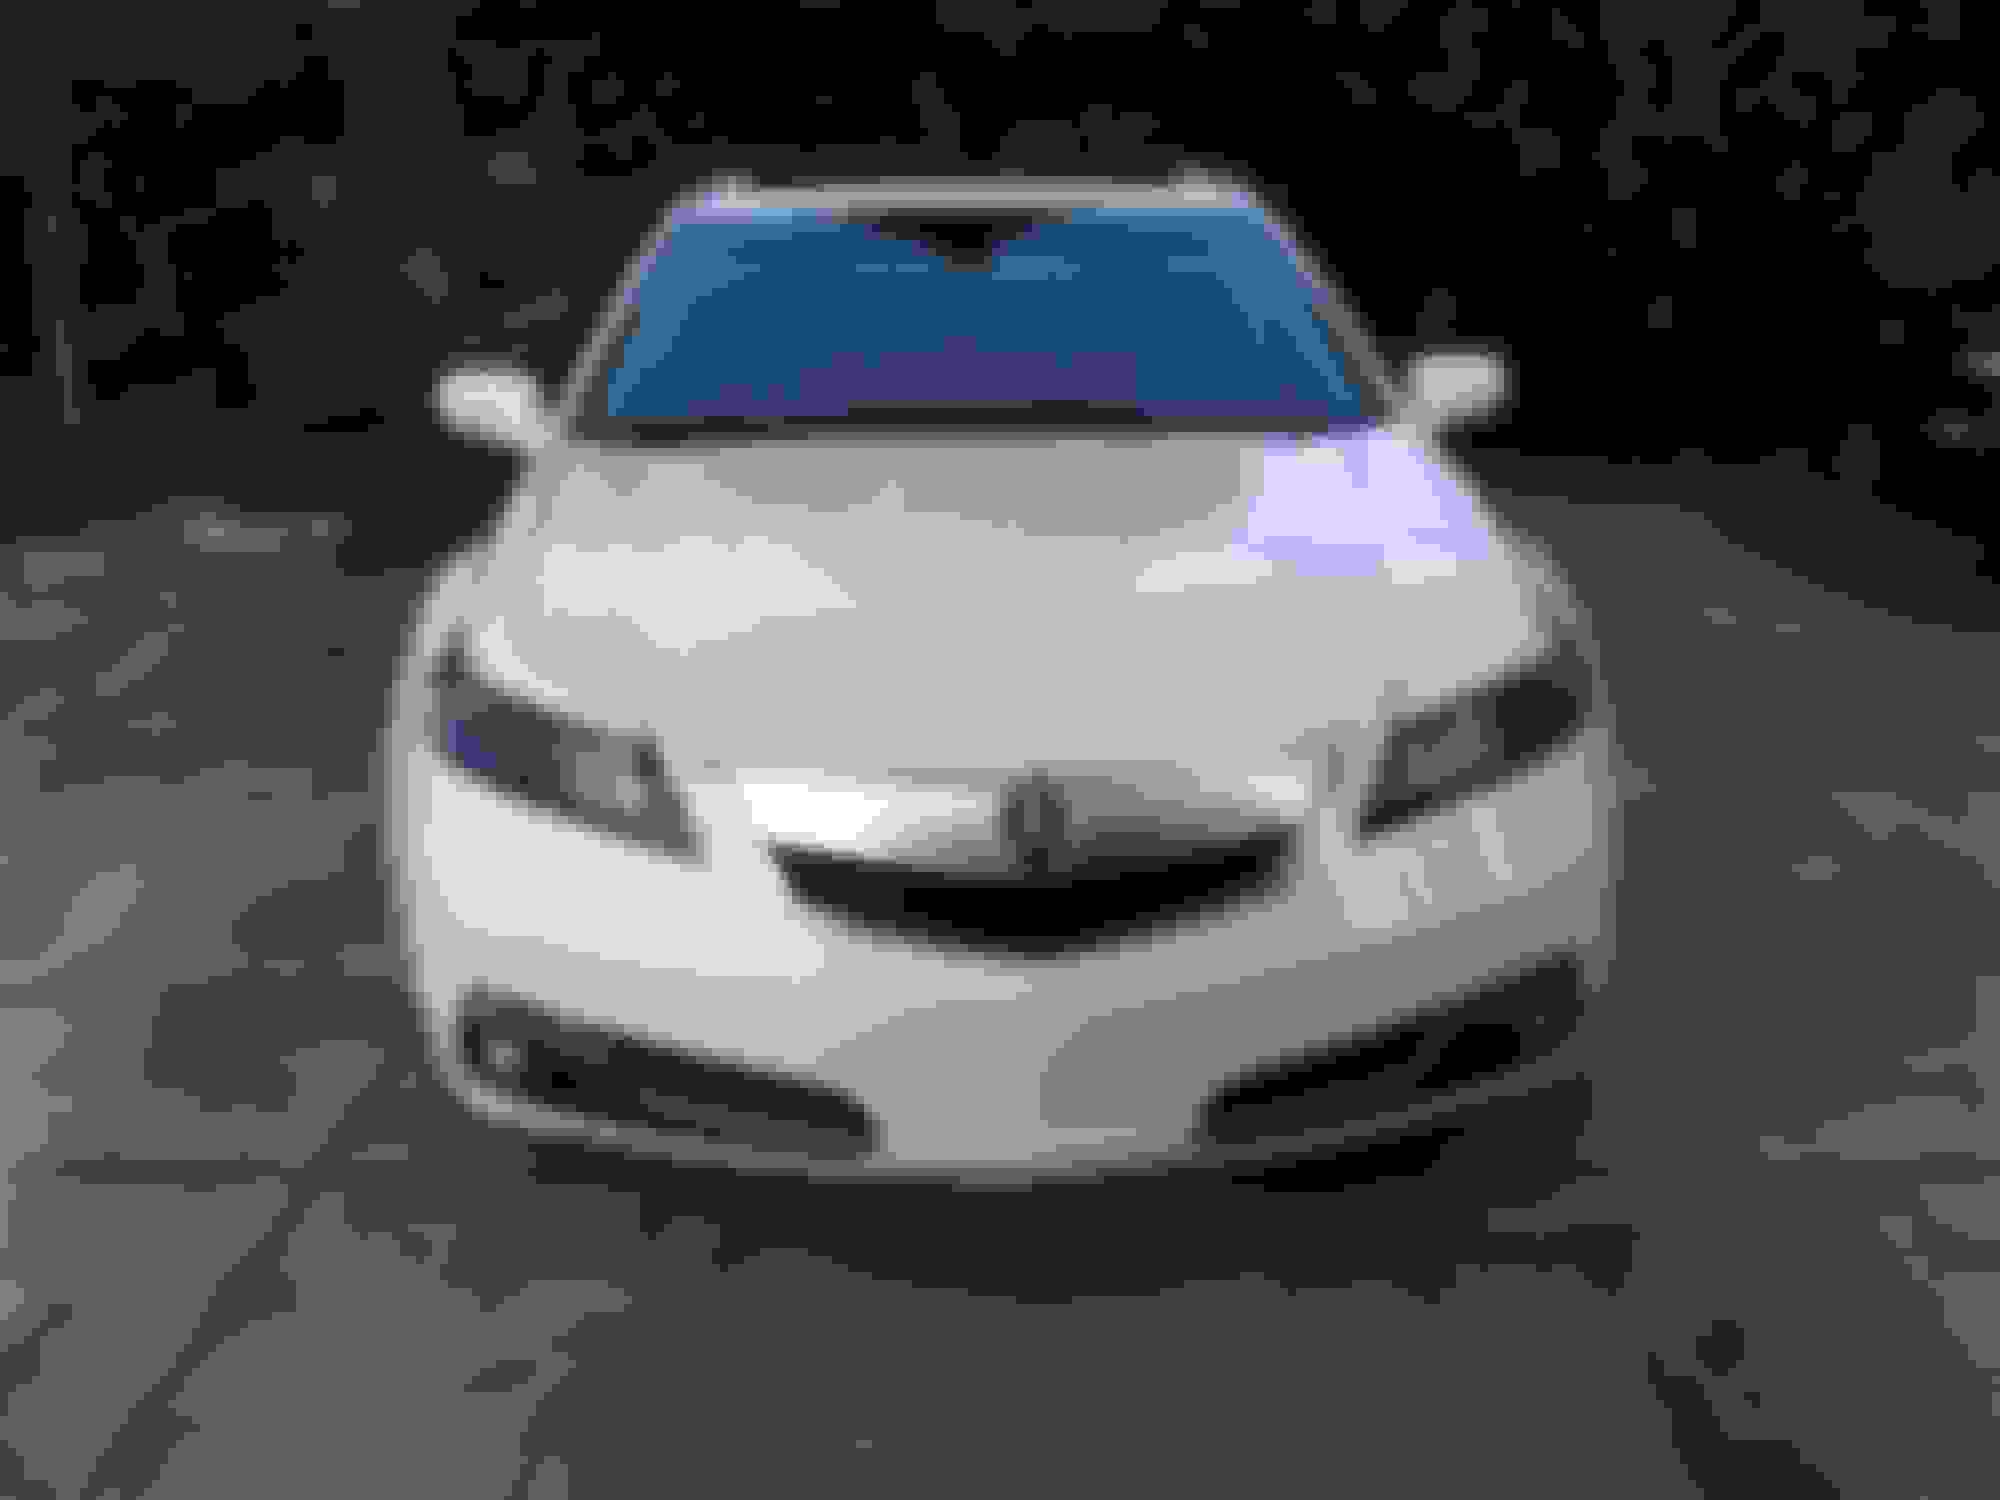
Pictures Before any ppf
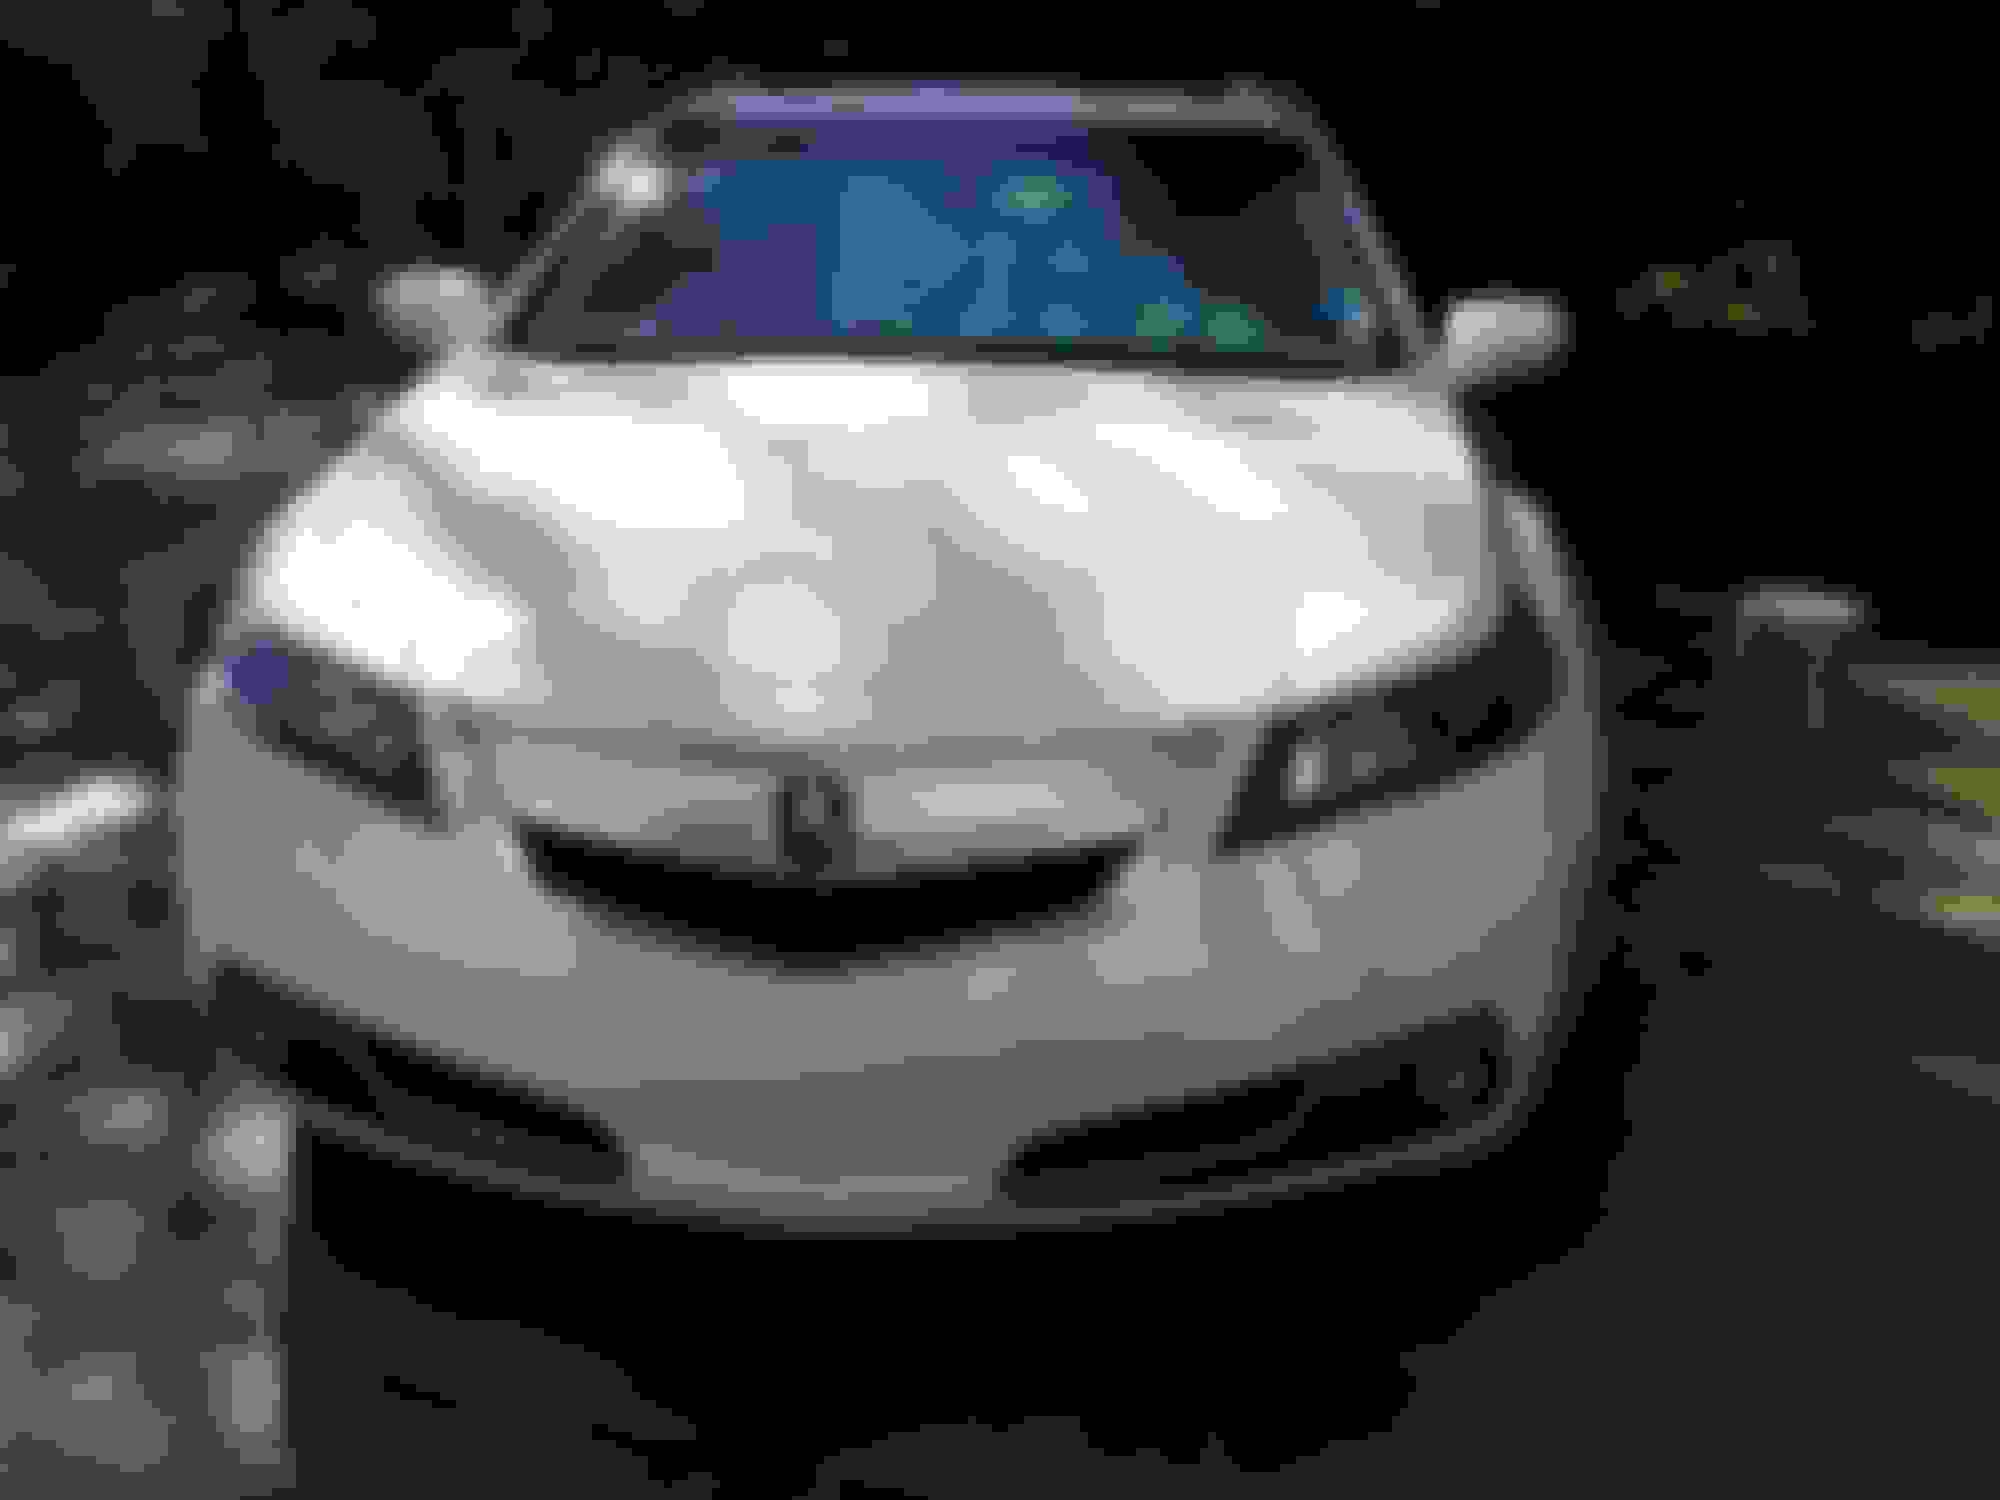
After complete PPF on front
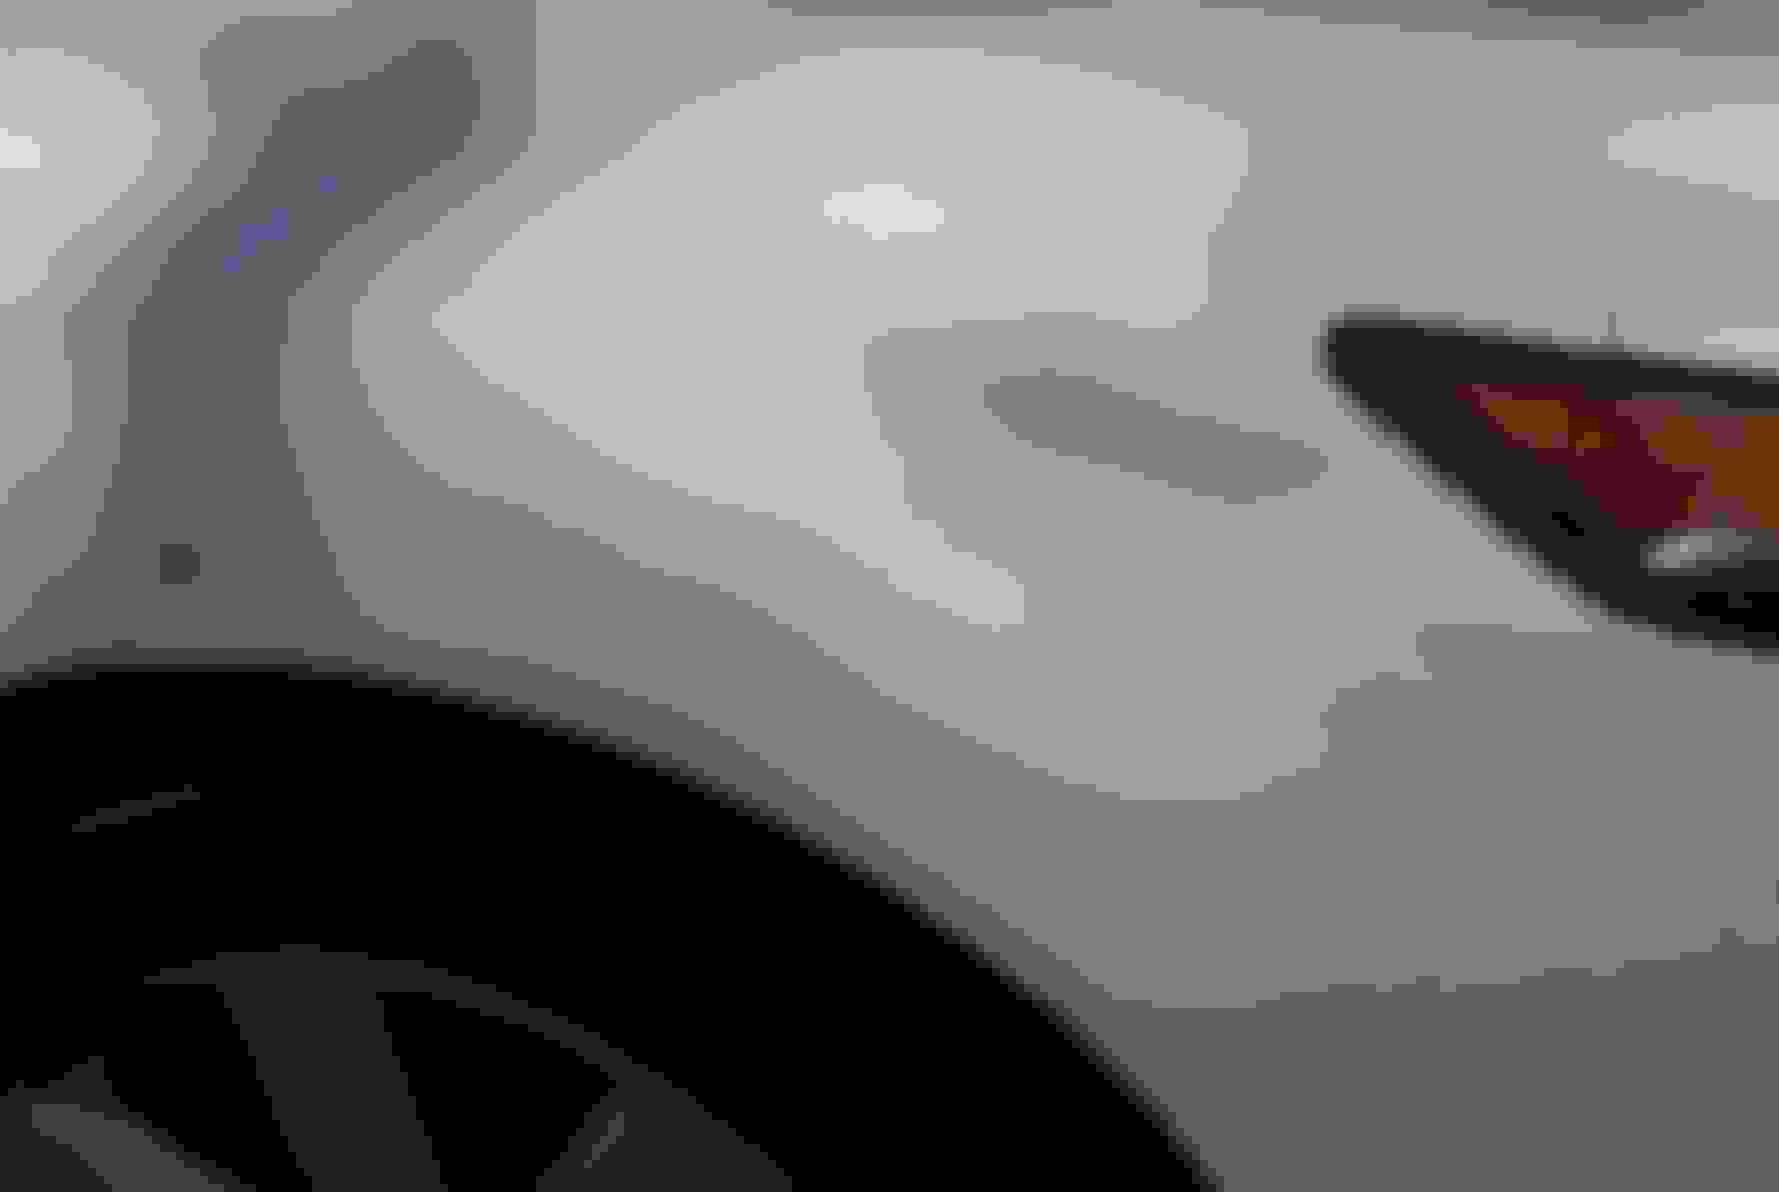
After PPF installed - notice the line in the middle of the hood
as I initially used a kit that only covered 24" of the hood then used a 5' X 2' bulk roll for the rest
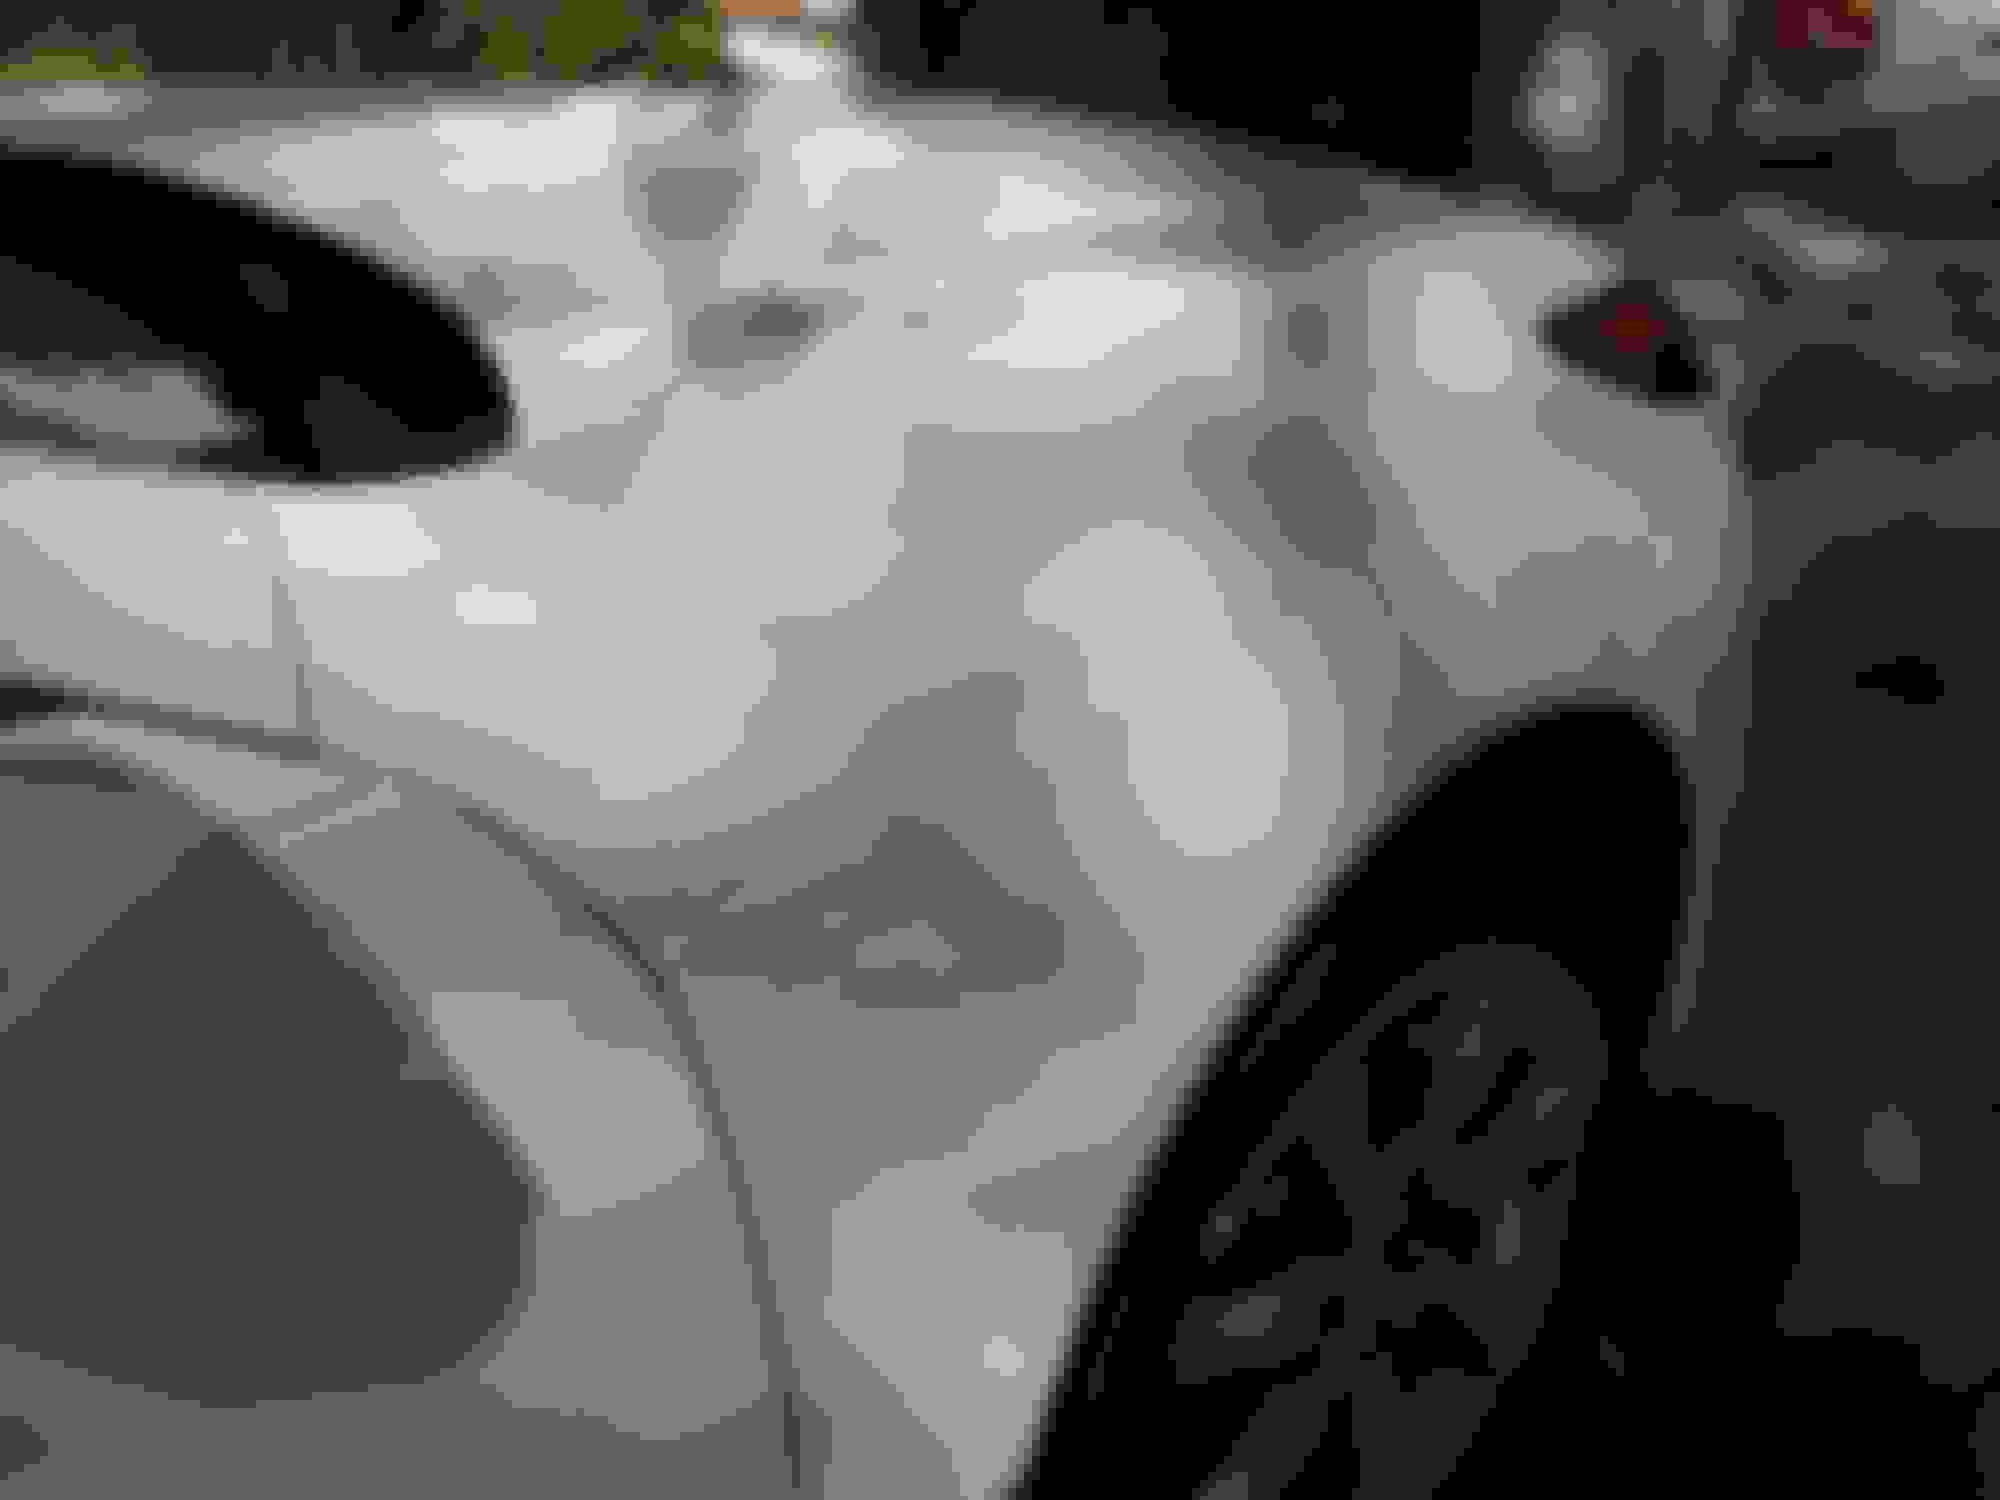
close up of the fender line where I used the kit then bulk for the rest to completely cover the fender
line between kit and bulk
Big picture of fender last section I did . I was a little short of film so it did not get completely covered but it came out nice and smooth and no bubbles. this is the only piece i would give myself an A on installing even though I did not have enough film to completely cover.
This is from a bulk roll I cut and wrapped edges. Came out pretty nice even though it is a little short
I really like the XPEL Ultimate film. I highly recommend using this stuff not only for the protection from rocks and other things but it so easy to clean. I mixed a couple ounces of optium no rinse in a squirt bottle and spray and wipe and it comes clean (no scrubbing).
Last edited by Grateful Laz; 11-09-2014 at 05:53 PM.
 09-16-2014, 03:00 PM