When you click on links to various merchants on this site and make a purchase, this can result in this site earning a commission. Affiliate programs and affiliations include, but are not limited to, the eBay Partner Network.
05 TL Compliance Bushings / Front lower arm / 9Circle tool
I have built basically the 9Circle bushing tool like THIS from HomeDepot material (course threaded rod and a long nut ) and a Powerbuilt Kit that I used for wheel bearings.
Question for anyone who has done this..
Will my 68.7mm socket press out the bushing without ripping the rubber apart? I do have a 70mm ring, but I will have to mount a top on it , which I do have, but its 2 pieces vs. 1 piece.. Plus neither one is really "Exactly" the size of the outer bushing metal ring.. So, what do you think? Does it have to be exact or will the 68.7mm work? Or should I go with the 70mm? I think the bushing is closer to 74mm on the outside. But I dont want to use the same size as the busing because I dont want to get it stuck in the arm. ha!
So what size can I use to successfully push out the bushing with the metal sleeve intact?
i do not see anything written addressing the question as to whether or not I can press on the outer edge of the rubber part of the bushing and still get the entire metal sleeve to come out of the arm in 1 piece.. Or will it break?
Thanks for the replies. I did find a socket locally in plano,tx, like nfsquared used, but I am not sure about the outer diameter.
i may just put up a deposit on the Honda tool with orielly auto parts. It's crazy i bought all those powerbuilt fittings for ball joint and bushings and the only 1 that perfectly fits this compliance bushing is 1 that is a HALF Cirlcle! Crazy.. like what is a half circle press for anyway? https://www.northerntool.com/shop/to...caAh9REALw_wcB
I am going to try using the very first picture I posted with the 68mm socket head. At least, it is 68mm on the outer diameter. (not to be confused with the named size of the socket regarding the inside dimension)
I think it is illogical that Honda would require you to press on the outer edge (which is the thickness of a PENNY) to get the thing out.. ridiculous.
The "press here" section below is not actually part of the Flexible bushing. I am willing to bet they are "stops" and the proper place to push.
The divot just allow the axis to flex's. So why even have the side stops there? To push.
Thanks I will.
Here is the setup. I just have to do it. maybe this weekend..
Here are some parts I used. I dont remember the size. But I used a course thread. and a long nut for extra torque power.
I like the size of the Head of this carriage bolt better because it is larger and more sturdy, but I noticed the round head has a square base under it. And I am not sure if it will work if the bolt starts to "turn" while I am turning the nut.
So I did not buy this bolt: https://www.homedepot.com/p/Everbilt...0446/204633590
The Powerbuilt Nut (right) and the press gizmo (left) came in this Kit that I bought for front wheel bearings and ball joint replacement that I did, Which was another project last year. https://www.homedepot.com/p/Powerbui...8617/203120548
And I am using 2 very Thick shock washers on the ends that I filed out just barely enough to go around the bolt.. So there is no play.
not yet. too lazy. plus I may trade the car.. i'm looking at cars right now. but I've been looking a long time too. like a year. Prices are too high for what you get. So I have not bought anything. Plus, it would have to be better than my own car. I mean, why down grade? haha every car I want has documented problems. Like a Z06 and 2011/2012 BMW X5 and 550i in the same years. Like buybacks and stuff. So I still have this TL. Slowly picking up parts to work on the TL but really not wanting to work on it.
not yet. too lazy. plus I may trade the car.. i'm looking at cars right now. but I've been looking a long time too. like a year. Prices are too high for what you get. So I have not bought anything. Plus, it would have to be better than my own car. I mean, why down grade? haha every car I want has documented problems. Like a Z06 and 2011/2012 BMW X5 and 550i in the same years. Like buybacks and stuff. So I still have this TL. Slowly picking up parts to work on the TL but really not wanting to work on it.
Well OK than. Can you tell me what is OD of these two socket?
Finding something that is this exact size is almost impossible. Did that tool sit directly on the metal ring of the bushing? I would think that if the tool is equally as wide as the bushing, then the tool would get stuck in the arm.. So it would have to be smaller. But that outer bushing ring is so narrow, its hard to find something smaller and still work "properly". I see that tool has a little Ridge around the lip.. That might help it stay positioned squarely on the bushing and still be small enough to fit through the control arm... ?
Originally Posted by DesertMistTL
i used the actual compliance bushing tool and got the old one out and new one in 5mins with a impact. This is after removing the LCA of course
my tool did not get stuck in the control arm, it's a polished finish so maybe that helped.
the bushing sort of got stuck in the receiving cup but it pushed out. thank god
I was late in my build and didnt feel like playing trial and error with the homemade kits that may or may not work, so i just bought this to save me time.
honestly..my bushing came out so easy we didnt use the tool to press it back in, just taped in with hammer. not sure if it was so worn out but makes me wonder if it'll just come out with hammer/chisel.
i think the tool works because it's beveled and has a lip that sits on the rubber bushing itself giving it more leverage instead of just all on the metal ring. but i'm no mechanical engineer..just my thoughts.
Originally Posted by VictorTL
PEASE! Also if you can take a picture. Thank you!
yup! posted it before you asked
Last edited by DesertMistTL; 11-24-2018 at 05:07 PM.
my tool did not get stuck in the control arm, it's a polished finish so maybe that helped.
the bushing sort of got stuck in the receiving cup but it pushed out. thank god
I was late in my build and didnt feel like playing trial and error with the homemade kits that may or may not work, so i just bought this to save me time.
I think you are right about that "0". but now that you mention it, 73.xx looks more like it (not 74.xx)
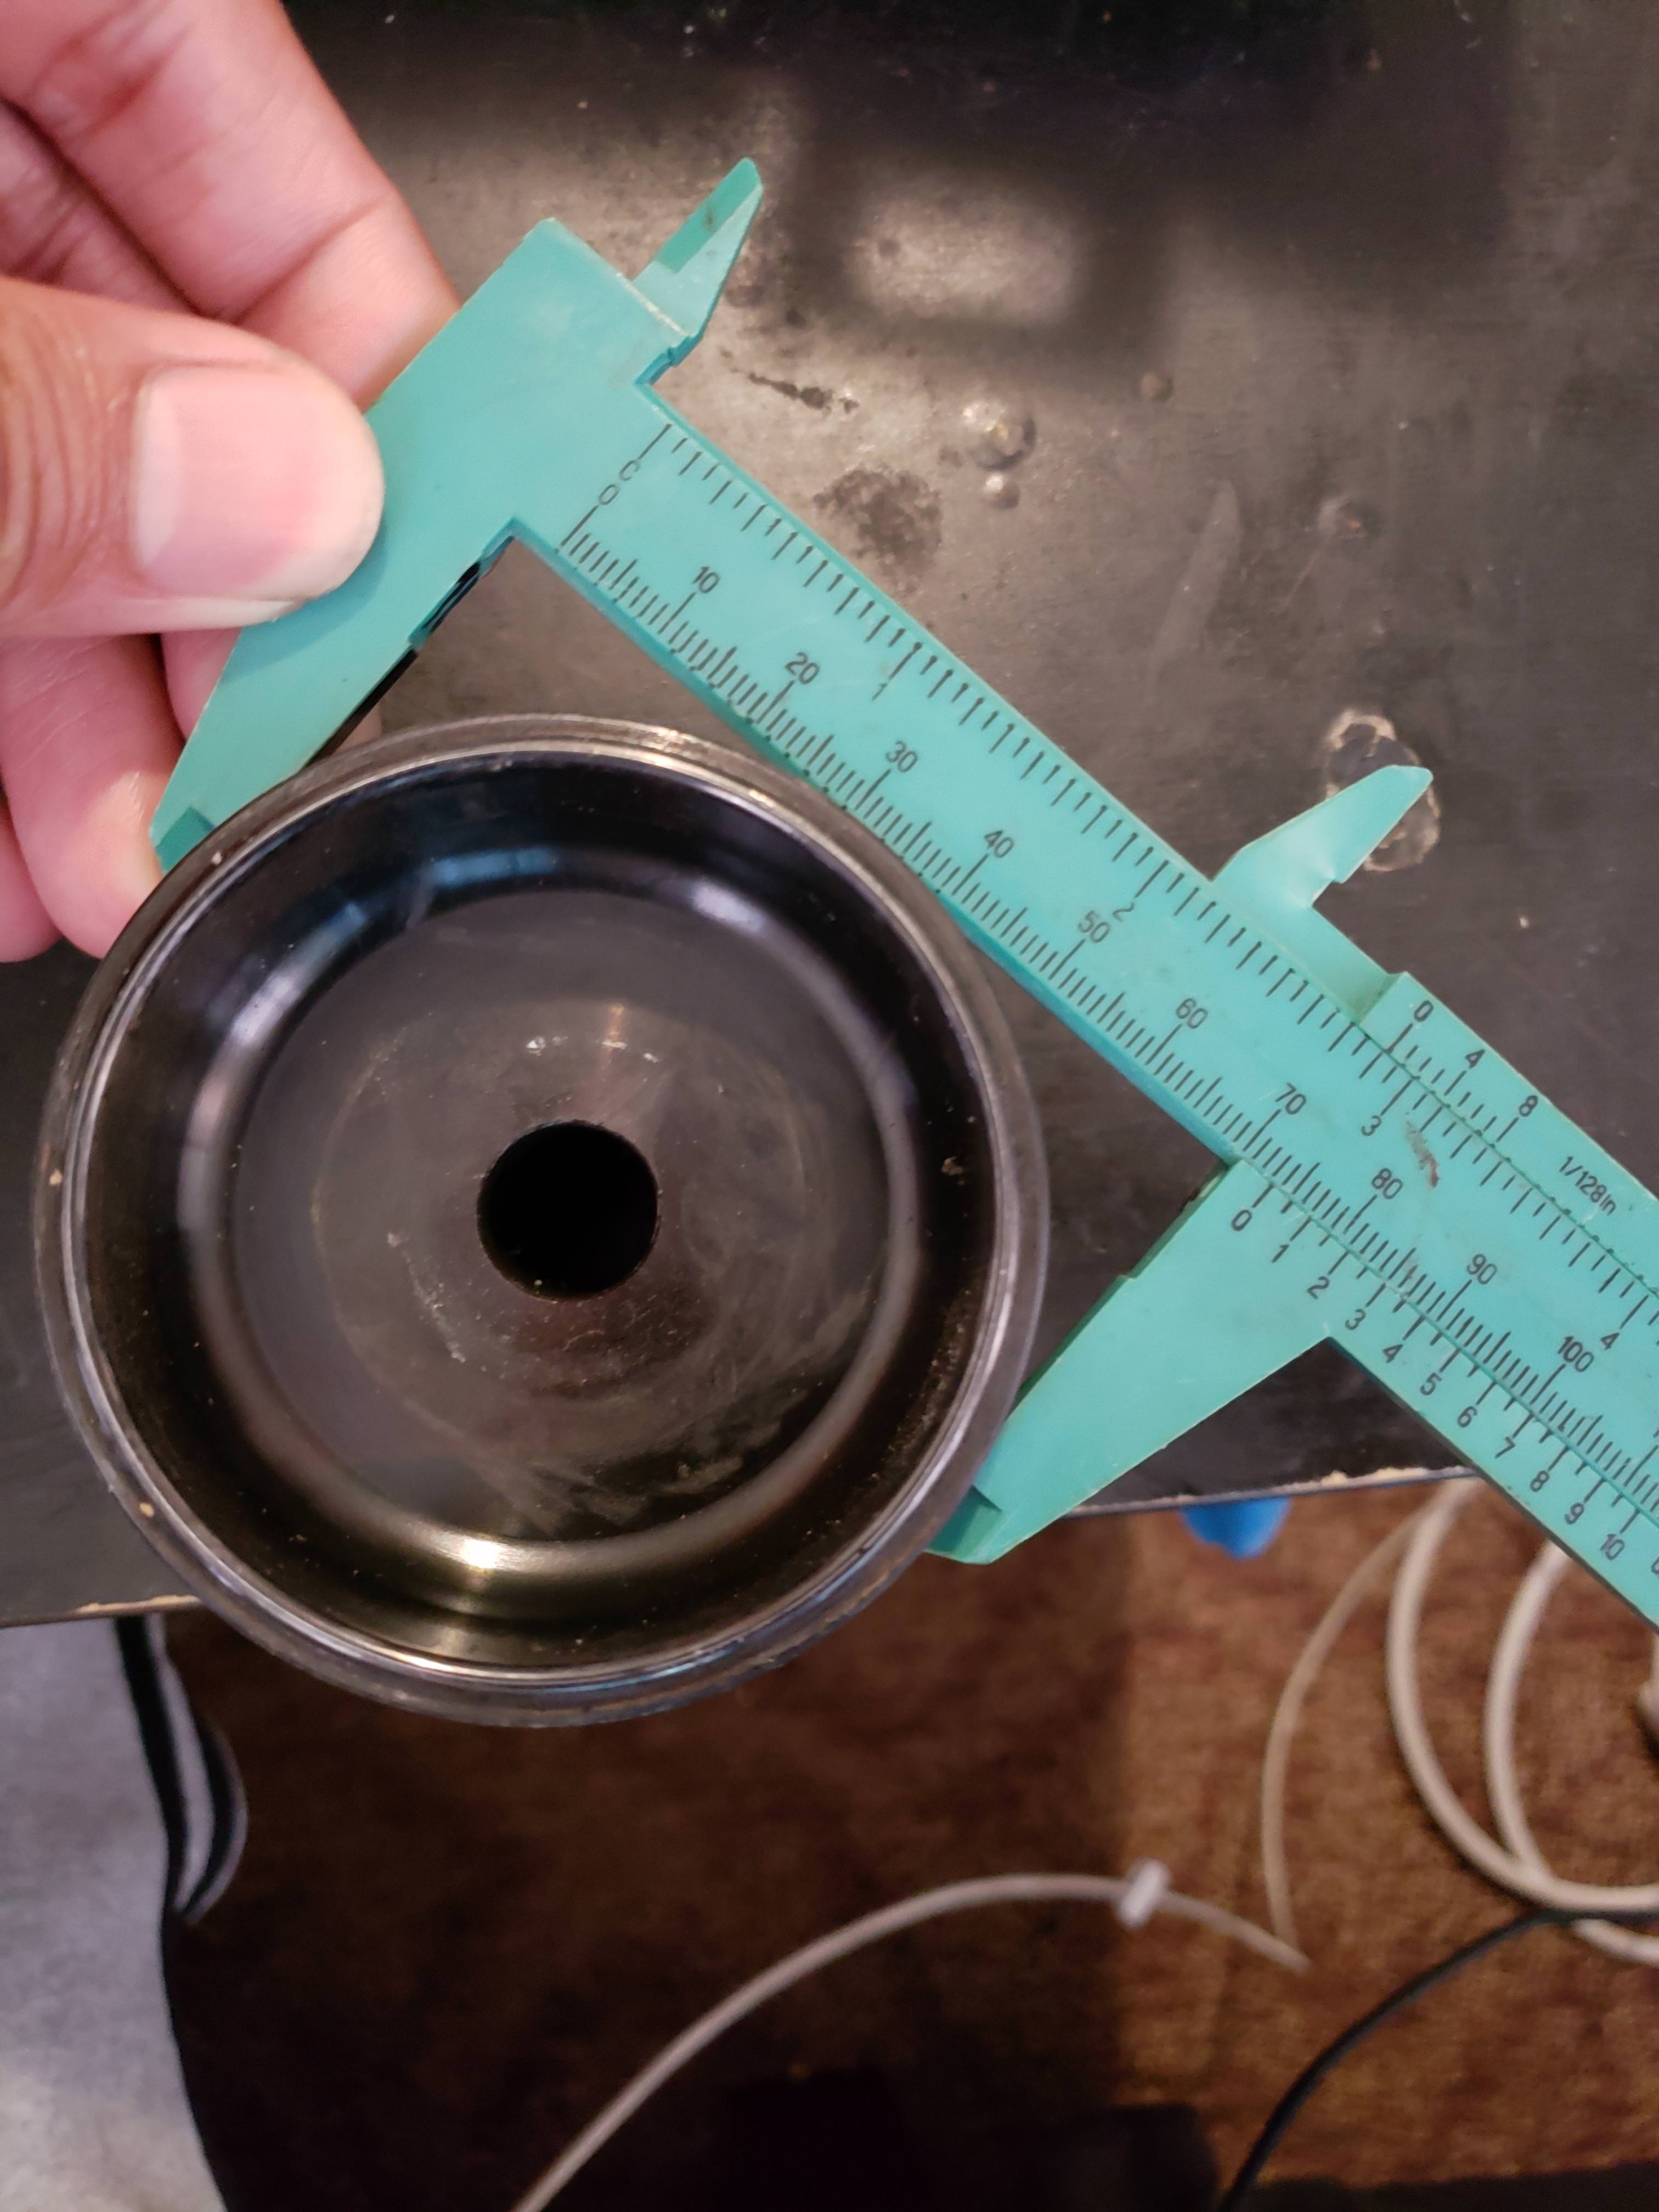
Also, I measured the Actual Outer bushing at 74.22mm shown above.
You're micrometer looks like it is from Nov. 5th 1955.
Stay tuned! I am going to measure the INNER diameter of my new bushing to see how it compared to your measurement of 73.xx
Yes my micrometer will measure inner circles and outer circle. It has 2 difference "prongs" as shown above...
The reason I want to do this is so I can see exactly how it sits. And I am assuming both out micrometers are measuring alike. same reading.
I think you are right about that "0". but now that you mention it, 73.xx looks more like it (not 74.xx)
Also, I measured the Actual Outer bushing at 74.22mm shown above.
You're micrometer looks like it is from Nov. 5th 1955.
Stay tuned! I am going to measure the INNER diameter of my new bushing to see how it compared to your measurement of 73.xx
Yes my micrometer will measure inner circles and outer circle. It has 2 difference "prongs" as shown above...
The reason I want to do this is so I can see exactly how it sits. And I am assuming both out micrometers are measuring alike. same reading.
my micrometer said it didnt tread through the swamps of nam in the war so young goosenecks like you can insult its honor. LOL.
actually mine is closer. My Nut size is larger for extra torque... plus, the Socket in the picture is closer..
My goal was to just keep from buying a new $12 socket. like the one in the PICTURE
actually mine is closer. My Nut size is larger for extra torque... plus, the Socket in the picture is closer..
My goal was to just keep from buying a new $12 socket. like the one in the PICTURE
that socket will work if some can confirm the OD of the bushing is 74mn. Where does the socket sold at?
The purpose of this whole discussion was to see if the OEM tool was pressing on the stoppers or just only the metal rim.
I have seen video's on youtube and the did not use the OEM tool. Just just slammed a general piece of metal down on top of the bushing and pressed it out.. Nothing special!
I think socket is made to fit on the bushing sleeve without slipping. See the lip on the socket?
Desert, do you still have the old bushing? Can you fit the old bushing onto this socket?
the guy in this video is using some scrap metal piece to push out the bushing.. And its not a real bushing tool. And not only that, I see indentions on it, when he rotates it, like it is soft metal
And that bushing is the same style as a TL.. It is a honda, but not a TL.
check out 3:11 https://www.youtube.com/watch?v=g_hj1hRSNgg&feature=youtu.be

 08-21-2018 | 08:48 PM