When you click on links to various merchants on this site and make a purchase, this can result in this site earning a commission. Affiliate programs and affiliations include, but are not limited to, the eBay Partner Network.
Most dealers just replace the entire control arm which is about $250 ea, plus labor. Seems like most of the commenters here either do it themselves or find a smaller shop that can press in the new bearings, maybe $40 for each bushing and an hour labor and an alignment if they take the arm off. I replaced my 06 bushings once, they tore in less than a year, then I replaced them the next time with the 07 bushings which are softer and it has been 5 yrs and they aren't torn. The steering lost a little precision but at this point I don't care, it is a 10 yr old car. I also put 07 shock assys which made the ride more comfortable.
. . . then I replaced them the next time with the 07 bushings which are softer and it has been 5 yrs and they aren't torn. The steering lost a little precision but at this point I don't care, it is a 10 yr old car. I also put 07 shock assys which made the ride more comfortable . . .
Wish I had known 07 bushings act differently, I would have opted for comfy ride over bearings. Oh well, my PCI bearings will be delivered shortly, no turning back for now.
Hey everyone I just wanted to share a few pictures/video from my last compliance bushing replacement on my parents 2006 Accord (150K) (his is the same exact process for the TL). These were very easy to replace with the arm still on the car using the bolts/hardware suggested on on this thread. I used a cup from my ball joint press set instead of the suggested 2-1/8 socket.
This is a long thread. Can someone list the parts to make the home-made bushing remover/installer? And what is the trick not to remove the LCA from the ball joint while doing this? And how hard is to bolt back the control arm to the chassis?
Thank you! How did you manage to move the control arm while preventing the axial from coming off? After you remove the axial nut you pull the hub out slightly just to have enough room to swing out the control arm?
I heard installing back the control arm is a little tough aligning the bolts on the arm.
You have to get a little manly with it to get it back in. A 4-lb sledge hammer and a large pry bar help a lot
i am still a little unclear how how Remove the control arm while it�s still attached to the ball joint . Remove all the bolts on the control arm and on the shock and pull out the rotor assembly until the arm come loose and push back the assembly?
I�m preparing to personally replace my front compliance bushings. These are the second pair. The first pair lasted about ten years; this pair began to tear after about three years of very gentle driving.
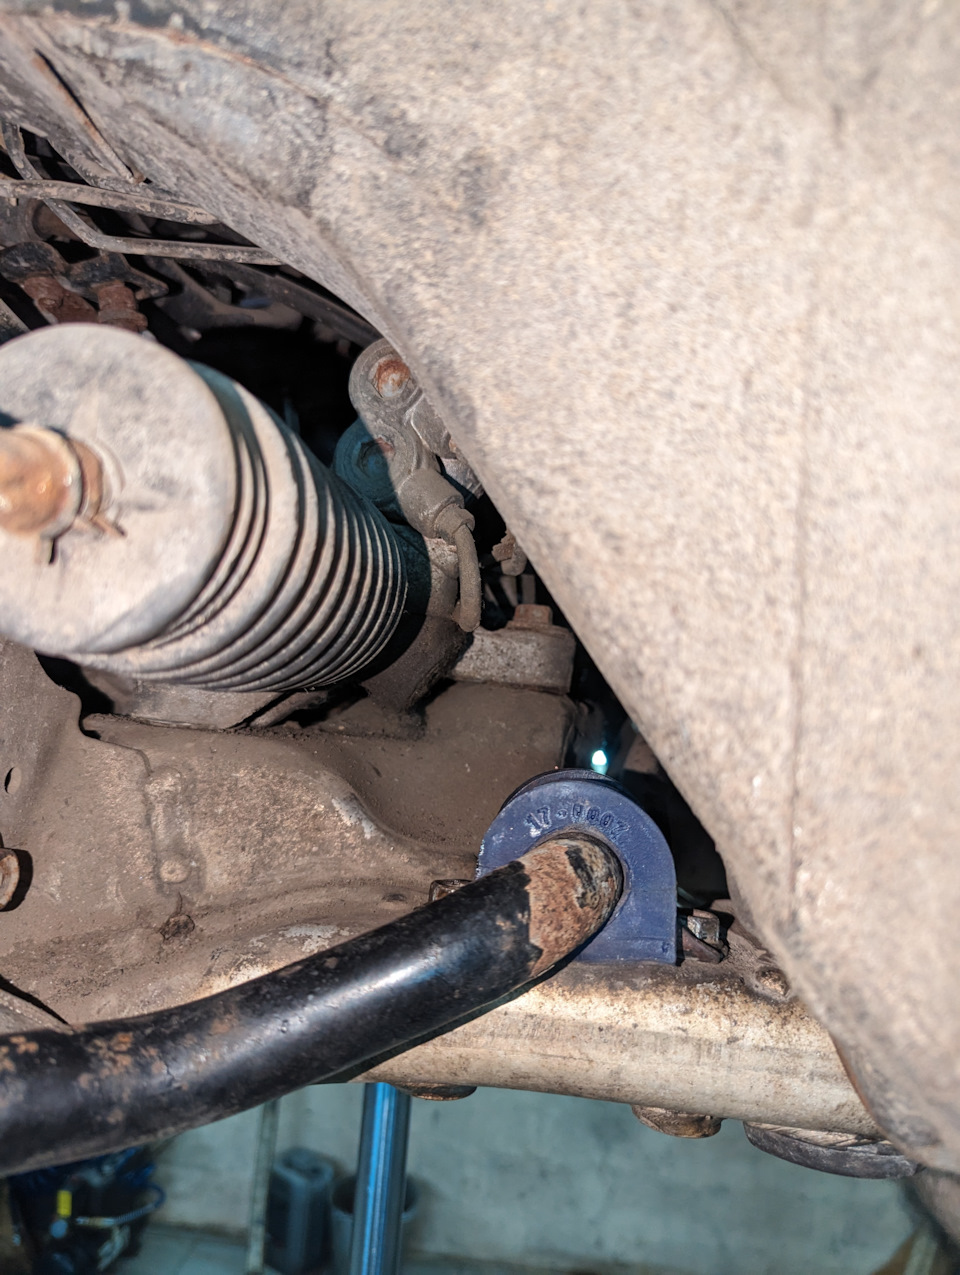
From what I�ve read and seen, the second pair were improperly aligned (thank you dealership): one was even installed upside down and 45 degrees off. There seems to be a correct alignment for installation with only plus/minus 3 degrees of error (see attached screenshot of what appear to be dealer instructions from an etcg video of an installation in a Honda element.)
Questions
1) Does anyone have the TL instructions
2) If no instructions are available, can others confirm that the alignment of the bushing in the attached picture (with red arrow) taken from post #651 in this thread is correct? No disrespect meant to that poster, it seems to agree with other pictures on the web, but I�d appreciate a 2nd confirmation.
etcg element video (instructions shown around 11 minute 30 seconds)
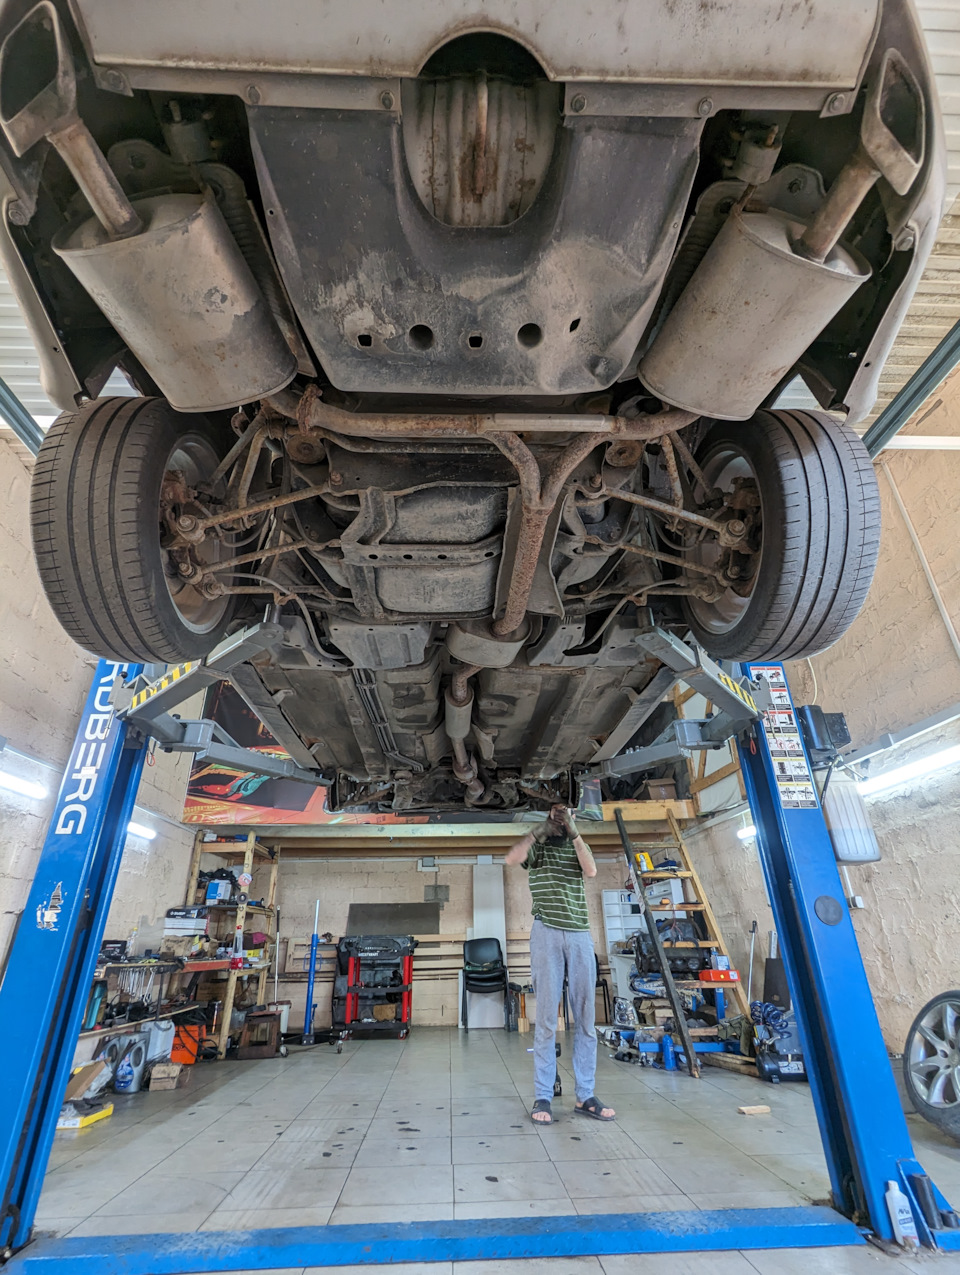
A lot of good info in this thread. Went over it since I never actually pressed in/out any control arm bushings before.
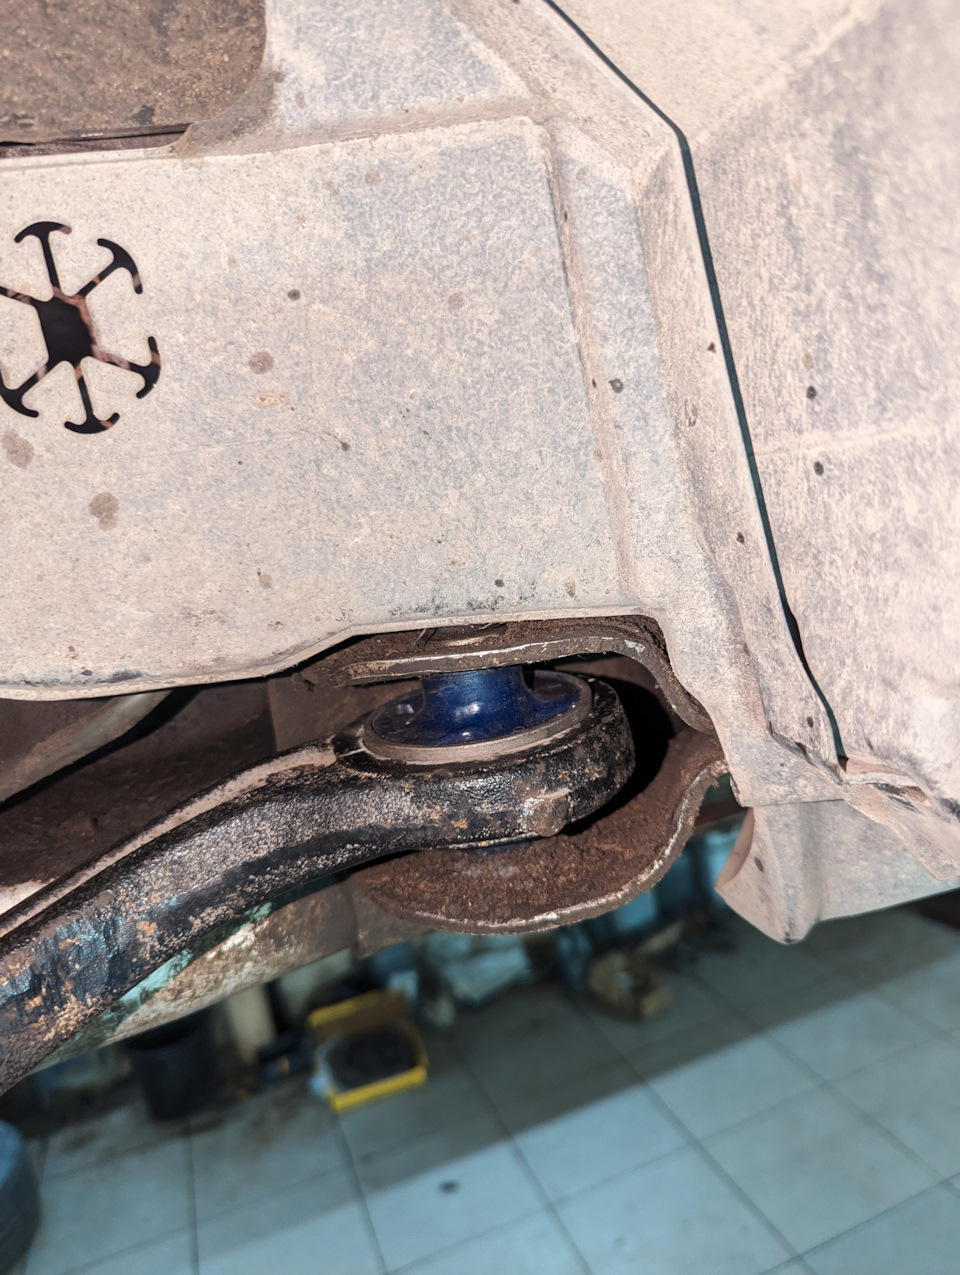
One tip for the lower bj on the hondas with double wishbone suspension - loosen the bj nut, then try to raise the knuckle up with something (like piece of wood between rotor/hub and jack) and then tap lower arm with the hammer where it connects to the ball joint. You could even leave the nut threaded in, lower the car on the ramps and then tap the control arm. If ever need to replace axle/bearing/ball joint that's what I always do. Separating bj is like the easiest part of this job so I don't understand why anybody would try doing it on the car.
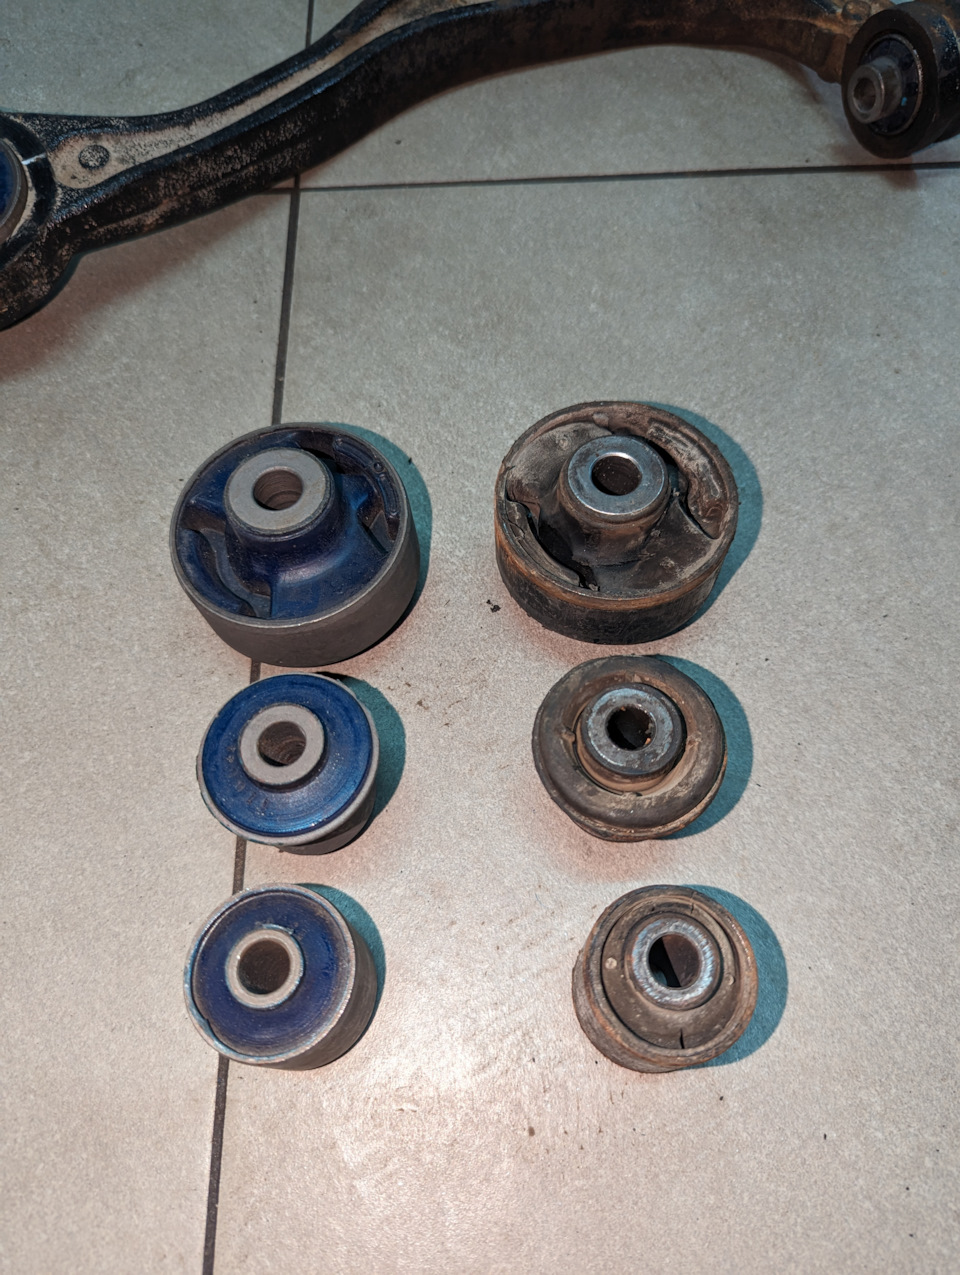
I have press and bunch of ball joint adapters and old bearings so finding what I need to press in/out the bushings was easy. Only trouble was that one bushing on the rear of the arm. I welded small ridge to have adapter to rest against something. After pushing the bushing out that ridge is not needed, it probably wouldn't collide with anything but I removed it.
Old stuff, 125k miles.
Overall there are more fun ways of spending Saturday.
BTW 1.5 years, 17k miles ago I replaced both of the front lower ball joints with MEVOTECH TXK80228. Both of them started seizing up, one was making creaking noise. It was actually hard to turn the steering wheel.
I try using oem parts as much as I can but spending ~$100 felt like too much. Now I ended up replacing both of them with OEM bj anyways so lesson learned. Good that all other parts replaced so far were OEM.
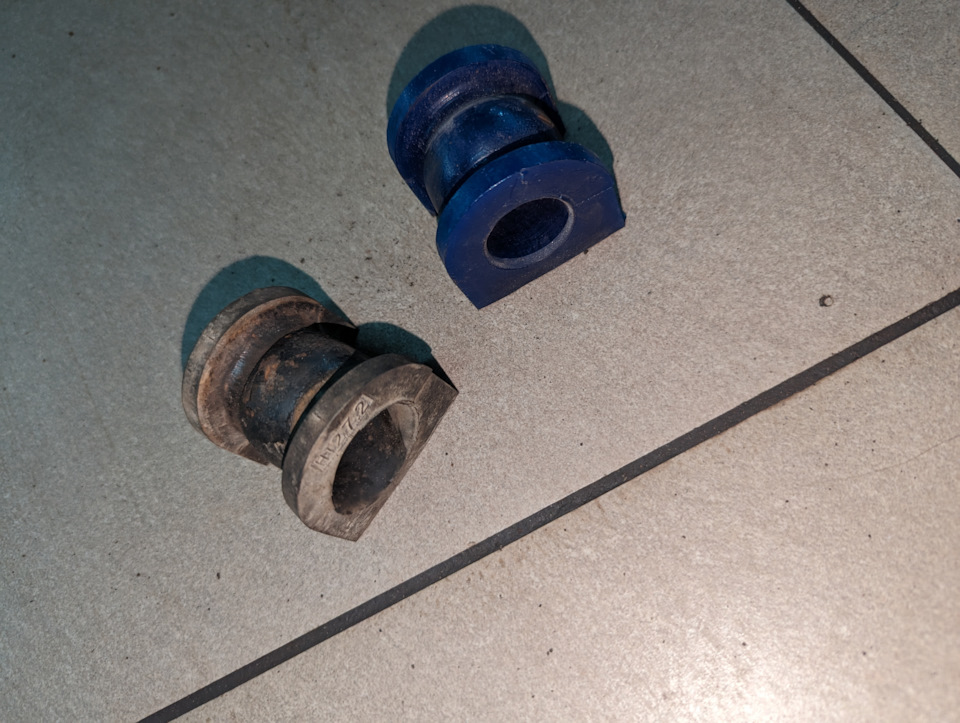
Hello everyone, since I am not only the owner of TL but also have a small company producing polyurethane bushings, I solved this problem in this way. I installed my own bushings. Since I installed the softest bushings, which are slightly higher in hardness than OEM, I don’t feel much difference in riding comfort. In the future I want to try the harder 85a. If you want to repeat my experience, write me a private message, I am ready to send these details to your country. Thank you, good luck everyone. Sincerely, Ali
I finally got around to doing this job (replace compliance bushing without removing the ball joint). In addition to all the tips others have mentioned (freeze new bushings before install, mark arm and new bushing for correct alignment, use penetrating oil, etc.), I thought I'd add a few.
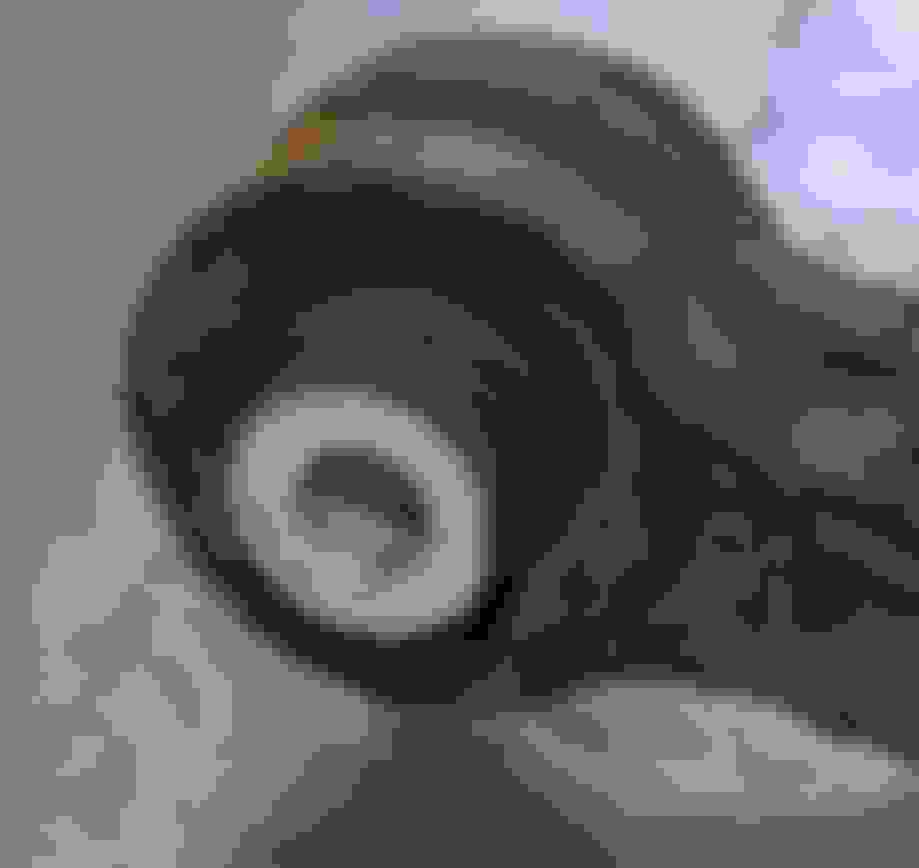
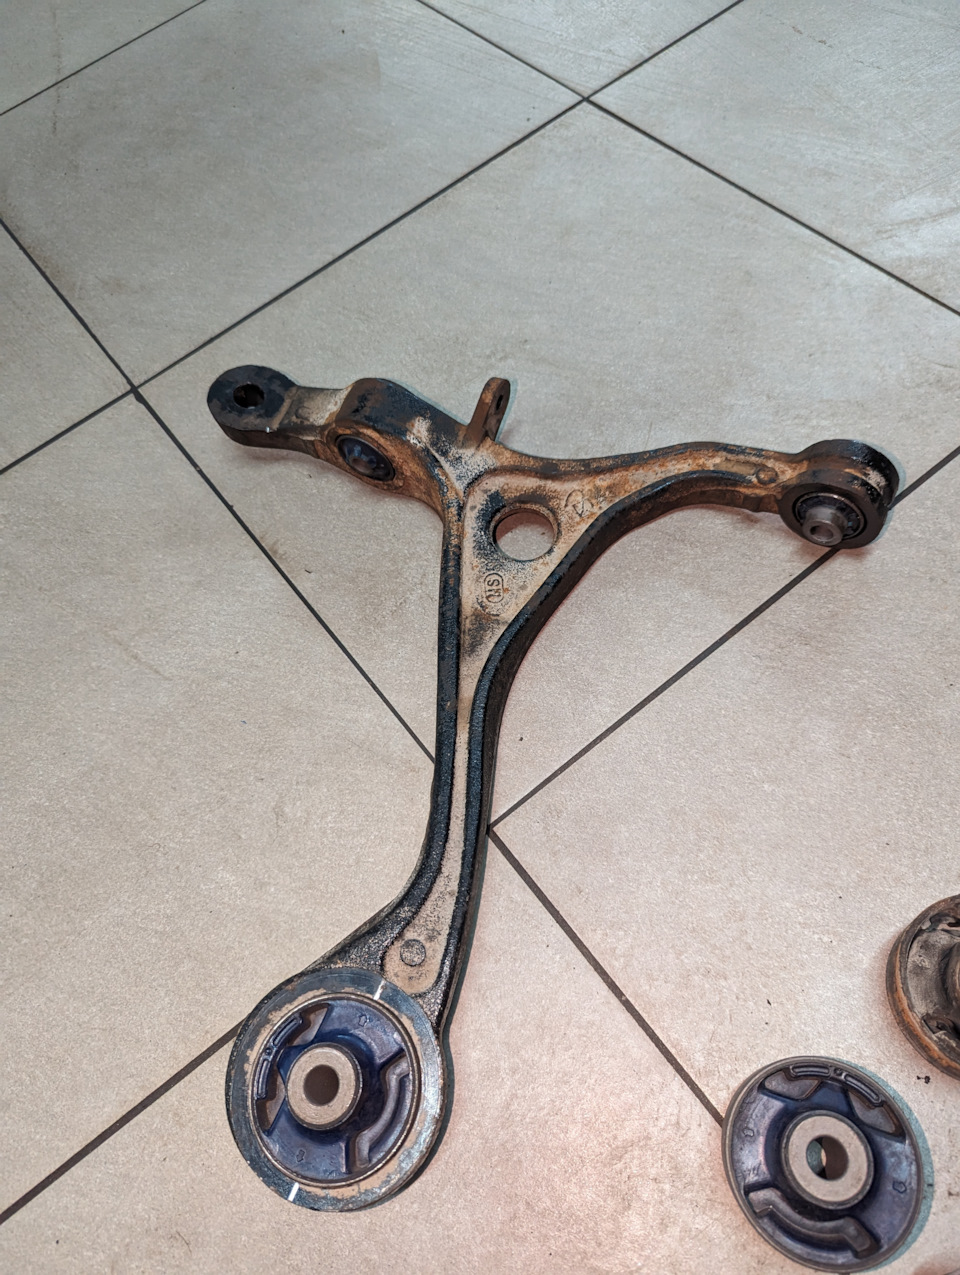
Access to bushing - In addition to removing the rear and front lca bolts, I also needed to remove the bolt that connects the damper fork to the lca to get the front bushing out of its bushing pocket. As a benefit of doing it this way, I didn't need to pull the rear bushing completely out of its pocket (photo1) and that made reinstalling the lca very easy. I simply jacked the lca to make it horizontal with the front bushing pocket and the front of the lca slid in easily.
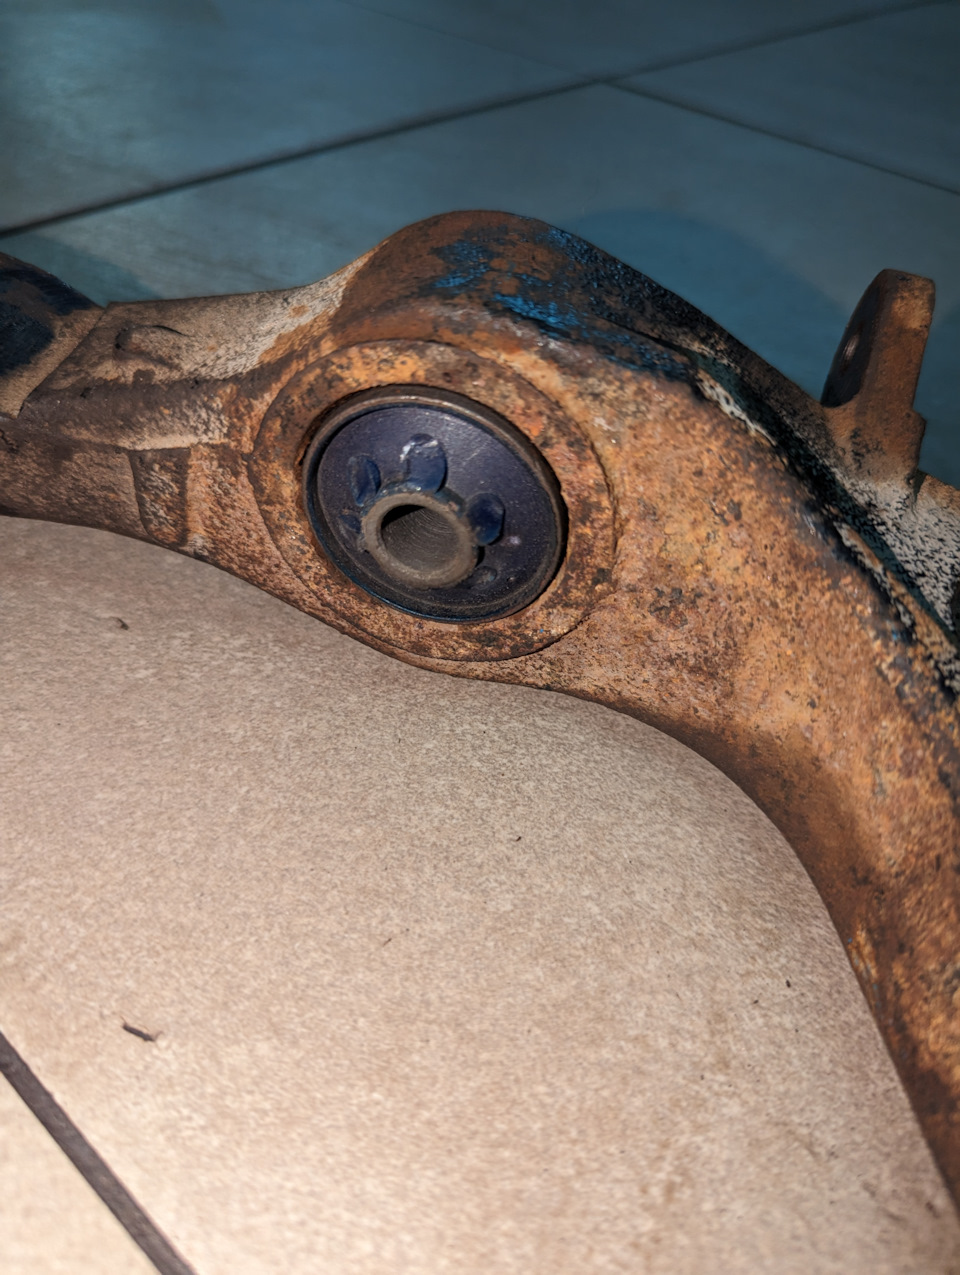
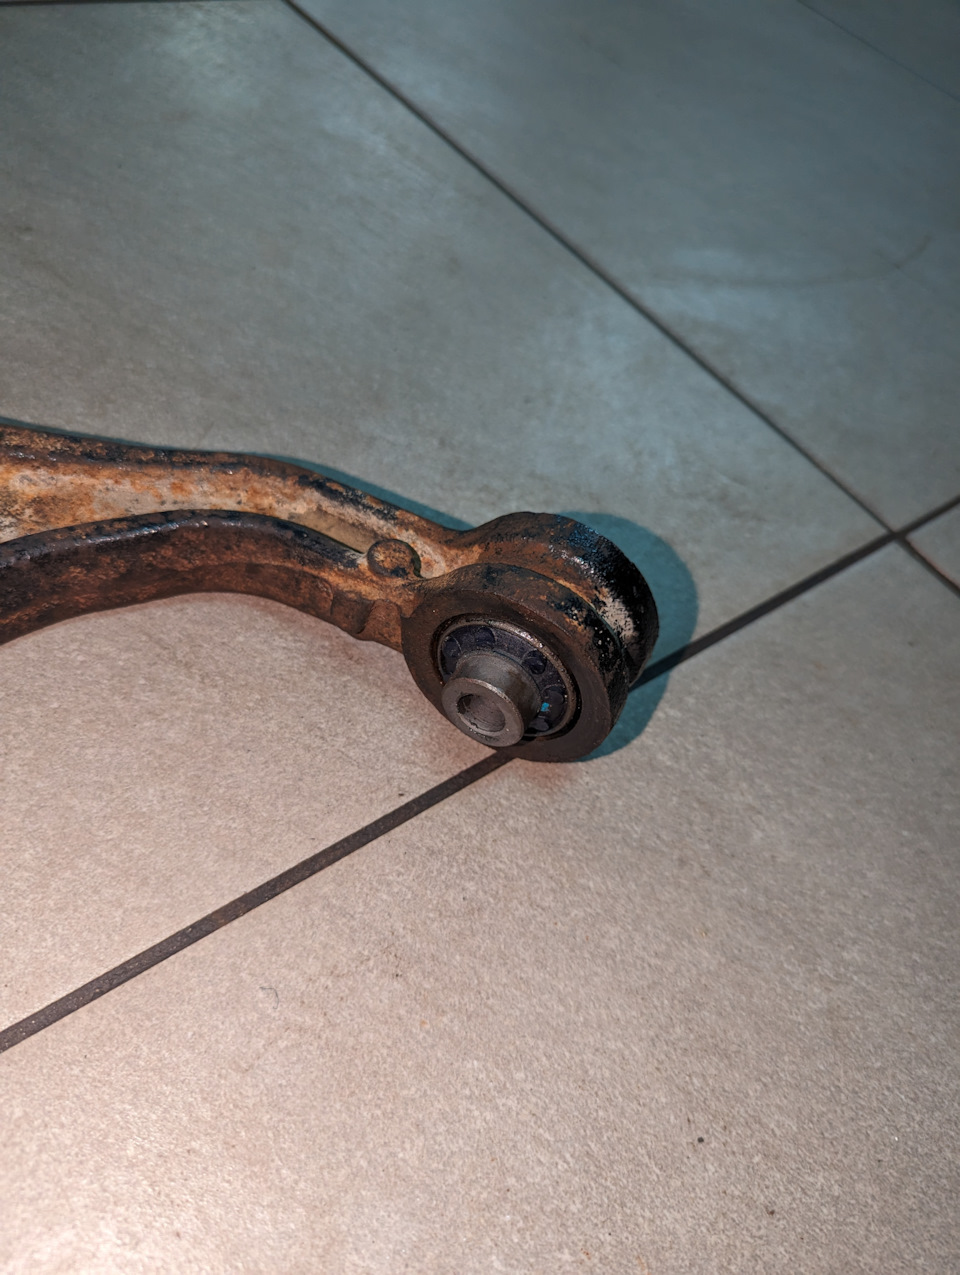
Remove old bushing - My bushing was very hard to break free and almost as hard to push out once broken free. I needed an almost 1.5 foot wrench for the needed leverage. Before pressing out the old bushing, use a metal brush to clean the top outside rim of the old bushing. After many years, the rim of mine was very rusty and I'm sure I made my pushing job harder by NOT having cleaned it.
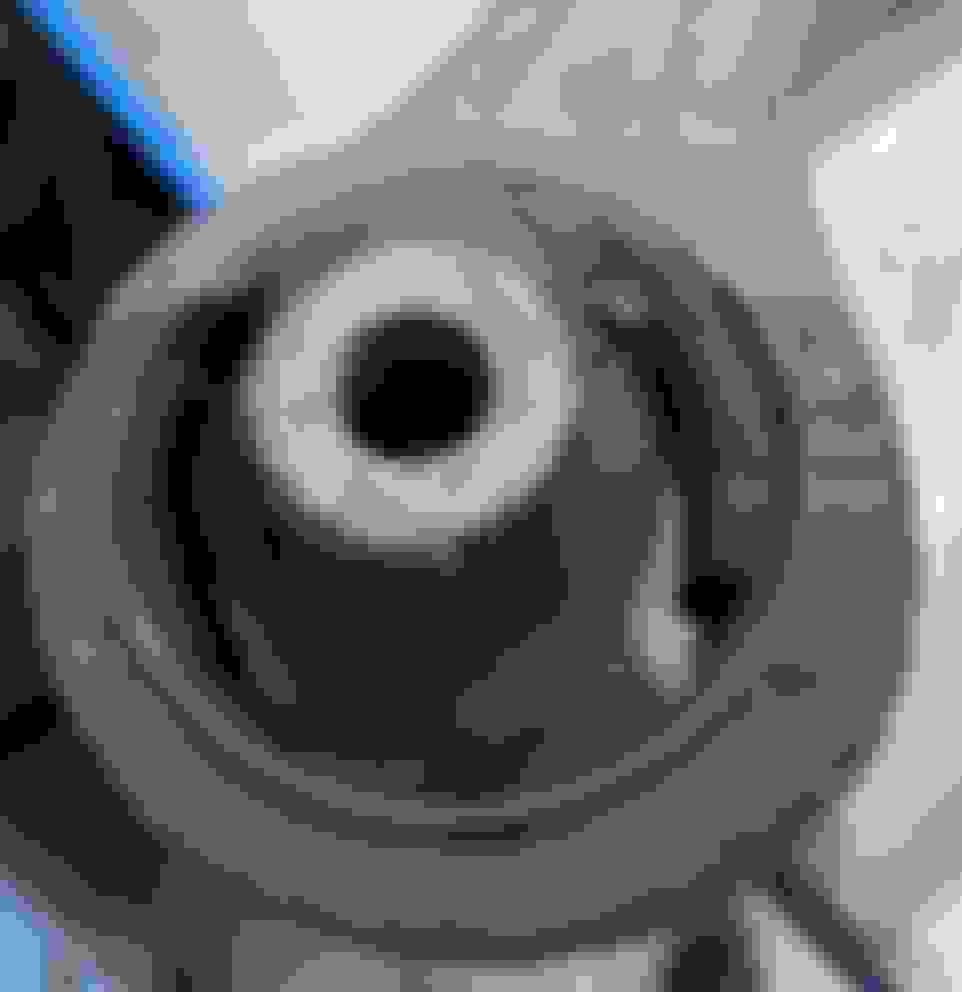
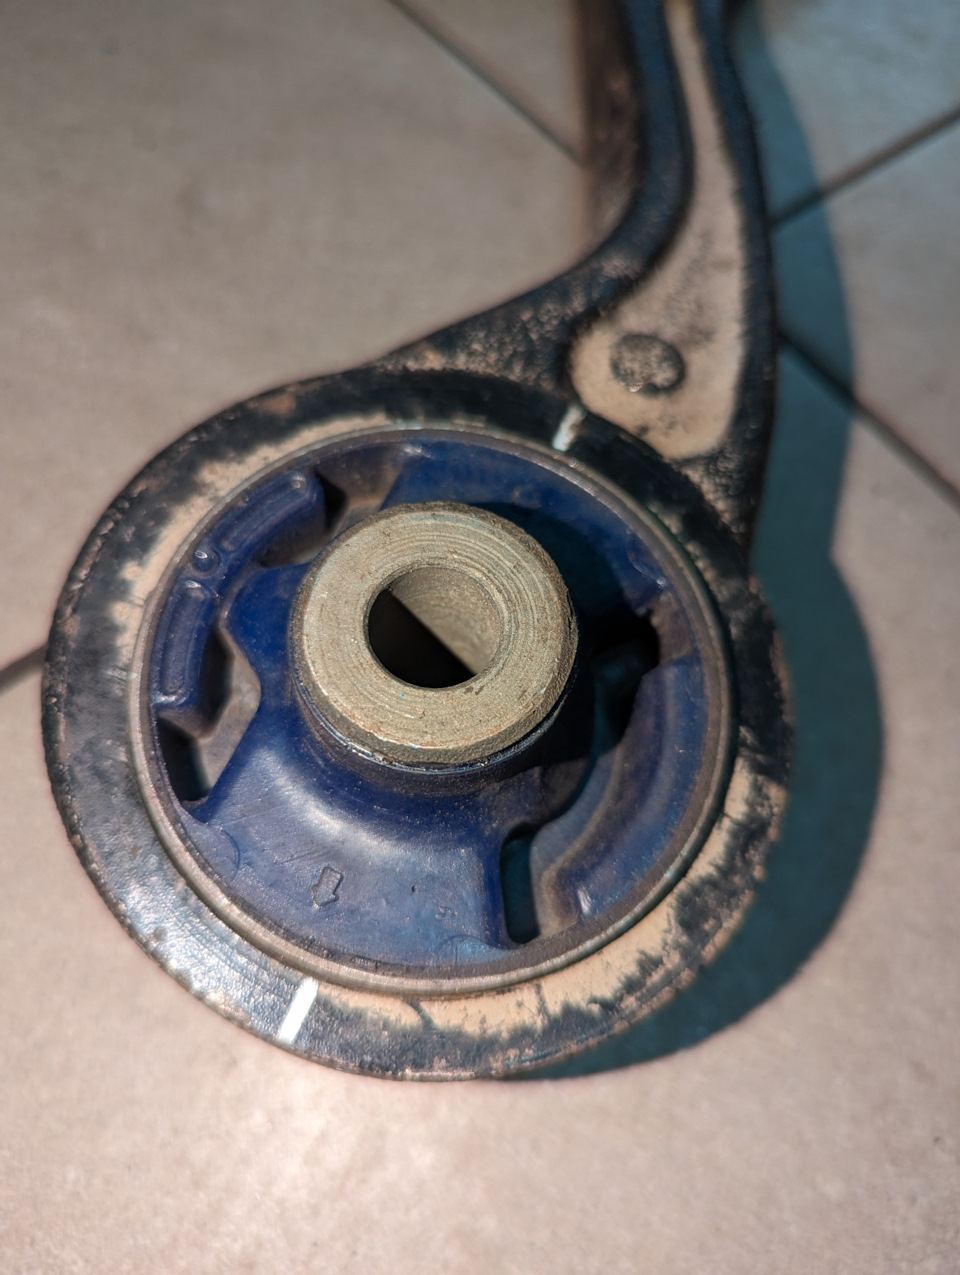
Install new bushing - I used the circle nine press (photo2) in tool and it worked perfectly. Many posters wrote they struggled with the bushing sometimes going in crooked (the bushing hole is not completely centered, so I think the rod puts a side pressure on the cups), but the c9 tool has a special lip to align the bushing. I only needed a normal 1/2 inch ratchet for leverage. The tool was not cheap (I think I paid 90 in 2020), and only useful for a few models, but it is very well made and could be used many times if you grease the threads.