When you click on links to various merchants on this site and make a purchase, this can result in this site earning a commission. Affiliate programs and affiliations include, but are not limited to, the eBay Partner Network.
i'm not good at keeping secrets, but here's whats happening
I bought dim/non functioning OEM front sidemarkers to cut up and put white LEDs inside,
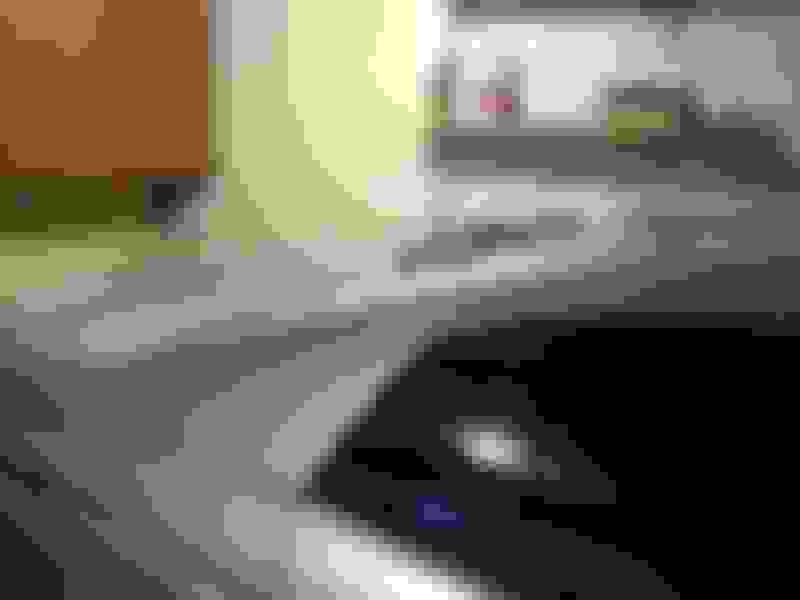
I installed a navtool, along with a 4 way switcher connected to an IncrediSonic IMP150+, an iPod/iPhone video cable, and AUX audio (3.5mm) for any guests who want to plug in their phone/ipod. 4 way switcher still has 1 slot open for something else
Still using my existing rear cam so i just plugged that into the Navtool, and wired up a switch so I can turn on the rear cam anytime I want.
And..... I bought a sarona roof spoiler, Cree fog LED bulb (same as Frosty LED I'm using for DRL), like new 07/08 door sills (maybe I'll cut up my 04 ones to make them illuminate?).
And last but not least, I have plans to do the roof in 3M 1080 gloss black when it gets warmer out.
The sarona roof spoiler is on the car, the sidemarkers are on the car, the LED fogs are on the car, the whole navtool setup is done.
I'll start off with the sidemarkers.
Since my original sidemarkers are still fully functional without problems, I did not want to hack them up, so I posted a WTB thread in search for dimmed-out sidemarkers.
Boosejars hooked me up - great guy =)
Once they arrived, I had the Oznium LED modules ordered which arrived shortly.
It basically requires you to replace the OEM board with the oznium LED module.
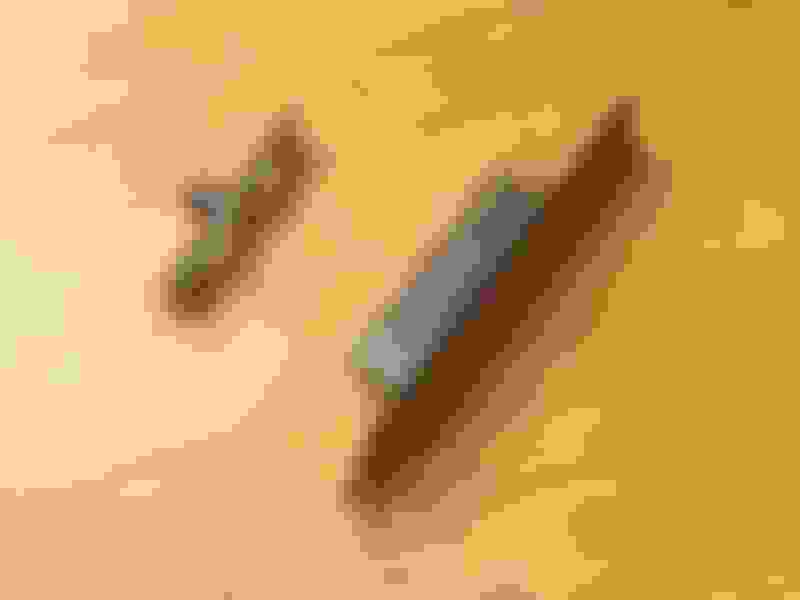
Sidemarker cut with a mini hack saw
Desoldered the OEM LEDs and used the OEM board for the oznium module to sit on (opposed to making my own board out of a light switch cover like jptl04 did). Also used 3M tape for it to sit higher and above the screws.
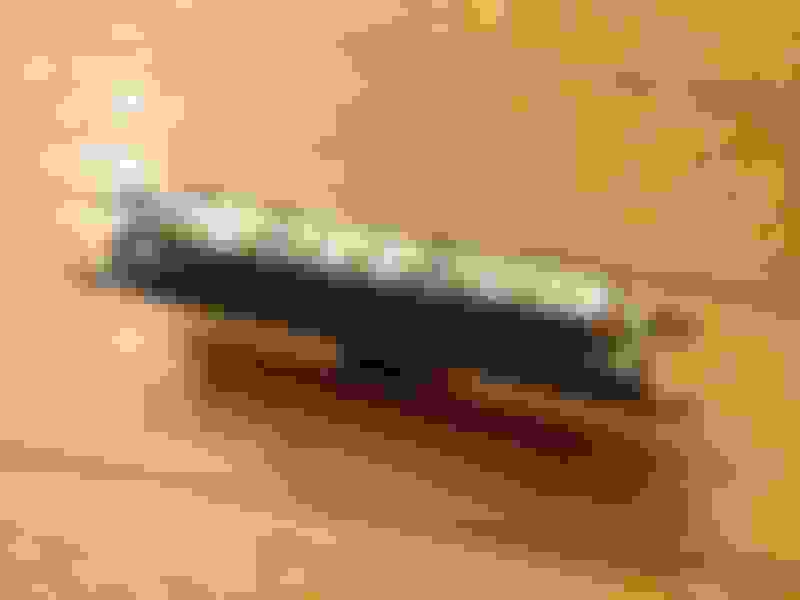
Everything was a tight fit and difficult to close the sidemarkers together - trying to make the wires fit, and shaving down the sides of the oznium LED module.
I was pretty satisfied with the results.
Couple things that really bothered me, though.
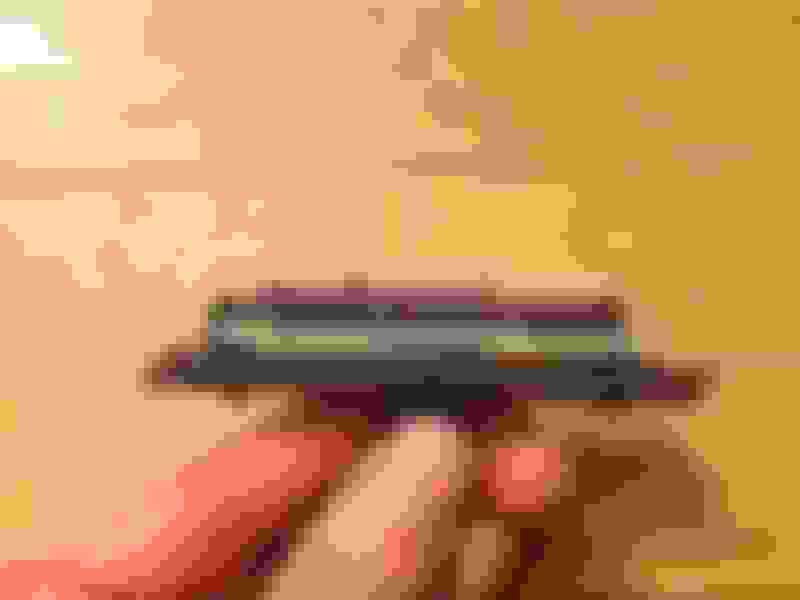
There were no hotspots from the oznium LED module. It was like one long light bar, which doesn't match the rear sidemarkers.
I was also displeased that the colour temperature was purple-ish white. In cameras it will look blue-ish, but in person they looked purple-white.
I think in these pics I just placed the LED module behind the sidemarker - they actually weren't mounted at the time but you get the idea of how it looks.
I was so set on keeping them the way they are - drove around with them for about a week. I got bugged by them so much, and luckily I came across my buddy paperboy's DIY on how to replace the LED chips on the OEM board to white ones.
That peaked my interest - OEM LED positioning (OEM hotspot look), plus I can choose which colour temp LED bulb to buy.
The DIY basically requires you to unsolder the OEM bulb and solder in the new one, along with removing all the OEM resistors and replacing with a 330 ohm one.
I ordered the white LEDs off of LighthouseLEDs.
They arrived, and I went to work.
Since the OEM LEDs were already removed from the board, all I had to do was unsolder the resistors and use a 330ohm one.
Resistors unsoldered
New resistor in place
LEDs soldered on
Board soldered back onto the sidemarker
I absolutely loved it. I was a bit disappounted that the colour temperature was still purple-ish, similar to the oznium LED modules.
Sorry, no pictures of the final product of this.
I have another spare set of sidemarkers, so I put the OEM orange bulb and white bulb together just to see how it looked just for kicks.
It actually looked really cool - so I'm making a set for my friend spatel83.
I figured once I make an order for the amber bulbs, I might as well make an order for some more white bulbs. Placed the order on Lighthouse LEDs again.
They arrived, and back to work I went.
To my surprise, the amber bulb was really reddish/orange. This is totally illegal, looks almost like red.
Also the white LEDs that came in were whiter than the ones I originally ordered. We'll call these white LEDs "batch #2".
Hoping third time's a charm, I ordered "yellow" LEDs and "Pure white" LEDs from a different site this time: SuperBrightLEDs.
Here's a comparison.
Basically I have 3 different "white" LEDs.
Batch 1 - Most blue
Batch 2 - Less blue, more white
Batch 3 (Pure white from Superbright LEDs) - Pure natural white
Verdict was, the pure white from SuperBrightLEDs was too "pure white" for me - I didn't use them for anything
I ended up swapping the white "batch 1" LEDs on my sidemarkers to the "batch 2" white LEDs from LighthouseLEDs. Not too blue and not too white. It was perfect.
This is where I would insert the final product of my sidemarkers, but they're on my car and I want to wait to reveal everything
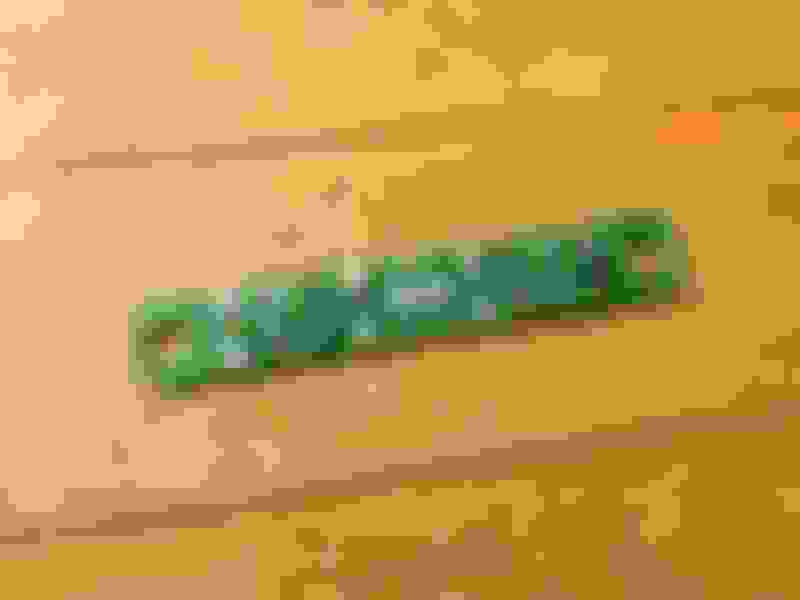
Here's a picture of the "hybrid" sidemarker.
A 390 ohm resistor was used in place of the 330 ohm resistor to take into account the different forward voltage of the orange LED.
It consists of Lighthouse LEDs batch #1 (spatel83 wanted more blue so it would be dimmer to not outshine the orange), and the "yellow" LED from SuperBrightLEDs.
That's it for today - I'll update with another post of the sarona roof spoiler another day, and the LED fogs.
Sorry if this post was boring to read, I'm not great at documenting things "excitingly" as some people on here, but hope you guys enjoyed it a bit.
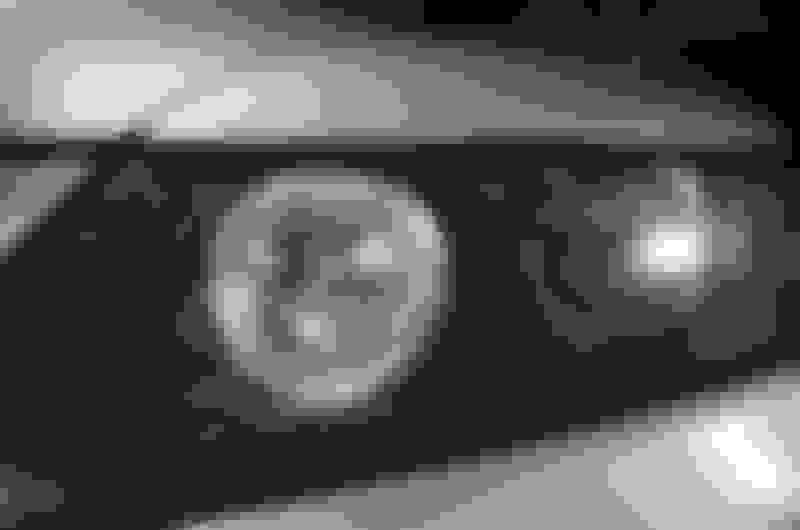
I ordered these fog bulbs in January and they took a month to arrive.
I got them for around $45 shipped from China.
These are the same bulbs as the "frosty" bulbs, which I'm also using as my DRL.
Only difference is that the frosty bulbs came in it's "official" package and these bulbs came in a generic brown box. Oh, and the price was different too, I paid around $80 for the frosty bulbs from gtlighting-usa.
I broke the 2/3 tabs on one of the bulbs.
For some stupid reason I forced the bulb counter clockwise trying to install it
I ended up having to take off my bumper because one of the tabs fell into the fog light.
Off the bumper went, and I held the bumper facing the sky so that the tab would fall out the fog bulb hole.
After using q-bond, all better now.
As usual with these aftermarket bulbs, the seal isn't as tight.
I noticed there was condensation on the inside of my fog light (which I've never seen before in the 5 years I've had the fogs).
I'll have to take off the bumper again sometime and replace the seal or something to make the fit tighter. Maybe some teflon tape. I should also electric tape the connections, I didn't do that when I installed them.
Last edited by guitarplayer16; 03-07-2016 at 01:22 AM.
I found a sarona spoiler on a facebook group from a guy in NJ.
It was vinyl wrapped in carbon fiber, with so many wrinkles. I thought it was just a bad wrap job.
We agreed on a price, and I sent payment and he realized I used my US border address (which is not PayPal verified). He turns down the deal even though I told him he shouldn't be worried
Anywho, I still wanted the spoiler really badly just because it was rare.
akplaya92 helped me out. I had the spoiler shipped to his address, then he shipped it up to my border address. In the end, I paid double the price of shipping for this spoiler basically because the seller didn't trust me.
I picked up the spoiler from the border once it arrived.
I drove home and immediately removed the carbon fiber vinyl he had on there.
This revealed a badly finished layer underneath.
The paint must of reacted badly, and caused wrinkles along the spoiler.
These wrinkles were along the whole back side:
The top was wrinkle free, however.
I decided to pry and chip away at the wrinkles to see what's up underneath.
You can see how the base coat I was able to chip off most of it.
The base coat separated from the primer coat so easily.
The primer coat however adhered to the base material very well and was difficult to chip off.
Thankfully, the base material of the spoiler was fine.
The paint it had on it was kind of cool, like a fake carbon fiber.
Decided to place it on my car.
Two things were noted: The sarona does not have edge to edge fitment.
It doesn't even have glass edge to edge fitment on the window. About a 3mm gap on each side, from the spoiler to the end of the window.
Nothing I can fix, just have to remember when mounting it to keep everything centered.
Second thing I realized is how high the spoiler sits with the roof.
Did some research and jptl04 shaved it down with a hand planer to get a flush look.
I brought the roof spoiler to my good friend at the body shop, he sanded the messed-up finish smooth so I can wrap it
Then it was time to shave this thing down.
I spent several hours shaving it down.
Here are some before pictures.
You can see how it tapers towards the end, I matched that end taper's height throughout the edge. Overall, I shaved the whole edge down to 3mm.
Test fit.
I then wrapped it with 3M 1080 Gloss Black.
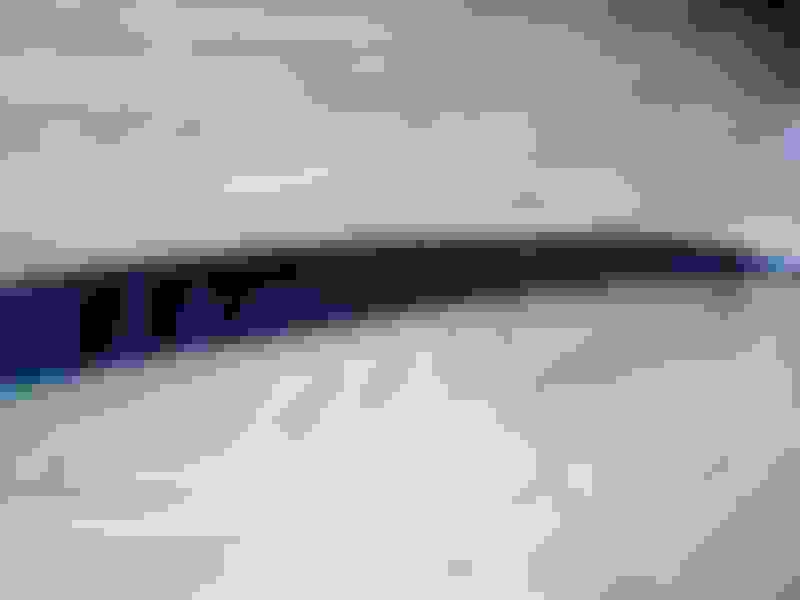
You can check out how flush it looks now in these pictures.
You can also see how thin the edge is, like a knife.
The only downside is that you can see the 3M tape underneath the spoiler now. This is caused by the shaving down of the roof edge, which throws off the angle of how the rear edge sits.
Shave roof edge (top) down = bottom edge angled up, not sitting flat on the glass.
I don't know if it bothers me enough, but I believe to fix this, I have to shave down the bottom edge so it sits flat against the glass and not angled up.
Another downside of this is that the 3M tape isn't making full contact with the glass.
Hopefully tomorrow the black roof goes on, everything is so close to coming together.
Cheers guys
Last edited by guitarplayer16; 03-07-2016 at 04:41 PM.
I ordered the roll of vinyl, 6'x5' 3M 1080 Gloss Black off Amazon.ca, came to $113. Would have only cost around $65 if our currency wasn't so bad, but gotta pay to play . Currency doesn't look like it's gonna go back even anytime soon.
It arrived Monday and I started the install Tuesday night.
It was "warm" out. At least to me. Outside must have been around 2 degrees Celsius. I can't say what temperature it was inside my garage, but I felt like it was warm enough to do the install.
I started by clay barring the roof, and removing the roof antenna.
I set the entire vinyl across the roof.
Seemed like I bought the perfect amount. Not too large, and not too small.
Since I was installing this myself, I taped down the front half.
Then I flipped the rear half over the front half and peeled away the backing and cut off the backing of the rear half.
Then I put the rear half back onto the roof.
Repeated the same process to remove the backing from the front half.
After trying to work with the vinyl for 3 hours to remove wrinkles, I gave up. One of the problems was my roof spoiler being in the way also. I had to spend time to remove it once again (each time I remove the spoiler it costs $10! for a new roll of tape ) I was pulling the vinyl like crazy and still got wrinkles each time I tried to flatten things down with the credit card wrapped with a towel.
I got so frustrated, but I decided to try wrapping the sharkfin and that crazy curved object took no time inside the house.
Day two, Wednesday.
I started by lifting the vinyl with no heat to try to remove wrinkles, that was a bad mistake. I ripped the vinyl, part of the vinyl stayed on the roof when I was lifting it. Ripping the vinyl was the first thing I did that morning.
Despite ripping the vinyl, I had to stay positive because it was my birthday too. I said I'll worry about it later and work on the other corners. I ended up being able to get the technique down and finished 3 corners without wrinkles. The technique was to put my left hand under the vinyl while my right hand is constantly switching between grabbing the heat gun and smoothing down the vinyl.
I ended up with a bunch of vinyl on the passenger front corner.
I knew I wouldn't be able to smooth it out by myself.
Popee came over, he helped me heat up the corner while I worked out the wrinkles.
I needed his suggestion of what to do about the rip. It was either pull the rip over so that silver isn't showing, or patch it with new vinyl. We ended up cutting the ripped section out and patching it with new vinyl.
Tucking the vinyl in the front was easy, and tucking the rear was even easier.
Thursday morning. Time to tuck in the sides.
I couldn't remove the roof molding.
I started by removing the clip at the bottom of the windshield, and tried to get access to the clips along the windshield but there was only like 2 mm of room to detach the clips. Didn't have patience to do all that.
Used two credit card method. One to lift the seal on the roof molding, one to shove the vinyl under. Took a long time, maybe 20 minutes per side.
Two things that I learned:
Don't install in weather colder than 15 degrees Celsius. The vinyl is so rigid and stiff it's hard to work with. I bet if it wasn't so cold, I would have been able to work with it and stretch it without the heat gun just like they do on YouTube.
Another thing I learned was that two people definitely make it easier.
It's definitely doable by one person (only if the weather is warm), but two people makes everything easier.
Looking back, the only downside to the install was the rip because stupid me didn't heat up the vinyl before trying to lift it. That was my fault for trying to lift the vinyl when it sat in the cold overnight. If the rip didn't happen, my roof would be close to perfect.
Overall, the install wasn't perfect, but definitely a good lesson and I'm still very happy with the outcome.
When the Sarona was off the car, I wanted to deal with the visible tape once and for all.
I ended up using a "step" layer on the roof edge for more contact, and used half butyl and half 3M tape for the glass edge. Although butyl is crazy sticky that it rips skin off fingers, I don't trust it along the entire edge to hold the roof spoiler. The tiny line of butyl hides the tape.
It is back on the car and everything looks very amazing.
I can't even describe how much I love the new look.
I thought for sure you were paying someone for that nightmare...someone with experience and probably a heated garage
but in the end, it worked out and it looks great and you did it yourself for pretty cheap! What kills me is the ability to mess up, get frustrated and have to scrap $100...that price on a successful project isn't bad, that price for a balled up heap of sadness and frustration in the trash would suck the saltiest and sweatiest of balls.
 01-08-2016, 09:19 PM


 at least someone quickly agreeing?


 . Currency doesn't look like it's gonna go back even anytime soon.


 ) I was pulling the vinyl like crazy and still got wrinkles each time I tried to flatten things down with the credit card wrapped with a towel.