When you click on links to various merchants on this site and make a purchase, this can result in this site earning a commission. Affiliate programs and affiliations include, but are not limited to, the eBay Partner Network.
So I got my Aspec front and rear lips in and installed those! The box came to me in bad shape (thanks UPS...) but I inspected them and took them home.
Took about 2 nights of work with a friend but we got both lips on (and also paint matched roof lip spoiler and trunk lip spoiler).
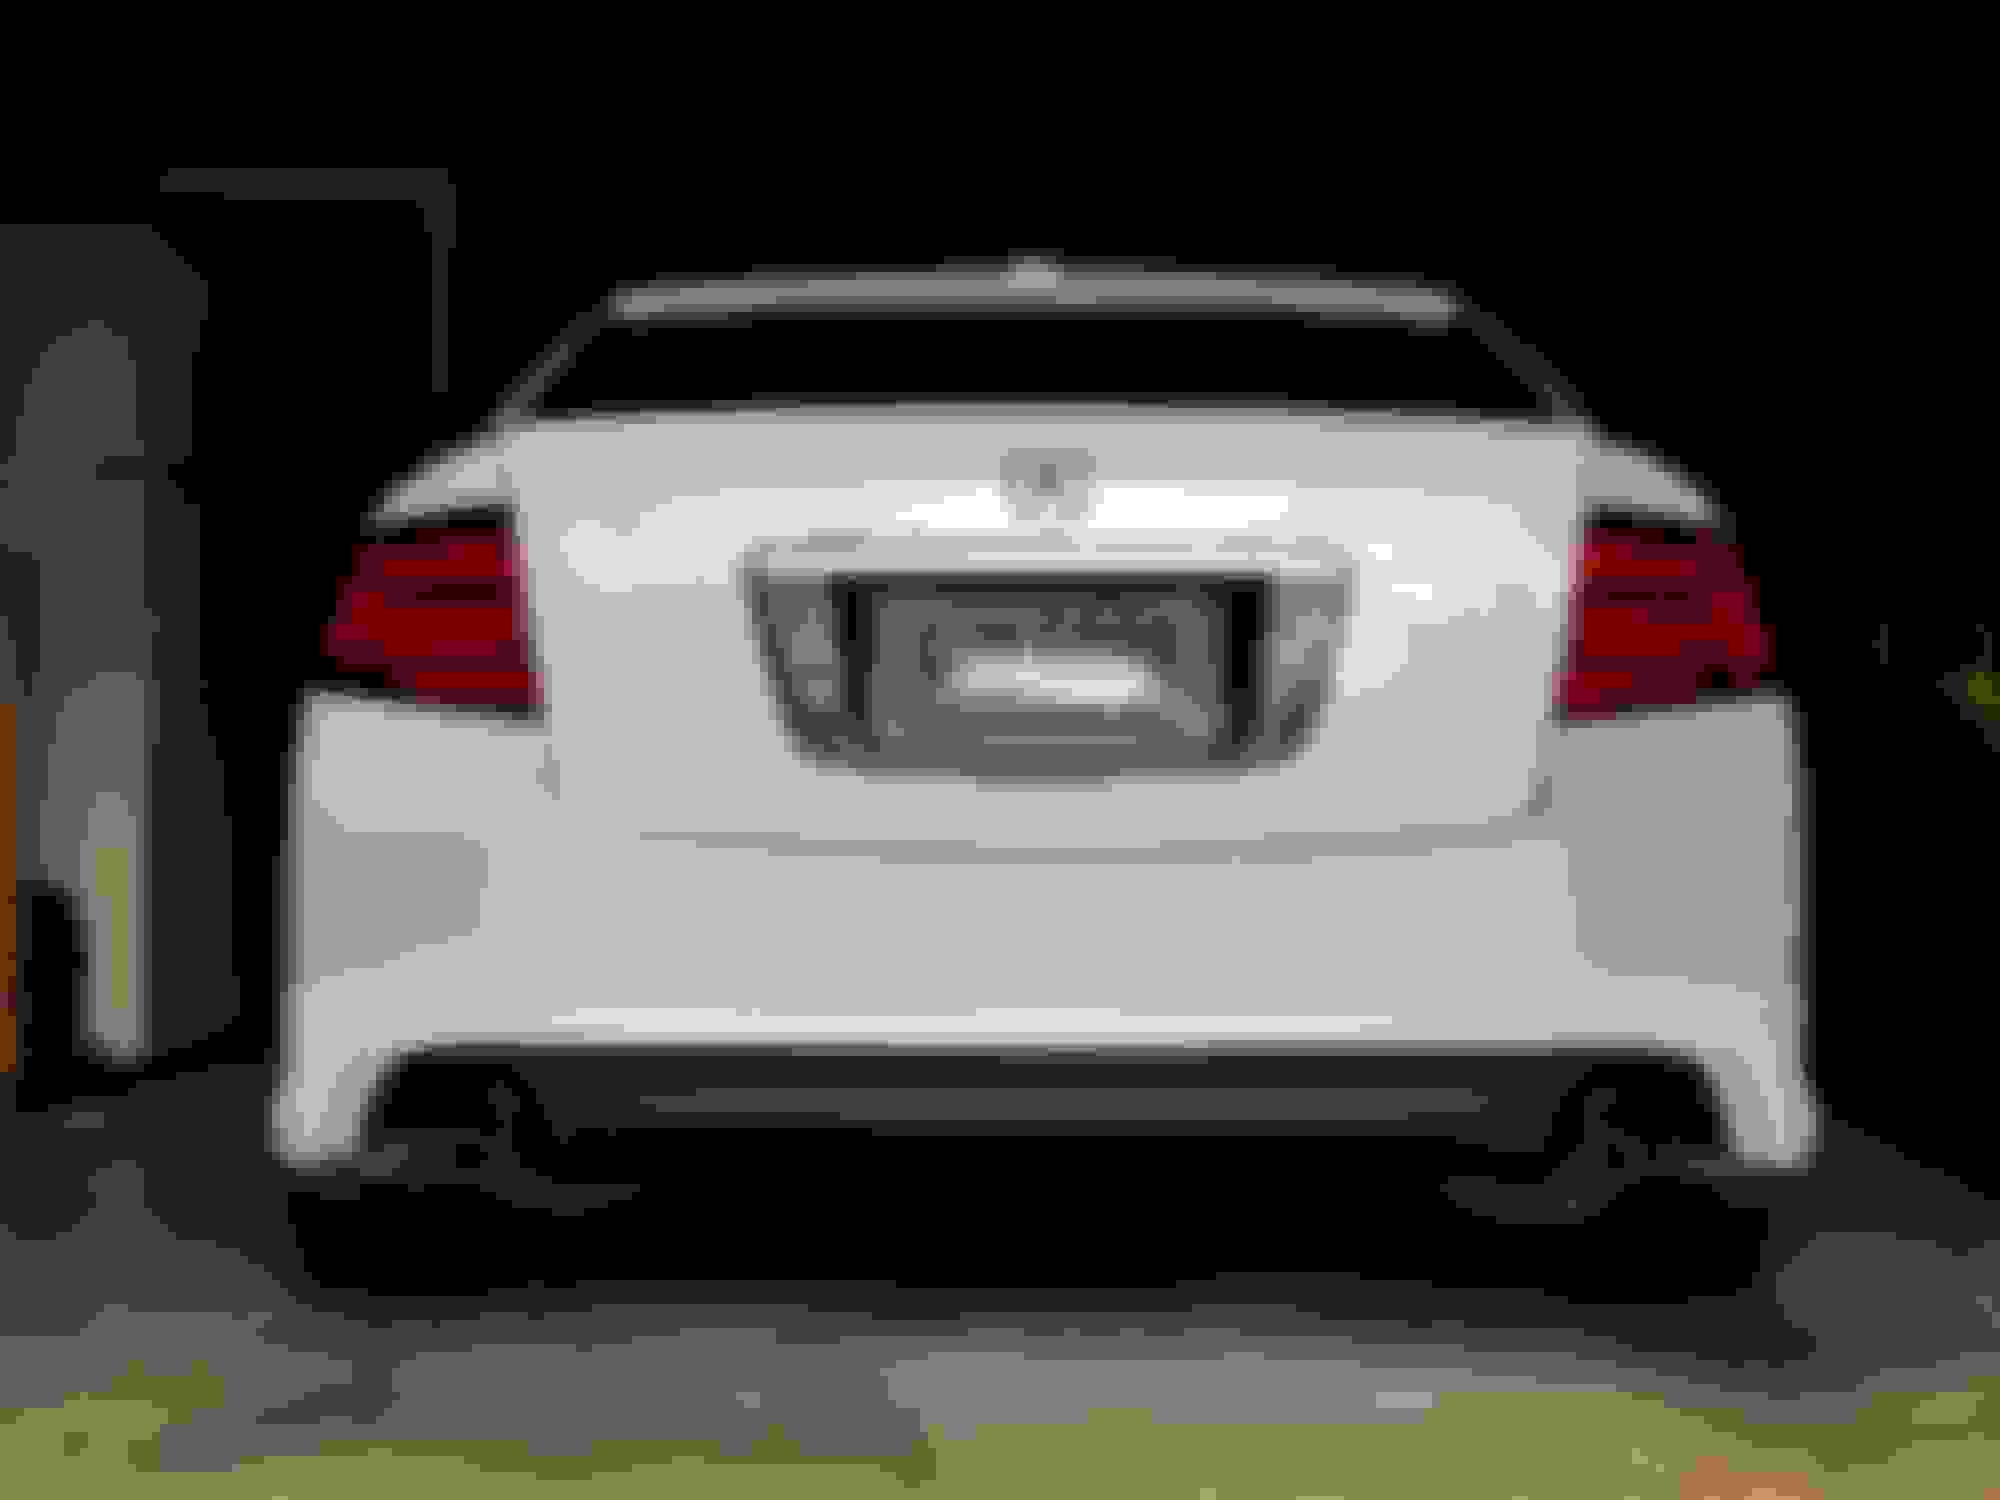
Mmmmmm gotta love the sunken in exhaust tips on the Aspec rear lip. After months of searching I located a set of exhaust tips that retained a "OEM+" look to them much like Jeremy's exhaust tips on his NBP car had. I had to order them from Russia (!!!) and they were the only set listed anywhere; the seller didn't even know what they were for but the measurements checked out. I took them to a local exhaust shop and spent 3 hours trimming and aligning the tips to my desired specs.
The final product... (Inner portion where the tips meet the inner piping will be painted satin black to match the inner tip color and hide the connection to look more OEM)
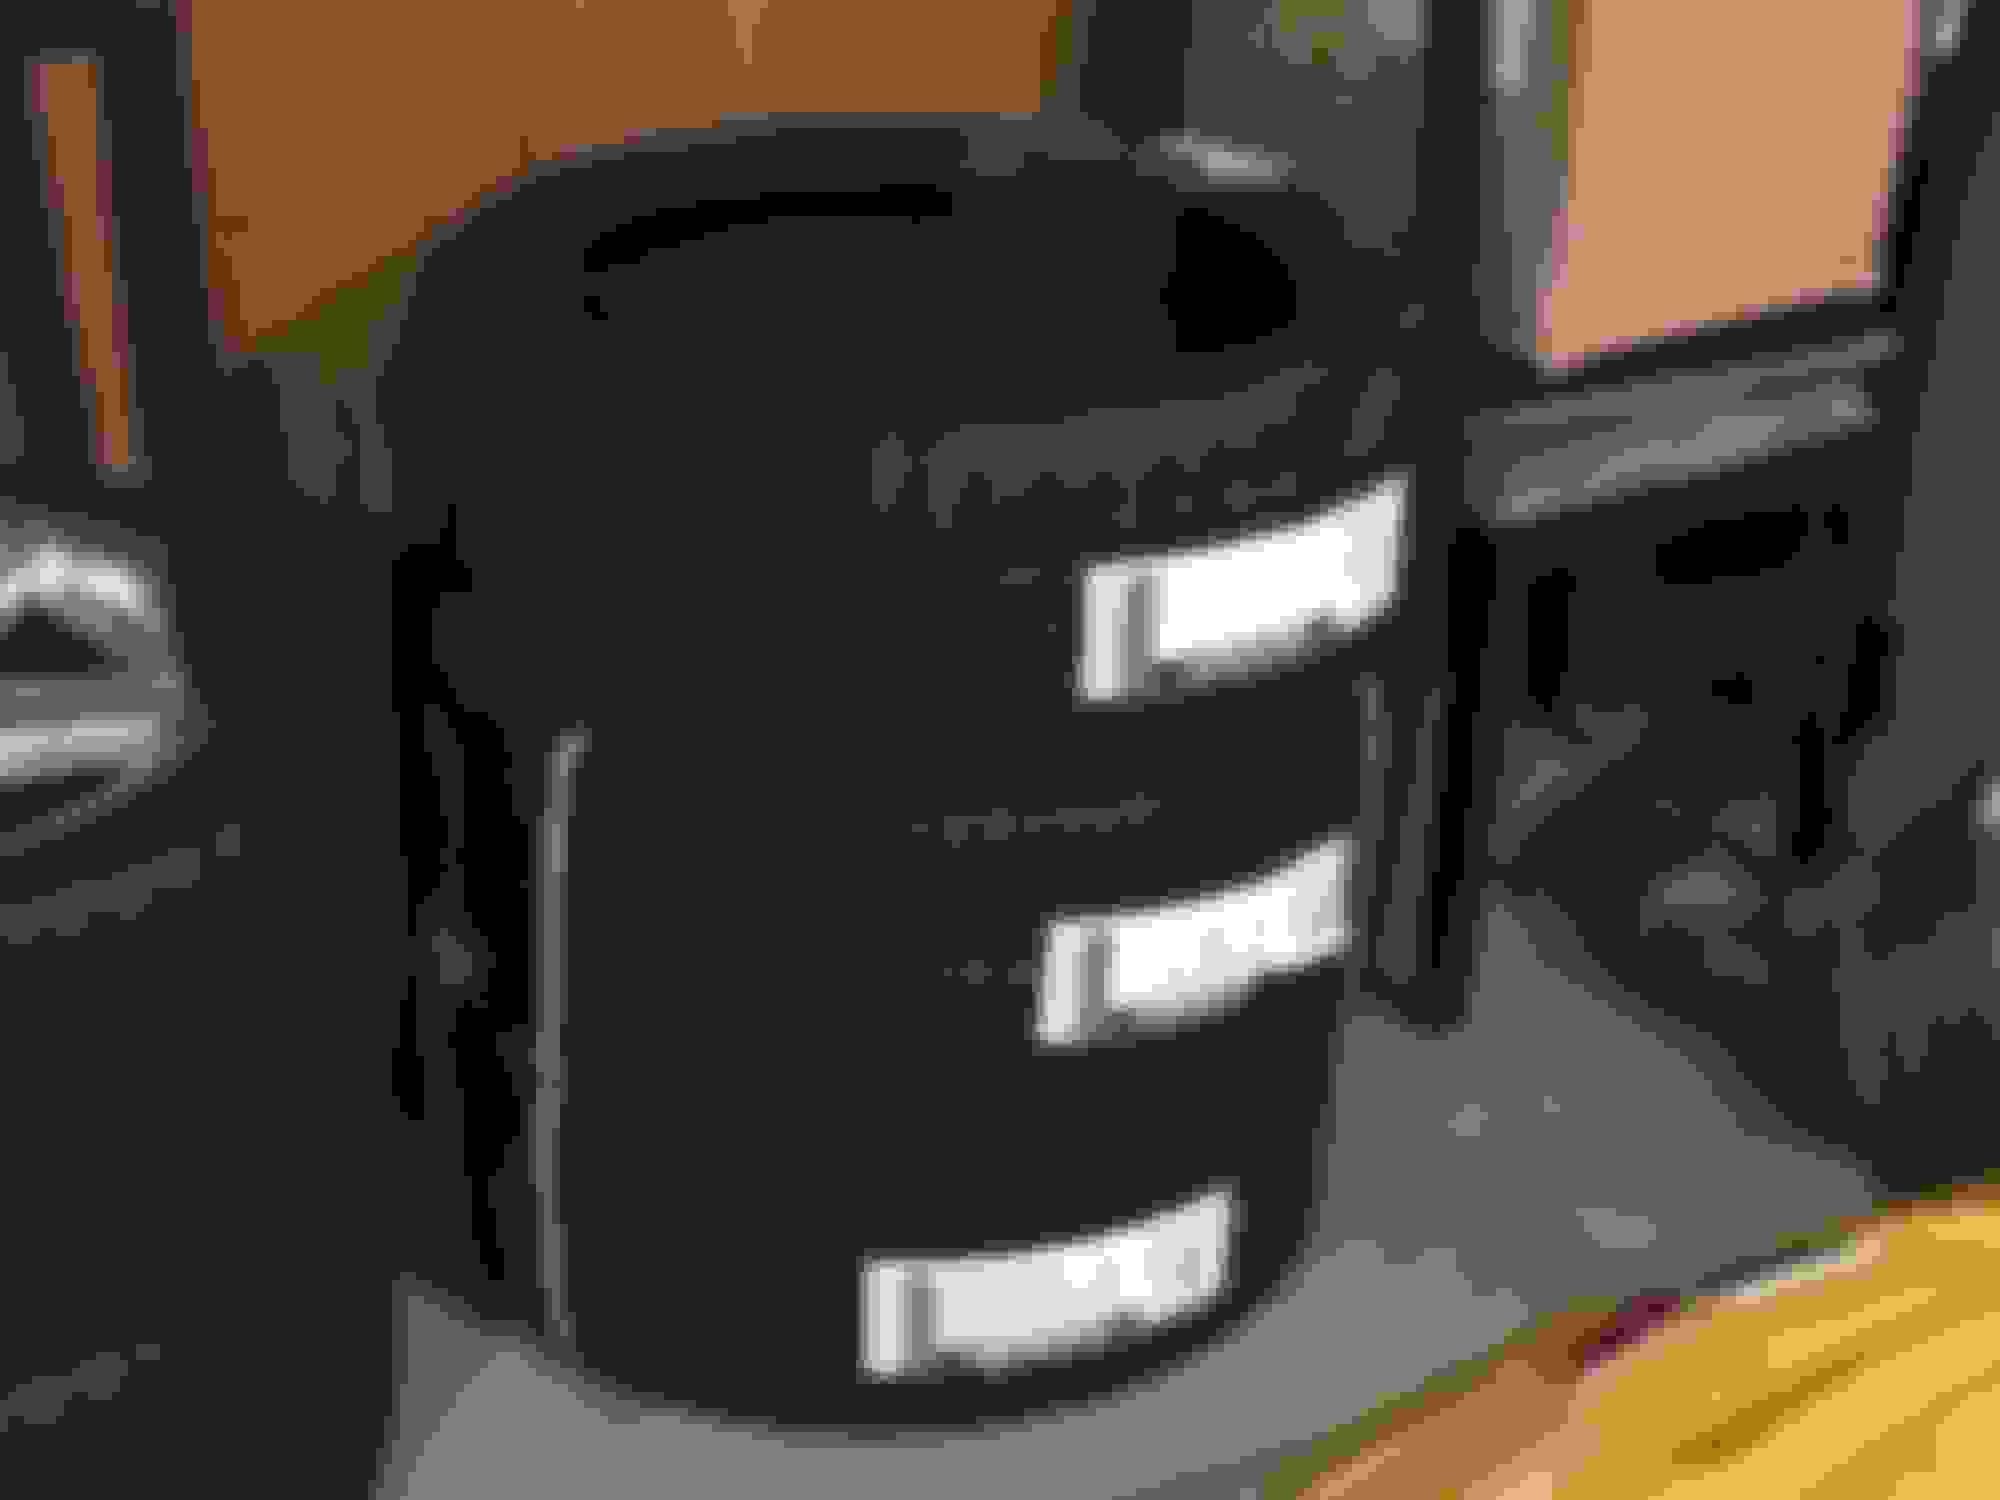
Tires also came in for the new wheels, got these on close out off Tire Rack for $350 for all 4 and the last 4 in the nation! (I had the last one to stack on top, I ordered 4, I promise.)
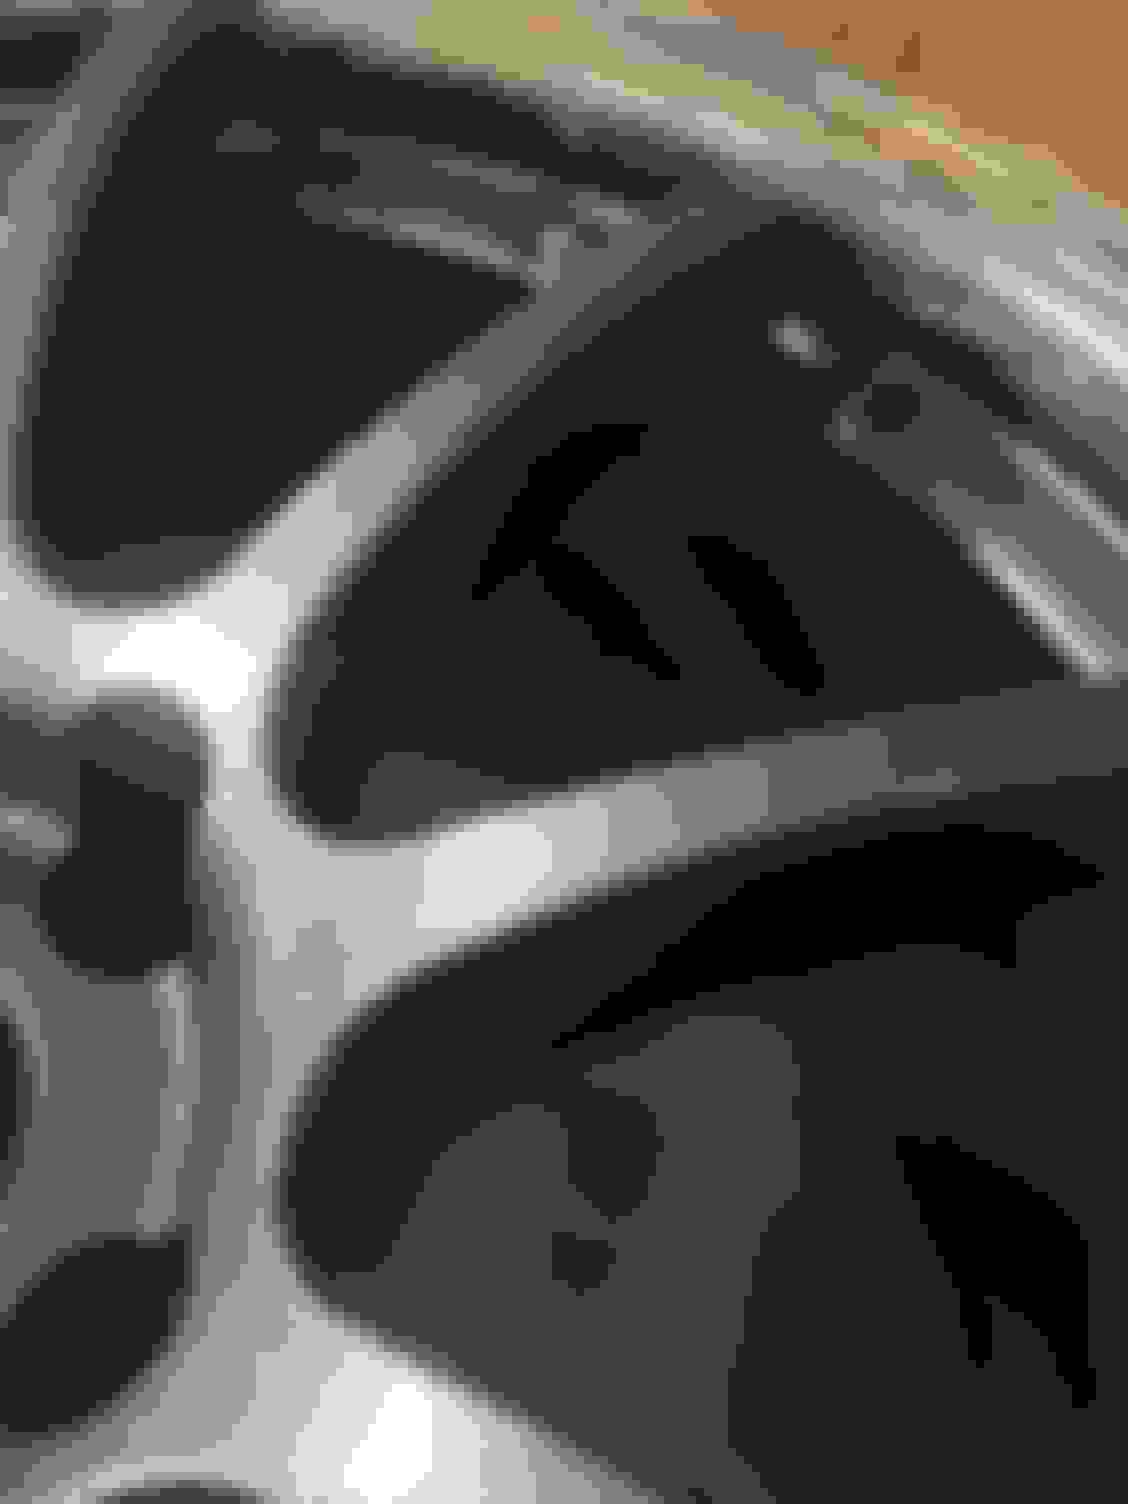
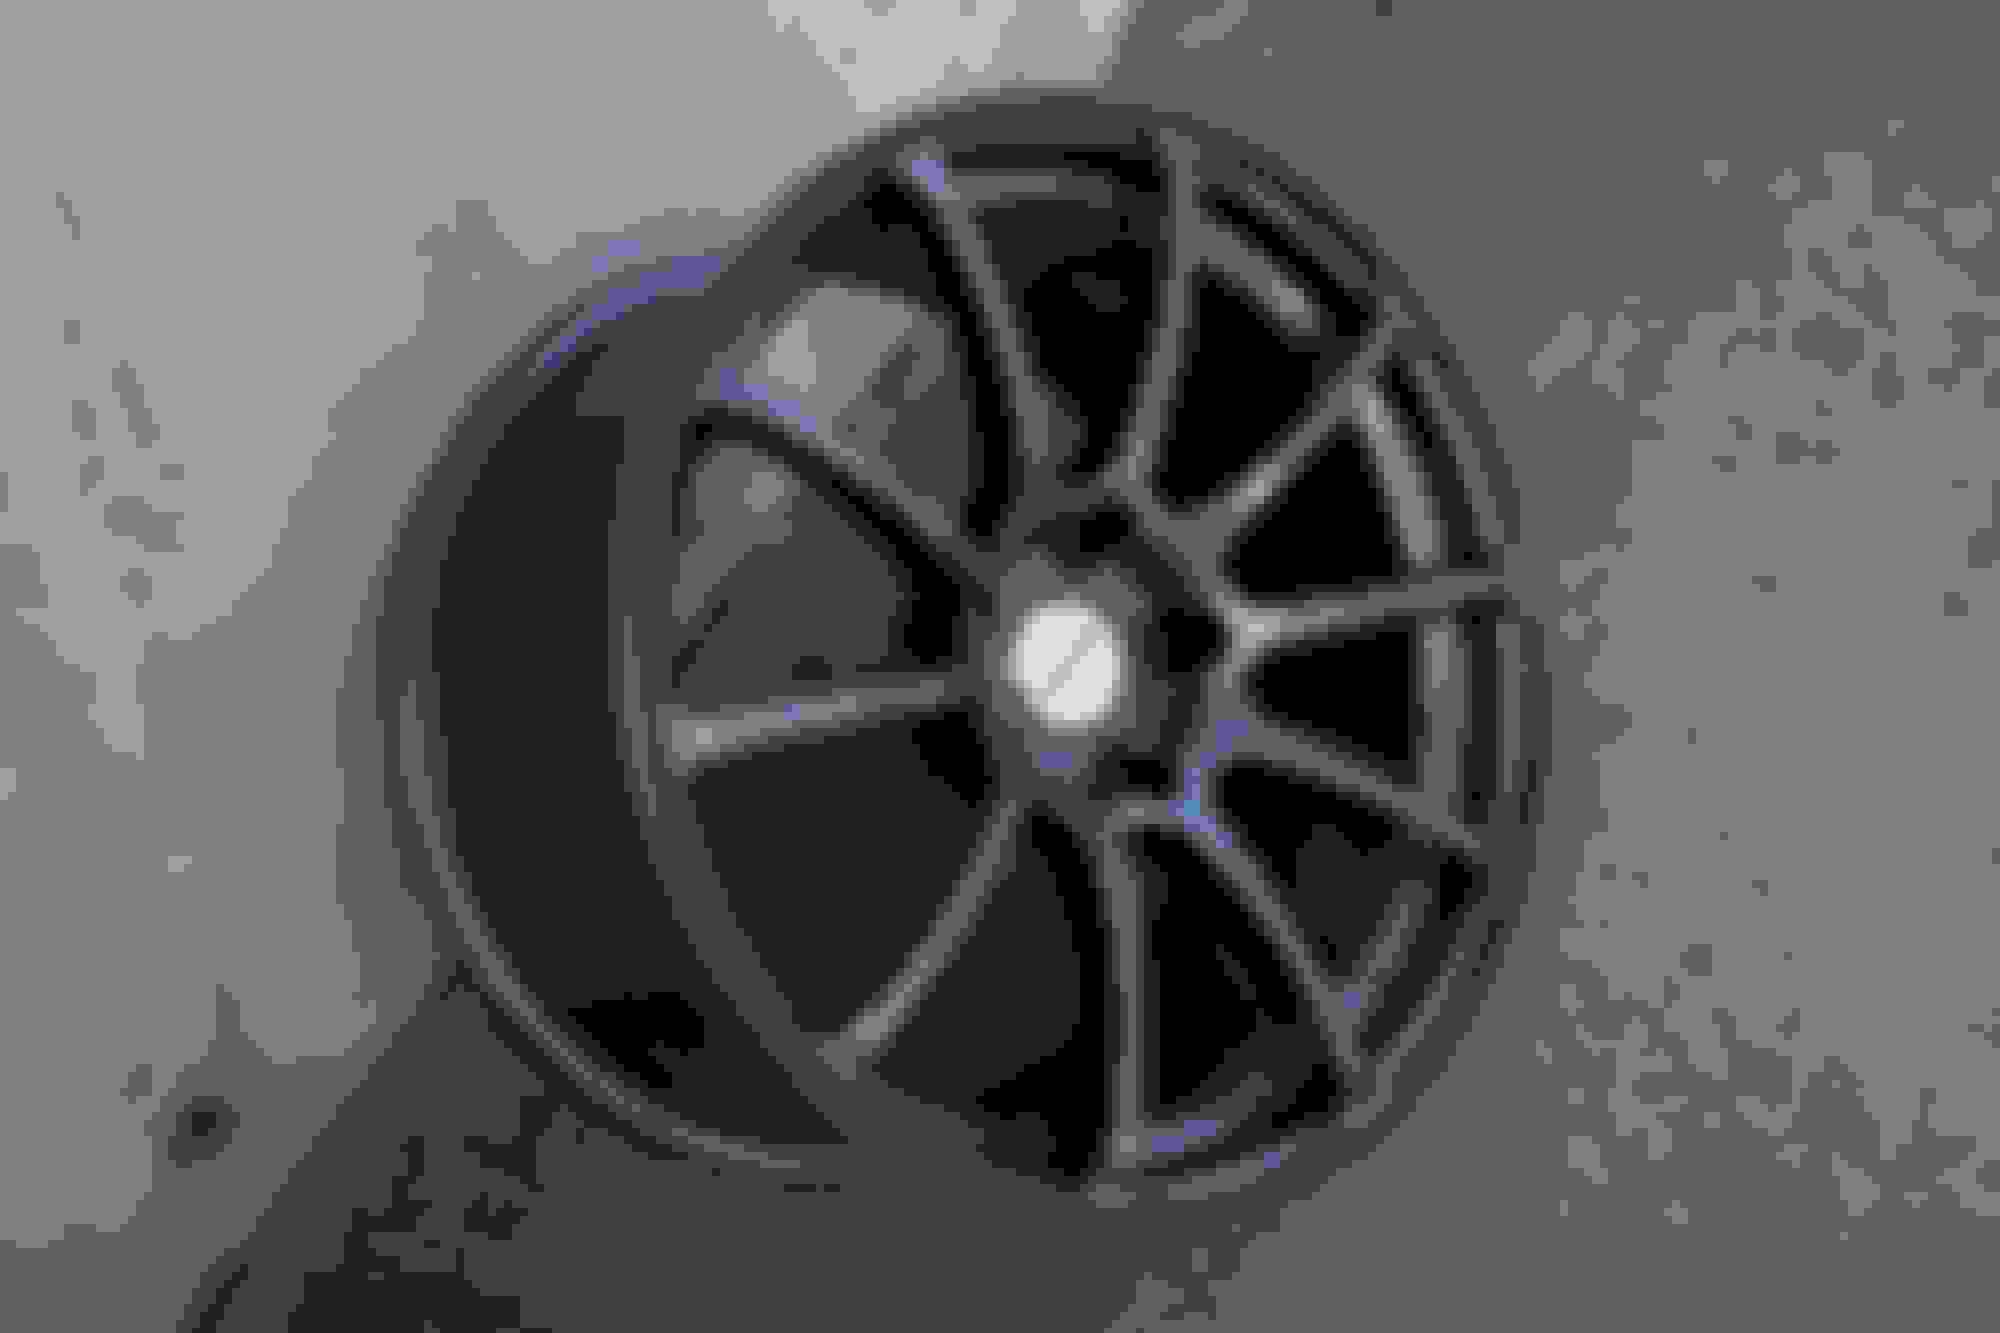
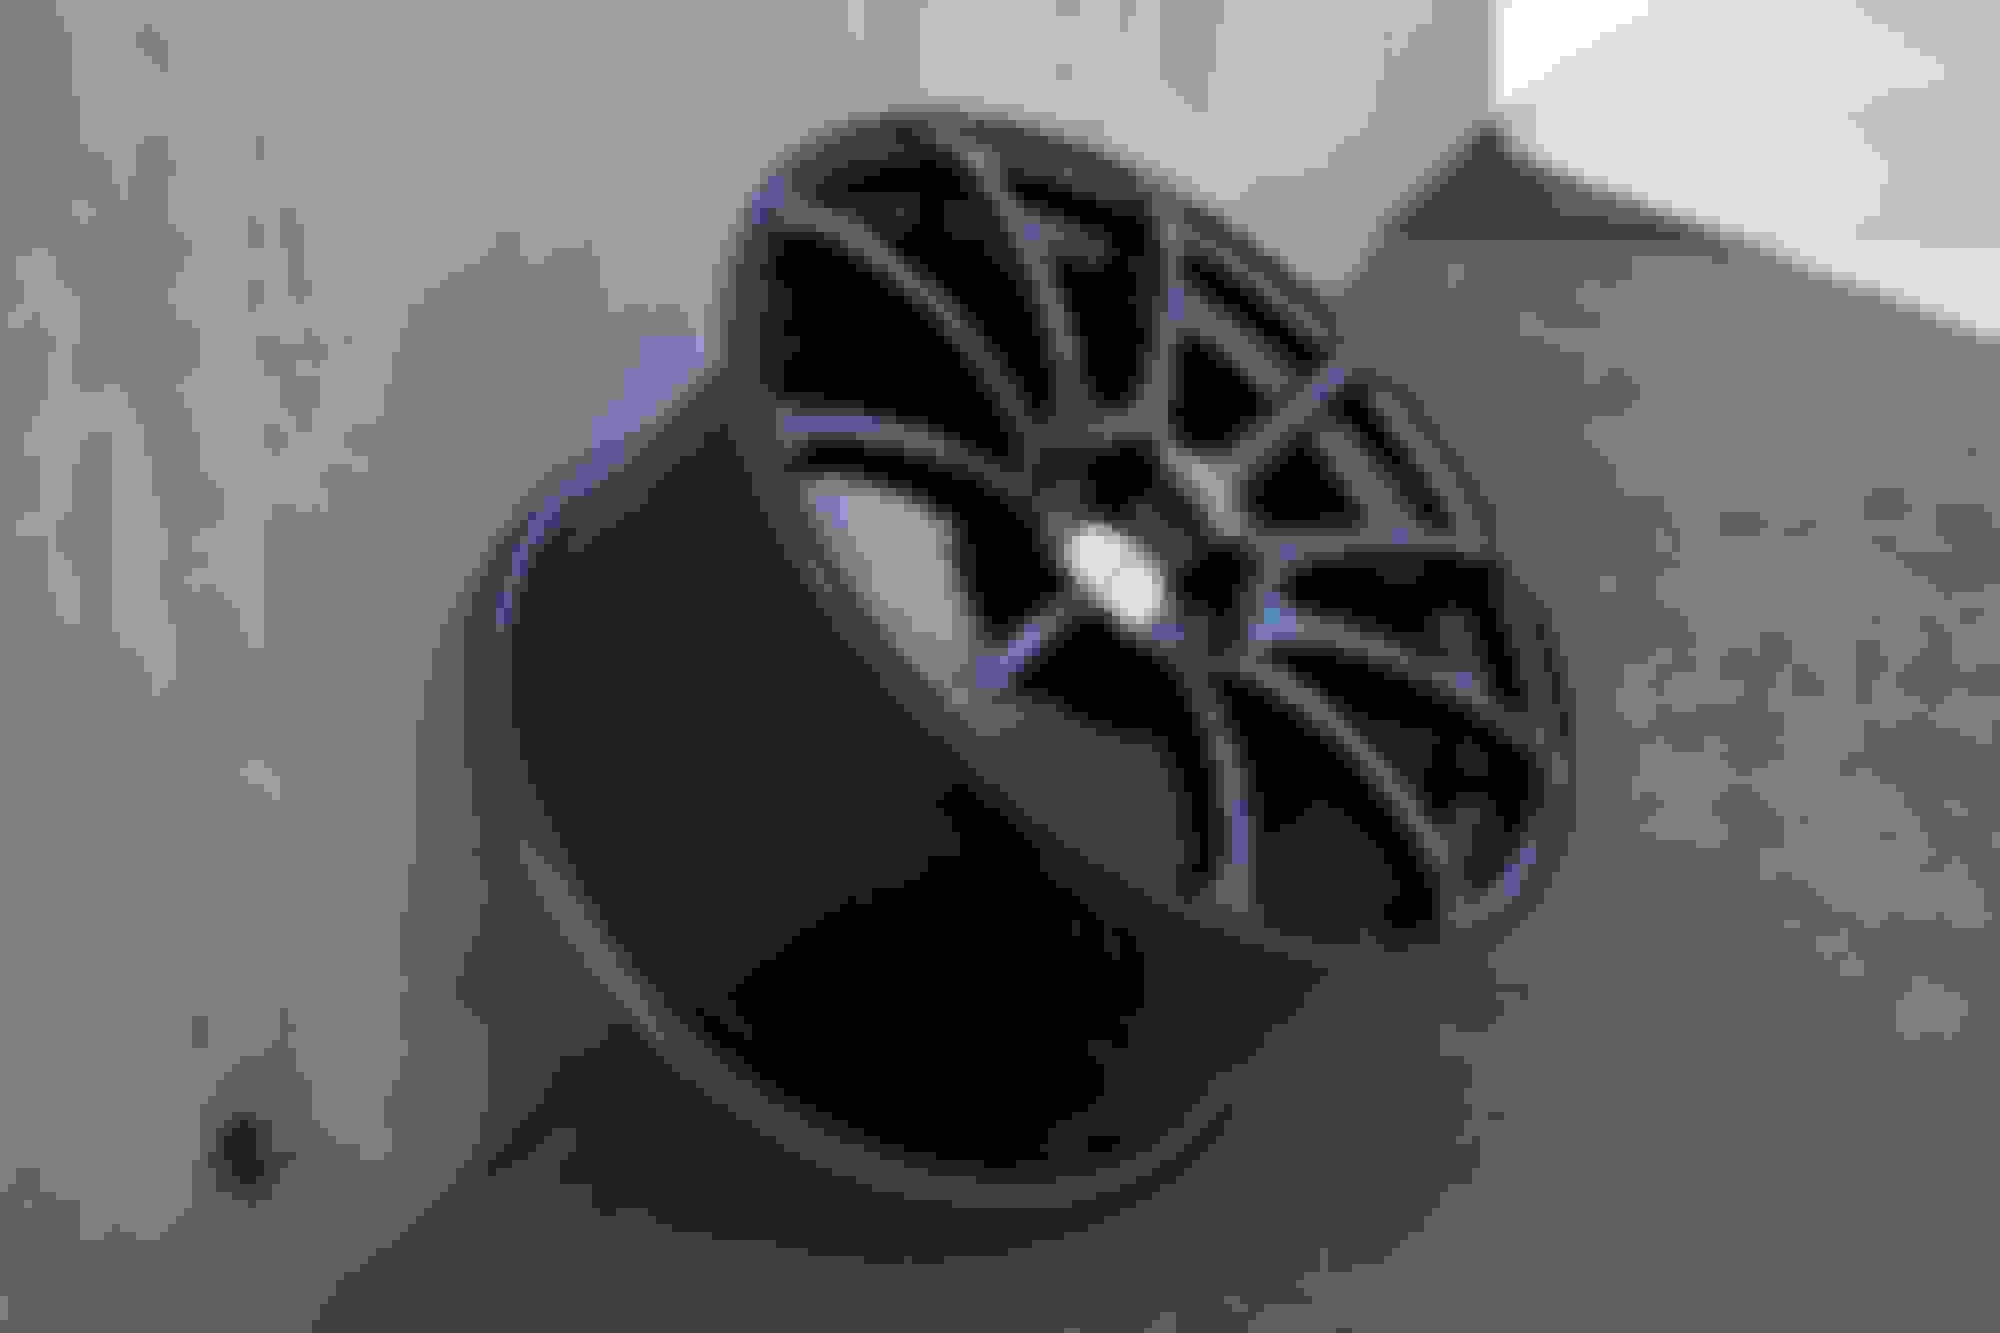
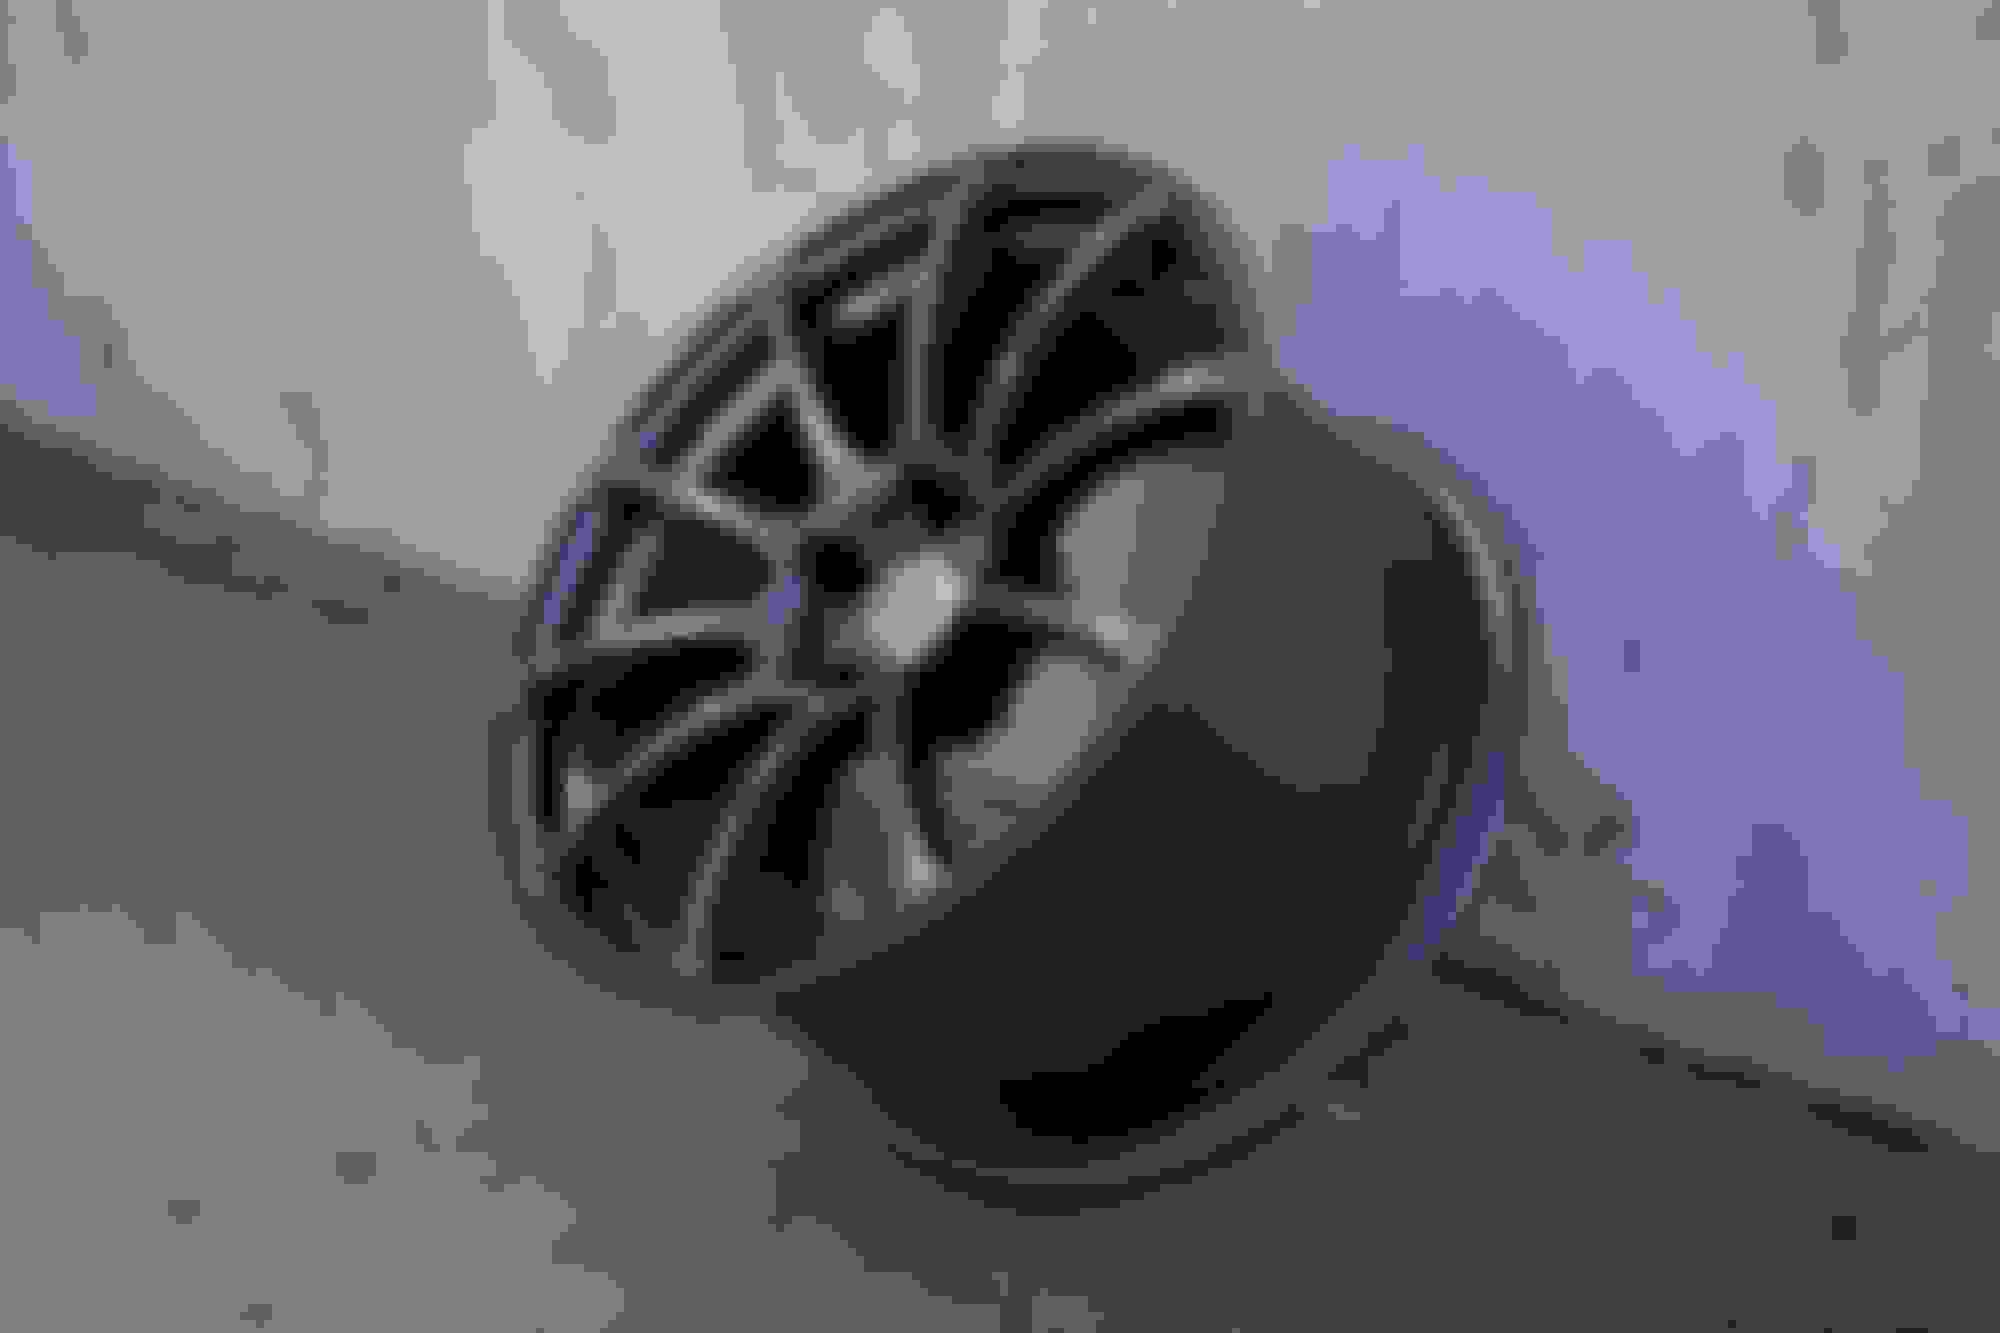
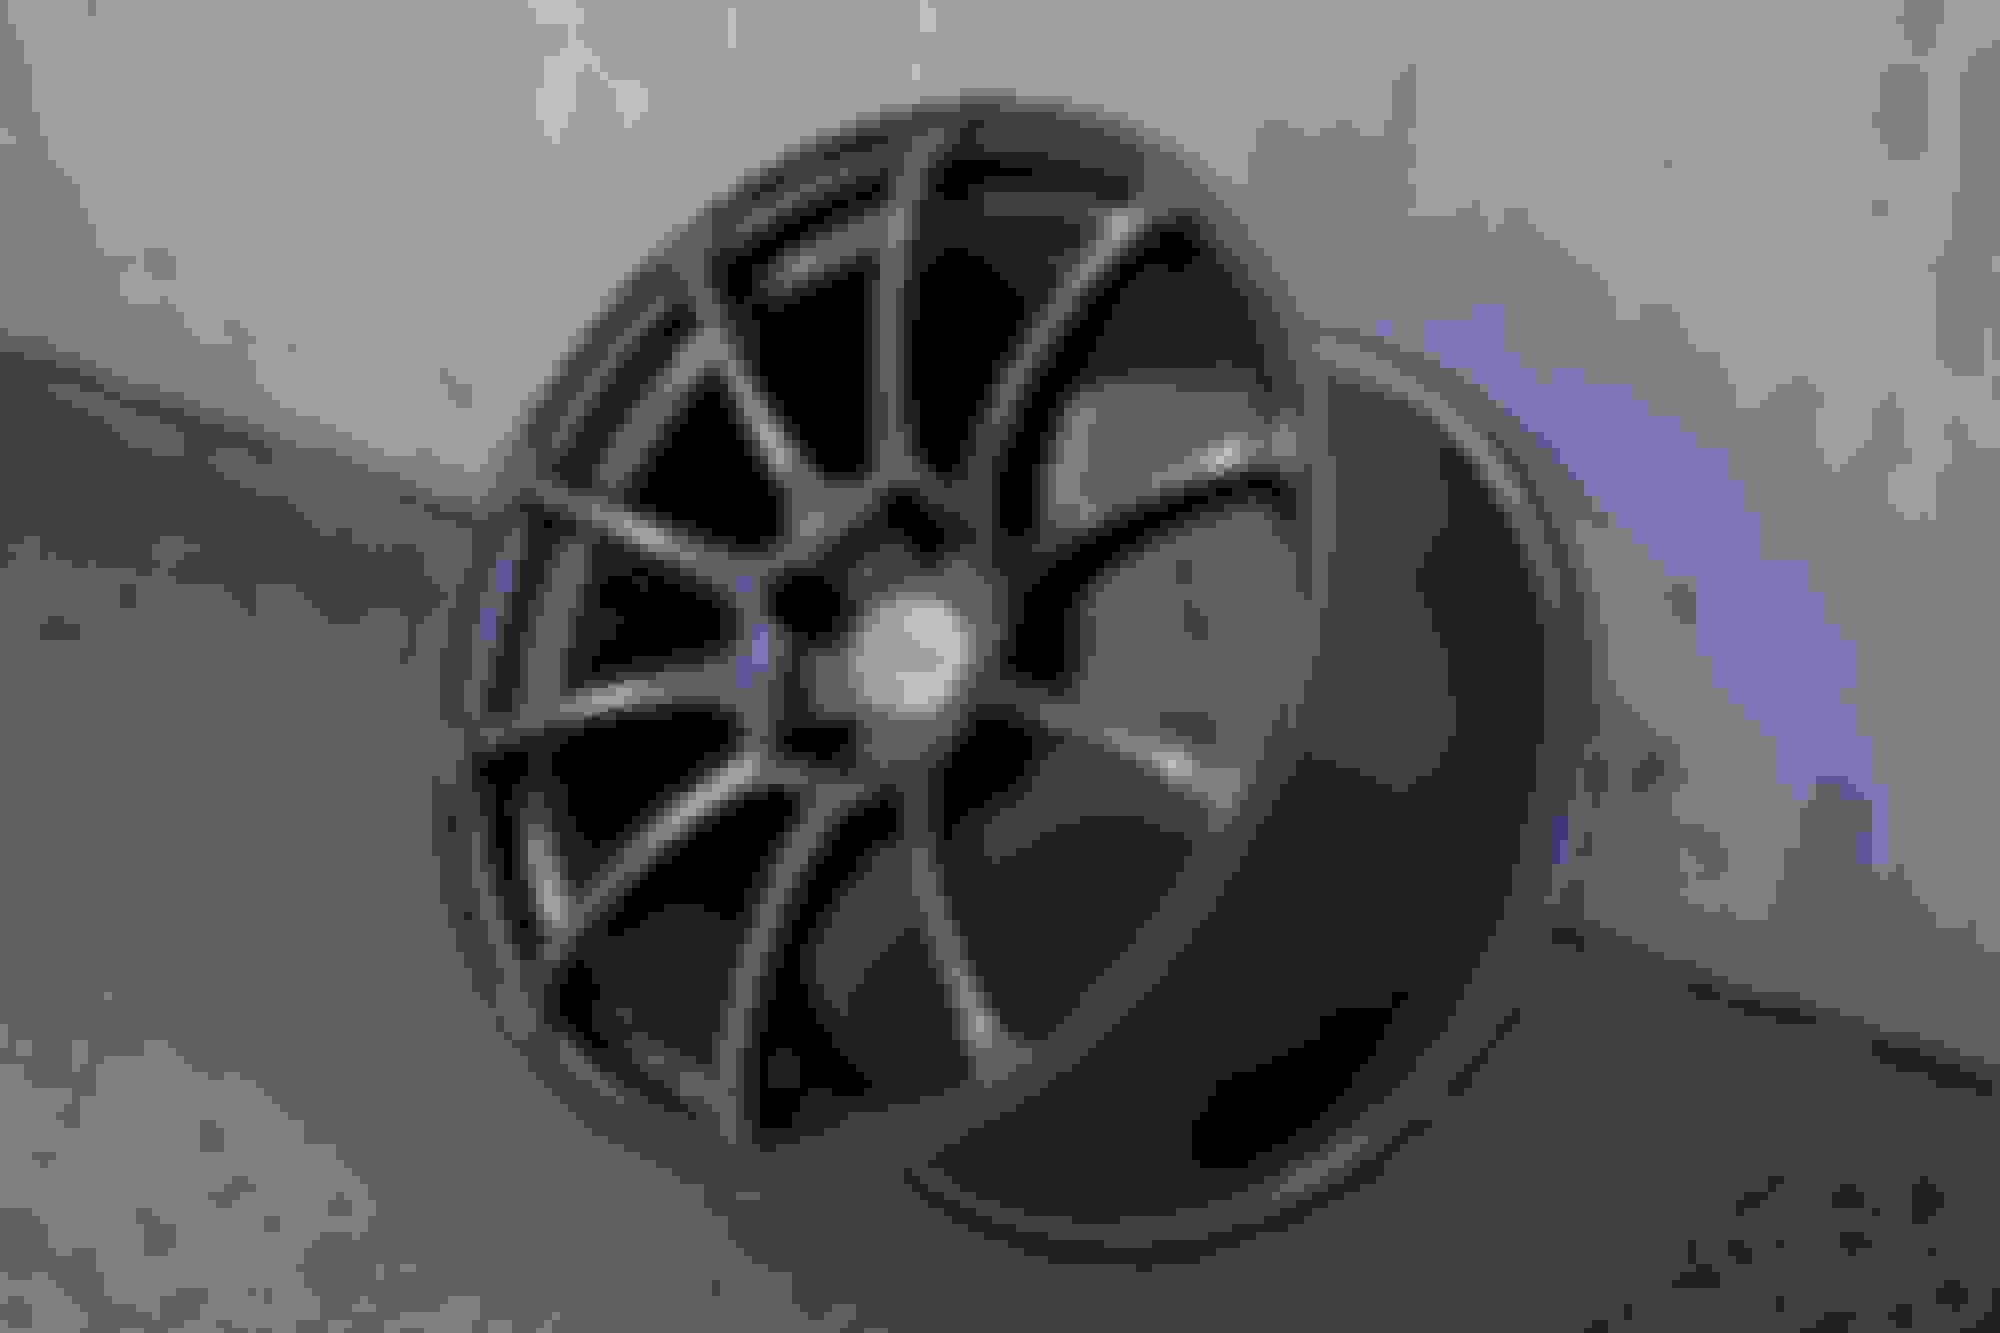
I also got pictures from the wheel company showing me my complete wheels! They shipped out yesterday and should be here next Wednesday according to tracking! Apparently they came out well enough that they had their photographer take pictures of them. I hope these work together with my WDP paint and yellow brembos like I was hoping they would.
I also placed an order for custom headlights to be done. A member of the Chicago TL group does great work on custom sets of headlights and I hate the base headlights enough that I finally pulled the trigger on a set of Type S headlights to be done up. These are the exact setup I'll be doing (NOTE: not my car but the headlights will be identical). My headlight bulbs are fairly new (dealer replaced them just before I bought the car) but I'm considering getting CBI's - should I bother or just leave my OEM bulbs in the new headlights? I am after the best usable light, these headlights will have the ZKW-R mod done to them and I'm curious as to how well the CBI's would stack up against OEM bulbs behind these new lenses.
Coming together very nice. Not sure if I like the tips, but maybe they look better in person! Keep it going. can't wait to see the wheels!
Thanks Breezy, the tips are polarizing without a doubt.
I know most go for quads but I wanted to break away from the crowd a bit here and keep a similar style to the OEM tip but fill out the Aspec exhaust opening better.
When the wheels come in and the headlights are on I'll break the DSLR out and actually do a shoot of the car, hopefully I can capture how the tips actually look in person. @mdnborg saw them in person at a Chicago TL meet after seeing pictures I sent him and said they looked a lot better in person. So maybe it's just something I need to actually break out the 'good' camera to properly illustrate - iPhone's are only so good.
new wheels look fresh man!! those were finished a lot quicker than expected! can't wait to see how they look with your setup.
i would 110% tell you to get CBI while you're doing all this headlight stuff. it's such a pain in the butt to switch them later on and if you are going with upgraded lens and the full works, why not put in the best bulbs on the market? To me it's a no brainer! also you can sell your newish oem ones for a decent price on our fb group and probably only end up paying half for the CBI's after it's all said and done. do it man!
Looking great dude! Glad I got to see the car in person finally. Now you just gotta tow the yellow one with the white one here lol. For real tho once the wheels are on I'll need to peep it right away; I'm super eager to see how it looks. We can all toss your headlights once j finishes them up.
new wheels look fresh man!! those were finished a lot quicker than expected! can't wait to see how they look with your setup.
i would 110% tell you to get CBI while you're doing all this headlight stuff. it's such a pain in the butt to switch them later on and if you are going with upgraded lens and the full works, why not put in the best bulbs on the market? To me it's a no brainer! also you can sell your newish oem ones for a decent price on our fb group and probably only end up paying half for the CBI's after it's all said and done. do it man!
Half of me didn't want to hear this but the other half of me knew it was coming. CBI's have been ordered via Amazon Prime and will be installed along with the new headlight housings this coming weekend. Wheels come in this coming Wednesday and will be mounted with tires and on the car by Thursday or Friday.
Originally Posted by mdnborg
Looking great dude! Glad I got to see the car in person finally. Now you just gotta tow the yellow one with the white one here lol. For real tho once the wheels are on I'll need to peep it right away; I'm super eager to see how it looks. We can all toss your headlights once j finishes them up.
Glad I finally got to see yours in person too man, like I said, it looks way cleaner in person than even your pictures illustrate. Bringing the yellow one and the white one out at the same time might prove difficult but the next trip I might bring the yellow one instead.
Once the wheels are on I'll be sure to post a few quick shots. But I'll really put effort into some shots after the headlights are on the car. I can't wait to see them when J finishes them up!
Half of me didn't want to hear this but the other half of me knew it was coming. CBI's have been ordered via Amazon Prime and will be installed along with the new headlight housings this coming weekend. Wheels come in this coming Wednesday and will be mounted with tires and on the car by Thursday or Friday
and you prob knew i was going to ask...
cant' wait to see when everything is said and done you'll have a top of the line headlight setup!
Also the front center grill color combination with the fog light grill looks perfect against white!
The car you're referencing isn't mine, those are just the same headlights I'm having done.
The headlights are being done by a forum member in Chicago for me.
Originally Posted by sockr1
and you prob knew i was going to ask...
cant' wait to see when everything is said and done you'll have a top of the line headlight setup!
I did know, I should've known better.
Last edited by Steven Bell; 07-17-2017 at 10:02 PM.
Reason: Merged Posts-Please use the Multi Quote Button (the middle icon) in the lower right hand corner of each post to make your responses look like this!
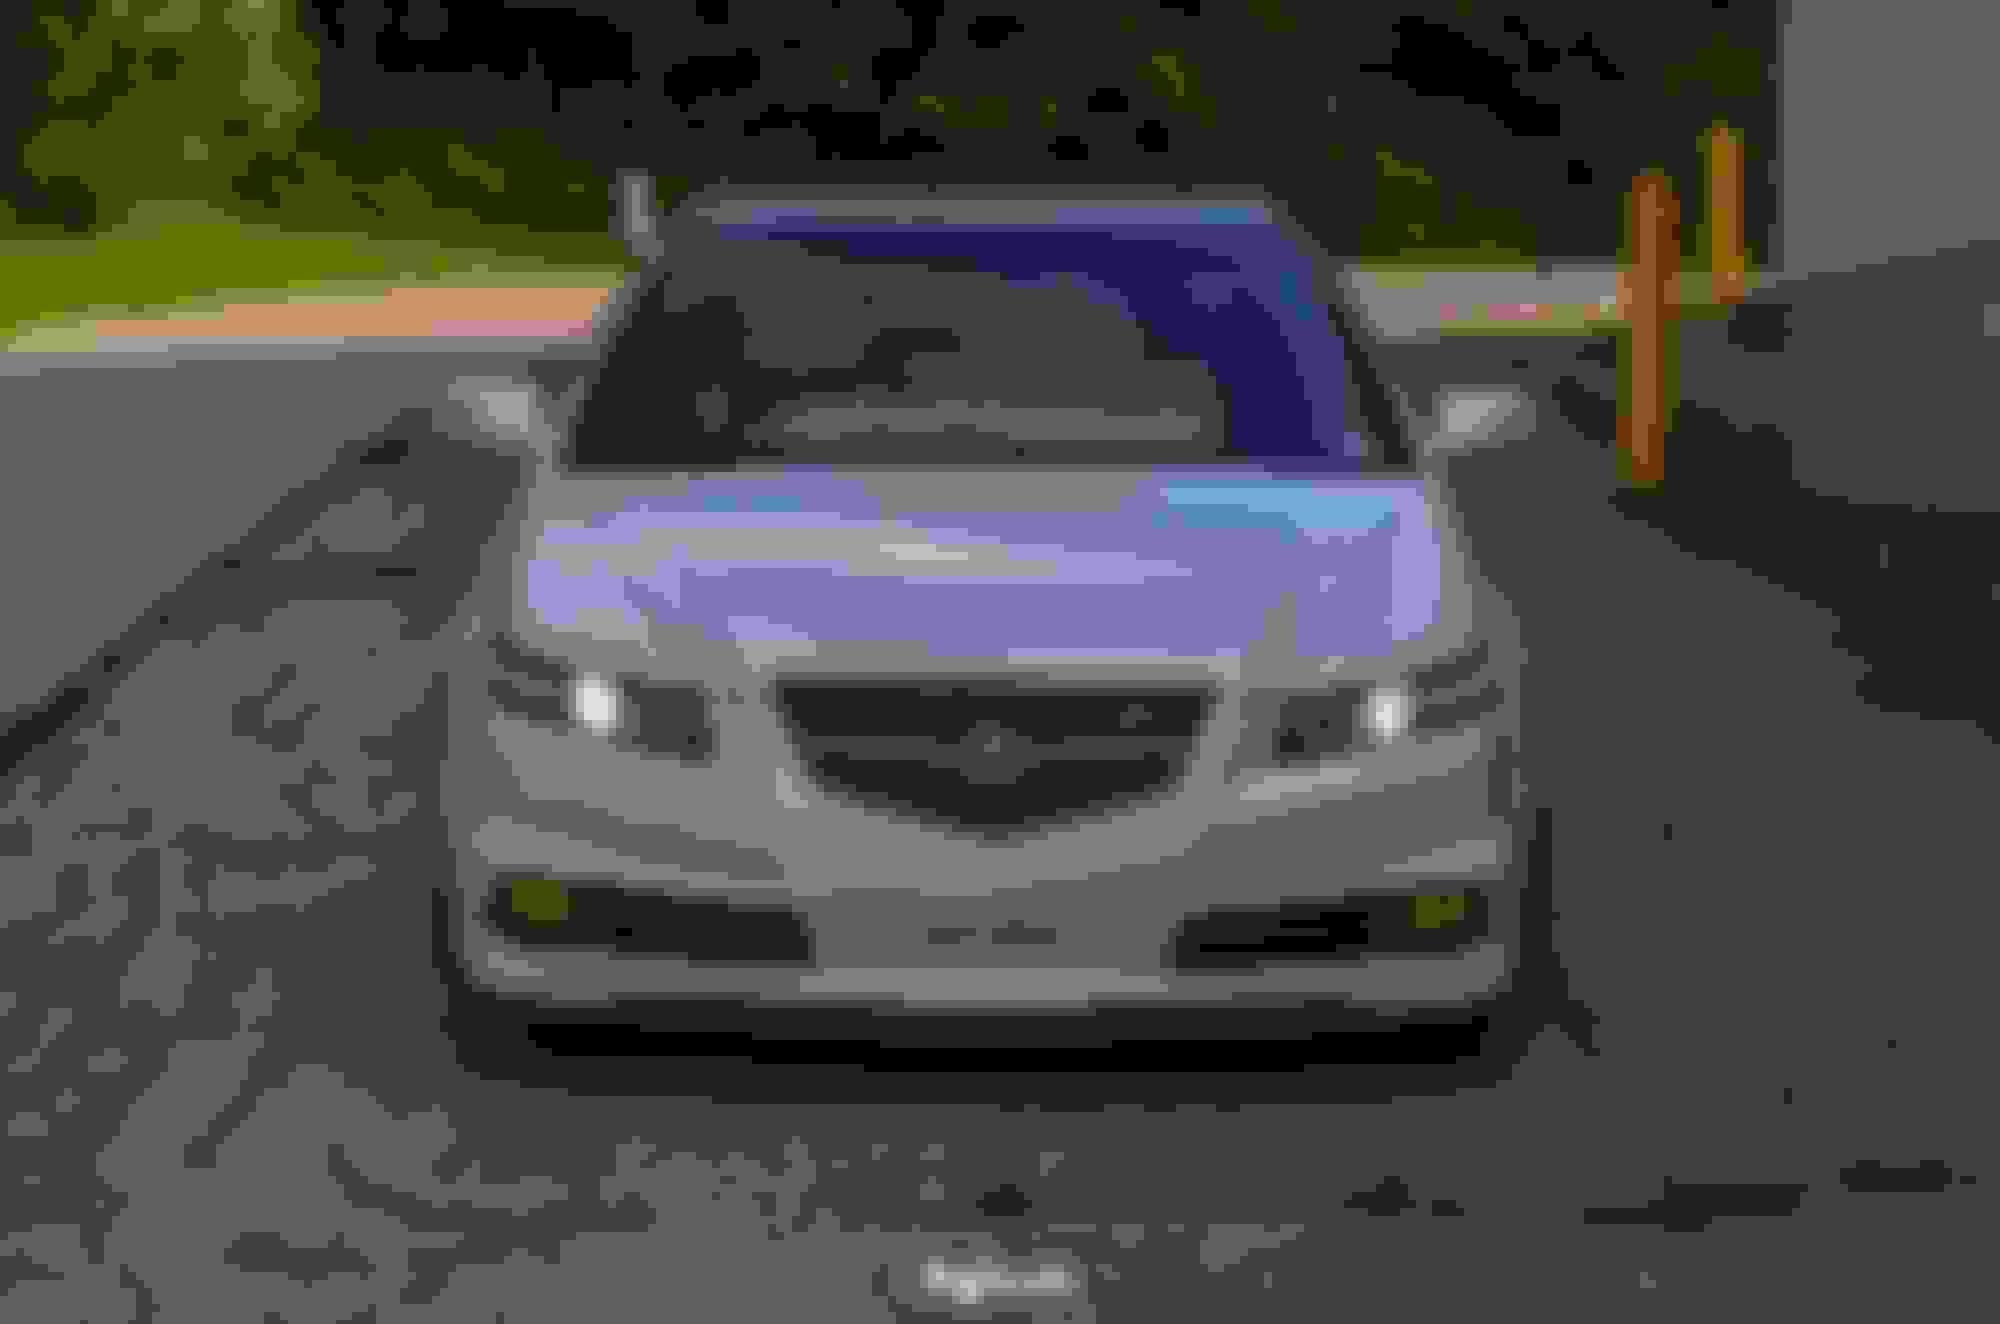
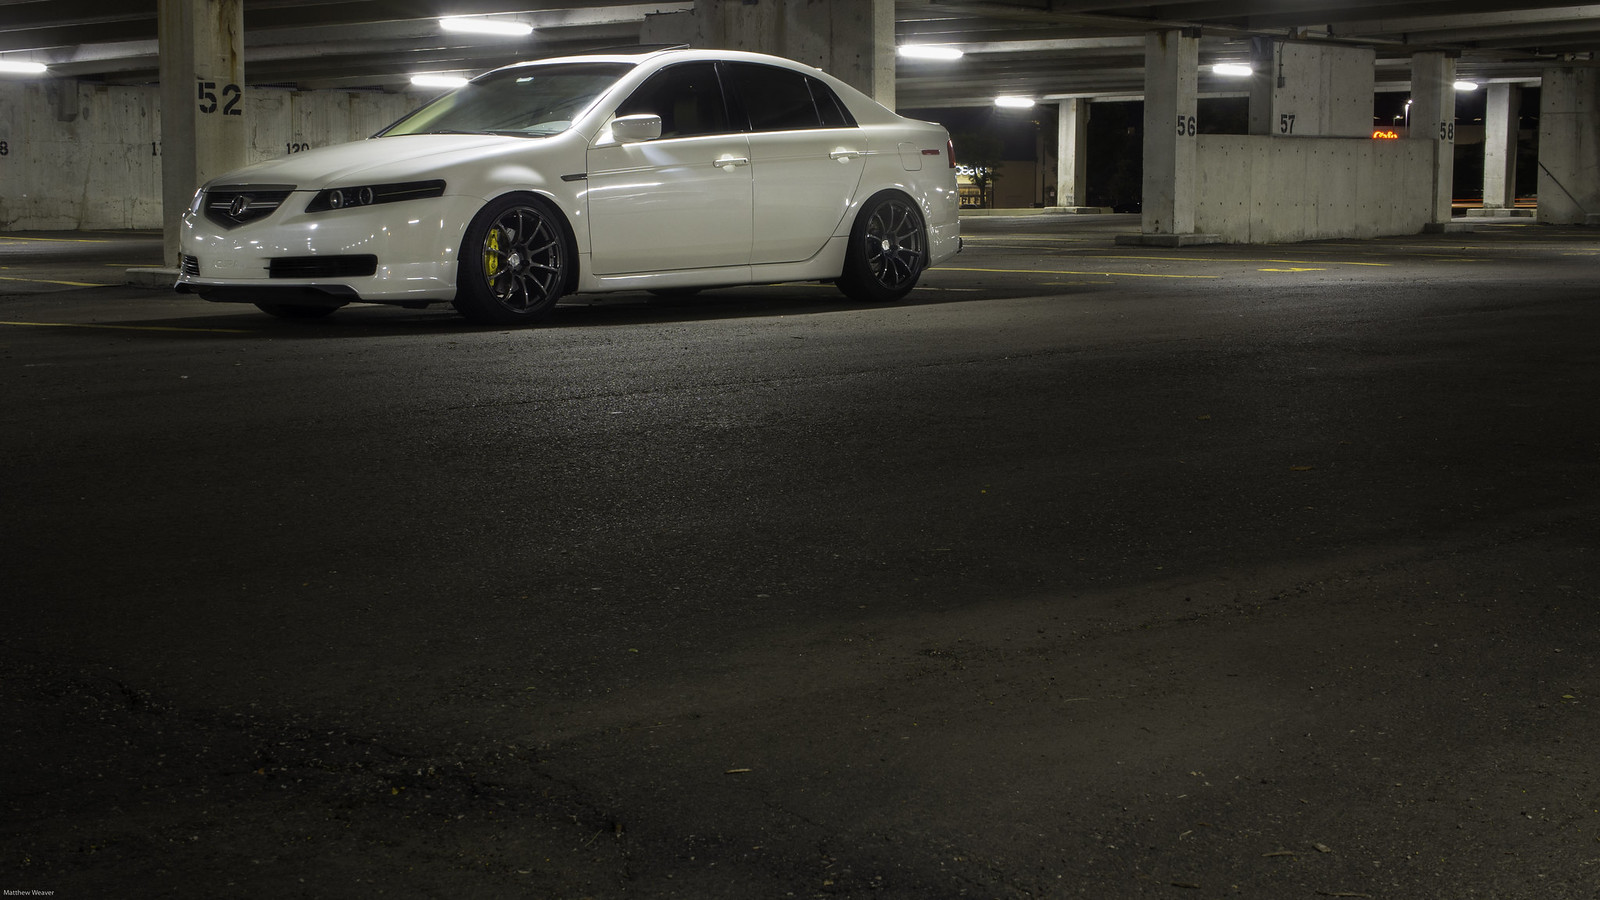
So I finally had a chance to snap pictures with the real camera since the car is finally looking presentable these days.
I was able to get the custom headlights installed thanks to Jhovanny and his hard work as well as get my new wheels/tires mounted and balanced.
I was in town to visit my folks for a vacation all this past week so I made sure to try and meet up with the local TL guys out there and hangout for a bit.
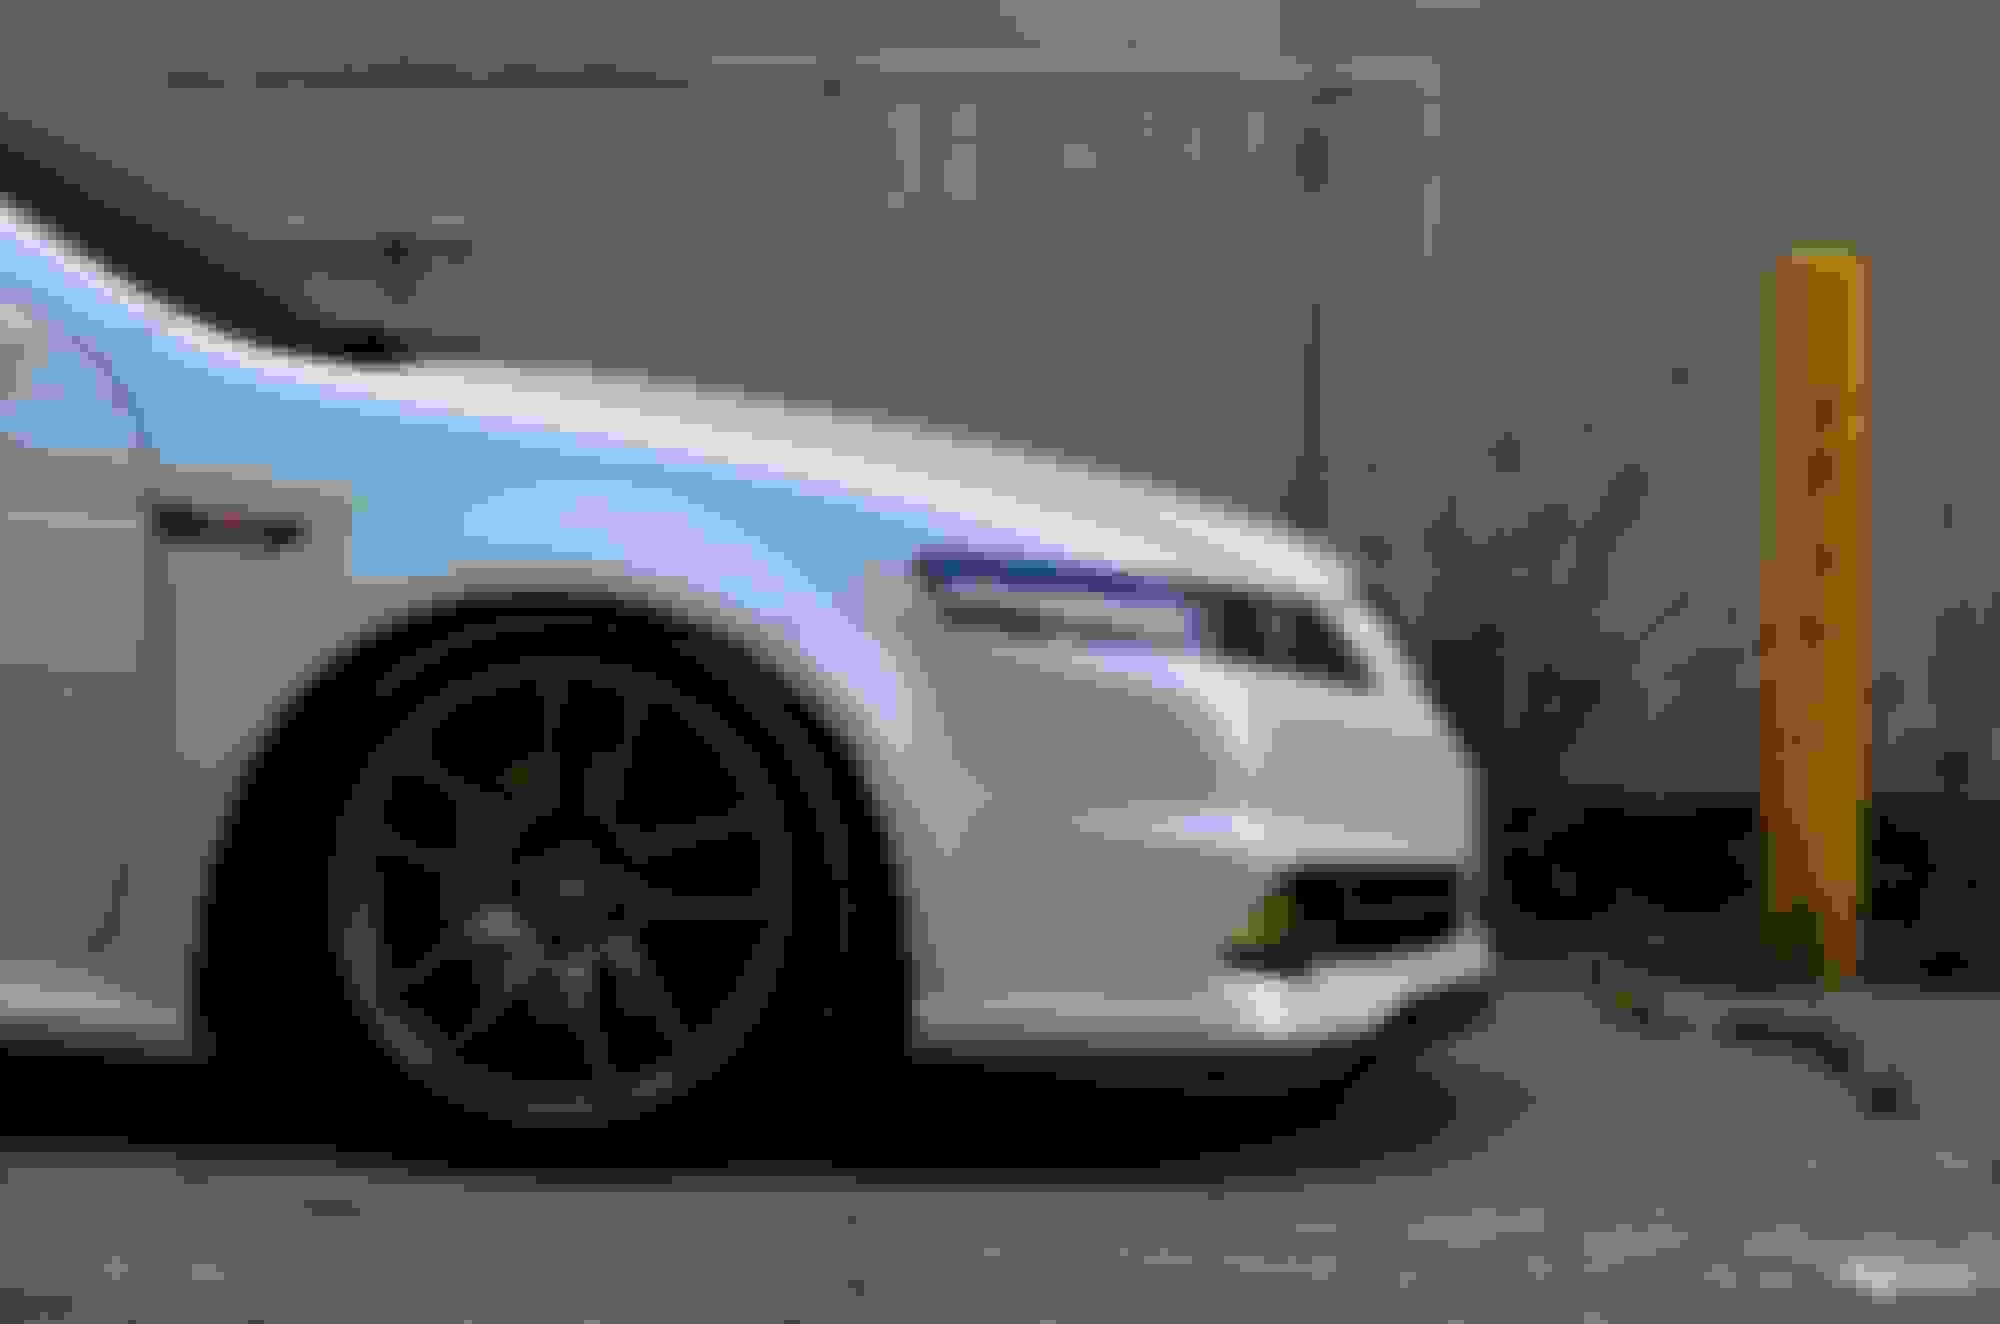
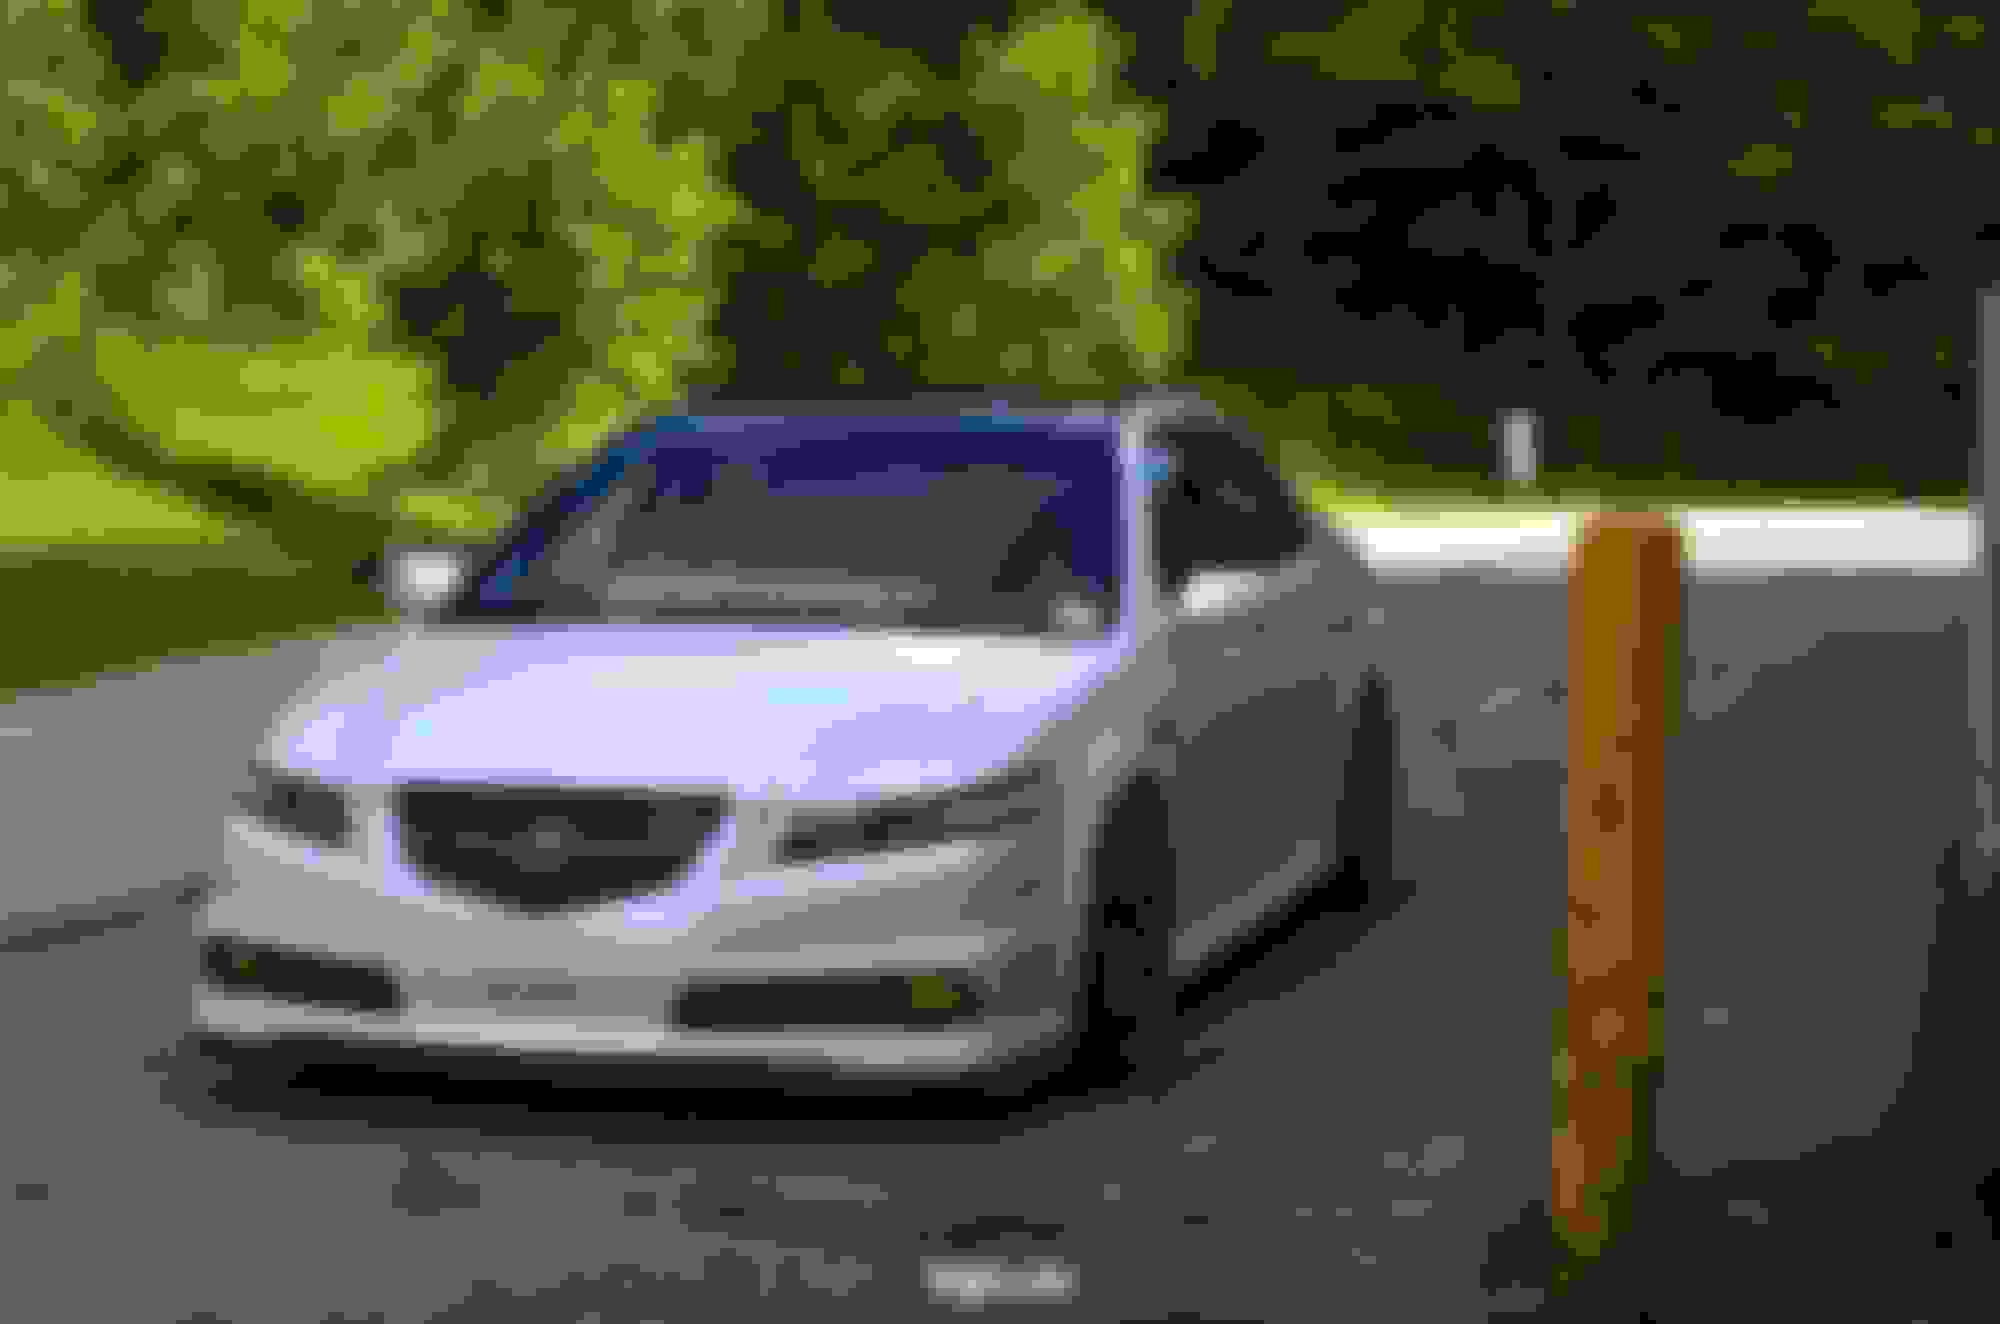
Here's where she sits as of today...
Please ignore the not-so-clean car, I did my best to wipe it down before taking the shots but it still really needed a wash - the car sat under a tree for a week. I also plan on lowering the front end another 1/4" to level everything out. It's not very noticeable in these shots but in person it bothers me. I've used my Firestone life time alignment to it's max, in 3 months of having it I've had the car aligned 8 times, this will be the 9th.
I have a pair of 07-08 WDP mirrors waiting to be installed as well, just need to find the DIY for wiring them and find the time to do that. I'm thinking I'll end up doing Type S tail lights for the rear. I've considered custom tail lights but decided I liked the simplicity of the Type S tails.
mdnborg was there with his car so naturally we needed a WDP gang shot...
The car is finally entering it's stages of continuously being called 'done'. You know you've reached a level of the car's modification process when you continuously say "I think it's done after this". That's normally a sign that the remaining mods you'd like to do are either far too expensive or are cheaper ones that you can gather and spread out over time to keep your mod bug itched. Either way, I'm satisfied to have gotten this far with the car and it functions phenomenally as a daily even still, which was the goal.
Appreciate it CL! The car's come together quite well in recent months.
A few quick updates...
First off, I'm still enamored with these headlights, they came out exactly how I wanted them to. Hats off to Jhova for his excellent work once more.
I had some plans to take care of some paint correction finally on this 13 year old paint and also ceramic coat it after completing the correction. Before this, I wanted to do my best to catch any (annoying) rock chips since the ceramic coating won't allow the paint to properly adhere to the surface once it's applied due to its hydrophobic properties. Knowing this, I got to work with a Duplicolor Touch Up pen and as steady a hand I could muster. I layered the touch up paint to sit above the current paint around the rock chip so I could come back later and wet sand the surface to flatten out the touch up spot and 'blend' the spots into the paint work. Overall it was effective, however, if someone that knows what they're looking for looks over the paint they'll be able to tell it was touched up. The proper fix would be a re-paint but that just simply isn't in the financial plans right now. I do think the results came out well though, I'll let you guys be the judge(s)...
Here's an example of the workflow that needed to be done on each spot (I did about 50). First you had to layer up the paint above the existing surrounding paint (see picture below).
Then you had to come back ~24 hours later when the paint was fully hardened to wet sand the paint down to blend it with a 2000-3000 grit sand paper. (Picture below is post wet sanding.)
After wet sanding you need to hit the area with a compound and polish to remove the wet sand marks on the area. For inexperienced detailers a wet sand mark can be quite scary - you scratched up your clear coat after all! I hit the area(s) up with Meguiar's 105 compound by hand to smooth out the clear coat. I did it by hand knowing I'd be doing a paint correction with a DA polisher later in the week. The machine is really what should be used to entirely remove the wet sanding marks. The shot below is after the hand application of M105.
This past weekend was the paint correction and ceramic coating application weekend. While this is a process I'd love to get more detailed pictures of for you guys, it's a bit difficult on white paint without my DSLR (which was lent to a friend for the weekend). So, I just have after shots of the paint correction and ceramic coating. I have roughly 24 hours of labor into the paint from this past weekend but I'm happy with the results.
As with any ceramic coating, you have to have a water beading/sheeting video, right? You gotta test it after all!
I still have to get around to grabbing a few tiny things for mods. One I'd like to grab before winter hits so I can ceramic coat it. But the rest can wait until next spring.
Car looks great! I wish I had the drive to put the mods on mine. One day...
So you did keep your TL after nabbing that truck...
Originally Posted by treal512
Damn, someone has been busy! Very clean looking ride you got there!
I love the thought of a car "almost being done." I feel like some people can never reach that stage, but I (we) sure as hell can.
I have to be busy...
I often struggle getting any car I own to the 'done' stage. But, I do often reach a level on the car where after a while when I complete each mid (normally tiny ones in the end stages) that I feel it's 'done' for a short spurt of time until another small tweak pops into my head that I could do.
Originally Posted by Steven Bell
Loving all of it! The headlights turned out great! And the coating vid is awesome.
The headlights really did turnout out stellar, thank you. The coating vid was a must, what good is a hydrophobic coating if you don't test it?! Ya know... For science...
Still haven't had a chance to do anything new to the car, likely won't for some a bit as I have some other hobby based projects I'm focusing on for the time being.
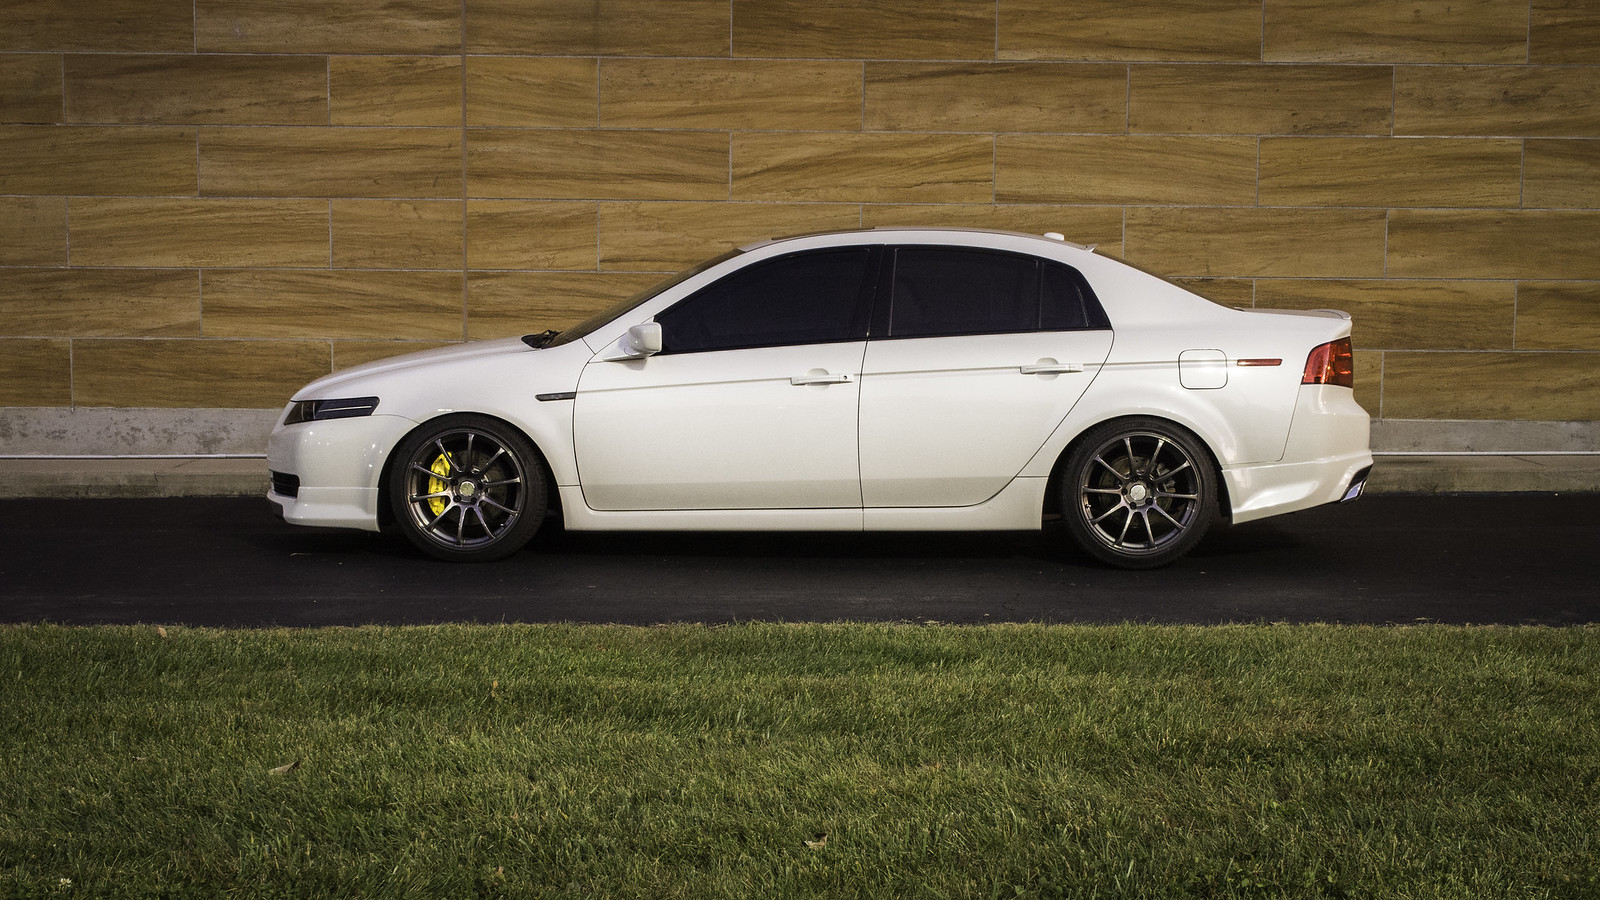
However, I can still snap some shots of the car in it's current state to enjoy the car as it is - which I'm quite happy with.
The Brembos look great with your wheels. Very nice. Some A-Spec side skirts would finish the look.
Aspec side skirts will be done eventually. I've had my eyes peeled for a cheap, used, set of them.
Working on saving for a ring and a house while also finishing up some firearm related projects first.
My rear caliper froze up 2 days ago on my way into work. Luckily I caught it before it was driven for a long period of time and had it towed home. Slapped some new calipers on and painted the rear calipers black to prevent some rust and it actually made the rear brakes look like they were fresh off the factory floor.
 07-14-2017, 08:35 AM