
AEM Intake Installation Pictures 3G Garage #B-028
 01-28-2006, 05:20 PM
#1
9th Gear
Thread Starter

Join Date: Aug 2005
Age: 44
Posts: 9
Likes: 0
Received 0 Likes
on
0 Posts
AEM Intake Installation Pictures 3G Garage #B-028
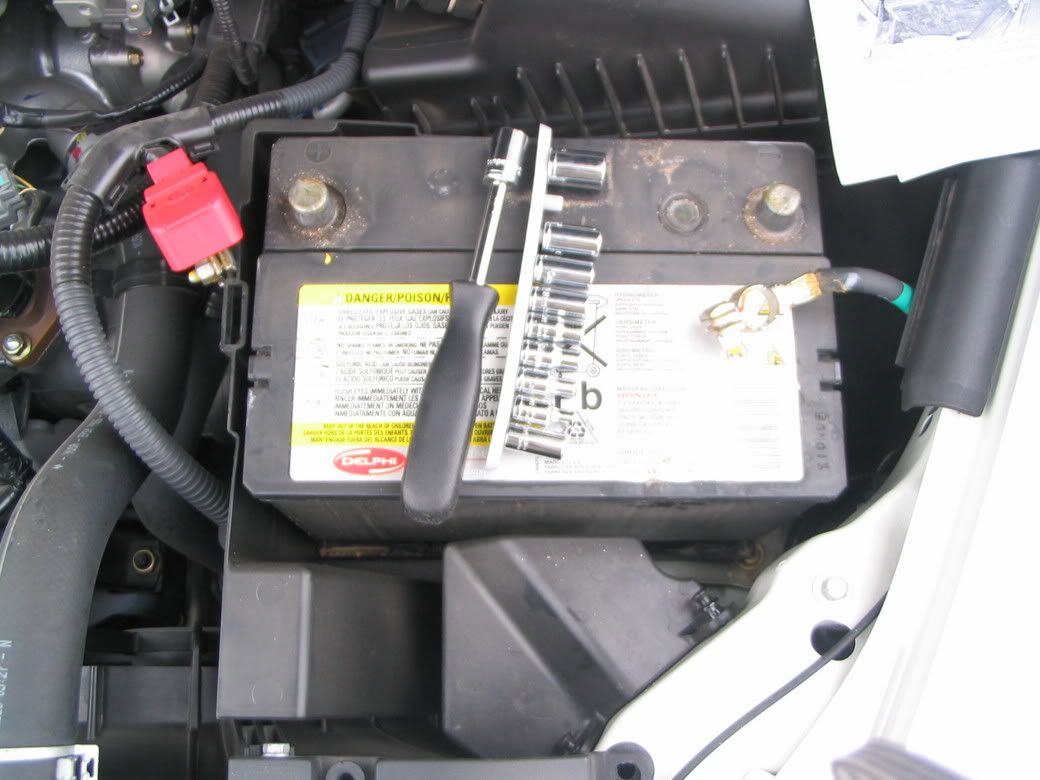
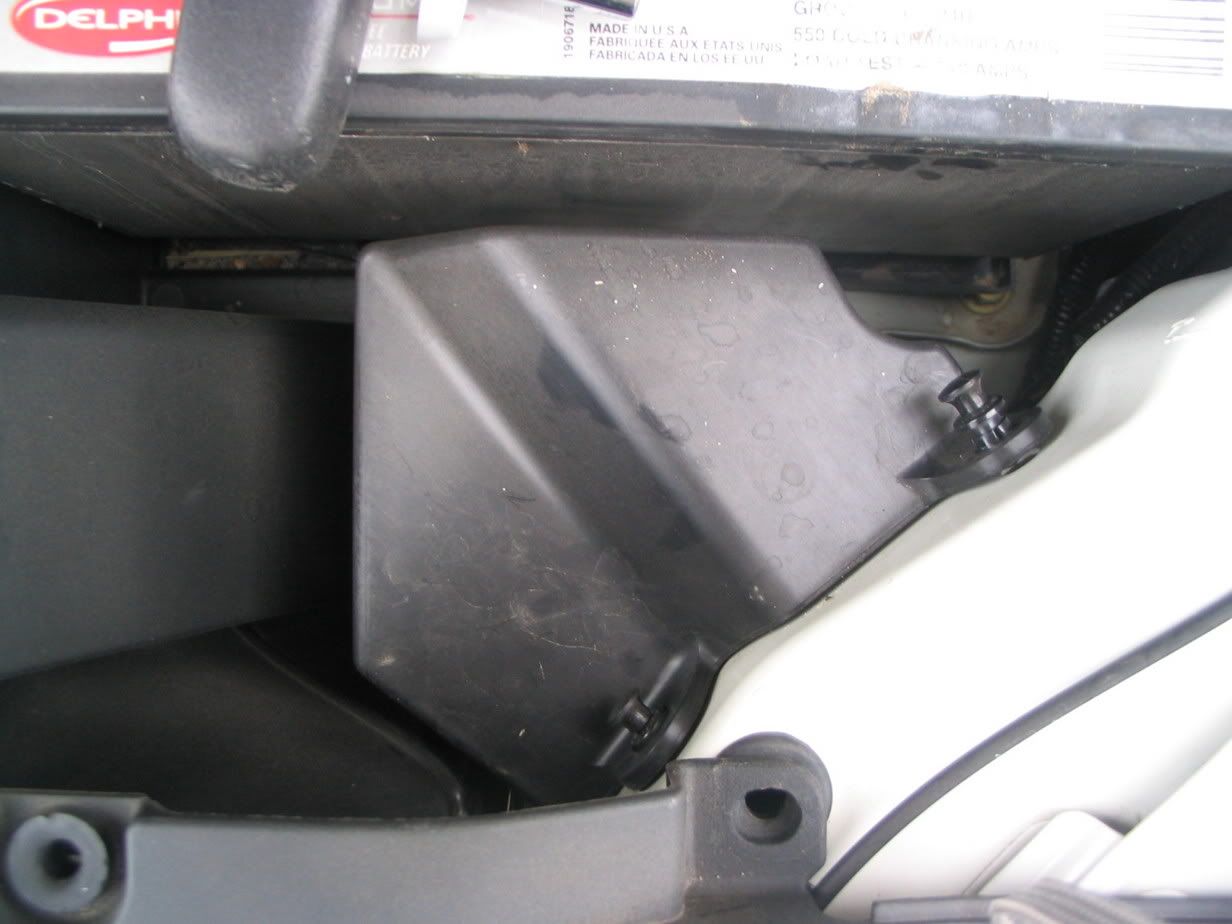
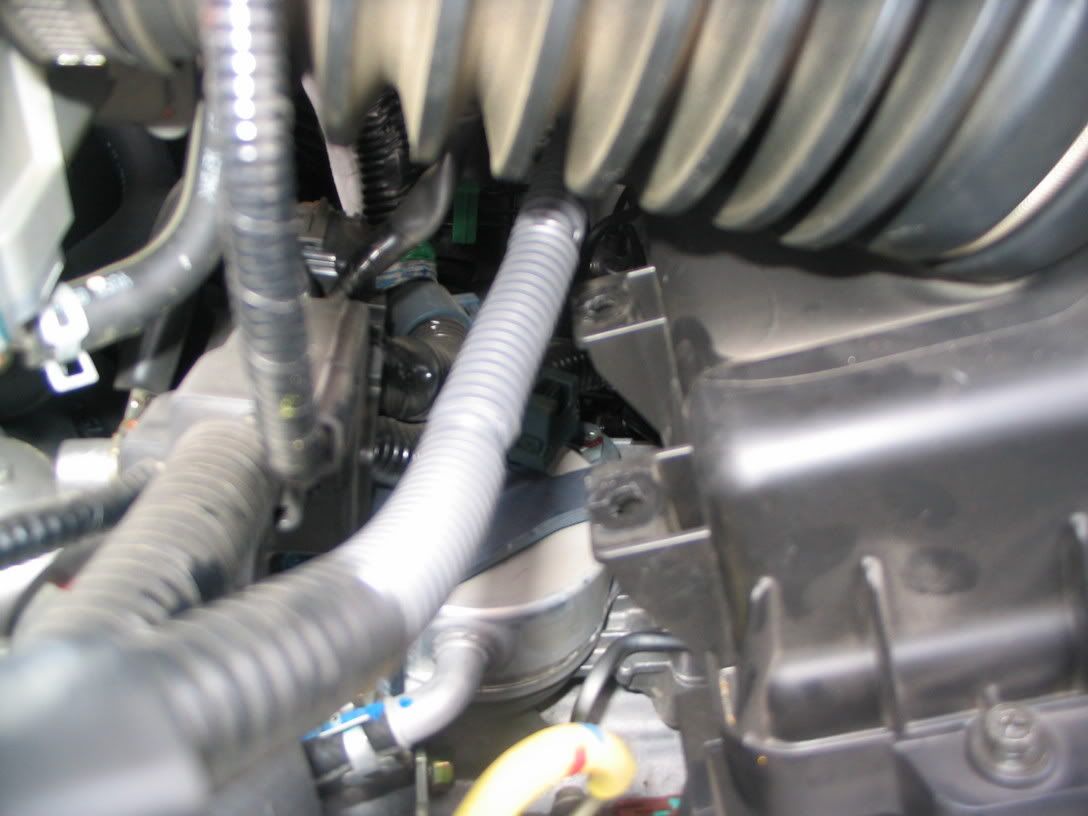
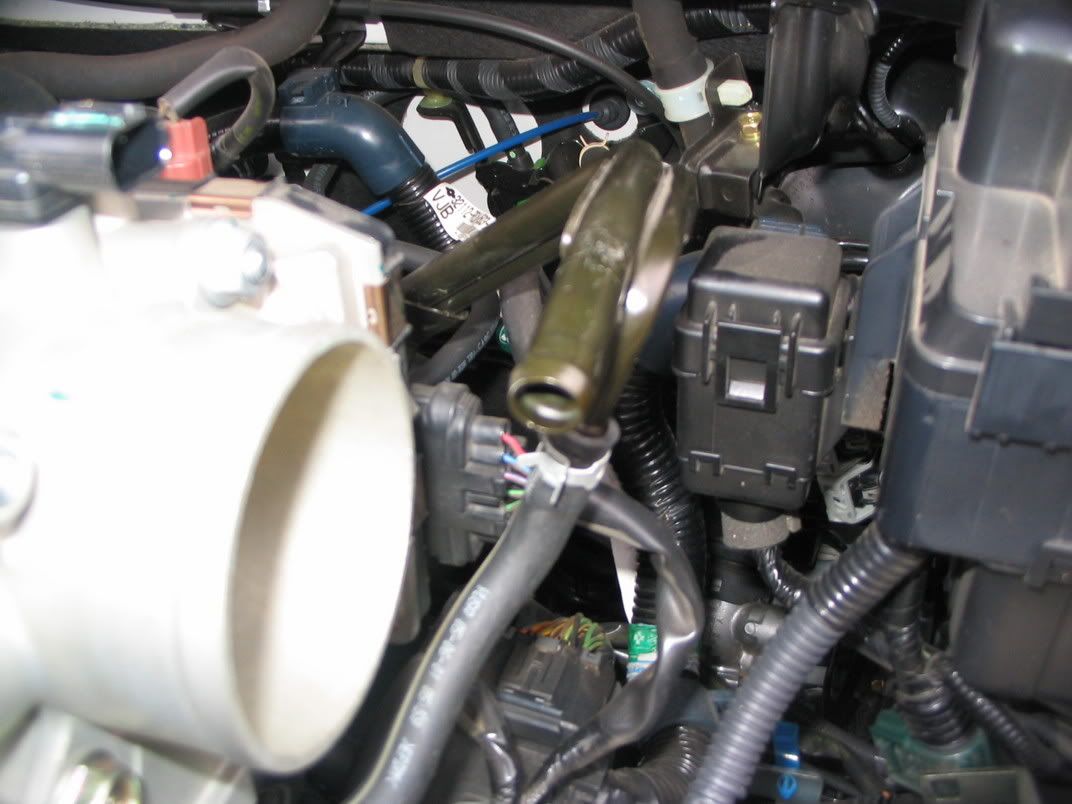
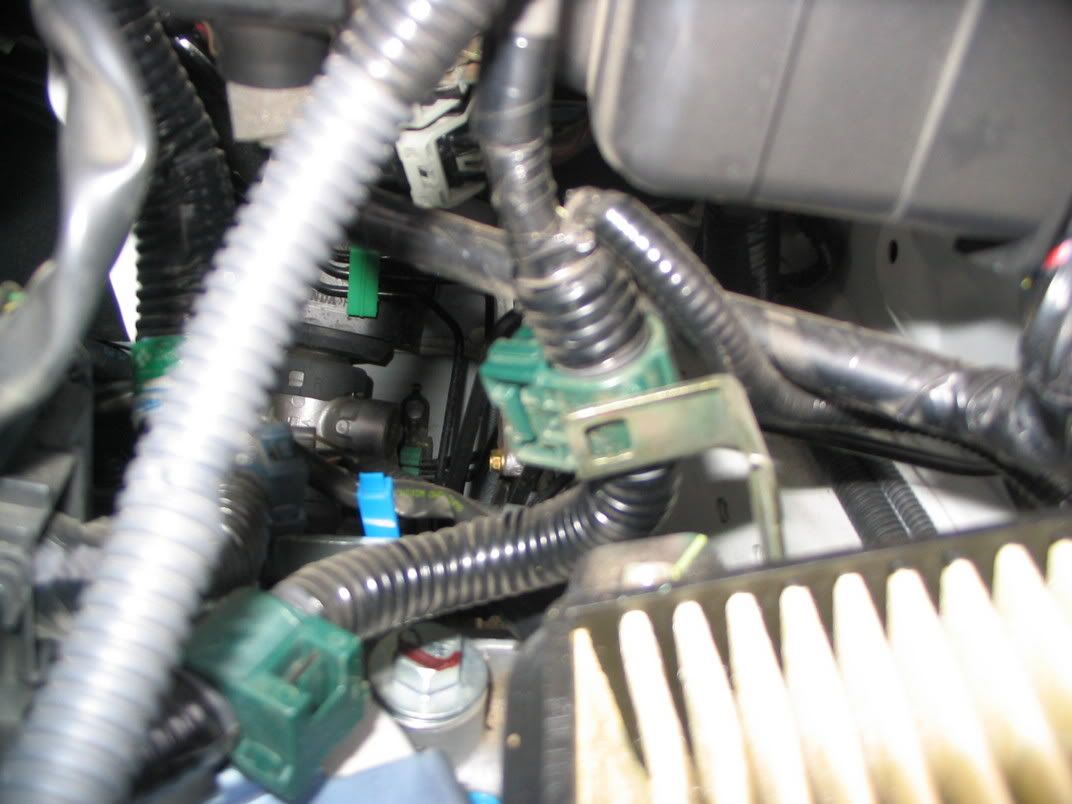
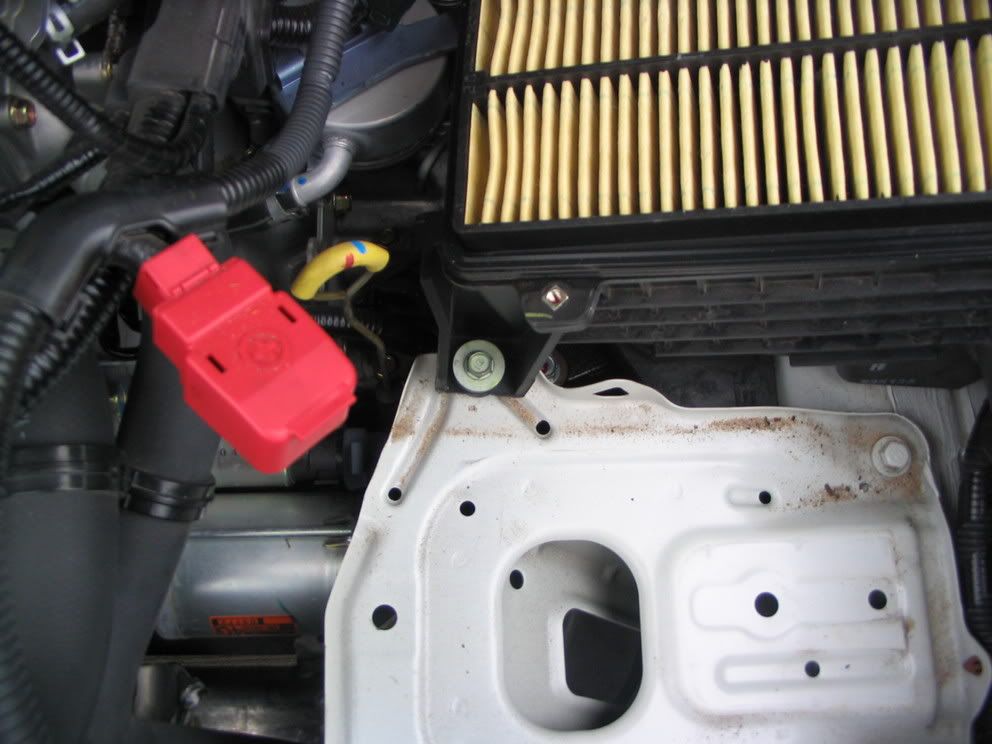
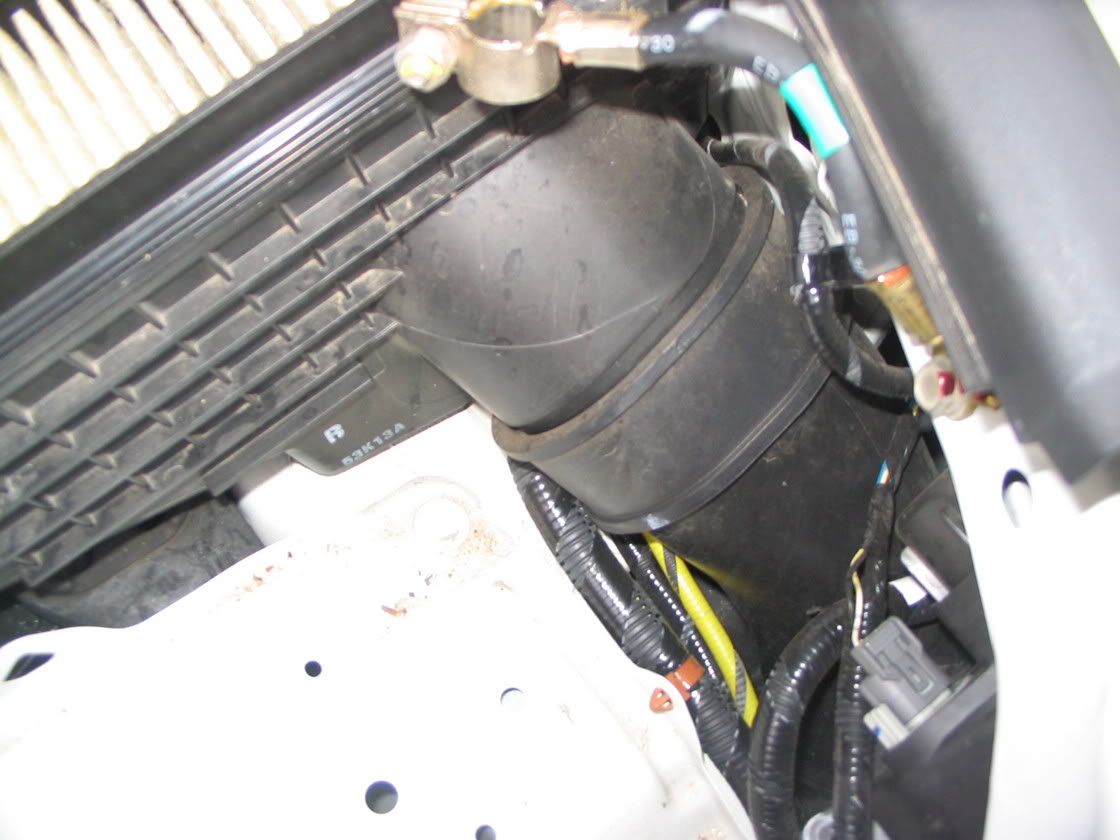
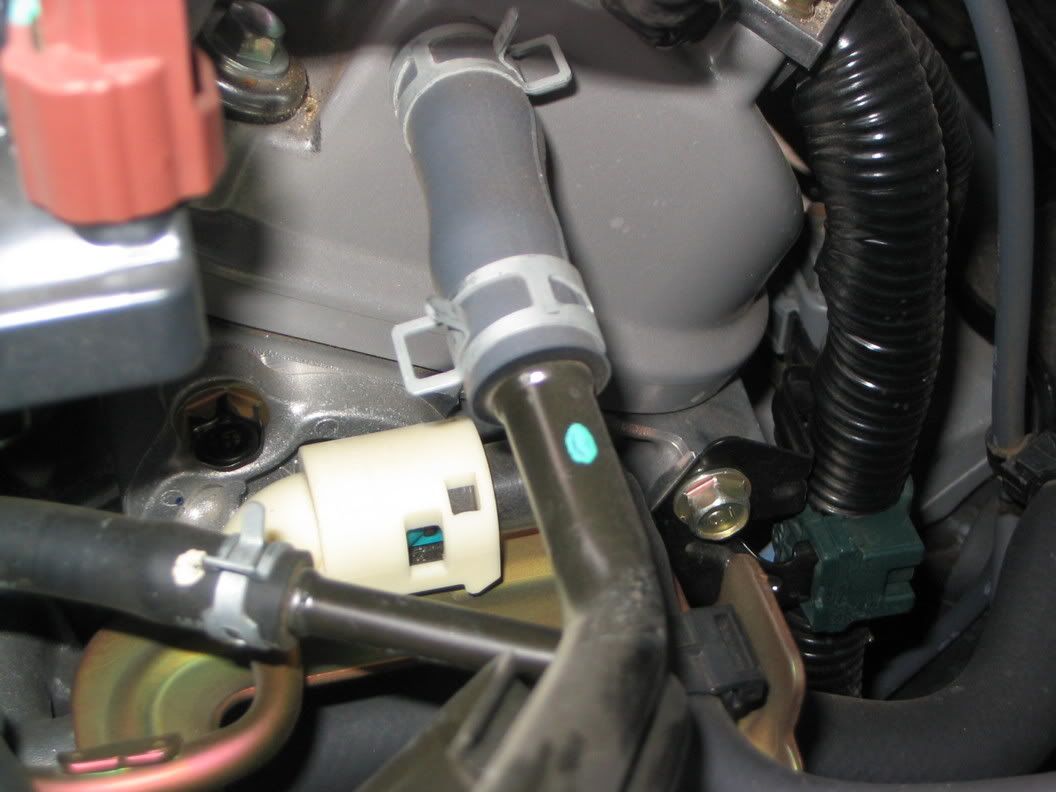
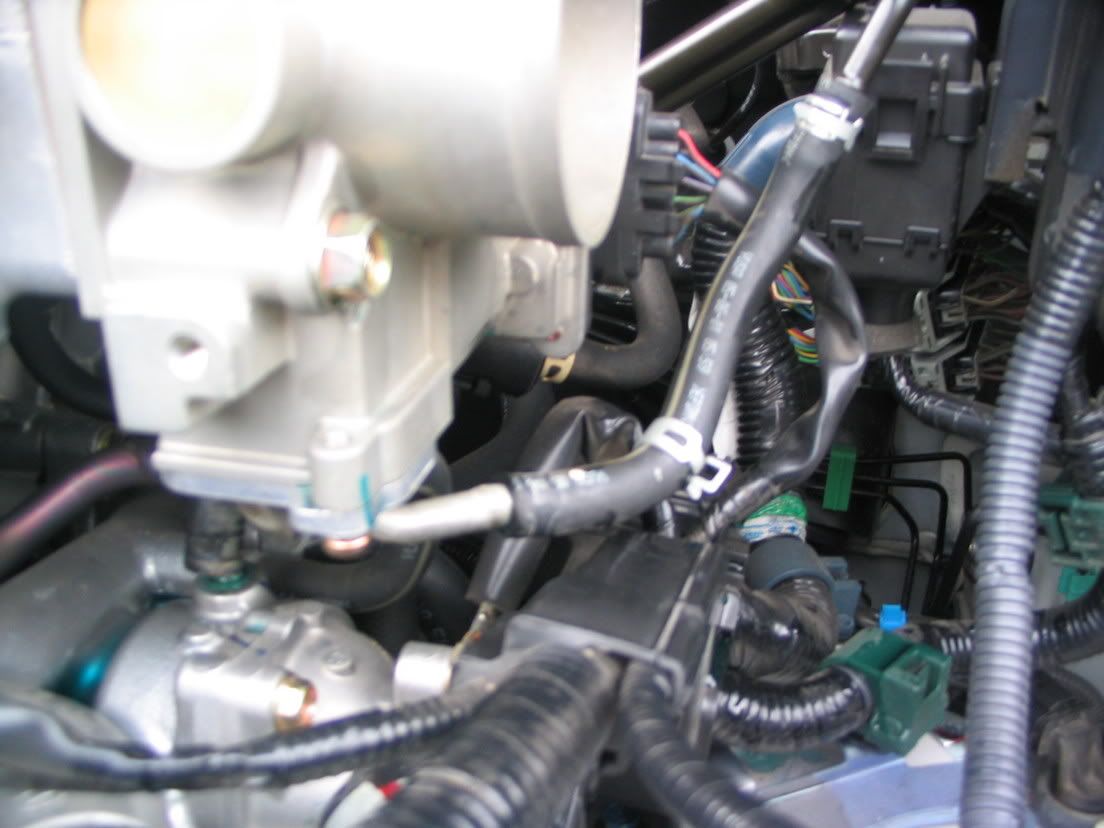
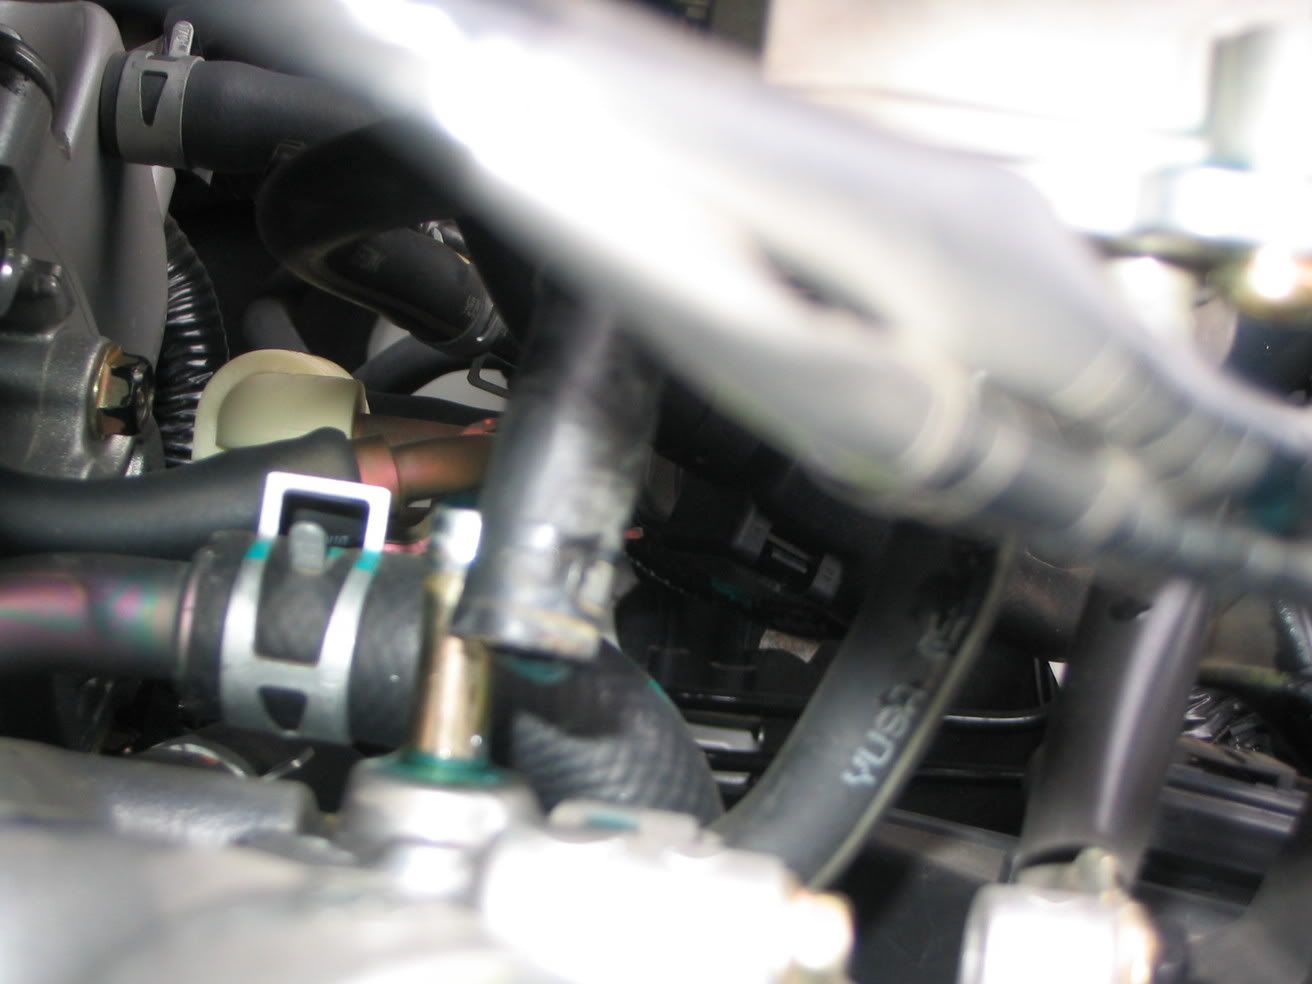
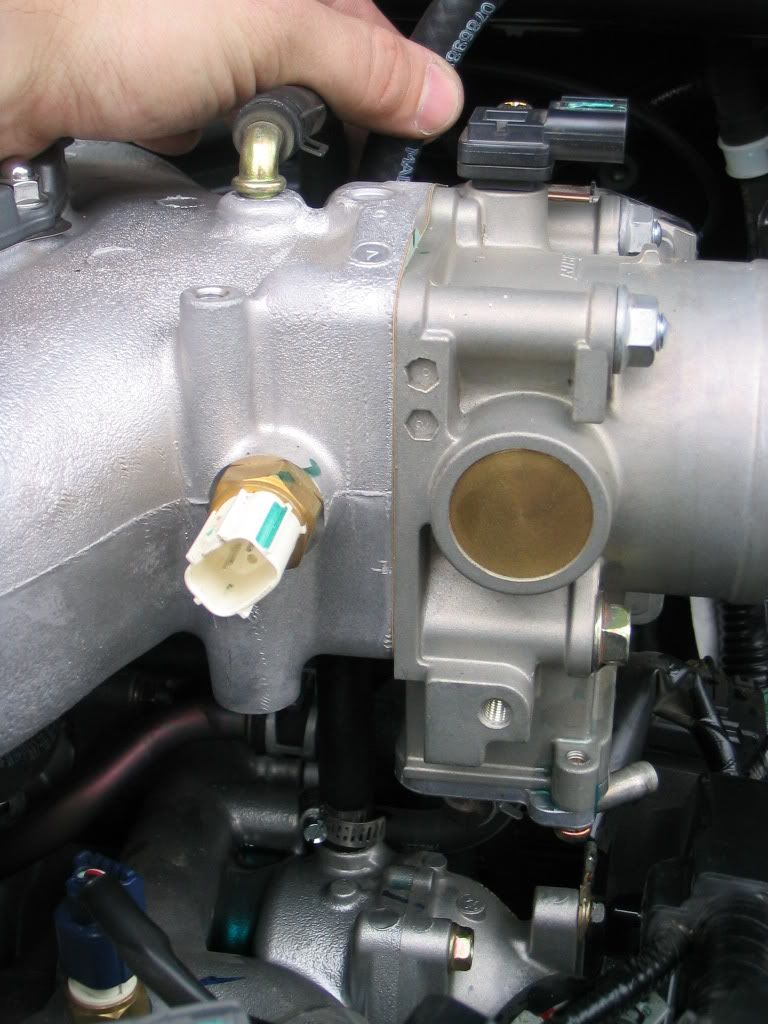
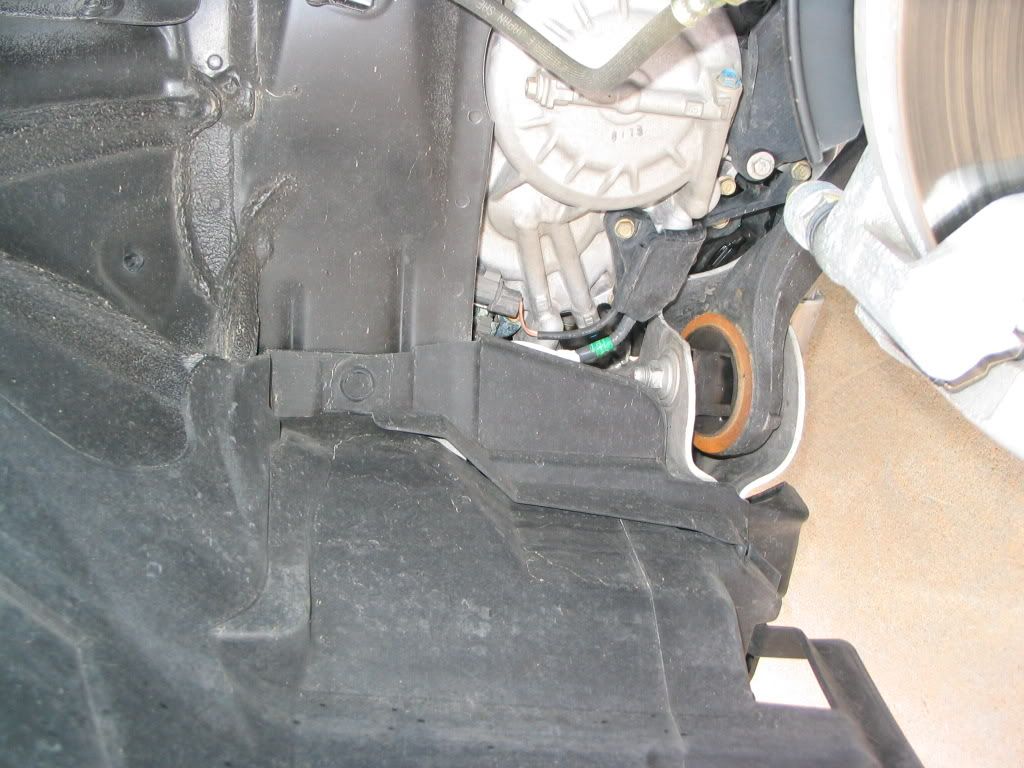
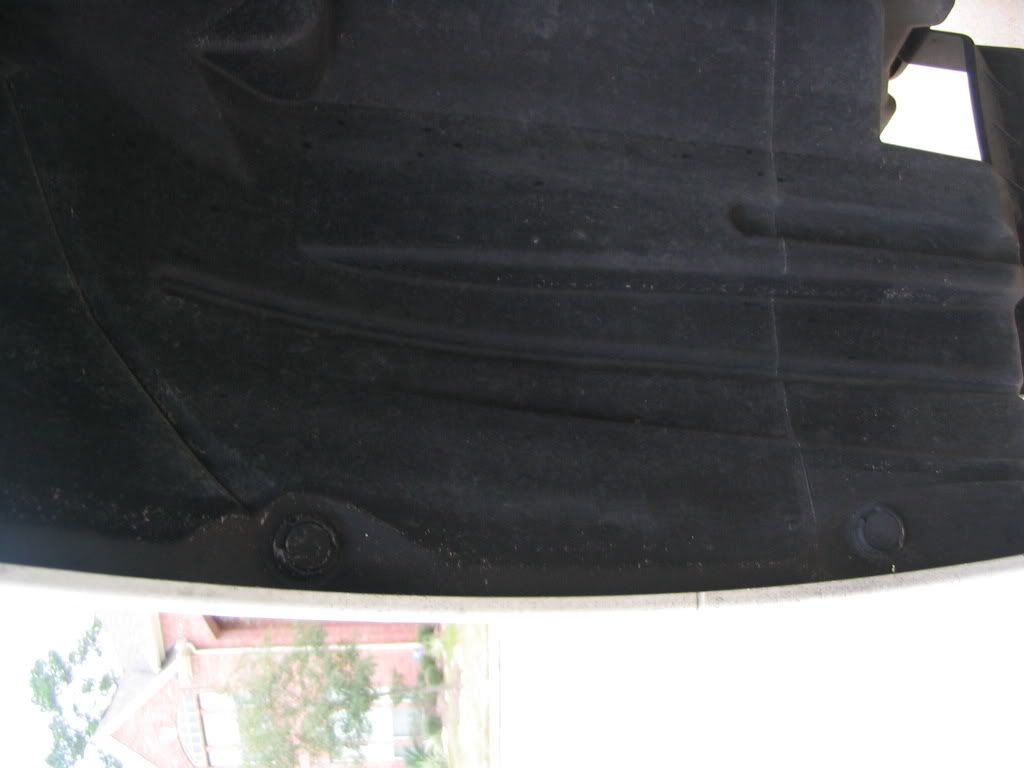
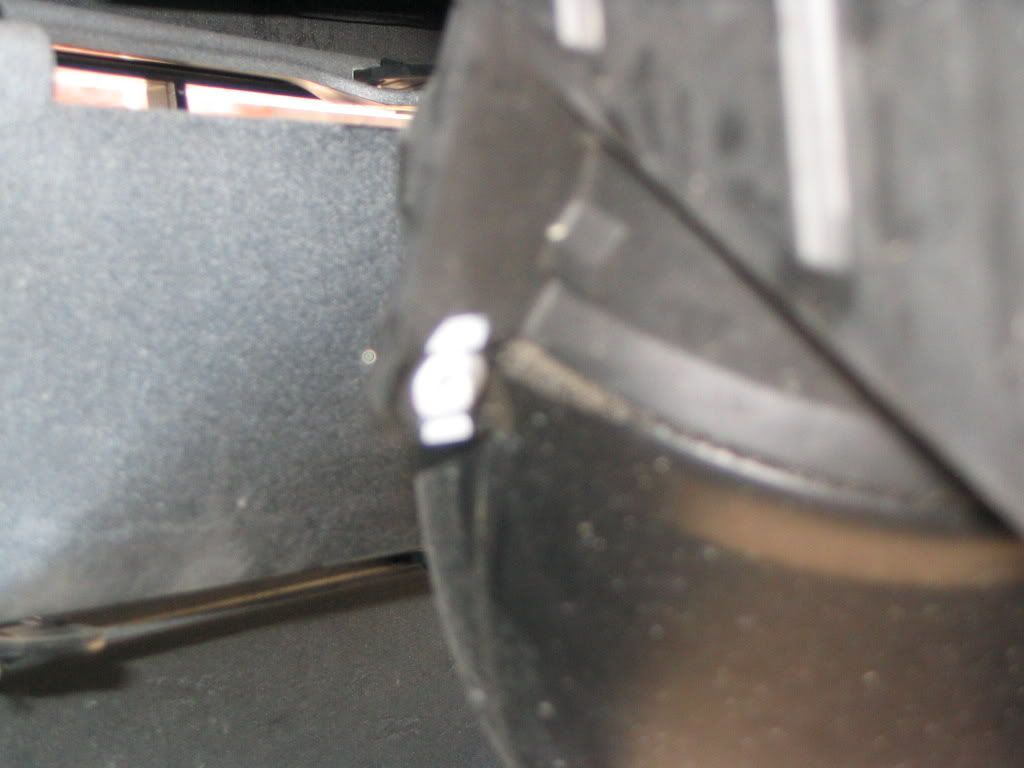
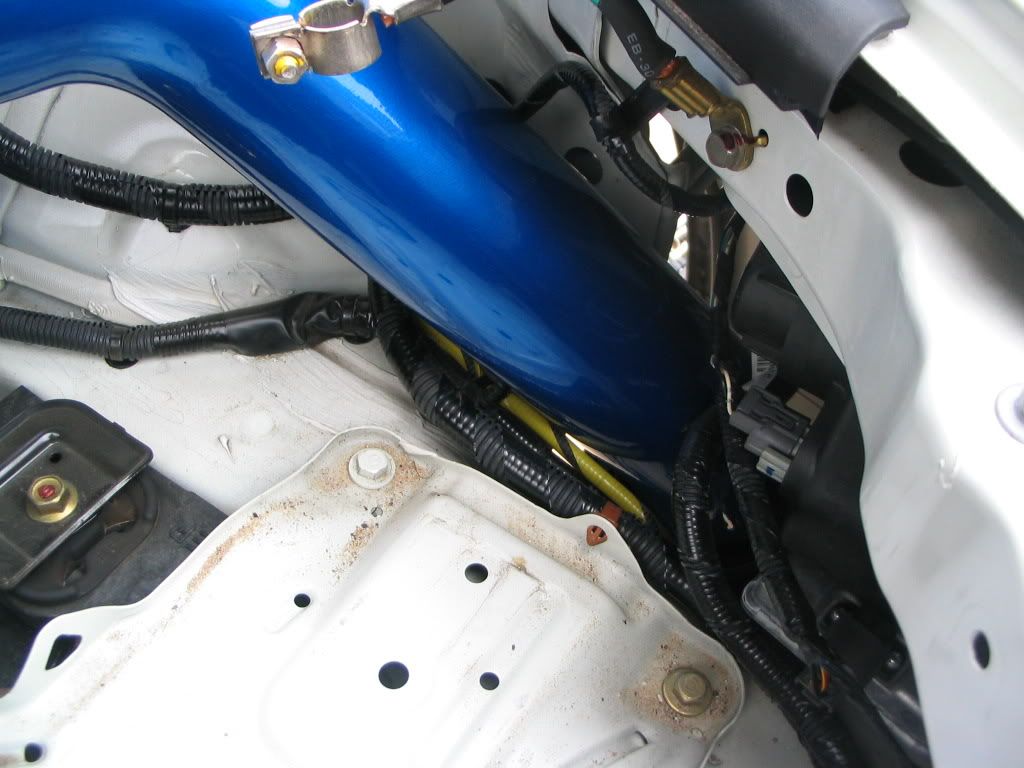
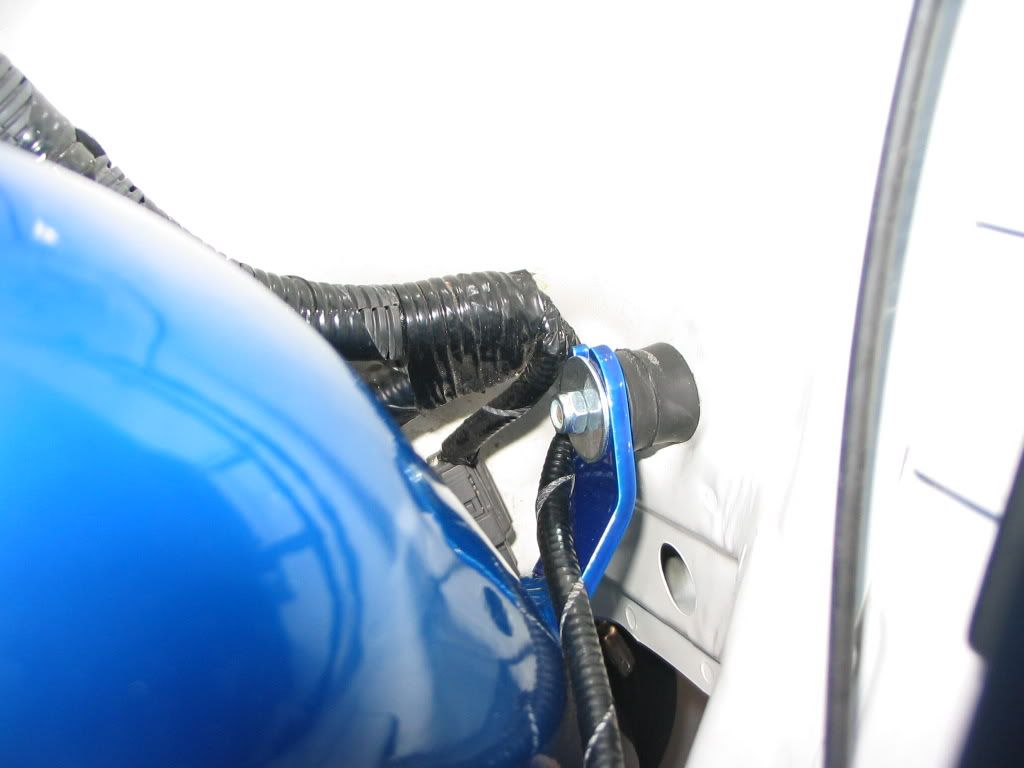
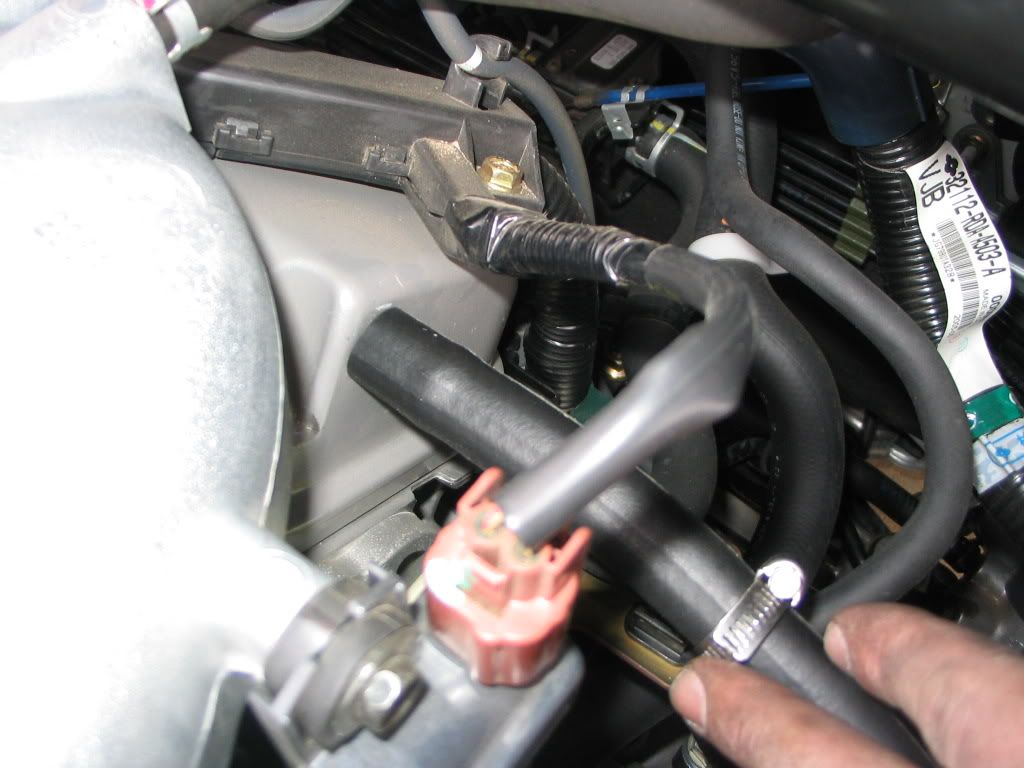
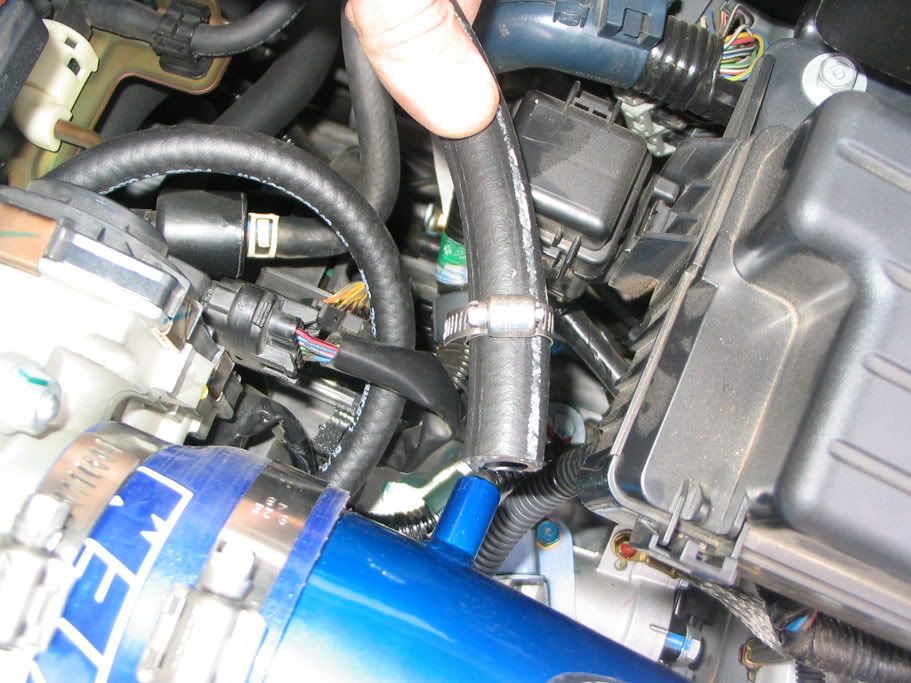
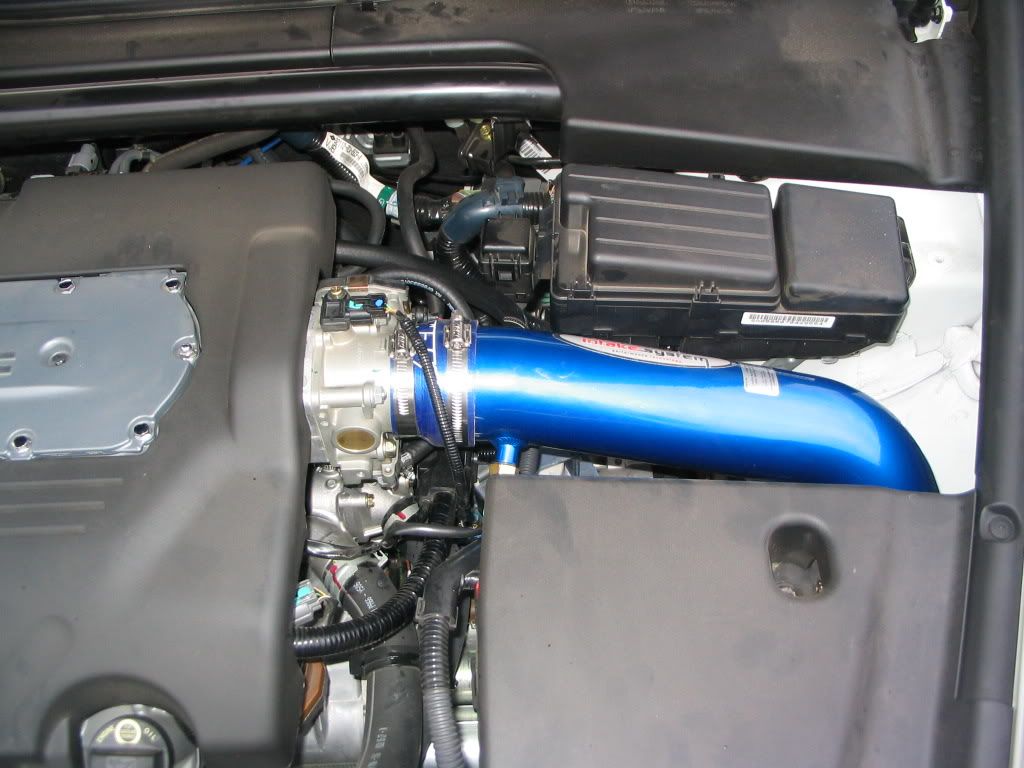
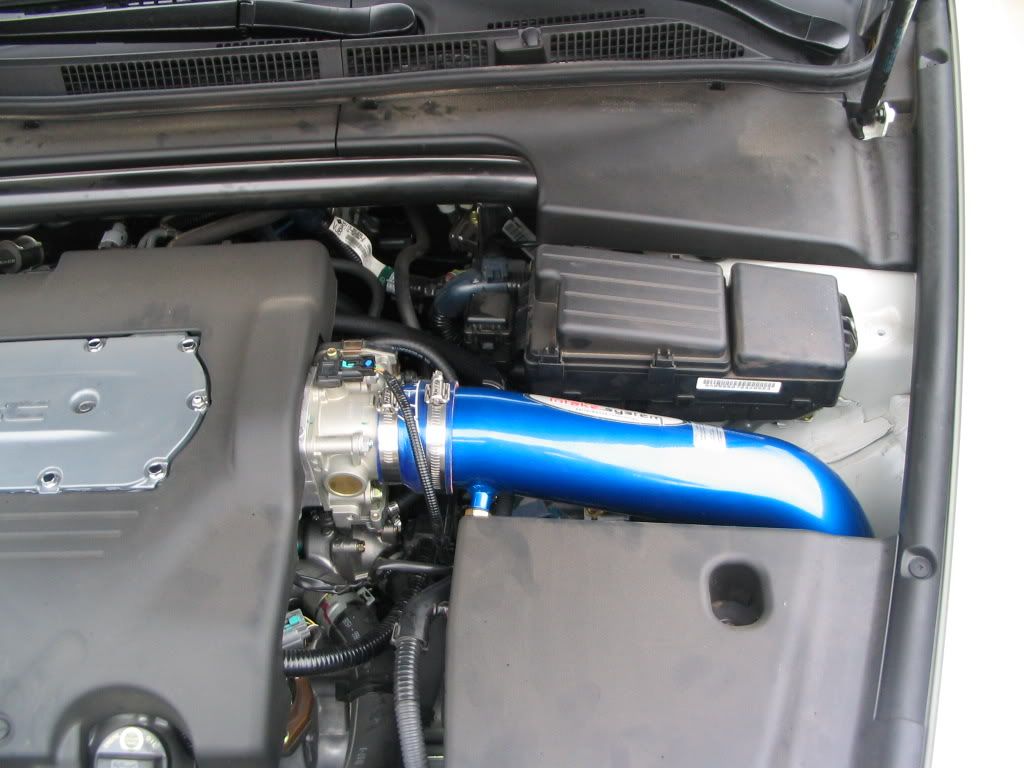
After a few weeks of the new intake staring at me in the garage, I finally got around to installing it today. I had my camera with me the whole time, and other than a few minor things, I got pictures of the whole process. I hope this can help someone who might want to undertake the install themselves. You do not have to take the bumper off, you do not have to drain fluid, and you don't have to have the hoses ready when you take the others off (you do lose about 1/4 cup of fluid though). Pretty straight forward install. You can sometimes tell a difference at low speeds, but when you hit 3500 rpm or more, you can definately feel and hear the difference. Great mod overall. 
The pictures follow along with the instructions included in the box with the intake. They should all be self explanatory when you are performing the install. Good Luck!
You can check out the pictures at this link:
http://i37.photobucket.com/albums/e8...s/IMG_2049.jpg
http://i37.photobucket.com/albums/e8...s/IMG_2050.jpg
http://i37.photobucket.com/albums/e8...s/IMG_2051.jpg
http://i37.photobucket.com/albums/e8...s/IMG_2052.jpg
http://i37.photobucket.com/albums/e8...s/IMG_2053.jpg
http://i37.photobucket.com/albums/e8...s/IMG_2054.jpg
http://i37.photobucket.com/albums/e8...s/IMG_2055.jpg
http://i37.photobucket.com/albums/e8...s/IMG_2056.jpg
http://i37.photobucket.com/albums/e8...s/IMG_2057.jpg
http://i37.photobucket.com/albums/e8...s/IMG_2058.jpg
http://i37.photobucket.com/albums/e8...s/IMG_2059.jpg
http://i37.photobucket.com/albums/e8...s/IMG_2060.jpg
http://i37.photobucket.com/albums/e8...s/IMG_2061.jpg
http://i37.photobucket.com/albums/e8...s/IMG_2062.jpg
http://i37.photobucket.com/albums/e8...s/IMG_2063.jpg
http://i37.photobucket.com/albums/e8...s/IMG_2064.jpg
http://i37.photobucket.com/albums/e8...s/IMG_2065.jpg
http://i37.photobucket.com/albums/e8...s/IMG_2066.jpg
http://i37.photobucket.com/albums/e8...s/IMG_2067.jpg
http://i37.photobucket.com/albums/e8...s/IMG_2068.jpg
http://i37.photobucket.com/albums/e8...s/IMG_2069.jpg
http://i37.photobucket.com/albums/e8...s/IMG_2070.jpg
http://i37.photobucket.com/albums/e8...s/IMG_2071.jpg
http://i37.photobucket.com/albums/e8...s/IMG_2072.jpg
http://i37.photobucket.com/albums/e8...s/IMG_2073.jpg
http://i37.photobucket.com/albums/e8...s/IMG_2074.jpg
http://i37.photobucket.com/albums/e8...s/IMG_2075.jpg
http://i37.photobucket.com/albums/e8...s/IMG_2076.jpg
http://i37.photobucket.com/albums/e8...s/IMG_2077.jpg
http://i37.photobucket.com/albums/e8...s/IMG_2078.jpg
http://i37.photobucket.com/albums/e8...s/IMG_2079.jpg
http://i37.photobucket.com/albums/e8...s/IMG_2080.jpg

 01-28-2006, 09:30 PM
#3
Three Wheelin'
Originally Posted by dannboss
After a few weeks of the new intake staring at me in the garage, I finally got around to installing it today. I had my camera with me the whole time, and other than a few minor things, I got pictures of the whole process. I hope this can help someone who might want to undertake the install themselves. You do not have to take the bumper off, you do not have to drain fluid, and you don't have to have the hoses ready when you take the others off (you do lose about 1/4 cup of fluid though). Pretty straight forward install. You can sometimes tell a difference at low speeds, but when you hit 3500 rpm or more, you can definately feel and hear the difference. Great mod overall.
The pictures follow along with the instructions included in the box with the intake. They should all be self explanatory when you are performing the install. Good Luck!
You can check out the pictures at this link:


The pictures follow along with the instructions included in the box with the intake. They should all be self explanatory when you are performing the install. Good Luck!
You can check out the pictures at this link:


Trending Topics


 09-10-2006, 07:37 PM
#16
.:HALC�N DE LA NOCHE:.
Originally Posted by PPLAPW
^ Yes that is. I did it before and after but I felt no difference.....
Its up to you
Its up to you
I'm off 2 install the CAI.
 01-09-2007, 02:56 PM
#17
hey guys,
based on what dannboss mentioned at the start of this thread:
does anyone know where the 1/4 cup of fluid will be coming out from? I would like to have a styrofoam cut ready when I start unplugging hoses so I don't get any fluids on anything in the engine bay. I'm planning to do the install this weekend.
thanks
based on what dannboss mentioned at the start of this thread:
After a few weeks of the new intake staring at me in the garage, I finally got around to installing it today. I had my camera with me the whole time, and other than a few minor things, I got pictures of the whole process. I hope this can help someone who might want to undertake the install themselves. You do not have to take the bumper off, you do not have to drain fluid, and you don't have to have the hoses ready when you take the others off (you do lose about 1/4 cup of fluid though). Pretty straight forward install. You can sometimes tell a difference at low speeds, but when you hit 3500 rpm or more, you can definately feel and hear the difference. Great mod overall.
thanks
02-10-2007, 04:44 AM
#19
My Garage not
iTrader: (2)
Join Date: Jun 2006
Location: Westsiiiiiiiiiiiiiiiiiiiiiiiiiiiiiiiiiiide
Posts: 2,121
Likes: 0
Received 4 Likes
on
1 Post
look at the instructions...when u unplug hoses on the throttle body there is one that holds coolant. it was impossible for me not to spill a little coolant in the engine bay so i just put a bath towel underneath the assembly that holds the hoses before unplugging to catch the spillage.
don't worry if u spill coolant, just wipe it up. there is not going to be enough that spills out to make a difference anyway, and if for some freak reason you lose a lot, u can always just pour some new coolant in the reserve tank.
don't worry if u spill coolant, just wipe it up. there is not going to be enough that spills out to make a difference anyway, and if for some freak reason you lose a lot, u can always just pour some new coolant in the reserve tank.
02-15-2007, 05:04 PM
#22
Cruising in my
My large rubber seal at the top doesn't have an AEM logo on it. It's just a black rubber ring. Great post, I'll be sure to refer to this when I'm installing it.
04-05-2007, 09:35 AM
#24
10th Gear
Join Date: Mar 2007
Age: 43
Posts: 11
Likes: 0
Received 0 Likes
on
0 Posts
Looked at the instructions from AEM website, and they do not list the required tools for the job. I'm assuming phillips/flat screwdriver, pliers and sockets/ratchet. Does anyone know the required tools for the job?
04-05-2007, 09:49 AM
#25
IPSEC TL
Join Date: Apr 2007
Location: Chicago, IL
Age: 39
Posts: 80
Likes: 0
Received 0 Likes
on
0 Posts
Performance Gains
Thanks for posting the write up. I'm curious how noticable the performance gains are from the intake. Can you give a quick description of what you have noticed since install?
04-05-2007, 08:29 PM
#26
BORICUA
Originally Posted by SER272
Looked at the instructions from AEM website, and they do not list the required tools for the job. I'm assuming phillips/flat screwdriver, pliers and sockets/ratchet. Does anyone know the required tools for the job?
 04-22-2007, 01:30 PM
#29
Burning Brakes
Join Date: Nov 2005
Posts: 929
Likes: 0
Received 0 Likes
on
0 Posts
Originally Posted by tonester
my seal didn't have the logo on it either, neither did the metal clamps.

how do i get the white clip off the bolt to relocate the sensor?? ps that is not an H&R bar, fyi.
 04-28-2007, 12:02 PM
#34
Burning Brakes
Join Date: Nov 2005
Posts: 929
Likes: 0
Received 0 Likes
on
0 Posts
Originally Posted by THTL
just unscrew the nut, and screw the whole thing on your CAI.
i guess I don't use the O ring for this one, right?
you do not need to be mechanically inclined, you just need to know the basics of using a wrench & screwdriver w/o screwing up.
i had a drill but i didn't bother to use it on the rivets. i just tore them off with pliers
04-28-2007, 07:51 PM
#37
6th Gear

Join Date: Mar 2007
Age: 40
Posts: 6
Likes: 0
Received 0 Likes
on
0 Posts
???? what kind of sensor would in that white clip? and been having so much troulble finding the AIT in my car I konw that is together with another sensor but dont konw which one or where is it located
04-29-2007, 09:14 PM
#38
Burning Brakes
Join Date: Nov 2005
Posts: 929
Likes: 0
Received 0 Likes
on
0 Posts
Originally Posted by THTL
you have to use the o-ring
Originally Posted by agus155
???? what kind of sensor would in that white clip? and been having so much troulble finding the AIT in my car I konw that is together with another sensor but dont konw which one or where is it located
how does the sensor work & what does it do?
10-27-2007, 10:08 AM
#39
Intermediate

Join Date: Oct 2007
Age: 43
Posts: 26
Likes: 0
Received 0 Likes
on
0 Posts
I bought a slightly used AEM CAI , but didn't get the instructions on how to install with it. Does anyone know where I can obtain a copy of these? I couldn't find any on AEM's website.

Thread
Thread Starter
Forum
Replies
Last Post
Abe_Froman
Car Parts for Sale
1
09-16-2015 01:27 PM
3g, acura, acurazine, aem, air, dannboss, installation, instructions, intake, photos, pictures, relocation, sensor, temp, tl