
my first audio install - front components, amp, and corner trunk sub

Three Wheelin'


Joined: Apr 2015
Posts: 1,298
Likes: 257
From: Grand Rapids, MI
I"m bumping an old thread here, because I'm building up materials for an upcoming summer installation.
I currently have my door panels apart, because I'm working through an LED conversion and would like to know Dave, did you purchase one of these bundled packages?
Package # 1: 20 Sheets of RAAMmat BXT II (37.5 sq ft) and 3 yards of Ensolite IUO Peel and Stick Foam (41.625 sq ft)
Package # 2: 30 Sheets of RAAMmat BXT II (56.25 sq ft) and 41/2 yards of Ensolite IUO Peel and Stick Foam (62.43 sq ft)
I'm seeing a lot of great things about RAAMaudio and am contemplating pursuing this product line.
Three Wheelin'
Joined: Apr 2015
Posts: 1,298
Likes: 257
From: Grand Rapids, MI
Okay, great! I thought Package 2 might be overkill. I plan to cover both front doors, the rear deck, and trunk lid. If I have leftovers, I will add more to the trunk's cargo area or rear seats.
Pro
Joined: Feb 2015
Posts: 539
Likes: 47
From: O'side
I don't think full coverage is necessary so you may be able to stretch out the pack a little further. It may only require 50% but maybe check out their website or call tech support... Stinger Roadkill is the same in that respect.

5th Gear
Joined: Sep 2020
Posts: 5
Likes: 0
this thread is way overdue (project started about 2 years ago) but i wanted to document it nonetheless and hopefully it can help others as well. my main goal was to have a relatively cheap build and to do everything on my own. i researched a lot and talked to many members on here (thank you to those that helped me) before i got started and even though it was a huge pain in the butt, i feel very confident with audio stuff and have helped many other people as well. everyone that i show my system to is impressed for it being a first time audio project....so here it is!
Summary
- initially installed front components JBL GTO608C but switched them to Image Dynamics CTX65XS (soo much better!)
- sound deadener and ensolite foam on all doors, entire trunk, trunk lid, under rear seats, and rear deck
- 10" sub: infinity 1062w
- corner trunk sub enclosure by Markland Designs
- JL xd500/3 amp
- hooked up sub with a PAC Audio SNI35 LOC to the oem sub signal after the oem amp
- hooked up front components (tweeters and mids) directly to head unit wires near oem amp
- reconnected new audio mids output to the wires coming out of the oem amp, so that i can utilize oem wiring all the way to the doors (then i used metra connectors to use stock door connectors)
- crossovers are located under the passenger seat
- wiring for components: head unit --> aftermarket amp --> crossovers --> oem door wiring
- wiring for sub: head unit --> oem amp --> amp sub output --> pac audio LOC --> aftermarket sub
- rear fill is still stock speakers on stock amp
- ANC mics and control module were disconnected to prevent feedback from the sub

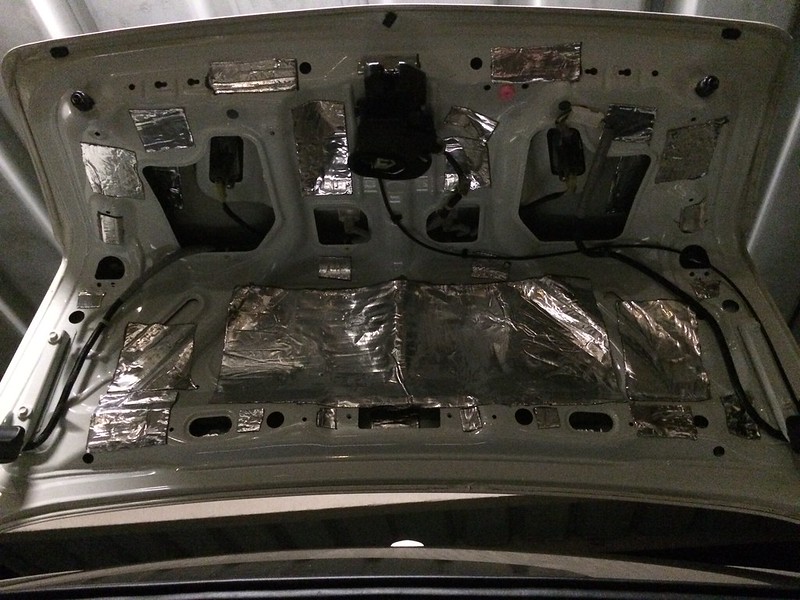
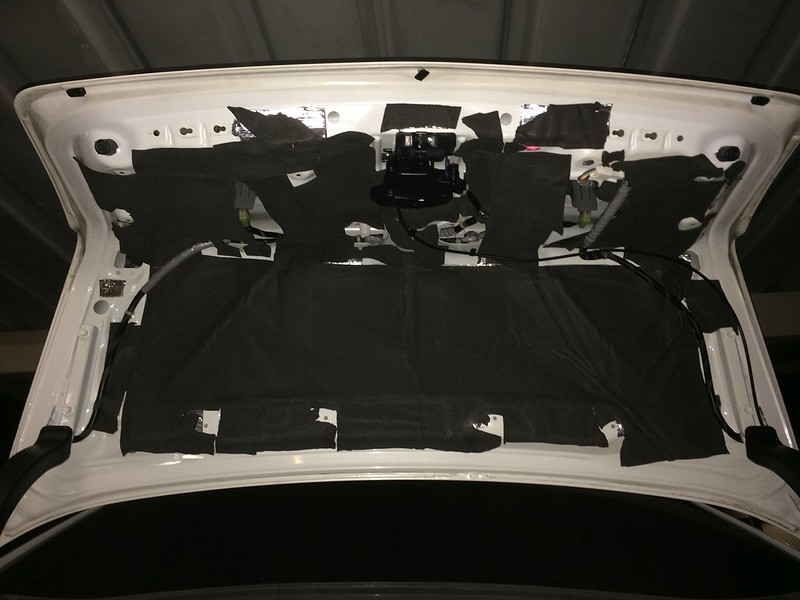
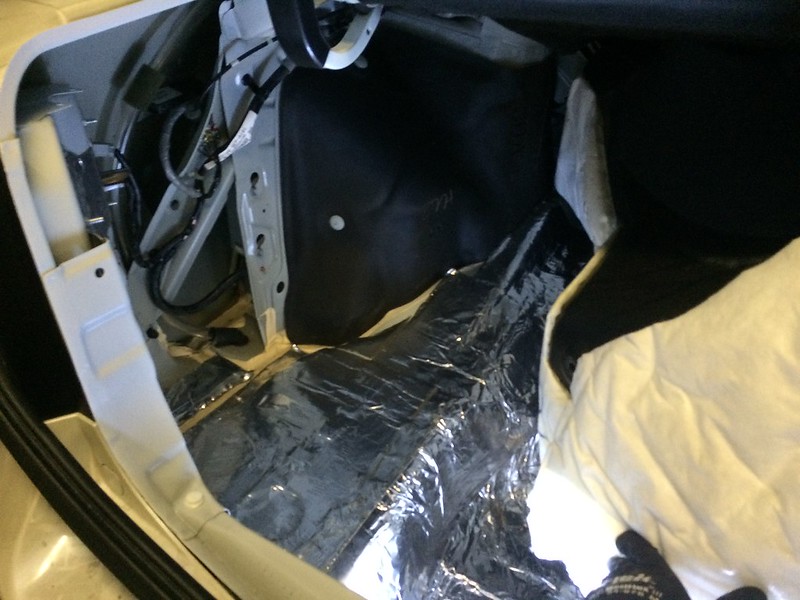
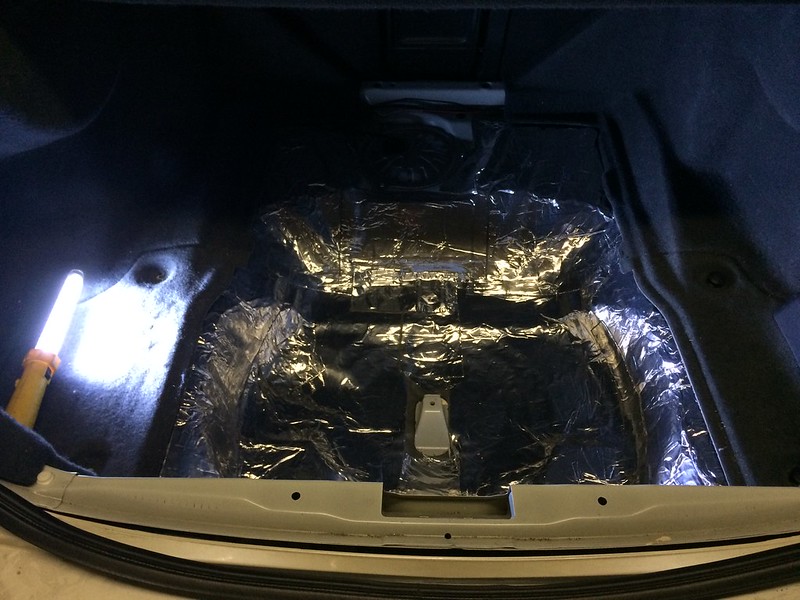
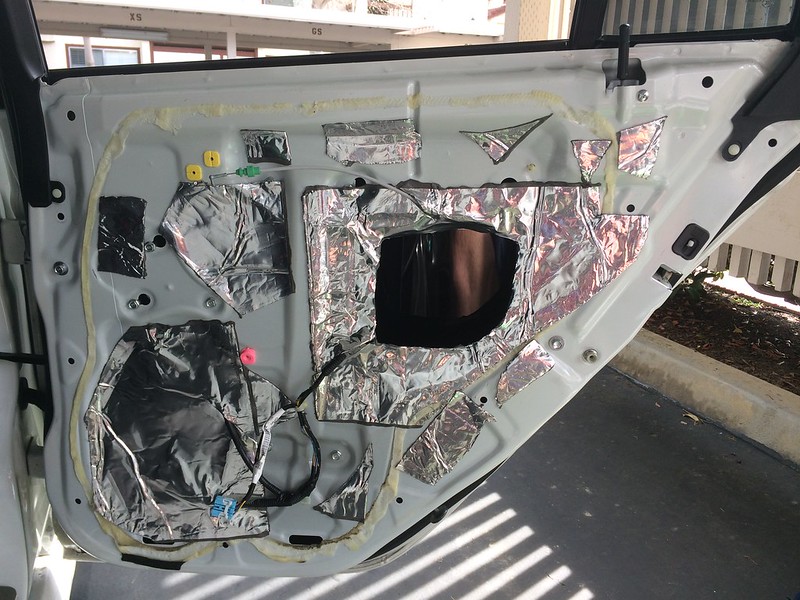
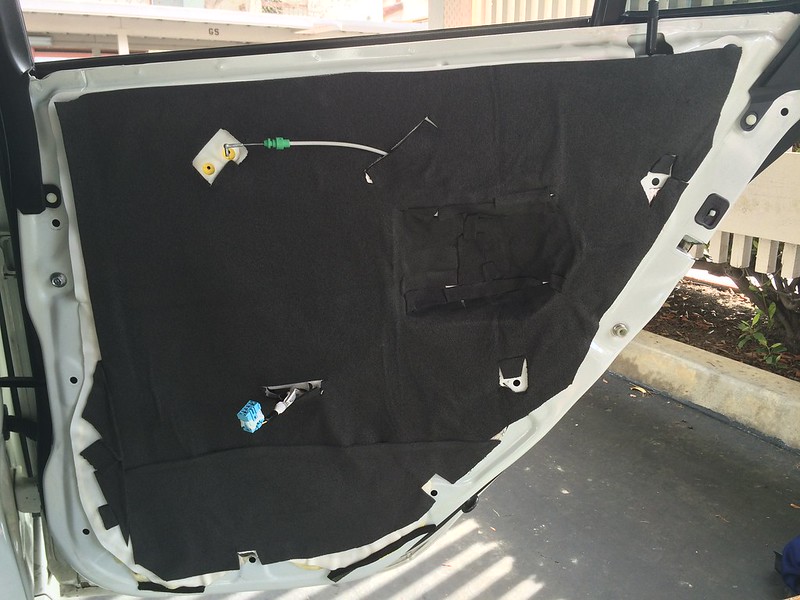
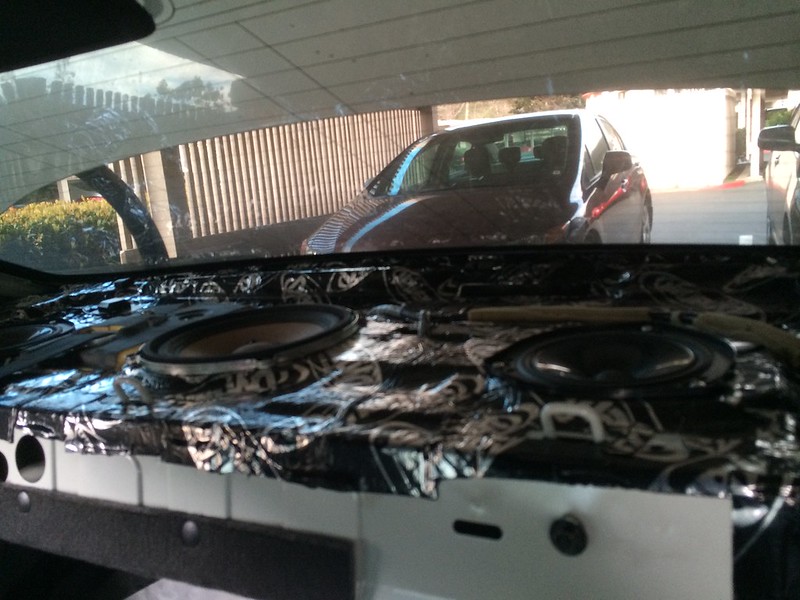
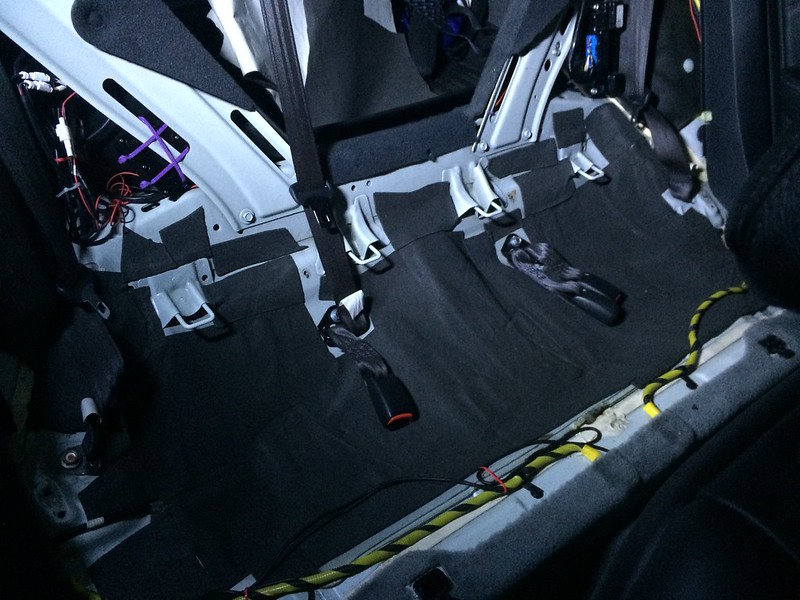
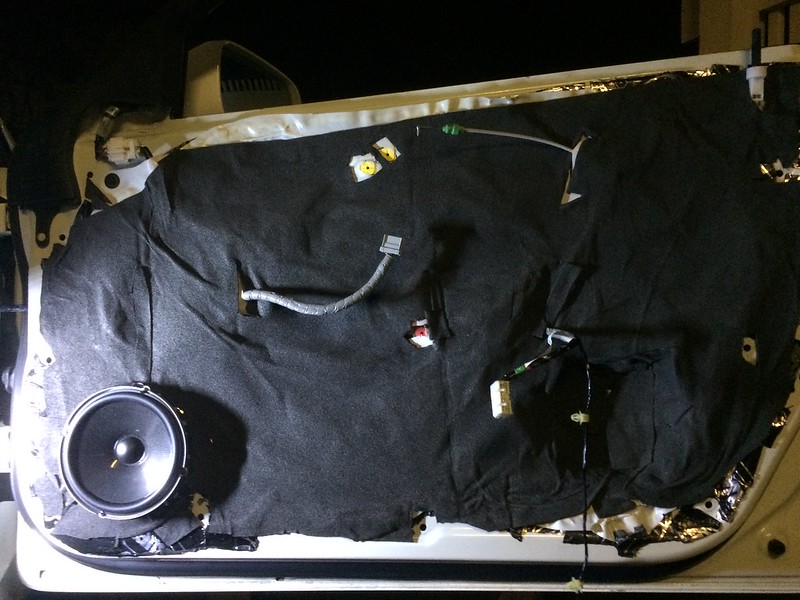
Sound Deadening and Ensolite
I wanted to do all i could to get the best sound out of my system so i covered all my doors in both sound deadener and also ensolite foam. this made a HUGE impact even on the stock system, enough that i did this to my wife's stock honda civic as well. outside noise gets cut down and the bass is more emphasized from the doors. i used material from raam audio, which was a good value for the price compared to the bigger names. i also added sound deadener and some foam to the rear deck, trunk, trunk lid, and some under the rear seats.


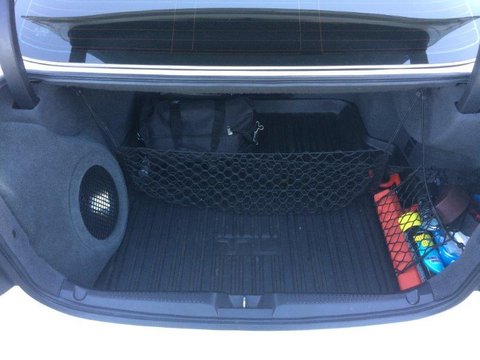
Sub
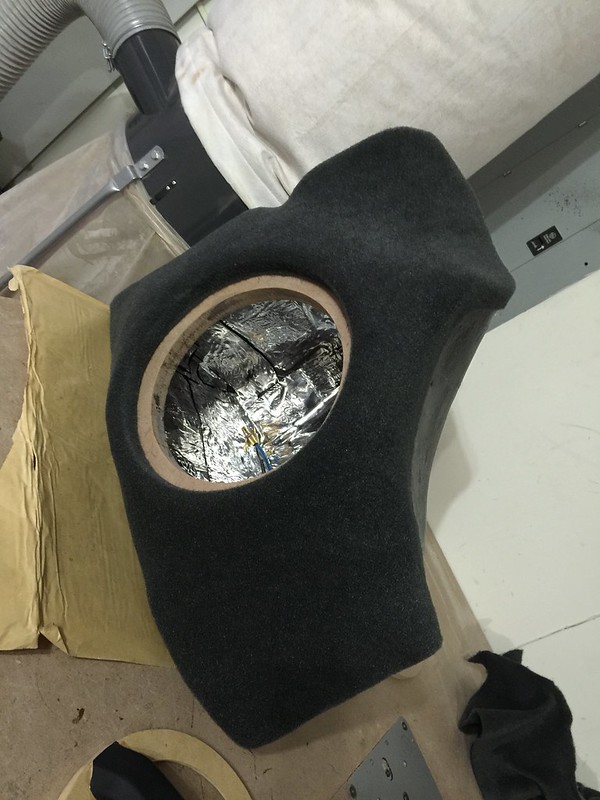
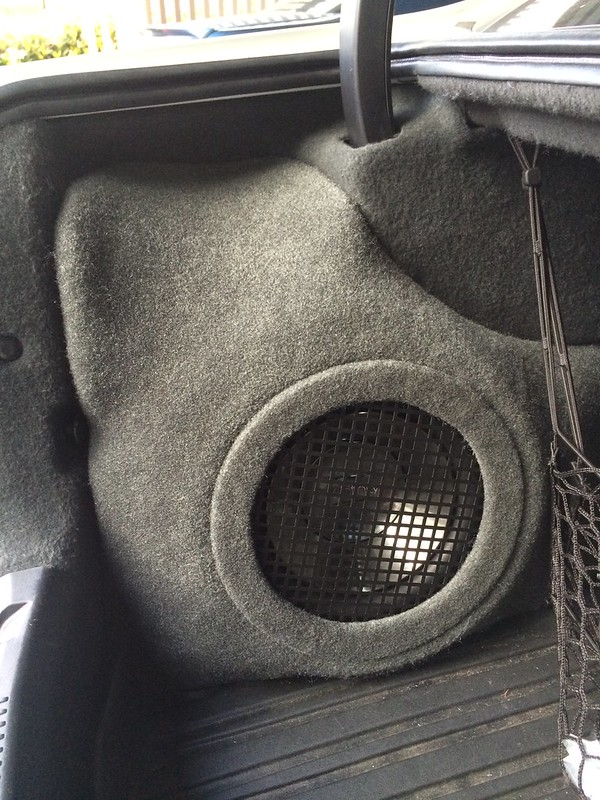
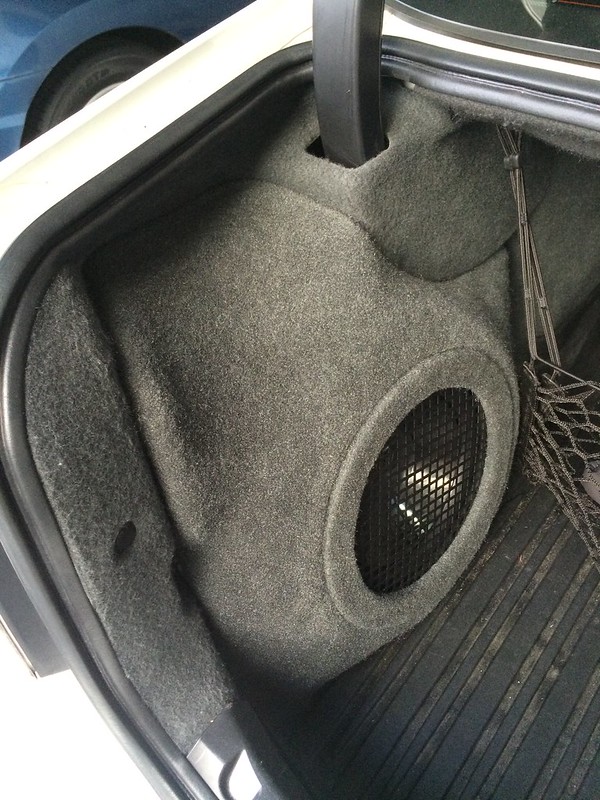
I had to keep my trunk fully functional (one of my wife's - i mean my - requirements) and i didn't want anything too bass heavy, so i opted for a 10" corner trunk enclosure. i kept my eye out for a wickedcas enclosure but they were too expensive and finally found a good middle ground by getting one from Markland Designs. It's a trunk enclosure he made and a few members on here have them, and even though it's built super super well and matches the carpet, the price was very good even with shipping from Georgia to California!
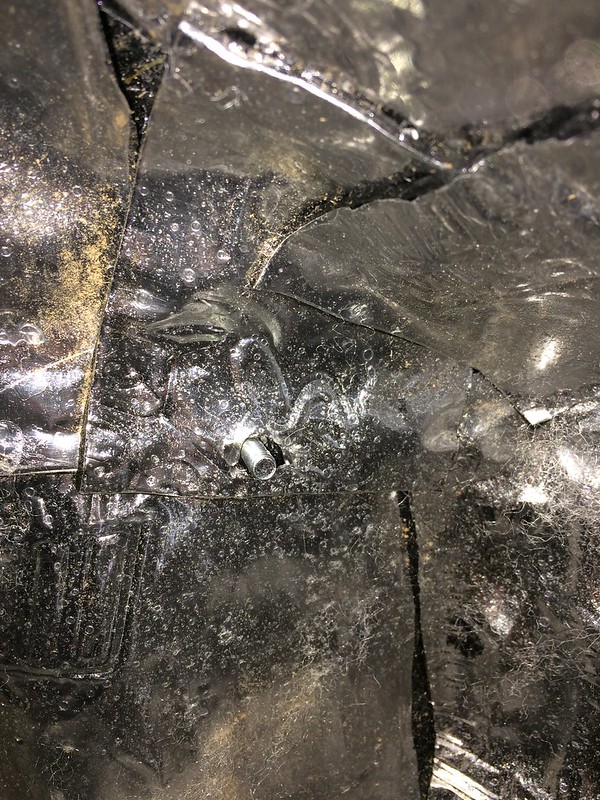
next i had to figure out how i wanted to mount the sub into the enclosure and then the enclosure into the trunk so it can't be easily stolen. i found a document online that told me how to install the enclosure so that it would take lots of effort to be stolen. basically you use an existing threaded hole (for the cargo net) and add in a bolt and rubber/metal washers. then you use a nut from the inside of the enclosure to lock it down to the trunk....very robust!
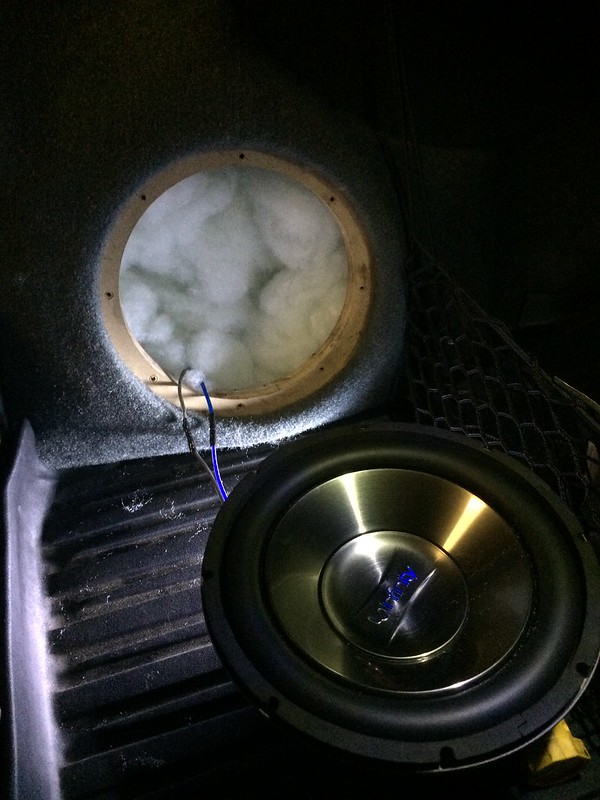
quick test fit to make sure the sub was fitting right

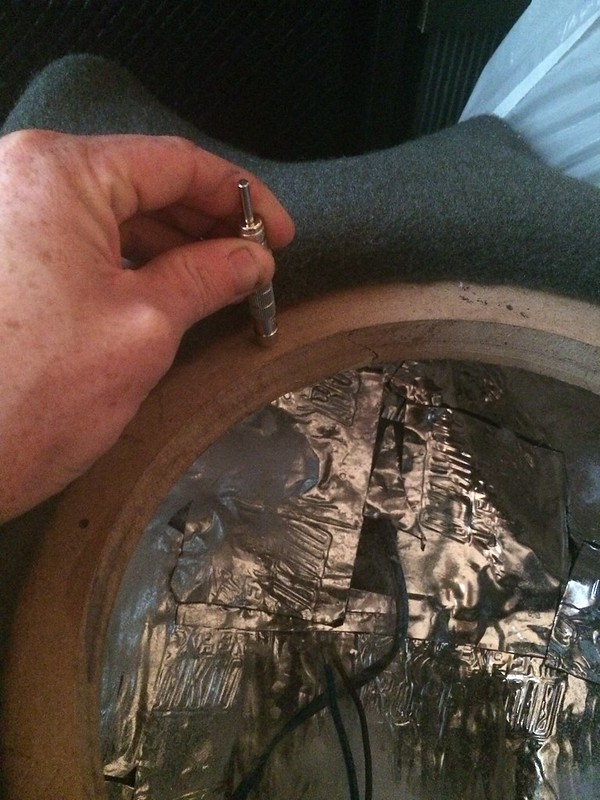
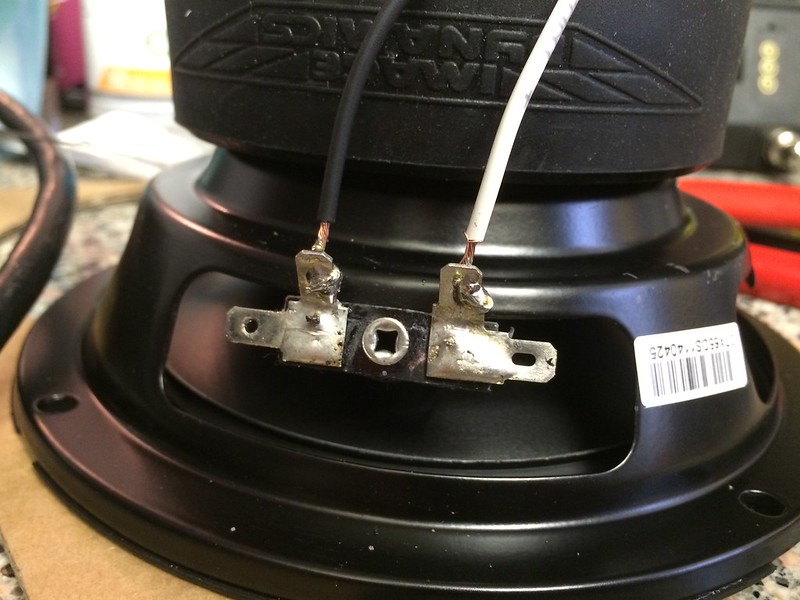
pulled the wiring through the carpet so that i can solder it to the sub

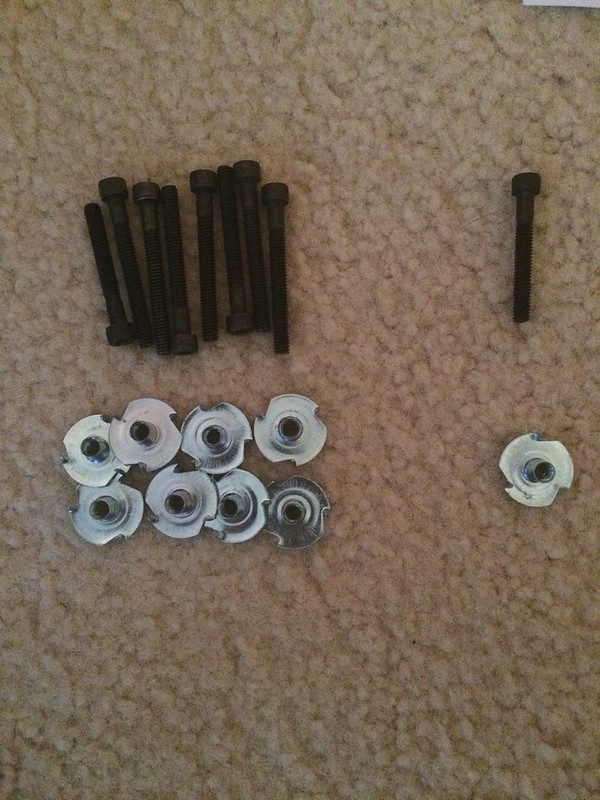
i used some t-nuts to mount the sub to the enclosure


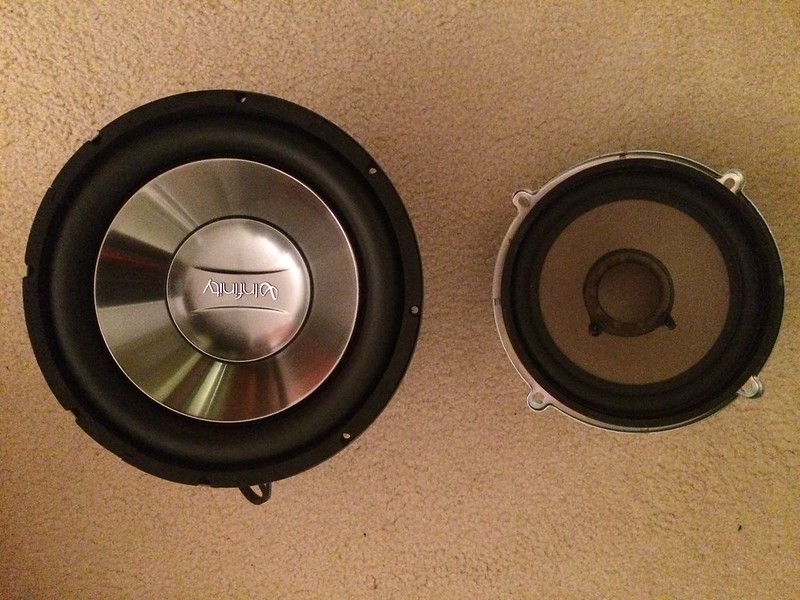
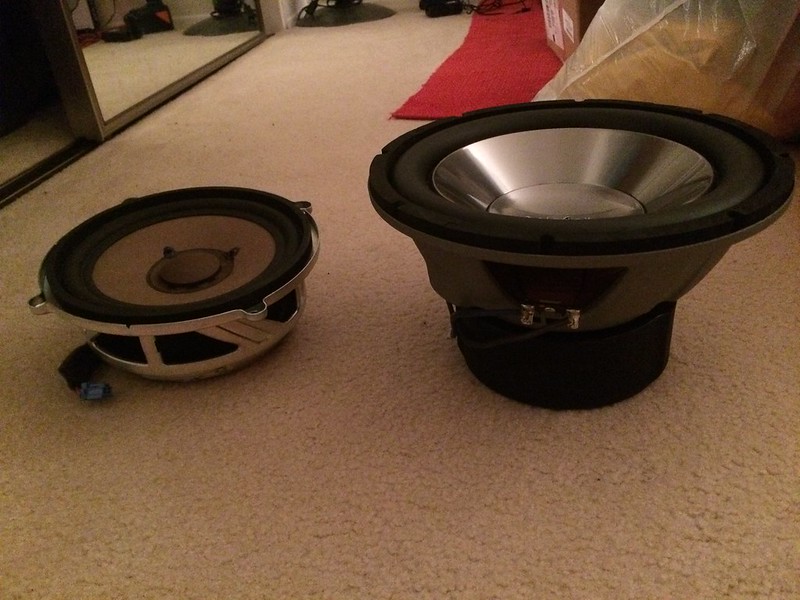
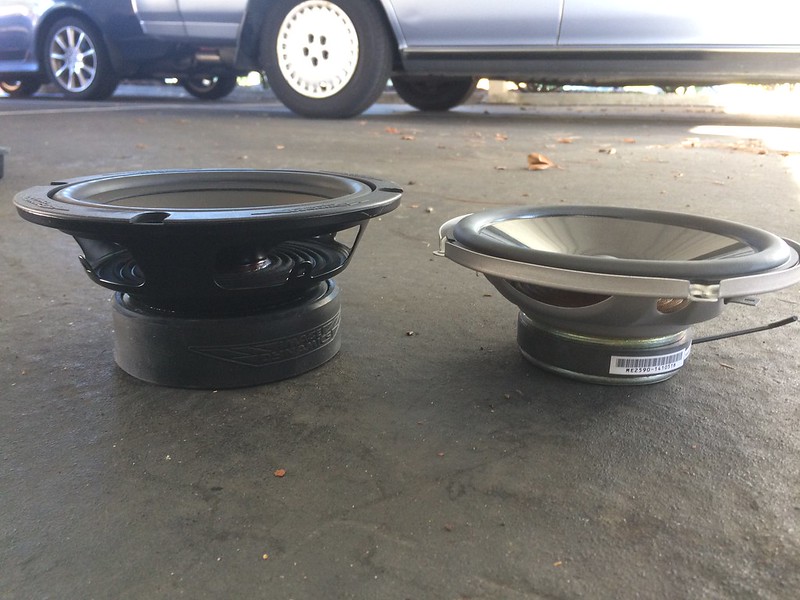
oem sub on left (removed after new sub install), infinity 1062w on the right...huge difference!
added polyfill to the enclosure
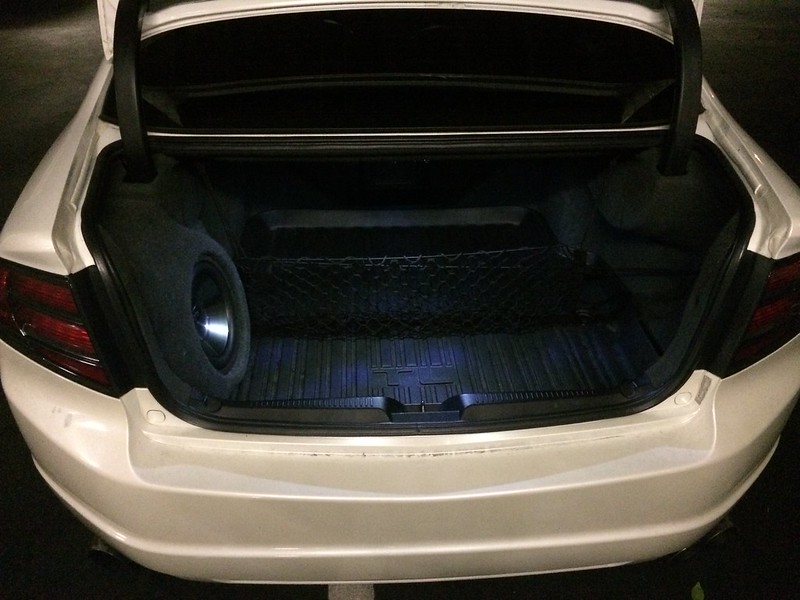
sub installed and trunk mat put back into place! (without grill protector in place)
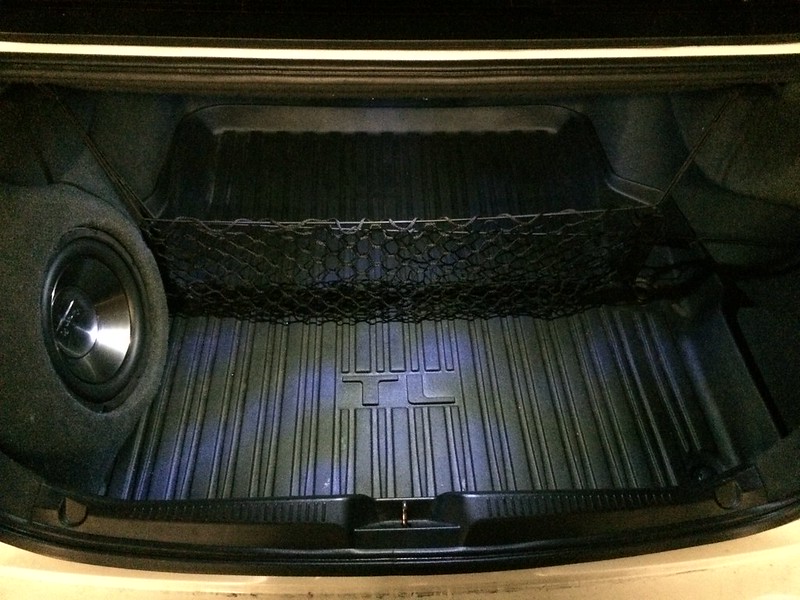
added a basic grill to protect the sub since my trunk needs to be functional. i just used silicone sealant to keep everything together under the carpet lip
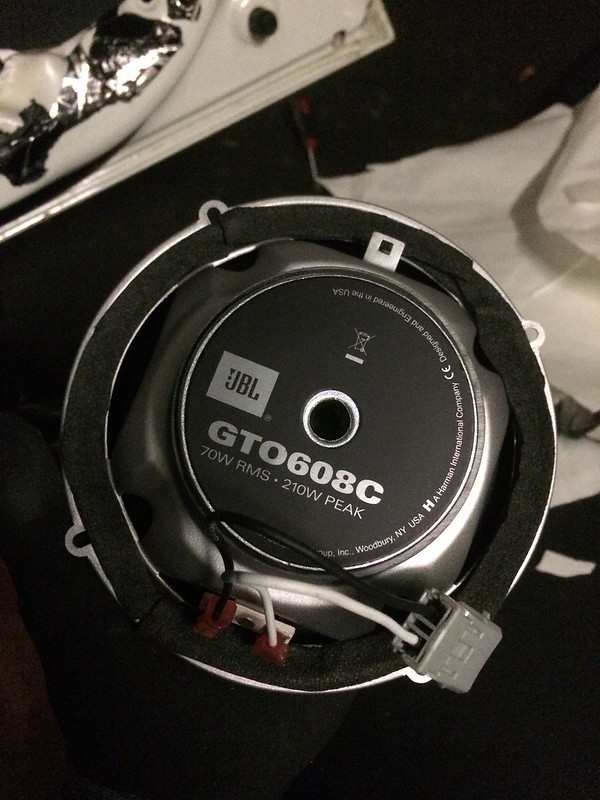
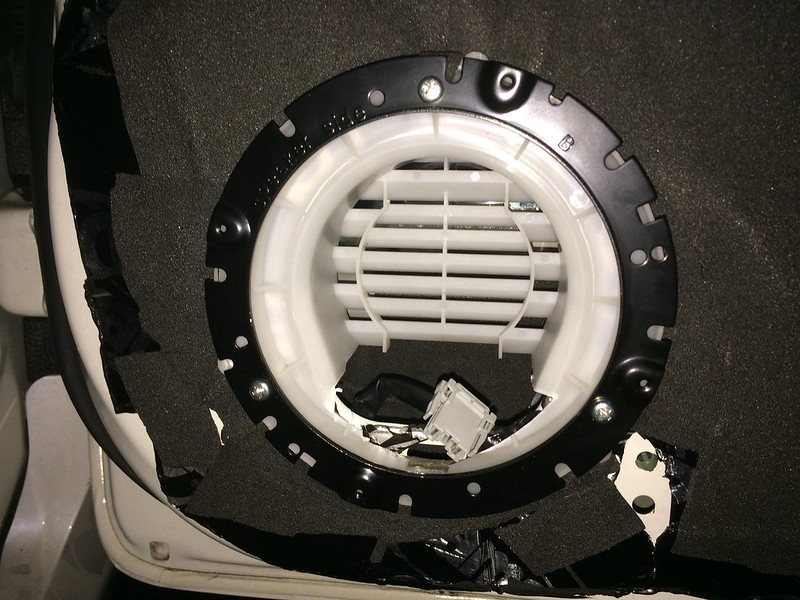
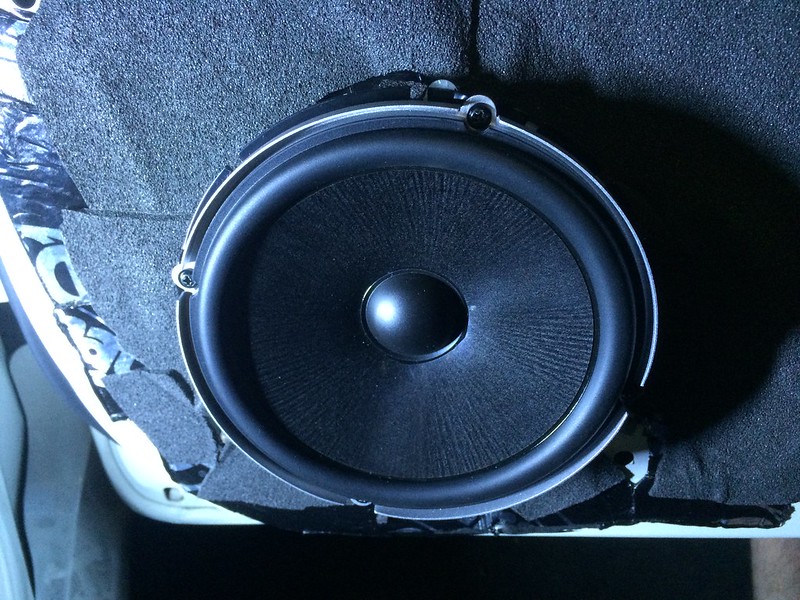
Front components - JBL GTO608C (before being replaced)
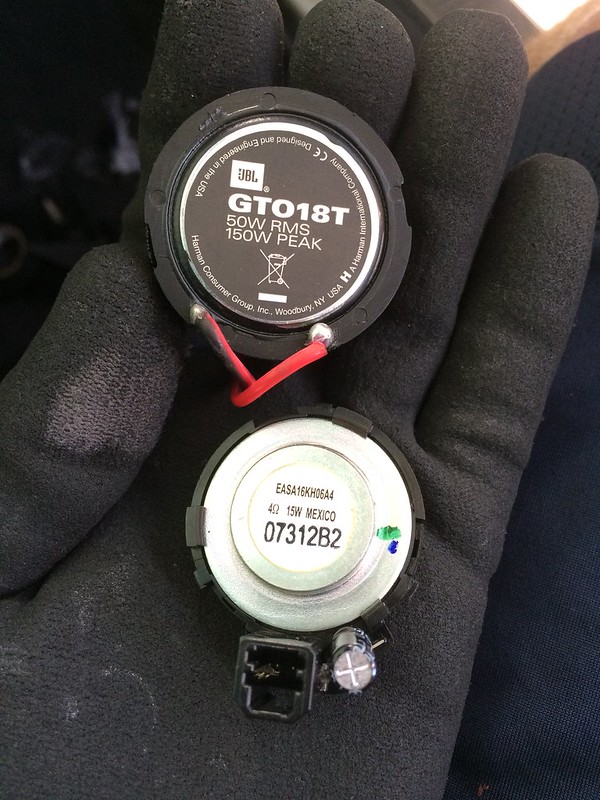
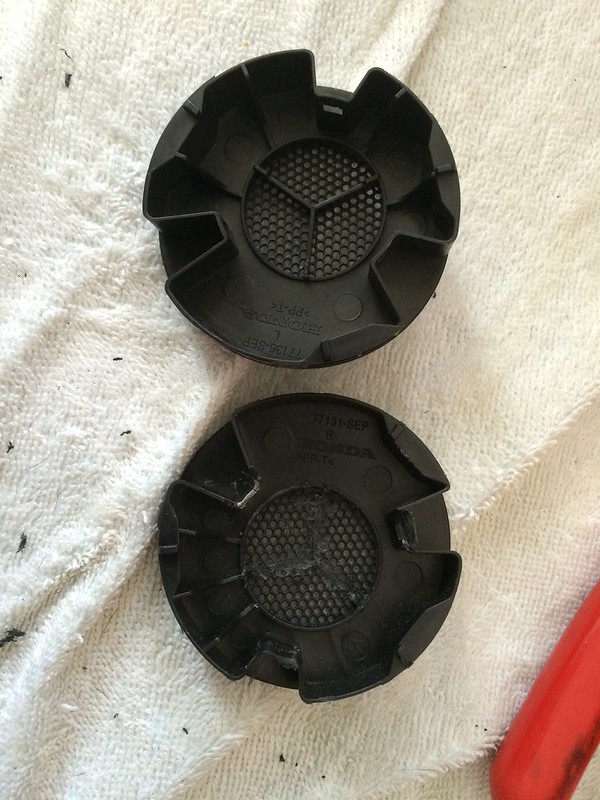
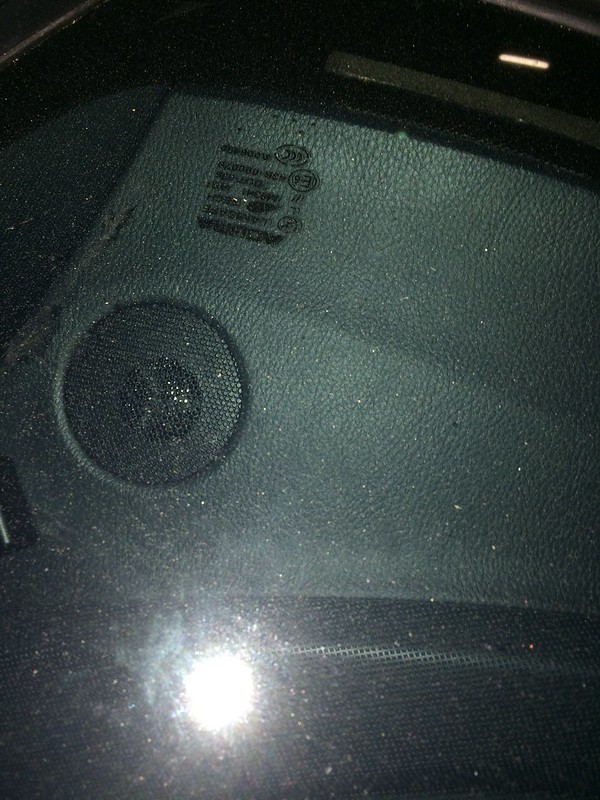
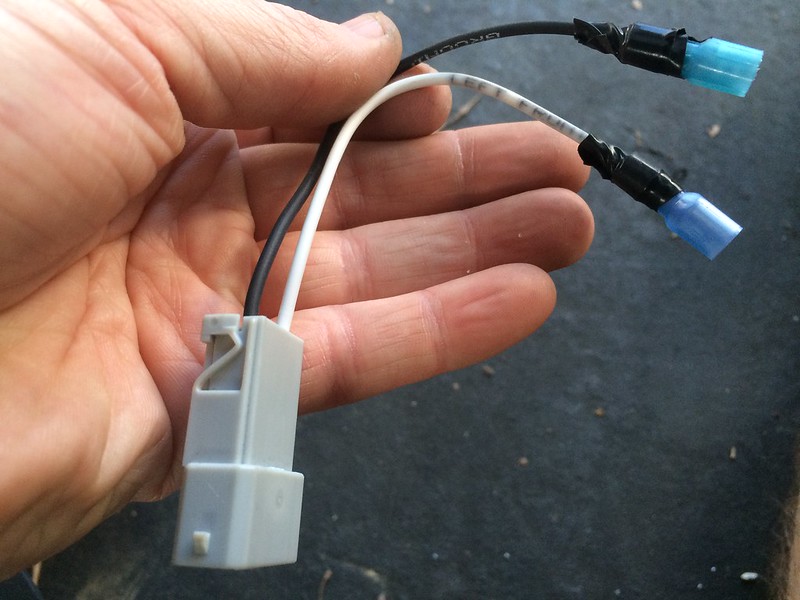
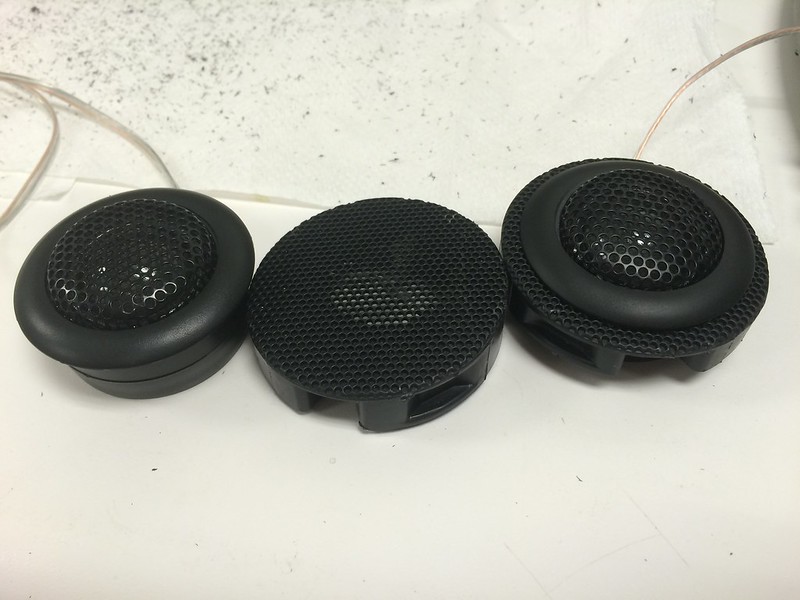
At first this was truly a budget build and i went with some cheap JBL GTO608C components, mainly because this was my first build and i wanted something that was nearly plug and play with the stock door location. the JBLs are nice in that you only need to slightly modify the stock white plastic bucket for the wire connectors (see second picture where the white basket is open on the bottom). Other than that, it's truly plug and play with all oem mounting hardware. for the oem tweeters i had to shave off the underside and use some adhesive to get the tweeter to stick to the oem grill
oem tweeter
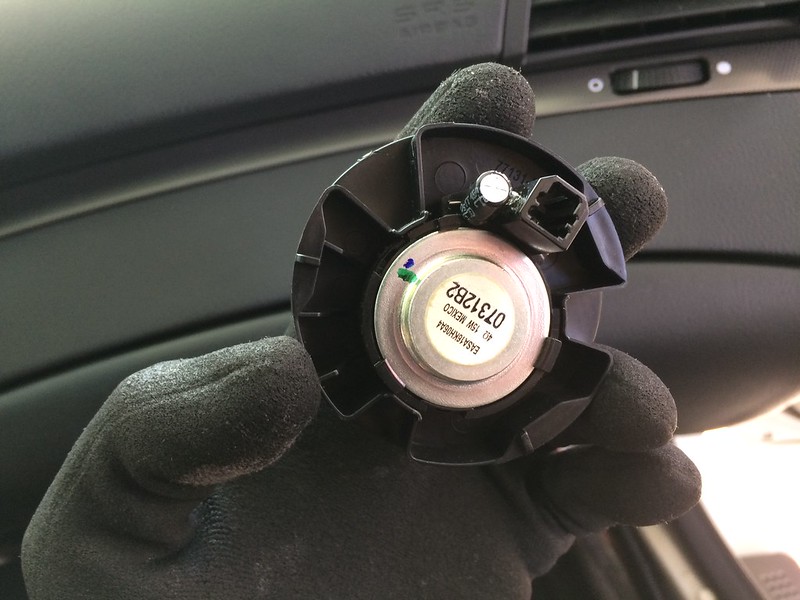
oem wire to tweeter
oem tweeter removed from grill
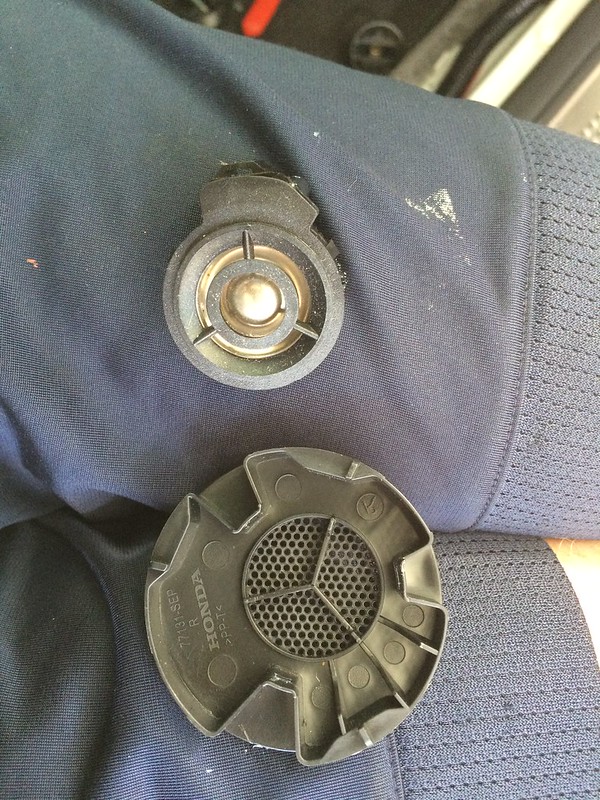
JBL tweeter on left, oem on right
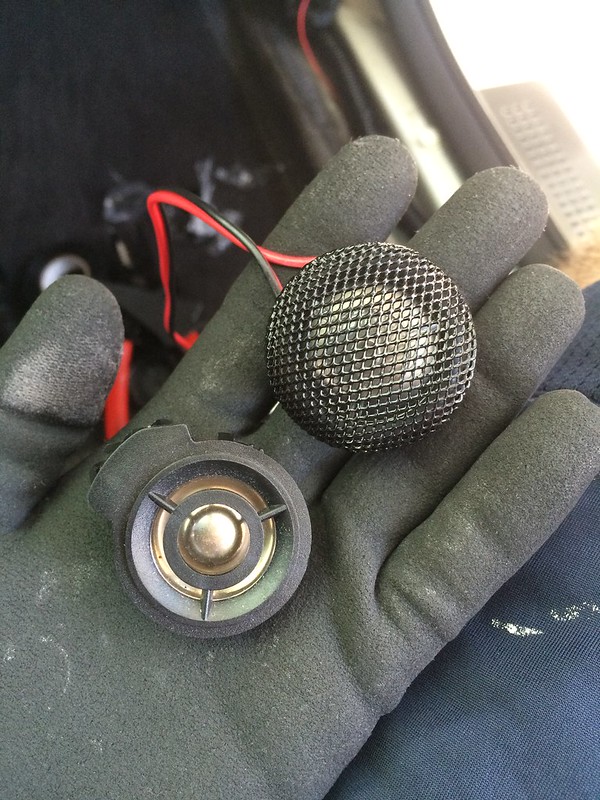
shaved underside of oem grill to fit JBL tweeter flush
JBL tweeter glued to the oem grill
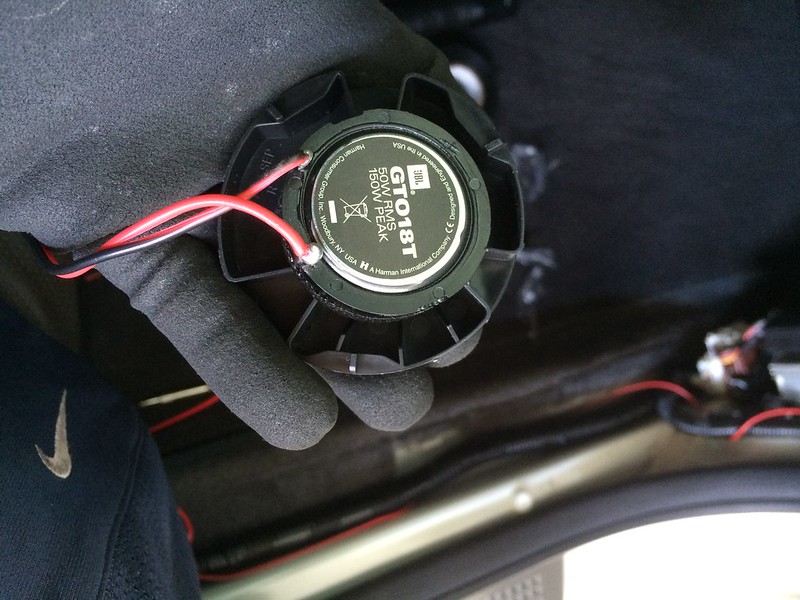

JBL tweeter with oem look (oem grill)
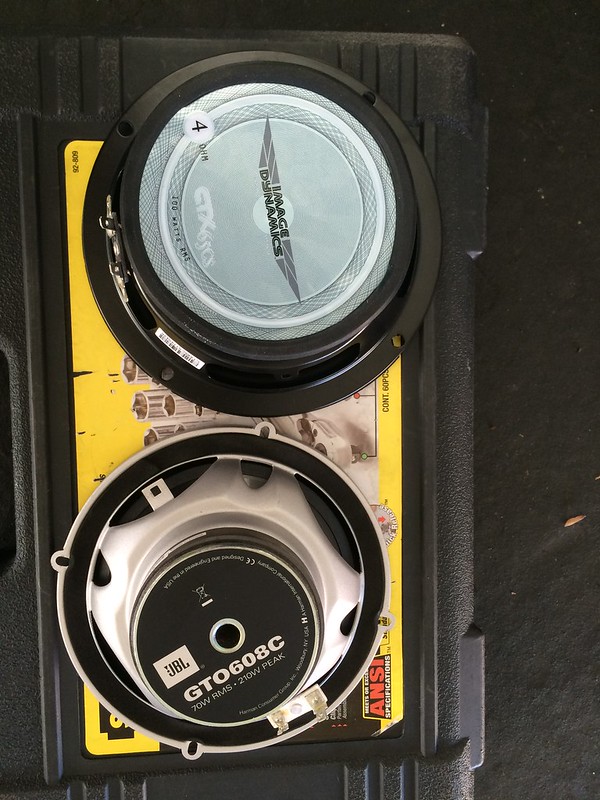
Front components - Image Dynamics CTX65CS (sound amazing)
However, i kept reading about the image dynamics and how great of a value they were, so around black friday i found a deal i couldn't pass up and decide to go for them. i figured now is a time to learn how to modify doors to fit speakers haha
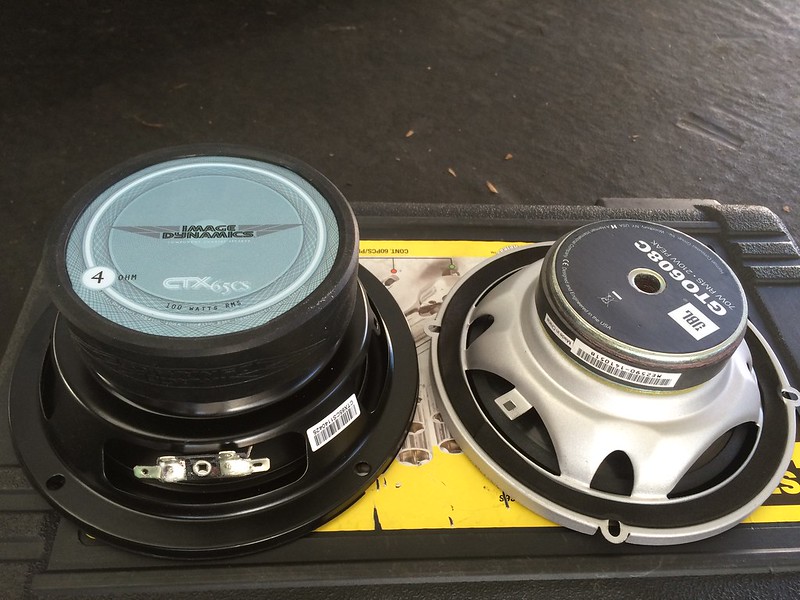
you can see how much bigger the magnet is for the image dynamics on the left compared to the JBL on the right (and the JBL was already bigger than the stock speaker!)
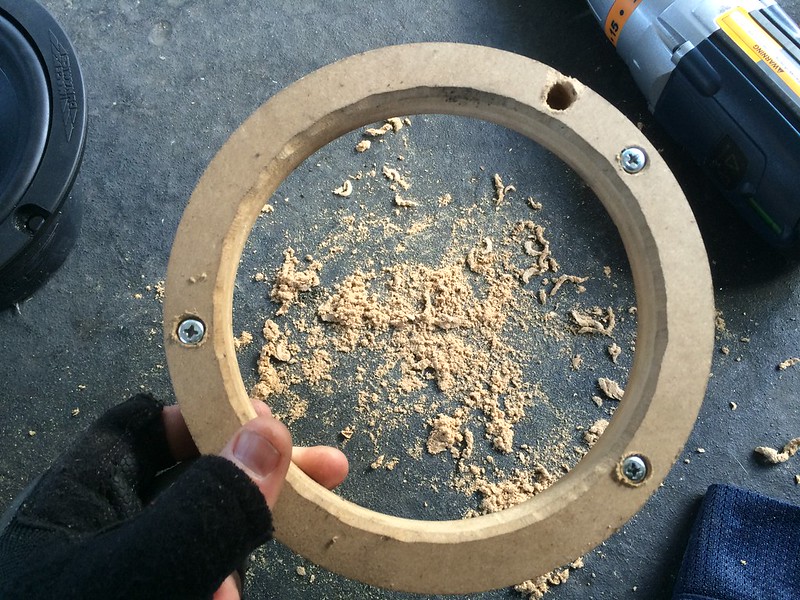
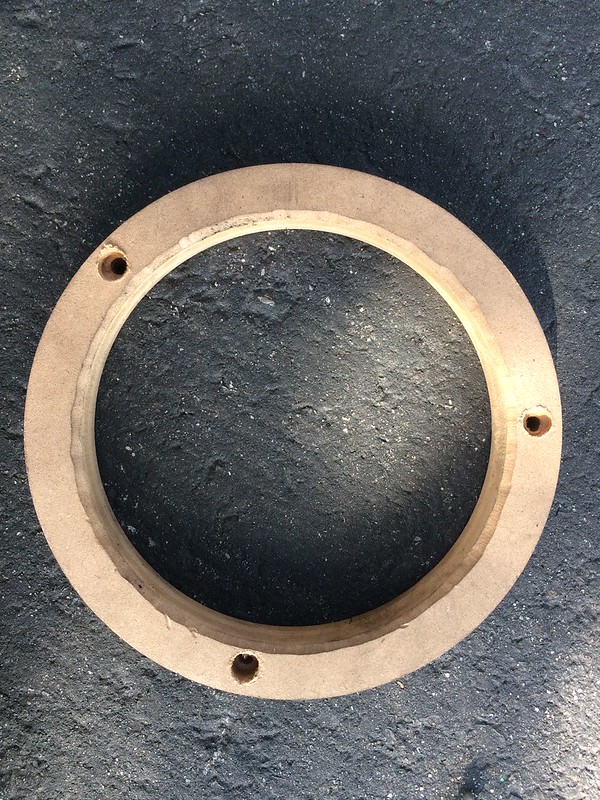
doing research, i found i would need 3/4" spacers for these speakers. i purchased some 3/4" ebay spacers and drilled my own mounting holes and shaved it to fit the new speakers
i then bought some cheap sheet metal shears at home depot and cut a larger opening in the door (now we're talking!) i also used a dremel to make the sharp edges a little duller from where i cut (wear gloves!!)
i then shaved down the door panel so that it wouldn't interfere with the speaker. a razor blade easily cut off most of the plastic
drilled the mounting locations
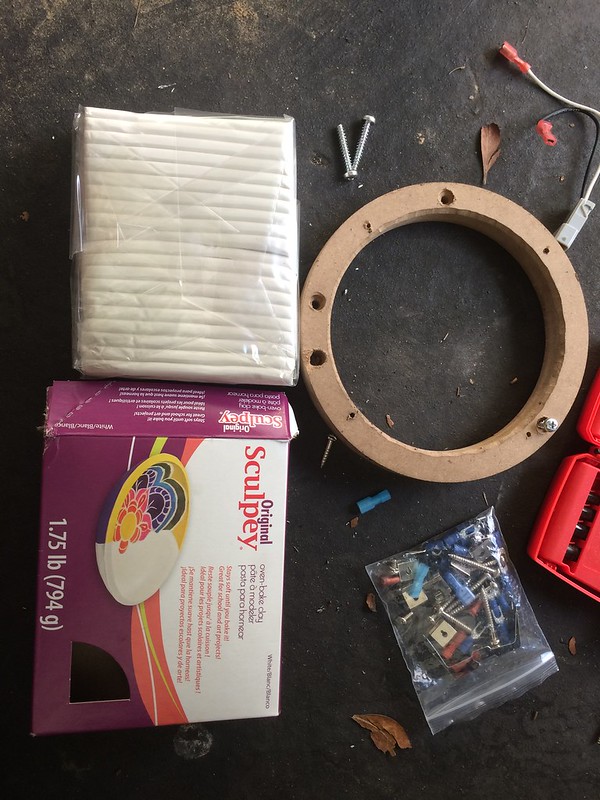
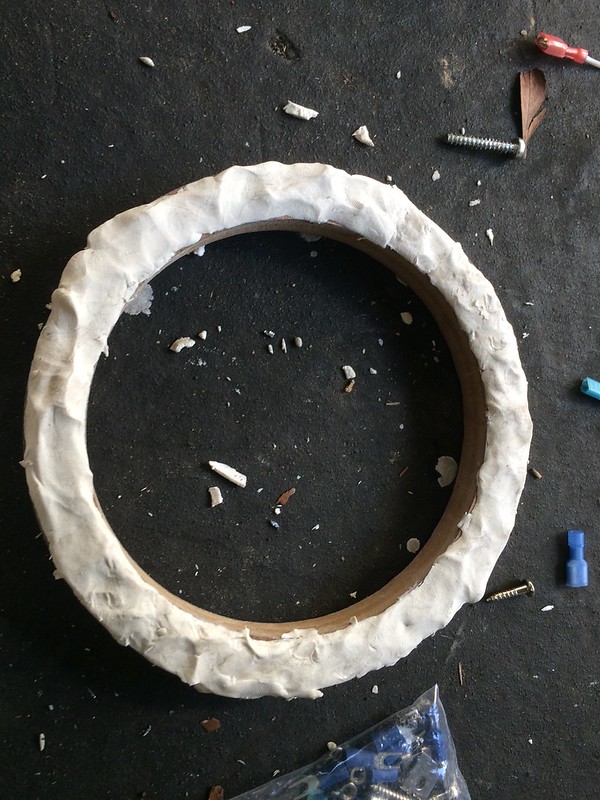
i did some more research and wanted to seal in the sound waves as much as possible, so i purchased some molding clay locally and sealed in the entire speaker perimeter.

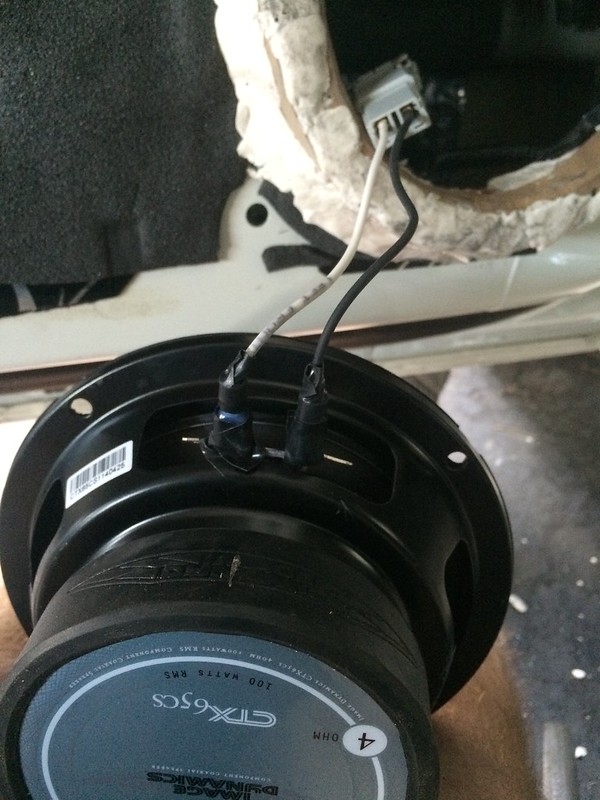
test fit

some more clay to seal in the waves
then i soldered some metra connectors to mate up with the oem door speaker connectors
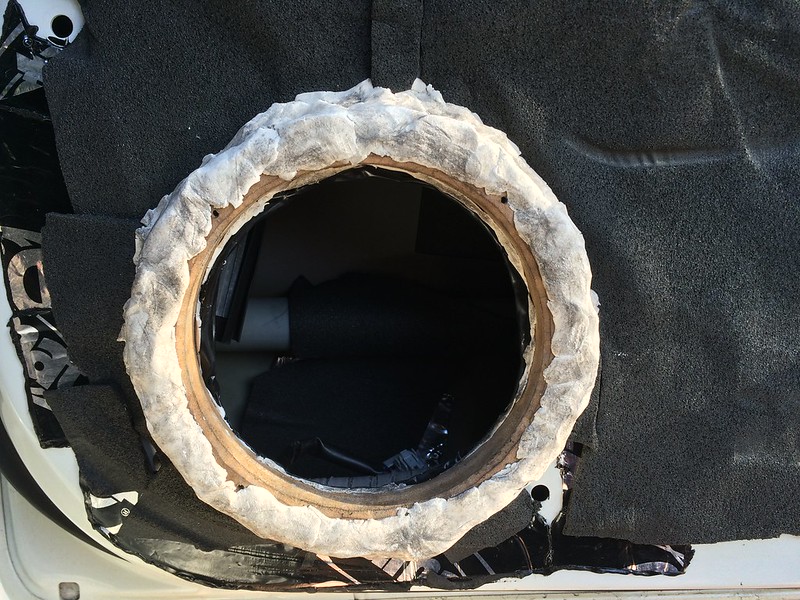
all installed with more molding clay!


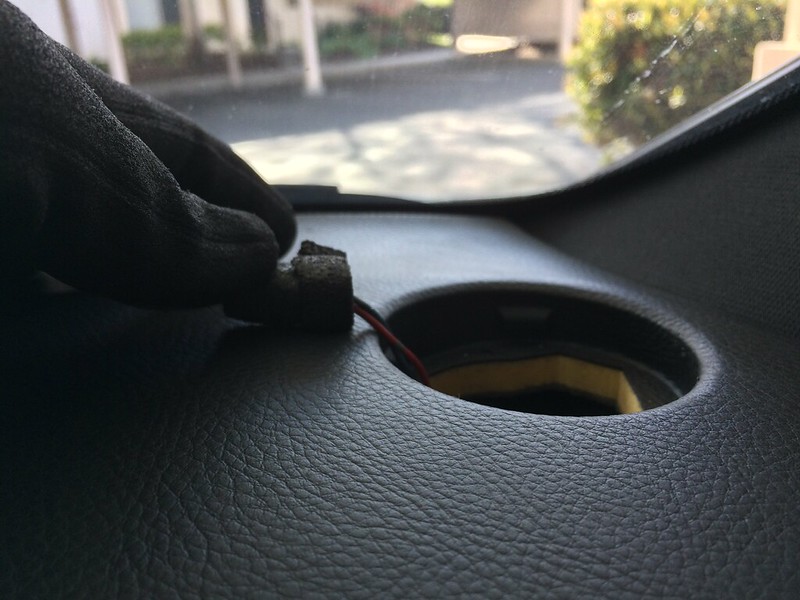
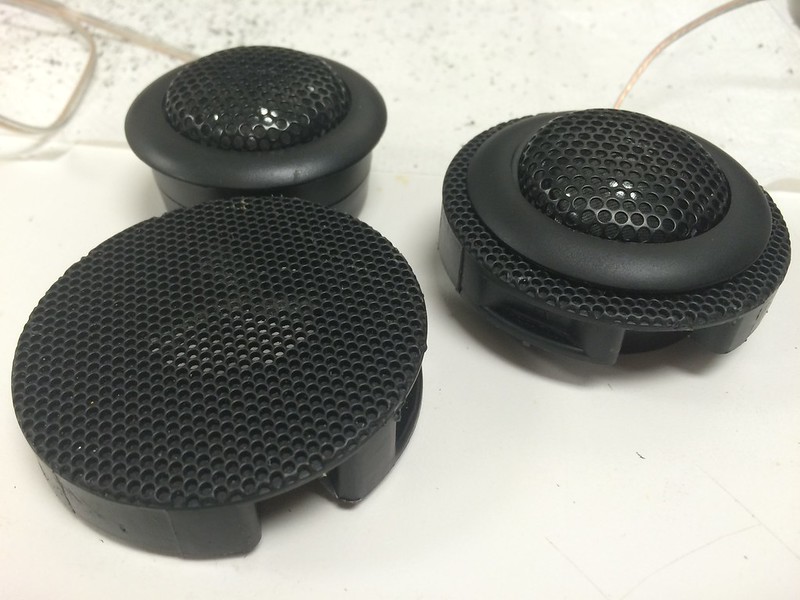
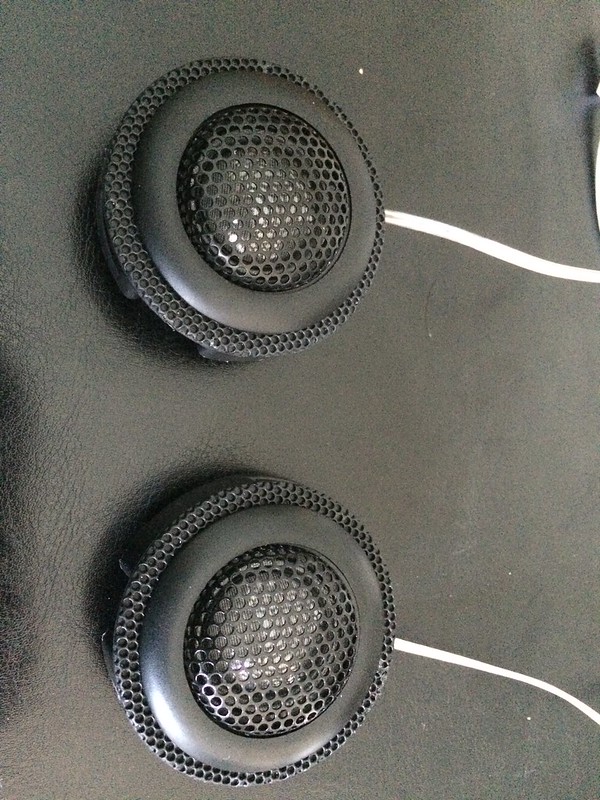
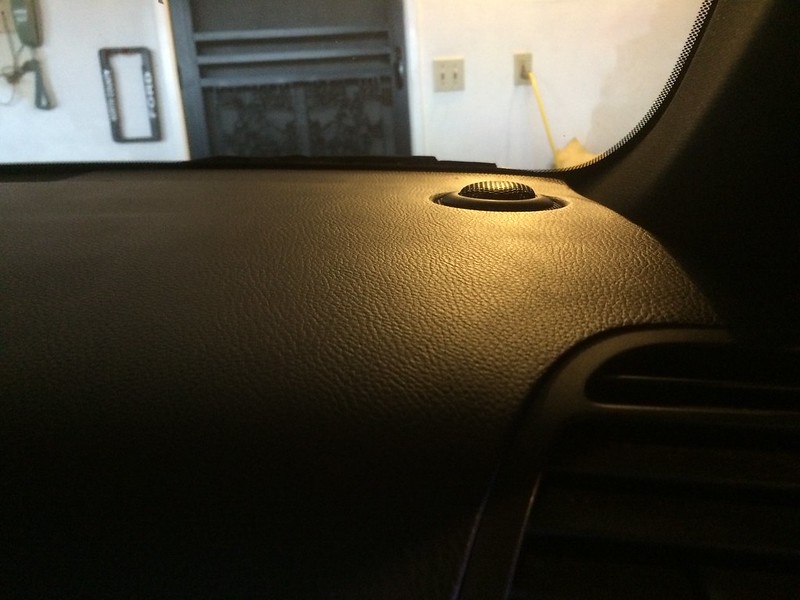
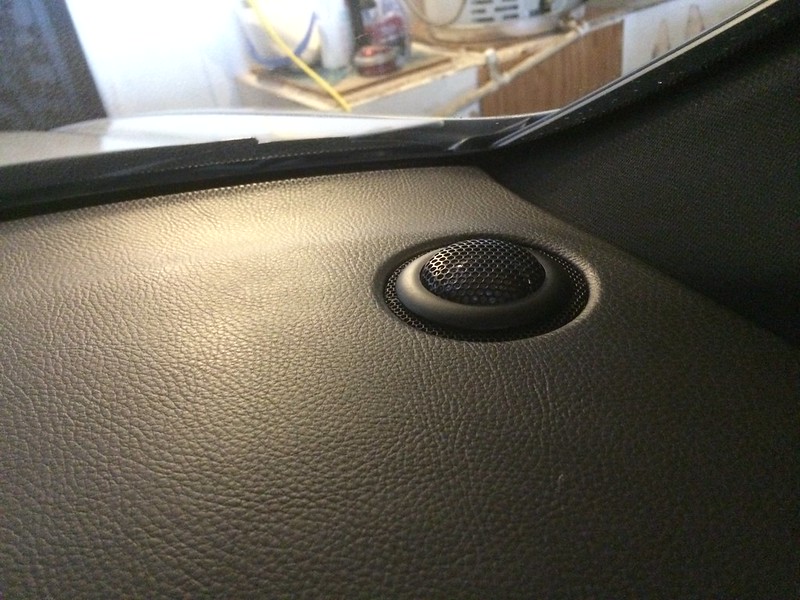
next came the ID tweeters. this time i didn't want to glue them to the underside, so instead i cut a hole in the middle of the oem grill and popped the tweeters in from above. looks close to oem but not all the way

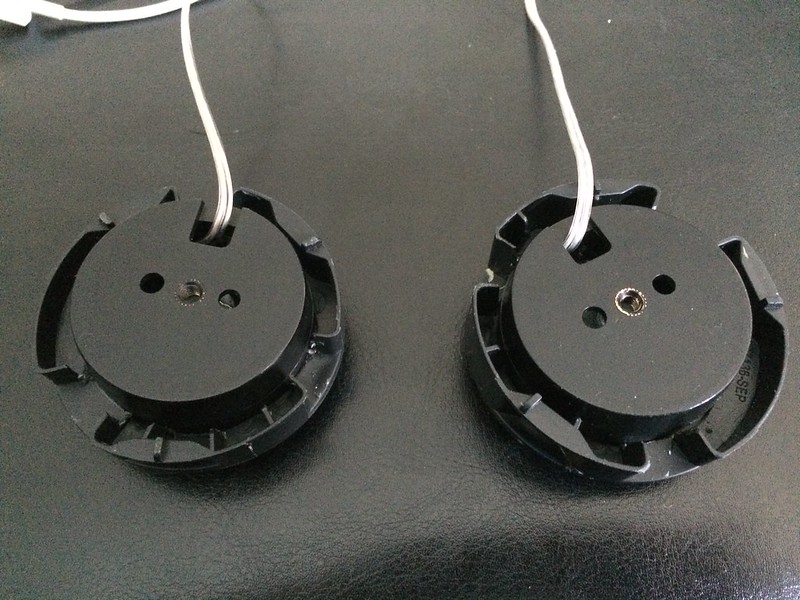
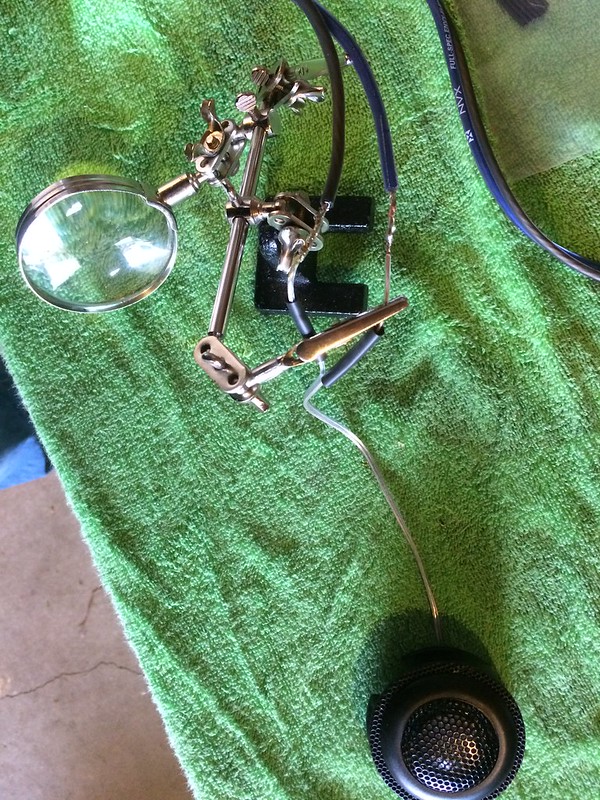
i soldered new wire leads to the tweeters and dropped them down from the hole in the dash to the wires below
Wiring
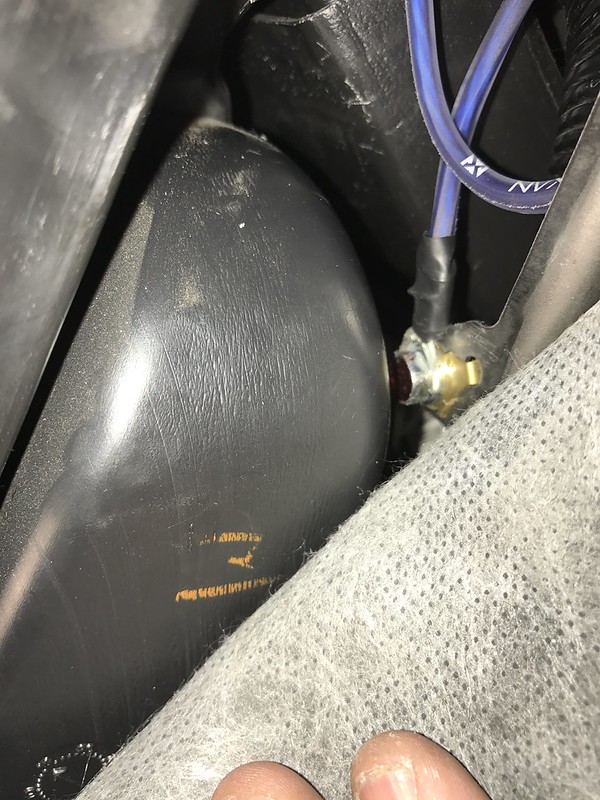
i routed my power wire from the battery through the engine bay and through the firewall in the middle of the car
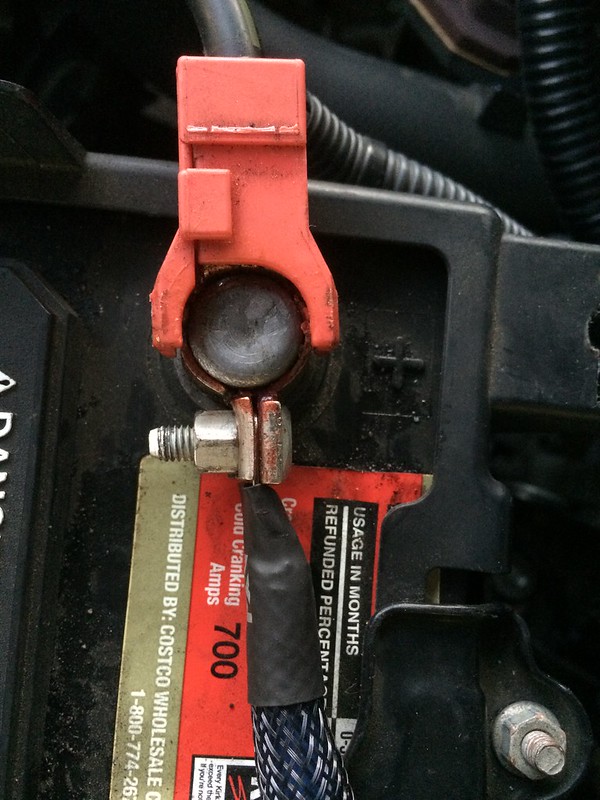
cut a slot in the oem positive connector cover
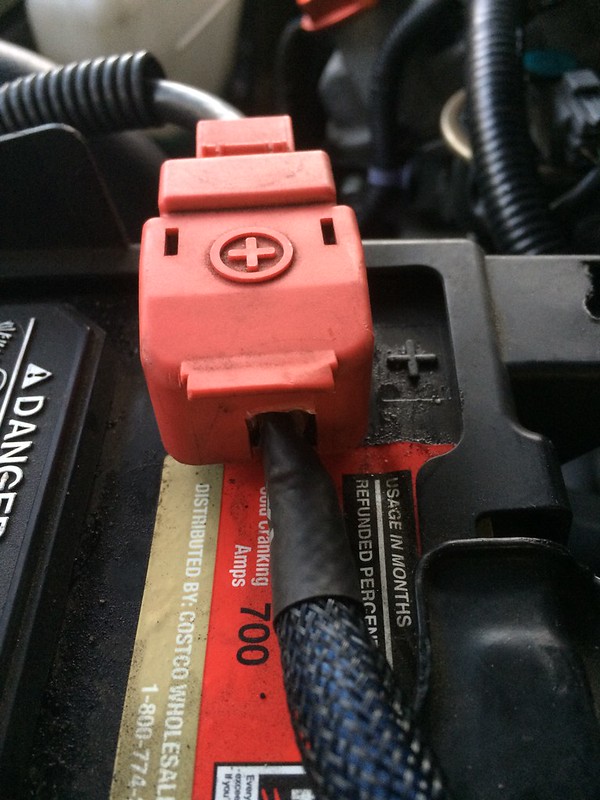
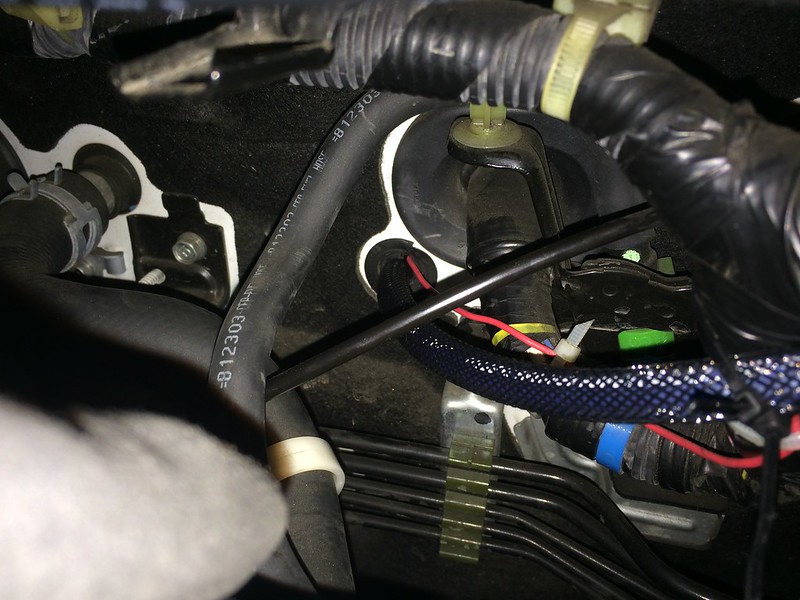
pulled the power wire through with a coat hanger

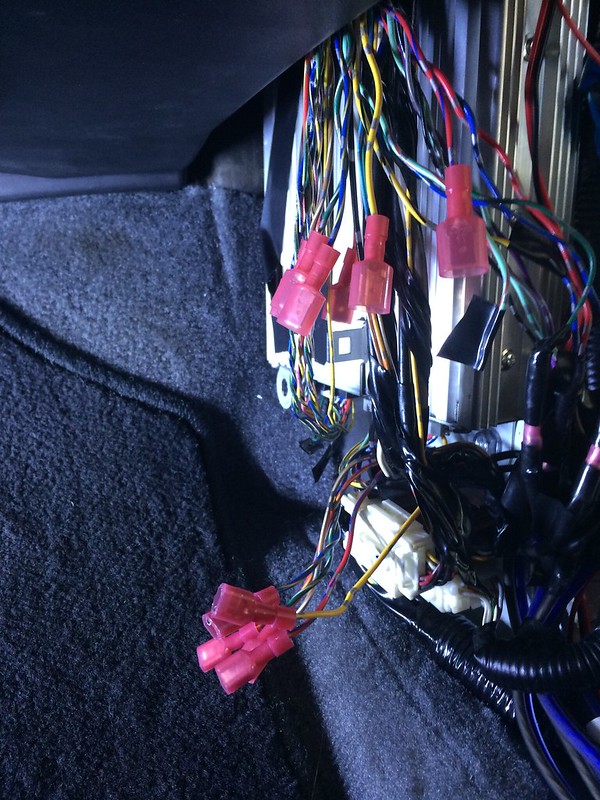
I cut all my wiring at the oem amp location.
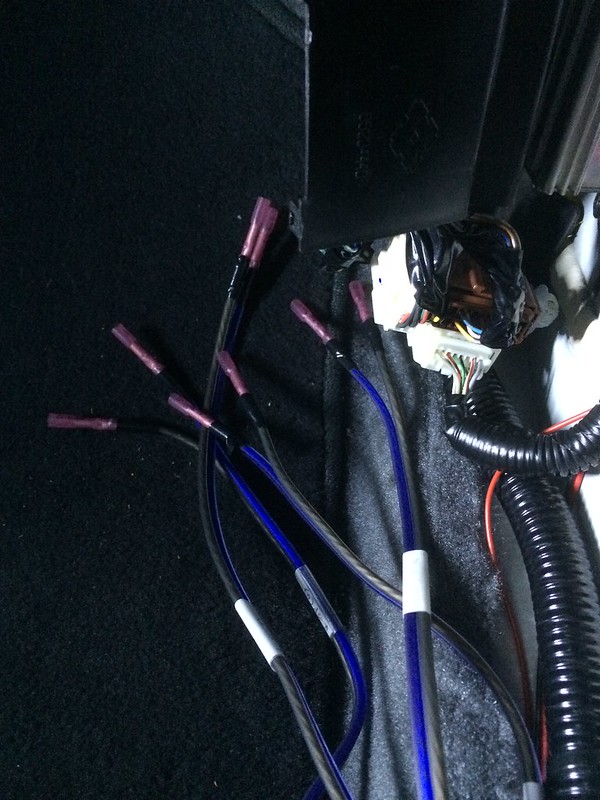
prior to soldering it all together
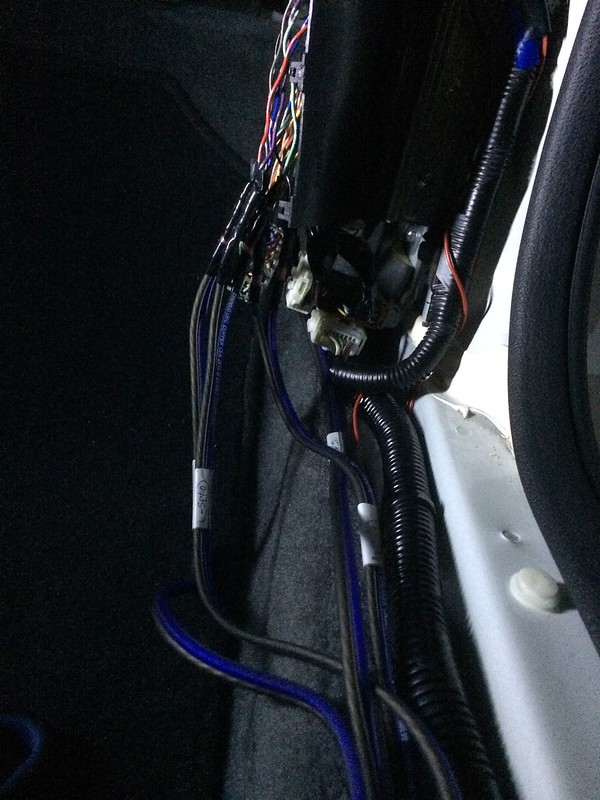
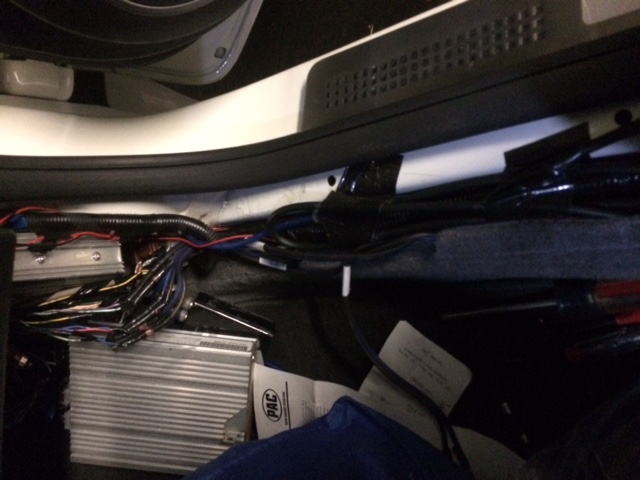
ran the wiring down the side of the car
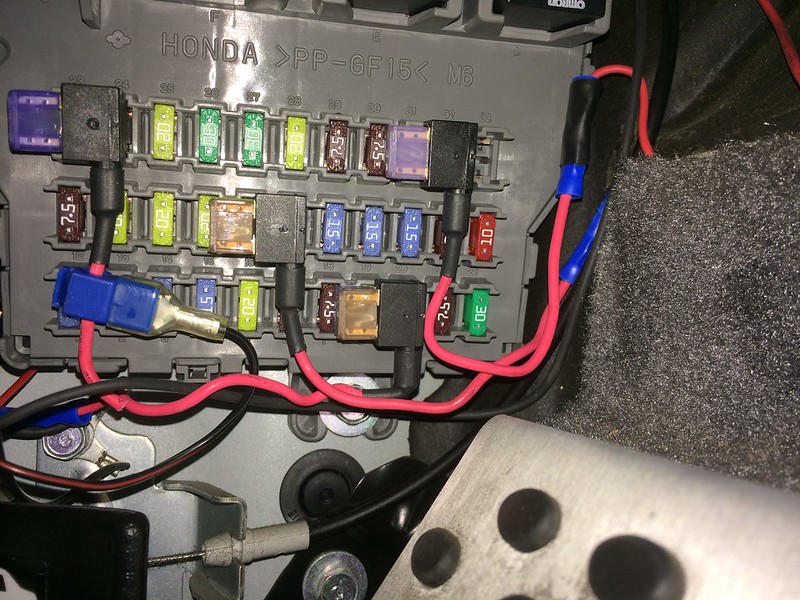
aftermarket amp remote turn-on installed with an add-a-fuse
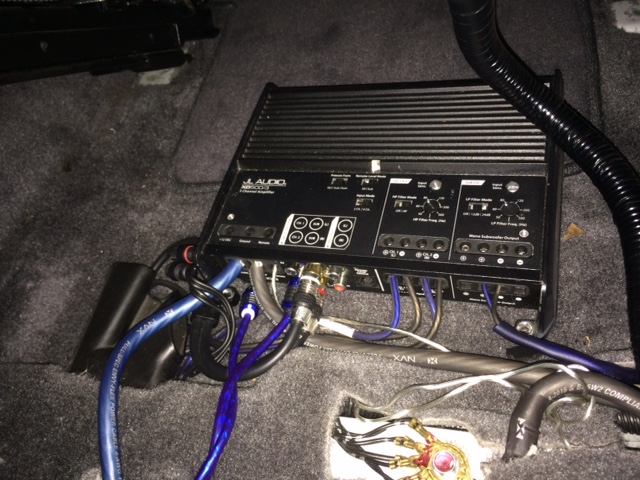
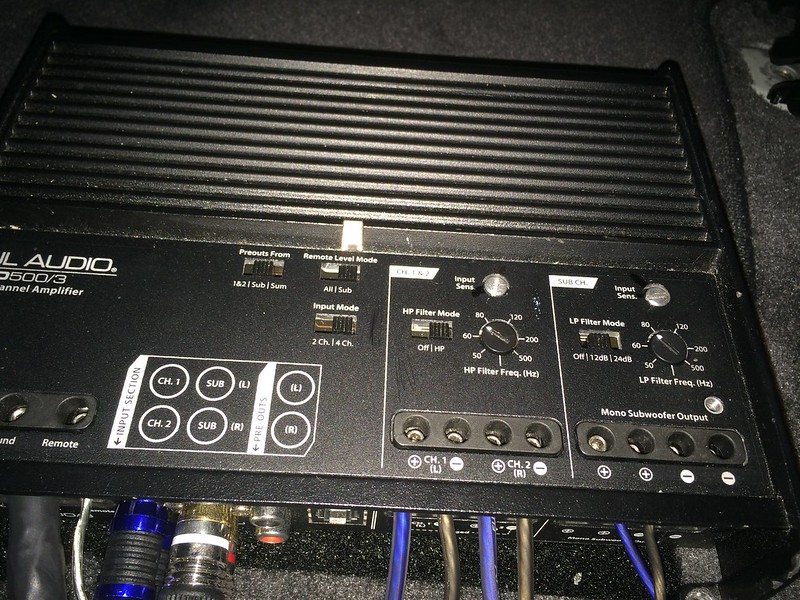
Amp: JL XD500/3
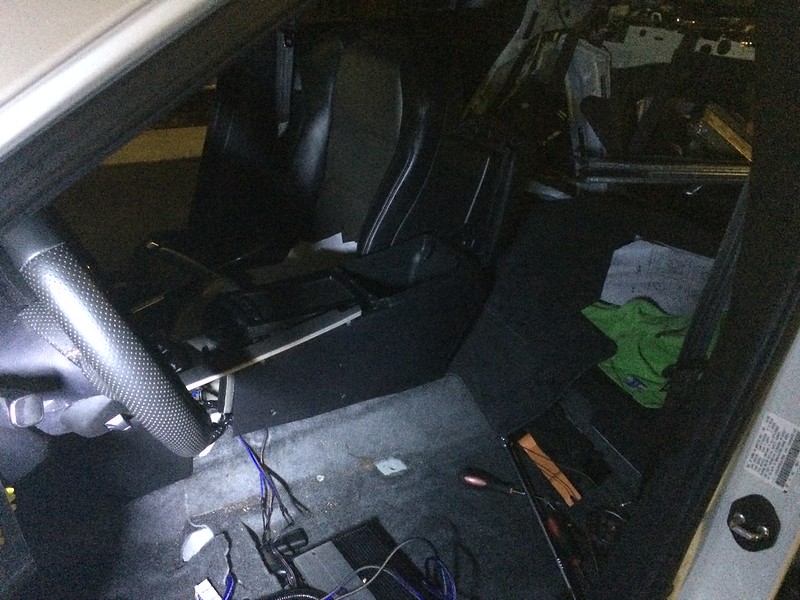
i wanted to keep my amp under my driver's seat and so i chose a class D amp (lower profile). i wanted a decently powerful amp so i found a used JL amp, fits perfectly under the seat.
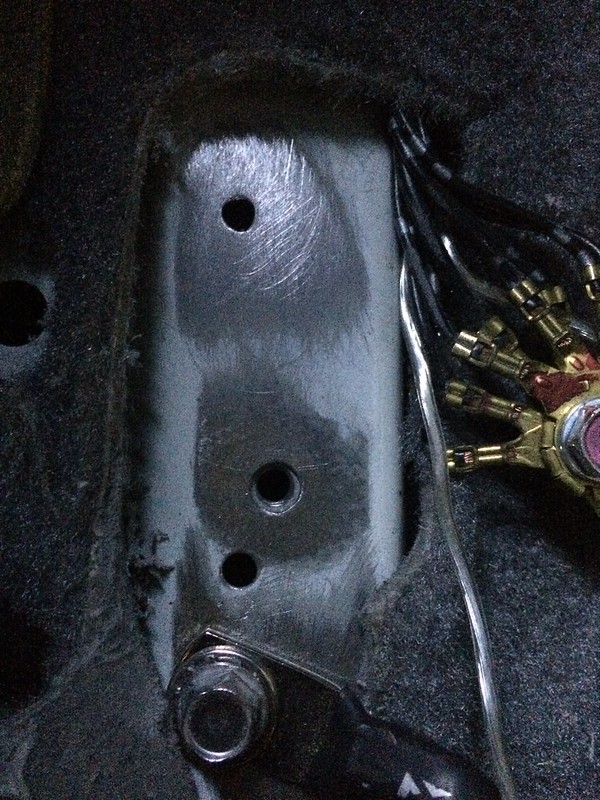
drilled my own ground location next to an oem ground and sanded off the paint
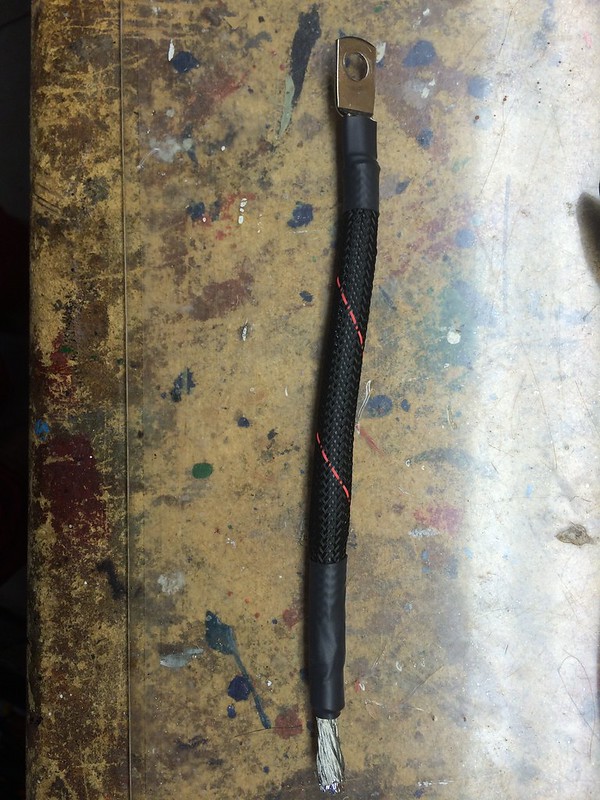
i then shorted my ground wire and put some sheathing on it
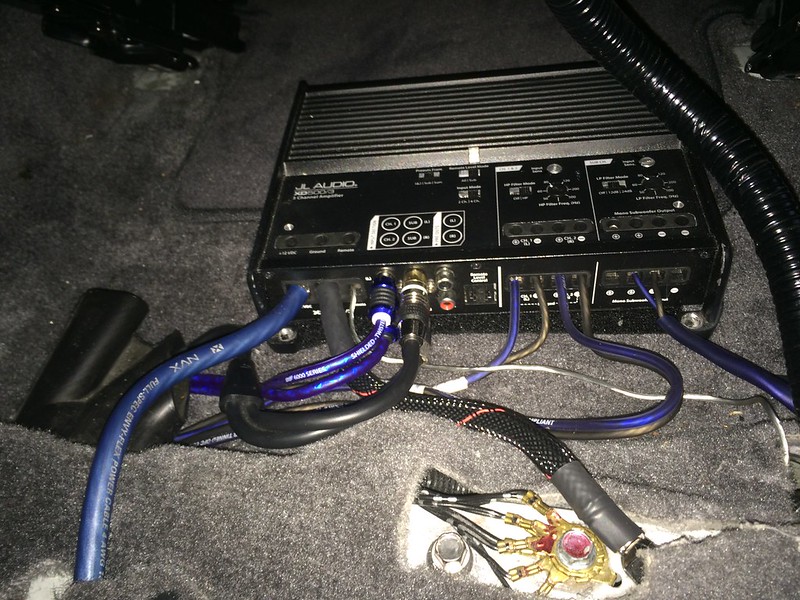
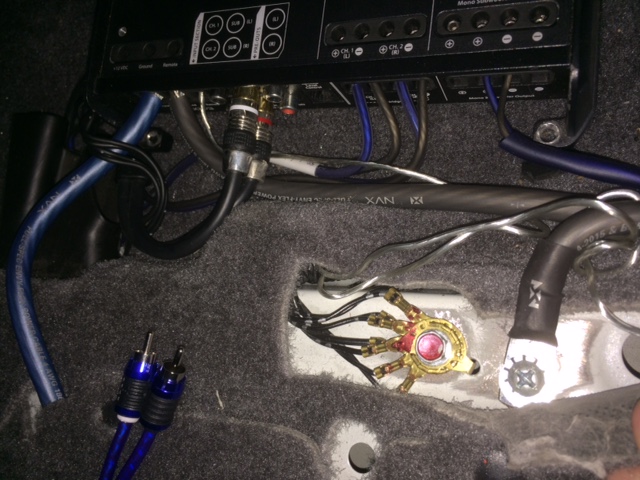
final amp install

Downsides
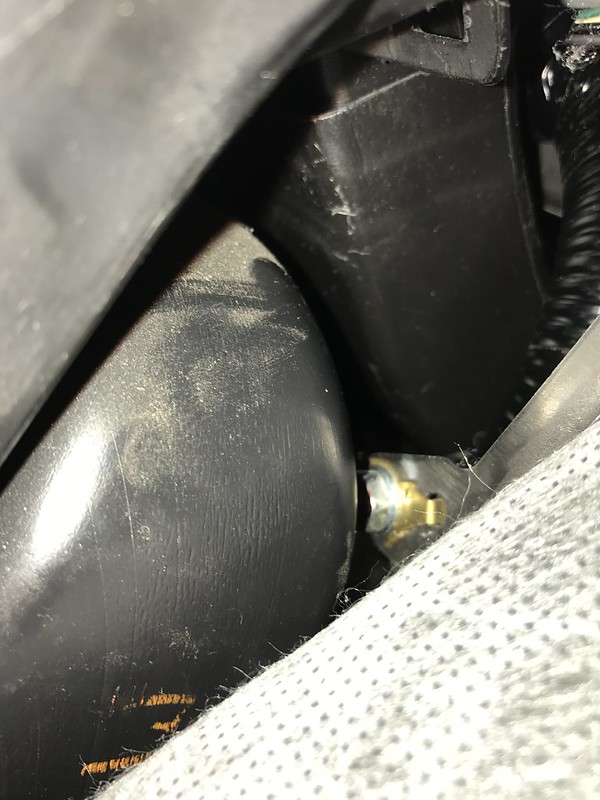
in my mind the audio system sounds way better than stock and i'm very very happy how it turned out. however i do have some noise that i could never solve, i tried filters, better rcas, rerouted rcas, etc but no effect, even took it to a few audio shops. recently i met a couple of local audio guys in the acura scene and they recommended i put a ground wire from the oem head unit to the aftermarket amp ground. i did that and even though the noise is still there, it did take away a slight engine whine and the sound is much clearer now. so in summary the noise is still there (white noise), but no one notices but me. overall very happy with it!
hard to reach oem head unit ground from the front

went to the side and around to get to it
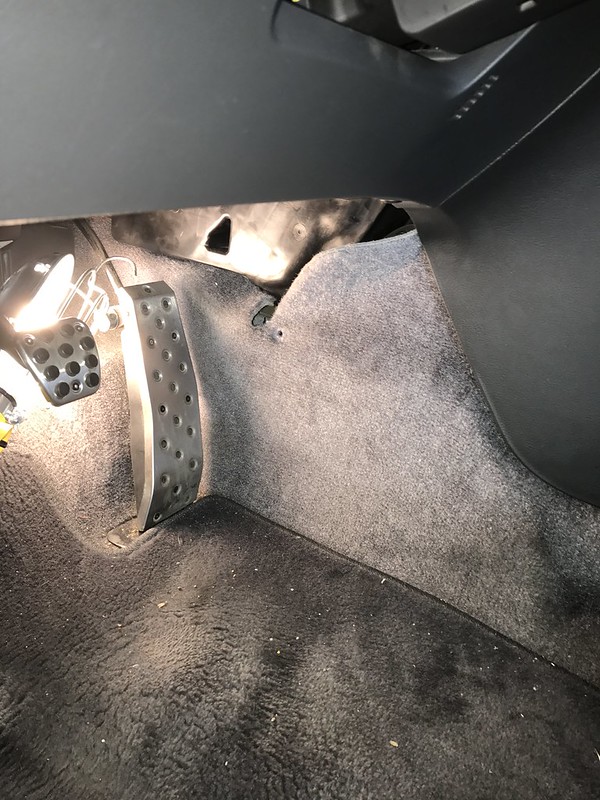
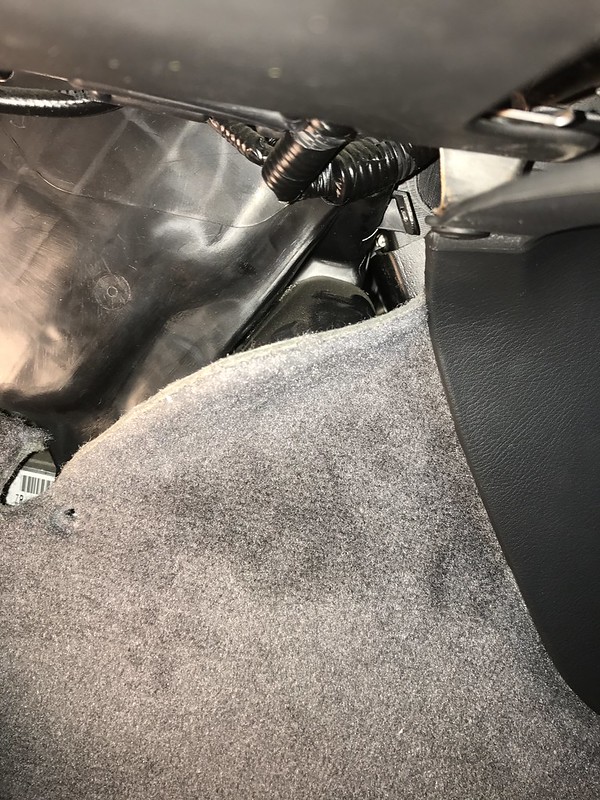
there it is! ran a 16ga wire from there back to the aftermarket amp ground
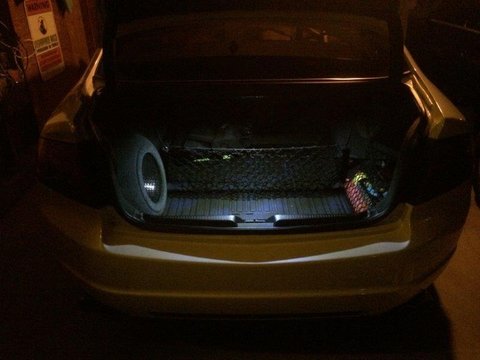
Final setup with grill installed
i had a local shop set the gains for me and i have no distortion or rattles. the sound is super clean and even though there's much better equipment out there and it was a huge pain to research and install (the TL is very finicky), i'm very happy with this project and how it turned out!
Summary
- initially installed front components JBL GTO608C but switched them to Image Dynamics CTX65XS (soo much better!)
- sound deadener and ensolite foam on all doors, entire trunk, trunk lid, under rear seats, and rear deck
- 10" sub: infinity 1062w
- corner trunk sub enclosure by Markland Designs
- JL xd500/3 amp
- hooked up sub with a PAC Audio SNI35 LOC to the oem sub signal after the oem amp
- hooked up front components (tweeters and mids) directly to head unit wires near oem amp
- reconnected new audio mids output to the wires coming out of the oem amp, so that i can utilize oem wiring all the way to the doors (then i used metra connectors to use stock door connectors)
- crossovers are located under the passenger seat
- wiring for components: head unit --> aftermarket amp --> crossovers --> oem door wiring
- wiring for sub: head unit --> oem amp --> amp sub output --> pac audio LOC --> aftermarket sub
- rear fill is still stock speakers on stock amp
- ANC mics and control module were disconnected to prevent feedback from the sub
Sound Deadening and Ensolite
I wanted to do all i could to get the best sound out of my system so i covered all my doors in both sound deadener and also ensolite foam. this made a HUGE impact even on the stock system, enough that i did this to my wife's stock honda civic as well. outside noise gets cut down and the bass is more emphasized from the doors. i used material from raam audio, which was a good value for the price compared to the bigger names. i also added sound deadener and some foam to the rear deck, trunk, trunk lid, and some under the rear seats.
Sub
I had to keep my trunk fully functional (one of my wife's - i mean my - requirements) and i didn't want anything too bass heavy, so i opted for a 10" corner trunk enclosure. i kept my eye out for a wickedcas enclosure but they were too expensive and finally found a good middle ground by getting one from Markland Designs. It's a trunk enclosure he made and a few members on here have them, and even though it's built super super well and matches the carpet, the price was very good even with shipping from Georgia to California!
next i had to figure out how i wanted to mount the sub into the enclosure and then the enclosure into the trunk so it can't be easily stolen. i found a document online that told me how to install the enclosure so that it would take lots of effort to be stolen. basically you use an existing threaded hole (for the cargo net) and add in a bolt and rubber/metal washers. then you use a nut from the inside of the enclosure to lock it down to the trunk....very robust!
quick test fit to make sure the sub was fitting right
pulled the wiring through the carpet so that i can solder it to the sub
i used some t-nuts to mount the sub to the enclosure
oem sub on left (removed after new sub install), infinity 1062w on the right...huge difference!
added polyfill to the enclosure
sub installed and trunk mat put back into place! (without grill protector in place)
added a basic grill to protect the sub since my trunk needs to be functional. i just used silicone sealant to keep everything together under the carpet lip

Front components - JBL GTO608C (before being replaced)
At first this was truly a budget build and i went with some cheap JBL GTO608C components, mainly because this was my first build and i wanted something that was nearly plug and play with the stock door location. the JBLs are nice in that you only need to slightly modify the stock white plastic bucket for the wire connectors (see second picture where the white basket is open on the bottom). Other than that, it's truly plug and play with all oem mounting hardware. for the oem tweeters i had to shave off the underside and use some adhesive to get the tweeter to stick to the oem grill
oem tweeter
oem wire to tweeter
oem tweeter removed from grill
JBL tweeter on left, oem on right
shaved underside of oem grill to fit JBL tweeter flush
JBL tweeter glued to the oem grill
JBL tweeter with oem look (oem grill)
Front components - Image Dynamics CTX65CS (sound amazing)
However, i kept reading about the image dynamics and how great of a value they were, so around black friday i found a deal i couldn't pass up and decide to go for them. i figured now is a time to learn how to modify doors to fit speakers haha
you can see how much bigger the magnet is for the image dynamics on the left compared to the JBL on the right (and the JBL was already bigger than the stock speaker!)
doing research, i found i would need 3/4" spacers for these speakers. i purchased some 3/4" ebay spacers and drilled my own mounting holes and shaved it to fit the new speakers
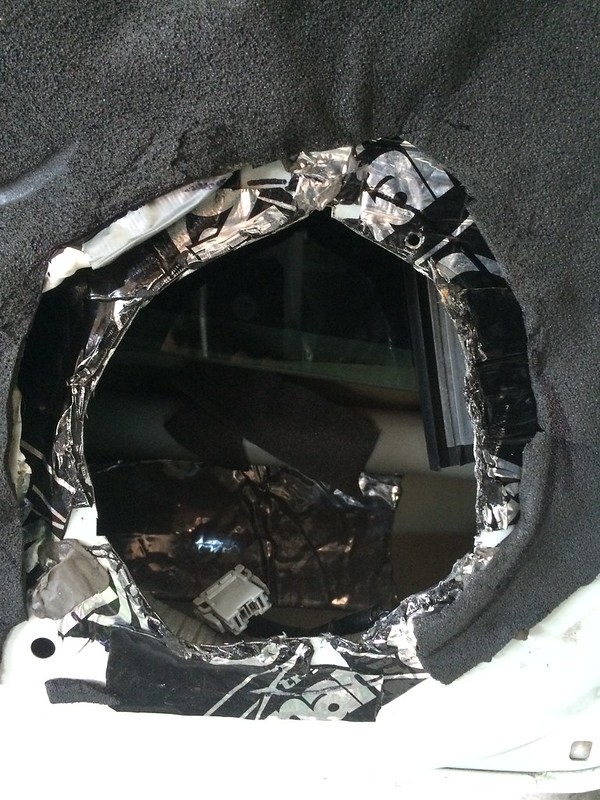
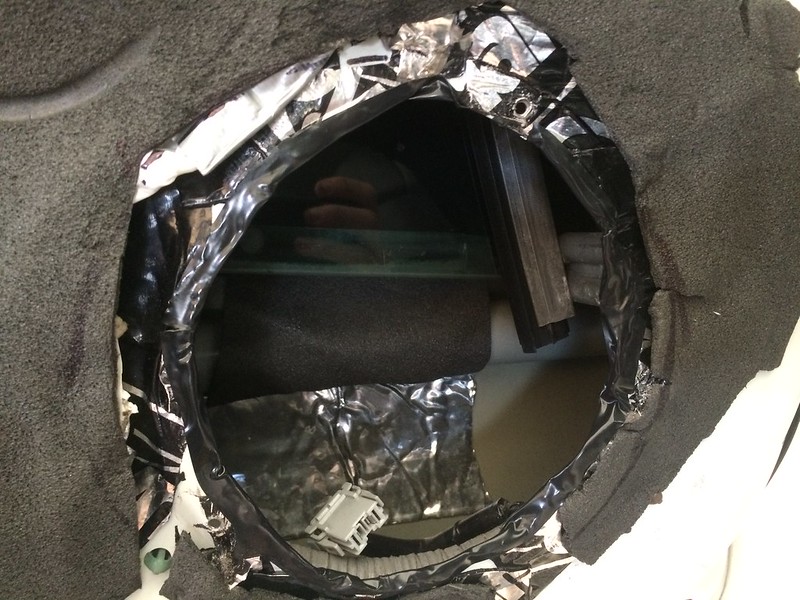
i then bought some cheap sheet metal shears at home depot and cut a larger opening in the door (now we're talking!) i also used a dremel to make the sharp edges a little duller from where i cut (wear gloves!!)
i then shaved down the door panel so that it wouldn't interfere with the speaker. a razor blade easily cut off most of the plastic
drilled the mounting locations
i did some more research and wanted to seal in the sound waves as much as possible, so i purchased some molding clay locally and sealed in the entire speaker perimeter.
test fit
some more clay to seal in the waves
then i soldered some metra connectors to mate up with the oem door speaker connectors
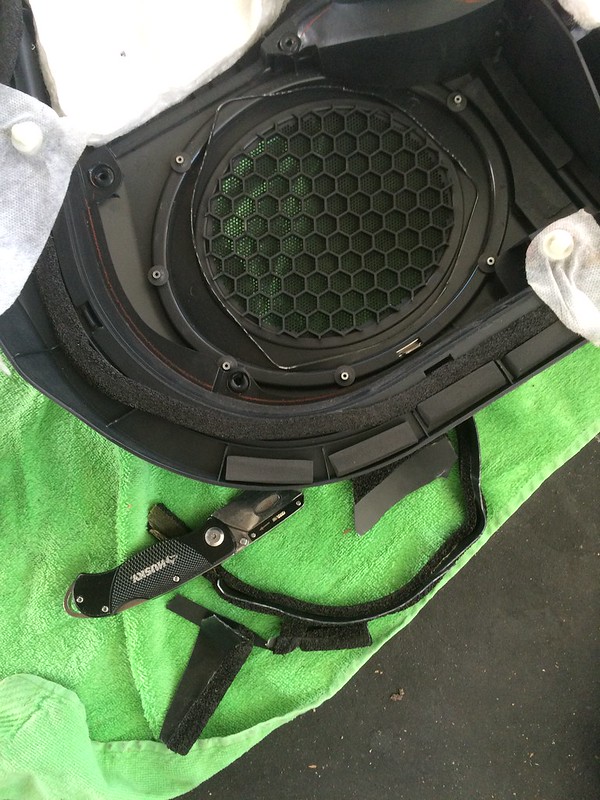
all installed with more molding clay!
next came the ID tweeters. this time i didn't want to glue them to the underside, so instead i cut a hole in the middle of the oem grill and popped the tweeters in from above. looks close to oem but not all the way
i soldered new wire leads to the tweeters and dropped them down from the hole in the dash to the wires below
Wiring
i routed my power wire from the battery through the engine bay and through the firewall in the middle of the car
cut a slot in the oem positive connector cover
pulled the power wire through with a coat hanger
I cut all my wiring at the oem amp location.
prior to soldering it all together
ran the wiring down the side of the car
aftermarket amp remote turn-on installed with an add-a-fuse
Amp: JL XD500/3
i wanted to keep my amp under my driver's seat and so i chose a class D amp (lower profile). i wanted a decently powerful amp so i found a used JL amp, fits perfectly under the seat.
drilled my own ground location next to an oem ground and sanded off the paint
i then shorted my ground wire and put some sheathing on it
final amp install
Downsides
in my mind the audio system sounds way better than stock and i'm very very happy how it turned out. however i do have some noise that i could never solve, i tried filters, better rcas, rerouted rcas, etc but no effect, even took it to a few audio shops. recently i met a couple of local audio guys in the acura scene and they recommended i put a ground wire from the oem head unit to the aftermarket amp ground. i did that and even though the noise is still there, it did take away a slight engine whine and the sound is much clearer now. so in summary the noise is still there (white noise), but no one notices but me. overall very happy with it!
hard to reach oem head unit ground from the front
went to the side and around to get to it
there it is! ran a 16ga wire from there back to the aftermarket amp ground
Final setup with grill installed
i had a local shop set the gains for me and i have no distortion or rattles. the sound is super clean and even though there's much better equipment out there and it was a huge pain to research and install (the TL is very finicky), i'm very happy with this project and how it turned out!