
Check out my custom navtool setup and installation

Check out my custom navtool setup and installation
Last week, I completed an awesome custom install project. My overall goal was implement this system into the car as stealthy as possible. I wanted to maintain the clean OEM look that I already have in place, thus integrating all of these toys without ANY evidence of having done so. I did not want 1 wire or switch to be seen at all. I did not document the ISIMPLE install as I had done it a few months ago. It is very easy though. For a project like this, you could never have too many threads with pictures for reference. I hope that someone will find something in here useful.
A few thoughts to keep in mind...
Utilize the resources and tools available to you. I cannot recommend enough, to get yourself a Honda/ACURA trim tool. You will end up using this thing way more than you think. It is a very useful tool. Don't get some cheapo plastic thing off ebay...get the real deal. It is so worth it! Makes all kinds of mods and repairs so much easier. Take your time. Always check connections. Be sure you have a good ground.
Here are the details:
NavTool
1 TB HDD
Incredisonic Media Player
IPAD integration
HTC One integration
ESKY CCD backup camera
PXAMG ISIMPLE

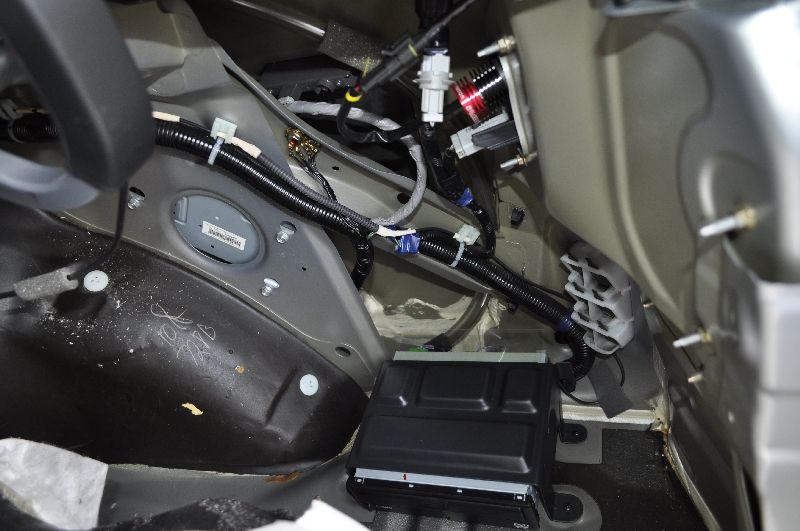
(the mess)
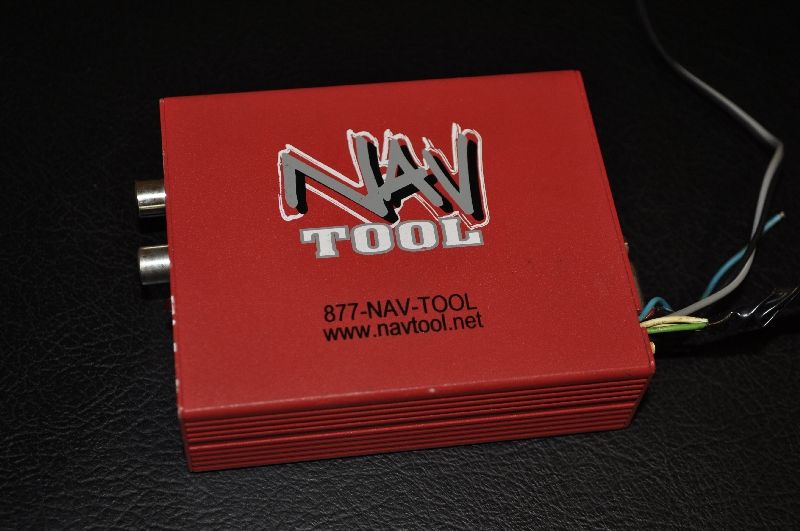
(NavTool)
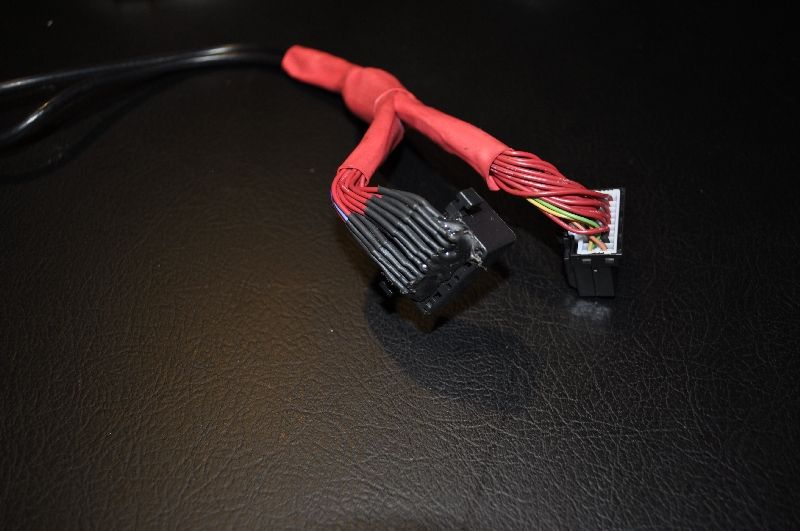
(wire harness to piggyback onto factory dvd)
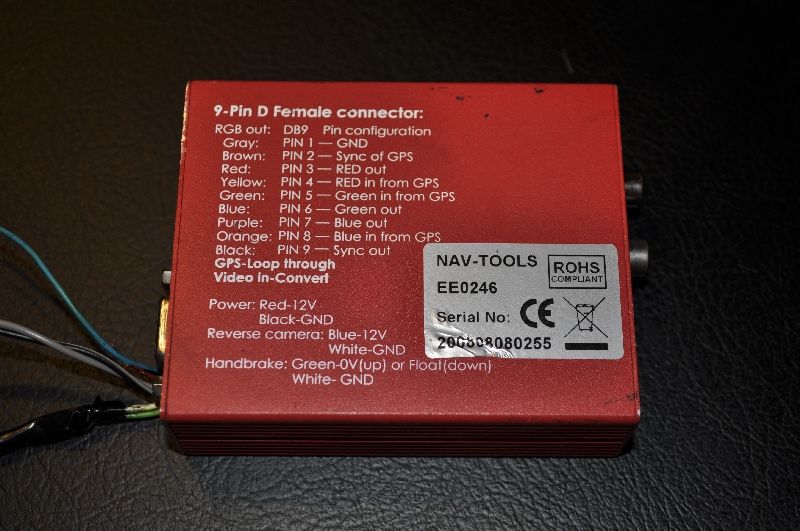
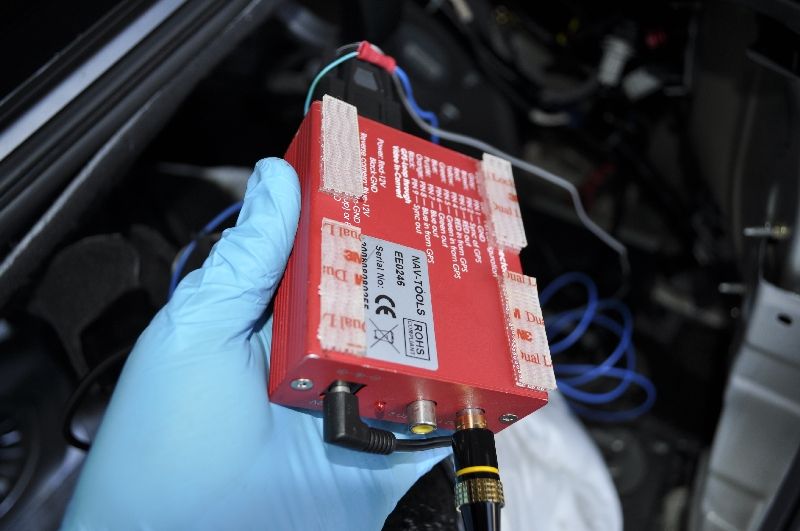
(back of NavTool)
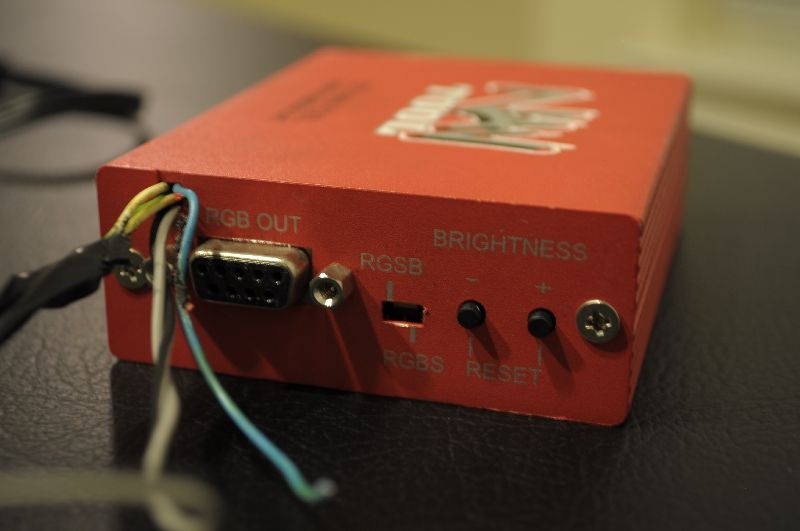
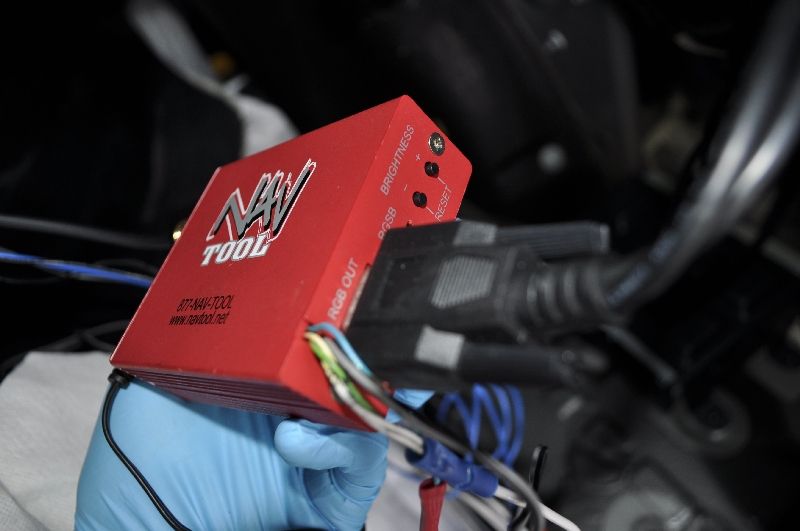
(side of NavTool...going to clean up all these wires)
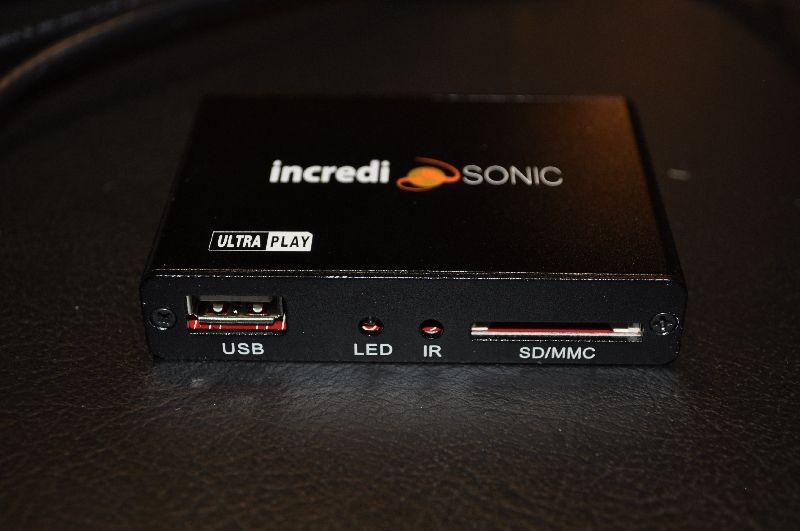
(incredisonic media player - front)
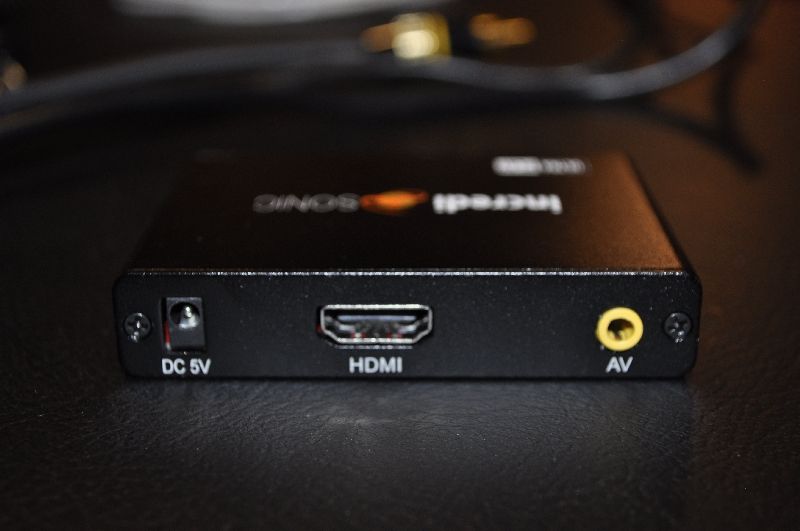
(incredisonic media player - rear)

(remote for incredisonic)
I began working in the interior of the trunk. I started with removing my cargo nets, trunk tray, carpet, trim, etc. Take your time...haste makes waste! I recommend removing everything so you can get a great view of the area you will be working with. It will be much easier to run wires and you will have much more room to make your job easier.
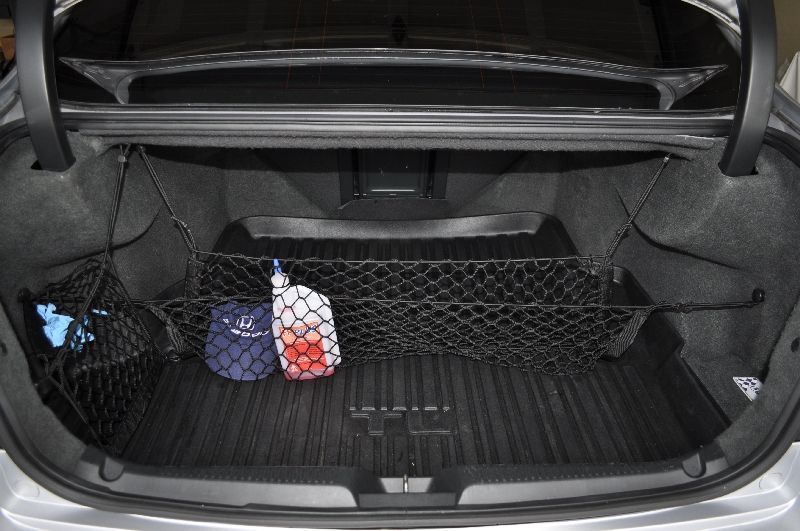
(remove everything)
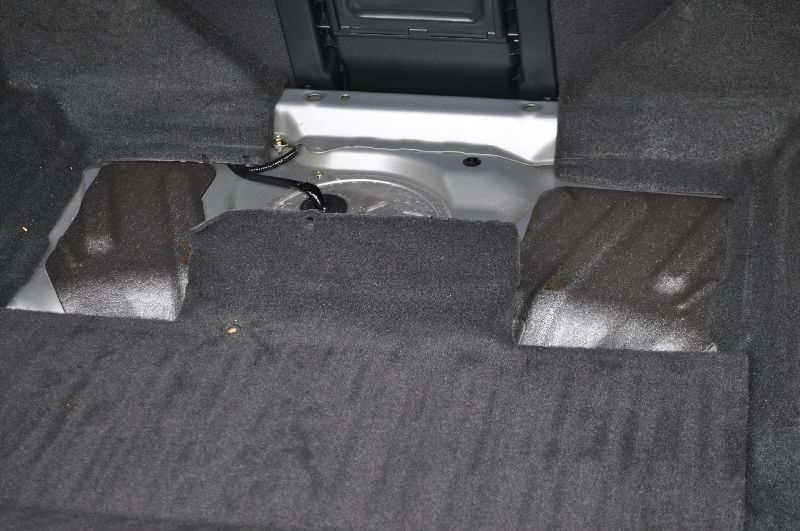
(keep going...)
(passenger side exposed / dvd unit)

(showing off those Triton V3's! Control box mounted above taillight area)
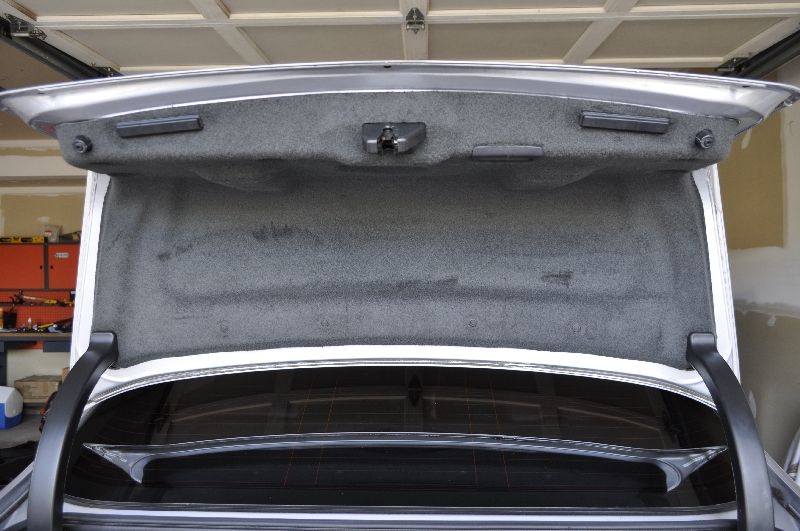
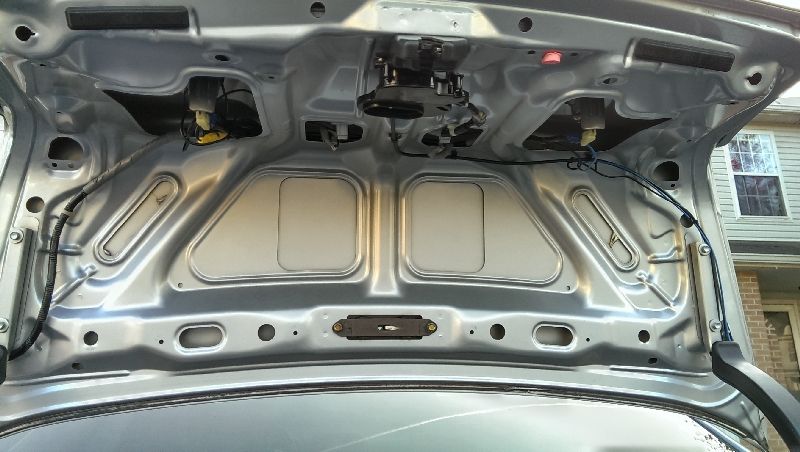
I then moved to the trunk lid. Remove all of the clips and expose remove the liner to expose the wire harnesses for the reverse lights. I also removed the covers on the passenger side of the vehicle for the arm on the trunk lid. This way I could run the wires cleanly.
(take your time and remove)
Then, I decided to make all new grounds and replace the existing wires will all new. I purchased 6' of 14 gauge as well as 25' of 16 gauge from Home Depot. I cleaned up the cluster of grounds that were all together and put them all into 1, 14 gauge line.
(turned this mess into 1 nice clean 14 gauge ground)
I cleaned up every wire that was coming out of the NavTool. I used 16 gauge for everything else (switch, reverse power, lead power, and lead power ground)
*Before you start messing around with the vehicle electronics... unhook your battery!*
I decided to mount the NavTool in the corner near the dvd unit. There will be enough space for you to put everything back together. I used some 3M mounting squares and cut them. I wanted the unit mounted to ensure there would be no rattles.
(getting ready to mount)
(new gray wire = 14 gauge ground)
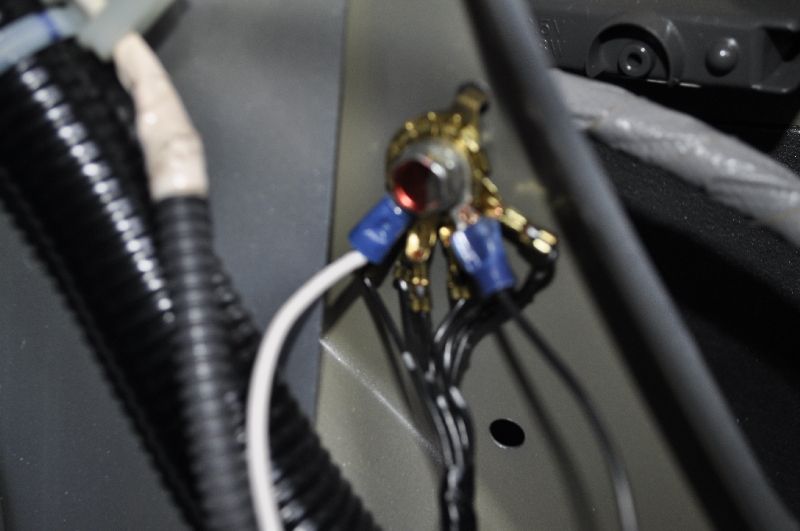
(locate the factory ground location...you can't miss it, and add your ground to that bad boy)
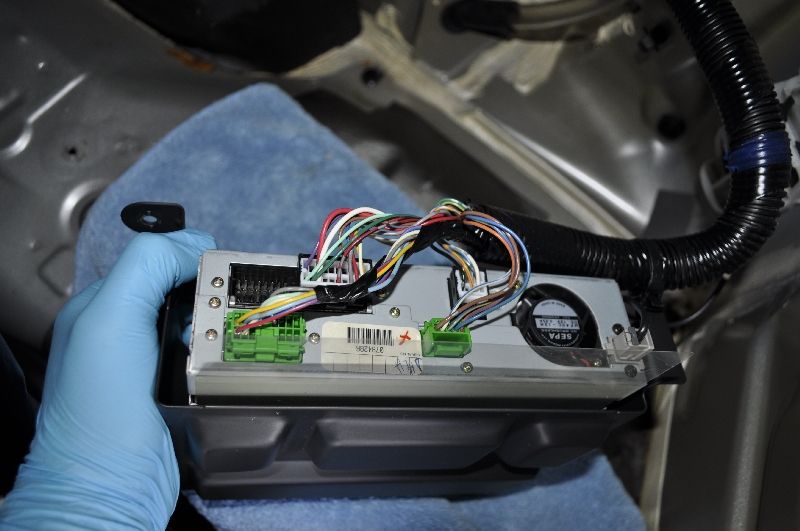
(rear of factory dvd unit)
You will need to unscrew this from the vehicle. Remove the harness and replace with the NavTool harness.
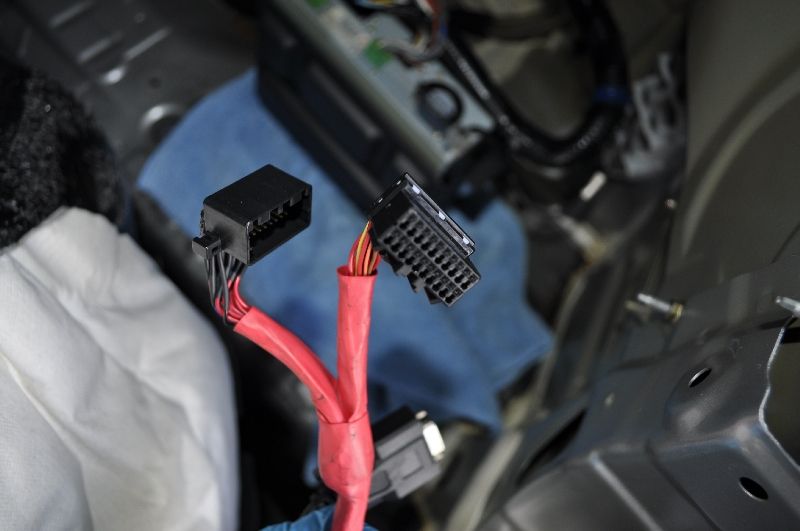
(NavTool harness)
Then plug the factory harness into the NavTool harness.
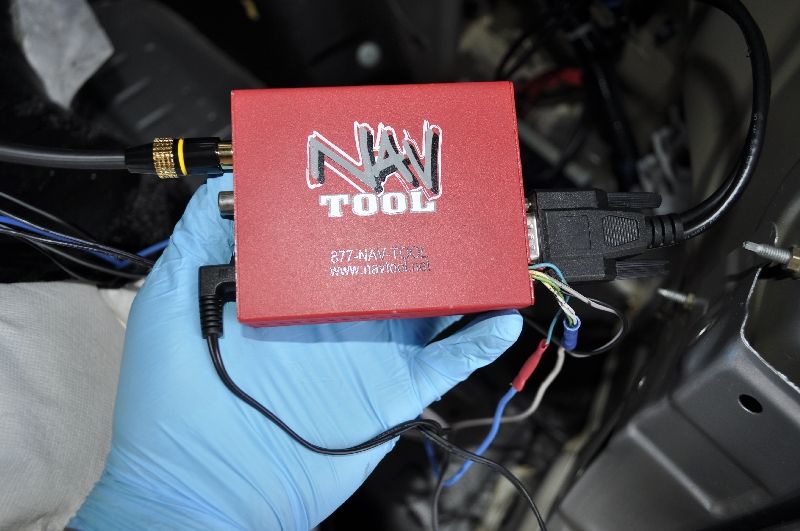
(the other end of the NavTool harness will have a VGA type connection)
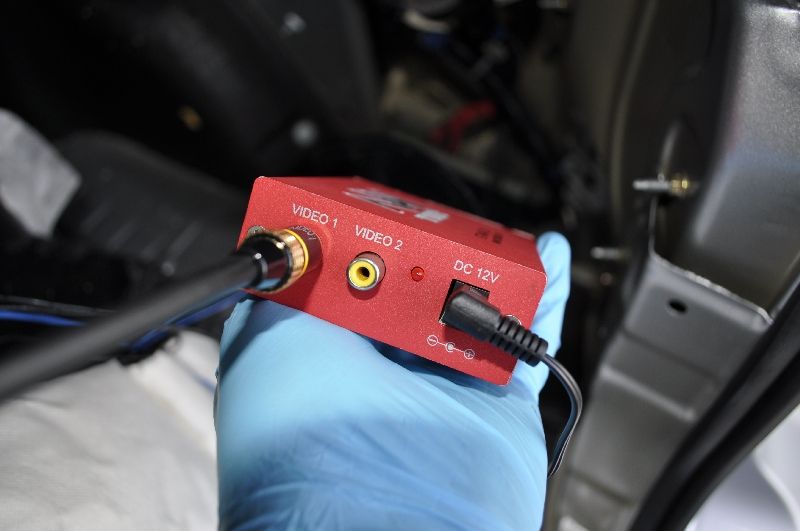
(you will have 2 composite video inputs)
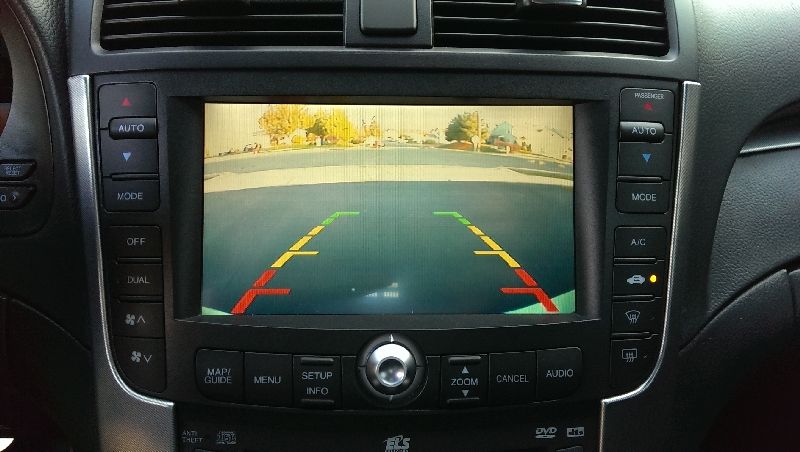
Video 1 is for a dedicated video source. Video 2 is for a backup camera. This input will allow the unit to automatically switch to the camera when the vehicle is put into reverse gear.
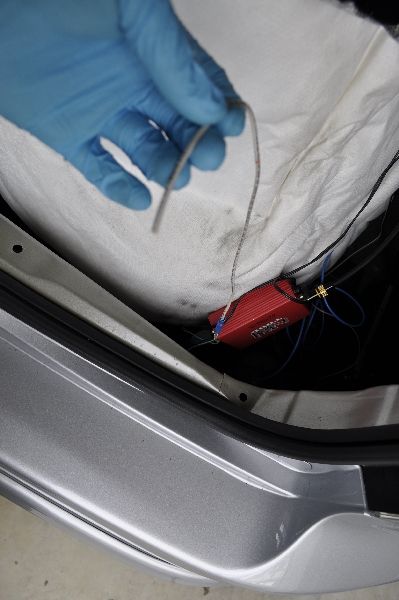
At this point, we need to get some power to the NavTool. This is where removing all of the trunk liner will have put you ahead of the game. I took the lead (DC 12v) and spliced it into a new 16 gauge wire. This was ran through the trunk, down along the drivers side of the vehicle all the way to the fuse box next the dead pedal.
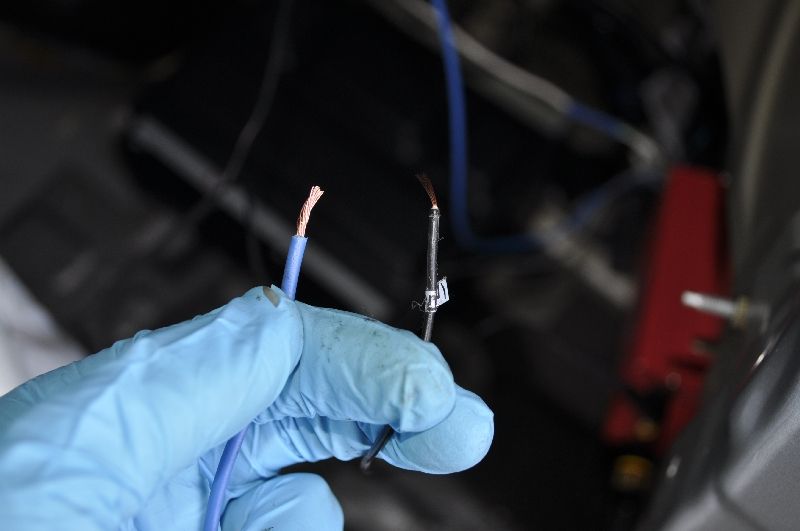
(making a new lead power line...used 16 gauge. Be sure to use good quality, insulated butt connectors)
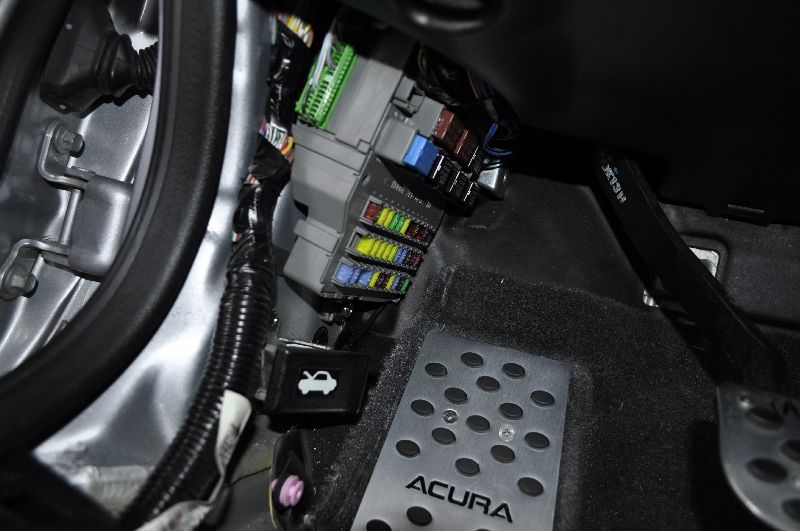
(fuse #32 accessory power)
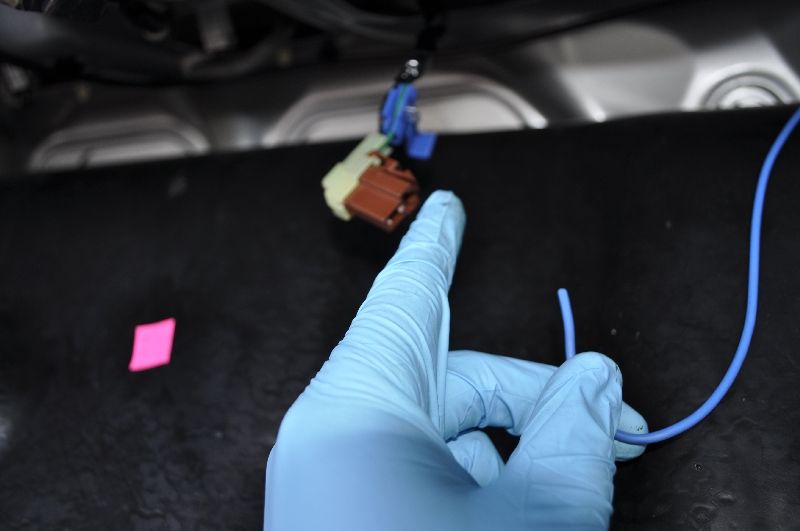
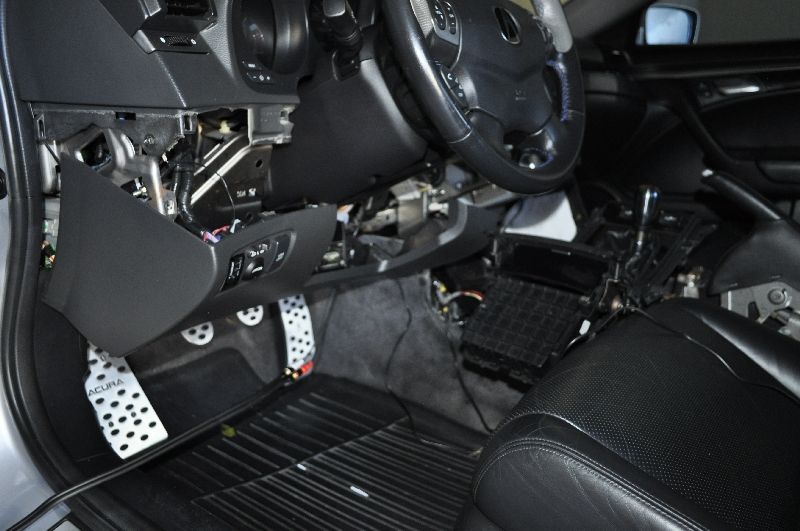
I used an add-a-fuse and used #32 which is for accessory power. This way the unit will power on once the ignition is switched on, and power off when the ignition is turned off. Remember to add another fuse. The 7.5 amps will not be enough. I added another 7.5 amp fuse. Take your time running this wire. Remove the trim starting at the backseat, rear door, door jam (the middle piece), and the driver's side trim. Remove the trim around the fuse box and under the steering wheel as well. My car is a 2004. ACURA moved the seatbelt bolt from the floor to the seat i believe in later years. Regardless this will not inhibit you from removing any of these panels. I hid the power line throughout these trim panels for a nice clean install. Depending on where you want to put your switch...you may want to run your switch wire as well at this time. You may also want to run your composite video cable as well. I did run these wires all through this way. I made sure I got a shielded video cable so there would be no interference. The composite cable was run to the middle where the seatbelt anchors to the car. I did not follow the power or switch the rest of the way...the video stopped here so I could run it under the driver seat...will explain later.
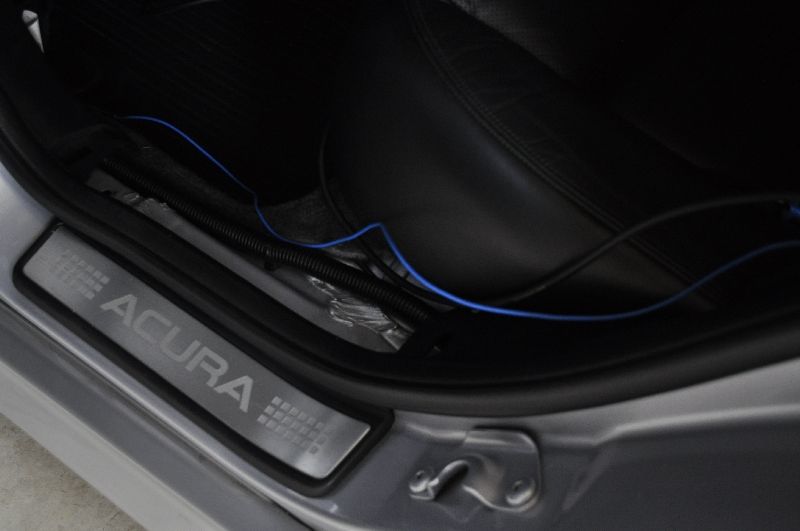
(starting to remove trim on the floor in order to run the wires)
Now, I went back to the trunk to start working on the backup camera setup. I did not actually install the camera yet. I was still waiting for it to be shipped, but I did run all the wires so when it arrived I could simply plug it in and be ready to rock. Without the actual camera plugged in, I will simply get a black screen when I an in reverse gear.
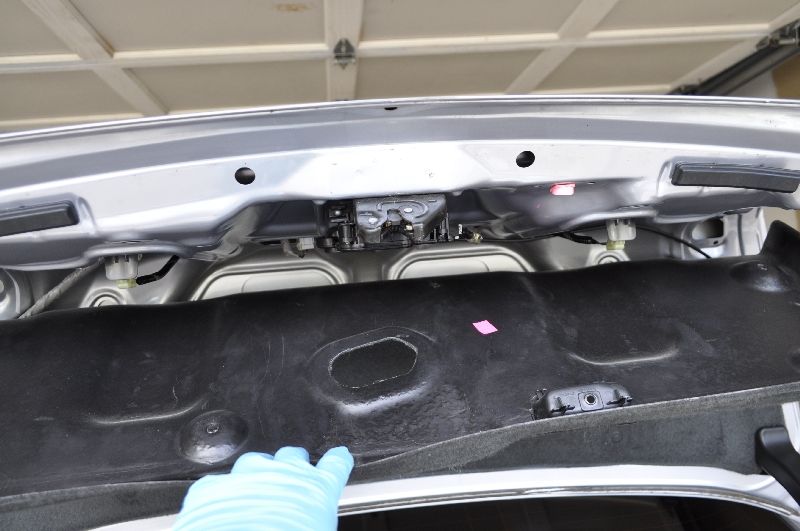
(starting to get the trunk lid trim and liner off)
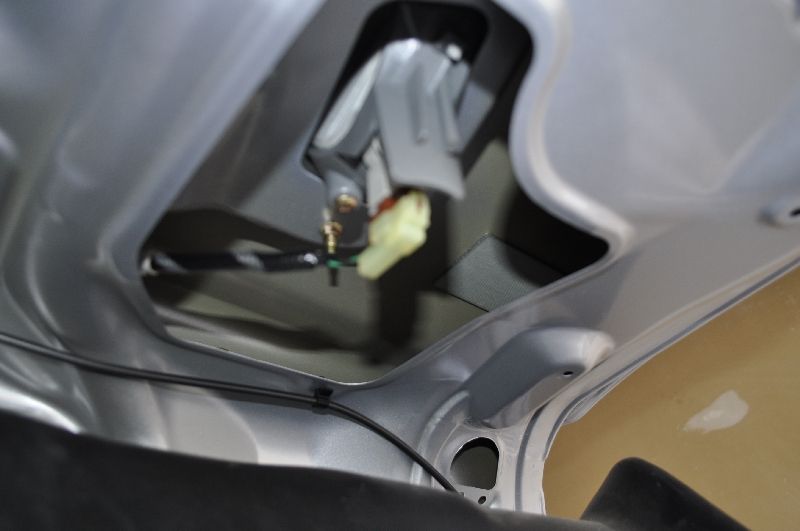
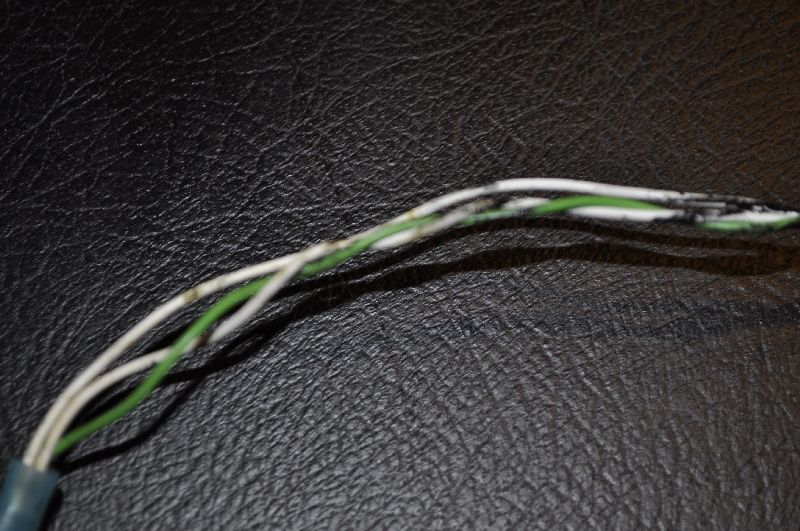
(back of reverse light)
The green wire is the 12V source which powers the reverse light. I tapped into this to let the NavTool get the 12v power to tell it to switch to the backup camera automatically.
Then I ran that line back to the NavTool by taking the trim cover off of the trunk lid arm.
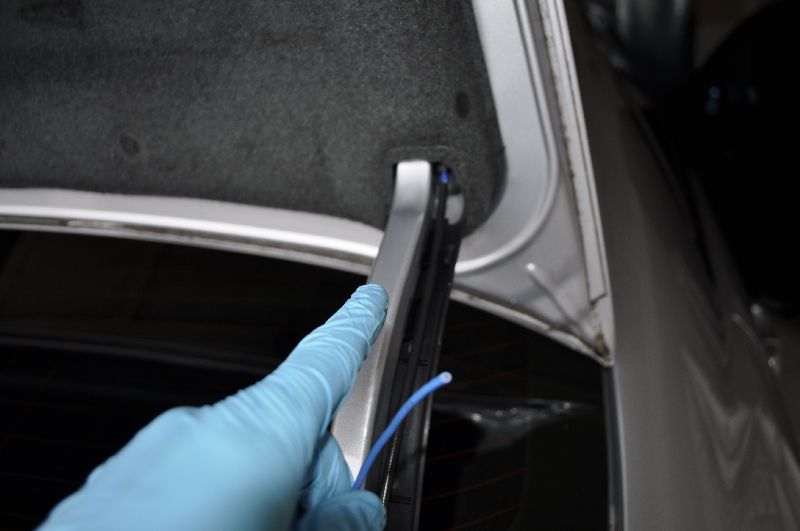
(trunk lid arm)
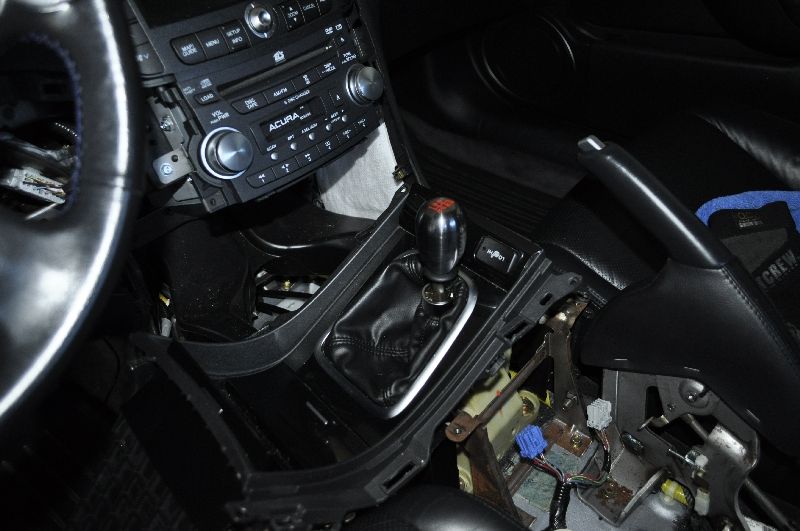
Now, I went back to the inside of the car and get working on taking my center console apart. I wanted to run my switch for the NavTool inside the armrest, along with the ISIMPLE cable, IPAD composite video cable, ISIMPLE AUX cord (for HTC One), and USB cable. I put the switch into the light inside the bottom part of the armrest.
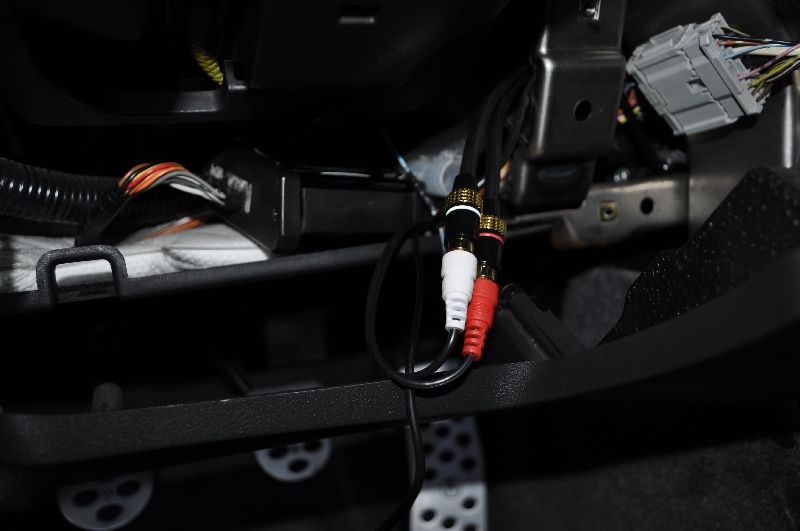
(ISIMPLE PXAMG under steering column)
 (ISIMPLE PXAMG under steering column)
I put a 4 way video selector under the front of the drivers seat. Allows me to choose whatever source for my video on the fly easily. That composite cable runs back to the trunk. This is way earlier, I did run the video cable the whole way up the side of the car as I stopped half way.
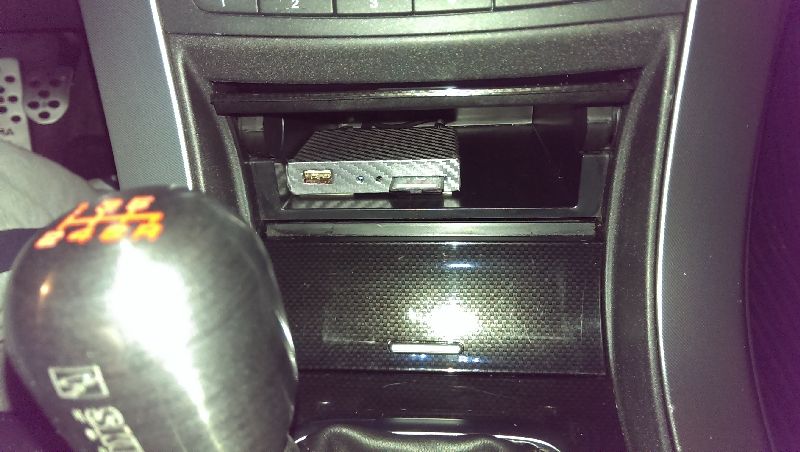
I mounted the Incredisonic in the top part of the center console and wrapped it in silver carbon fiber.
Here are some pictures of what I am able to do.

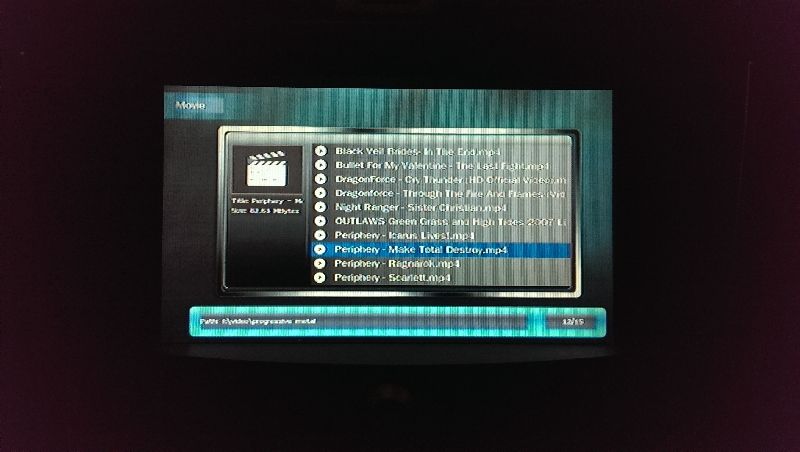
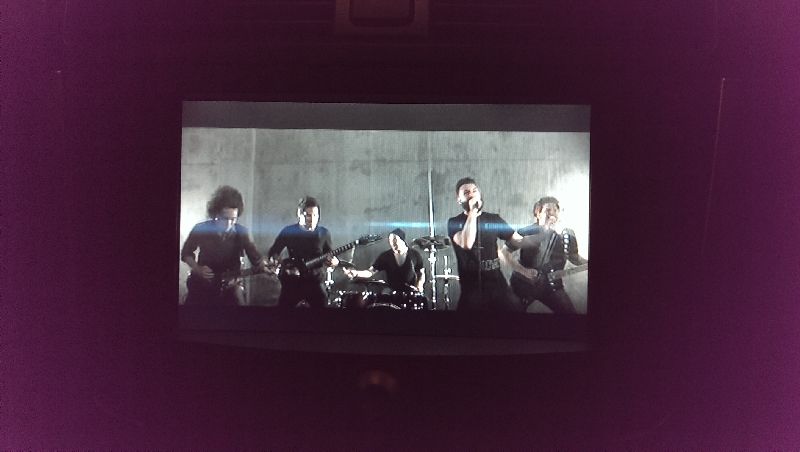
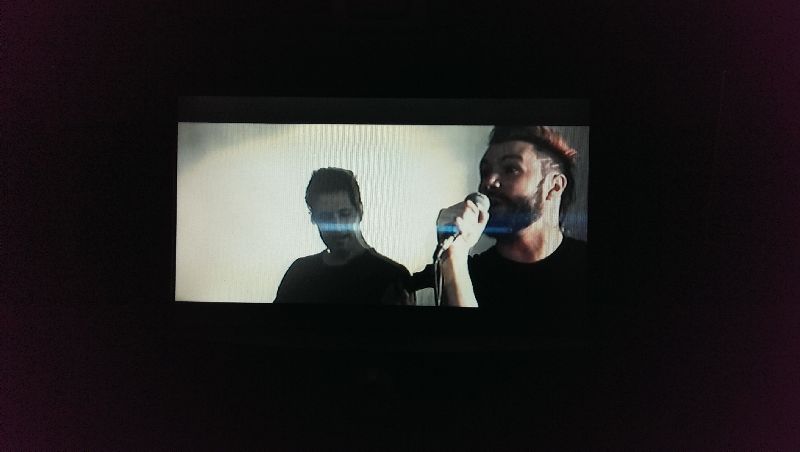
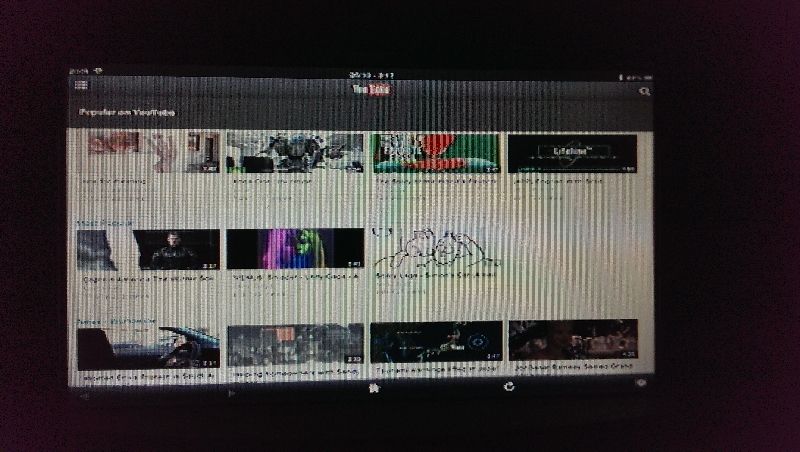
FYI...the pictures of the screen did not come out well on my cell phone...was in a rush sorry! It looks as if there is interference and lines on the screen..I can assure you there is not. Perfect crystal clear images!
If anyone has any questions, please do not hesitate to reach out.
A few thoughts to keep in mind...
Utilize the resources and tools available to you. I cannot recommend enough, to get yourself a Honda/ACURA trim tool. You will end up using this thing way more than you think. It is a very useful tool. Don't get some cheapo plastic thing off ebay...get the real deal. It is so worth it! Makes all kinds of mods and repairs so much easier. Take your time. Always check connections. Be sure you have a good ground.
Here are the details:
NavTool
1 TB HDD
Incredisonic Media Player
IPAD integration
HTC One integration
ESKY CCD backup camera
PXAMG ISIMPLE
(the mess)
(NavTool)
(wire harness to piggyback onto factory dvd)
(back of NavTool)
(side of NavTool...going to clean up all these wires)
(incredisonic media player - front)
(incredisonic media player - rear)
(remote for incredisonic)
I began working in the interior of the trunk. I started with removing my cargo nets, trunk tray, carpet, trim, etc. Take your time...haste makes waste! I recommend removing everything so you can get a great view of the area you will be working with. It will be much easier to run wires and you will have much more room to make your job easier.
(remove everything)
(keep going...)
(passenger side exposed / dvd unit)
(showing off those Triton V3's! Control box mounted above taillight area)
I then moved to the trunk lid. Remove all of the clips and expose remove the liner to expose the wire harnesses for the reverse lights. I also removed the covers on the passenger side of the vehicle for the arm on the trunk lid. This way I could run the wires cleanly.
(take your time and remove)
Then, I decided to make all new grounds and replace the existing wires will all new. I purchased 6' of 14 gauge as well as 25' of 16 gauge from Home Depot. I cleaned up the cluster of grounds that were all together and put them all into 1, 14 gauge line.
(turned this mess into 1 nice clean 14 gauge ground)
I cleaned up every wire that was coming out of the NavTool. I used 16 gauge for everything else (switch, reverse power, lead power, and lead power ground)
*Before you start messing around with the vehicle electronics... unhook your battery!*
I decided to mount the NavTool in the corner near the dvd unit. There will be enough space for you to put everything back together. I used some 3M mounting squares and cut them. I wanted the unit mounted to ensure there would be no rattles.
(getting ready to mount)
(new gray wire = 14 gauge ground)
(locate the factory ground location...you can't miss it, and add your ground to that bad boy)
(rear of factory dvd unit)
You will need to unscrew this from the vehicle. Remove the harness and replace with the NavTool harness.
(NavTool harness)
Then plug the factory harness into the NavTool harness.
(the other end of the NavTool harness will have a VGA type connection)
(you will have 2 composite video inputs)
Video 1 is for a dedicated video source. Video 2 is for a backup camera. This input will allow the unit to automatically switch to the camera when the vehicle is put into reverse gear.
At this point, we need to get some power to the NavTool. This is where removing all of the trunk liner will have put you ahead of the game. I took the lead (DC 12v) and spliced it into a new 16 gauge wire. This was ran through the trunk, down along the drivers side of the vehicle all the way to the fuse box next the dead pedal.
(making a new lead power line...used 16 gauge. Be sure to use good quality, insulated butt connectors)
(fuse #32 accessory power)
I used an add-a-fuse and used #32 which is for accessory power. This way the unit will power on once the ignition is switched on, and power off when the ignition is turned off. Remember to add another fuse. The 7.5 amps will not be enough. I added another 7.5 amp fuse. Take your time running this wire. Remove the trim starting at the backseat, rear door, door jam (the middle piece), and the driver's side trim. Remove the trim around the fuse box and under the steering wheel as well. My car is a 2004. ACURA moved the seatbelt bolt from the floor to the seat i believe in later years. Regardless this will not inhibit you from removing any of these panels. I hid the power line throughout these trim panels for a nice clean install. Depending on where you want to put your switch...you may want to run your switch wire as well at this time. You may also want to run your composite video cable as well. I did run these wires all through this way. I made sure I got a shielded video cable so there would be no interference. The composite cable was run to the middle where the seatbelt anchors to the car. I did not follow the power or switch the rest of the way...the video stopped here so I could run it under the driver seat...will explain later.
(starting to remove trim on the floor in order to run the wires)
Now, I went back to the trunk to start working on the backup camera setup. I did not actually install the camera yet. I was still waiting for it to be shipped, but I did run all the wires so when it arrived I could simply plug it in and be ready to rock. Without the actual camera plugged in, I will simply get a black screen when I an in reverse gear.
(starting to get the trunk lid trim and liner off)
(back of reverse light)
The green wire is the 12V source which powers the reverse light. I tapped into this to let the NavTool get the 12v power to tell it to switch to the backup camera automatically.
Then I ran that line back to the NavTool by taking the trim cover off of the trunk lid arm.
(trunk lid arm)
Now, I went back to the inside of the car and get working on taking my center console apart. I wanted to run my switch for the NavTool inside the armrest, along with the ISIMPLE cable, IPAD composite video cable, ISIMPLE AUX cord (for HTC One), and USB cable. I put the switch into the light inside the bottom part of the armrest.
(ISIMPLE PXAMG under steering column)
(ISIMPLE PXAMG under steering column)I put a 4 way video selector under the front of the drivers seat. Allows me to choose whatever source for my video on the fly easily. That composite cable runs back to the trunk. This is way earlier, I did run the video cable the whole way up the side of the car as I stopped half way.
I mounted the Incredisonic in the top part of the center console and wrapped it in silver carbon fiber.
Here are some pictures of what I am able to do.
FYI...the pictures of the screen did not come out well on my cell phone...was in a rush sorry! It looks as if there is interference and lines on the screen..I can assure you there is not. Perfect crystal clear images!
If anyone has any questions, please do not hesitate to reach out.

Trending Topics

Intermediate
Joined: Nov 2008
Posts: 45
Likes: 1
Sorry if this is a stupid questions. Where did you connect your ipad to? I see you have 1TB Hard drive. What is that for? Also I see you have screen for performance rpm/coolant etc. Where did that come from?
Thanks
Thanks
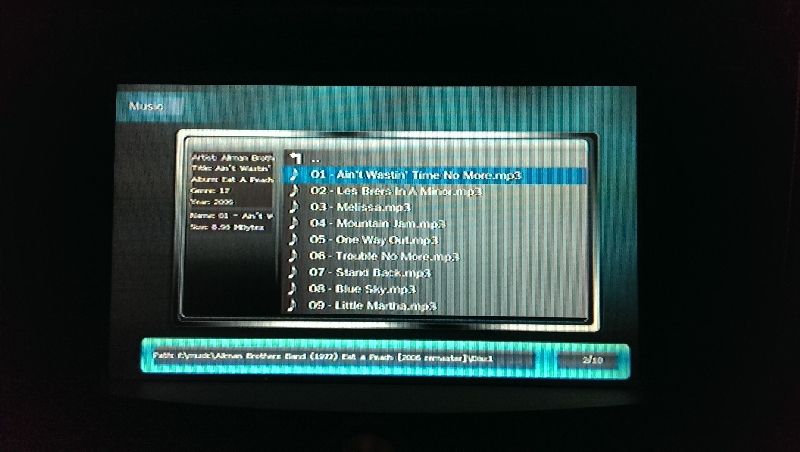
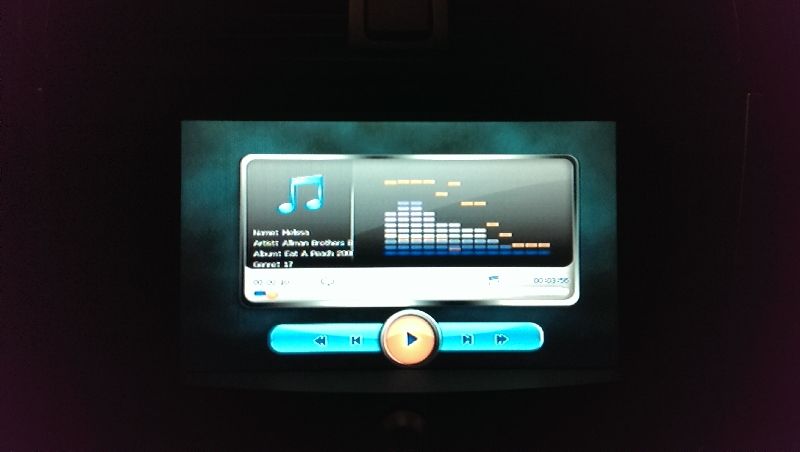
The 1TB hard drive allows me to store music, movies, pictures, etc... This is why I chose to not install a DVD player. I couldn't justify it as for the most part, I download blu rays as ISO's. The media player actually reads the ISO images! So this way I can store tons of stuff on it.
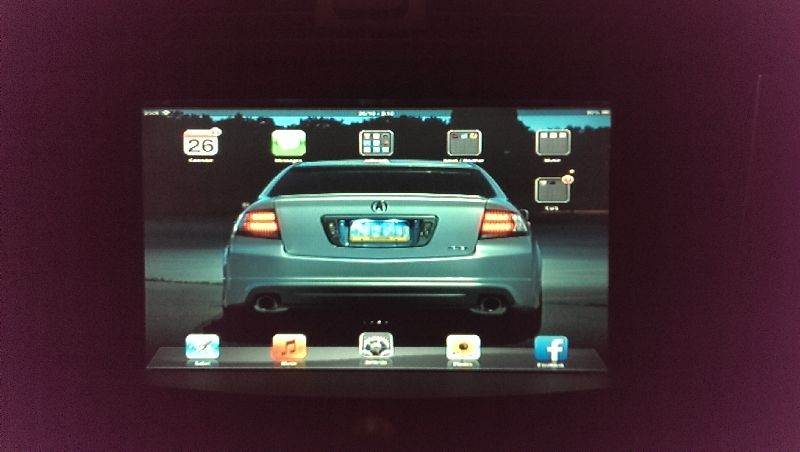
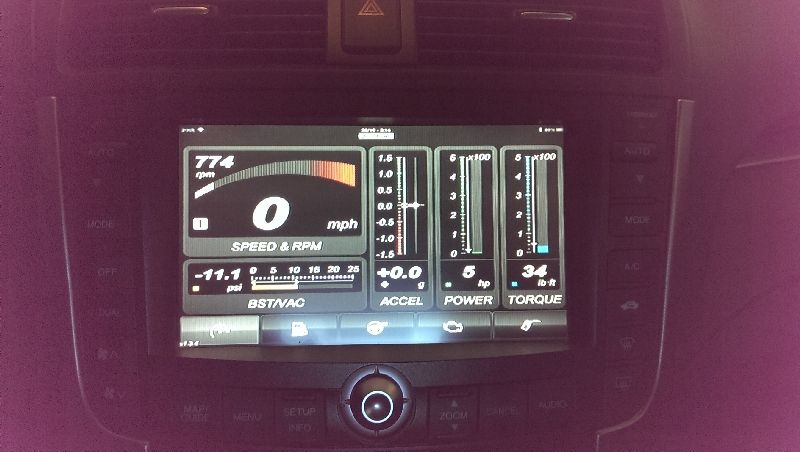
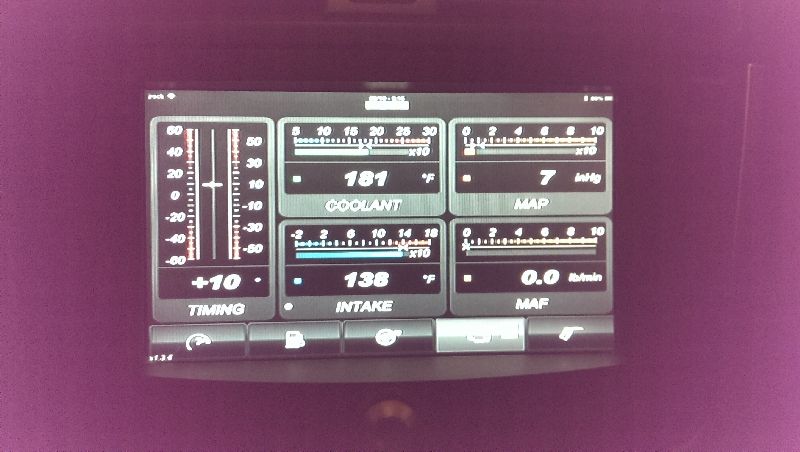
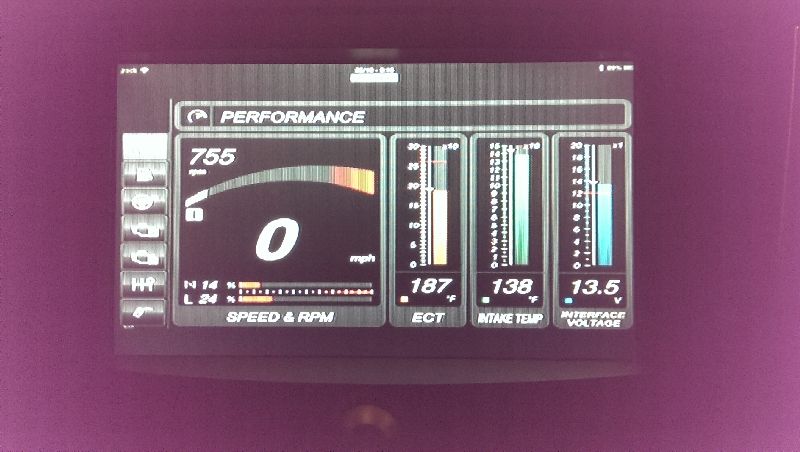
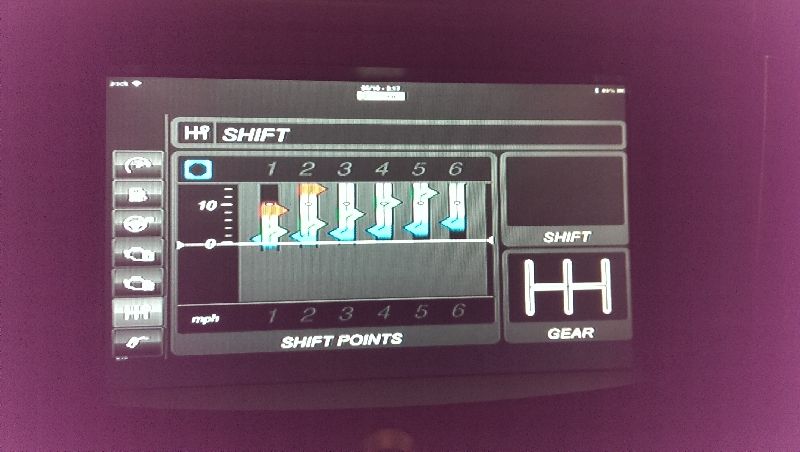
The performance data is provided via an app called DashCommand. I have a wireless bluetooth connection to the OBD-II port. Once again, since I am jailbroken it allows me to bypass what Apple has inhibited the user to do. Normally, you can only connect to Apple signed hardware...but with the help of a program called ROXYBT4, it tricks the IPAD into thinking the connection is a legit Apple product and I am able to connect. The app is really amazing. You figure, you pay at least $40.00 for a good gauge, well this app has the ability to display tons of gauges and...
Full support for OBD-II diagnostics
- Find out why your check-engine light is on
- Read and clear diagnostics trouble codes (DTCs)
- Supports over 220 OBD-II parameters
- Display sensor data directly from the factory computer in your vehicle
- Record and playback log files showing OBD-II data and also skidpad/race track data simultaneously
- Vehicle manager helps you keep track of different vehicles and log files automatically

This is just one of the many options I have for the display. Yes, I can mirror the IPAD...but I also have the media player, my HTC One, 1TB hard drive, backup camera, and I have an old school Nintendo hooked up right now as well! I really do not mind red lights anymore! Of course...safety first.. I know I know...
I see.
Have you seen this http://www.customgadz.com
Have you seen this http://www.customgadz.com

Instructor
Joined: Mar 2013
Posts: 194
Likes: 49
From: Wisconsin
This is just one of the many options I have for the display. Yes, I can mirror the IPAD...but I also have the media player, my HTC One, 1TB hard drive, backup camera, and I have an old school Nintendo hooked up right now as well! I really do not mind red lights anymore! Of course...safety first.. I know I know...
The media player requires 5V 2A for power. I am currently working on a permanent solution for it. I would like to get a transformer and step down the 12V power to feed it, but right now I have a power inverter in the power output in the armrest. I ran the wire through the shifter console to rear of the upper compartment. I drilled a hole just big enough to fit the composite cable and power cable.
Completed the backup camera install yesterday. I did not install the camera like everyone else has. I removed the license plate assembly and starred at it for a very long time and came up with my plan. I did not want to dremel off the center piece that everyone else does and shave out a half circle to fit the camera. What I decided to do was, mount it directly in the middle of the upper part having the silver trim covering the install. It came out absolutely gorgeous. When I put the trim back on the assembly, it covers most of the bracket and screws I used to mount. It is the most stealth install I have ever seen! I did not cut into the license plate light cover, nor did I cut a slit next to it to fit the wire through. The wire was run along the backside of the license plate assembly and through the drivers side reverse light.
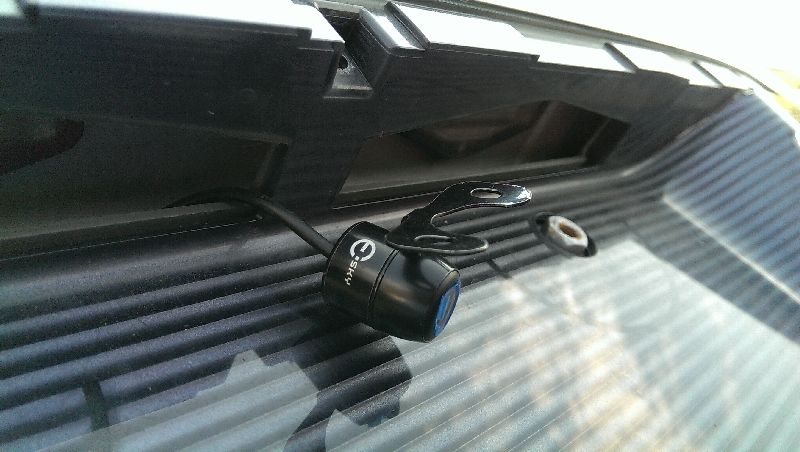
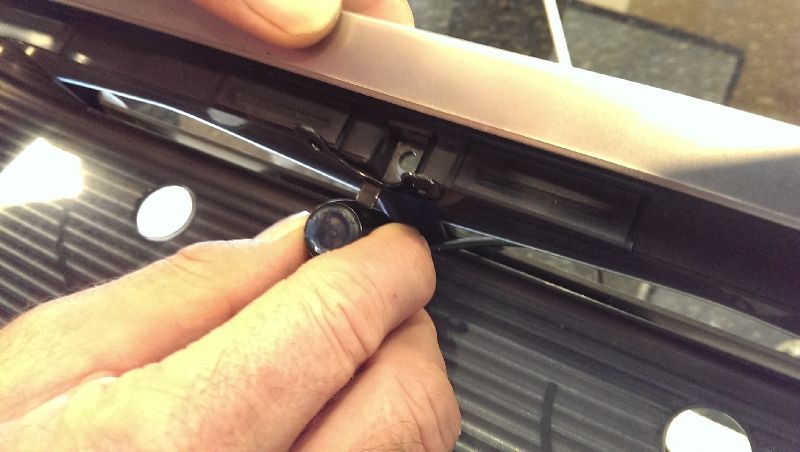
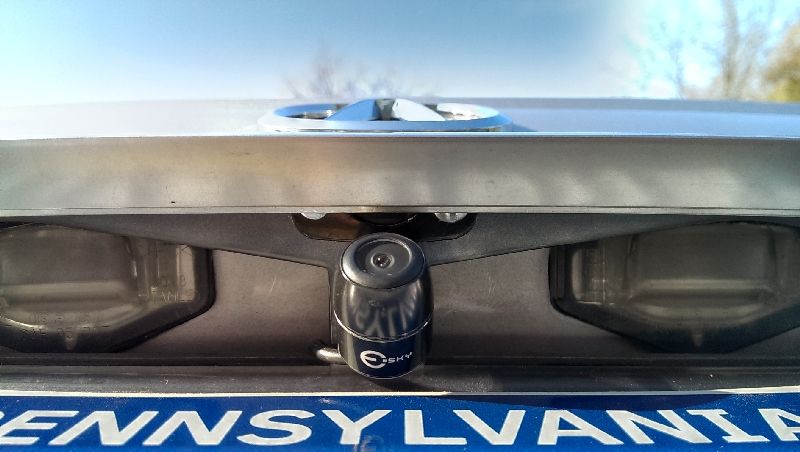
(ESKY EC170-07 CCD camera, only 0.86")
(ran the wire through the reverse light)
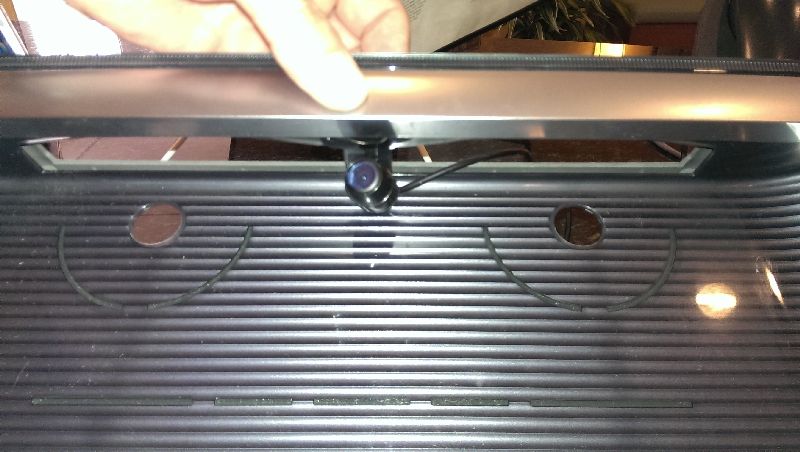
(this is how i wanted to mount it...having the silver trim cover the install)
(so I lined it up where I wanted it to be...)
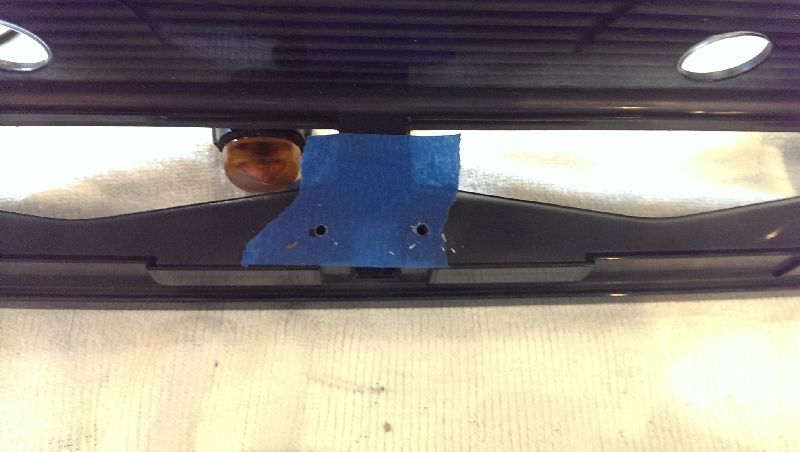
(used some painters tape to ensure I did not cause any damage when drilling)
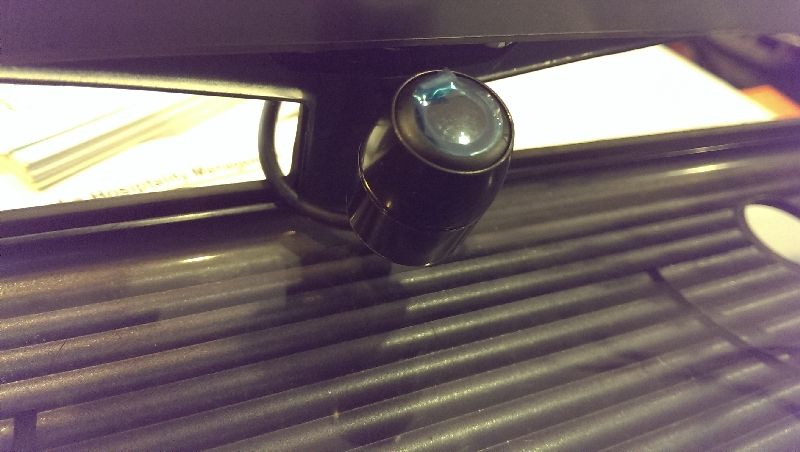
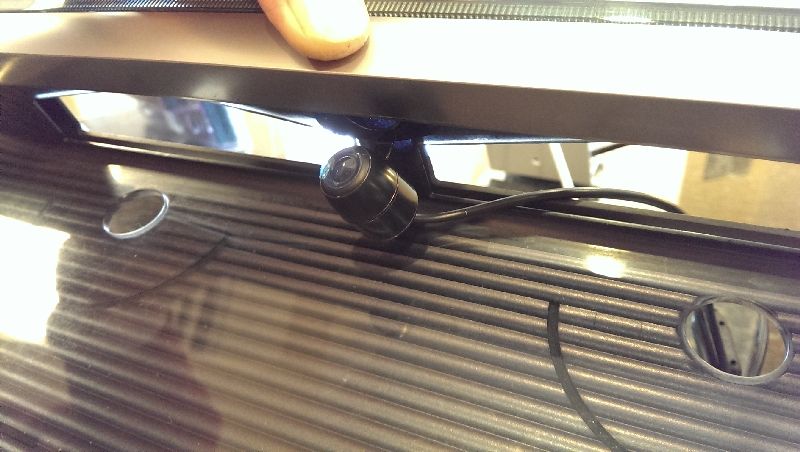
(mounting complete!)
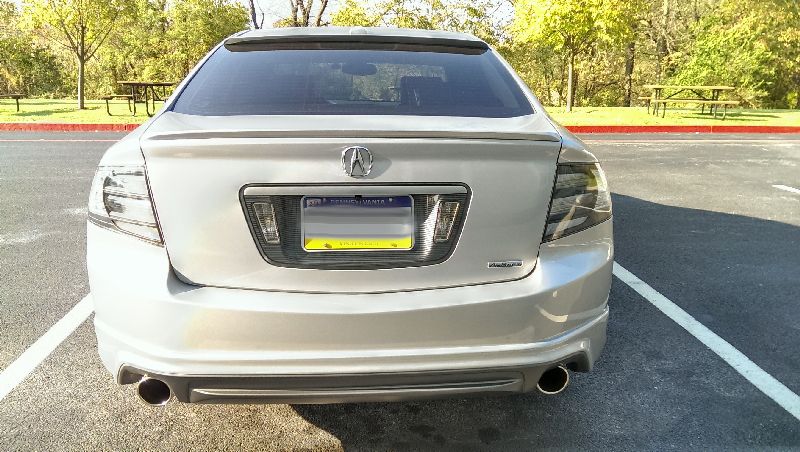
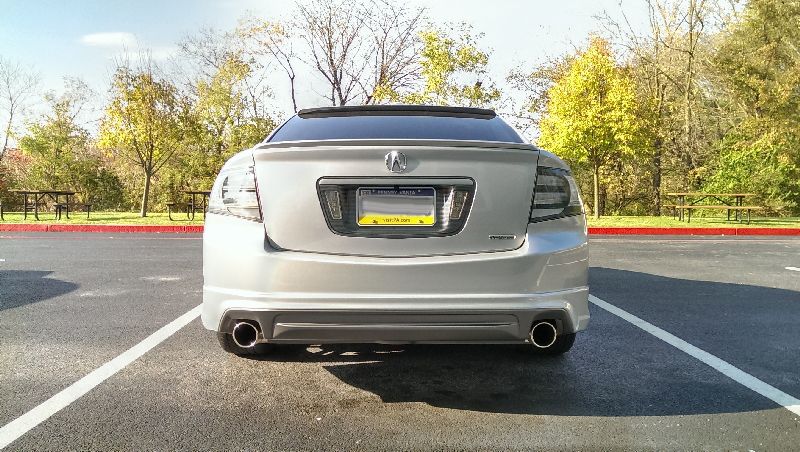
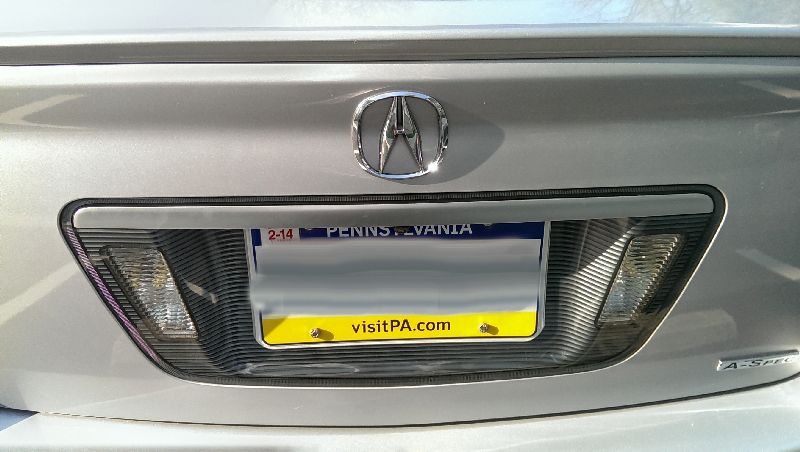
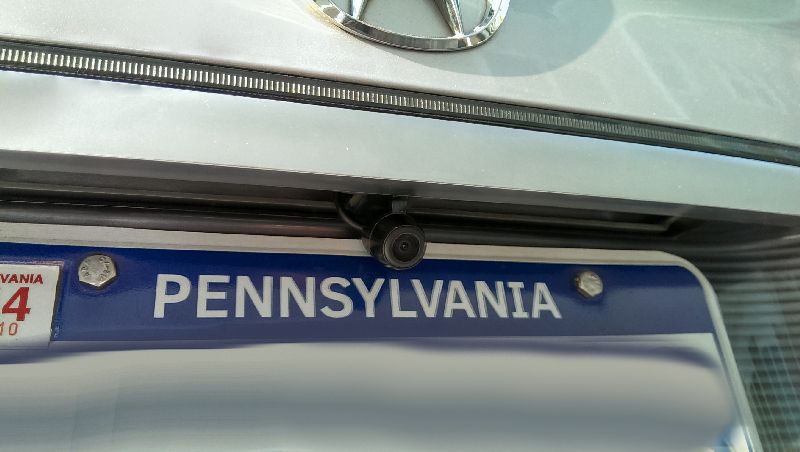
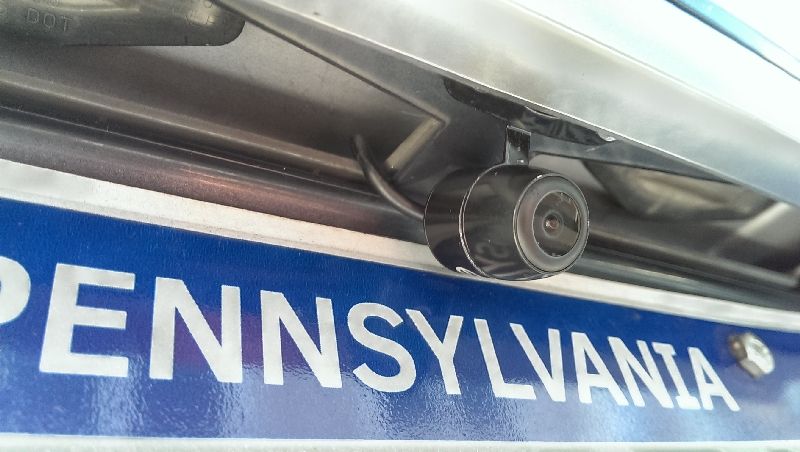
(stealth install!!!)
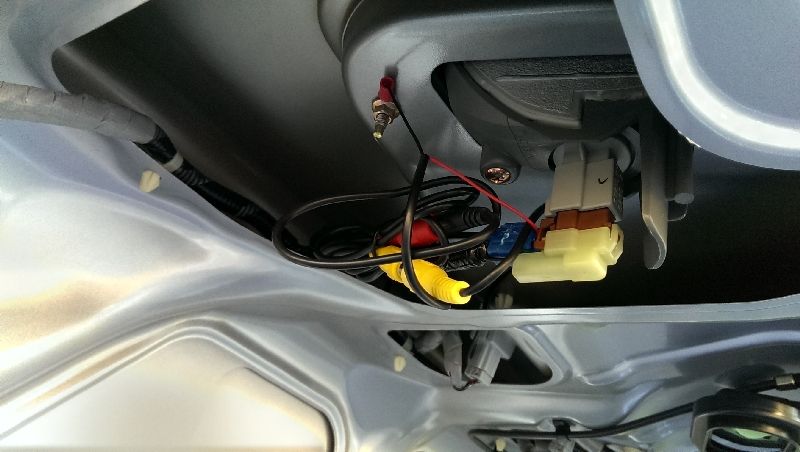
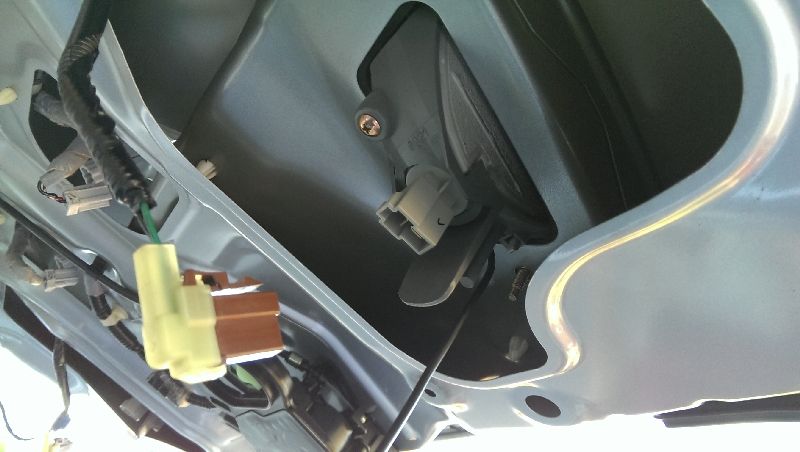
(Since I already tapped into the passenger side reverse light to run the 12v wire to the NavTool unit, I utilized the driver side reverse light for the camera. I did not want everything running off of one harness. You can see the red + is tapped into the green wire for 12v power, and the black - is grounded to the license plate assembly bolt)
(put everything back together nice and tidy, used zip ties to keep wires together)
(end result)
(ESKY EC170-07 CCD camera, only 0.86")
(ran the wire through the reverse light)
(this is how i wanted to mount it...having the silver trim cover the install)
(so I lined it up where I wanted it to be...)
(used some painters tape to ensure I did not cause any damage when drilling)
(mounting complete!)
(stealth install!!!)
(Since I already tapped into the passenger side reverse light to run the 12v wire to the NavTool unit, I utilized the driver side reverse light for the camera. I did not want everything running off of one harness. You can see the red + is tapped into the green wire for 12v power, and the black - is grounded to the license plate assembly bolt)
(put everything back together nice and tidy, used zip ties to keep wires together)
(end result)
Last edited by jrocka312; Oct 31, 2013 at 10:43 AM.
Intermediate
Joined: Nov 2008
Posts: 45
Likes: 1
Great set up. So I assume you just plug in the 1TB hard drive to the USB to the Media player? With the media player are you using the HDMI or the yellow AV in the rear? Also is the PXAMG ISIMPLE same as the ISIMPLE GATEWAY. https://www.isimplesolutions.com/iph...n-GateWay.aspx
Great set up. So I assume you just plug in the 1TB hard drive to the USB to the Media player? With the media player are you using the HDMI or the yellow AV in the rear? Also is the PXAMG ISIMPLE same as the ISIMPLE GATEWAY. https://www.isimplesolutions.com/iph...n-GateWay.aspx
Burning Brakes


Joined: Nov 2011
Posts: 985
Likes: 101
From: Parts Unknown
Navtool is amazing. I just wish there were a noninvasive way to hack the nav by flashing the ram or updating the HDD.

10th Gear
Joined: Oct 2013
Posts: 10
Likes: 0
Amazing write up, Looking into doing this to my TL in the near future, probably going to start inquiring more over winter break!
I would like to know if you are still able to use factory buttons on the nav/steering wheel or is it all off your phone.
Thanks again!
I would like to know if you are still able to use factory buttons on the nav/steering wheel or is it all off your phone.
Thanks again!
The ISIMPLE PXAMG does allow me to retain the steering wheel controls and radio controls. I can also browse through the IPAD if I want as well.
I am sure this could be done...but it is not something I going to venture into at this time. I am loving the fact that the system looks 100% OEM. That was my ultimate goal for the project...and I just don't want to mess with it. It could not function more flawlessly mas it is.
I appreciate the kind words. You can do this...this is not something that is really that difficult. Like anything...if you take your time and use the resources that have been made available to you i.e. ACURAZINE...you will be fine. ACURAZINE is the greatest thing to have in your pocket. You can find anything and everything on here. Just research, come up with a plan, and execute it slowly and meticulously.
Suzuka Master

Joined: Jan 2011
Posts: 8,002
Likes: 3,605
From: Boston
I appreciate the kind words. You can do this...this is not something that is really that difficult. Like anything...if you take your time and use the resources that have been made available to you i.e. ACURAZINE...you will be fine. ACURAZINE is the greatest thing to have in your pocket. You can find anything and everything on here. Just research, come up with a plan, and execute it slowly and meticulously.


It is working great, even though it is waterproof I did take the extra precaution to apply some clear siicone for some extra piece of mind.
Intermediate
Joined: Nov 2008
Posts: 45
Likes: 1
The PXAMG is the ISIMPLE Media Gateway. It is the exact same thing. It allows for the IPAD connection as well as an auxillary connection with rca type connectors (red and white) and a 3.5mm connection. I have a 2004 with NAV so this unit hooks up directly into the OEM radio hardness behind the center console. 2007 - 2008 TL's with NAV/XM Traffic hook up in the trunk.
https://acurazine.com/forums/3g-tl-audio-bluetooth-electronics-navigation-94/rockyfellers-dash-myron-davis-dvd-doms-unit-p-i-e-x3-wendys-camera-install-622410/
If you connect the HDMI out from the Incredisonic to
this
Would this allow you to Plug in any HDMI device?
Thanks
I'm looking into what rockyfeller did with his set up at the bottom of his thread
https://acurazine.com/forums/showthread.php?t=622410
If you connect the HDMI out from the Incredisonic to
this
Amazon.com: MINI HDMI to 3RCA CVBS Composite Video AV Converter Adapter Supporting PAL/NTSC for TV PS3 VHS VCR DVD: Electronics
Would this allow you to Plug in any HDMI device?
Thanks
https://acurazine.com/forums/showthread.php?t=622410
If you connect the HDMI out from the Incredisonic to
this
Amazon.com: MINI HDMI to 3RCA CVBS Composite Video AV Converter Adapter Supporting PAL/NTSC for TV PS3 VHS VCR DVD: Electronics
Would this allow you to Plug in any HDMI device?
Thanks