When you click on links to various merchants on this site and make a purchase, this can result in this site earning a commission. Affiliate programs and affiliations include, but are not limited to, the eBay Partner Network.
'04-'06 Non-Navi to '07/'08 Non-Navi Radio Display Swap
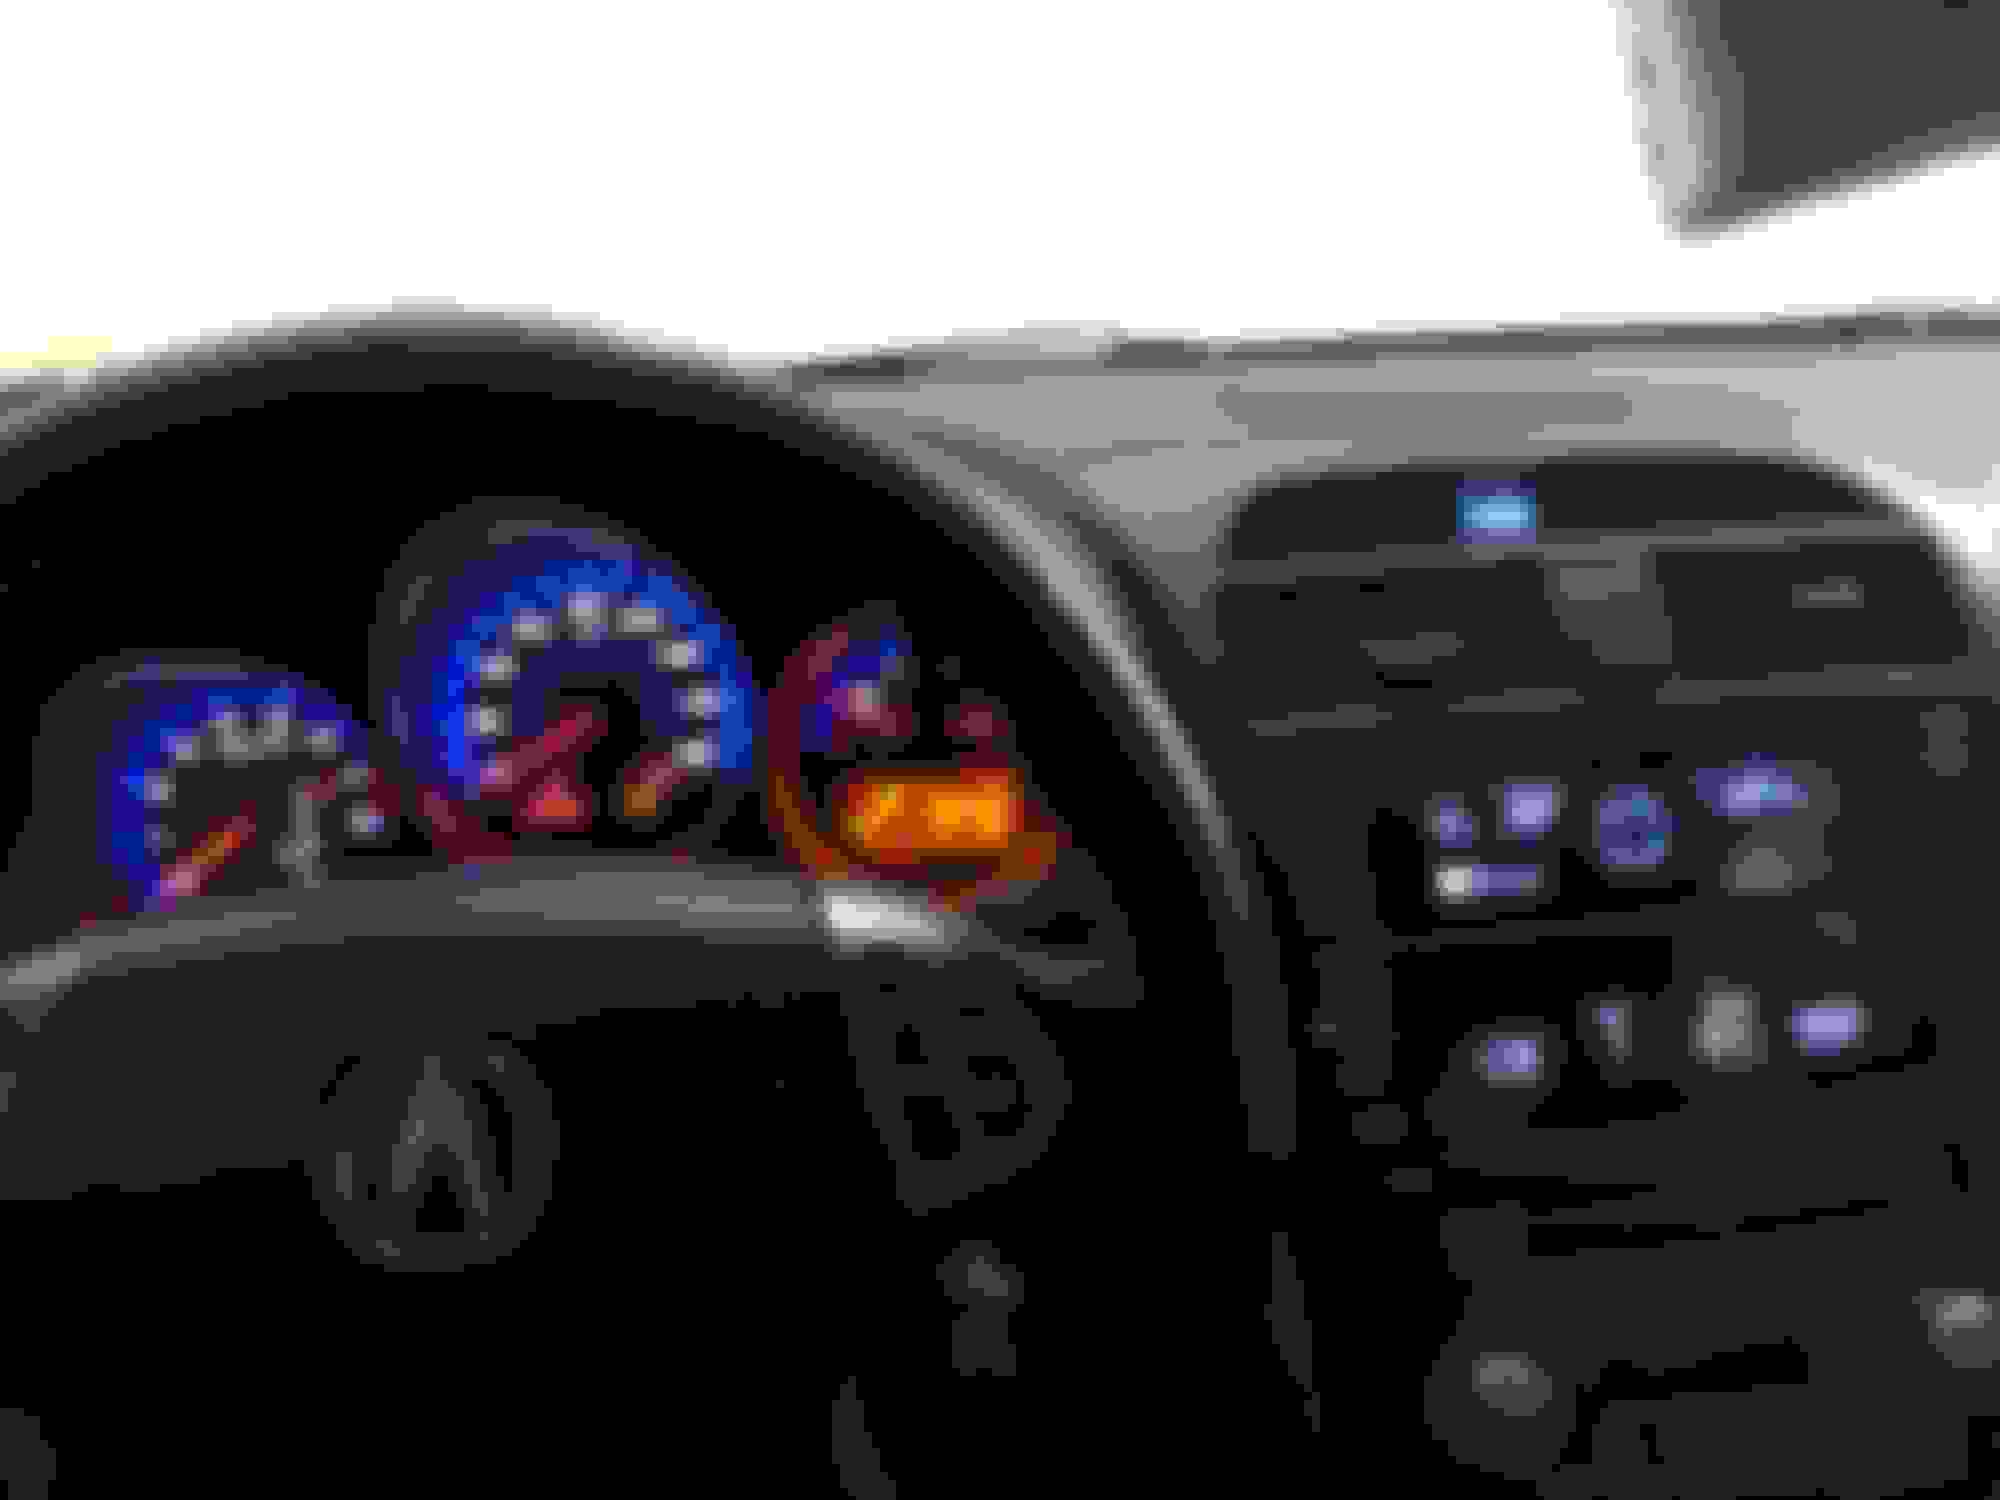
Hello everyone! For those who have the 04-06 TL without navigation, you know how ugly and low-budget the radio display looks. It's as if Acura took spare parts from their Honda bin, and threw it in, enticing buyers to opt for the navigation package. Unfortunately when buying a used TL you can't opt for the navigation package unless the car already has it installed.
Sure, you could do a tablet mod, but I did not feel like going that route, and I was able to find an 07/08 radio display for cheap.
I have seen a couple posts regarding swapping the radio displays, but either they don't have any answers, or have one picture showing it completed but no extra info on how it was done. After getting some info on what I needed from someone who has done this before, I decided to tackle the project.
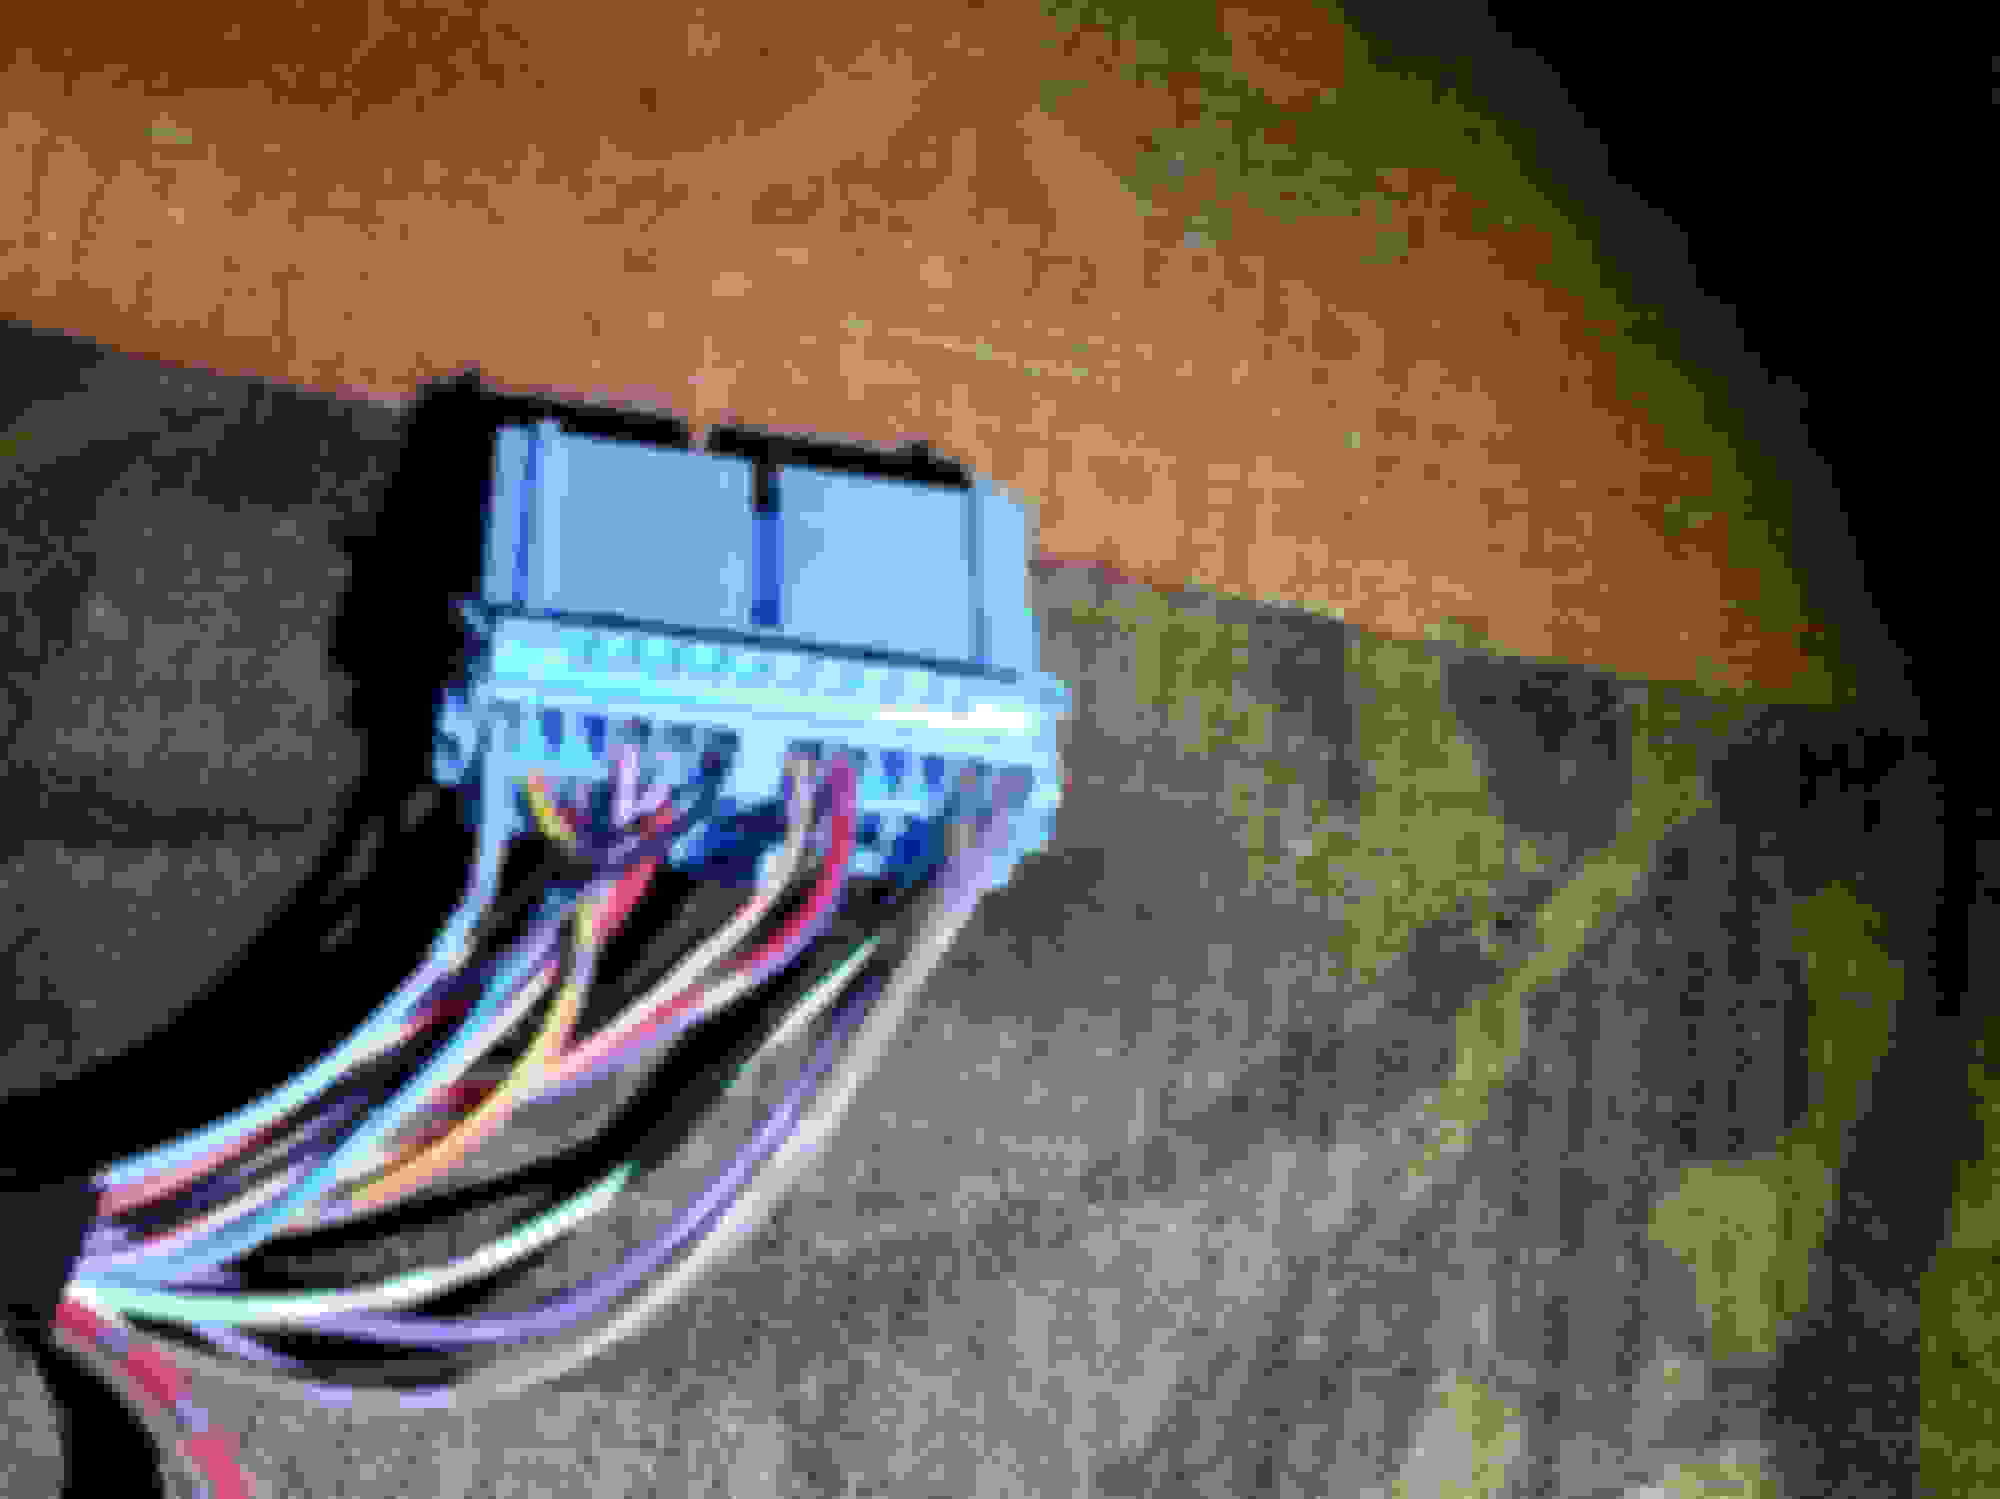
First things first, you will need the 07/08 non-navi radio display, AND the blue wiring harness for the new display.
The 07/08 non-navi harness looks like this:
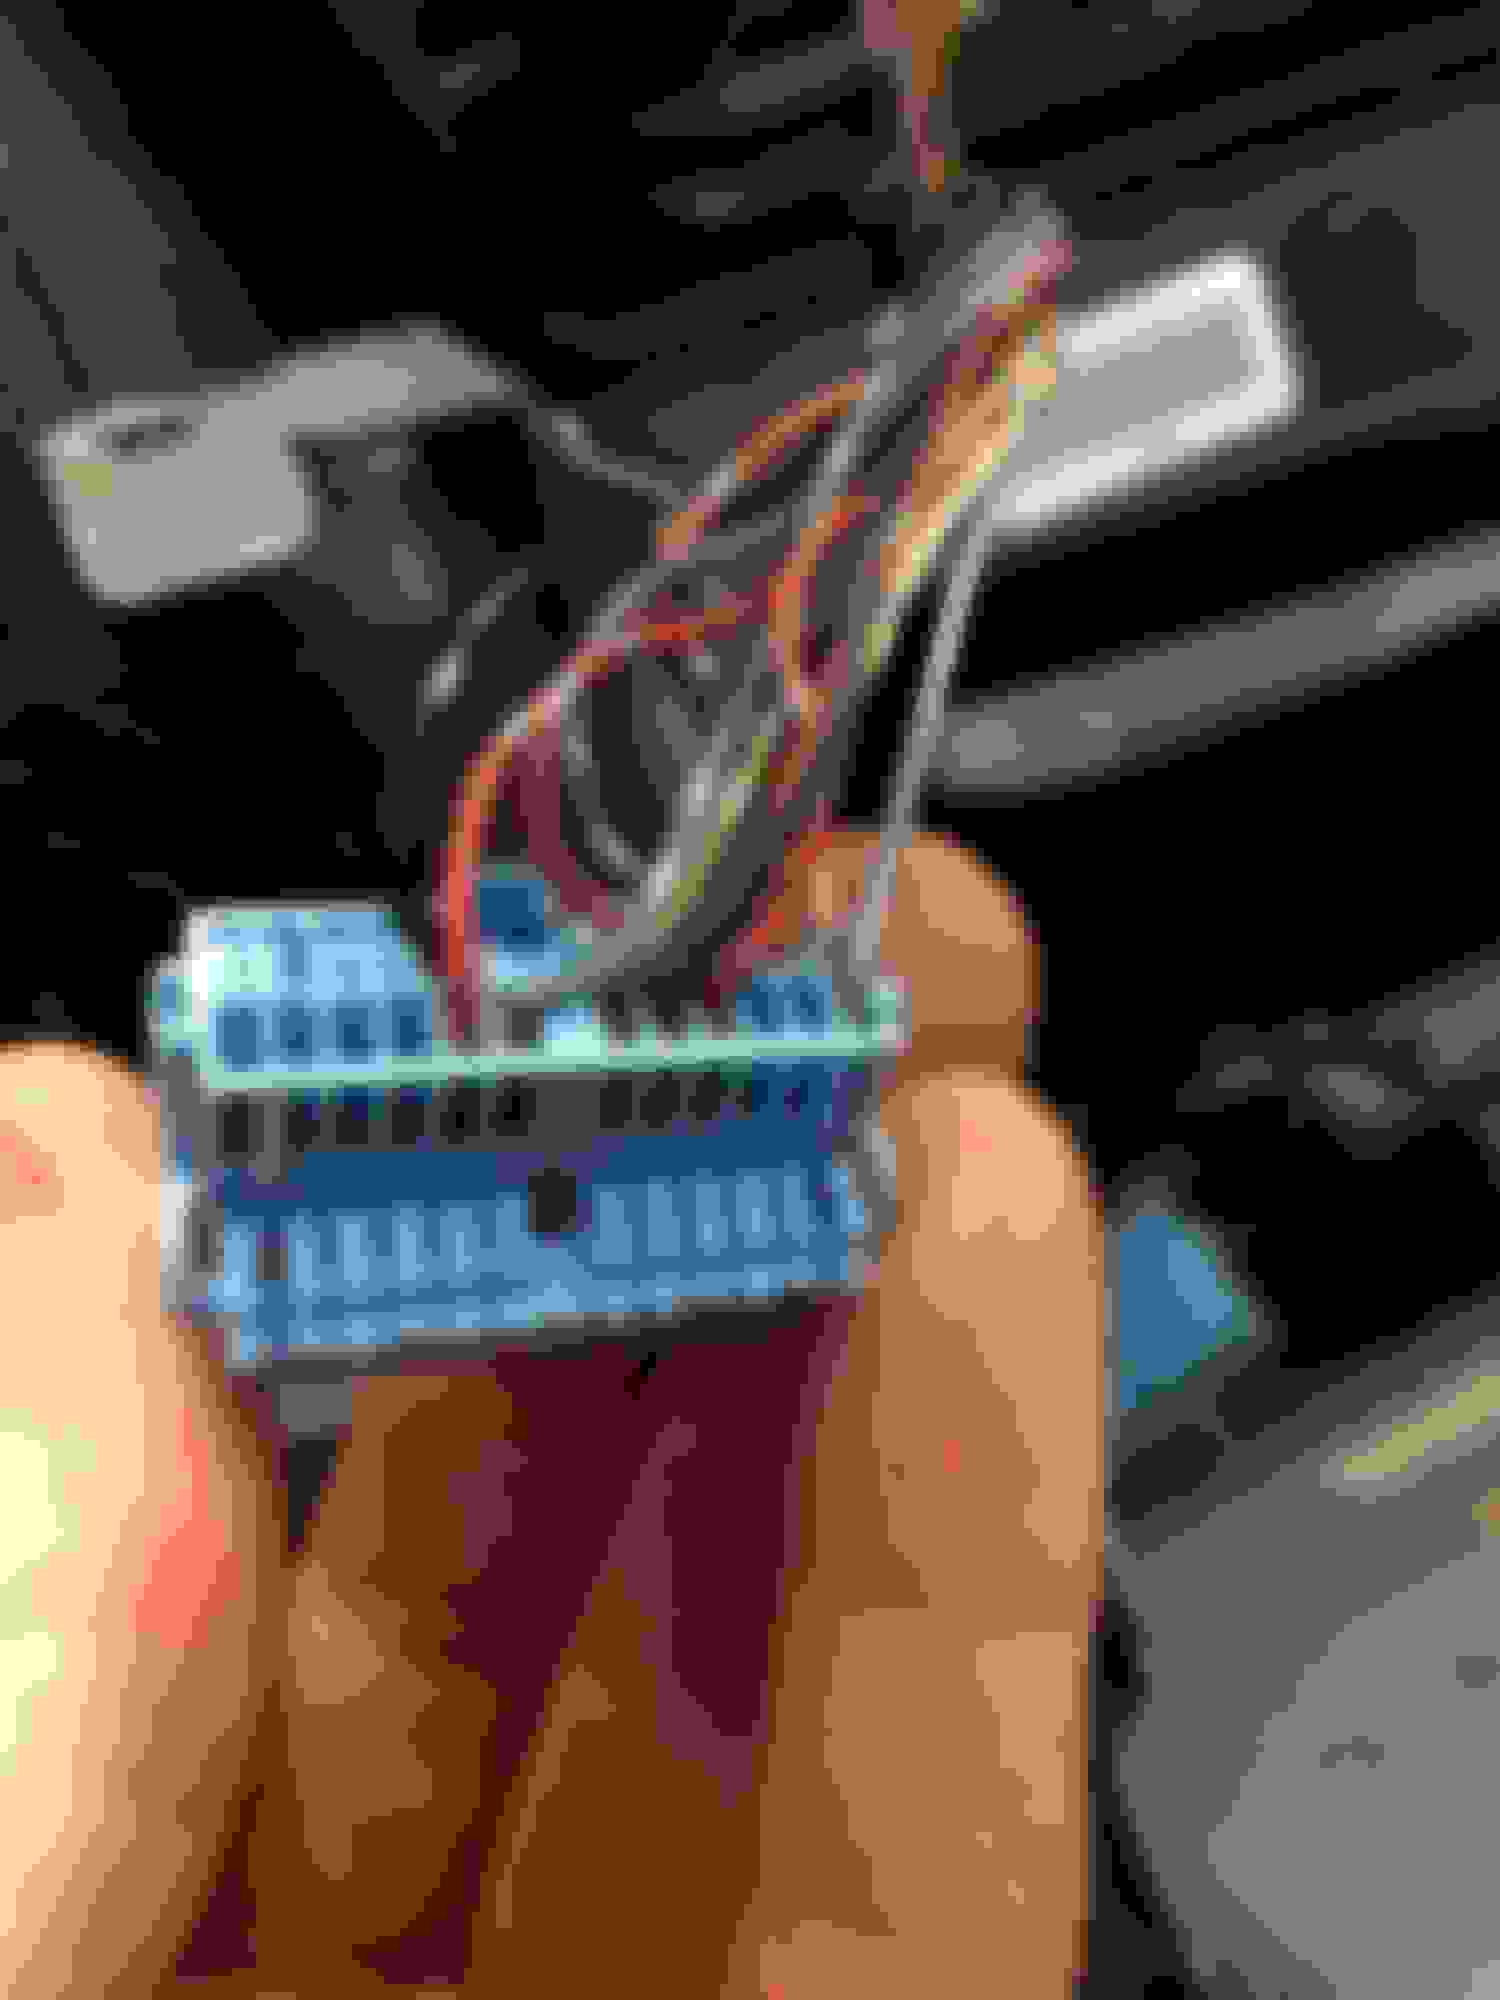
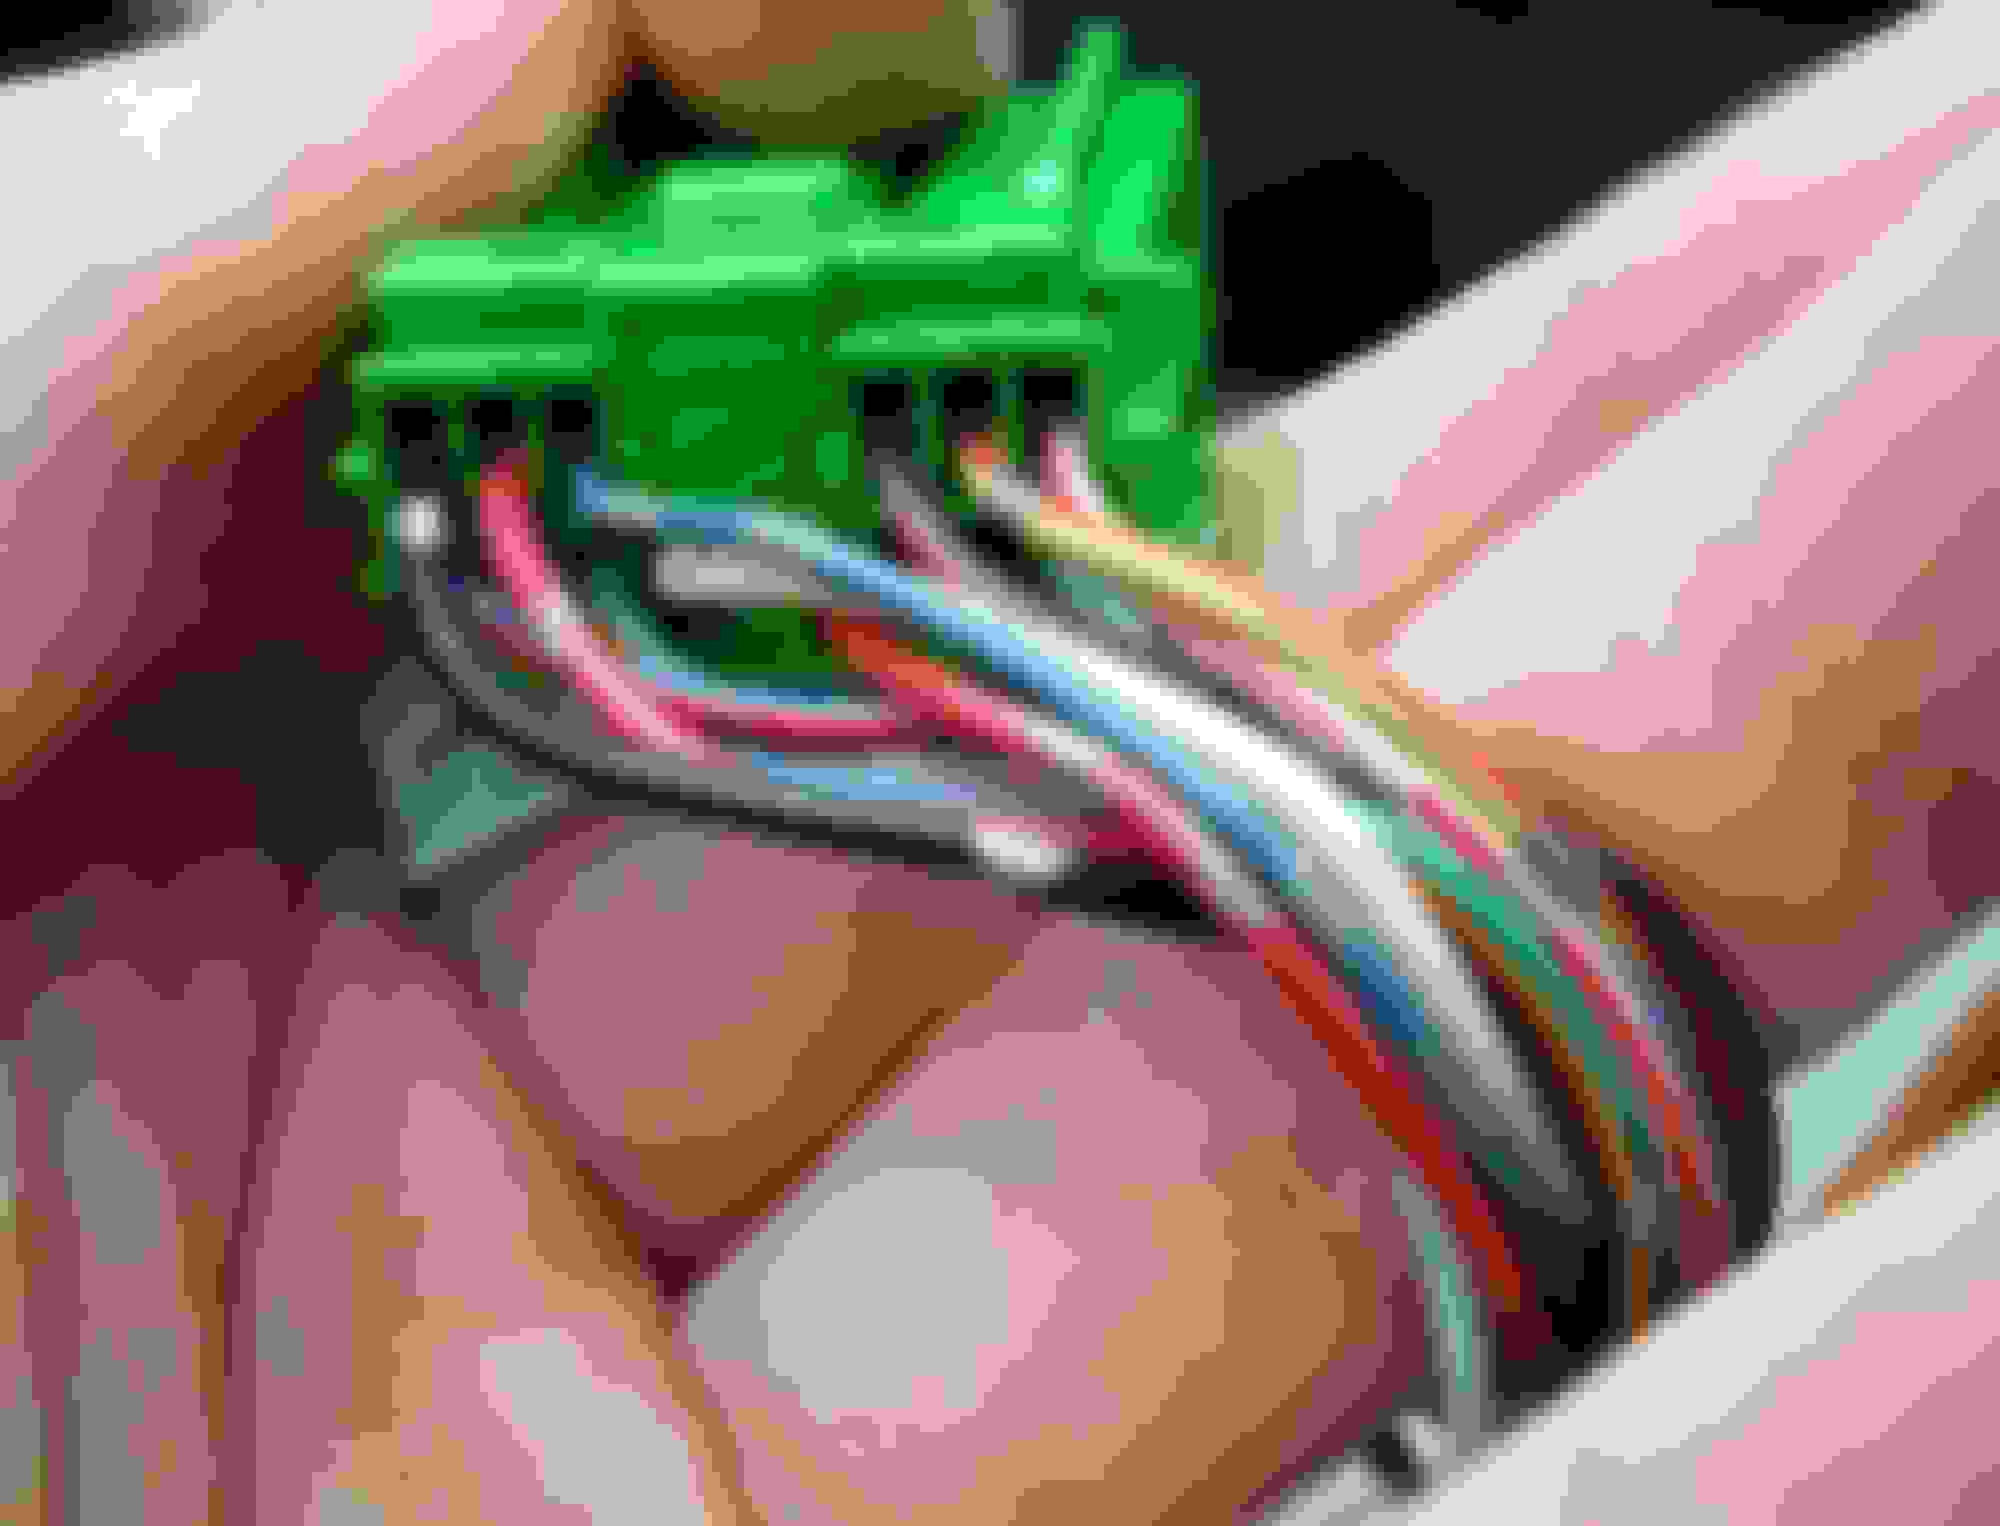
Here is the wiring harness in the 04-06 non-navi TL
You NEED the blue harness to make this work. I'm sure if you're electrically inclined you could do without, but I highly recommend getting that blue harness.
I won't go over how to take apart the dash or radio, since there are plenty of videos on YouTube on how to do it. I followed this video to remove the radio:
I'm sure you can skip some of the steps from that video, such as removing the glove box...I think you can take it apart without removing the glove box, but I did anyway...it's not difficult and doesn't take much longer.
Once you have everything taken apart (don't forget to unplug the 2 harnesses in the back of the radio!) pull it out. You will see 2 screws/bolts on each side of the display that holds it to the metal bracket. Remove those and you can take the display out entirely.
Now for the tricky part
Rewiring the harness can be a pain, and will make your fingers hurt after. There are videos on how to remove the wires from a wiring harness and and rewire it. I watched the following video on how to remove wires from a wiring harness:
I had to do mine a little differently...I used a thin flathead screwdriver (by thin I mean the size of a bobby pin) and went from the rear of the harness where the wires plug in. I then twisted so the head of the screwdriver caught in the wire plug, then pulled the wires out. Probably not the best way to do it, but trying to go from the front didn't seem to work.
To insert the wires simply push them in until they click (make sure you insert them the right way!!!)
Keep in mind that we are going from a 14 pin harness to a 22 pin harness. Not all of the 22 pins are used from the factory, but we will be using even less since the 04-06 doesn't have as many.
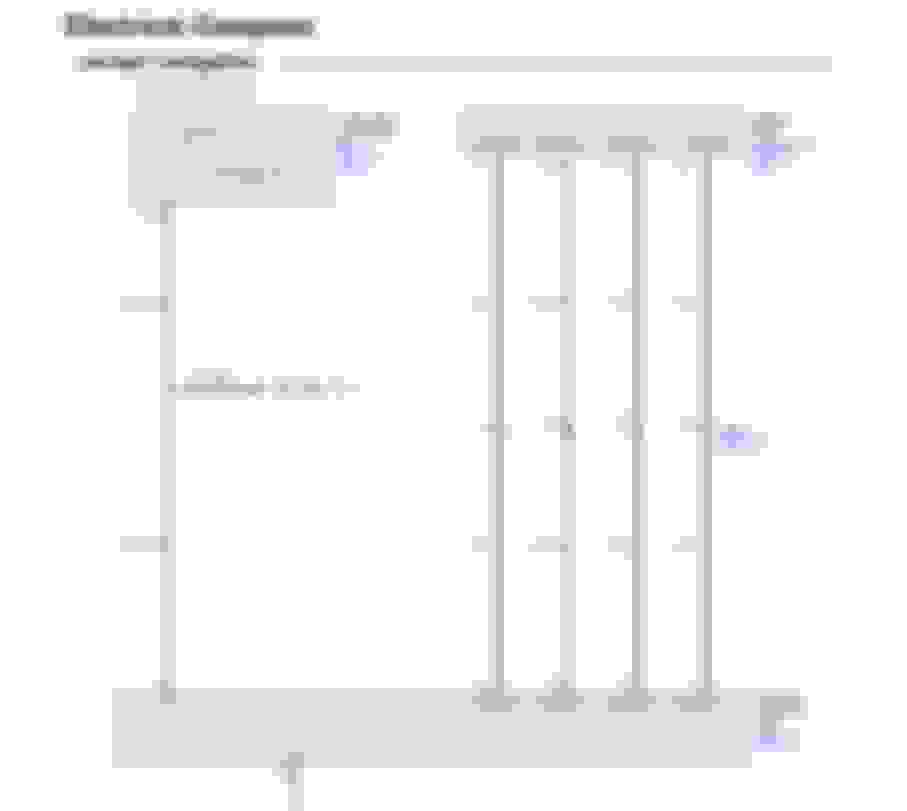
Here is a wiring diagram of the 04-06 radio wiring harness:
Here is the diagram for 07/08:
Alright, so for those who are too lazy to figure it out, or don't want to bother looking at the diagrams, here is what you have to do to wire the new harness:
So, looking at the front of the harnesses (if your face were the plug, and the harness is being plugged into your face), the upper left corner is designated A1. This continues across the top row, then jumps to the bottom left corner, and continues to the end of the second row...so top row is A1-A7, then bottom row is A8-A14 for the 04-06 plug. The same applies for the blue 07/08 harness (but with more pins obviously )
I am listing the pinhole from the 04-06 harness first, and then showing which pinhole it corresponds to in the blue 07/08 harness.
****DO NOT UNPLUG THE WIRES FROM THE 04-06 HARNESS ALL AT ONCE****
Look over the following, but don't touch anything yet! (I'll explain later)
Make sure you are plugging them into the right slot!!!
Now, the reason I said not to start removing the wires is because you will forget which wire is which! Sure, you could look for the color, but why make it harder for yourself?
I recommend doing it one wire at a time...unplug one and plug it into the blue harness...and continue doing this until you are done.
Once you have completed doing that, plug everything back together and make sure it all works! Test out all of the radio features, HVAC features, and try the dimming of the interior lights to make sure it all works. If it does, congrats! If not, you will need to redo the harness which will be a pain since you have to figure out what wire is what.
Once it's working, put everything back together and enjoy your new display!
I hope this helps, I know I got a lot of interest from people to do a write-up. I wish I had taken more pictures, but I didn't think of it at the time. While you can find all the info by yourself, it sure was annoying to find it all. Please let me know you have any questions! Good luck!
***You do not get the compass feature unfortunately...not sure what part contains the compass, if you can find it I'm sure you can install it. I did not feel like bothering with it, so I'll just deal with the car inside a circle ****
Thanks for taking the time to do this. It doesn't seem like a very hard job (not exactly easy either). But definitely seems like a moderately nice upgrade to spruce up the 04-06 non navi displays. The tablet mod definitely has a lot more function but Is also much more work too.
Thanks for taking the time to do this. It doesn't seem like a very hard job (not exactly easy either). But definitely seems like a moderately nice upgrade to spruce up the 04-06 non navi displays. The tablet mod definitely has a lot more function but Is also much more work too.
No problem! I had gotten a lot of requests to do a write up, and for those that want to keep it looking stock but don't want to deal with the tablet mod, this is a fairly easy option. The trickiest part was the wiring harness, because the wires can be a pain to remove from the harness. Making sure the wires are in the right slot can also be tricky.
Hey, sorry for the revive! I was wondering where did you source the blue plug from OP? I was planning on doing this exact swap but I can't seem to find a source for that connector.
Hey, sorry for the revive! I was wondering where did you source the blue plug from OP? I was planning on doing this exact swap but I can't seem to find a source for that connector.
The seller that I bought the display from was also selling the wiring harness so I bought that as well. Unfortunately I'm not sure where you can buy just the blue harness from though
Does anyone know the part number for the blue harness? I'm thinking about buying the screen from ebay and getting the harness from acuraoemparts since I couldn't find it on ebay. Thanks.
So I followed your diy exactly except the depinning part. I used the existing wiring coming from the blue harness and tapped into the existing green harness from the 05 TL. Everything lights up and just a couple of the buttons function. But after about 3-5 seconds the screen won't display anything but the compass portion and the blower goes to full speed. Any thoughts?????????
Right at initial turn on...
No display now anytime after the unit has been on for about 5 seconds...
any help from anyone woul be GREAT !! THANKS in advance!
So I followed your diy exactly except the depinning part. I used the existing wiring coming from the blue harness and tapped into the existing green harness from the 05 TL. Everything lights up and just a couple of the buttons function. But after about 3-5 seconds the screen won't display anything but the compass portion and the blower goes to full speed. Any thoughts?????????!
Hi, I honestly don't know what might be wrong...I've had numerous people tell me they did it and it worked for them, so there is a possibility that in tapping into the wires instead of depinning the green harness that something went wrong. It is very odd that it works for a couple seconds then goes completely nuts. I haven't had any issues since I did this, so it might be tapping into the existing wires does something funky to it.
Hello everyone! For those who have the 04-06 TL without navigation, you know how ugly and low-budget the radio display looks. It's as if Acura took spare parts from their Honda bin, and threw it in, enticing buyers to opt for the navigation package. Unfortunately when buying a used TL you can't opt for the navigation package unless the car already has it installed.
Sure, you could do a tablet mod, but I did not feel like going that route, and I was able to find an 07/08 radio display for cheap.
I have seen a couple posts regarding swapping the radio displays, but either they don't have any answers, or have one picture showing it completed but no extra info on how it was done. After getting some info on what I needed from someone who has done this before, I decided to tackle the project.
First things first, you will need the 07/08 non-navi radio display, AND the blue wiring harness for the new display.
The 07/08 non-navi harness looks like this:
Here is the wiring harness in the 04-06 non-navi TL
You NEED the blue harness to make this work. I'm sure if you're electrically inclined you could do without, but I highly recommend getting that blue harness.
I won't go over how to take apart the dash or radio, since there are plenty of videos on YouTube on how to do it. I followed this video to remove the radio:
I'm sure you can skip some of the steps from that video, such as removing the glove box...I think you can take it apart without removing the glove box, but I did anyway...it's not difficult and doesn't take much longer.
Once you have everything taken apart (don't forget to unplug the 2 harnesses in the back of the radio!) pull it out. You will see 2 screws/bolts on each side of the display that holds it to the metal bracket. Remove those and you can take the display out entirely.
Now for the tricky part
Rewiring the harness can be a pain, and will make your fingers hurt after. There are videos on how to remove the wires from a wiring harness and and rewire it. I watched the following video on how to remove wires from a wiring harness:
I had to do mine a little differently...I used a thin flathead screwdriver (by thin I mean the size of a bobby pin) and went from the rear of the harness where the wires plug in. I then twisted so the head of the screwdriver caught in the wire plug, then pulled the wires out. Probably not the best way to do it, but trying to go from the front didn't seem to work.
To insert the wires simply push them in until they click (make sure you insert them the right way!!!)
Keep in mind that we are going from a 14 pin harness to a 22 pin harness. Not all of the 22 pins are used from the factory, but we will be using even less since the 04-06 doesn't have as many.
Here is a wiring diagram of the 04-06 radio wiring harness:
Here is the diagram for 07/08:
Alright, so for those who are too lazy to figure it out, or don't want to bother looking at the diagrams, here is what you have to do to wire the new harness:
So, looking at the front of the harnesses (if your face were the plug, and the harness is being plugged into your face), the upper left corner is designated A1. This continues across the top row, then jumps to the bottom left corner, and continues to the end of the second row...so top row is A1-A7, then bottom row is A8-A14 for the 04-06 plug. The same applies for the blue 07/08 harness (but with more pins obviously )
I am listing the pinhole from the 04-06 harness first, and then showing which pinhole it corresponds to in the blue 07/08 harness.
****DO NOT UNPLUG THE WIRES FROM THE 04-06 HARNESS ALL AT ONCE****
Look over the following, but don't touch anything yet! (I'll explain later)
Make sure you are plugging them into the right slot!!!
Now, the reason I said not to start removing the wires is because you will forget which wire is which! Sure, you could look for the color, but why make it harder for yourself?
I recommend doing it one wire at a time...unplug one and plug it into the blue harness...and continue doing this until you are done.
Once you have completed doing that, plug everything back together and make sure it all works! Test out all of the radio features, HVAC features, and try the dimming of the interior lights to make sure it all works. If it does, congrats! If not, you will need to redo the harness which will be a pain since you have to figure out what wire is what.
Once it's working, put everything back together and enjoy your new display!
I hope this helps, I know I got a lot of interest from people to do a write-up. I wish I had taken more pictures, but I didn't think of it at the time. While you can find all the info by yourself, it sure was annoying to find it all. Please let me know you have any questions! Good luck!
***You do not get the compass feature unfortunately...not sure what part contains the compass, if you can find it I'm sure you can install it. I did not feel like bothering with it, so I'll just deal with the car inside a circle ****
Hi, I want to tray this. Also I want to try to swap the radio unit. Any advise?
i know this is a little bit older topic, but can you shed some light on how you did the clock part? im seeing that the 07/08 clock is also different, and has a different harness (with one more wire) than the 04-06 models. thanks!
Thanks for the advice I'll call around the local yards to see if anyone has a car to part out. But how does that compass unit connect to the display?
I did a lot of searching and found the wiring diagram for the compass. Looks like it's the right floor harness that the connector is on? You'll probably have to custom-make a harness specifically to run the compass unit to the fuse box though. You'll also need the 6 pin connector that plugs into the compass unit (still working on finding that).
i know this is a little bit older topic, but can you shed some light on how you did the clock part? im seeing that the 07/08 clock is also different, and has a different harness (with one more wire) than the 04-06 models. thanks!
Do you mean the clock above the air vents? I did not change that at all, I left that as is
Hi, I want to tray this. Also I want to try to swap the radio unit. Any advise?
Take your time and be patient. It was a bit frustrating dealing with the wiring harnesses, and your fingers will hurt! Definitely watch those videos I linked so you have an idea of what to do to de-pin the harnesses, and if you don't know how to disassemble the dash
I did a lot of searching and found the wiring diagram for the compass. Looks like it's the right floor harness that the connector is on? You'll probably have to custom-make a harness specifically to run the compass unit to the fuse box though. You'll also need the 6 pin connector that plugs into the compass unit (still working on finding that).
Awesome! That definitely would be doable, but I don't think I will attempt this...hopefully will be getting a Type S this summer so I won't be spending any more money on my base haha. I definitely want to see any updates with the compass if anybody does attempt to do it!
May take a bit; I got my new 2007-2008 display and while it may well be functional, it is cosmetically very scratched up, I mean like seriously fugly. I'll have to find another display plus the wiring harness and the compass sending unit; unfortunately this project may need to wait until fall.
May take a bit; I got my new 2007-2008 display and while it may well be functional, it is cosmetically very scratched up, I mean like seriously fugly. I'll have to find another display plus the wiring harness and the compass sending unit; unfortunately this project may need to wait until fall.
where did you source the blue 07-08 wiring harness? I am having trouble locating one online.
Thanks very much guys. It's working flawlessly for me. I bought this 2 years ago but finally got some time to do it. Still working. Interior looking fresh. Edited the "guide" so it will be easier to bring up on your phone.
I performed this swap this weekend. I did it in the driveway, where it was too bright to check the lights around the climate control.
I followed the color wire guide and the a1�>a5 (example) guide to make sure I had them right.
I also unplugged one wire from the old harness and plugged it into the new harness.
All the bulbs worked before the swap and after the swap. Before the swap they also dimmed accordingly when the brightness was adjusted.
Now they are only really visible in max brightness and barely visible on one setting down from maximum.
Could the location of where the two brightness wires, led and bulb, be different on my 06?
I figured out my problem. Instead of:
A2———>A15
A7———>A6
as the guide here says. In my case it turned out to be:
A2———>A6
A7———>A15
Maybe it’s becase I have an 06.
I also found it really easy to get the wires out if you push in a paper clip in the hole above where the wire is.
That spreads out the metal tabs on the wire that catch on the inside of the clip.
I figured out my problem. Instead of:
A2���>A15
A7���>A6
as the guide here says. In my case it turned out to be:
A2���>A6
A7���>A15
Maybe it�s becase I have an 06.
you are absolutely correct. I just did this on my 05 and followed everything and rannninto the same issues as you. I just switched the 2 wires around like you and its working like a charm. Thank you.
I know this is a bit of a thread bump, but I just bought a 07/08 display with the connector and what is suppose to be the compass control unit (it matches the parts diagram visually and other compass units from other Honda/Acura vehicles) with the connector and some wiring on it still.
I am pretty sure the factory compass unit is mounted in the back either in the trunk or deck lid by the rear seats (not a lot of info on that), but I don't really see a reason it couldn't be mounted up front under the dash to help keep the wiring length to a minimum. Once the parts show up I will continue looking into wiring/mounting the compass and see if I can make it work.
Thanks. Keep us updated. What is the part number for the compass?
From what I found on the online Honda/Acura parts websites it should be 78300-SEP-A01 labeled as Compass Unit. There is a post earlier on in the thread with a link, but that link is broken (at least for me it is).

 02-11-2016, 08:55 PM


 )
)

 ****
****