
Painting Engine Covers

Thread Starter
Three Wheelin'
Joined: Jul 2005
Posts: 1,435
Likes: 0
From: Central NJ
Painting Engine Covers
Didn't happen to see a DIY on how to paint engine covers, so I thought I'd make one to help out anyone who wanted to do the same thing.
Disclaimer: mod at your own risk. I am not responsible for any messed up engine covers.
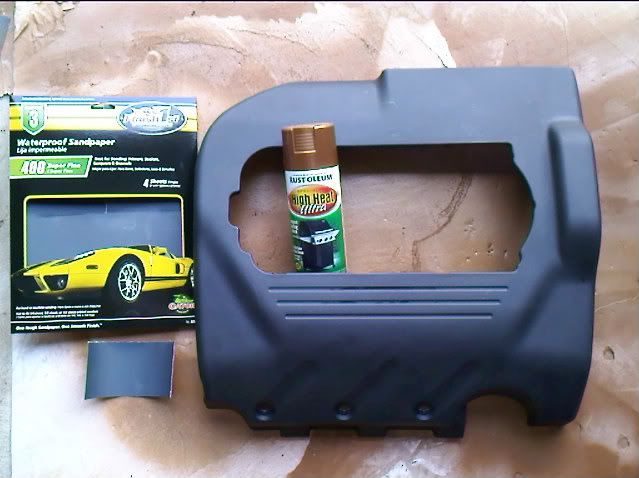
Step 1: Go to your local Home Depot, Lowe's, Pepboys, etc and pick up 300-500 grit sand paper and 1-2 cans of high temp paint spray (# of cans is dependent on how many pieces you're going to be painting).
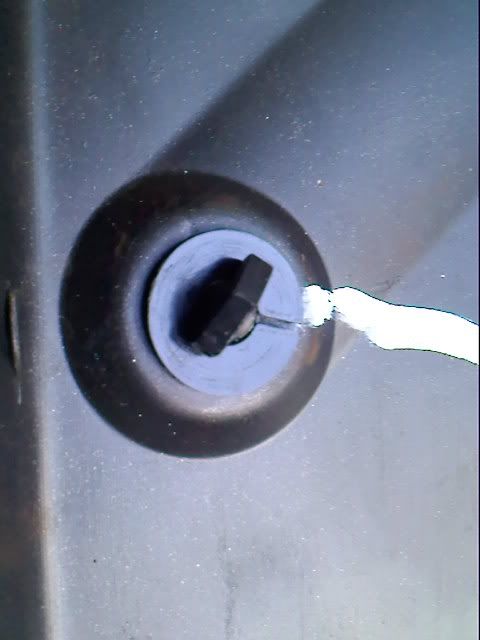
Step 2a: Take off the covers that you want to paint. The cover that sits right on top of the engine has little plastic pins that have clips behind them. I chose not the paint those, so I took them off. Just remove the clips, and the pins come right out.
Step 2b: Wash them down. I just used soap, water, a large brush, and a toothbrush for the small "nooks." Hose them down and dry them off.
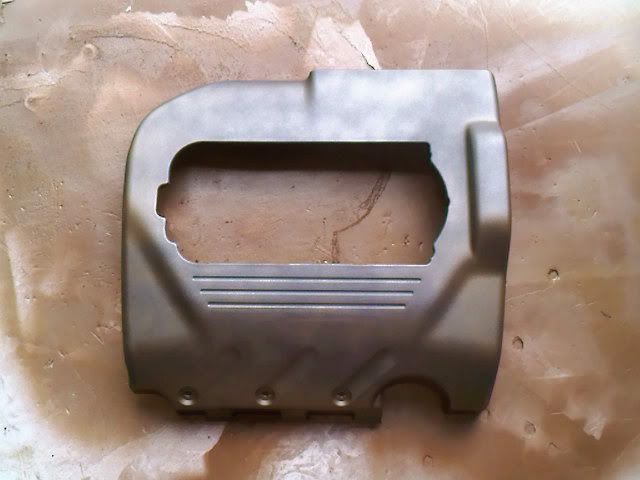
Step 3: Take the sandpaper and start sanding down the covers. You don't need to put a lot of pressure when sanding. Just a light scuffing will do. The point of lightly scuffing the covers is to give it a better texture for the paint to bind to.
1/2 sanded: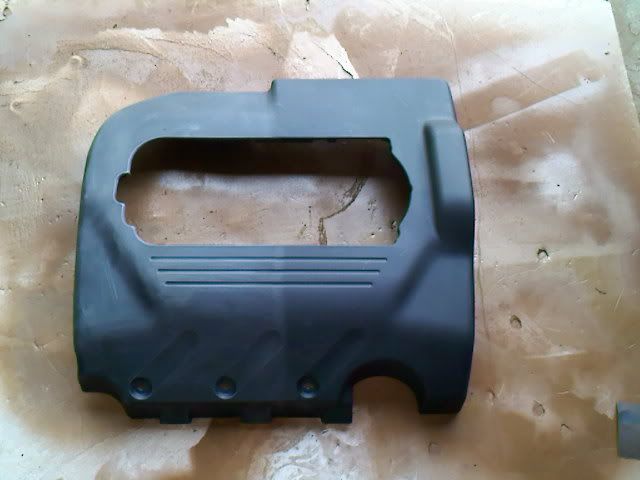
fully sanded: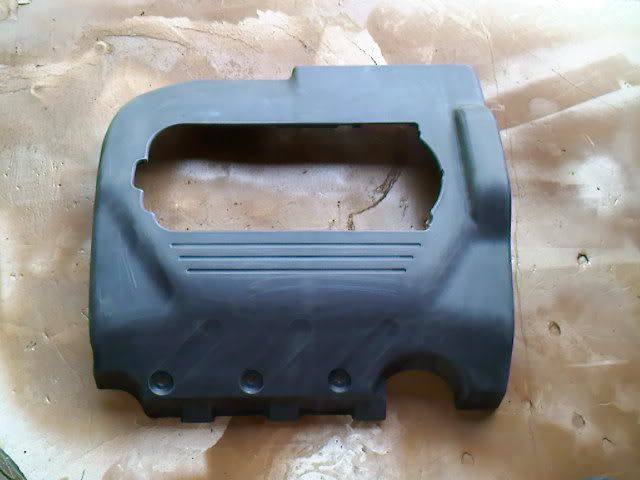
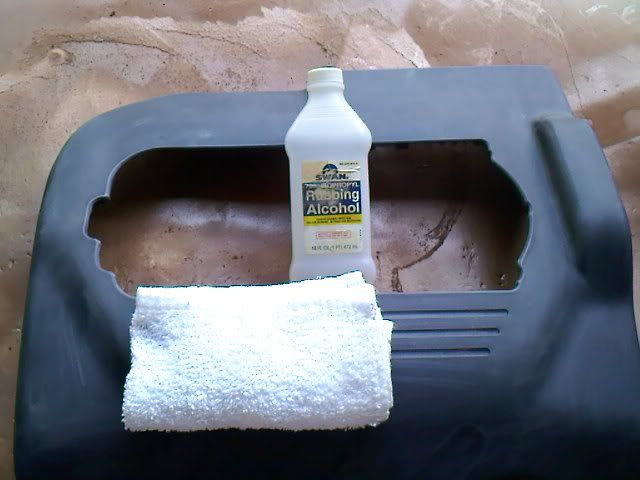
Step 4: Wipe down the covers with a wet towel, degreaser, or alcohol. I chose alcohol because it dried much faster.
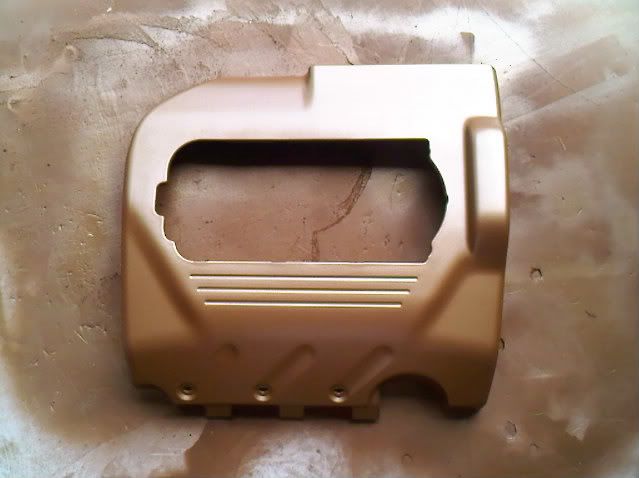
Step 5: Shake up your paint can and start spraying! Stay about 5-8" away from the covers and give it a light coat. You should still see some black after the 1st coat.
Step 6: Give the 1st coat a few minutes to dry before putting on the next few layers. I gave it about 3-4 coats before leaving the covers to dry for 24 hours. If you wish to stop here, I would add 2-3 more coats to give it a deeper gloss/look, then skip to Step 10
Steps 7-9 are not necessary, but in my opinion, give the paint a much nicer finish.
Step 7: Take your newly painted covers and resand them! I used the same 400 grit paper just to give the paint a light very light scuff.
Step 8: Wipe down the covers again using water or rubbing alcohol. (I left out degreaser here b/c I wasn't sure if it would strip the paint).
Step 9: Respray the covers again. I put a good 3-5 coats this time around. Let dry as per directed on the spray can. My directions said 1 hour, but I let it dry for another 24 hours. I also left the covers in the sun to let the paint cure faster.
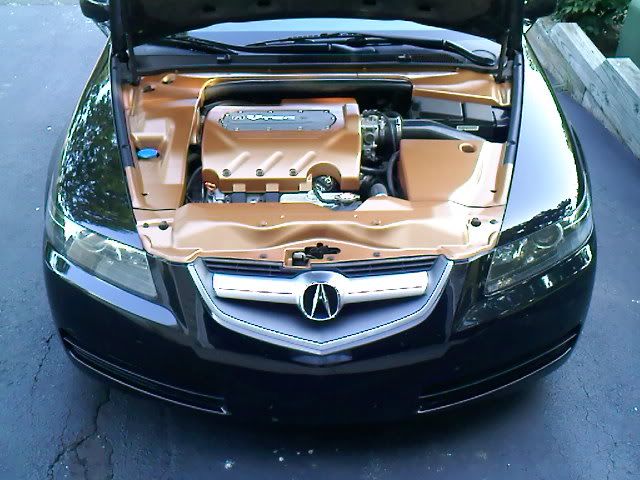
Step 10: Snap the engine covers back on, and admire your work.
Hope this helps!
Disclaimer: mod at your own risk. I am not responsible for any messed up engine covers.
Step 1: Go to your local Home Depot, Lowe's, Pepboys, etc and pick up 300-500 grit sand paper and 1-2 cans of high temp paint spray (# of cans is dependent on how many pieces you're going to be painting).
Step 2a: Take off the covers that you want to paint. The cover that sits right on top of the engine has little plastic pins that have clips behind them. I chose not the paint those, so I took them off. Just remove the clips, and the pins come right out.
Step 2b: Wash them down. I just used soap, water, a large brush, and a toothbrush for the small "nooks." Hose them down and dry them off.
Step 3: Take the sandpaper and start sanding down the covers. You don't need to put a lot of pressure when sanding. Just a light scuffing will do. The point of lightly scuffing the covers is to give it a better texture for the paint to bind to.
1/2 sanded:
fully sanded:
Step 4: Wipe down the covers with a wet towel, degreaser, or alcohol. I chose alcohol because it dried much faster.
Step 5: Shake up your paint can and start spraying! Stay about 5-8" away from the covers and give it a light coat. You should still see some black after the 1st coat.
Step 6: Give the 1st coat a few minutes to dry before putting on the next few layers. I gave it about 3-4 coats before leaving the covers to dry for 24 hours. If you wish to stop here, I would add 2-3 more coats to give it a deeper gloss/look, then skip to Step 10
Steps 7-9 are not necessary, but in my opinion, give the paint a much nicer finish.
Step 7: Take your newly painted covers and resand them! I used the same 400 grit paper just to give the paint a light very light scuff.
Step 8: Wipe down the covers again using water or rubbing alcohol. (I left out degreaser here b/c I wasn't sure if it would strip the paint).
Step 9: Respray the covers again. I put a good 3-5 coats this time around. Let dry as per directed on the spray can. My directions said 1 hour, but I let it dry for another 24 hours. I also left the covers in the sun to let the paint cure faster.
Step 10: Snap the engine covers back on, and admire your work.
Hope this helps!


Thread Starter
Three Wheelin'
Joined: Jul 2005
Posts: 1,435
Likes: 0
From: Central NJ
Thanks!
Well, I didn't want to match the body color because I thought it would look boring, so I opted for a brighter color.
My 1st thought was to go red, but it just stood out WAY to much against the black. I settled on the bronze/gold scheme because I've always been a fan of bronze/gold on black.
Well, I didn't want to match the body color because I thought it would look boring, so I opted for a brighter color.
My 1st thought was to go red, but it just stood out WAY to much against the black. I settled on the bronze/gold scheme because I've always been a fan of bronze/gold on black.
Not bad.
I would sand more than just "scuffing" for the prep. It makes the finished paint look smooth and shiny. I sanded mine down until it was smooth to the touch, then primed, wet sanded and painted them.
If you knock your finish down with wet 1000 grit and spray on a clear coat it would look even better.
Trending Topics
Three Wheelin'
Joined: May 2009
Posts: 1,773
Likes: 167
From: PA/ NY/ FL
damn,...i've been contemplating this ever since I got the TL. I'm just not sure what color to use. I was able to paint the covers in my Audi but, it seems like a brain teaser with a black car.
maybe a dark blue or something
that bronze is gorgeous looking!!!!!!!
maybe a dark blue or something
that bronze is gorgeous looking!!!!!!!
Thread Starter
Three Wheelin'
Joined: Jul 2005
Posts: 1,435
Likes: 0
From: Central NJ
Not bad.
I would sand more than just "scuffing" for the prep. It makes the finished paint look smooth and shiny. I sanded mine down until it was smooth to the touch, then primed, wet sanded and painted them.
If you knock your finish down with wet 1000 grit and spray on a clear coat it would look even better.
I would sand more than just "scuffing" for the prep. It makes the finished paint look smooth and shiny. I sanded mine down until it was smooth to the touch, then primed, wet sanded and painted them.
If you knock your finish down with wet 1000 grit and spray on a clear coat it would look even better.
Thanks for all the complements!

Instructor
Joined: Mar 2008
Posts: 118
Likes: 0
From: Norse Dakohta, Yah
Very nice! I saw this thread today and decided I'd finally found a use for the spare can of silver engine enamel I had lying around. Will post pics when I'm done for the silver covers on SSM look 
Instructor
Joined: Mar 2008
Posts: 118
Likes: 0
From: Norse Dakohta, Yah
This might be a bit off topic, but does anyone know the best way to prep the intake manifold cover for painting? I can't get a clear idea from searching... Is it really necessary to use paint remover or is sanding necessary? Is primer a good idea too?
Thread Starter
Three Wheelin'
Joined: Jul 2005
Posts: 1,435
Likes: 0
From: Central NJ
After sanding, I just sprayed it. Some people prefer to use a primer. I didn't feel it was necessary.
I would suggest a high temperature resistant clear coat. Also, you would have to sand the painted cover with about 1500-2000 grit before clear coating.


Racer
Joined: Mar 2009
Posts: 486
Likes: 1
From: MI
1 is more than enough for just the engine cover doing 3-5 coats. I used 2 cans to do the pieces in my pictures. And this was with about 6-7 coats each.
After sanding, I just sprayed it. Some people prefer to use a primer. I didn't feel it was necessary.
I would suggest a high temperature resistant clear coat. Also, you would have to sand the painted cover with about 1500-2000 grit before clear coating.
After sanding, I just sprayed it. Some people prefer to use a primer. I didn't feel it was necessary.
I would suggest a high temperature resistant clear coat. Also, you would have to sand the painted cover with about 1500-2000 grit before clear coating.

Thread Starter
Three Wheelin'
Joined: Jul 2005
Posts: 1,435
Likes: 0
From: Central NJ
Modding my TL in
Joined: Jun 2005
Posts: 317
Likes: 1
From: Chicago SW Burbs
Very good write up. I've done this in the past on my car.
Now with the IM spacer mod AND using the engine cover (my custom way) - it is situated to close to the hood = hot paint melting.
New covers on order.
Now with the IM spacer mod AND using the engine cover (my custom way) - it is situated to close to the hood = hot paint melting.
New covers on order.

Basically the same thing here, was lazy at the time to do the small black pieces on the sides
Old picture
After about an 3-4 hours time
Old picture
After about an 3-4 hours time
Last edited by GeeteeDan; May 7, 2011 at 12:06 PM.

Team Owner
iTrader: (2)
Joined: Jan 2008
Posts: 36,545
Likes: 6,470
From: Kansas City, MO (Overland Park, KS)
Nice work Dan. I did the same thing-I made my engine cover red.
2011 National AcuraZine Meet-Kansas City-June 12, 2011-Details Here!
.
2011 National AcuraZine Meet-Kansas City-June 12, 2011-Details Here!
.
Plastic schmastic
Joined: Dec 2010
Posts: 305
Likes: 7
From: DFW

I broke my toe friday night and will be outta work for a while so I might just take on this lil diy project and see how it works out wish me luck lol any advice on what color I have a wdp type s and a red aem cai what colors should I do my bay