
Inspire Fogs


Advanced
Joined: Feb 2013
Posts: 53
Likes: 8
From: San Jose
came out good you should make a diy on the electrical aspec of the install when i was looking for info on installing these it was a pain the a�� tool me a whole to find a good source for power since im running it aon an independent switch


Instructor
Joined: Sep 2011
Posts: 122
Likes: 50
From: Brampton, Ontario
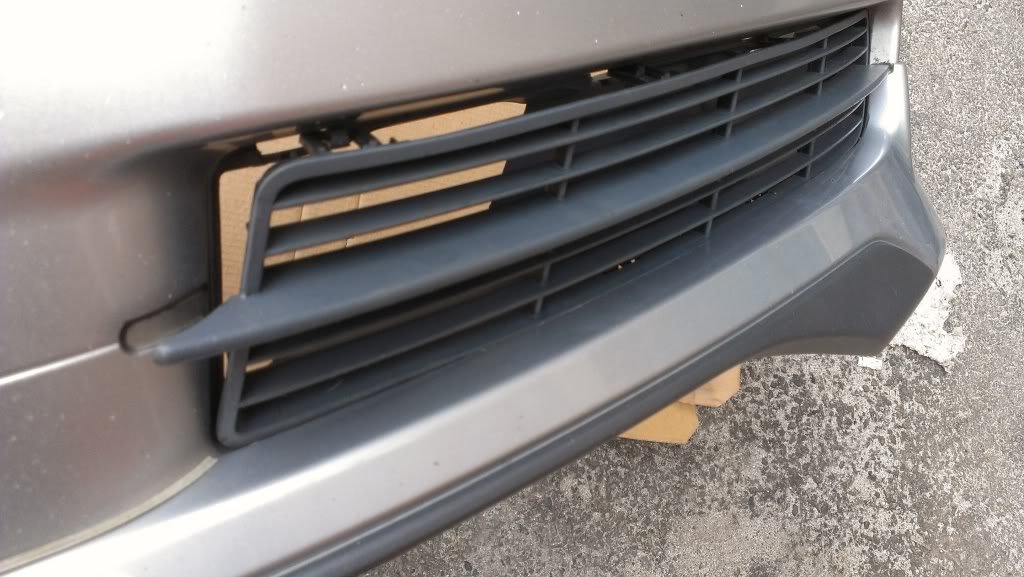
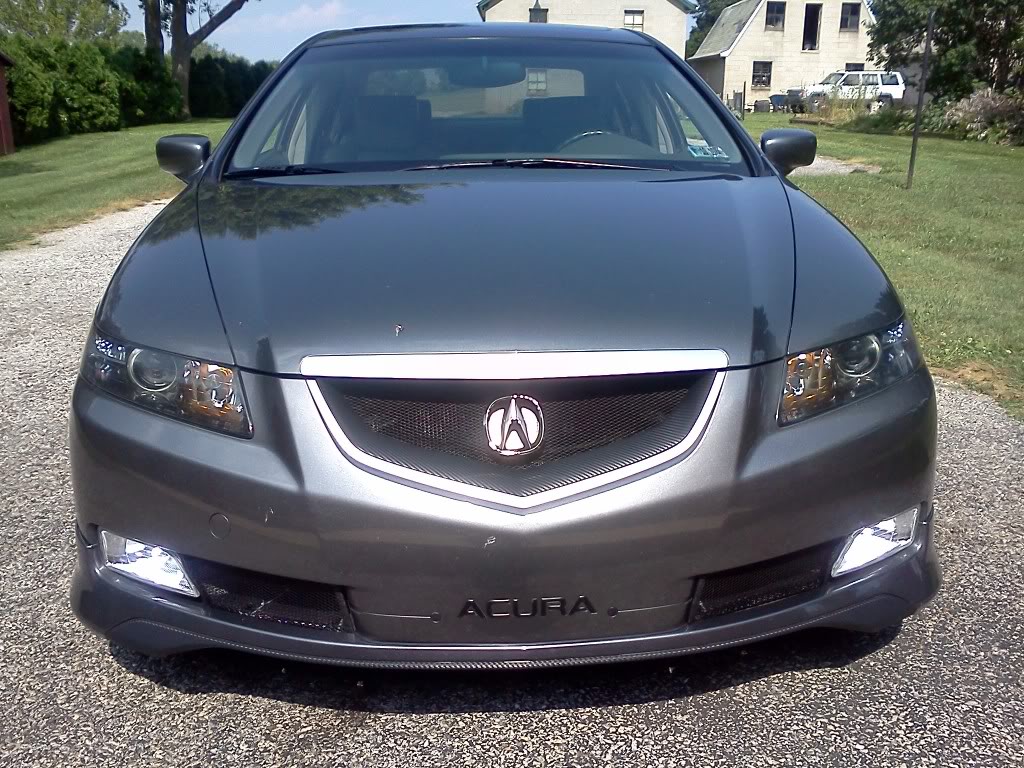
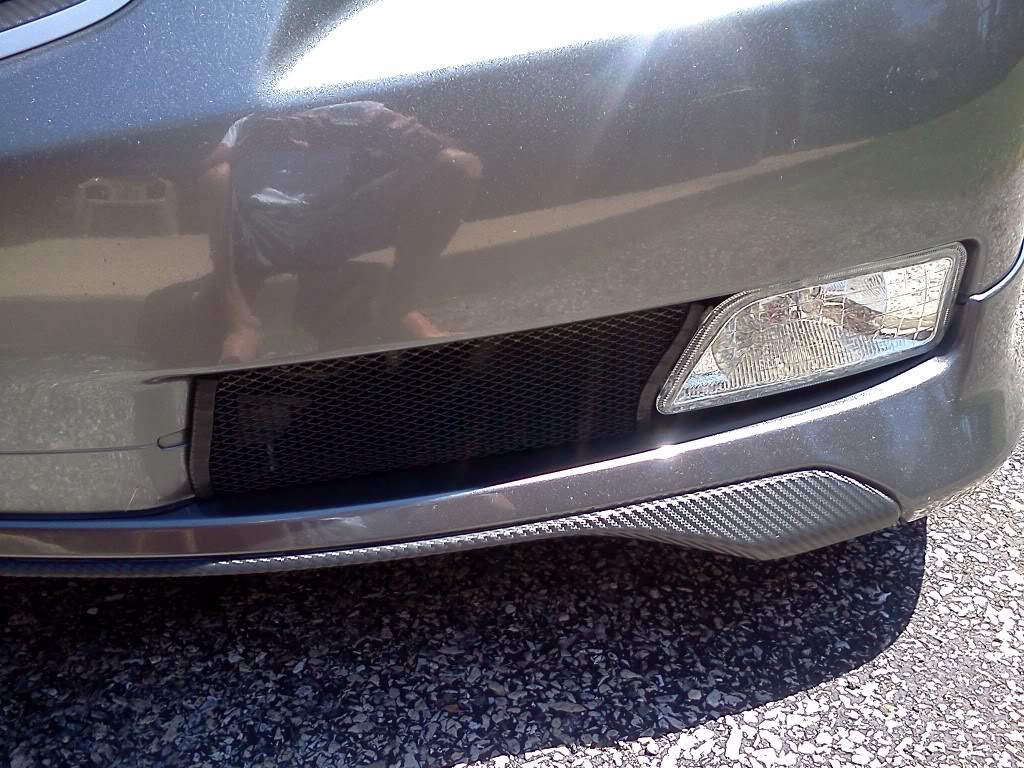
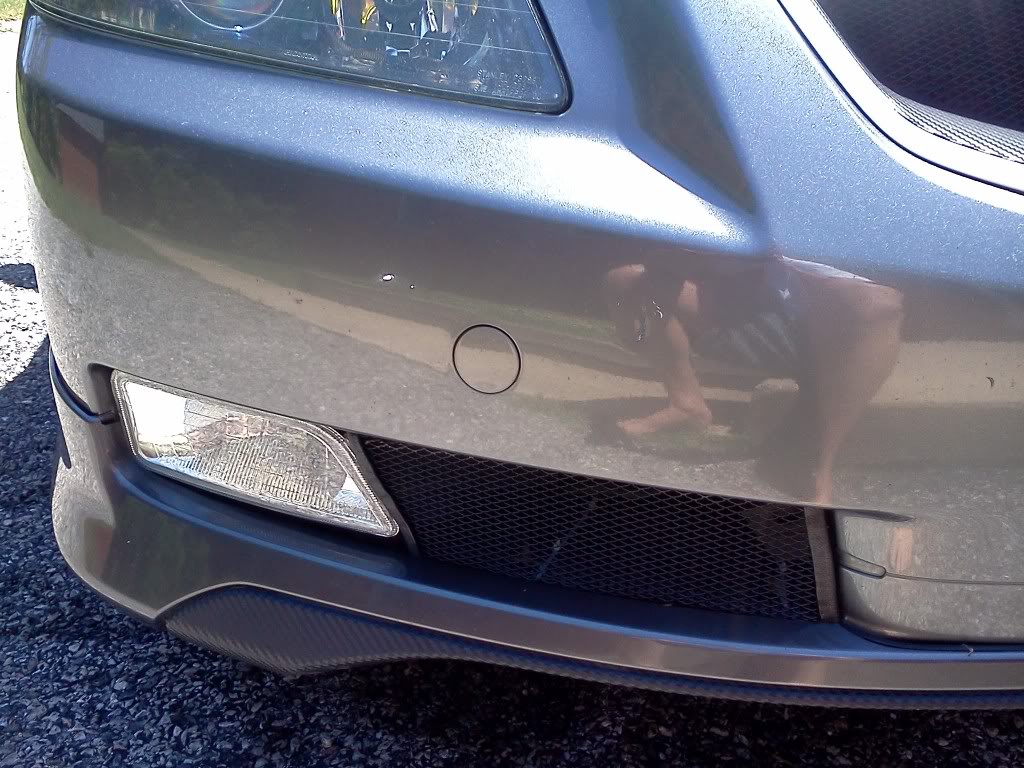
can anyone show how they secured there fogs to the bumper please?image_zpsd849fede.jpeg?t=1365443168image1_zpsecd8025e.jpeg?t=1365443178image2_zps219ee28b.jpeg?t=1365443186
Bruce Banner, that's my picture and couldn't go on further, the bottom line of the grille sits right in front of the A-Spec (can see it from the picture as well)... I couldn't pull it up.
J. did it..becuause he had his blue gloves on
I didn't relocate the horn, I don't know if it's pushing the fog or not but I don't think so
Yeah J. why did you move it
TLDude876, I think you don't have zkw lenses and don't care about the cutoff?
Yes if you cut everything back there, it will fit and stay flush.
Mine is pushed down from the "inner-top" Doesn't sit flush but it's pushed down
Even like that, I still have glare on top of my cutoff.
How is the glare with the flush set-up? Any pictures facing to a wall?
I wouldn't recommend that.
J. did it just like what I did (as I saw from pictures and as he explaind some details)
Doesn't sit flush, inner top corner sits a little outside which aims the headlught to ground but can't notice it that much. Since grilles are tucked in inside
Joined: Sep 2008
Posts: 78,249
Likes: 20,202
Taking the bumper off makes the install so much easier...check out "undying dreams" 's progress thread in the photo gallery, he posted where we cut and where we moved the horns too.
Relocating horns took me about 2 minutes with my impact gun...removed from bracket, rescrewed them to different holes.
We removed the rear casing on the fogs to fit them...since you didn't and already trimmed to fit the whole thing, then you can use the casing and screw directly into it to hold in place. We used a combination of tiewraps and screws to secure his. I don't like doing anything that is as messy and/or permanent as window weld or silicon...
Joined: Sep 2008
Posts: 78,249
Likes: 20,202
When I tried to put the bumper back on, the passenger side didn't wanna slide into place...rear of housing was hitting the front horn. 
Honestly, I don't know if it's cause Austin got the smoked, but once back on the car, you really can't tell there is or isn't a gap. Also, you sure you installed your HID's correctly?!?! The glare seemed fine on his...in addition to the HID's not crossing the cutoff of the oem lows.
http://www.flickr.com/photos/87741887@N07/8628813784/http://www.flickr.com/photos/87741887@N07/8628813784/ by http://www.flickr.com/people/87741887@N07/, on Flickr
Correct, I really dont care about the cut off since I have the fogs mainly for looks. I have my stock fogs wired independently so I can use those if needs be.
Check out my pics from the previous page and you'll see screws. I screwed the fogs to the housing then screwed the housing to the bumper. That was how I got it to line up almost perfectly.
Check out my pics from the previous page and you'll see screws. I screwed the fogs to the housing then screwed the housing to the bumper. That was how I got it to line up almost perfectly.
I have the smoked one too. HID line is pretty low, can see it but glare goes up on top of the zkw on mine.
What do you mean installed the HIDs corretly? Plug in was only one way. I checked
Does Austin have zkw? It's not much glare that I guess wouldn't be able to notice with stock lenses. But since zkw, top of cutoff is totally dark
What do you mean installed the HIDs corretly? Plug in was only one way. I checked
Does Austin have zkw? It's not much glare that I guess wouldn't be able to notice with stock lenses. But since zkw, top of cutoff is totally dark
Instructor
Joined: Sep 2011
Posts: 122
Likes: 50
From: Brampton, Ontario
NOT A FAN OF THE WAY U DID IT. WANT TO GO FOR THE OEM LOOK. BUT GOOD JOB, SHOW US HOW U SECURED THEM FROM THE BACK! OR ANYONE WHO CAN PROVIDE PICS. I SEEN A GUY USED A HANDFULL OF SILICONE  NOT TRYING TO GO THE SILICONE WAY EITHER


 NOT TRYING TO GO THE SILICONE WAY EITHER
Joined: Sep 2008
Posts: 78,249
Likes: 20,202
Yeah really...
How I read that:
"Looks like total sh*t...show me what I want to knowww!!!"
Dave, you already know my stance on the grills...but you're my CSL buddy so I'll refrain.
Love how they flow...
about where to screw, fellas...there's no right/wrong way to do this...it's a custom mod. Take bumper off, and it'll be pretty apparent where you can or can't throw a screw in to hold it. I can say that I did use a screw directly into the most outer of the 2 little nipples that clip into place into the rear casing. If you decide to cut out enough to have the casing in there, there's no shortage of places to use that to secure...I mean, go buy a few roofing brackets and some sheet metal screws...it'll all work out.
mine are held into place with zip tie. I did it to the piece on the lower grill that clips to the bumper as well as zipping it the bump it self were he had to cut the plastic off. It sits firm and hasn't moved since and I did my share of bottoming out.
Advanced
Joined: Jan 2013
Posts: 63
Likes: 18
From: Twin Cities, MN

Nothing is really holding mine in, they just sit perfect and "snap" in. I cut my holes just big enough so the plastic bracket "hooks" the bumper, nice snug fit, with no movement at all and flush with the grill. Did it all without removing the front bumper, did remove lip though. As for the grill, i cut off the top corner and kept the bottom for the fog light to sit on.
Didn't do any wiring either since i just ran the hid ballast down from my stock fogs and connected them to the new h11 bulbs. I dont like the output on these much but like everyone says, its for looks and to me, this is how our cars should of came from the factory.
And just an FYI. you dont need cutting disc to cut these plastic bumpers, all you need is a drill bit, its easier and more accurate cutting IMO. I have always just used a drill bit to cut my bumpers in my cars.
The last install I did, I used a dremel with a cutting disc while whitetls02 used a drill bit to cut things and it was just TOO messy (think saw dust, but plastic) but it was VERY quick and got the job done lol.
Last edited by guitarplayer16; Apr 16, 2013 at 11:43 PM.
http://www.flickr.com/photos/87741887@N07/8662604320/http://www.flickr.com/photos/87741887@N07/8662604320/ by http://www.flickr.com/people/87741887@N07/, on Flickr
http://www.flickr.com/photos/87741887@N07/8661499655/http://www.flickr.com/photos/87741887@N07/8661499655/ by http://www.flickr.com/people/87741887@N07/, on Flickr
http://www.flickr.com/photos/87741887@N07/8661499655/http://www.flickr.com/photos/87741887@N07/8661499655/ by http://www.flickr.com/people/87741887@N07/, on Flickr

