When you click on links to various merchants on this site and make a purchase, this can result in this site earning a commission. Affiliate programs and affiliations include, but are not limited to, the eBay Partner Network.
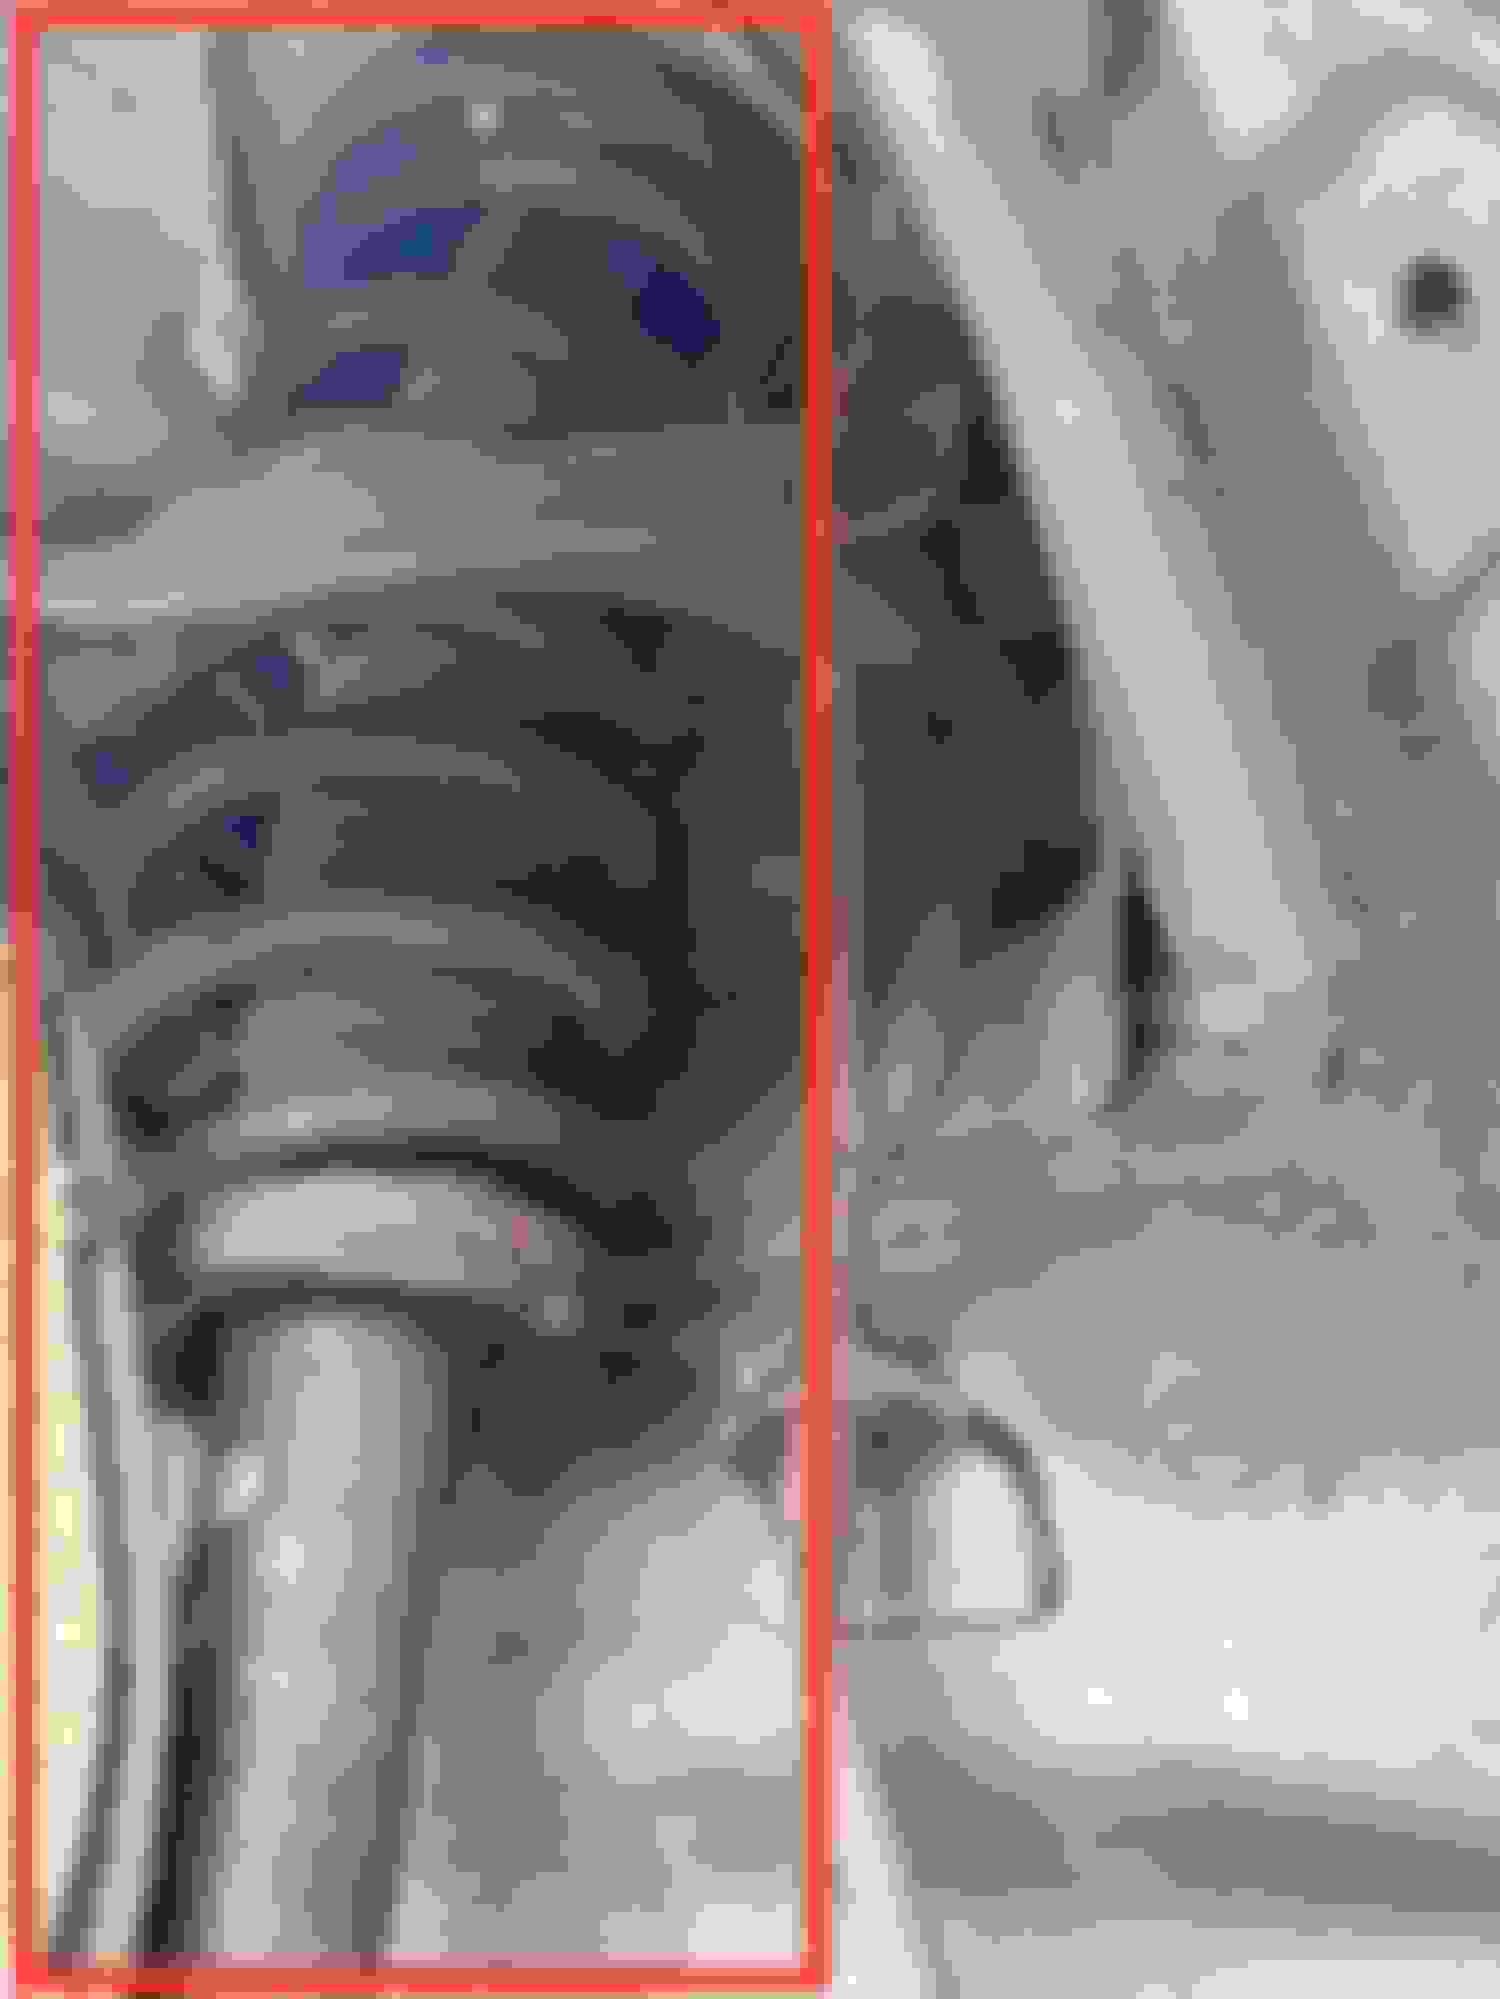
Hi. Just found out the coil spring on the front passenger side broke. How hard or easy to replace the whole front right damper/shock assembly? I searched Acura online and the whole assembly is discontinued
(51601-SEP-A09). Any aftermarket part for this? Thanks.
By the looks of things, I would replace the entire assembly (which is actually easier than just replacing the spring). It can be done with simple hand tools, if I recall correctly....the last time I replaced these was on a civic a couple years ago. You'll want to do both sides, just for the sake of consistency and ride height.
Out of these vendors on Rockauto, I'm unfortunately not familiar with any of them. I'm sure the Monroe or FCS ones are fine though - hopefully someone else can chime in here that has replaced theirs. I believe they are the same across 3.2L 04-08 TLs
In order to replace JUST the spring, the entire shock assembly needs to be removed from the car, and disassembled, which is arguably one of the more dangerous parts of working on cars.
If your competent and comfortable enough with swapping in a non-OEM shock assembly, that's what I'd opt if I were you.
Unlessssss you were planning on lowering the car with aftermarket springs, or better yet coilovers, now would be the perfect time to do so.
Whenever anything on my car(s) breaks, I use it as an excuse to modify or upgrade it, if applicable.
Thanks guys. I have been searching on eBay for a used OEM complete assembly but there are so many part numbers. My part number from the actual assembly is 51601-SEP-A090.
Do you recommend to buy a used OEM from EBay or buy new aftermarket one. I heard aftermarket only last a few months and then it started making noise.
I don't know about anybody else, but personally, I don't like to buy used parts unless that part is hard (preferably metal) and isn't meant to move or move much. In other words, the quality of service that the seller practiced wouldn't hurt this part, so it'll be fine.
The answer totally depends on your budget.
The only specialty tool that you're going to need is a spring compressor, and auto parts stores loan them out. BUT you have to �buy� them, and then you return them and get all your money back. And you have to be super careful because these springs are super powerful and when compressed if they slip out of the compressor they'll take a nose off. It's not hard. You just have to know how to use it properly and be careful.
Good looks, I was about to warn you about just replacing the springs given the visual state of where the dust cap meets the spring seat, it looks pretty rough...let alone the condition of the rest of the strut.
New OEM replacements will put you in the poor house if you're even able to source them. Yes, any of these aftermarket replacements are not going to be 100% on the mark with stiffness and ride comfort, but at the end of the day, you just have to ask yourself if the juice is worth the squeeze on a car this age.
Glad you could find positive reviews for other people that have bought the FCS assemblies - Coincidentally, FCS are the only aftermarket option for the 2G RDX besides the elusive KYB struts, so if you have positive reviews as well for the FCS ones I think I'll end up pulling the trigger on those for our other car.
OP....you'll need a sawzall and cut off wheel, and a handful of new bolts. Buy the bolts from Honda/Acura. Or buy used good ones from eBay. Don't just go to the hardware store if you don't know what to look for in terms of bolts.
You may also need a new LCA to shock bushing. And a new damper fork.
Hopefully not...maybe by some miracle, all this stuff comes apart. But it won't.
Its all fu#&ing rusted, eh
I'm in Columbus, Ohio, so I'm no stranger to corrosion....maybe I'm not remembering this correctly? Unless the assembly is significantly different on the TL, the civic just had a couple bolts on the lower strut, and the three bolts on the bearing plate. That car had around 175k on the odo, it was no show car... and I don't remember running into any issues - I was actually surprised at how easy the job was. If you were referring to actually removing the springs from the struts, yeah that would indeed be damn near impossible with hand tools lol.
*edit* Oh boy, from what I can see, there's no bolts, let alone a bracket on the lower strut for the TL replacement....which may be what you're getting at here.
Last edited by TheSauceBoss; 05-03-2023 at 11:52 AM.
The photos OP sent shows so much rust that a spring broke. OP drives the car in some MASSIVELY salty place.
Not sure when you did this to a civic and/or what year it was.
The TL is a lot like a 88-00 Civic...just bigger.
99% of the time, the "pinch bolt" for the damper fork will be rusted shut into the fork. And the shock fork-to-LCA bolt will be rusted shut into the LCA bushing.
The former requires you to cut off the bolt and buy a new fork.
The latter requires you to cut off the bolt and buy a new LCA bushing.
If OP is lucky asf...he/she won't have to deal with that. But he/she'd have to be one lucky ass mf.
I think the bolt and nut don�t rust that too bad at all.
I will replace the axle when I am replacing the shock assembly. Will see how hard it is to remove the axle without removing the lower ballpoint.
Before you take apart the shock / wishbone, loosen the lower ball joint nut, put jack under the rotor and lift the whole knuckle. Then hit the lower control arm (where it connects with the ball joint) with the hammer.
It should separate easily. If it doesn't want to go you can lift the knuckle with the jack higher. Those ball joints are usually really easy to separate from the control arm.
If cotter pin in rusted in the ball joint, I like to drill them out even before I remove the nut. Metal that those pins are made of is really soft and easy to drill. Or you might be lucky with a pin punch.
thanks for the tip! What is your approach if you were to replace the shock assembly and axle at the same time? In which order would you do first (removing and installing)?
If I didn't forget about anything it would go somewhat like:
1. Remove the axle nut and make sure that you can slide out / hammer out axle out of the hub. (if you see it move slightly that is good enough to proceed)
2. Make sure that pinch bolt (wishbone to the shock) and bolt holding wishbone to lower control arm (LCA) can be removed. but don't remove them all the way. It might be better to tighten them back slightly. If any of them stuck then you might need more parts & torch.
3. Separate lower ball joint and tie rod end. Leave nuts on when smashing with hammer to protect the threads (as you are reusing bj and tie rod). if reusing parts, hit knuckle/control arm to separate, not the threaded portion.
4. Then you can slide out the axle all the way when lifting the knuckle up and toward you, having it turned at the same time. Be careful around the ABS cable. Probably good idea to remove caliper and brake rotor too - knuckle will be lighter and you will have less stuff in front of your face.
5. Then work on separating the wishbone from the shock. you need to remove wishbone to remove the axle anyways. When pinch bolt and bolt holding it to the lower control arm is removed, just hit the wishbone down with the hammer. If it bottoms out on the axle you might need to push the LCA down with some pry bar.
6. Without wishbone, removing rest of the shock should be easy.
7. Without shock, remove axle It will give you more space so less chance of damaging the trans seal if you don't want to replace it. You will need pry bar to get it out of the trans, and maybe some pan to catch any trans fluid that might leak out.
If some bolt doesn't want to go, I always heat them. Spraying with PB/WD40/others help when bolt is lose and you can turn it, but when it's rusted stuck then heat is your best buddy.
Good luck.
That is wonderful! Thank you! This is my mom car and I used her car once in a while when my 2011 MDX is down. I rarely do any major work on the TL other than changing brake and rotors so I am not so familiar. However, on my MDX I did a LOT of works like replacing engine mount, front/rear shock, prop shaft, fromt axle, camshaft replacement, timing belt and my recent project is engine rebuild. Here is my MDX engine rebuild if you are interested:
If I recall correctly, on OEM shocks, the springs are cut at a slightly different shape to conform to the orientation of the top hats, differentiating the associated parts "left" or "right" side. On aftermarket replacements like this, they *should* be universal, and you should be fine.
If I recall correctly, on OEM shocks, the springs are cut at a slightly different shape to conform to the orientation of the top hats, differentiating the associated parts "left" or "right" side. On aftermarket replacements like this, they *should* be universal, and you should be fine.
thanks. Just want to make sure there is no surprise after removing everything and find out one the side doesn�t fit.
For sure - I always compare the part coming out to the part going in while I have them side by side just to be sure as well.
Now I am waiting for the APWI axles from rockauto and install everything at once on both sides and then do the alignment. At first I thought I was going to install the shock assemblies only and I am good to go and then I noticed my passenger side axle rusted so bad at the rubber harmonic balancer and according to people on this forum it could snapped at any movement so I decided to replace everything at once. Thanks! I am kinda disappointed to replace these OEM axles because there is no leak and no clicking sound.
Now I am waiting for the APWI axles from rockauto and install everything at once on both sides and then do the alignment. At first I thought I was going to install the shock assemblies only and I am good to go and then I noticed my passenger side axle rusted so bad at the rubber harmonic balancer and according to people on this forum it could snapped at any movement so I decided to replace everything at once. Thanks! I am kinda disappointed to replace these OEM axles because there is no leak and no clicking sound.
Definitely a good time to be doing everything at once. The hardest part of both jobs for me was during axles, removing the ball joints from the LCA, but many people have had easy success by just wailing on them with a sledgehammer. Hope that's the case for you.
There have been one too many people here including myself that had their axles fail due to major corrosion under the harmonic balancer on the axle shaft, potentially putting you in a very dangerous situation, as your car is suddenly and absolutely immobile. The harmonic balancer hides the point of failure - there are many pics of people's shafts either broken or hanging on by a thread of metal. Consider yourself simply on top of things for changing it out preventatively. The APWi's are as smooth as butter, for what it's worth. My OEM one, with 206k on it for reference:
That is wonderful! Thank you! This is my mom car and I used her car once in a while when my 2011 MDX is down. I rarely do any major work on the TL other than changing brake and rotors so I am not so familiar. However, on my MDX I did a LOT of works like replacing engine mount, front/rear shock, prop shaft, fromt axle, camshaft replacement, timing belt and my recent project is engine rebuild. Here is my MDX engine rebuild if you are interested:
Man, if you can strip down and rebuild an engine, these axles and coilovers should be child's play.
it�s all about having the right tools for the job and confidence. I had done so much major maintenance works on the MDX and I get used to it. As for the TL I don�t spend a lot of time doing maintenance on it because it�s not my daily car.
Maybe. If you get enough leverage on the lower control arm (or if your LCA bushings are shot) then you should be able to (still will need to disconnect upper ball joint and tie rod end). But again, lower ball joint is probably easiest one to separate.
Maybe. If you get enough leverage on the lower control arm (or if your LCA bushings are shot) then you should be able to (still will need to disconnect upper ball joint and tie rod end). But again, lower ball joint is probably easiest one to separate.
I will try the lower ball joint. On my MDX I don�t have to remove the lower ball joint to replace the axle. I just removed the end link, tie rod and the two bolts hold the shock assembly.
thanks
Finished the front passenger side axle and shock installation. I managed to remove the sway bar end link without any problem (or damage). The reason it was easy because 3 years ago I replaced the end link with OEM and I applied generous amount of anti-zieze on the bolt and nut because from my experience the end link is PITA to remove. I removed the lower ball joint and the steel sleeve popped out with the ball joint (both driver and passenger side) and it went in as easy as it popped out.
I am still working on the front driver side (got all the nut and bolts loose up) however , I don�t have a flat 90 degree pry bar to pop out the axle. So tomorrow I am heading to Home Depot to get one.
Right on! Glad it wasn't all rusted shut. Seems like you were smart enough to anti-seize things when you had them apart in the past.
I thought the same, man. People often gloss over preventative maintenance, but that is something I can be very OCD about. Why let it be difficult for next time, if there is a next time? And if there isn't a next time, what have you lost? A tiny bit of grease. And yes, I buy in that shit in bulk. Haha.

 05-02-2023, 11:02 AM