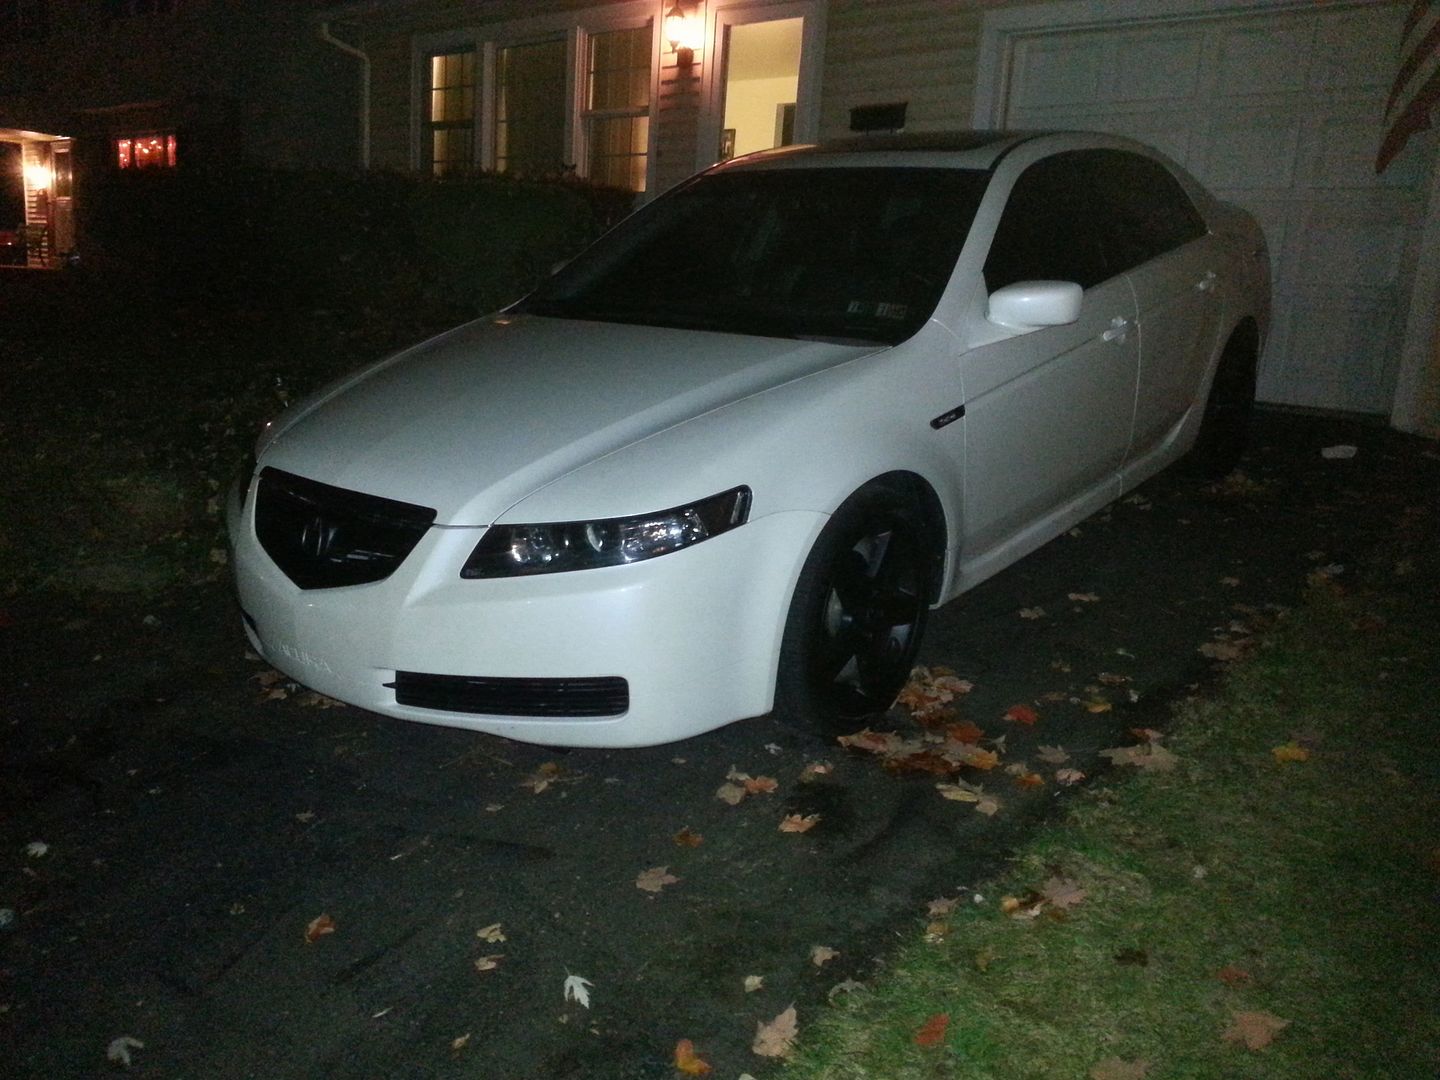
DIY: HELP W/Clear headlight corners (Upload your custom clear headlight pictures plz)
#1
Just wanted to apologize before I ask for help. I know a ton of you guys will say use the search feature... I been using that, but the posts are so old the pictures don't show up.
I seen this one https://acurazine.com/forums/3g-tl-2004-2008-93/diy-blacked-cleared-headlights-3g-garage-g046-589746/ with some pics.
I have a couple questions to ask if anyone can chime in on it please.
And also I would appreciate it if you could upload pictures of how you did your own head lights for some ideas. (I want to blacken out the head lights and remove the orange reflector and put in maybe the type s reflector instead)
Things to buy?:
I seen DIY on removing the front bumper so I wont need a link for that one.
Had a couple more questions...

I seen this one https://acurazine.com/forums/3g-tl-2004-2008-93/diy-blacked-cleared-headlights-3g-garage-g046-589746/ with some pics.
I have a couple questions to ask if anyone can chime in on it please.
And also I would appreciate it if you could upload pictures of how you did your own head lights for some ideas. (I want to blacken out the head lights and remove the orange reflector and put in maybe the type s reflector instead)
Things to buy?:
- Engine paint BLACK [ For the blackening out part... If I paint match with the oem paint, will it be affected since the lights will heat up a little? ]
- Blue metallic paint [ For ring around projector ]
- Some kind of black epoxy to seal it RTV waterproof/weatherproof silicon sealant
- Switchbacks blinker lights (Does anyone have any links/pics of their switchback blinker lights)
- Clamps to reseal housing
- Gloves
- "Maybe angel eyes" but I seen people saying it was hard so maybe scratch that?! Lol (Links/pics?)
- I seen people posting about changing out the glass on the projectors? Can anyone add any input on that mod? Since I'm opening the head lights up might as well do it all one time? (Links/pics?)
- Type s clear reflector
- CF vinyl
I seen DIY on removing the front bumper so I wont need a link for that one.
Had a couple more questions...
- How hard is this project?
- If I seal the head lights with the epoxy is there a high chance it will have rain leak inside and have it fog up?
- Whats the prices you paid to have this all done (if you payed to have yours done and also who did them?)
- Do people do the LED strip in the head light still? I heard they sometimes go out? If that's the case I wouldn't want to waste time putting them in?
- If I bought the type s clear reflector to put instead of the orange, will it fit in my 04 head lights without grinding it down (Also how much does it cost & where to get this at?) Links?? [I see people just take out the orange part and don't put the clear inside, but I might like it with the clear reflector inside]

#2
#3 = Nissan Butyl Rubber. Search that. Best sealant ever.
Here's mine with clear corners and black internals: https://acurazine.com/forums/3g-tl-photograph-gallery-96/blackd-out-headlights-ii-712769/
(Nissan Buytl Rubber part number in post #26)
Here's Kennedy's Headlight Thread: Creating the perfect TL headlight... Another headlight clearing adventure... (edit: nm, looks like Kennedy took down all his pics .... )
)
As far as opening the headlights, etc., just follow the DIY you linked in your original post. Works perfectly .... been used hundreds of times.
Overall it's easier than it sounds or seems like. Really not hard at all; just be patient and make sure the inside lens of the headlight is pristine before you put everything back together.
Here's mine with clear corners and black internals: https://acurazine.com/forums/3g-tl-photograph-gallery-96/blackd-out-headlights-ii-712769/
(Nissan Buytl Rubber part number in post #26)
Here's Kennedy's Headlight Thread: Creating the perfect TL headlight... Another headlight clearing adventure... (edit: nm, looks like Kennedy took down all his pics ....
 )
)As far as opening the headlights, etc., just follow the DIY you linked in your original post. Works perfectly .... been used hundreds of times.
Overall it's easier than it sounds or seems like. Really not hard at all; just be patient and make sure the inside lens of the headlight is pristine before you put everything back together.
Last edited by Bearcat94; 11-10-2012 at 08:18 PM.
#4
Thank you! Yours came out nice! If I can't find it locally would you suggest me wait and order it online or just get the black RTV. I can only find the RTV locally in Hawaii...
#3 = Nissan Butyl Rubber. Search that. Best sealant ever.
Here's mine with clear corners and black internals: https://acurazine.com/forums/showthread.php?t=712769
(Nissan Buytl Rubber part number in post #26)
Here's Kennedy's Headlight Thread: Creating the perfect TL headlight... Another headlight clearing adventure... (edit: nm, looks like Kennedy took down all his pics .... )
)
As far as opening the headlights, etc., just follow the DIY you linked in your original post. Works perfectly .... been used hundreds of times.
Overall it's easier than it sounds or seems like. Really not hard at all; just be patient and make sure the inside lens of the headlight is pristine before you put everything back together.
Here's mine with clear corners and black internals: https://acurazine.com/forums/showthread.php?t=712769
(Nissan Buytl Rubber part number in post #26)
Here's Kennedy's Headlight Thread: Creating the perfect TL headlight... Another headlight clearing adventure... (edit: nm, looks like Kennedy took down all his pics ....
 )
)As far as opening the headlights, etc., just follow the DIY you linked in your original post. Works perfectly .... been used hundreds of times.
Overall it's easier than it sounds or seems like. Really not hard at all; just be patient and make sure the inside lens of the headlight is pristine before you put everything back together.
#6
Yep, exactly. Just get it at the local Nissan parts desk.
Mine are completely clear corners. Honestly, not sure I would recommend that. It looks OK, but I think it makes hard for people to see my front turn signal in the daytime.
#7
Might as well as buy some zkw-r clear lenses.
This stuff is a little better than the Nissan butyl
http://shop.lightwerkz.net/Koito-Butyl-Rubber-Sealer
Clear lenses:
http://www.theretrofitsource.com/pro...roducts_id=136
This stuff is a little better than the Nissan butyl
http://shop.lightwerkz.net/Koito-Butyl-Rubber-Sealer
Clear lenses:
http://www.theretrofitsource.com/pro...roducts_id=136
Trending Topics
#8
The bulk of the heat is in the projector, so I can't see any harm in using regular paint on the trim, I just used Krylon Fusion so it bonded well to the plastic and I've seen plenty of other lights that are color matched with regular paint. Definately do the lens upgrade while you're in there, you can get new ZKW's for $40 or the value ones for $25 from the retrofit source, I got the values, there's a chip on the edge of the lens where it seats, you can't see it installed so no harm and saved a few bucks. IMHO there's no FWD Japanese BMW's, skip the angel eyes, they're out of place. I've never used the butly tape so I can't input on that, I used plain old Permatex silicone, I did a retrofit in the past and used the high temp one on the internal parts and regular around the edge of the lens, zero issues. Remember you'll still have a lot of the stock adhesive left, it will readhere with a little heat but it's a good idea to give it an extra bead. You'll see when you get the headlight out, you can't see the edges of the lens once it's on the car so it doesn't have to be pretty either as long as it doesn't leak. If you don't have any spring clamps, just get a couple big cheap ones and clamp where you can. I used a heat gun instead of the oven method, just went around slowly and used a few flat heads to pry it apart. Same putting it back together, put in an extra line of silicone just in case, sat the lens in, clamped it, and went back around with the heatgun to get the old adhesive hot, left it clamped for an hour or so til everything was dry to the touch, no issues. Gloves are a good idea while painting and handling the bulbs and lenses, don't have to worry about finger prints, just get some cheap nitrile ones. Overall it's not a bad project, I had everything back on the car by the end of the night, just be cafeful with the plastic trim inside, it's pretty fragile. When I removed my reflectors, the chrome strip separated easy on one side, on the other it cracked, then cracked around the outside edge. I wound up removing the strips and glued the outside back together before I painted it so all is good. I will admit they look better with the clear diffusers, but I wasn't about to spend $100+ on just that part so I left it without.
Here's a few pics if it helps, sorry they're a little blurry but at least you can get an idea what they look like inside.
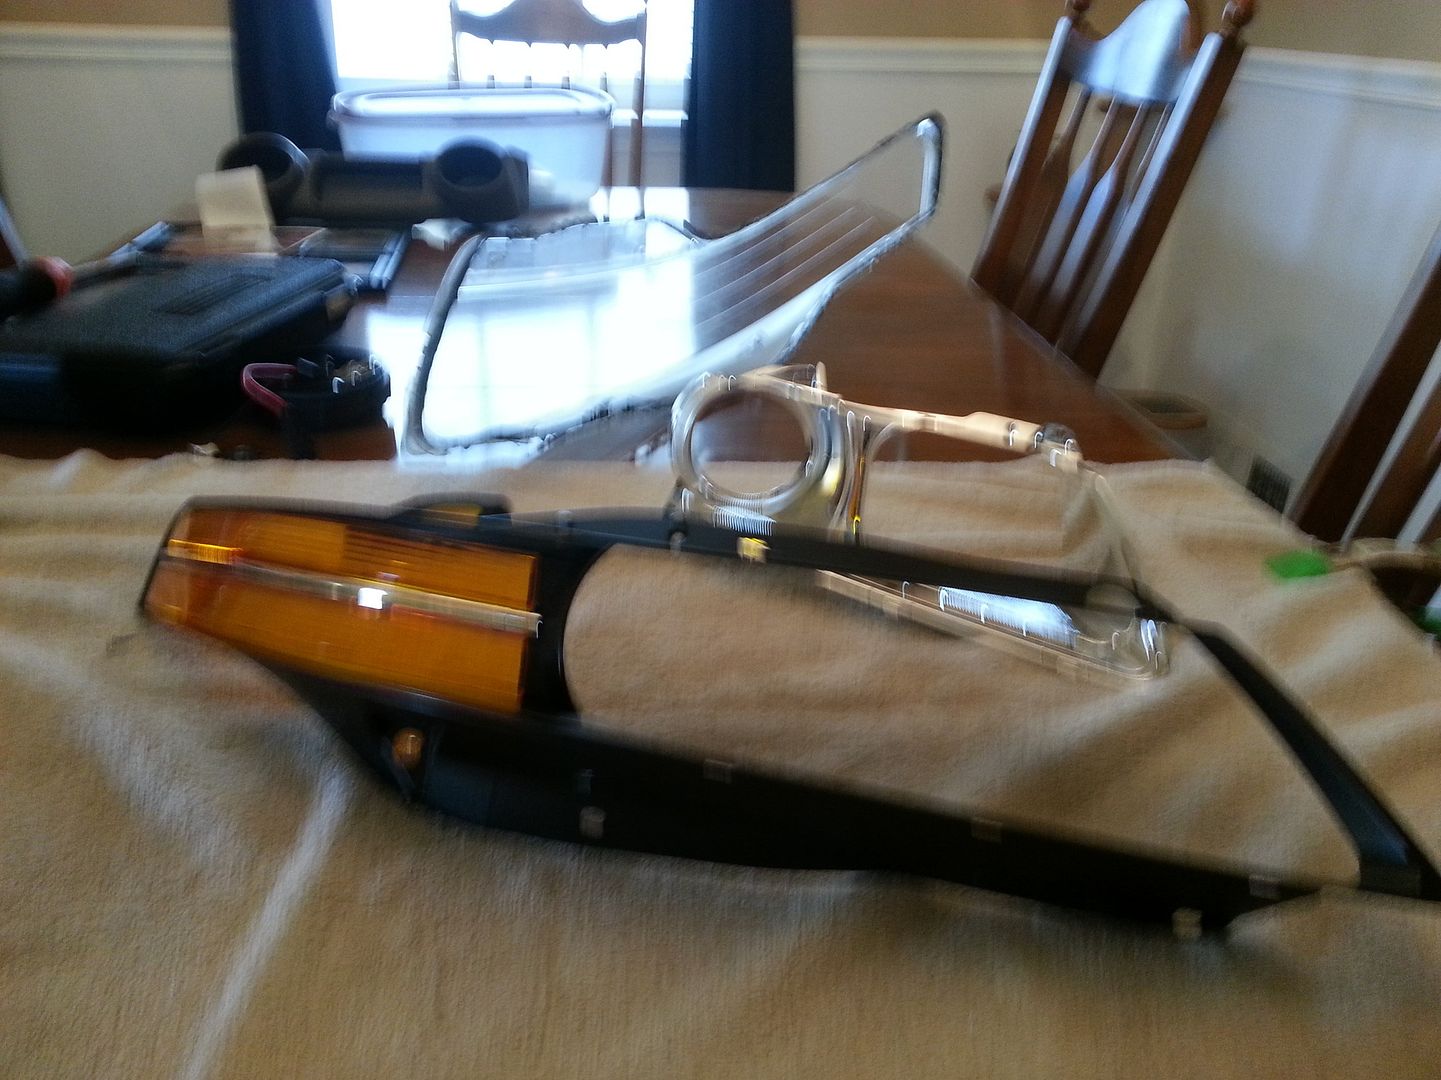
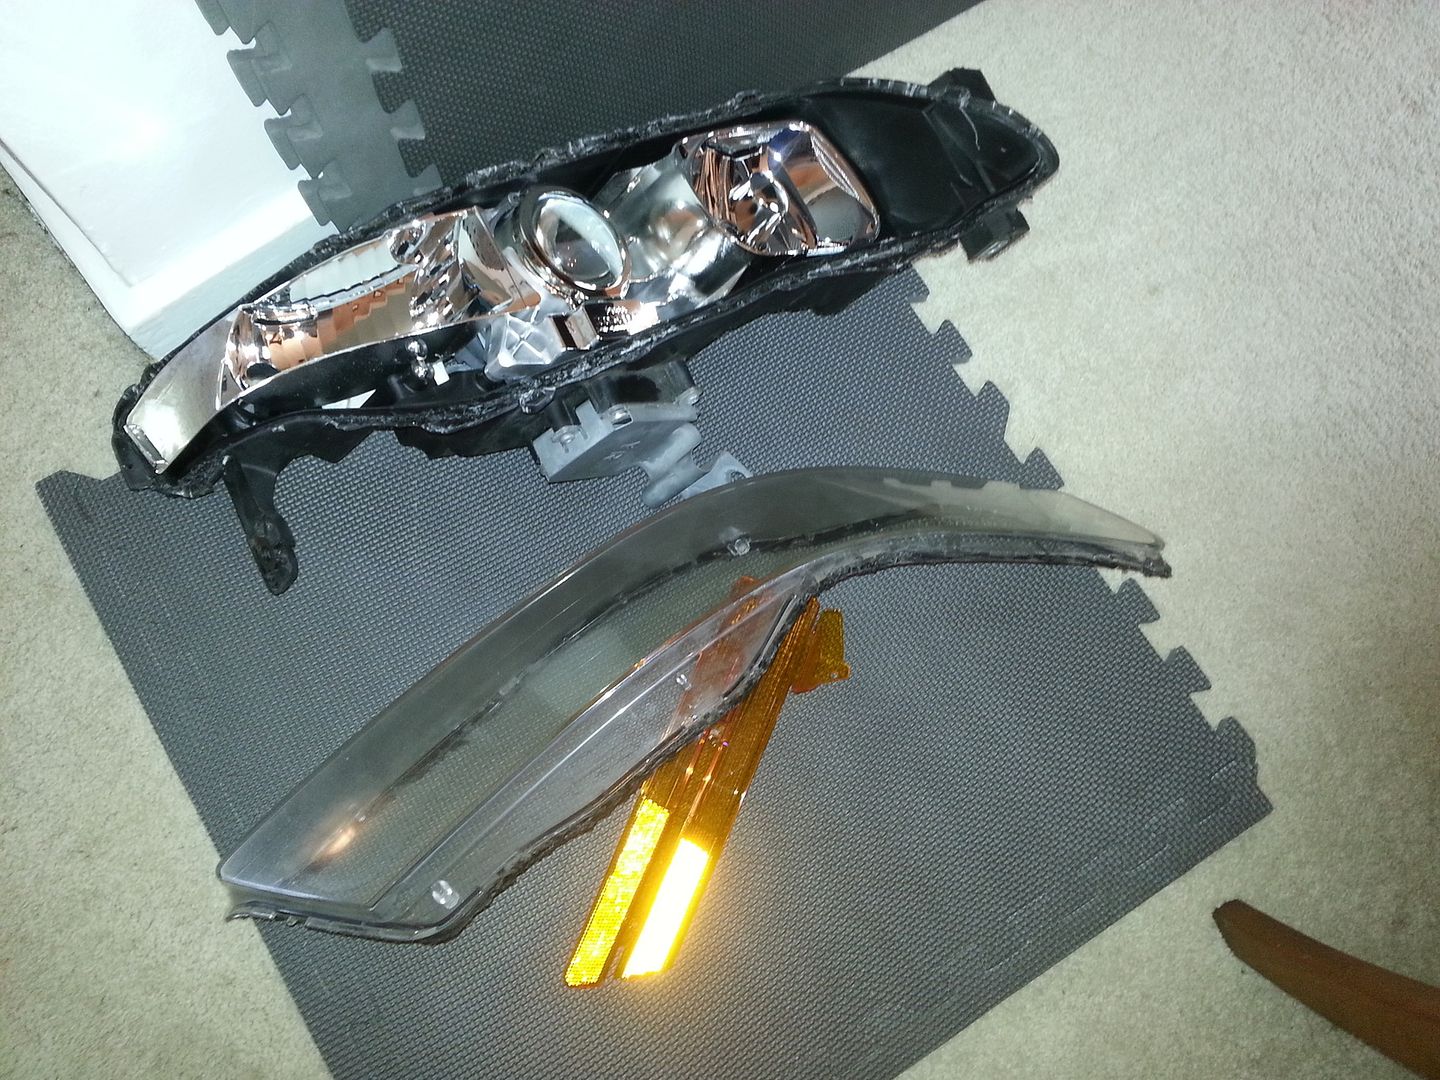
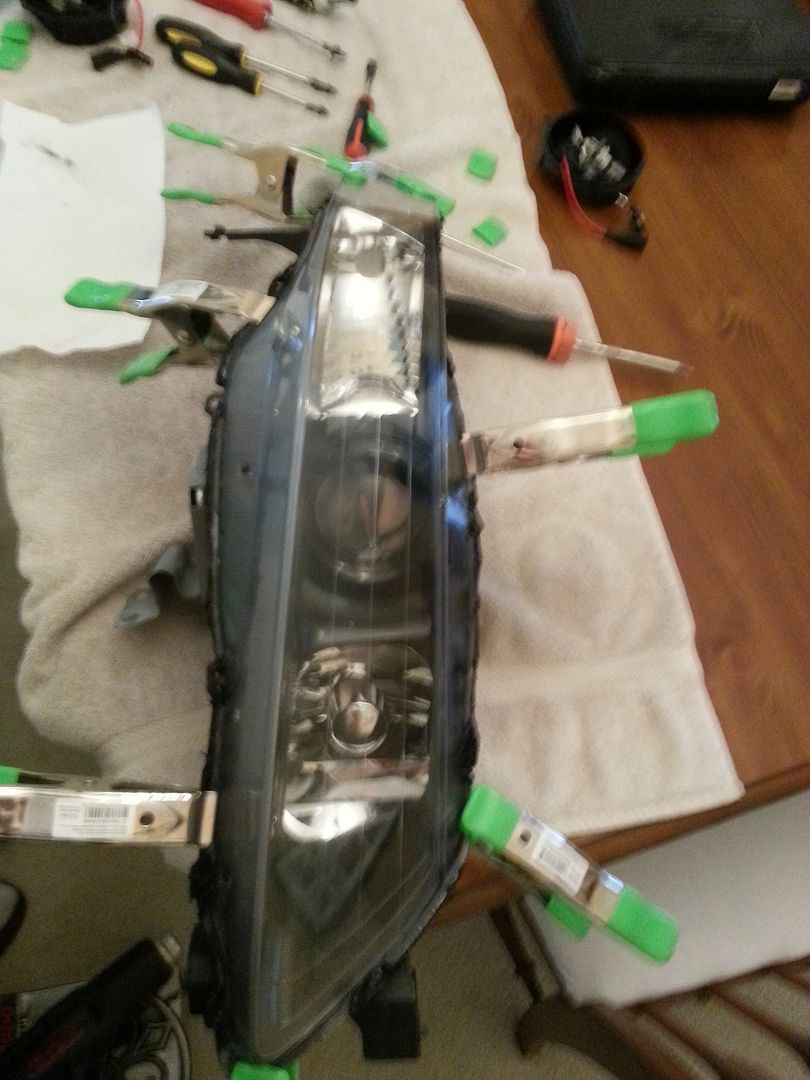
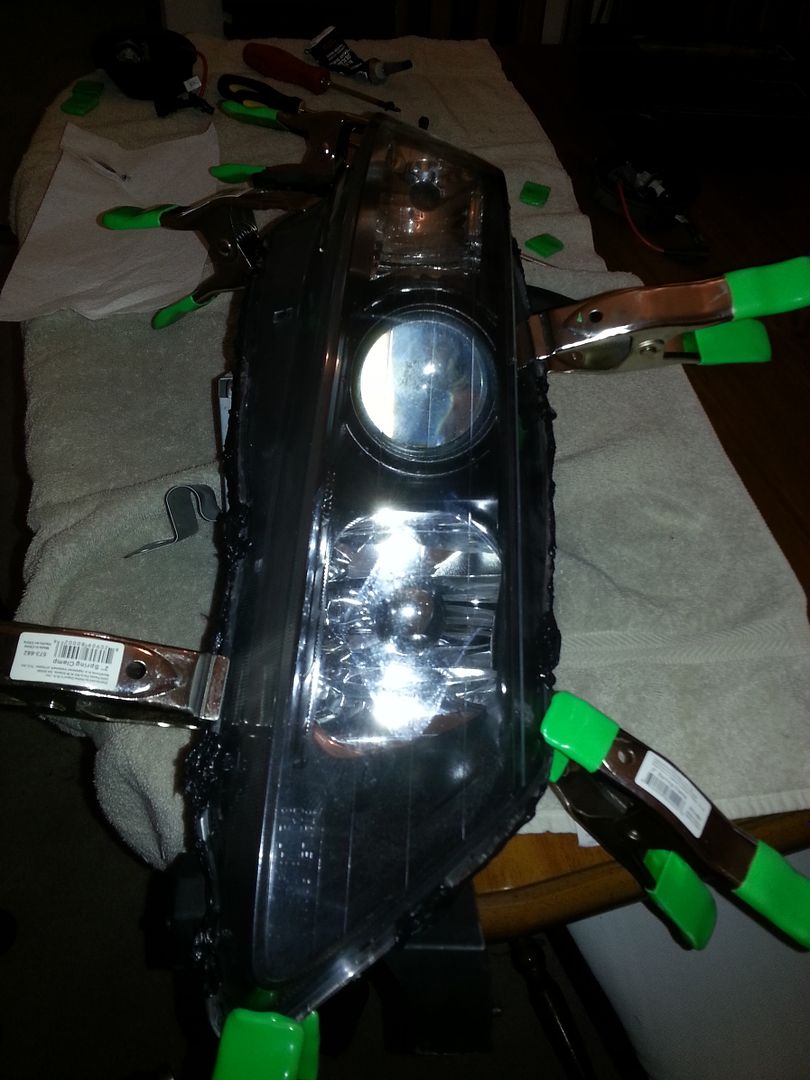
Here's a few pics if it helps, sorry they're a little blurry but at least you can get an idea what they look like inside.


#9
Ohhh I see. Looks good either way  Ill try look around. If I can get a good deal ill probably get them. Am I going to have to adjust the lights after? To make it line up straight
Those lenses look nice, will I have to adjust head lights because I took them out also put new lens in?
The ZKW's are nice, thank you for the pics and the advice.
If I do all this to the lights and the lens am I going to have to adjust the lights after? To make it line up straight
 Ill try look around. If I can get a good deal ill probably get them. Am I going to have to adjust the lights after? To make it line up straight
Might as well as buy some zkw-r clear lenses.
This stuff is a little better than the Nissan butyl
http://shop.lightwerkz.net/Koito-Butyl-Rubber-Sealer
Clear lenses:
http://www.theretrofitsource.com/pro...roducts_id=136
This stuff is a little better than the Nissan butyl
http://shop.lightwerkz.net/Koito-Butyl-Rubber-Sealer
Clear lenses:
http://www.theretrofitsource.com/pro...roducts_id=136
If I do all this to the lights and the lens am I going to have to adjust the lights after? To make it line up straight
The bulk of the heat is in the projector, so I can't see any harm in using regular paint on the trim, I just used Krylon Fusion so it bonded well to the plastic and I've seen plenty of other lights that are color matched with regular paint. Definately do the lens upgrade while you're in there, you can get new ZKW's for $40 or the value ones for $25 from the retrofit source, I got the values, there's a chip on the edge of the lens where it seats, you can't see it installed so no harm and saved a few bucks. IMHO there's no FWD Japanese BMW's, skip the angel eyes, they're out of place. I've never used the butly tape so I can't input on that, I used plain old Permatex silicone, I did a retrofit in the past and used the high temp one on the internal parts and regular around the edge of the lens, zero issues. Remember you'll still have a lot of the stock adhesive left, it will readhere with a little heat but it's a good idea to give it an extra bead. You'll see when you get the headlight out, you can't see the edges of the lens once it's on the car so it doesn't have to be pretty either as long as it doesn't leak. If you don't have any spring clamps, just get a couple big cheap ones and clamp where you can. I used a heat gun instead of the oven method, just went around slowly and used a few flat heads to pry it apart. Same putting it back together, put in an extra line of silicone just in case, sat the lens in, clamped it, and went back around with the heatgun to get the old adhesive hot, left it clamped for an hour or so til everything was dry to the touch, no issues. Gloves are a good idea while painting and handling the bulbs and lenses, don't have to worry about finger prints, just get some cheap nitrile ones. Overall it's not a bad project, I had everything back on the car by the end of the night, just be cafeful with the plastic trim inside, it's pretty fragile. When I removed my reflectors, the chrome strip separated easy on one side, on the other it cracked, then cracked around the outside edge. I wound up removing the strips and glued the outside back together before I painted it so all is good. I will admit they look better with the clear diffusers, but I wasn't about to spend $100+ on just that part so I left it without.
Here's a few pics if it helps, sorry they're a little blurry but at least you can get an idea what they look like inside.
Here's a few pics if it helps, sorry they're a little blurry but at least you can get an idea what they look like inside.
Thread
Thread Starter
Forum
Replies
Last Post
handsom-hustla
Car Parts for Sale
70
11-13-2015 05:04 PM


