
Bumper / Grill Progress

Thread Starter
Instructor
Joined: Nov 2010
Posts: 186
Likes: 5
From: Corona, CA
Bumper / Grill Progress
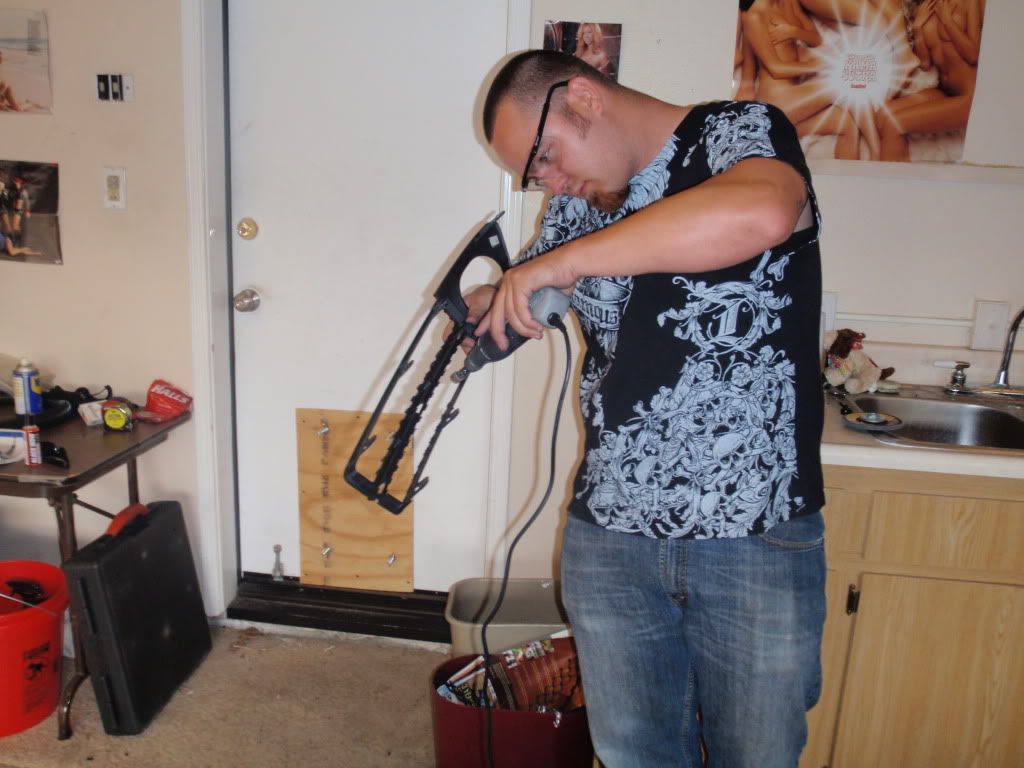
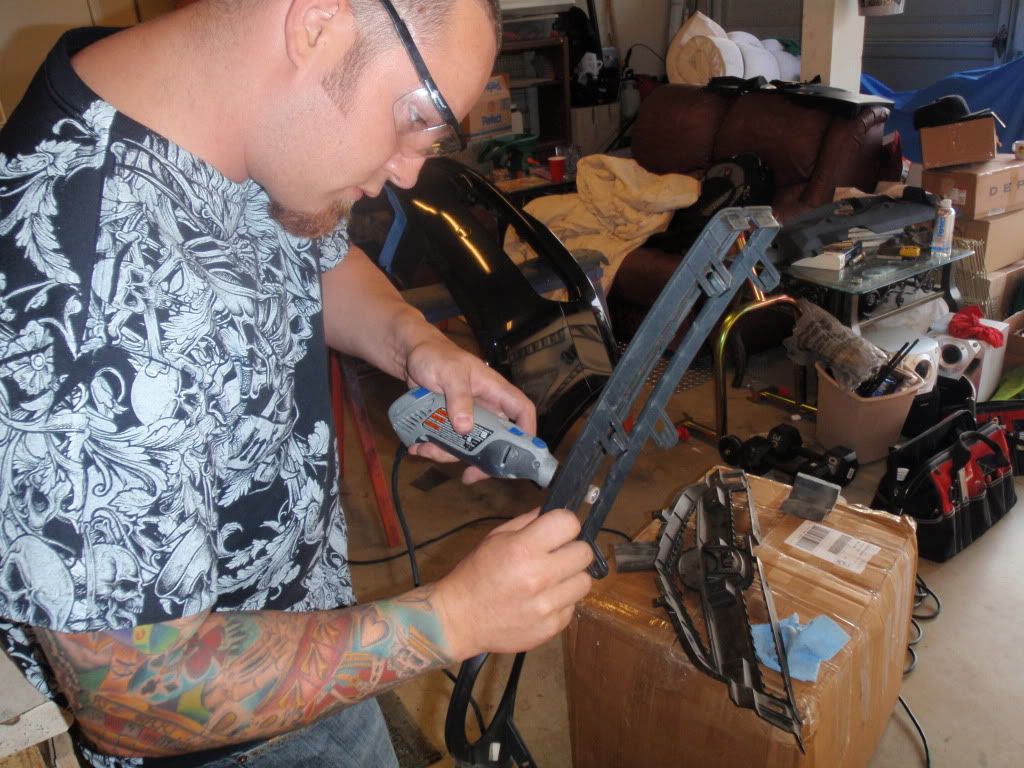
I have been working on my bumper for some time now something close to a few DIY's and what not but I wanted to keep the "stock look" Just cutting out the nasty plastic honey combs, and replacing it with diamond mesh. As well as blacking out all the Chrome minus the chrome strips by the fogs and the Acura emblem. Here are some progress photos as well as a finished.
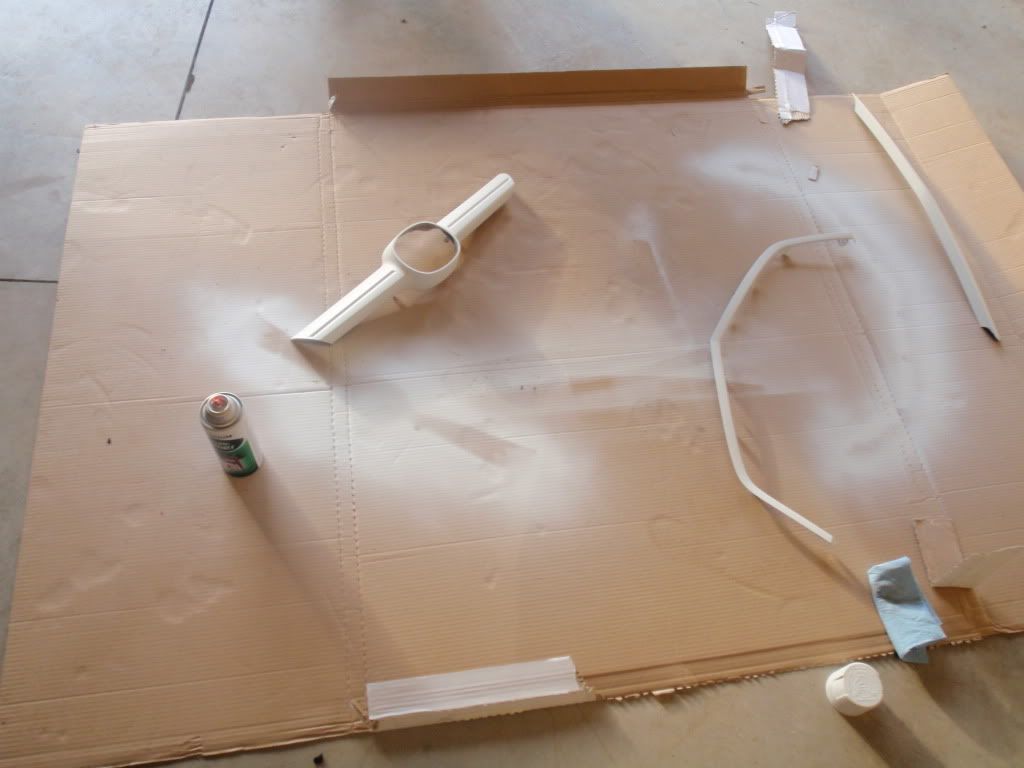
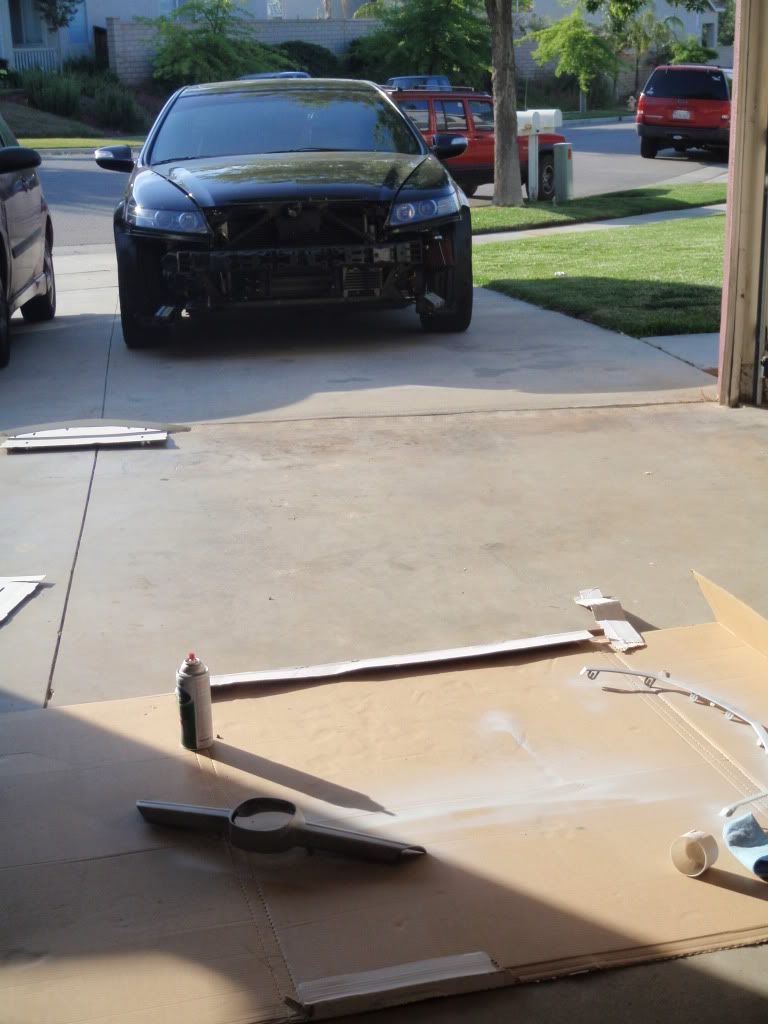
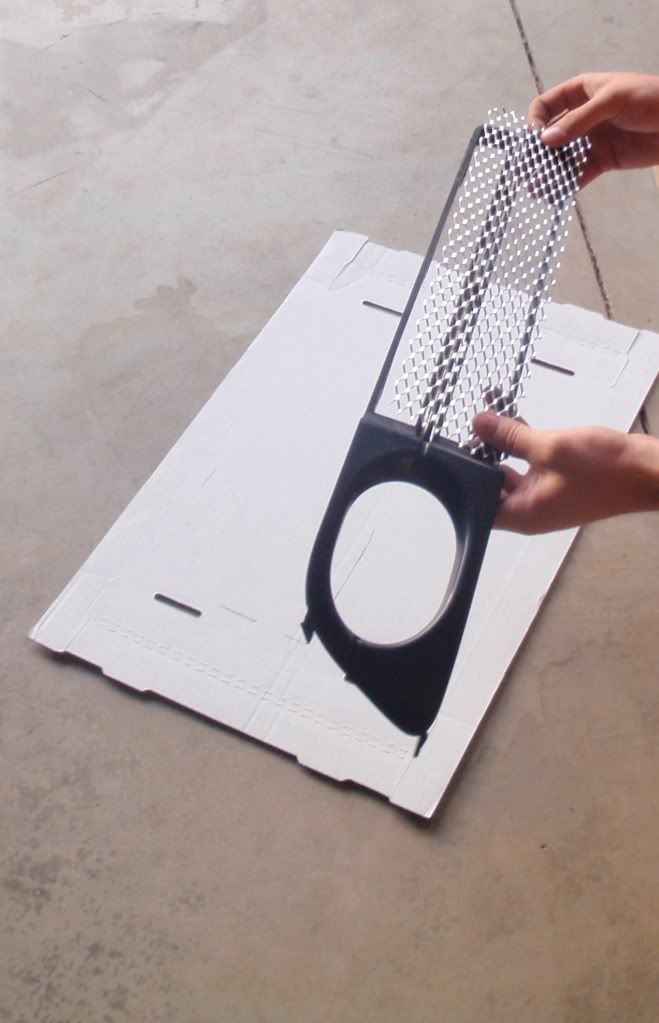
Progress photos, above...
Finished below. Will post more once I put it on the car tomorrow just wanted to get some feedback on what everyone thought

Progress photos, above...
Finished below. Will post more once I put it on the car tomorrow just wanted to get some feedback on what everyone thought

Thread Starter
Instructor
Joined: Nov 2010
Posts: 186
Likes: 5
From: Corona, CA
Thanks guys!
I did end up painting the mesh Gloss black. I also had my bumper repainted NBP along with a few other bumper inserts. Both lowers fog casings, Chrome bar, and Chrome "U" piece.
For the mesh, I used primer 3 coats and 3 coats of gloss black. To hold it all in place I used JB Weld on the back side. Very strong and is not going anywhere! I can snap a few shots to show that.
As for a DIY, I don’t have all of my progress photos however I could do a write up of what all is needed. It would be your choice to get it paint matched and or paint the parts yourself. I suggest taking the chrome parts to a painter because of the metal overlay Acura used on our parts is hard to paint.
Last edited by xtmslyy00; Jul 18, 2011 at 10:09 AM.
www.colradodetail.com
Joined: Jul 2009
Posts: 370
Likes: 12
From: Aurora CO
Thanks guys!
I did end up painting the mesh Gloss black. I also had my bumper repainted NBP along with a few other bumper inserts. Both lowers fog casings, Chrome bar, and Chrome "U" piece.
For the mesh, I used primer 3 coats and 3 coats of gloss black. To hold it all in place I used JB Weld on the back side. Very strong and is not going anywhere! I can snap a few shots to show that.
As for a DIY, I don�t have all of my progress photos however I could do a write up of what all is needed. It would be your choice to get it paint matched and or paint the parts yourself. I suggest taking the chrome parts to a painter because of the metal overlay Acura used on our parts is hard to paint.
and who did you use?
Trending Topics


www.colradodetail.com
Joined: Jul 2009
Posts: 370
Likes: 12
From: Aurora CO

Thread Starter
Instructor
Joined: Nov 2010
Posts: 186
Likes: 5
From: Corona, CA
Sorry guys, I know I have been MIA, but I have been flying a lot lately with my company! Anyways here are the finished photos as well as my new struts and springs...


Thanks man! & there you go!
Thank you, I do not like half asked. When it comes to my baby I am VERY PICKY...
I got the car used, it had to have been leased... the bumper was very rough... plus the guy had ran the front license plate holder into the wall... I used a heat gun and got rid of the indents. I was impressed with how well that worked. 
Thanks everyone else! let me know what you guys think!
Klexicon
When I read how you were going to do the diamond mesh I wasnt so sure but after seeing the pictures it looks great! I'm interested in seeing a day shot of this.
When I read how you were going to do the diamond mesh I wasnt so sure but after seeing the pictures it looks great! I'm interested in seeing a day shot of this.
Steven Bell
Wow-it looks like you're really taking your time and doing it right.
Wow-it looks like you're really taking your time and doing it right.
guitarplayer16
Great effort, it's looking good.
Repainted bumper already on a 08? lol
Great effort, it's looking good.
Repainted bumper already on a 08? lol
Thanks everyone else! let me know what you guys think!
Thread Starter
Instructor
Joined: Nov 2010
Posts: 186
Likes: 5
From: Corona, CA

Thread
Thread Starter
Forum
Replies
Last Post
MrHeeltoe
1G TSX Tires, Wheels, & Suspension
20
Feb 23, 2023 01:54 PM
MrHeeltoe
2G TSX Tires, Wheels & Suspension
3
Sep 29, 2015 10:43 PM