When you click on links to various merchants on this site and make a purchase, this can result in this site earning a commission. Affiliate programs and affiliations include, but are not limited to, the eBay Partner Network.
Sharing my experience with GROM Vline2. Even though not advertised to fit 2020 model, I purchased a Vline2 several months ago. A valuable addition to the RLX, but a somewhat tortured path to functionality that is not yet fully completed. Before purchase Dmitry from GROM said that it would probably work for 2020 model, although never tested, so I took a chance and bought it.
I installed it with the help of information in an earlier thread here by kRock that dealt with install of a Navtool system. GROM install was very similar, except I found the screws under the radio accessed with socket extension were 8mm, not 10mm. The info on dash disassembly was very valuable.
Unfortunately there was no Vline video. I had a painfully slow troubleshooting exercise that spread over a couple months to fix it. I'll spare all the many steps involved, which took typically one or two days per step due to the email "ticket" system GROM uses. The problem ultimately turned out to be a bent connector pin on the USB wire to the car's stereo that shorted to the outer metallic shield. Dmitry and I had pursued some wrong paths in troubleshooting, assuming there was some difference in the 2020 model USB protocol. I think the extended difficult troubleshooting process here was somewhat of a freak occurrence... there seems no reason for the bent pin that caused all the nonsense. I don't think anyone else would experience this.
After I finally identified the real problem on my own, GROM sent a new USB wire, and that got the Vline2 working.... almost fully. The USB2 connector is the remaining culprit. Android auto works on USB1 only, does not respond on USB2. USB2 provides full charging power for android, unlike USB1 that provides less. I'm waiting for a fully functional replacement unit to be shipped, they said November 10, but I haven't heard anything yet. GROM customer service works, but you need to expect it to be very slow. Patience is tested on a regular basis!
To answer jdpdata's question about the 360 camera, yes it works, but the camera buttons on the console or turn signal lever alone aren't enough. It seems you also have to get out of Vline video mode and back to the car's video with some other method. I hit the pause button on the lower iPod audio screen used by GROM, though there are other ways to do it.
I'm thinking of initiating a request to GROM for a way to get 360 video without the extra step after I get the new unit and complete all the software setup. Maybe if they get enough requests they will improve the 360 camera situation. When driving and you suddenly find yourself wanting added visibility, it is a nuisance to have to hit two buttons.
Thanks so much James for the write up. You are the only person I know that has VL2 in RLX so far. I had GROM VL2 in my Lexus GS 350 which I just sold. Install was straight forward and I didn't experience any major issues. Did have a couple occurrences with BSOD (black screen of death), but GROM seems to have fixed it with many subsequent updates. I was very happy with the unit. I'm hoping for same usability in the RLX. Does VL2 use OEM microphone in RLX or you had to route GROM's mic? Did you do installation yourself or had pro installed. I watch MDX install video which is very similiar to our cars, seems little bit more panels had to be remove than it was in my GS. Kind of nervous to be yanking bunch of panels in a new car.
When I asked about the 360 camera, I meant did the camera function as intended when you put car in reverse. I realize the camera button on dash and turn stalk will probably not work as intended without the extra steps you described, I'm OK with that. In my GS, I did have some minor flickering issues when in OEM infotainment, probably due to a bad cable. It didn't bother me much as I was never in the OEM interface. I always booted direct into VL2. I'm hoping GROM fixed these cabling issues. Seems whoever they are contracting to build these cable harnesses are doing a very poor job soldering cable pins. Poor soldering or bad shielding is probably causing your Video and USB issues. Saw how bad the soldering job was when one member on ClubLexus disassemble his harness. The guy was an electronic engineer and was able to rebuilt everything back properly. I'm nervous to drop $600 on this unit and experience nightmare cable issues.
Please update this thread if you get a new replacement unit. If you could, post up some pictures of your install and where you put the VL2 unit, I assume in glovebox.
Just did a chat with GROM, seems that SKU:HON3VL2 is not fully compatible yet. They're still working out reverse camera issues. What a shame! I won't order until they fix this issue.
Thanks so much James for the write up. You are the only person I know that has VL2 in RLX so far. I had GROM VL2 in my Lexus GS 350 which I just sold. Install was straight forward and I didn't experience any major issues. Did have a couple occurrences with BSOD (black screen of death), but GROM seems to have fixed it with many subsequent updates. I was very happy with the unit. I'm hoping for same usability in the RLX. Does VL2 use OEM microphone in RLX or you had to route GROM's mic? Did you do installation yourself or had pro installed. I watch MDX install video which is very similiar to our cars, seems little bit more panels had to be remove than it was in my GS. Kind of nervous to be yanking bunch of panels in a new car.
When I asked about the 360 camera, I meant did the camera function as intended when you put car in reverse. I realize the camera button on dash and turn stalk will probably not work as intended without the extra steps you described, I'm OK with that. In my GS, I did have some minor flickering issues when in OEM infotainment, probably due to a bad cable. It didn't bother me much as I was never in the OEM interface. I always booted direct into VL2. I'm hoping GROM fixed these cabling issues. Seems whoever they are contracting to build these cable harnesses are doing a very poor job soldering cable pins. Poor soldering or bad shielding is probably causing your Video and USB issues. Saw how bad the soldering job was when one member on ClubLexus disassemble his harness. The guy was an electronic engineer and was able to rebuilt everything back properly. I'm nervous to drop $600 on this unit and experience nightmare cable issues.
Please update this thread if you get a new replacement unit. If you could, post up some pictures of your install and where you put the VL2 unit, I assume in glovebox.
I will try to answer most of your questions. I did the installation myself. I too was worried about removing things, but after reviewing the available info a couple times I built up some confidence. It really isn't too bad. I installed the GROM microphone, since I wasn't sure how much I would be using Vline2 stand-alone, vs with Android Auto that I'm pretty sure doesn't need it.
GROM told me they never had that bent pin thing before, and I tend to believe them. I'm a retired electronics engineer and I have seen a lot, but this was very unusual. It wasn't a solder problem, simply a bent over strip of metal terminal well inside the connector shell. I think it somehow got disturbed after manufacture. Overall cable quality looked good except for the bend on that one pin.
Yes, I put the unit in the glove box, up on that little shelf. I haven't "buttoned it up" yet, pending receipt of my replacement unit. Will post photos when I finish up.
I have confidence GROM will eventually fix all the issues. They just recently moved to Plano TX from Northern California so I'll give them a few months to work out all the kinks. Too bad, as I wanted to purchase during Black Friday, they usually have discounts. Looking forward to seeing your install photos and GROM in action on the RLX. Acura navigation is so horrible, can't wait to get rid of it.
If you think you can get a good discount I would pull the trigger. Hardware should remain the same over time, while you get over-the-air updates as they fix issues in firmware/software.
Yup you're right. Grom VL2 hardware is same for all models. They just update features with frequent software releases. I'll pull trigger when they discount this unit.
GROM is running Black Friday $60 off VL2 with code BLACK20. They rarely discount VL2, this is your chance to save some money if you're interested. Picking up mine today.
@James Wolffe would you please link where you found kRock video for our car dash removal? GROM doesn't have install video for 2020 Acura RLX yet. I need to work up some confidence to remove my dash without breaking any tabs.
@James Wolffe would you please link where you found kRock video for our car dash removal? GROM doesn't have install video for 2020 Acura RLX yet. I need to work up some confidence to remove my dash without breaking any tabs.
The info is in the thread "Apple Carplay and Android Auto into RLX" in this sub-forum. Good luck!
The info is in the thread "Apple Carplay and Android Auto into RLX" in this sub-forum. Good luck!
Be sure to check out the video submitted by slider2828 , 12-15-2018 05:29 AM
in that thread. It shows a right-hand drive car, but is very good at showing how to pull on the panels.
Be sure to check out the video submitted by slider2828 , 12-15-2018 05:29 AM
in that thread. It shows a right-hand drive car, but is very good at showing how to pull on the panels.
Yes, I saw that video. But still confused because it's JDM car RHD. Do you need to take the top LCD screen out to have access to cable or I just need to remove the radio? kRock noted that it was very difficult to remove LCD screen. I'm afraid to break something expensive.
Yes, I saw that video. But still confused because it's JDM car RHD. Do you need to take the screen out to have access to cable? kRock noted that it was very difficult to remove. I'm afraid to break something expensive.
The screen removal is unique to the Navtool system covered in that thread. The GROM setup leaves it alone, with connections for video only at the back of the stereo. A big plus for the vline installation.
The screen removal is unique to the Navtool system covered in that thread. The GROM setup leaves it alone, with connections for video only at the back of the stereo. A big plus for the vline installation.
Ok, thank goodness I don't have to remove the LCD screen.
So going based on slider2828, I've summarized the steps below. Please verify if this is complete and correct:
1. Remove joystick panel by pulling out toward you.
2. Release cable from socket in rear of panel
3. Loosen 2-10mm bolt underneath radio
4.Remove passenger side AC grill
5.Unclip back wire
6.Remove driver side AC grill
7. Unclip back wire
8. Remove 4 philips screws to remove radio
I guess from this point it's where you hook up the VLine2 harnesses and route cables to glovebox to mount the unit. Did you use double-sided Velcro to mount unit to top of glovebox? Did you have to cut a small opening in air filter door to route cables? Where did you mount the mic and GSP antenna?
Sorry for all the questions. I just want to do this right the first time without having to take dash apart again. Detailed instructions will help others in the future.
Yes, that pretty well summarizes it. Exceptions are that the bolts are 8mm, and there are only two philips screws. The driver side panel is a little tricky because of very short wire, you need to jockey it around a little to get your hand in there to disconnect the wire. I haven't yet finalized the installation yet, my car is in the shop due to impact with a deer. I intend to notch that air filter cover in the back of the glove box, and will use velcro to hold the unit. I squeezed the microphone into the little corner by the fuel gauge, and put the GPS antenna on the dash by the passenger A-pillar. The wires are not obvious this way.
Sorry to hear about your deer mishap. Hope the repairs are satisfactory and you be happy with it. I'll do installation next weekend. Will update this thread with photos and maybe I'll do a video. Thanks again for all the help 👍
Sorry to hear about your deer mishap. Hope the repairs are satisfactory and you be happy with it. I'll do installation next weekend. Will update this thread with photos and maybe I'll do a video. Thanks again for all the help 👍
Thanks, in over 50 years on the road, my only deer encounter had to be my all time favorite car. It would be great help to others if you do a video.
Yes, that pretty well summarizes it. Exceptions are that the bolts are 8mm, and there are only two philips screws. The driver side panel is a little tricky because of very short wire, you need to jockey it around a little to get your hand in there to disconnect the wire. I haven't yet finalized the installation yet, my car is in the shop due to impact with a deer. I intend to notch that air filter cover in the back of the glove box, and will use velcro to hold the unit. I squeezed the microphone into the little corner by the fuel gauge, and put the GPS antenna on the dash by the passenger A-pillar. The wires are not obvious this way.
One other element of my installation that I failed to mention. I ordered a C-VTOYUSB Retention Cable from GROM. It extends the USB port in the console compartment all the way into the glove box. It lets you conveniently connect a phone or USB memory stick to a USB jack on the VL2. A nice extra feature for only $12.99.
Thanks for heads up. I actually kept extension USB cable from my previous car. Though I find for some Android phones, if you use an extension cable, Android Auto sometimes doesn't launch. So I always plug straight into VL2 USB port. I prefer the standalone VL2 interface anyways, that's how I usually use it.
The screen removal is unique to the Navtool system covered in that thread. The GROM setup leaves it alone, with connections for video only at the back of the stereo. A big plus for the vline installation.
I know this is irrevelant to the Grom unit but I got the NavTool Ver 6.0 and you do not have to remove the screen anymore and there are no rca cables. All connections are done to the back of the radio. It's been a while since I hooked it up to tell you exactly what cable went where.
With all the talk about fake reviews and multiple BBB complaints about Navtool, it immediately turn me off. Too bad, seems like a good product with horrible support. GROM may not be any better, but at least I know their support will be there 100% if I need them. They're constantly releasing updates to fix bugs and adding new features.
I know this is irrevelant to the Grom unit but I got the NavTool Ver 6.0 and you do not have to remove the screen anymore and there are no rca cables. All connections are done to the back of the radio. It's been a while since I hooked it up to tell you exactly what cable went where.
Thanks for that update. Seems like choosing between Navtool and GROM is even harder now.
@James Wolffe I receive my Vline2 unit and will be doing installation this weekend. Would you please confirm that I will be P-Tapping the PURPLE "rev" wire on MCFHA3 interface cable to PURPLE wire of 24-PIN stereo harness on back of radio? GROM instructions said the wire is usually Brown, but I think it's supposed to be Purple. Also did you disconnect negative battery terminal before installation. Don't want any SRS airbags warning lights.
@James Wolffe I receive my Vline2 unit and will be doing installation this weekend. Would you please confirm that I will be P-Tapping the PURPLE "rev" wire on MCFHA3 interface cable to PURPLE wire of 24-PIN stereo harness on back of radio? GROM instructions said the wire is usually Brown, but I think it's supposed to be Purple. Also did you disconnect negative battery terminal before installation. Don't want any SRS airbags warning lights.
I removed the battery connection the first time, worried about accidentally triggering airbags. I didn't on subsequent "opening up" of the dash. It was months ago, and unfortunately I don't remember the color of the wire, although I do remember the confusion about it. I recall that I actually went by the position on the connector, using a diagram I found on the internet. I believe it was the following one:
OK, no worries. I believe Ira's video I posted above show this reverse wire as being PURPLE. I'll confirm when I remove the radio.
Reading over your post again about C-VTOYUSB Retention Cable, I ordered it last night for priority shipping. I had thought you were talking about just the USB extension cable, which GROM already included in the box. With this USB Retention Cable, I can use the USB port in console, so I don't have to ever open the glove box to plug-in my phone..very convenient and thank you for the suggestion! Only problem I foresee is the OEM USB port doesn't have enough power to quick/fast charge my Note20 Ultra. I might have to look for an alterative charging solution that offer fast charge.
With the retention cable, usb power in the console depends on where you connect on the VL2. I believe the USB2 port of the VL2 provides more power with Samsung/android phones than does USB1.
With my previous VL2 unit in my GS, I believe USB1 was for Android Phone and USB2 was for iPhone. Couldn't mix the ports. Maybe GROM has allow both ports to work now with either kind of phones. I see they included a tiny BT keyboard now in the box, nice touch. I had to connect my USB keyboard/mouse for initial setup.
I install VL2 today into my RLX. I'll document the steps here for others that wish to follow. Overall, the process is relatively simple, even easier than was in my Lexus GS 350. Only issue I encounter was routing the cable harnesses from back of radio to glovebox, it is extremely tight and very difficult to see. Took me couple hours to figure out how to route the cables. I finally figure out a way to use my flexible grabber tool to feed the cables down toward bottom of glovebox, then feed it up into opening by cabin filter door. I contorted my body all kinds of ways to see under there. Hands are all f*** up from scratching against sharp openings. I didn't want to rush and accidently bent the cables, so took my time. Entire process start to end took me about 4 hours. Half of that was spent scratching my head how to feed cable harnesses. A pro would have the right tools to do this in 5 minutes flat.
OK, so here are the steps: 1. Remove joystick panel by pulling out toward you. Yank real hard, it will pop right off 2. Release 4 cables from their sockets in rear of this joystick panel
3. Remove 2 Phillip screws underneath radio
3. Loosen 2-8mm bolt underneath radio. Just loosen bolts only, do not remove the bolts. I loosen one of the bolt too much, it fell off when I pulled out radio. Luckily I had my flexible grabber tool to get to the fallen bolt. You will need to use 2" or 4" socket extension to reach these bolts. Look underneath radio, you'll see them. 4. Remove passenger side A/C grill. Use trim remove tool to pry along bottom to pop the clips. Unclip wire behind passenger side AC grill 6. Remove driver's side A/C grill. Unclip wire. This one will be difficult as the wire is very short. You need to look from underneath
7. (Optional) Remove panel underneath glovebox. I find it was easier routing the cable from underneath glovebox and go up to open by cabin air filter. Very tight here, so take your time and be careful not to damage any of the cables, especially the Display port cable.
8. Remove side panel on passenger dash to get access to channel to route GPS and Mic cables. Mount GPS and Mic.
9. Once all cables are routes, check they're not bent and that you have enough slack to work with
10. GROM will provide a posi-tap to tap Pin 24 Reverse wire. Tap the purple wire labeled REV from the supplied interface cable MCFHA3 to Purple wire on Pin 24. Purple-to-Purple. Easy enough. Make sure the tap is nice and tight. Yank on it couple times.
11. Hook up all the cables as per instructions provide by GROM
12. Very Important: Follow Initialization process described in Chapter 2 of Installation Manual. Do not skip this step else you'll have lots of issues later on.
13. After initialization step is successful, start car and check back-up camera is working. Mine worked flawless.
14. (Optional, but highly recommended). Route C-VTOYUSB Retention Cable (purchase separately from GROM) to glovebox . This adapter is used to retain use of factory USB port in console. Very convenient to plug your phone into this USB so you don't have to ever open glovebox to access USB ports on VL2 unit.
15. Start the car. Allow VL2 unit to fully boot.
16. (Optional) Plug-in USB mouse/keyboard to USB port #2 on VL2. Trust me, do this as it will be much easier to setup VL2 with your own keyboard. Using the knob on the RLX is very annoying and difficult to navigate menus
17. Follow User Guide provided to setup WiFi, install Gapps, sign into your Google Account, install Playstore and setup all any apps you want. I installed: Google Maps, Waze, Pandora, Spotify, and YouTube.
18. Do OTA software update. I updated both Firmware and Vline updates.
19. Done. Go for a drive to test out Google Maps/Waze and all the music apps.
After all the panels are removed. Place MF towel to protect console from scratches Two Phillips screws can be seen here. Remove these screws This Purple wire is Pin 24. Tap Purple "REV" wire to this Purple wire. Very important. If you don't do this, you will not have reverse camera in VLine mode. I use Dremel tool to cut notches on each side to route cable thru All tidy up and secured with Velcro This is where I mount my GPS antenna GROM's mic goes underneath mirror
So overall, I love GROM in the RLX. It's a welcomed addition that update this car's infotainment system to the 21st century and beyond. With frequent updates from GROM, I'm sure they will add more features in the future, like Wireless Android Auto and in-vehicle diagnostics. That OEM infotainment is pure trash. I hated it. GROM solved the problem. I can now just hit the microphone button, and tell Google "Navigate to nearest Costco". Boom! It starts Google Maps/Waze and I'm on my way in a few seconds. With the OEM system, it would take literally 2 minutes to accomplish. Or I can use my voice to have Google play my music playlists or even open my garage and turn on lights when I get home.
Only caveat is in VLine standalone mode, it is extremely difficult to navigate the menus using the knob in the car. It's not intuitive at all and you will probably get into a car accident messing with the menus. My recommendation, plug in your phone and use only Android Auto or Apple CarPlay. The menus are much simplified in this mode and navigating with the knob is relatively intuitive. Or keep a BT mouse/keyboard in the car, use that to navigate instead. It will be 100% easier than using that stupid knob. I wish Acura would give us touch-screen in the RLX.
A nice install summary by jdpdata. It should be very helpful to others installing GROM on RLX. My solution to the tricky wire routing behind the dash was a single strand of 14ga copper wire, as used in house wiring. Relatively stiff but easily bendable, I first got it through and then taped the GROM wires to it and pulled them through. I'm sure pros have even better techniques.
My installation saga continues. GROM sent a replacement for the unit with a bad USB2, but the replacement itself was bad... the MIC jack is completely absent, just an empty hole in the panel. A replacement for the replacement is supposedly on the way now. Hopefully I'll finish the install soon.
James, you have patience of a saint. No way I could deal with such incompetence if GROM sent me two bad units. Hope third one is the charm. I'm very happy my unit is perfect. No issues at all, fingers crossed that it will stay that way. In fact, this unit seems to work even better than the one in my previous car. No flickering screen and "Ok Google" works perfectly. Seems that the included GROM mic is picking up voice commands better than was with OEM mic like in my GS. In that car I have to scream sometimes for OK Google it to work.
James, you have patience of a saint. No way I could deal with such incompetence if GROM sent me two bad units. Hope third one is the charm. I'm very happy my unit is perfect. No issues at all, fingers crossed that it will stay that way. In fact, this unit seems to work even better than the one in my previous car. No flickering screen and "Ok Google" works perfectly. Seems that the included GROM mic is picking up voice commands better than was with OEM mic like in my GS. In that car I have to scream sometimes for OK Google it to work.
I'm glad to hear about your successes. About my patience, sometimes I wonder if it isn't just a lack of good sense. I'm hoping that I'll soon be as pleased as you are. Anyway, you have shown that GROM and RLX can be a very successful combination.
Just want to follow-up saying I've been tweaking Google Assistant in the car. I turn-off 'OK Google' hot-word detection in VL2 standalone mode. I find that if I turn it on, when I'm in Android Auto mode, saying 'Ok, Google', both assistants (in VL2 standalone mode and Android Auto mode) would trigger leading to doubling of responses. So far everything is working as expected. I've used voice commands exclusively in the car to navigate, play music on Pandora, Spotify, and iHearRadio and send SMS messages all working flawlessly without the need to touch any buttons. Only button I need to adjust is the steering wheel volume. GROM VL2 is a fantastic product and a great addition to make this car feels like a 2020 RLX not a dated 2014 RLX like it was before.
Just wanted to document some lessons learned insofar as installation goes.
Remove A-pillar garnish is preferable. This allows you to zip tie your wires to the factory wire bundle and stay put, with no chance of rattling. (Have I mentioned I absolutely hate rattles?) Not to mention shorter time running wires and lower risk of damaging thin wires.
If you're like me who can't find the right length and drive size wrench (still missing about twenty 10 mm sockets) and you have to piece together a short extender with a 3/8 to 1/4 converter, be extremely careful after tightening. If you aren't careful and you just pull out, you disconnect one of the connecting pieces instead of releasing from the bolt itself. Imagine my horror when I heard my 8 mm socket and drive size converter fall down into the abyss! Thankfully it stayed lodged somewhere and did not end up at the floor, and I was able to remove the garnish assembly (77286-TY2-A01ZC) and hunt for my lost tools.
Get yourself a bowl or something with a lip when disassembling the posi tap. The pieces are small, and while unscrewing the saddle screw, it freed up unexpectedly and slipped through my fat fingers. And fell between the seat and center console. Of course it didn't have to land on the nice carpeted area. It had to fall into one of the carpet cut out holes. Thankfully it didn't roll deep.
Those lessons really cost me quite a lot of time. LOL Anyway, thought I'd share my lessons learned if I can help others avoid my problems.
LOL, i had loosen one of the 8mm too much and it felt off the radio when I yanked it out. Thankfully, it didn't fall into the abyss. I was able to fish it out with a flexible grabber tool. All good tips you've posted. Will definitely help the next poor soul that attempt this.
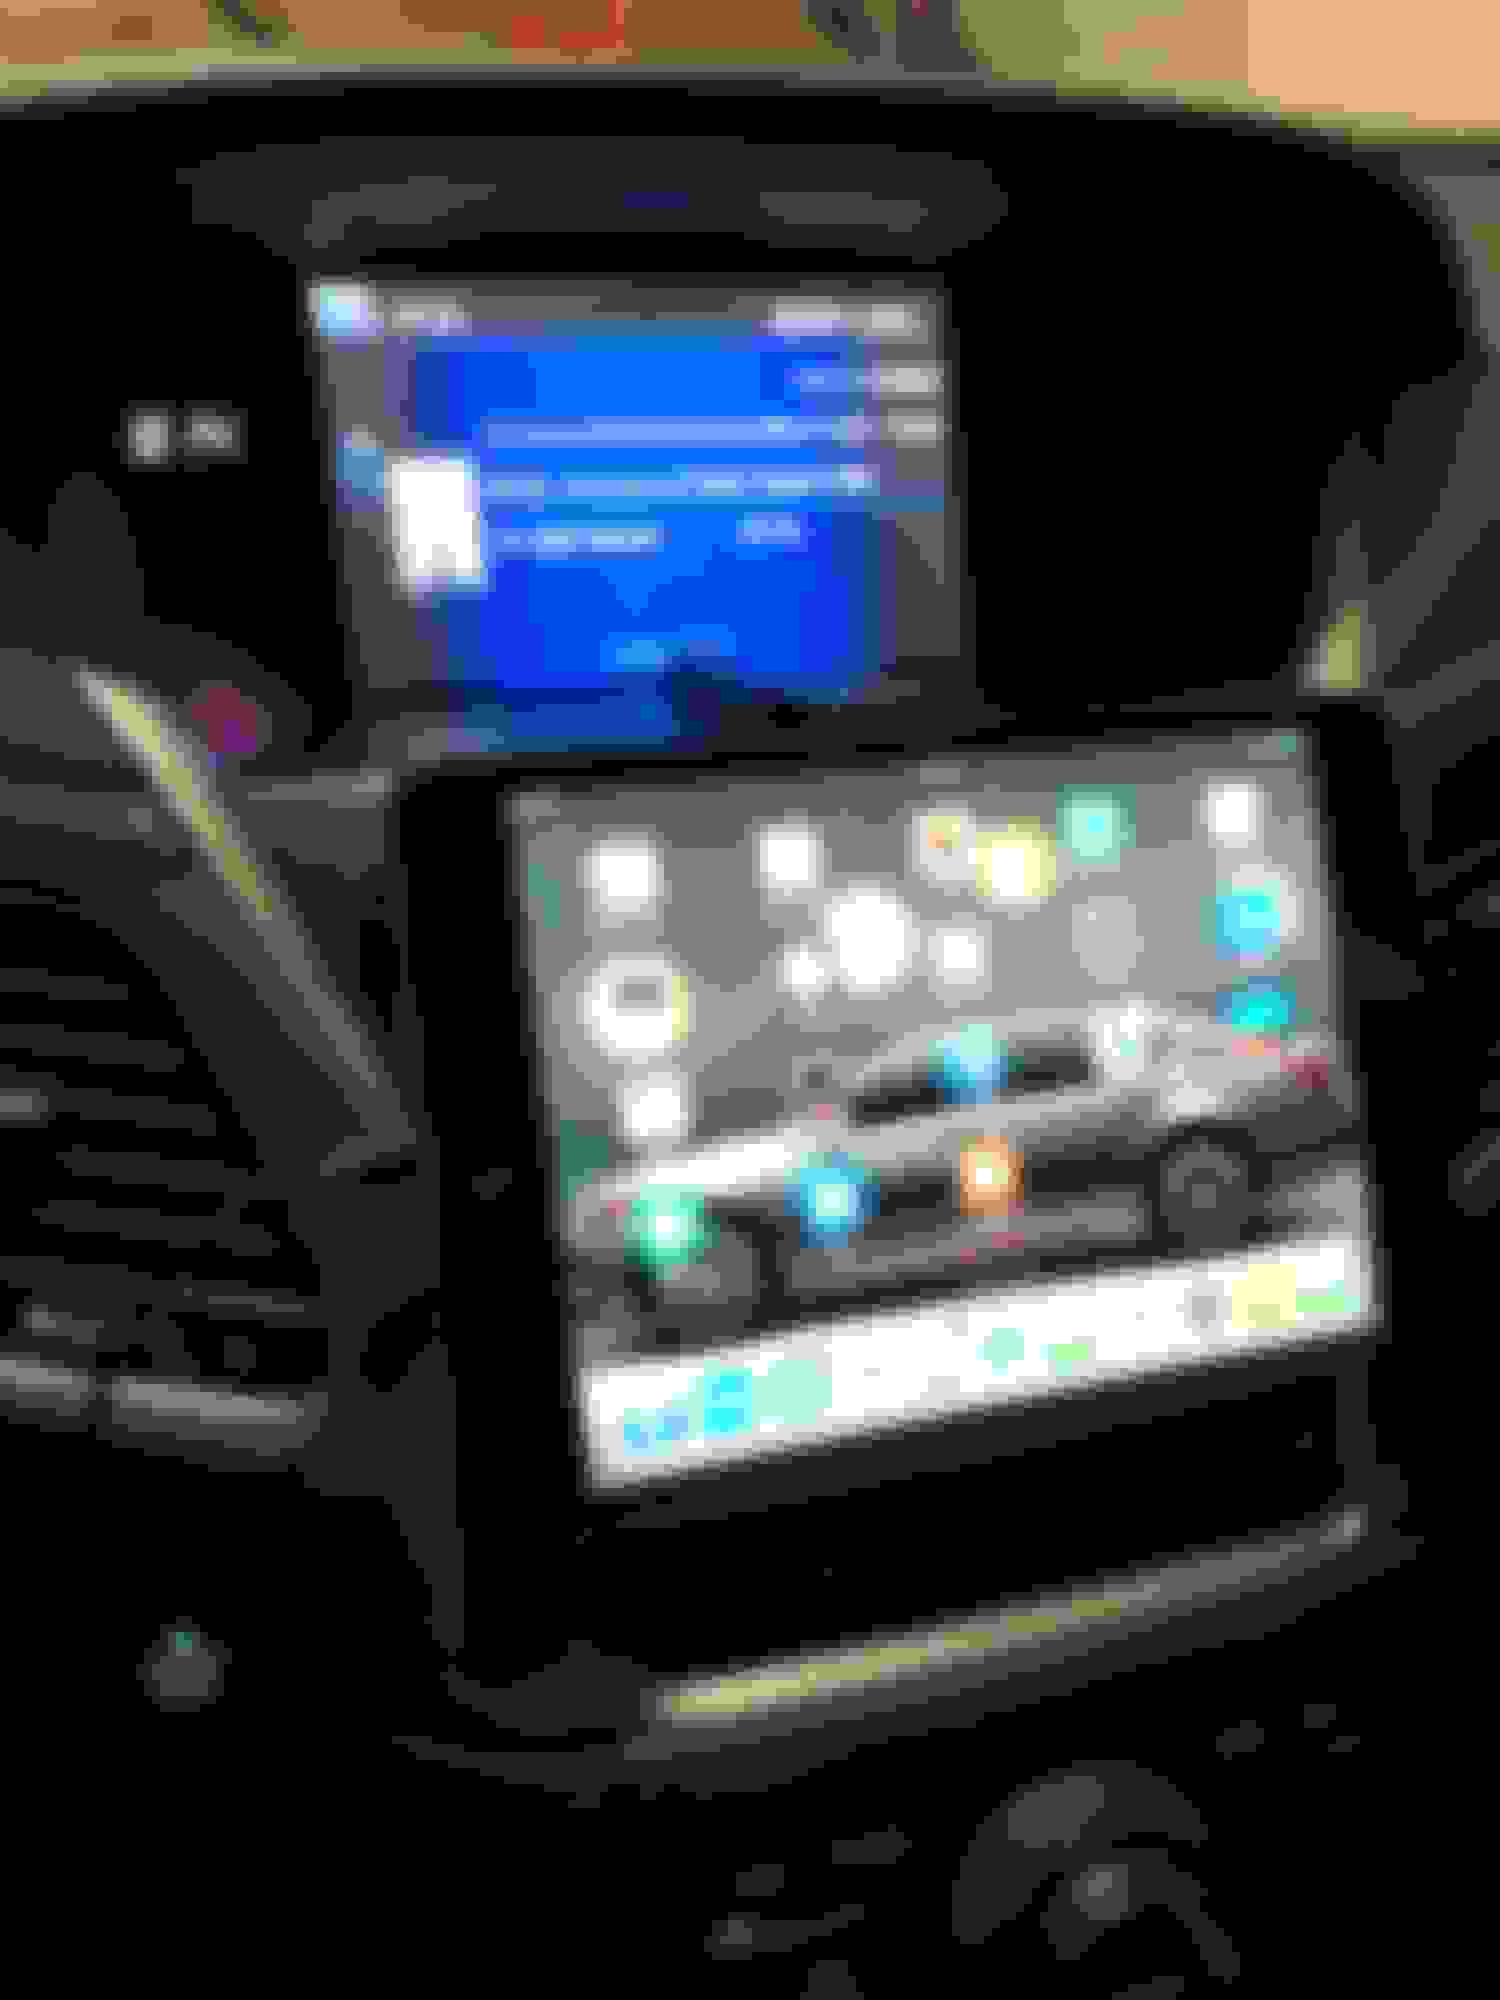
I had previously used two magnets and a small metal piece that I bent to mount an ipad. I took that out and went with the Grom unit. I�m glad I did except for one small thing. I no longer get notifications from the apps that don�t have CarPlay integration.
trying to figure out a workaround for that.
mother than that I love the fact that I don�t have to look down and can keep my eyes more in line with the windshield when I glance over at the radio.
I know it�s been a while, but I�m having a couple of issues with mine that I just installed yesterday in my �16 RLX Hybrid.
1. Does anyone know if Siri is integrated? I can�t seem to activate it from my car.
2. I�m having severe echoing when using the GROM mic, does anyone know how to fix that?