When you click on links to various merchants on this site and make a purchase, this can result in this site earning a commission. Affiliate programs and affiliations include, but are not limited to, the eBay Partner Network.
...The "difficult" part of the installation was the routing of the cable for the rear camera, which is the reason why I am having it professionally installed this time around.
Yep, same for me. Spent more time routing that one cable than anything else. Not hard just a royal PITA figuring out the best way.
I have a 15' fiberglass fish rod for running wires in homes when I was in the security business. This makes it super easy and is great for running wires in cars too as you can easily route the fish rod from the back hatch all the way up to the front "A" pillar, attach the wire and pull it back out of the hatch. Took me all of 10 minutes tops. Having the right tools helps immensely! I have also used this method to get wires through a firewall when necessary.
I contacted my dealer to prepare for my Dash Cam install and they stated the A-Pillar clip part number is 91561-T8N-T01 and retails for $4.48. I ordered two so I can perform my install.
Nice video but way to short and not enough detail. It gave me a few ides but would have been nice to see more info related to the wiring behind the hatch hinge and up behind thereat view mirror. I have to pick up my A-pillar clips from the dealer today and then plan on installing my Blackvue dual camera set-up shortly.
Update to my last post. Got a new dash cam and the connectors are on the top versus the side as with my last one so mounting it in the center under the RVM would put it down a lot lower than I wanted it. This one I put to the left of the RVM on the frits (dots) high enough so that only the lens was visible from the outside. A much stealthier install and after a week now does not appear to affect the operation of the auto high beams.
" Users are opted-in by default to share the precise GPS location of their vehicles on a map, as well as a stream live video feeds of the front and rear cameras. "
careful with the registration of your camera!! Do you want the world watching you drive to someplace you might not want anyone to know you frequent?
" Users are opted-in by default to share the precise GPS location of their vehicles on a map, as well as a stream live video feeds of the front and rear cameras. ".
You are referring to cameras that have the option to stream video into the cloud. My Blackvue has this option but I selected to use it locally only and not take advantage of this feature. You must have in-vehicle WiFi in your car anyway to use it and most folks do not. There are several manufacturers that allow for cloud streaming but don't bad mouth these cameras as they truly are the best on the market and worth the few extra dollars. I buy my cameras rom the following...best prices and support on the net:
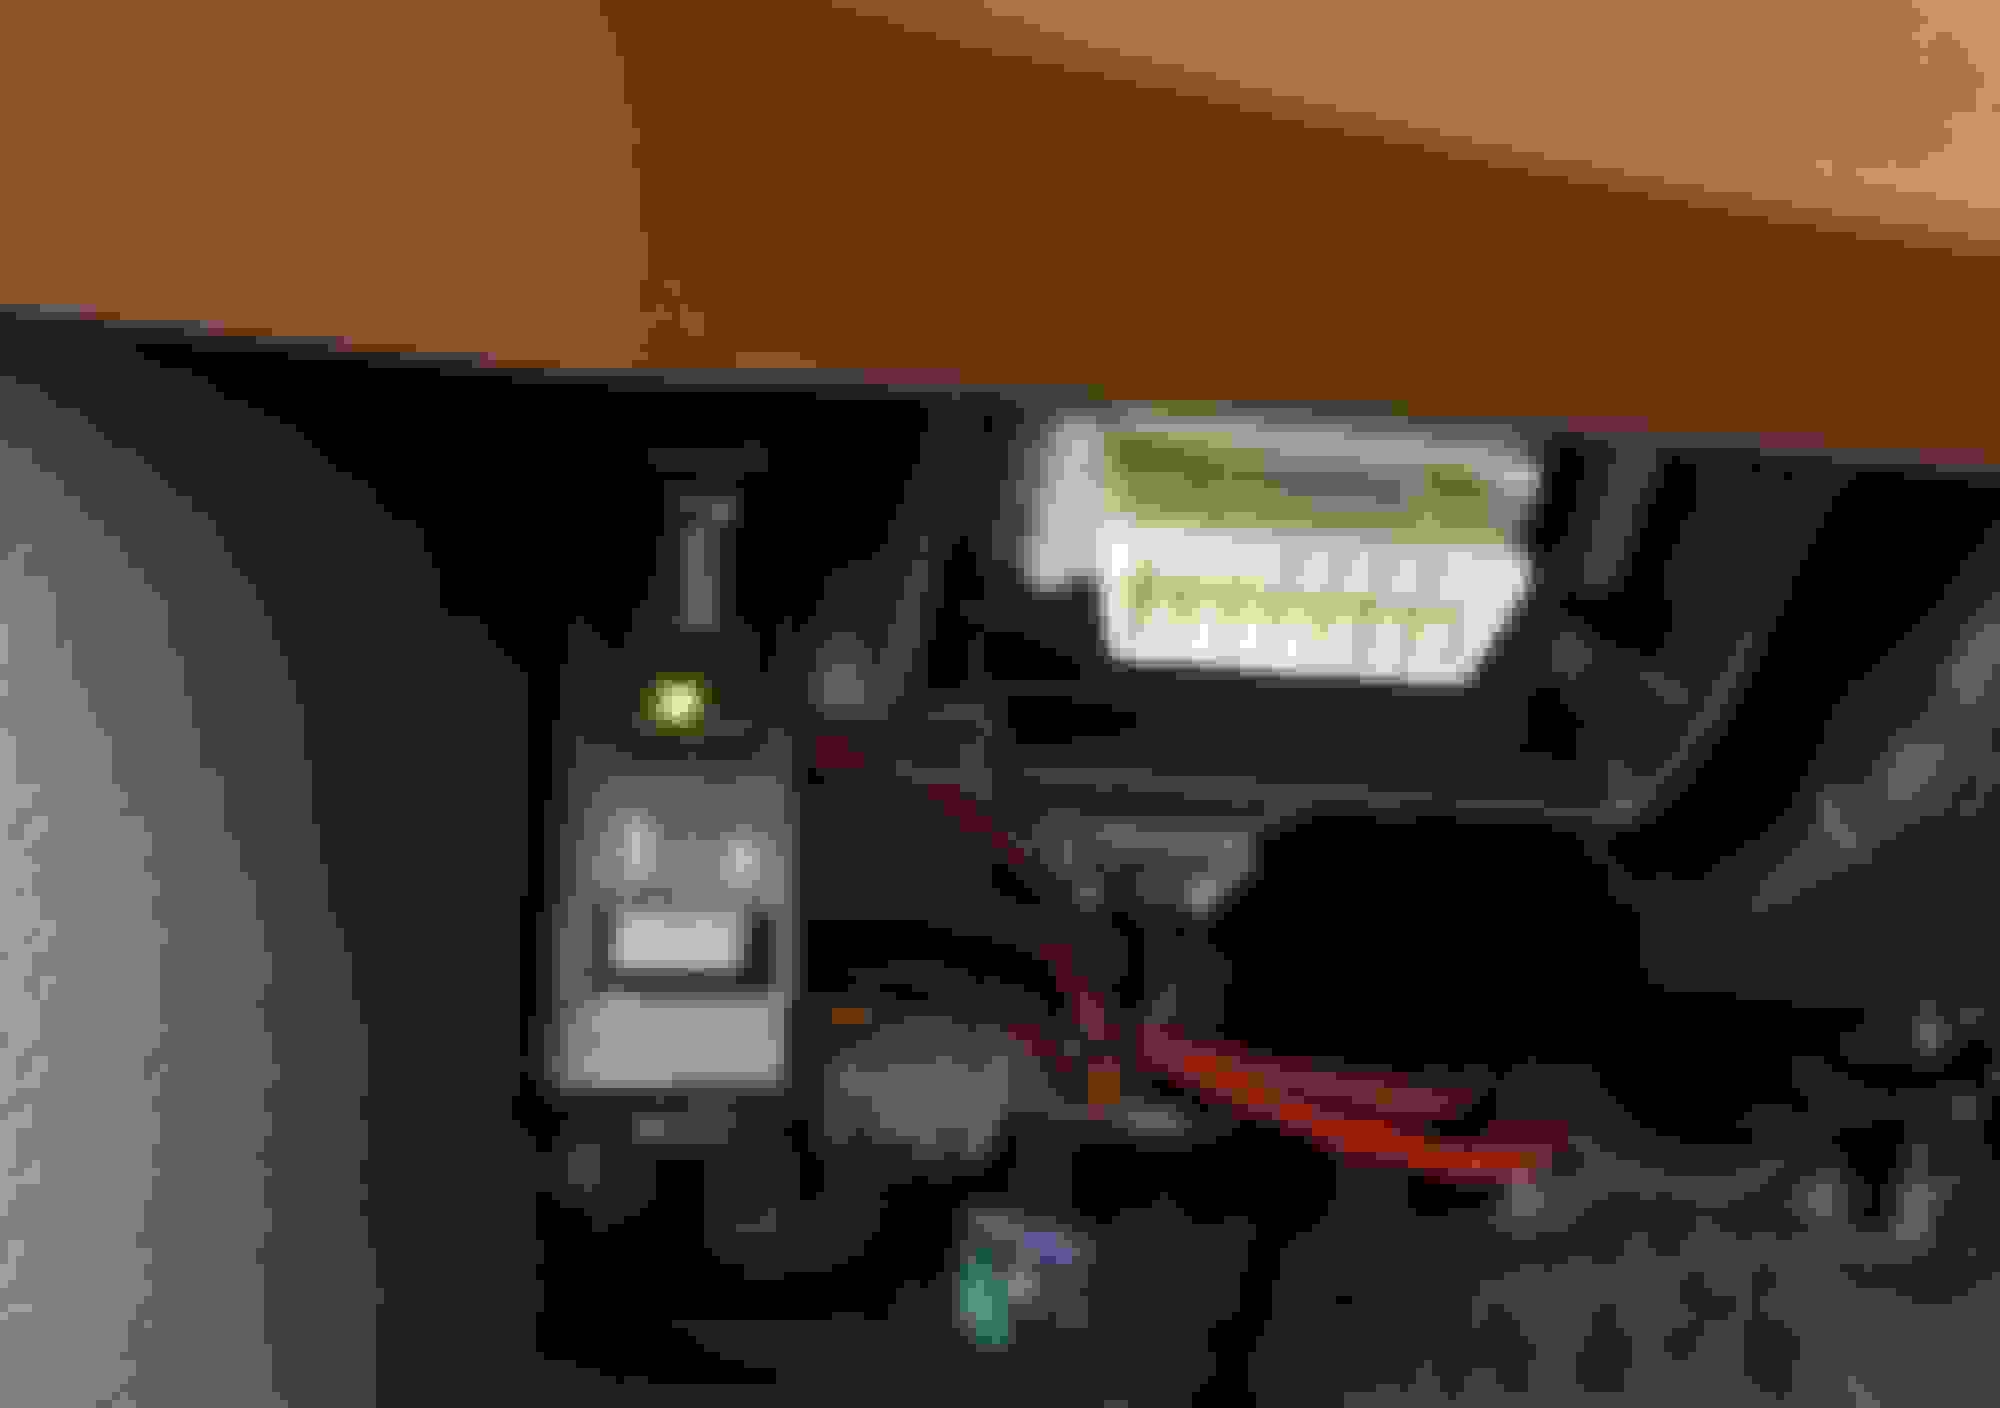
The fuses are low profile mini fuses (LP Mini Fuses); I just used a fuse tap with a 2amp fuse closest to the wire, and the original fuse away from the wire.
Ground wire nut is a 10mm; need a deep socket for it.
Last edited by OliveBread; 10-07-2018 at 11:16 AM.
The fuses are low profile mini fuses (LP Mini Fuses); I just used a fuse tap with a 2amp fuse closest to the wire, and the original fuse away from the wire.
Ground wire nut is a 10mm; need a deep socket for it.
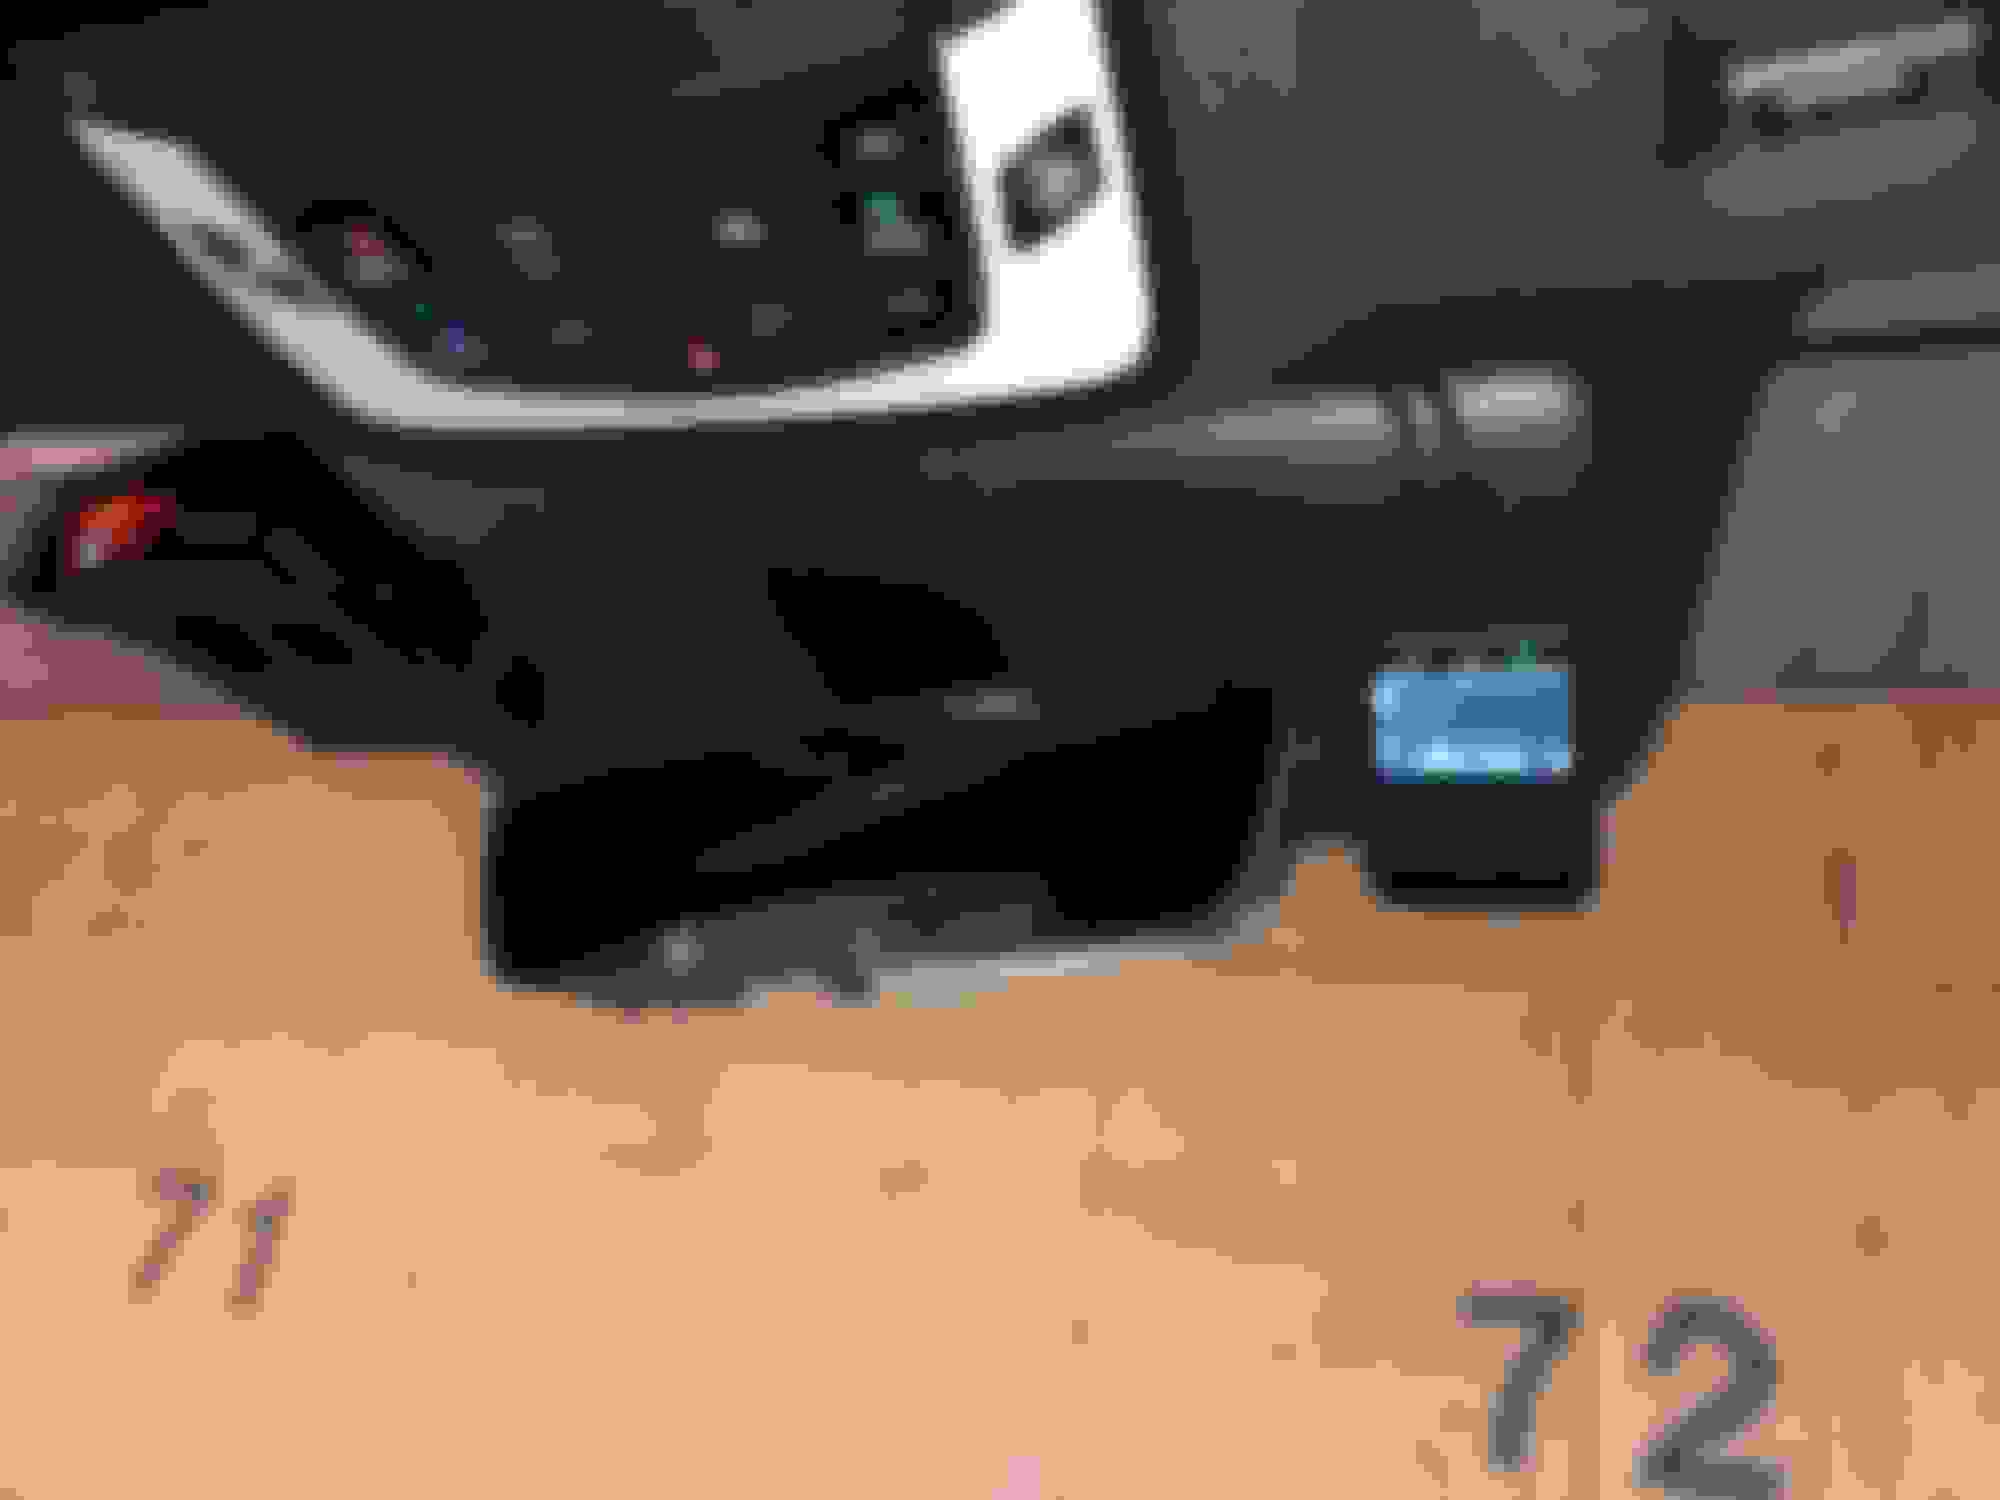
So I finally got around to installing the Blackvue front and rear dash cams in my wife's RDX. I have attached a few pics. Interesting enough, even though I bought the top "A" pillar clips assuming I would need them, I was able to get the pillar off without damaging the clip and was able to reuse it. I am a very anal EE so I took my time, soldered and shrink wrapped all wiring connections and used the Power Magic Pro wired into the fuse box to allow for Parking Mode operation. The install took me just over 3 hours as routing the rear camera wire took about 2 hours in itself. I also removed the cover off the rearview mirror and windshield camera so that I could route my wires into the housing and the up and along the headliner. I mounted the PMP right under the OBDII port for easy access. Happy to talk to anyone interested in doing this via phone if you want to PM me. Very pleased with how this turned out and far better, IMO, then if I took it to a shop to have it "professionally" installed.
Last edited by securityguy; 01-05-2019 at 07:30 PM.
hey guys/gal, new to the forum. Just got my wife a 2019 tech package. I put the camera in the same spot as MI-RDX and drove 1300 miles without any issue of the sensors but have yet to 'permanently' wired the thing up yet. came here looking to see if anyone done the mirror tap instead of running wires all the way down. I see that securityguy has open the rear mirror cover so it looks doable. Was there a reason you did tap into the source there securityguy?
@ntrddragn ...welcome to the forum my friend! Yes, there is a very good reason why you don't tap into the mirror harness. You will lose all capabilities to use PARKING MODE which is a huge deal. Popping the cover off the rearview mirror/camera cover was a a piece of cake for one and routing the wire across to the A-pillar was simple as well. Removing the A-pillar cover is also very easy but you have to be careful not to break the upper clip. I got mine off without damaging the clip but bought one at my local dealer for about $3.50 just in case. The wire then goes straight down the A-pillar right into the dead pedal area which is where the fuse box is located. I highly recommend you buy a Power Magic Pro too. With a few simple fuse taps off Amazon, the install is done. To do a mirror tap, the tap itself is pricey and you lose the PM feature which should be a deal breaker to anyone installing a dash cam as most issues occur in parking lots when you aren't there.
I am happy to discuss via phone if you to PM me but I am an EE and have been working on cars electrical systems since I was 13 so this is all second nature to me but still simple for a novice with little to no experience. My two cents!
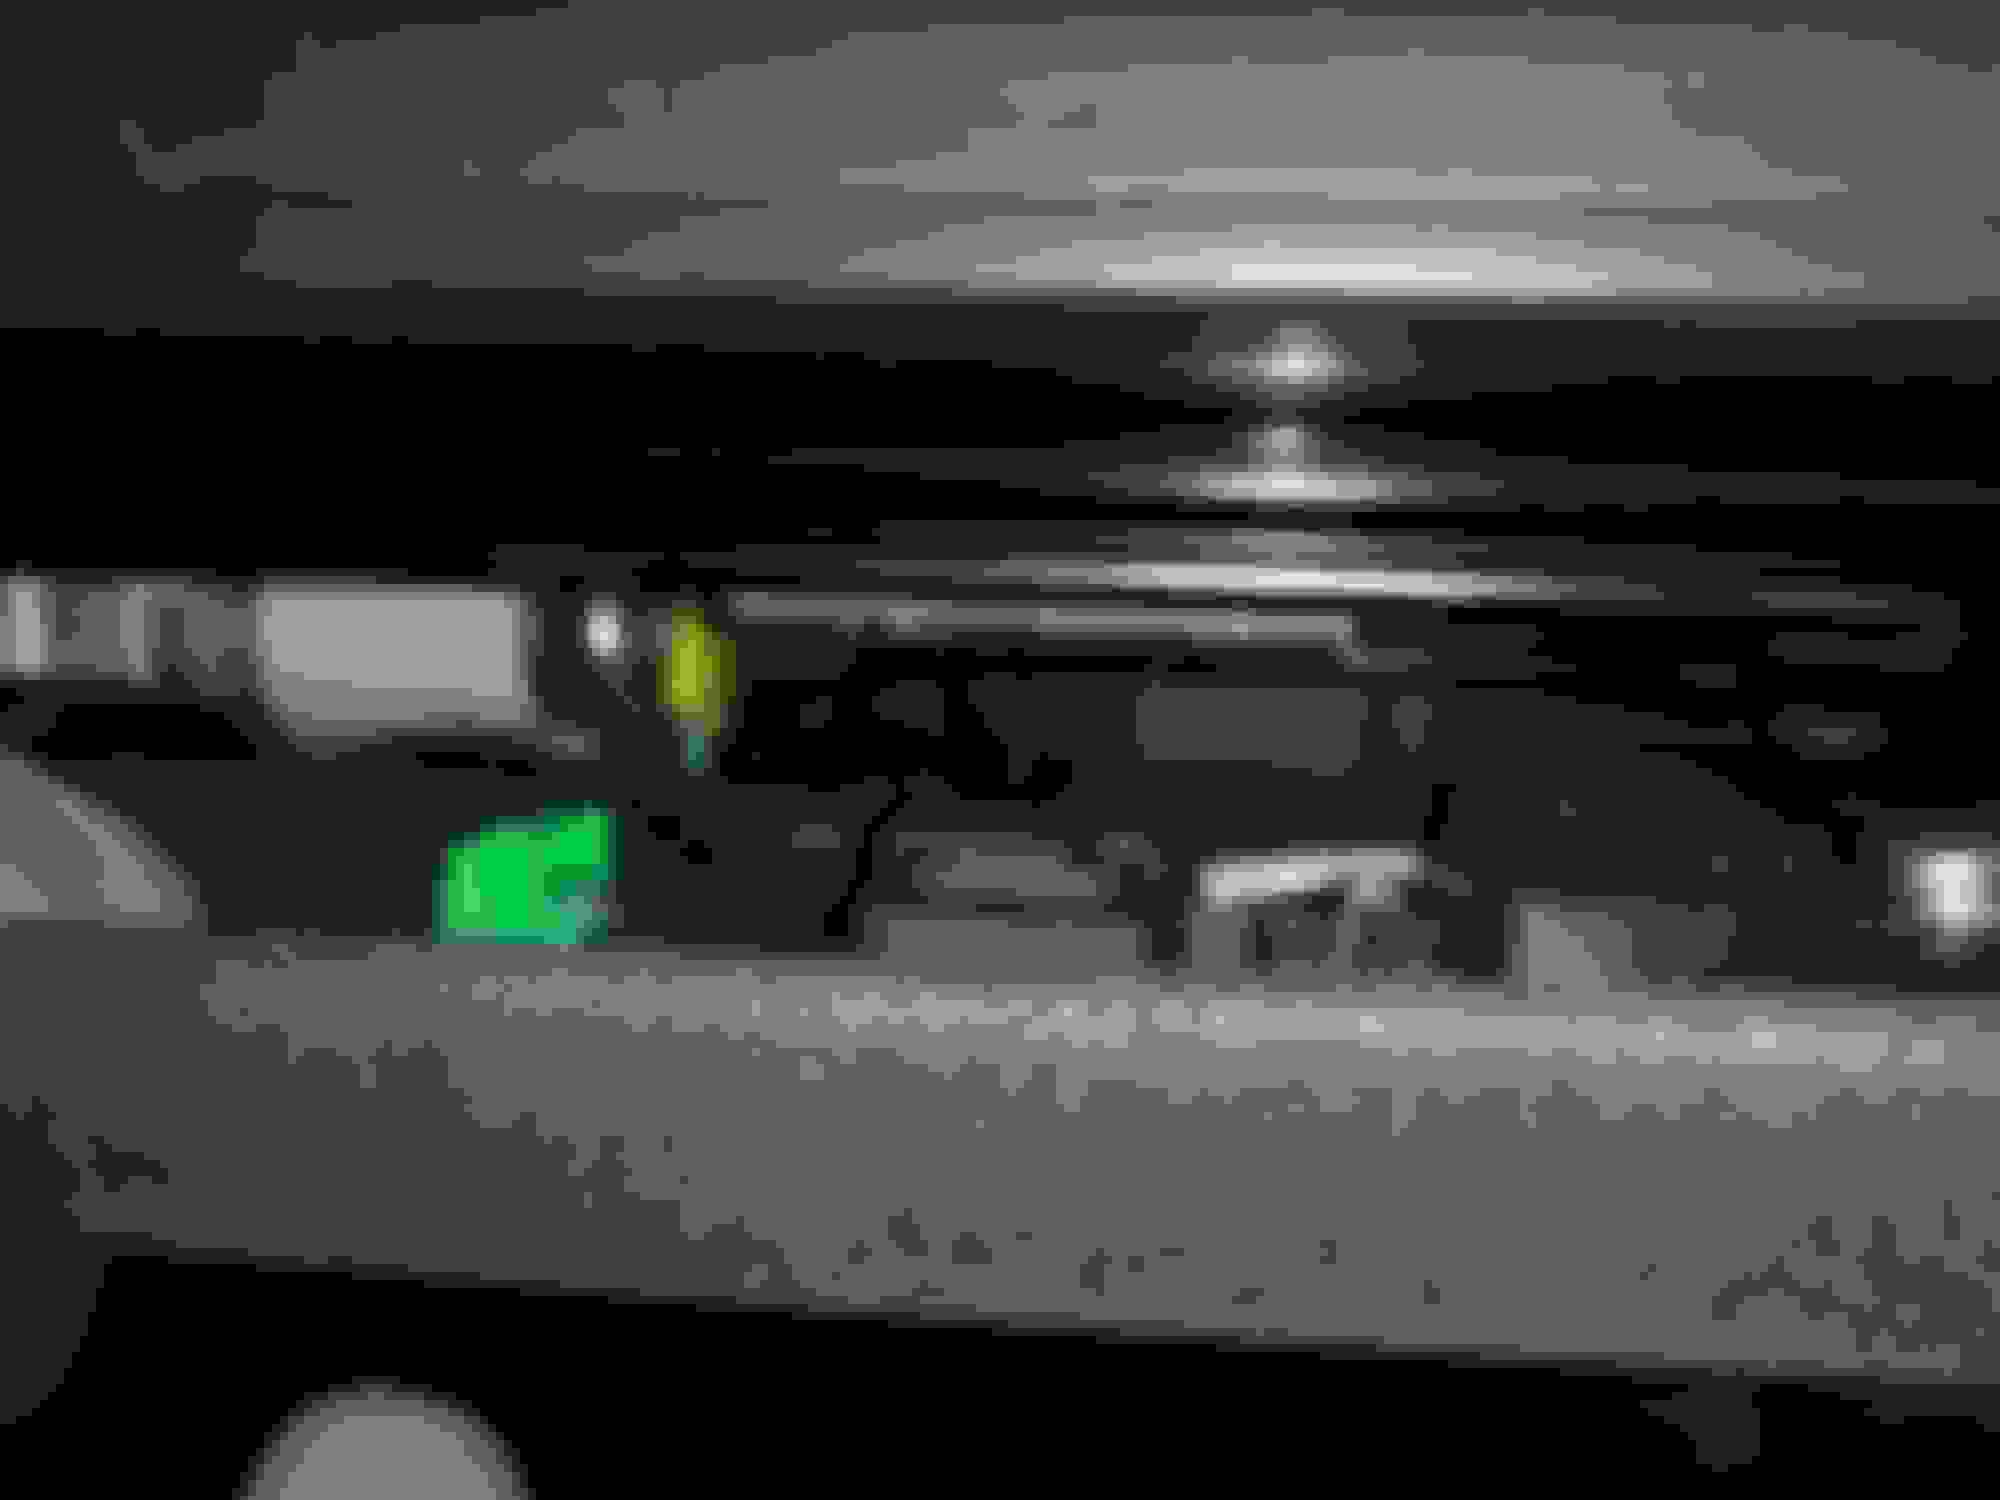
I used my plastic trim removal tools and started by prying into the far right edge of the black trim and it began popping right off and them did the same on the left. There are a total of three pieces ad came off without any difficulty. You could also use a small flat head screwdriver if you don't have trim removal tools.
I used my plastic trim removal tools and started by prying into the far right edge of the black trim and it began popping right off and them did the same on the left. There are a total of three pieces ad came off without any difficulty. You could also use a small flat head screwdriver if you don't have trim removal tools.
got it thanks, yea no metal around plastic and glass for me ha ha, I have a plastic removal tool thank goodness
Probably can�t tell where I routed the wiring harness in the kick because I made it as stealthy as possible and wanted a factory look. Turned out great!! Also the diagram earlier where it lists the constant and switched power. The diagram is actually backwards as accessory is the switched line and option is constant power
So I finally got around to installing the Blackvue front and rear dash cams in my wife's RDX. I have attached a few pics. Interesting enough, even though I bought the top "A" pillar clips assuming I would need them, I was able to get the pillar off without damaging the clip and was able to reuse it. I am a very anal EE so I took my time, soldered and shrink wrapped all wiring connections and used the Power Magic Pro wired into the fuse box to allow for Parking Mode operation. The install took me just over 3 hours as routing the rear camera wire took about 2 hours in itself. I also removed the cover off the rearview mirror and windshield camera so that I could route my wires into the housing and the up and along the headliner. I mounted the PMP right under the OBDII port for easy access. Happy to talk to anyone interested in doing this via phone if you want to PM me. Very pleased with how this turned out and far better, IMO, then if I took it to a shop to have it "professionally" installed.
I am nervous about removing the A pillar and breaking the upper clip. Can someone walk me through on the steps of removing the A Pillar and tips to not breaking the clip? Thanks.
The removal of the A Pillar went smooth and is easy to do without breaking the main clip (see diagram posted above), if you know ahead of time what to expect. It makes you more confident. I found 2 videos of how to remove the A Pillar for the Accord and it it EXACTLY the same for the RDX. Following these videos, the removal should only take 5 minutes.
I decided to use the cigarette lighter cable that came with the camera so I tucked it in the roof liner, ran it down the passenger side A Pillar (behind the air bag), then ran the cable behind the glove box panel to the power outlet. Very clean and no cables in sight.
Thanks to all of you who posted here. I used your examples as a guide to install my BlackVue DR900S-2CH 4K UHD Dual-Lens Dashcam. A shout out to securityguy for the
tip to help run the rear camera wire from the back to the front with ease. I ended up drilling holes and using grommets for my install. Check out photos of the finished project below. More pics here: http://drive.google.com/drive/folders/1w9NhZdIM3HaV5aqAqkrR9RxI1cLTrVcb?usp=sharing I used rubber grommets from Home Depot for the power and coax cable exit hole.
View from the driver position. The dashcam is completely hidden from view; it's easy to forget that it's even there.
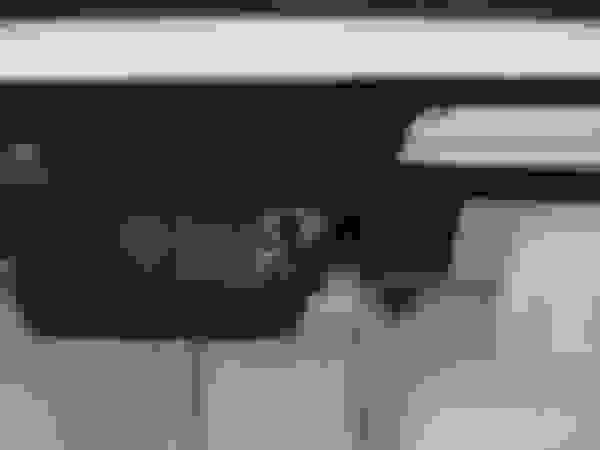
A look at the rear view dashcam install.
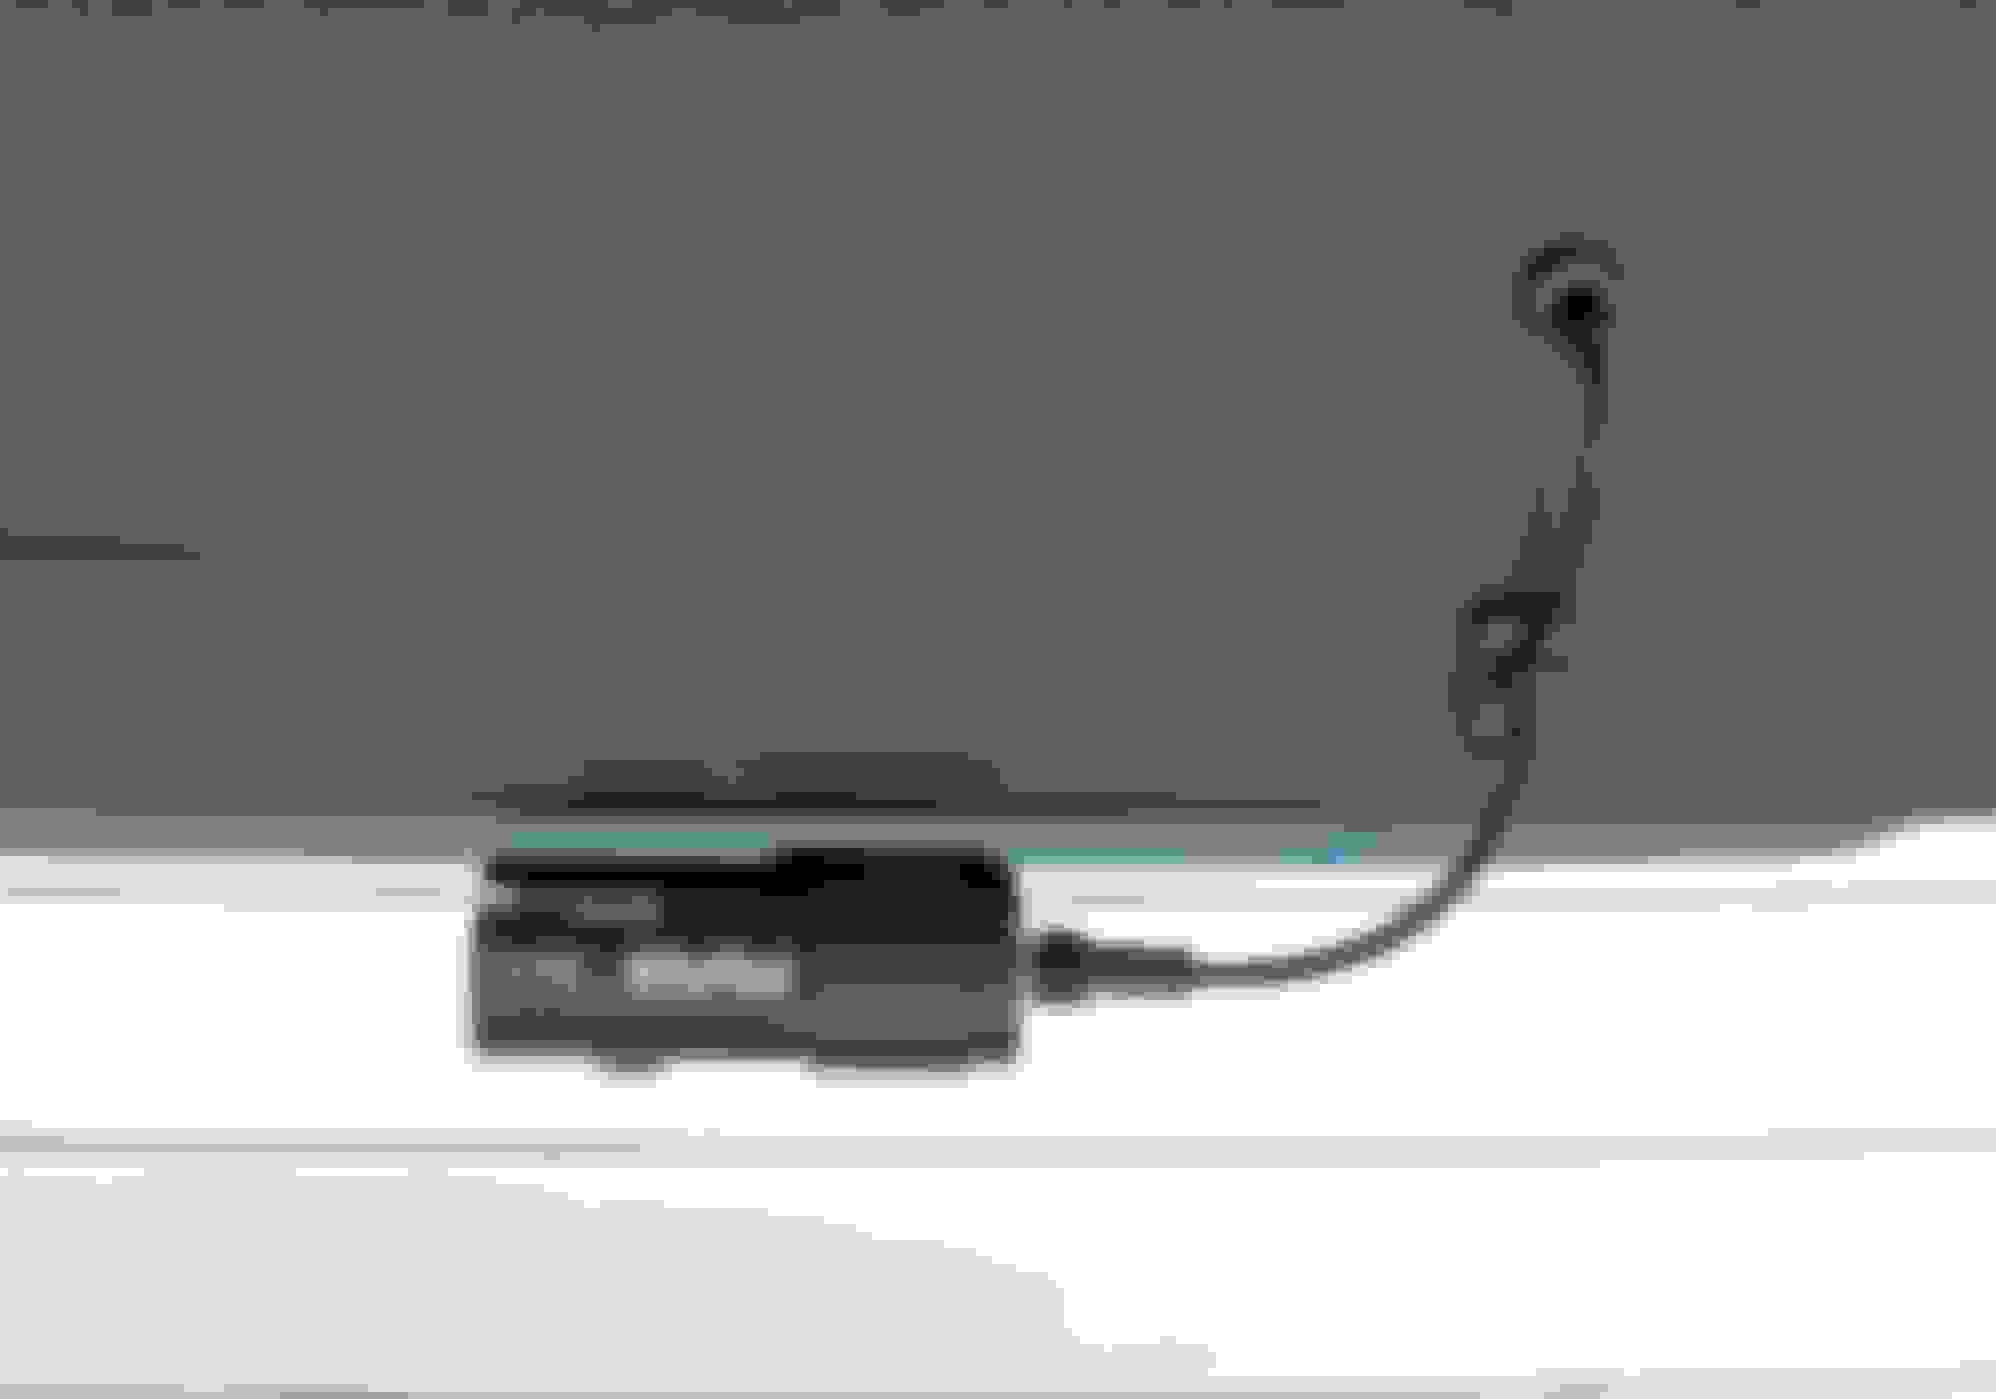
The mounting location for my Power Magic Pro. It's easy to find the on/off button without bending down to look.
_____________________________
Overall, I'm happy with this dashcam. The video quality is amazing and everything works without issue. Install time for me was ~4hrs.
Did my rear dash cam install, wasn�t horrible but was time consuming, I ran it up along the headliner so it was out of the way of the airbags, the headliner pops down as it used essentially a Velcro like material to hold it up, I left a little extra wire at the rear so I can move it to the center, I was just deciding how I wanted to do that since the middle panel is permanent and I do not want to drill into it
The clip is $4 at your parts dept...I wouldn't sweat it if it breaks. No big deal.
Could you please give the part number (for 2020/2019 RDX)? I would prefer to order online, since it is a long drive to my nearest dealer. I just bought the 2020 RDx and plan to do tthe wiring for my Thinkware Q800 Pro next weekend.
Could you please give the part number (for 2020/2019 RDX)? I would prefer to order online, since it is a long drive to my nearest dealer. I just bought the 2020 RDx and plan to do tthe wiring for my Thinkware Q800 Pro next weekend.
I bought 2 and have one left over...here is a pic of the package:

 09-04-2018 | 08:57 PM


 I will go for it. If it breaks, I will order them.