When you click on links to various merchants on this site and make a purchase, this can result in this site earning a commission. Affiliate programs and affiliations include, but are not limited to, the eBay Partner Network.
^
The guy below does not provide a comprehensive 'step by step' for when he did the repair on his 2G CL-S6; however, in his case, the excellent pictures he provides displays enough information to convey the idea of what's involved.
Good Luck.
Originally Posted by Acura2g558
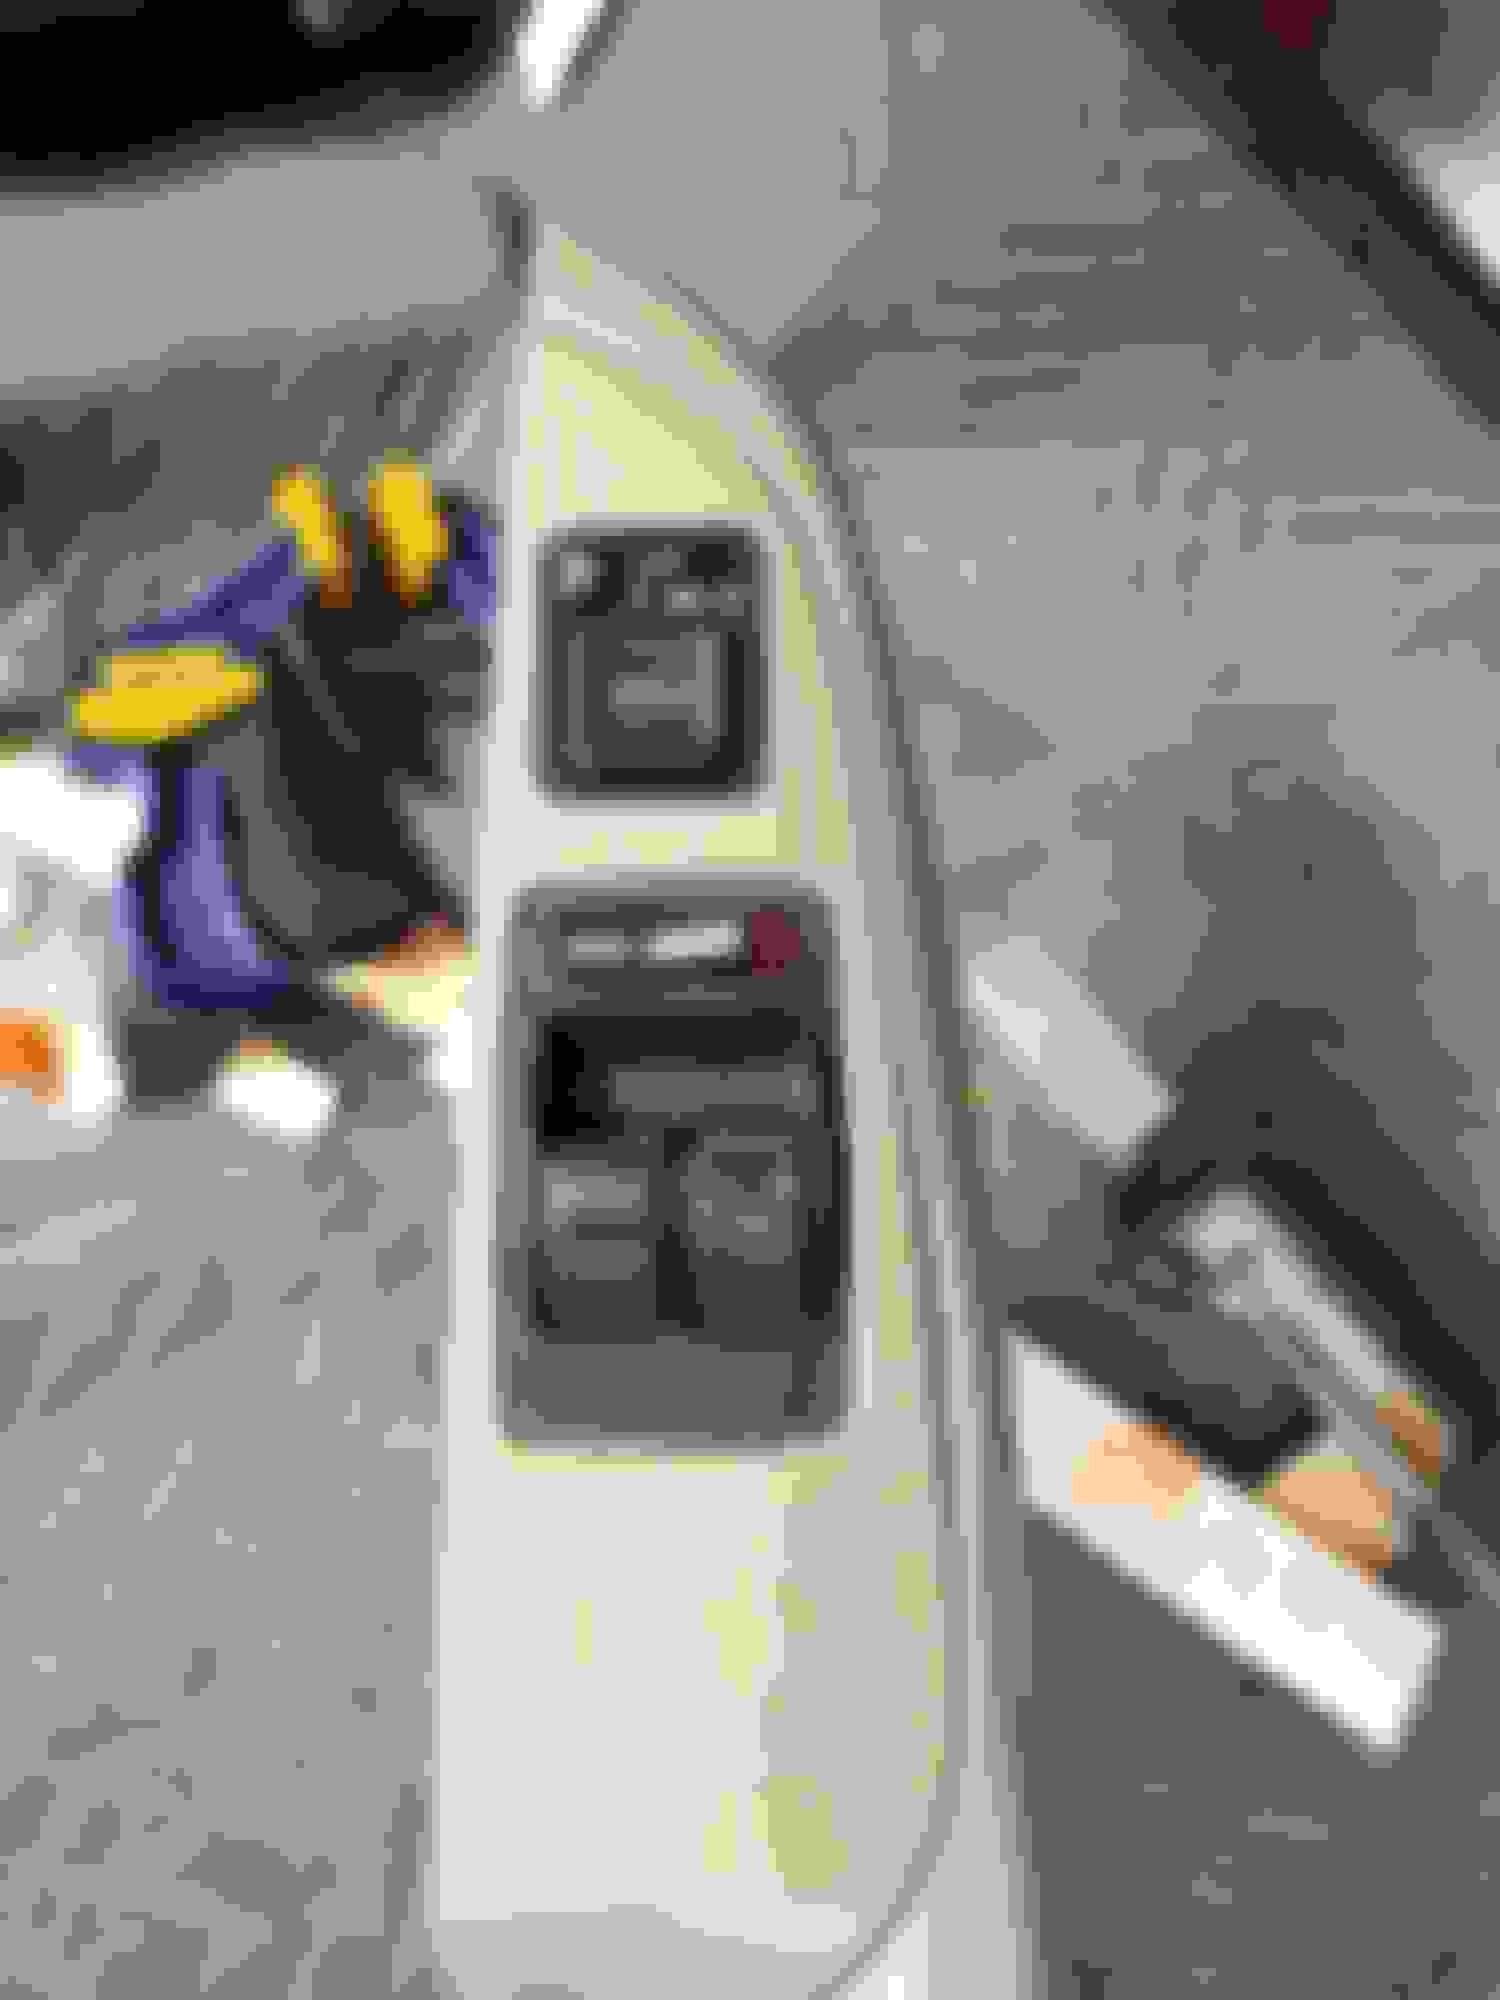
My process for attempting this is to remove the piece First attempt First attempt results Second attempt The secret sauce? Second attempt results
Now, the issue why the first attempt didn't work is due to the fact that I removed the shims and the glue was removed with them. Gluing the shims and leaving them actually help support the material from pulling away. I was able to pretty much get it back to stock with the exception of one area and that is where the plastic "clip" inserts which I can't clamp because it will break the plastic.
I just used gorilla glue (use the clear version), an extendable shower rod (twistable spring-loaded type), and a couple blocks of wood. Put the glue on the foam in the gap, use the wood to protect the armrest, and extend the shower rod to hold the wood blocks snuggly against the arm rests. No need to remove the door panels.
^
That is certianly another way to 'skin the cat'!
Especaily if you don't have an immediate need to easily separate the rear arm rest from the switch panel.
I just used gorilla glue (use the clear version), an extendable shower rod (twistable spring-loaded type), and a couple blocks of wood. Put the glue on the foam in the gap, use the wood to protect the armrest, and extend the shower rod to hold the wood blocks snuggly against the arm rests. No need to remove the door panels.
It'd really a shame you didn't get a picture of this.
I just used gorilla glue (use the clear version), an extendable shower rod (twistable spring-loaded type), and a couple blocks of wood. Put the glue on the foam in the gap, use the wood to protect the armrest, and extend the shower rod to hold the wood blocks snuggly against the arm rests. No need to remove the door panels.
I don't mind taking my doors apart but this is pretty neat.. I'd try this one this weekend :P
I just used gorilla glue (use the clear version), an extendable shower rod (twistable spring-loaded type), and a couple blocks of wood. Put the glue on the foam in the gap, use the wood to protect the armrest, and extend the shower rod to hold the wood blocks snuggly against the arm rests. No need to remove the door panels.
I'm going to have to try this too-hopefully I can get the shower rod to stay. I bought my 02 TL type S in August and all of the window switch areas are separated like this, I planned to fix it and I never let it bother me, until I realized I had no idea of how I would do so. Then I found out the automatic up/down feature with the switch wasn't working. I can roll it down normally but pulling all the way up/down rarely works. I'd prefer to figure this out before gluing it and preventing access to the switches. Thanks for this suggestion, if I do it after figuring out the switch I will take photos and post it.
How did you ensure not to make a mess with the glue? Would isopropyl alcohol remove the glue before it dries, if I happen to apply too much? I'm worried about the glue seeping upwards onto the surface.
mostly you just carefully spread the glue on the inside and not on any external surfaces. I don't recall the clean up procedure for the glue, but that's easy to look up. a little bit did exude out and is visible, but scraping at it when it dries makes it less obvious. of course use the clear glue.
the one thing you may not anticipate with this method is applying even pressure so the two parts are mated evenly across the surface. you can see this by doing a dry run before gluing and look at the gap between surfaces. Maybe you want to add something to even out the pressure.
Thanks for that last tip Quinn-I probably would’ve went straight to glue and then been scrambling for another way to apply pressure; i may actually need it, that area is pretty bent out of shape.