ups came, snap of whats to come
 05-05-2009, 08:17 PM
#1
ups came, snap of whats to come
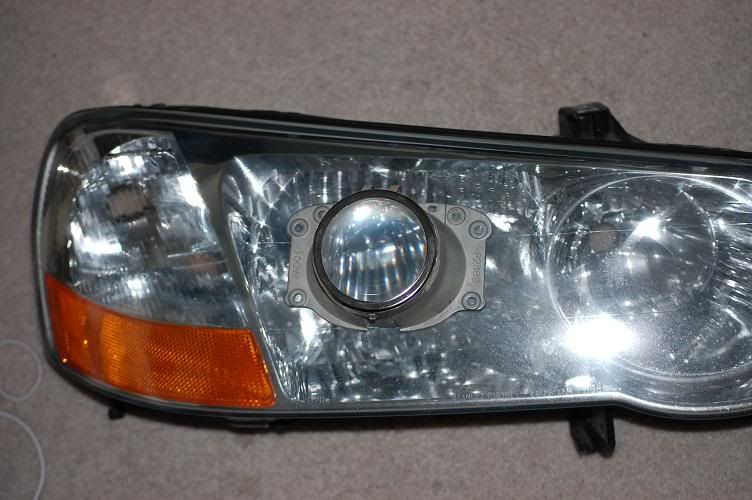
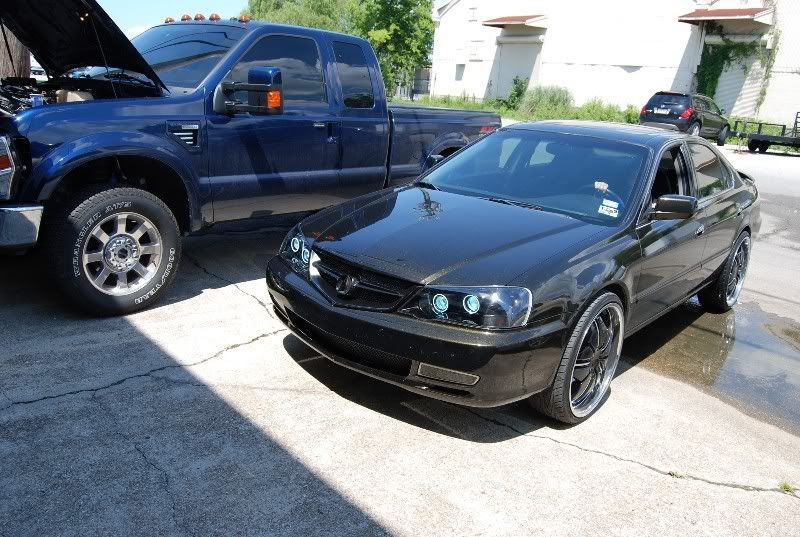
I just got my spare headlights and received a set of tsx headlights as well. I tore apart the tsx headlights and removed the projectors. I will be taking apart the TL headlights to paint them black and throwing in the projectors as a retrofit. I'm still debating if I want to attempt a custom shield. This will be my first retro but since I bought these backup headlights, I can take my time to ensure it looks dope. So that means my old black housing will be for sale on ebay shortly. Heres what the retrofits will go on.
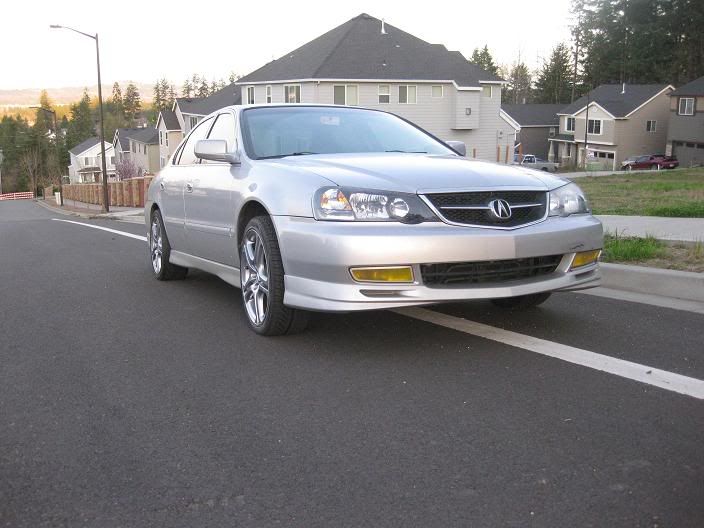
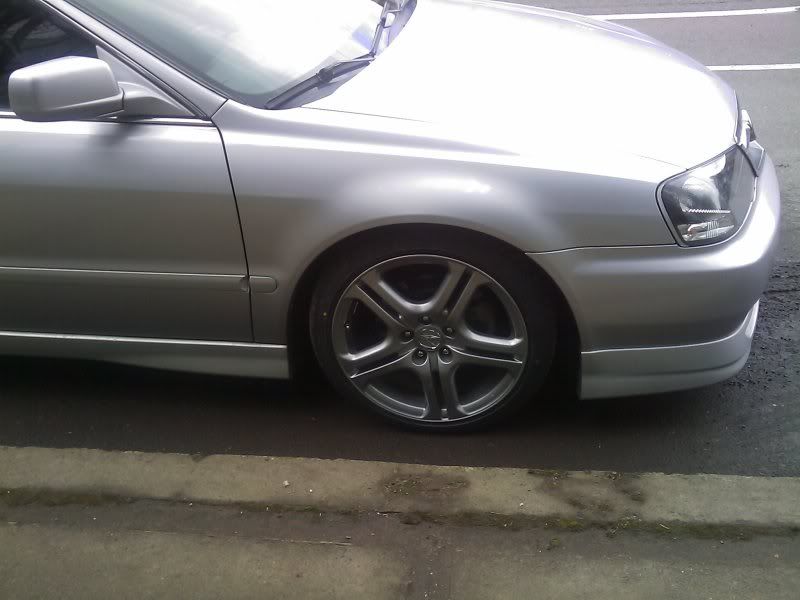
Car is already lowered, I havent posted new pics yet, I was waiting for the springs to settle so I'll snap some new pics this weekend. Still havent decided on a shroud yet either. I'm not trying to make a crazy retro, just a simple retro look for better lighting. I hope to have it completed by this weekend.
 05-05-2009, 09:11 PM
#3
Burning Brakes
iTrader: (2)
Join Date: Nov 2008
Location: Oklahoma
Age: 36
Posts: 883
Likes: 0
Received 0 Likes
on
0 Posts
lol looks alot like mine... yellow fogs, chrome aspecs, 4x4, black housing lights, the only thing different is your grille and well... you have sideskirts... 
but anyways gl on the projectors... i've been really wanting that too but coilovers come next
but anyways gl on the projectors... i've been really wanting that too but coilovers come next
05-05-2009, 09:36 PM
#4
hehe my aspecs are actually silver, not chrome.
Yeah we have a lot of cars on these boards that looks the same. But that just means we all have good clean taste =) Well The headlights for the tsx were both cheap. I found one for 20 bucks shipped, all the tabs were broken. Then found another one on ebay with the back housing cracked, both had perfect scratchless projectors. Currently I'm riding on eibachs but I just bought some ground controls and koni yellows so I will be swapping that out this weekend. So I'm hoping to finish my headlights before then. Only thing left I have to do with the exterior is the mugen style trunk wing and call it good.
akad3m1kz - my black housing? I painted them
05-05-2009, 09:55 PM
#5
Ackniculous One
Join Date: Jun 2003
Location: ATL Shawwwwtyyyy
Age: 50
Posts: 3,100
Likes: 0
Received 8 Likes
on
7 Posts
I like those headlights even though it is a chop since that projector would be much bigger than that.
how did you photochop out the guy lifting up on your front bumper lip?
how did you photochop out the guy lifting up on your front bumper lip?
Trending Topics
 05-06-2009, 02:41 AM
#10
There is a DIY on the headlights but since I have it taken apart.
- Set the oven to bake 275
- Take out the middle rack and bottom rack all the way to the bottom
- Wet a towel and spread it on the bottom rack. This will keep the headlights from touching any hot metal. Since the towel is soaked in water, you will notice a lot of steam coming from the oven but thats normal.
- Put the headlights in for 7 minutes. Dont forget you need to take all the rubber and bulbs out, of course.
- Take out the headlight and shove a flat head in there and slowly go around the headlight to spread them apart and try to open them up as fast as you can.
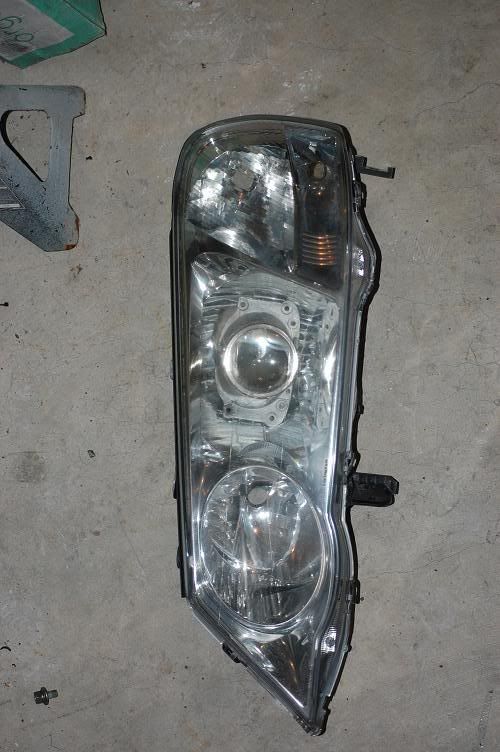
It should slowly look like this

- Now when you pull them apart it should look like this
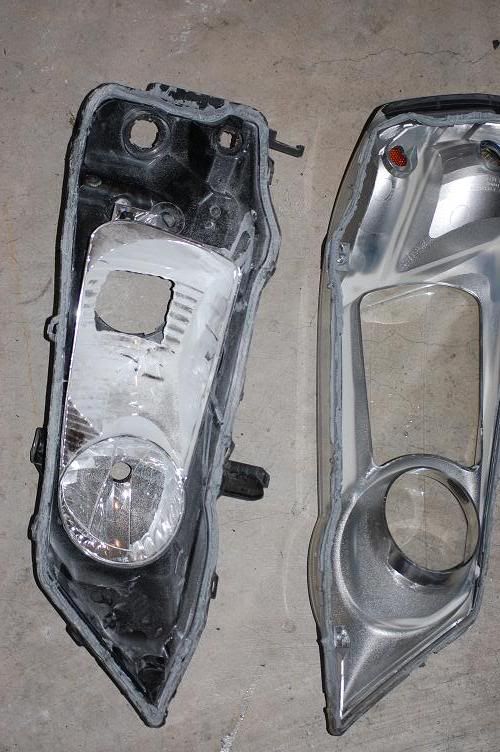
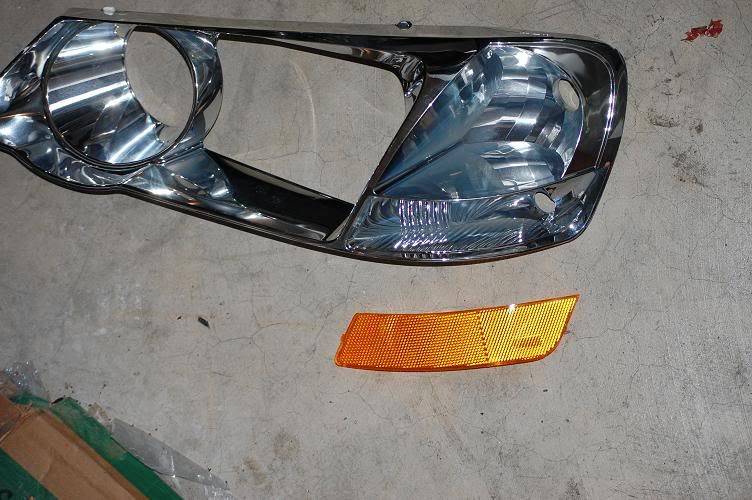
- Now if you can see, there is a amber reflector. Some people like the amber in there, I dont.
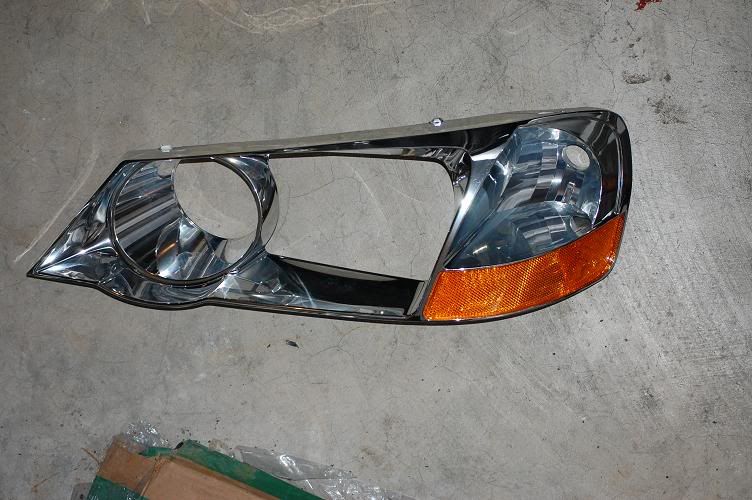
- Now if you want to take it out, you can easily pop it out from the back. Just poke it out with a screw driver.
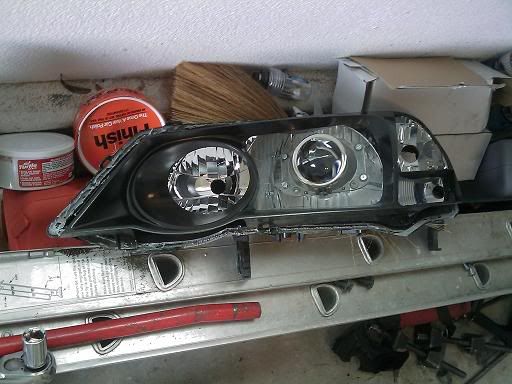
- Now if you put them back together then you will have cleared headlights. If you want them black like mine......
http://i44.photobucket.com/albums/f17/fobstyles/4-4.jpg
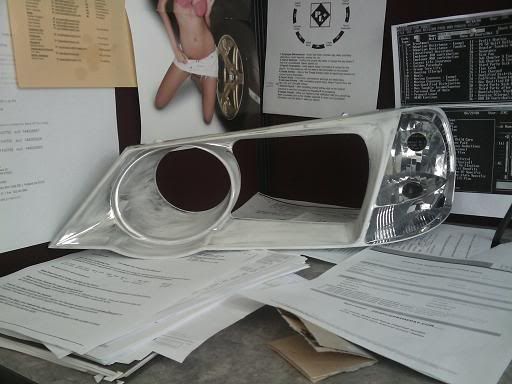
- You will need to flip the cover over. There will be two small screws, unscrew them and the housing will come out. You need to sand the housing. Just a high number grit sand paper, something not too rough and sand the housing. If they arent sanded down then the paint wont stick right. It will easily chip. After that, clean it off and just paint it black. Any cheap rattle can spray would work.
- Now reverse the order and put it back together. Its really simple, just takes a lot of time. Here is the progress on my retro.
ok
- Set the oven to bake 275
- Take out the middle rack and bottom rack all the way to the bottom
- Wet a towel and spread it on the bottom rack. This will keep the headlights from touching any hot metal. Since the towel is soaked in water, you will notice a lot of steam coming from the oven but thats normal.
- Put the headlights in for 7 minutes. Dont forget you need to take all the rubber and bulbs out, of course.
- Take out the headlight and shove a flat head in there and slowly go around the headlight to spread them apart and try to open them up as fast as you can.
It should slowly look like this
- Now when you pull them apart it should look like this
- Now if you can see, there is a amber reflector. Some people like the amber in there, I dont.
- Now if you want to take it out, you can easily pop it out from the back. Just poke it out with a screw driver.
- Now if you put them back together then you will have cleared headlights. If you want them black like mine......
http://i44.photobucket.com/albums/f17/fobstyles/4-4.jpg
- You will need to flip the cover over. There will be two small screws, unscrew them and the housing will come out. You need to sand the housing. Just a high number grit sand paper, something not too rough and sand the housing. If they arent sanded down then the paint wont stick right. It will easily chip. After that, clean it off and just paint it black. Any cheap rattle can spray would work.
- Now reverse the order and put it back together. Its really simple, just takes a lot of time. Here is the progress on my retro.
ok
Last edited by fobstylez; 05-06-2009 at 02:43 AM.
 ass had to many drinks on cinco de mayo...
05-06-2009, 12:13 PM
ass had to many drinks on cinco de mayo...
05-06-2009, 12:13 PM
#16
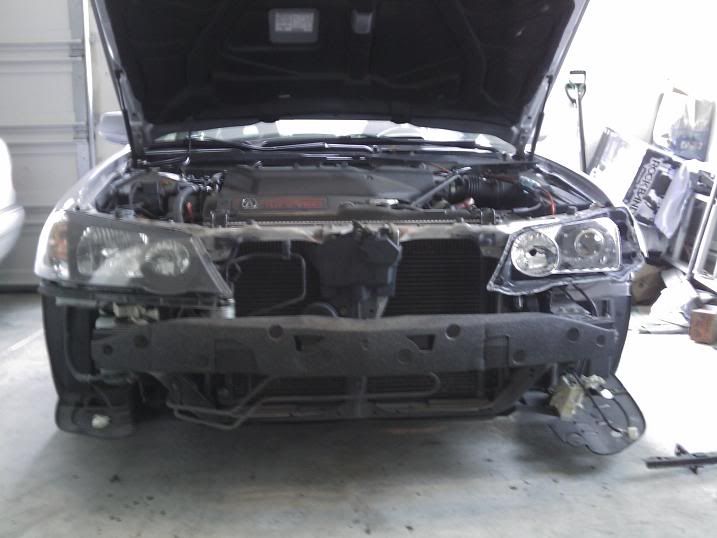
hehe oh the front end in that picture looks high cause that was right after I jacked up the car and did an oil change. So the springs did not settle. I just wanted to take pics of the headlights. I'm swapping out my springs for coilovers this weekend so I'll post pics of it since I plan on dumping it. I still dont know what I will be using for the shroud, I might custom fab something with fiberglass. Good thing about buying spare parts, you can take as long as you want!
 05-06-2009, 12:23 PM
#18
Oh found this on the web so it gave me the idea of doing fiberglass inserts. I worked with fiberglass many many times back in the day so it shouldnt be too hard.
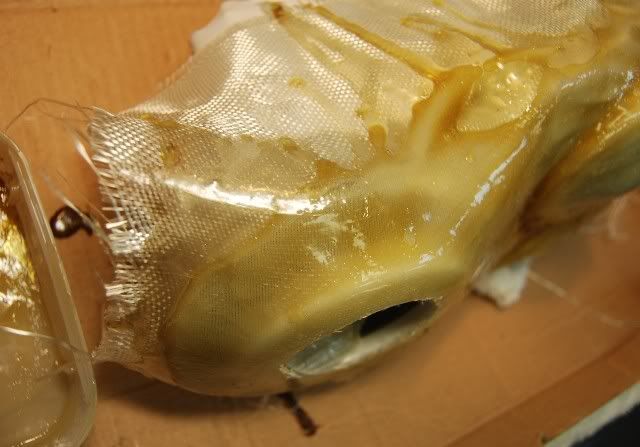
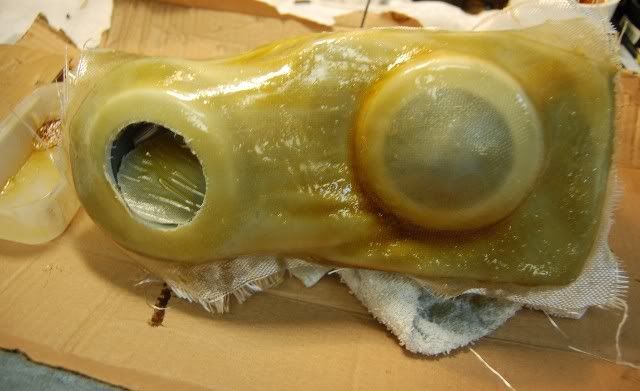
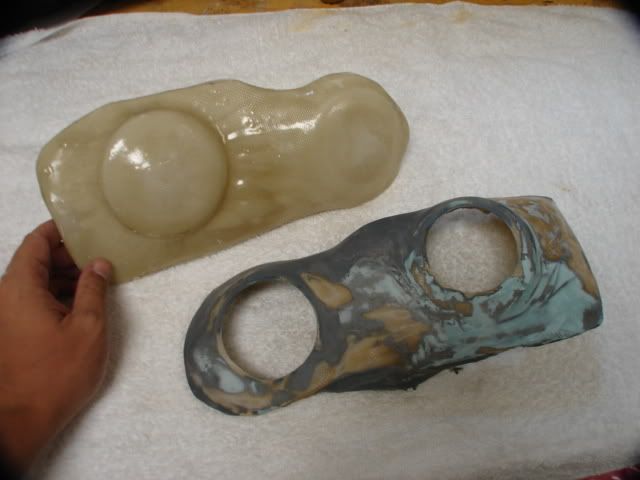
It looks freaking sick till you see it on the car. not my cup of tea but amazing work!
Its not too bad on the car but like i said, not my cup of tea.
It looks freaking sick till you see it on the car. not my cup of tea but amazing work!
Its not too bad on the car but like i said, not my cup of tea.
05-06-2009, 01:55 PM
#20
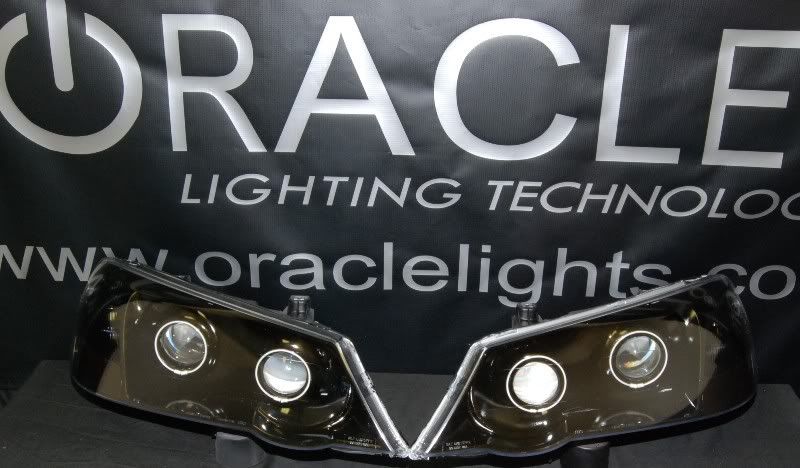
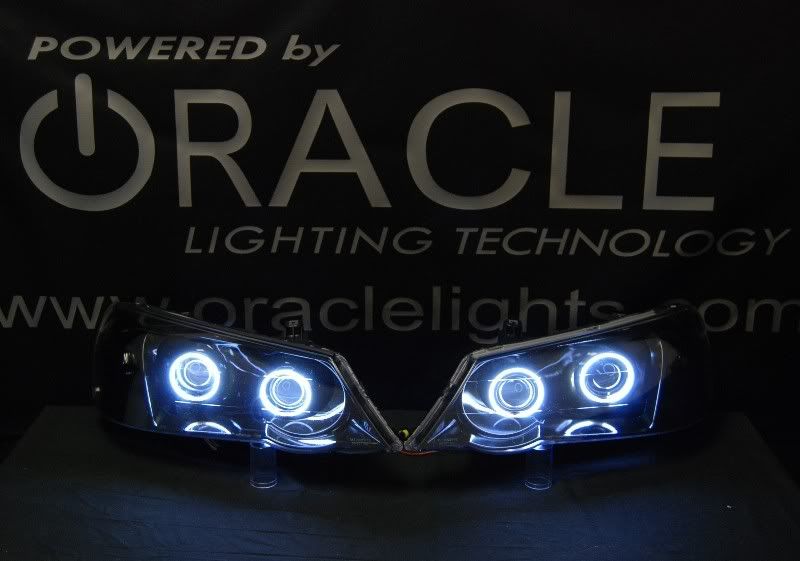
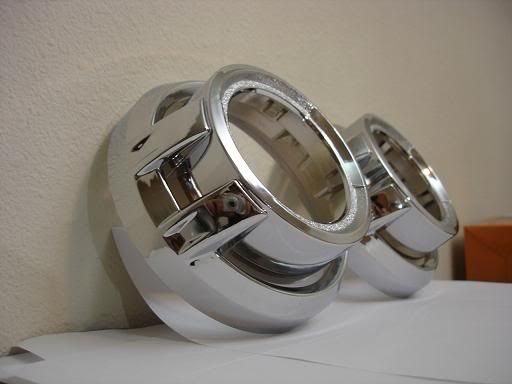
yea I'm not a fan of the angel eyes, that stuff should stay on bmws. But I'm just going one projector on each side, that crazy guy did quad projectors.
I started sanding the housing today at work.
I should have it ready to paint soon. Then sneak out and buy the screws to mount the projector and black paint to paint my housing. That way I have time to work on the fiberglass when I get home. Fiberglass resin at an office job is probably not a good mix. I'm still debating if I want to paint the fiberglass insert black or do a silver or chrome spray. I also found this while browsing.

He painted his high beam yellow, i'm kinda feeling that look, obviously with my yellow fogs. another pic of his setup

He also has a very clean retro, I may just paint it black like him.
I started sanding the housing today at work.
I should have it ready to paint soon. Then sneak out and buy the screws to mount the projector and black paint to paint my housing. That way I have time to work on the fiberglass when I get home. Fiberglass resin at an office job is probably not a good mix. I'm still debating if I want to paint the fiberglass insert black or do a silver or chrome spray. I also found this while browsing.
He painted his high beam yellow, i'm kinda feeling that look, obviously with my yellow fogs. another pic of his setup
He also has a very clean retro, I may just paint it black like him.
 05-07-2009, 12:16 PM
#24
here's some updated progress of what I did after work.
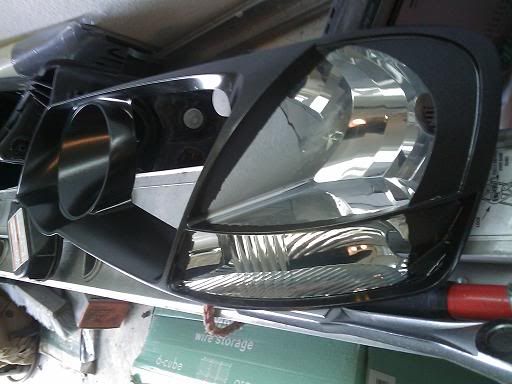
I painted the housing. I left a trim on the sides, the corner lights. I dont like them all blacked out but last time I painted my current set, I notice it kinda looked naked so I painted a trim around the edges.
I mounted the projector, today after work I will be aligning it before I tighten the bolts/screws.
Thats with the fresh painted housing on. I have to figure something about to about the shrould.
If i dont end up making one I may jump the gun on this
 05-07-2009, 02:29 PM
#27
Ackniculous One
Join Date: Jun 2003
Location: ATL Shawwwwtyyyy
Age: 50
Posts: 3,100
Likes: 0
Received 8 Likes
on
7 Posts
that accord is fawkin sick..dammmm great work on the headlights, wow...What would be kind of cool also is doing two projectors, low/hi bi xenon for one and the other would be a projector yellow fog and then you could keep the lower fogs white..that way you have an option for clear night driving with white fogs and then rock the yellows during rain, snow or fog....hmmmmmmmmmmm
05-07-2009, 02:48 PM
#29
that accord is fawkin sick..dammmm great work on the headlights, wow...What would be kind of cool also is doing two projectors, low/hi bi xenon for one and the other would be a projector yellow fog and then you could keep the lower fogs white..that way you have an option for clear night driving with white fogs and then rock the yellows during rain, snow or fog....hmmmmmmmmmmm
Thanks for all the feedback guys. Ill probably take some more pictures today. I know a lot of people are afraid to do things like this before they dont know what they are getting themselves into. I havent done a retro before but as long as you have the right tools you'll be fine. All you really need is a dremel. The rest is all man labor.
05-07-2009, 04:13 PM
#31
Yea I feel ya. If only they made a single projector aftermarket headilght, all I would have to do is open it up and swap it with good projectors. Its really not that difficult, just time consuming. I would've gotten a lot more done if it wasnt for the damn nba playoffs. I watch Eddie house get bitch slapped on the back of the head, Derek fisher WEE scola, and Kobe's elbow on Artest.
05-08-2009, 01:20 AM
#32
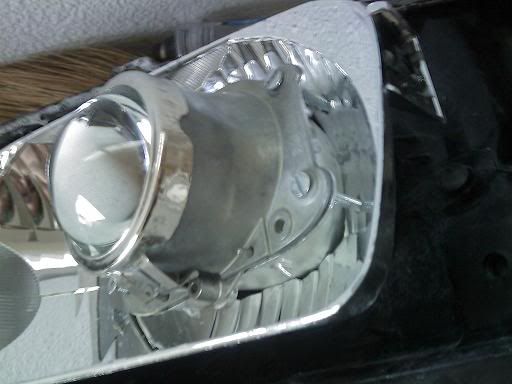
Here's what I did today.
what they look like so far
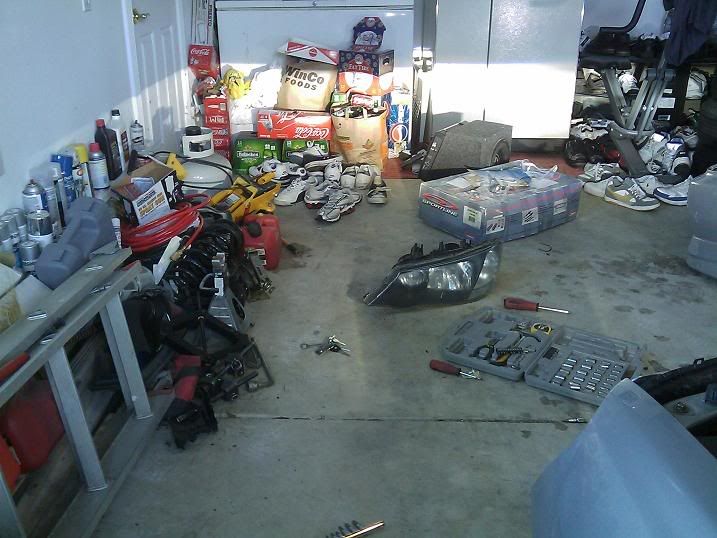
It was a bit off, yes, my garage is a dump.
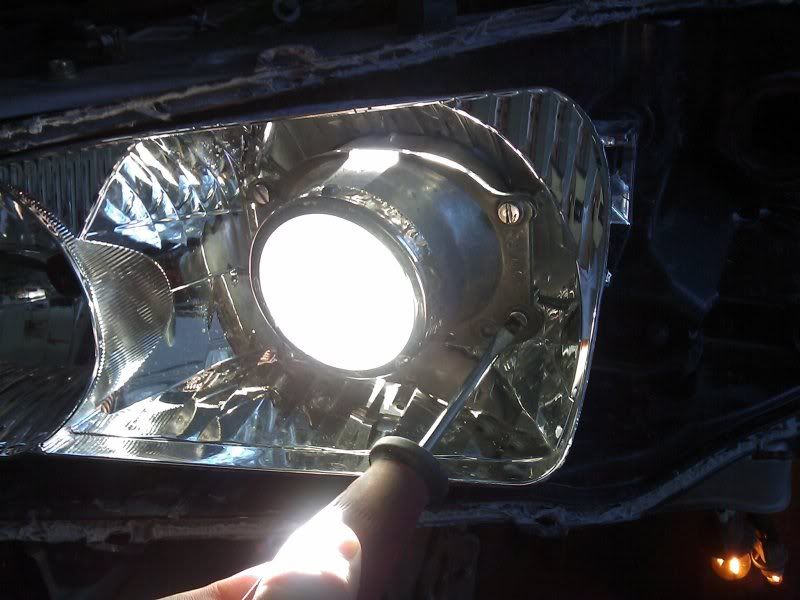
Adjusting for me was cake, just tighten or loosen the screws.
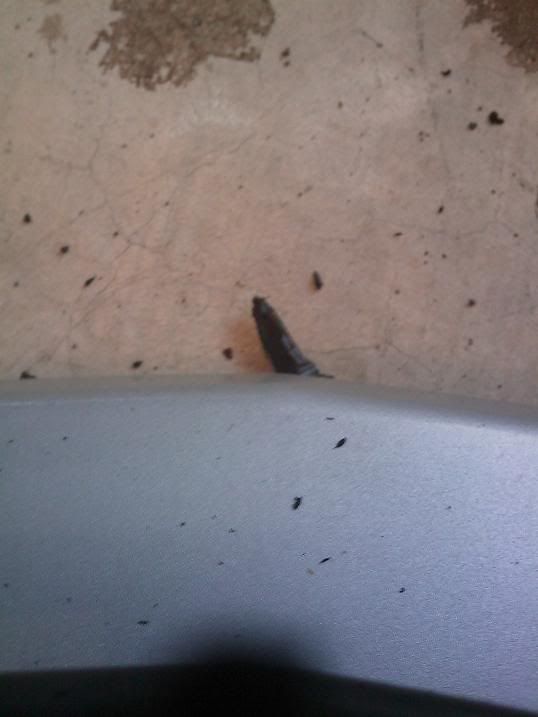
While I was at it, I bought one of these backup cameras to hook to my double din 7" screen. It was like 20 bucks at circuit city when they were closing. Anyways, I mounted it on the front bumper for parking purposes. I probably wouldnt use it much but eh, it was ez.
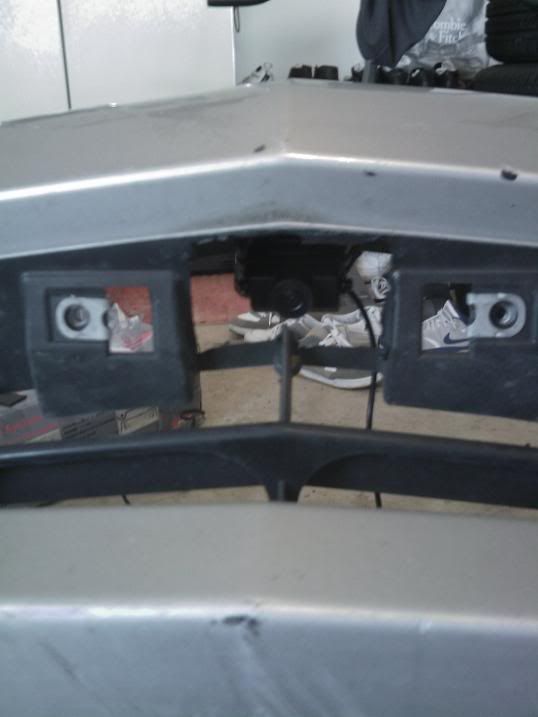
It gives you a perfect view of the curb
I also started to work on an insert to cover the projector mounts and will order a shroud tomorrow. Then tomorrow I will be working on the other side but that should be caught up by tomorrow evening. will just be waiting on the shroud and I'll be done.
Sorry, these are all pics from my camera phone.
what they look like so far
It was a bit off, yes, my garage is a dump.
Adjusting for me was cake, just tighten or loosen the screws.
While I was at it, I bought one of these backup cameras to hook to my double din 7" screen. It was like 20 bucks at circuit city when they were closing. Anyways, I mounted it on the front bumper for parking purposes. I probably wouldnt use it much but eh, it was ez.
It gives you a perfect view of the curb
I also started to work on an insert to cover the projector mounts and will order a shroud tomorrow. Then tomorrow I will be working on the other side but that should be caught up by tomorrow evening. will just be waiting on the shroud and I'll be done.
Sorry, these are all pics from my camera phone.
