
just to make sure


Thread Starter
Racer
Joined: Jan 2009
Posts: 376
Likes: 0
just to make sure
ok i want to clear and black my headlights, and the pics are down for the DIY. so im just going to check to make sure i got it right. first off, i dont have to buy ann thing right? (other than paint and sandpaper and that kind of stuff)
and so i bake headlights on a wet towel at 250 degrees for 7 minutes
then using a spatula and knife cut the clue and seperate it all
when putting it back together, do i need to glue it? or rebake it?
and so i bake headlights on a wet towel at 250 degrees for 7 minutes
then using a spatula and knife cut the clue and seperate it all
when putting it back together, do i need to glue it? or rebake it?
I'm a thrill seeker in my
Joined: May 2008
Posts: 907
Likes: 18
From: Edmonton, AB
I believe you have your process fairly correct. Most members rebake the sealant already used on the headlights, but if you want to make sure it's sealed perfectly then I'd recommend purchasing some silicone sealant or something and apply that lightly when you re-seal your headlights.

Instructor
Joined: Feb 2009
Posts: 109
Likes: 0
I just did my black housing yesterday. Here is what I did.
Remove front bumper. You will need to take out the clips and the bolts on the side of the fenders.
Take off the ballast and all of the bulbs in the headlight housing.
Bake at 200 degrees for about 20 minutes.
Get a razor blade and cut through the sealant holding the headlights together.
Primer the housing and let it sit for about 15 minutes.
Do 2 coats of black paint on the housing. 15 minutes between coats. (I used krylon flat black paint and krylon primer also just incase you were wondering.)
Screw the housing back into place in the housing and rebake the headlight back so the sealant becomes gooey again. (I added silicone adhesive for this just to make sure it gets sealed properly, but is not completely needed.)
Make sure to hold the headlights together so the sealant can stick again. Can use clamps if you want.
Then put the bulbs back in place and put the clips and screws back into place and you're done!
You will also want to change corner bulbs after - which I need to find out which ones are best to put in. The stock bulbs are ugly
The bulbs are 1157 and 194, correct? Hope this helps.
Thread Starter
Racer
Joined: Jan 2009
Posts: 376
Likes: 0
ok a few questions
is the piece i paint black the same chrome piece that had the oarnge insert in? the one that surrounds the whole front
also, i bought a headlight cleaner (to remove the oxidation) and it had 4 diff sandpapers, and other stuff. i followed the directions, still fogged. did it again, and really sanded it, and still is fogged. am i able to buy just a new plastic front cover?
Instructor
Joined: Feb 2009
Posts: 109
Likes: 0
Yeah, you pop out the orange reflector if you'd like and paint it black.
You can't do much about the lens just being dirty. Can you?
Ar eyou talking about fogged as in, leakage? If so, you need to properly seal your headlights back together. You CANNOT have any leaks.
You can't do much about the lens just being dirty. Can you?
Ar eyou talking about fogged as in, leakage? If so, you need to properly seal your headlights back together. You CANNOT have any leaks.
Trending Topics


Thread Starter
Racer
Joined: Jan 2009
Posts: 376
Likes: 0
im going to call the dealership tommorow in a few days to see if i can buy just a new front plastic cover peice.
also, since the bulb itself is orange, is there a cheap bulb i can buy thats not colored orange? so i can have zero orange in the headlights
also, since the bulb itself is orange, is there a cheap bulb i can buy thats not colored orange? so i can have zero orange in the headlights
^
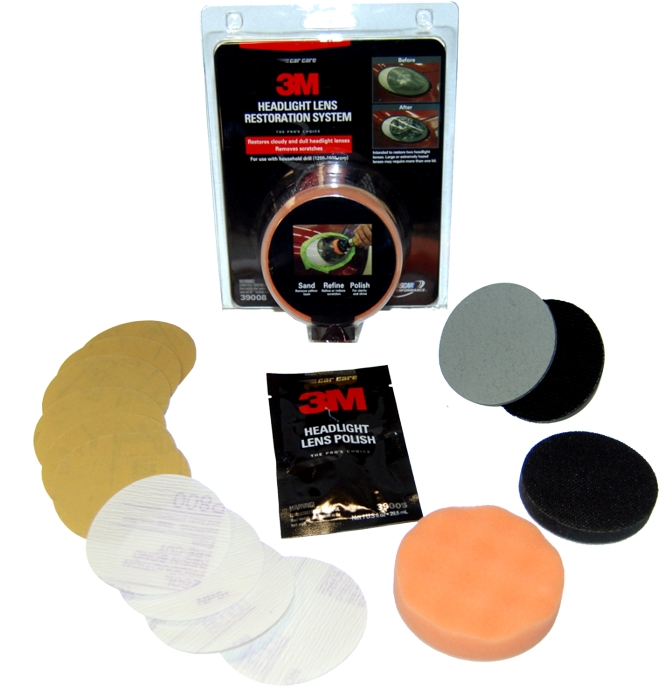
I got around to using that kit, and that was the best $23 I've spent in a while. I started out using 500 grit sandpaper, then 800, then wet sanding, and then polishing cream with a foam pad. I've never buffed or sanded anything on a car before, so I was a little hesitant to try it, but it turned out great! They look brand new.
I got around to using that kit, and that was the best $23 I've spent in a while. I started out using 500 grit sandpaper, then 800, then wet sanding, and then polishing cream with a foam pad. I've never buffed or sanded anything on a car before, so I was a little hesitant to try it, but it turned out great! They look brand new.

Thread Starter
Racer
Joined: Jan 2009
Posts: 376
Likes: 0
i still dont know. i got a drill buffer wheel and sanded and buffed the holy shit out of the thing, its better, but still cloudy. i cant feel any oxidation, and the top of the lens is shiny if light hits it, as well as the inside. any ideas?
Thread Starter
Racer
Joined: Jan 2009
Posts: 376
Likes: 0
ok wtf. i got the 3m kit just to try it, the one mentioned above. i did it exactly by the directions, and STILL its cloudy. i used a drill and everything. so im going to try spraying some clearcoat on it and calling it a day.

Thread
Thread Starter
Forum
Replies
Last Post
cycdaniel
1G TSX Performance Parts & Modifications
8
Dec 17, 2019 10:58 AM
pistacio
2G TL (1999-2003)
10
Sep 26, 2015 09:45 AM