When you click on links to various merchants on this site and make a purchase, this can result in this site earning a commission. Affiliate programs and affiliations include, but are not limited to, the eBay Partner Network.
Hello guys! It's finally time that I tried to share what I have been working on these past few years. When I first bought this car, it did sit in my garage a lot and was rarely driven, until I had the time to get the car maintenance up to date and in good running condition. It's a high mileage car owned by a older gentleman who drove it for work on the highways. Then, it was passed onto his son which he didn't have a need for it. It had a really clean body with rarely any dents on it and the paint was almost mint to my liking. It had most of the options already on the car, including the wood wheel, wood shift knob, A-Spec rims, and clear bra as well. I had to buy it! This car is still a work in progress for me, and I'm slowly getting more and more time to finally work on the car. I don't have original photos of the car before I had the H&R lowering springs put on it. I will slowly add photos as I find them to show more of my progress. Thanks for looking!
I purchased these sills on Ebay since I found a great deal on them. They installed with no issues, just remove the old ones and put these in. No issues with my install and matching up the holes.
At this moment, I've been working on putting new headlight bulbs onto the car since my passenger side headlight was flickering and then shutting off. I'm also changing out the DRL bulbs for some new LEDs to match the headlights. Pictures to come!
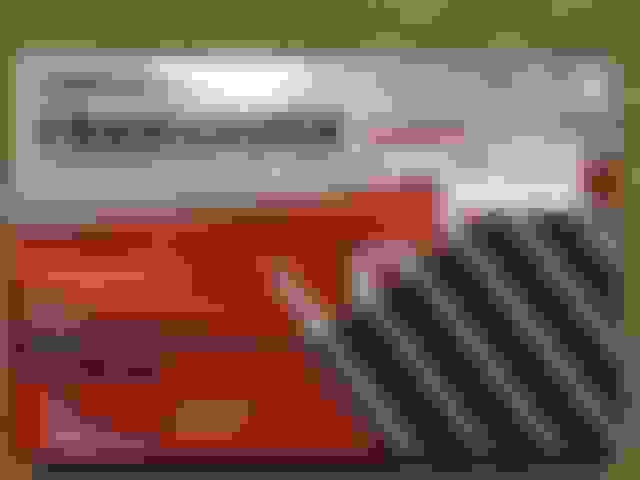
I've researched a few years back, and these were the ones I chose to replace the OEM bulbs with. I was told these should be brighter and better. I have yet to test drive my car with these on to see the difference yet. Update on review to come, along with new LED DRL bulbs as well!!
DRL OEM bulbs have been replaced with some LEDs. I like them so far with how they look and will match the color of the headlights as well. These were easy to install, but it makes it quite easy with the front bumper off, and have the air intake resonator box removed as well. Review with how these and the new headlight bulbs coming soon...
I purchased these sills on Ebay since I found a great deal on them. They installed with no issues, just remove the old ones and put these in. No issues with my install and matching up the holes.
Hey Boss, do you happen to have the Link for this item ? Is your car a 07 or 08 ? Beutiful ride bro
I've researched a few years back, and these were the ones I chose to replace the OEM bulbs with. I was told these should be brighter and better. I have yet to test drive my car with these on to see the difference yet. Update on review to come, along with new LED DRL bulbs as well!!
Hey Boss, do you happen to have the Link for this item ? Is your car a 07 or 08 ? Beutiful ride bro
My car is a 2005. They should work for 05-08. I bought them on Ebay, and just do a search on Ebay RL JDM sills. Let me know if you find them or not, and I'll help you out some more.
The LEDs are for my low beam headlight bulbs. I got a different set for the DRLs. So, if you're looking for the low beams, I did a quick search at which ones I purchased. I did not buy them at the link, I purchased them elsewhere years and years ago, and I finally got to putting them in. Here is the link, https://www.motivemods.com/OSRAM-Coo...sr-cbi-d2s.htm
The LEDs are for my low beam headlight bulbs. I got a different set for the DRLs. So, if you're looking for the low beams, I did a quick search at which ones I purchased. I did not buy them at the link, I purchased them elsewhere years and years ago, and I finally got to putting them in. Here is the link, https://www.motivemods.com/OSRAM-Coo...sr-cbi-d2s.htm
Awesome, thank you! Your ride is coming along nicely!
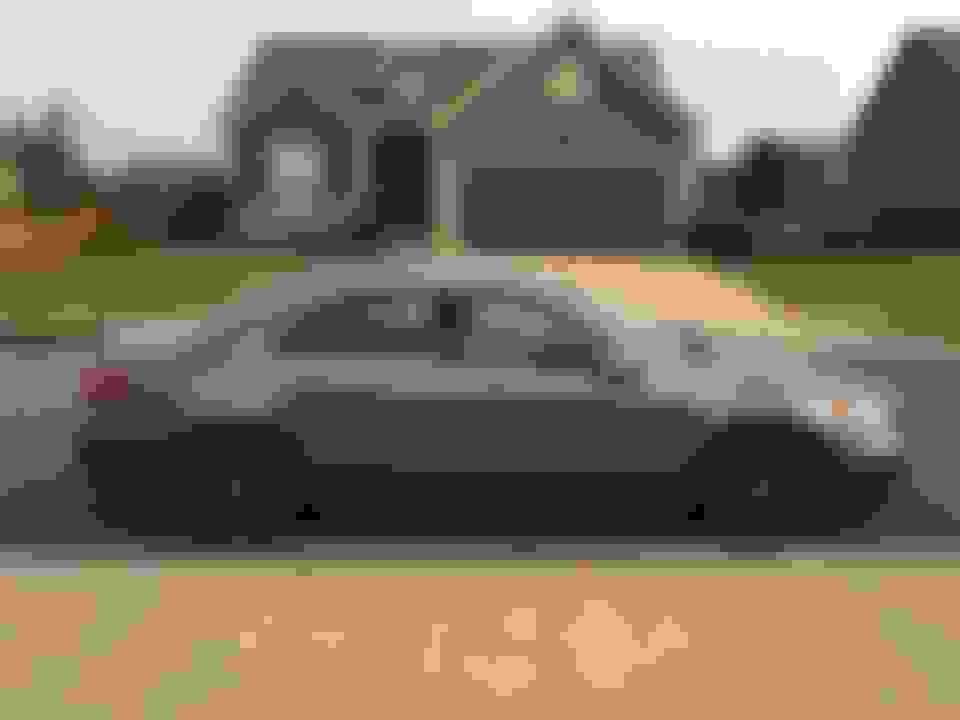
Took it out of the garage to snap a photo with the new rims! 19" VMR wheels on H&R lowering springs and stock shocks. I'm thinking of upgrading the suspension to all new full bodies, probably a set of Largus coilovers.
These just came in the mail and I'm pretty excited about it. Time to remove the 230k miles shocks and springs for some new stuff. Hope these will ride just as good as stock, while lowered. Stay tuned for later updates!
Out with the old, and in with the new! Here are some teaser photos! I'm still trying to dial in the height to my liking. These Largus coilovers can go pretty low, and there's still room left to go lower after being tucked/dumped...
Nice work! Coming along nicely. What's the DRL leds you bought?
I believe I purchased them through Amazon years ago. I don't remember the brand. Give me some time and I can search through my emails on where and what brand I purchased them.
I believe I purchased them through Amazon years ago. I don't remember the brand. Give me some time and I can search through my emails on where and what brand I purchased them.
I wasn't able to find where about I purchased them, it had to either be from Amazon or Ebay. I can try to snap a photo of what the box and brand is to help guide you to purchase them. Let me know. Unless you already found a different set that works for you.
Here is my newest update. I have been so busy I haven't had a chance. Work during this COVID-19 is hectic! That and trying to make $$$
This was when I first installed the full Largus suspension setup. I set it to the middle and it's pretty slammed. I couldn't turn my wheels to get out of the garage, I could only go forward and reverse without risking any damage to my fenders and front bumper. I will be raising it up when I get the chance to get a no wheel gap between the rear tires and a very slight tuck of tire in the fronts. These Largus full coilovers can go pretty low if you're in the market for them!
I'm in the process of getting a roof spoiler painted, and just found out that there were two different shades of the same color to choose from. Is anyone else aware of this as well? Or, is this just pertains to my Lakeshore Silver Metallic color code??
I just had a quick minute to snap a photo of the front lip installed, as well as the fog light vinyl covers that are slightly smoked in color, yellow led fog light bulbs too. The rear lip and side skirts will be complete at some point.
Freshly cleaned and polished up the whole exhaust system� Completely installed� Exhaust installed and finally put my rear bumper and A-Spec lip spoiler on�
Another update with a subtle rear roof spoiler I had paint matched and installed the other day. Soon, photos will be up once I install these A-Spec side skirts to complete my exterior mods on the RL.
Looks so good! BNIB Comparison of the A-Spec above and the OEM side skirt below�
Sorry, been busy working and putting in a lot of hours at work, along with other house responsibilities. I'll update the next time I get the chance! My next task is trying to repair the ripped leather on my center armrest. I already have the materials, just need to perform the DIY replacement...
Update with the whole A spec kit installed soon... It's winter here in Kansas, and my RL doesn't go out in the snowtime...
I have finally finished and completed the install on the A-spec lip kit all the way around. Looks so good. I also need to adjust the rear driver side suspension a little bit higher due to it not being even with the opposite rear side, it's just a PITA when I can't adjust the collars because they just won't budge without hammering them to adjust and that will just damage the collars. So, I will have to remove the suspension, adjust it, then install again. Yea... Or, I might just say screw it and leave it as is...
I also just purchased a whole new set of Powerstop drilled and slotted rotors and brake pads. Mostly for looks, but it will function better for braking as well. I promise to have a few progress photos soon... Sorry guys...
I can't adjust the collars because they just won't budge without hammering them to adjust and that will just damage the collars.
Have you tried with a bit of wood to absorb the blows ? If you can get a bit of hard wood that you can wedge against the collar, you can hammer the wood instead of hammering the metal...
Get a nice little chisel and put it into the little groove edge of the collar with a small hammer...don't go nuts, its aluminum.
Also, if you haven't, use a small brush and some lubricant...brush the exposed threading below it, then lower the collars down
so you can clean the threads above it...I like to use dry film or WD40...then you should be able to go up to your desired height.
Are these coilovers the type with preload separate?
I installed them straight out the box onto the car. I wouldn't think there would be so much friction when adjusting everything. I feel like the load of the car is causing too much pressure on it, it makes it difficult to adjust. The coilovers are a separate shock and separate spring and color when installed onto the car (as can be seen from one of the photos above, the shock is installed separately from the spring and collar adjustment.
Well here's another thing, try lifting the front together and the rear together to make adjustments so you don't have the loaded weight of the car from the other side.
 06-23-2020, 08:47 PM