TL sidekirts / Puddle Light DIY
 03-23-2009, 12:39 PM
#1
Wait...I just blacked out
Thread Starter
Join Date: Oct 2006
Location: Gainesville Florida
Age: 39
Posts: 639
Likes: 0
Received 0 Likes
on
0 Posts
TL sidekirts / Puddle Light DIY
Hey guys,
So I'm finally getting around to doing these TL side skirts to permanent (right) way. I had just been getting bogged down with law shit, but I'm gonna bust these out right before I have to crawl under a rock to study for finals. So here's my DIY for TL side skirts, and also for installing puddle lights.
Just a little FYI...puddle lights are NOT underbody neon, street glow, etc. They are lights that turn on and off with your interior dome or courtesy lights in order to light the area around the door when entering and exiting at night.
There are universal puddle lights I found out there, but they looked more for sedans, had about 4 bubbles of LEDs for under each side of the car, and i've seen them on the TL's they looked pretty good, but I didn't want anything too "in your face" so i tracked down these late 90's range rover puddle lights, two for each side. And I'm putting them in the side skirts. They'll clip right into the skirts instead of gluing them underneath and having the wires exposed underneath.
So this might not be what you would do, or what you did, or what you think i should have done...but here we go!
Skirts
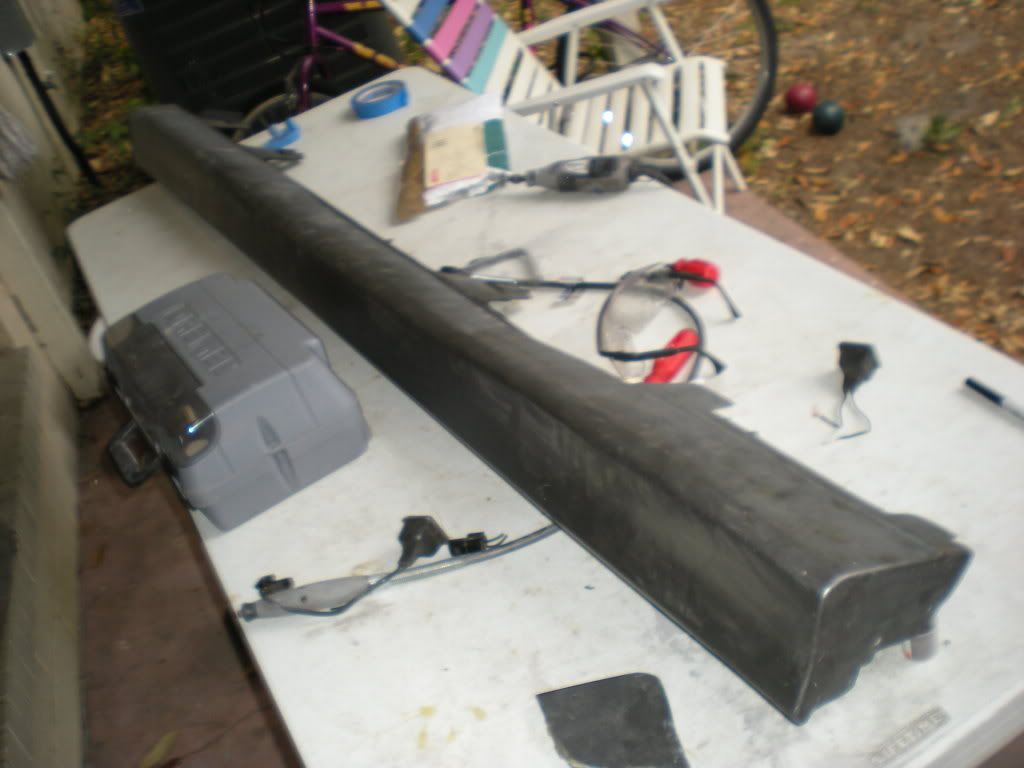
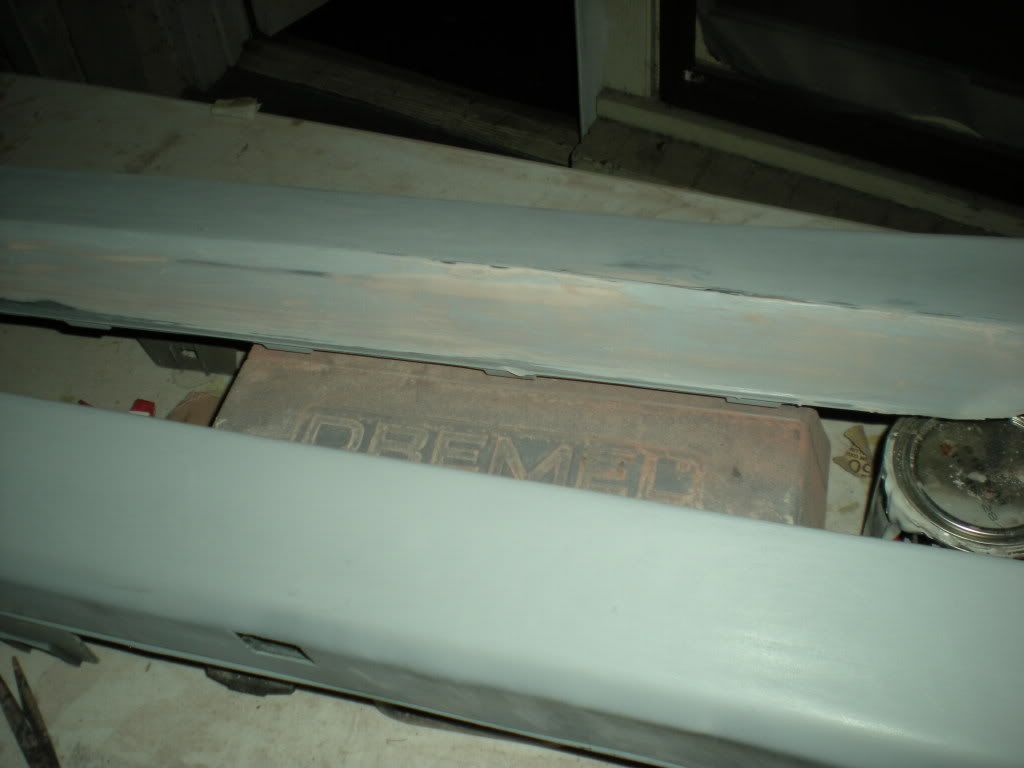
its tough to see, but thats the TL skirt layed over the CL side skirts. Earlier guys cut it in the middle, and then connected it. I however just trimmed one side of it, then reattached the end piece. It seemed more stable and less noticeable than cutting it in the middle.
Make sure you sand down the side skirts (both) in order to provide the most bonding surfaces possible.
Then just mix up some epoxy/resin and then just mix some fiber glass into it
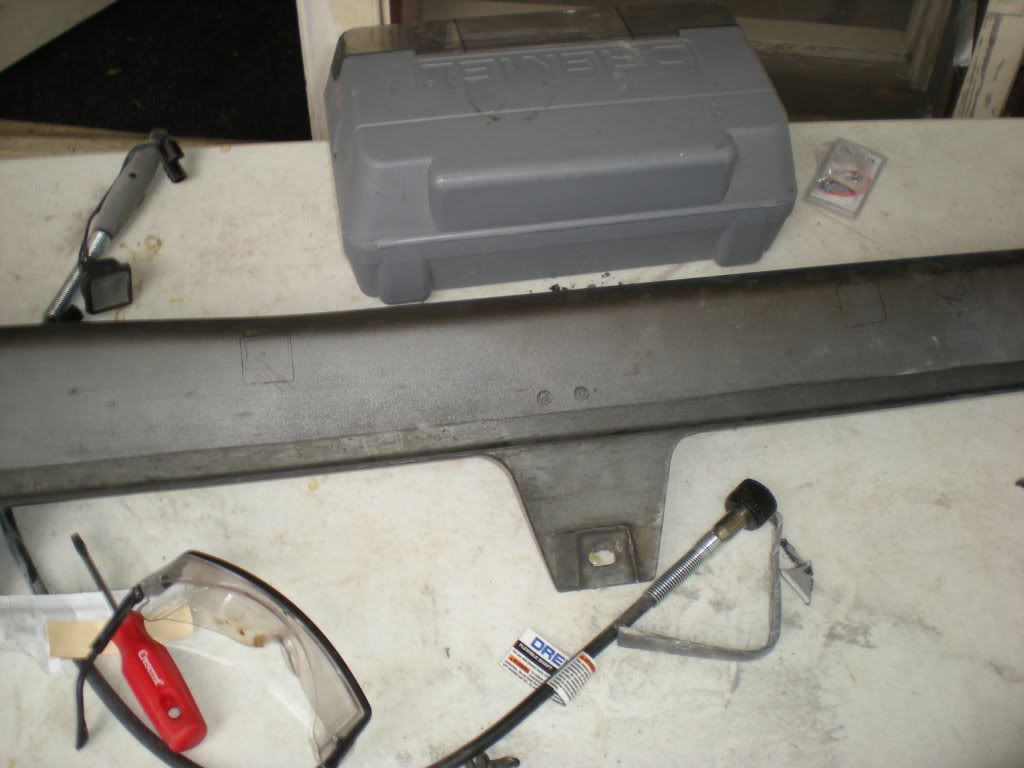
Here's another picture, the bottom lines up well enough so you don't have to trim that piece
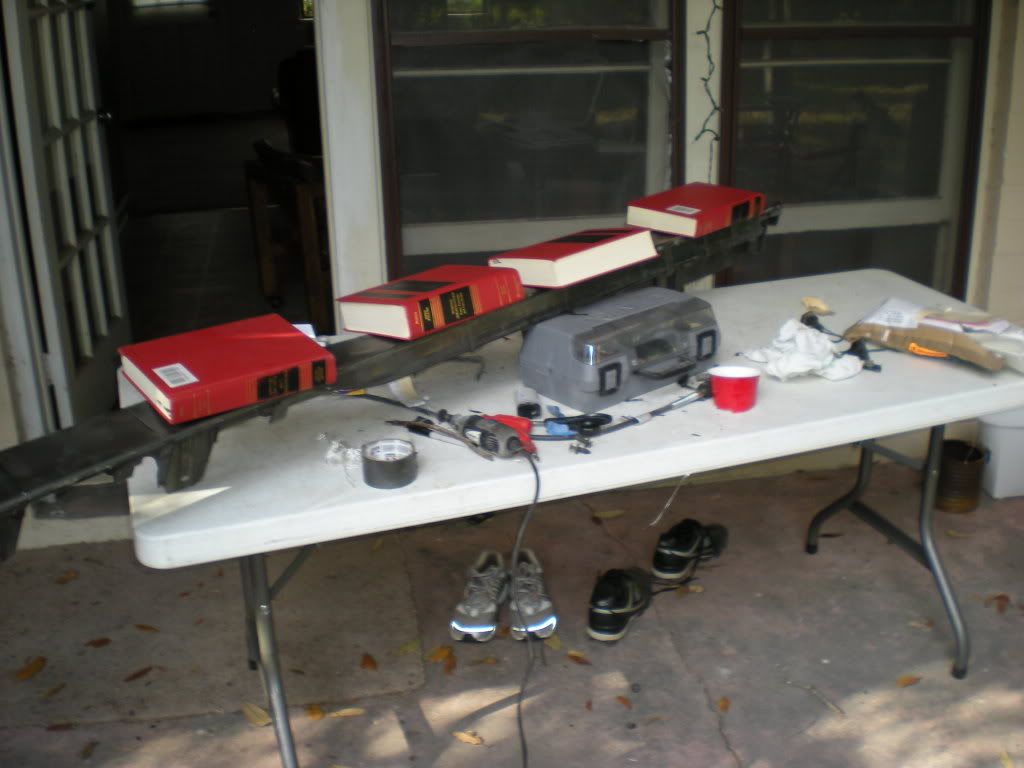
now..I got some knock off fiberglass TL skirts, so they didn't have all the stock mounting equipment inside of it. That actually helped a lot because I didn't have to cut it all out of there
I finally found a good use for my law books!
Puddle lights
Now you can mark the area for your puddle lights
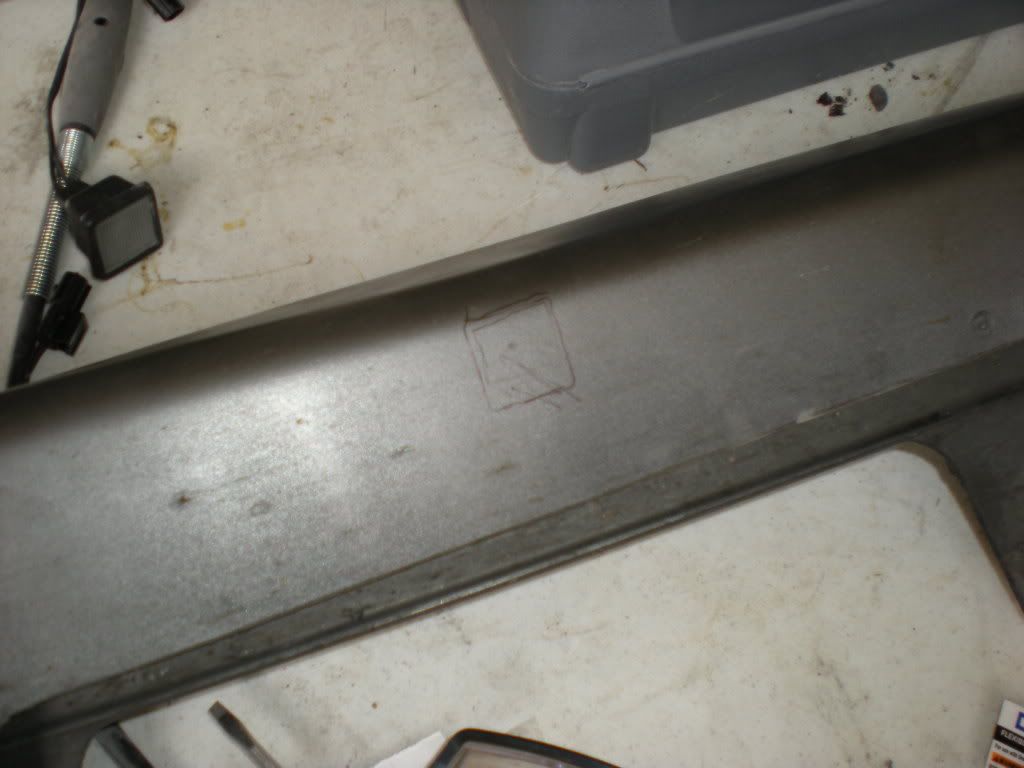
now cut the TL skirt
the range rover snaps in like factory
now just cut the CL skirt too, so the puddle lamp can fit in all the way
Now it looks factory (minus all the dust, no paint, etc.)

more pics and instructions to come!
So I'm finally getting around to doing these TL side skirts to permanent (right) way. I had just been getting bogged down with law shit, but I'm gonna bust these out right before I have to crawl under a rock to study for finals. So here's my DIY for TL side skirts, and also for installing puddle lights.
Just a little FYI...puddle lights are NOT underbody neon, street glow, etc. They are lights that turn on and off with your interior dome or courtesy lights in order to light the area around the door when entering and exiting at night.
There are universal puddle lights I found out there, but they looked more for sedans, had about 4 bubbles of LEDs for under each side of the car, and i've seen them on the TL's they looked pretty good, but I didn't want anything too "in your face" so i tracked down these late 90's range rover puddle lights, two for each side. And I'm putting them in the side skirts. They'll clip right into the skirts instead of gluing them underneath and having the wires exposed underneath.
So this might not be what you would do, or what you did, or what you think i should have done...but here we go!
Skirts
its tough to see, but thats the TL skirt layed over the CL side skirts. Earlier guys cut it in the middle, and then connected it. I however just trimmed one side of it, then reattached the end piece. It seemed more stable and less noticeable than cutting it in the middle.
Make sure you sand down the side skirts (both) in order to provide the most bonding surfaces possible.
Then just mix up some epoxy/resin and then just mix some fiber glass into it
Here's another picture, the bottom lines up well enough so you don't have to trim that piece
now..I got some knock off fiberglass TL skirts, so they didn't have all the stock mounting equipment inside of it. That actually helped a lot because I didn't have to cut it all out of there
I finally found a good use for my law books!
Puddle lights
Now you can mark the area for your puddle lights
now cut the TL skirt
the range rover snaps in like factory
now just cut the CL skirt too, so the puddle lamp can fit in all the way
Now it looks factory (minus all the dust, no paint, etc.)
more pics and instructions to come!

 03-23-2009, 07:57 PM
#6
Whats up with RDX owners?
iTrader: (9)

Id love to see it at night. Are you going to have them hooked up to a switch or wired into the door lights?
03-23-2009, 09:36 PM
#7
Wait...I just blacked out
Thread Starter
Join Date: Oct 2006
Location: Gainesville Florida
Age: 39
Posts: 639
Likes: 0
Received 0 Likes
on
0 Posts
I'm going to wire them to the dome wires. That way when I hit the unlock on my key chain, or get out of my car they will be lit. should be cool lookin. and serve some purpose. more updates tomorrow
Trending Topics
03-24-2009, 01:07 AM
#8
DESI miern
are the puddle lights gonna be halogen or LEDs? great write up, even us TL guys can learn from this!
but just so you know.. UF Gators are most def. FTL, GA Dawgs are where its at!!
but just so you know.. UF Gators are most def. FTL, GA Dawgs are where its at!!
03-24-2009, 07:50 PM
#11
Wait...I just blacked out
Thread Starter
Join Date: Oct 2006
Location: Gainesville Florida
Age: 39
Posts: 639
Likes: 0
Received 0 Likes
on
0 Posts
update #2
Alright guys,
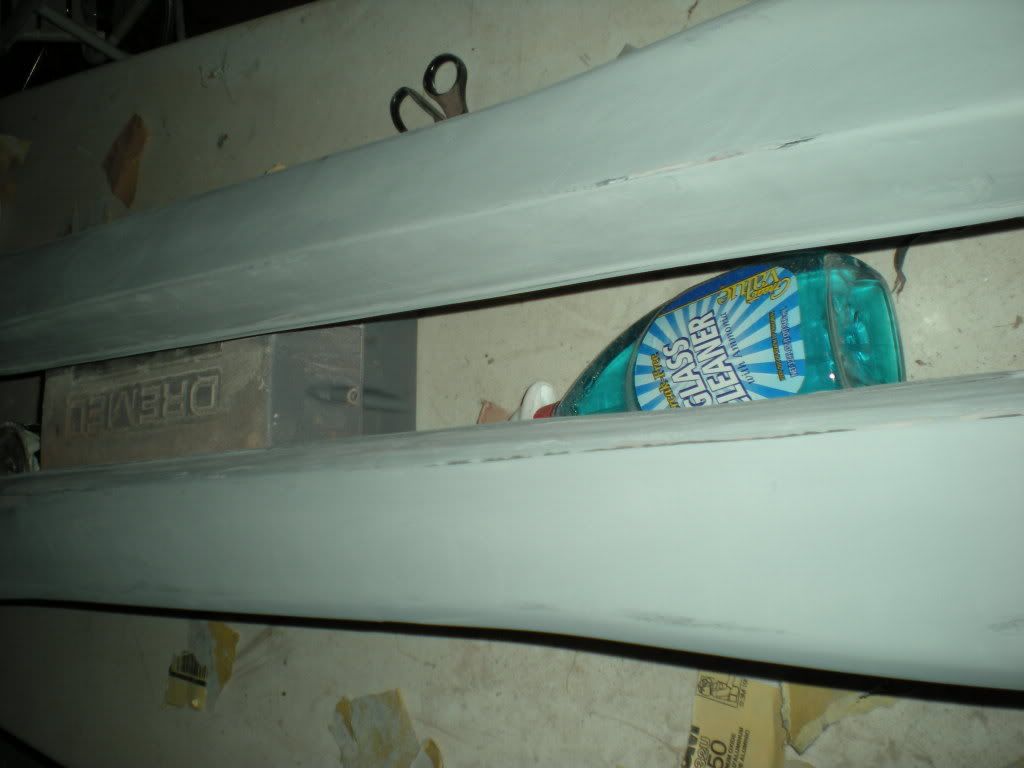
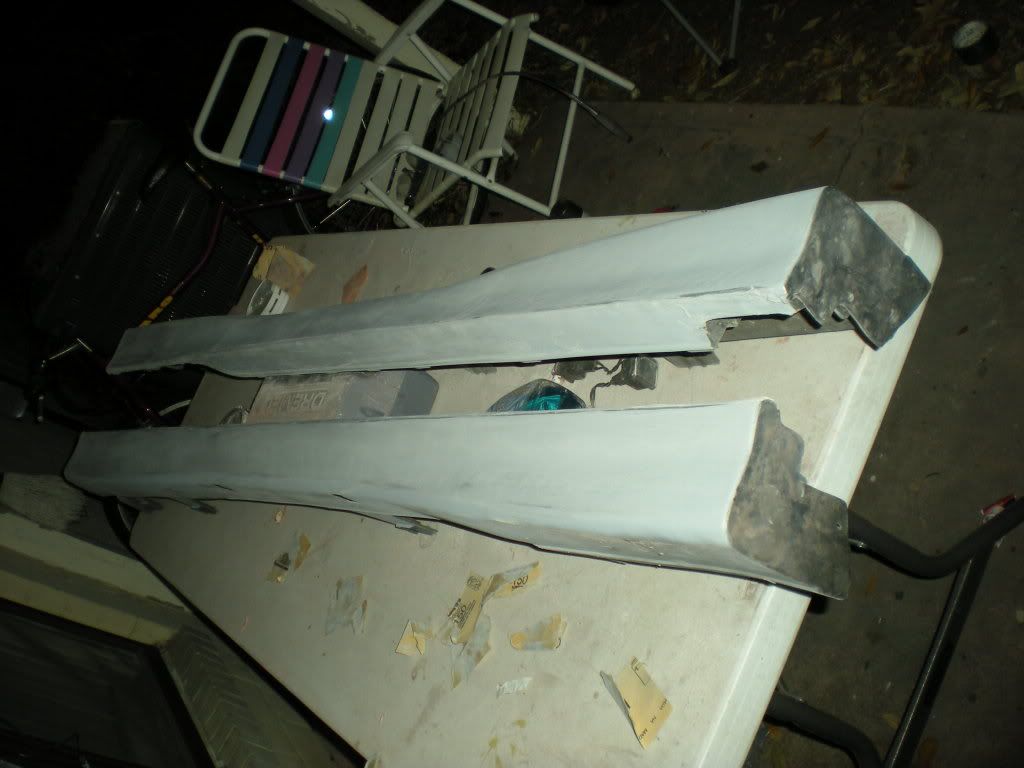
so on and off working, i've now got them all set, and I am just sanding and feathering them in at this point. I've got them pretty smooth, I'm working down in sand grit, currently at 300 grit after priming them, and they should be painted tomorrow.
Here are some pics showing the new side skirts (TL molded over CL) and primed/sanded
 03-26-2009, 01:31 PM
#13
Senior Moderator
Regional Coordinator
(Mid-Atlantic)
Regional Coordinator
(Mid-Atlantic)
iTrader: (6)
Nice project, can't wait to see the finished product
03-29-2009, 09:52 AM
#14
Wait...I just blacked out
Thread Starter
Join Date: Oct 2006
Location: Gainesville Florida
Age: 39
Posts: 639
Likes: 0
Received 0 Likes
on
0 Posts
updated #3
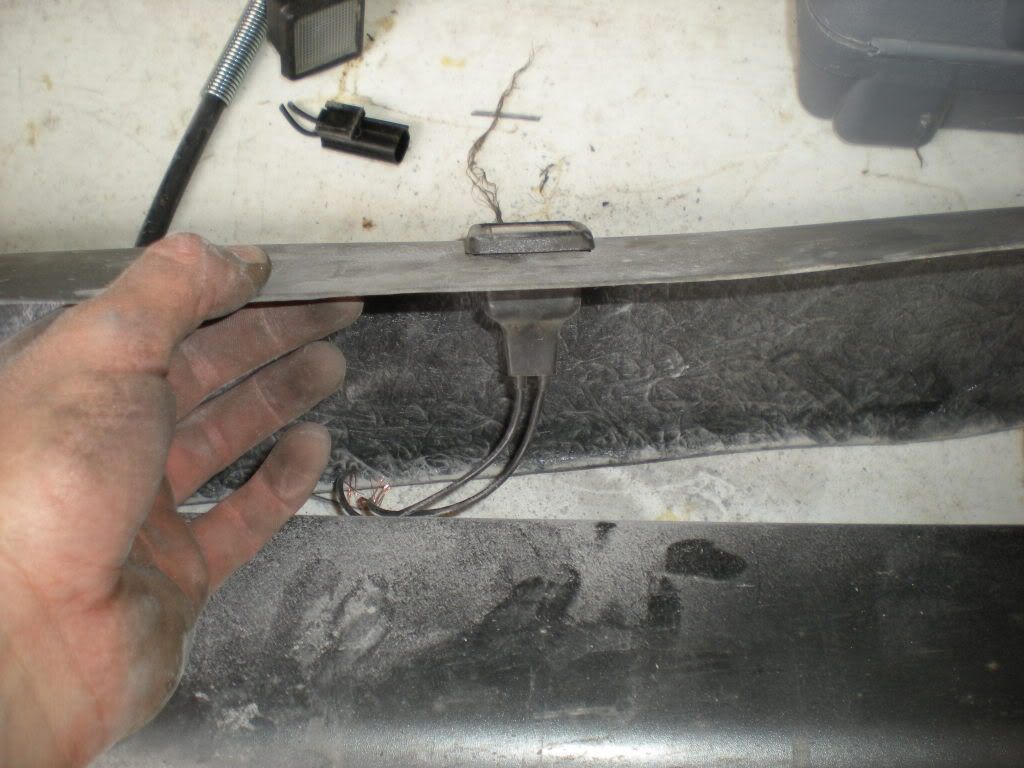
So the side skirts are finally done. The puddle light wiring is ready to go, I just haven't actually wired them in yet as you can see from these pictures:
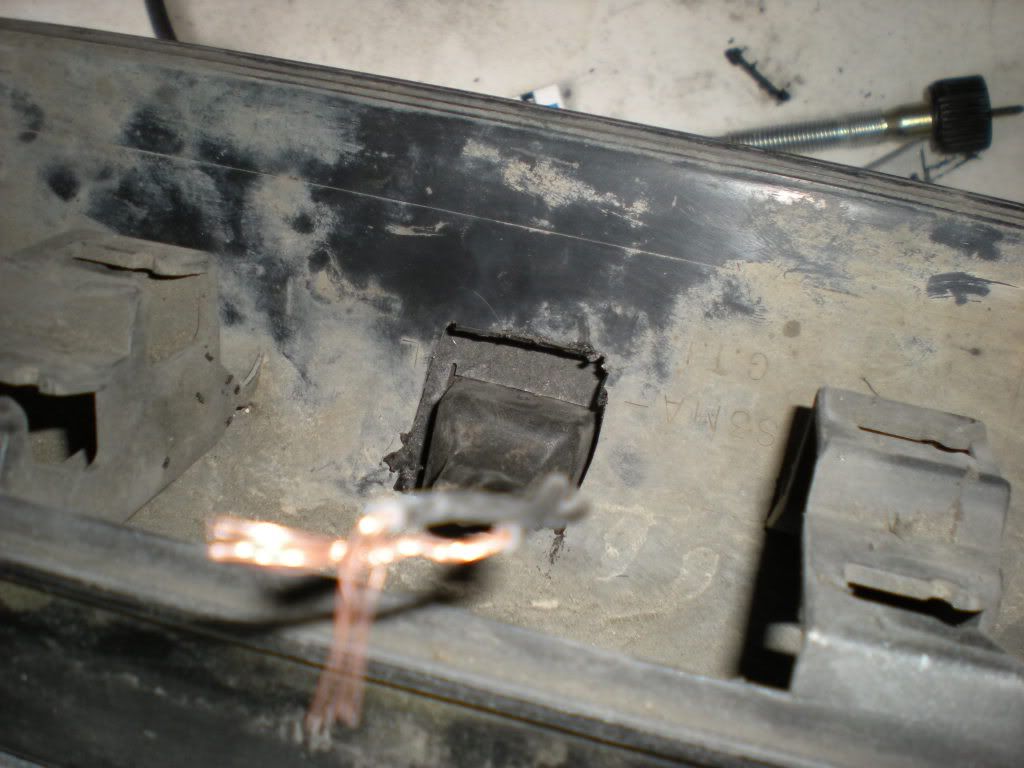
I had to dremel a small cut into the side skirts to run the wires up, and once I figure out 100% how/where I want to wire these things I'll tuck them up and hide them better of course.
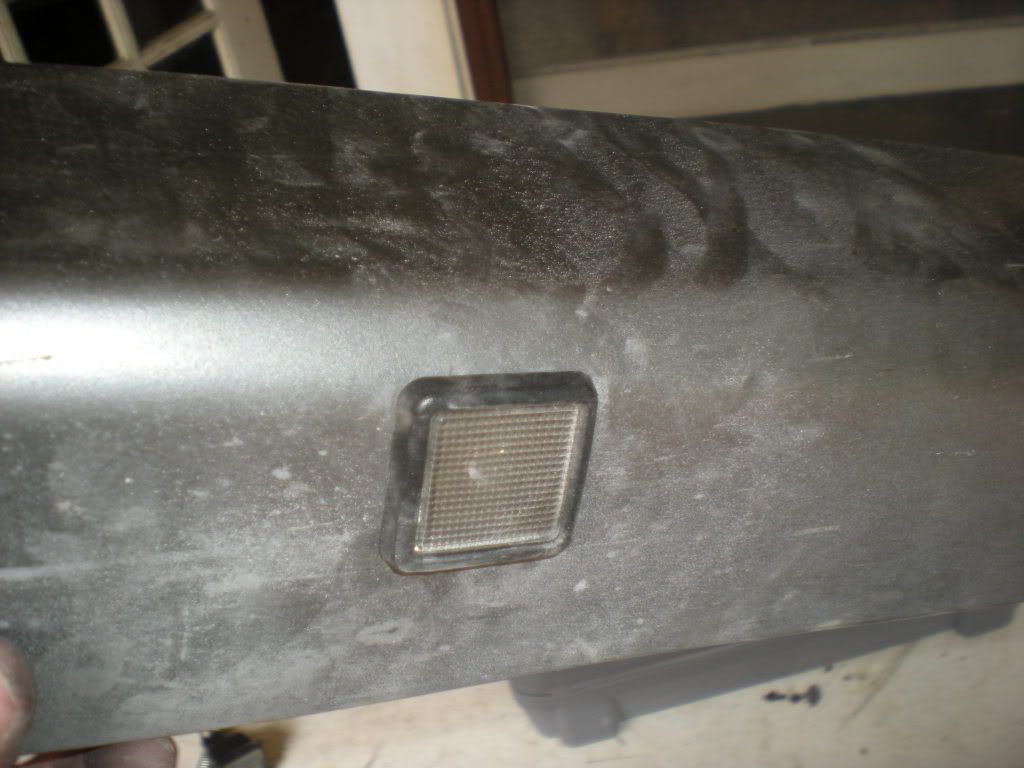
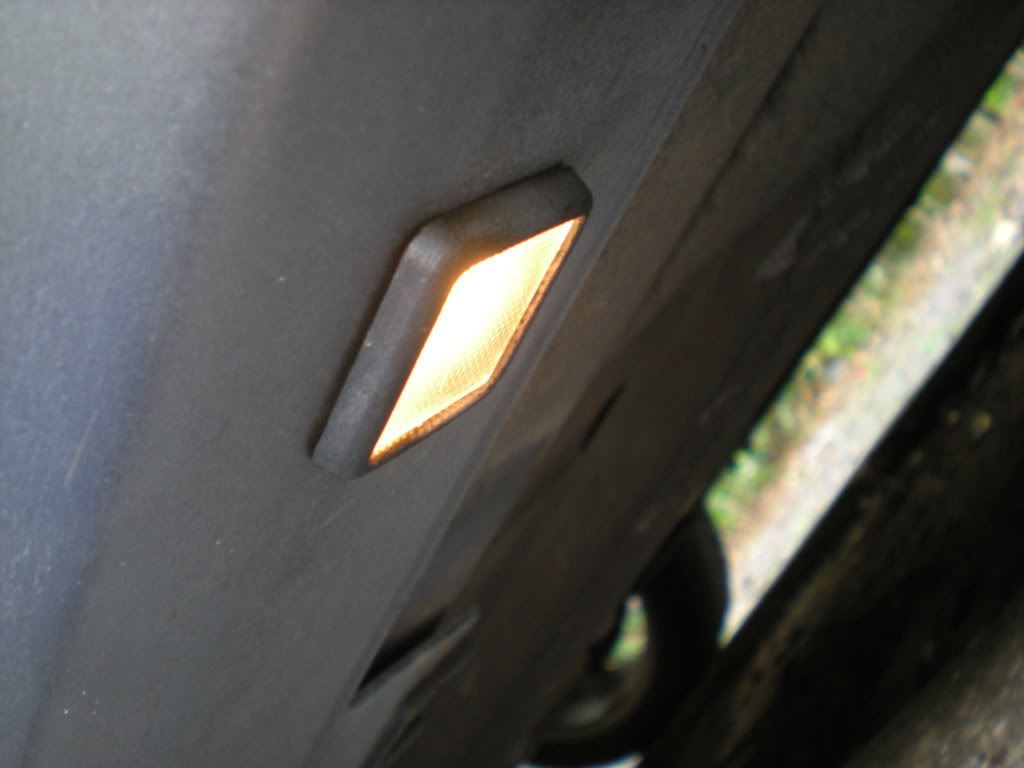
you can see the puddle lamps in this picture
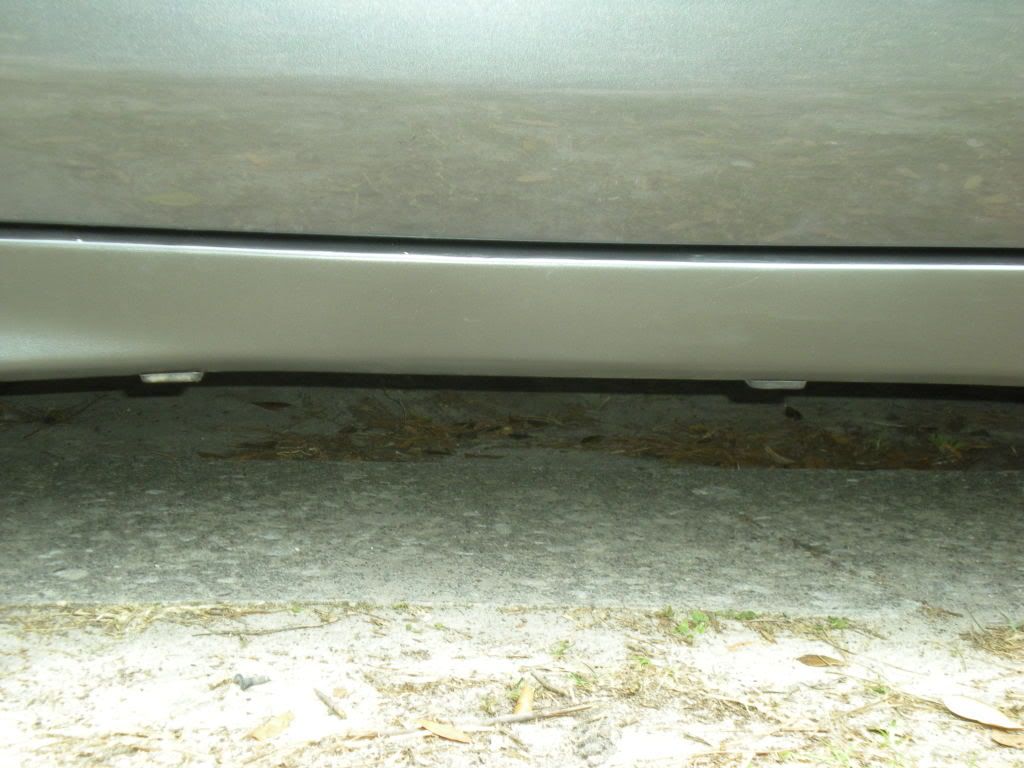
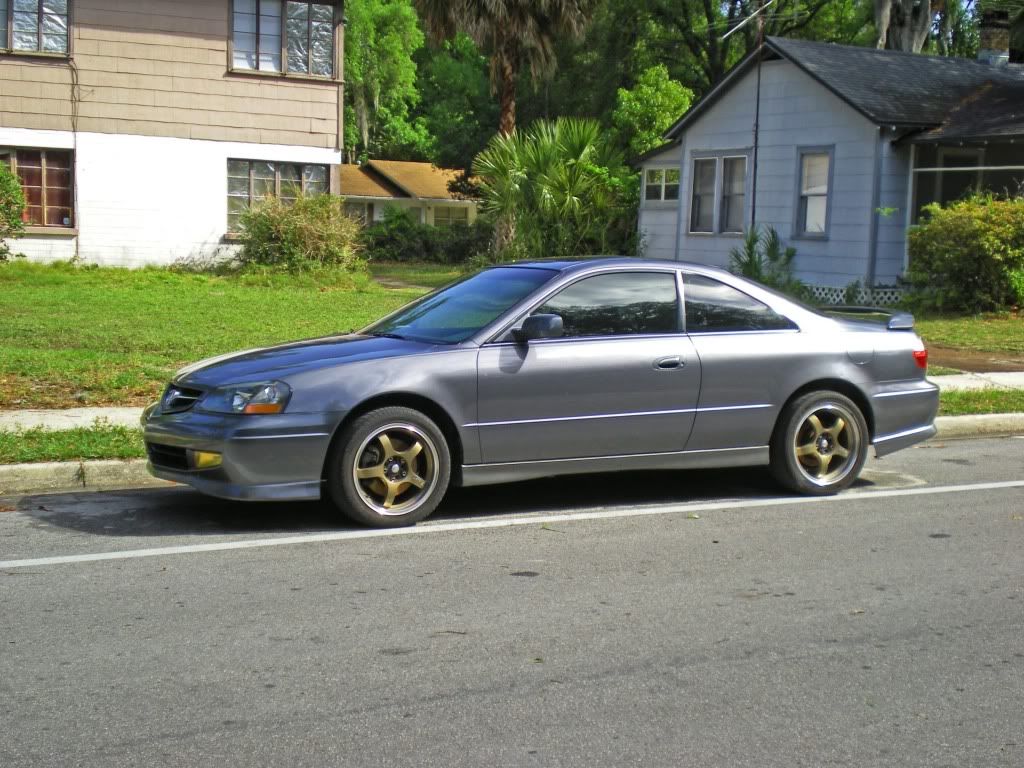
they sit really nice and flush underneath the skirt and are only visible if you go up and look at a low angle at the car
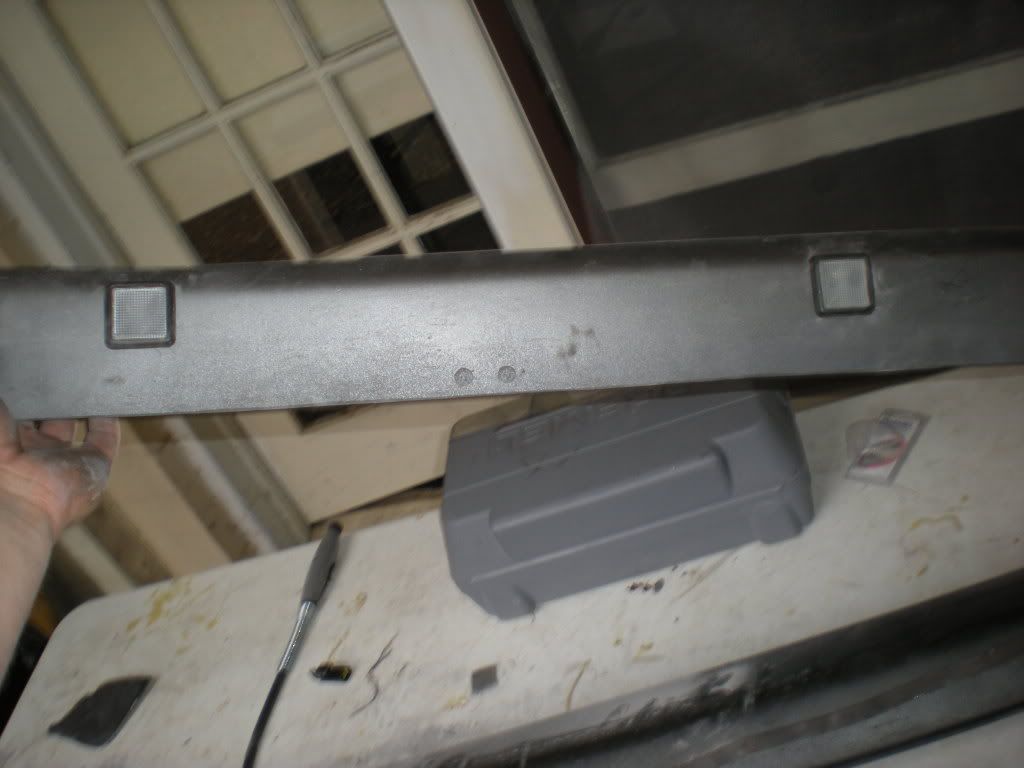
and here's a picture of the sideskirts done
working on wiring today...
I had to dremel a small cut into the side skirts to run the wires up, and once I figure out 100% how/where I want to wire these things I'll tuck them up and hide them better of course.
you can see the puddle lamps in this picture
they sit really nice and flush underneath the skirt and are only visible if you go up and look at a low angle at the car
and here's a picture of the sideskirts done
working on wiring today...
 03-29-2009, 03:45 PM
#20
Pro

 03-29-2009, 04:12 PM
#21
Wait...I just blacked out
Thread Starter
Join Date: Oct 2006
Location: Gainesville Florida
Age: 39
Posts: 639
Likes: 0
Received 0 Likes
on
0 Posts
yea...but i don't see why it couldn't? it cuts clean with the dremel...and you could just refiber glass it and mold it back together. cutting it in the middle and molding the two ends together seemed like too much of a hassle as opposed to trimming off a little bit of the end, then remolding the end piece onto the skirt.
thanks for the comments guys
thanks for the comments guys
 04-05-2009, 05:48 PM
#24
Wait...I just blacked out
Thread Starter
Join Date: Oct 2006
Location: Gainesville Florida
Age: 39
Posts: 639
Likes: 0
Received 0 Likes
on
0 Posts
Done!
Alright guys.....Puddle Lamps ARE DONE!!
I'll give a picture by picture ending write up...
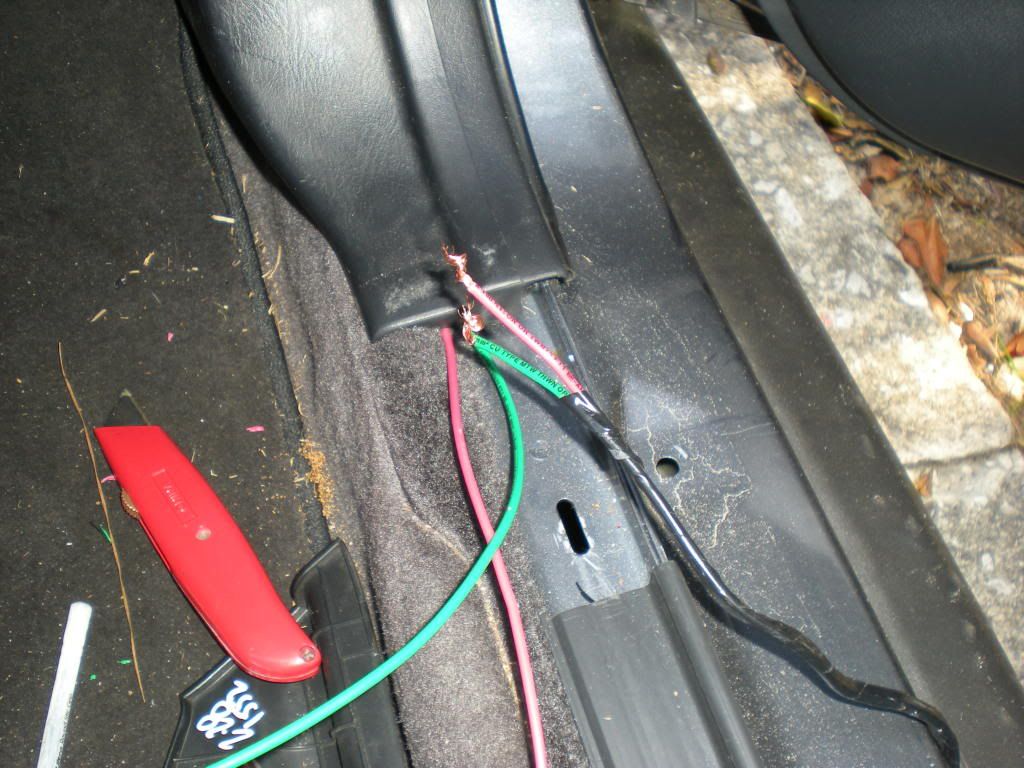
First I braided the wire together with electrical tape just to make it look pretty and so it wasn't sagging all over the place under the dash...
(disregard the dirty car)
Made sure it was long enough to reach from the drivers side to the passengers side where the power will be
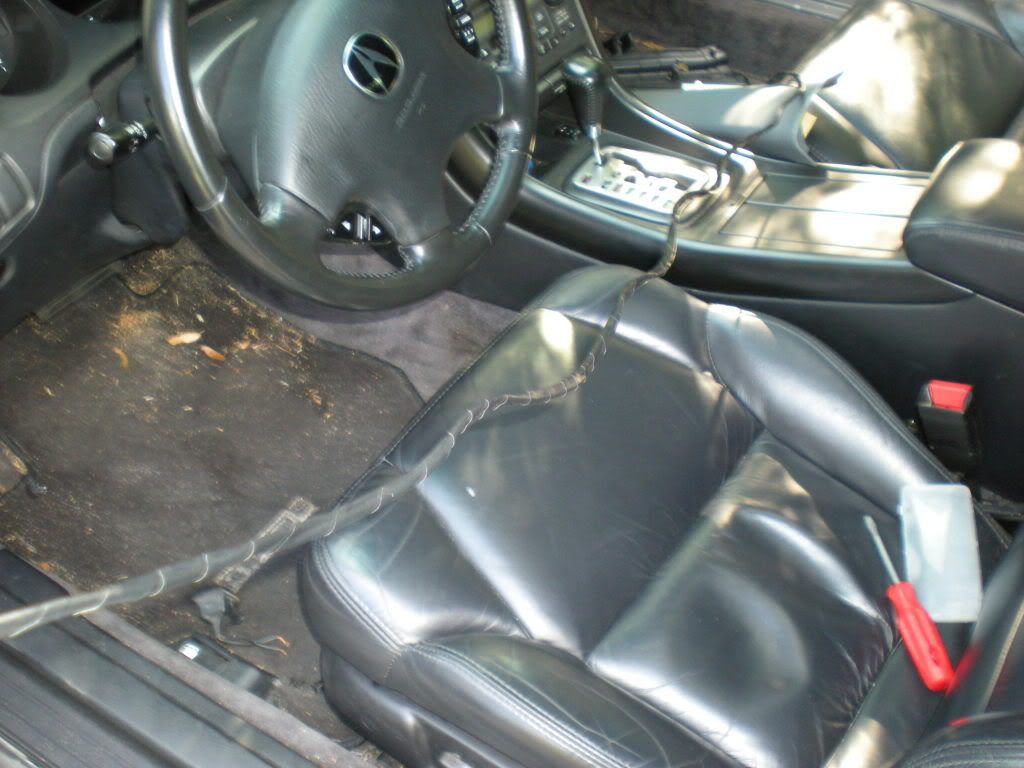
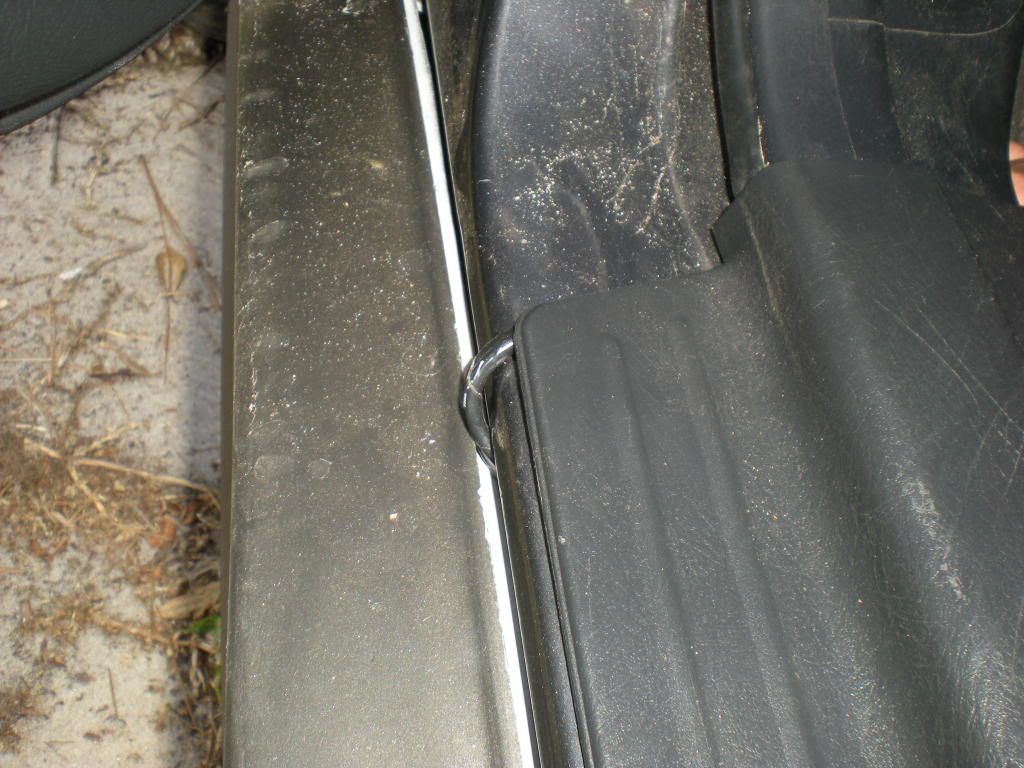
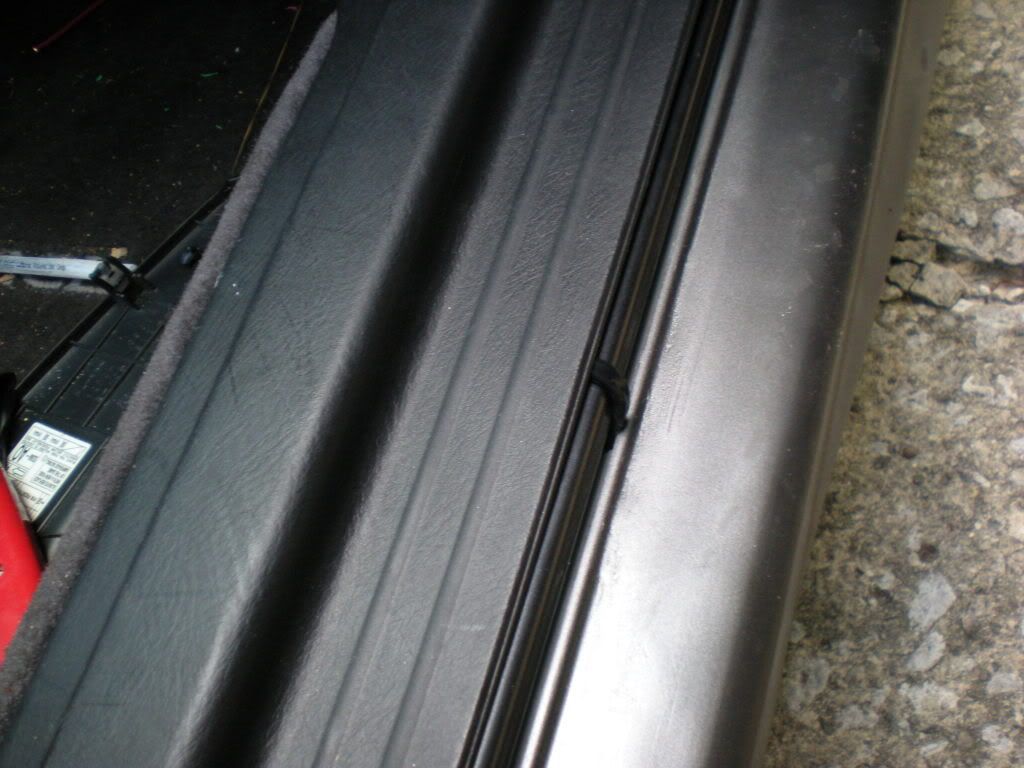
I hid the wires through the dash and the bottom dash pieces and took off the runner board
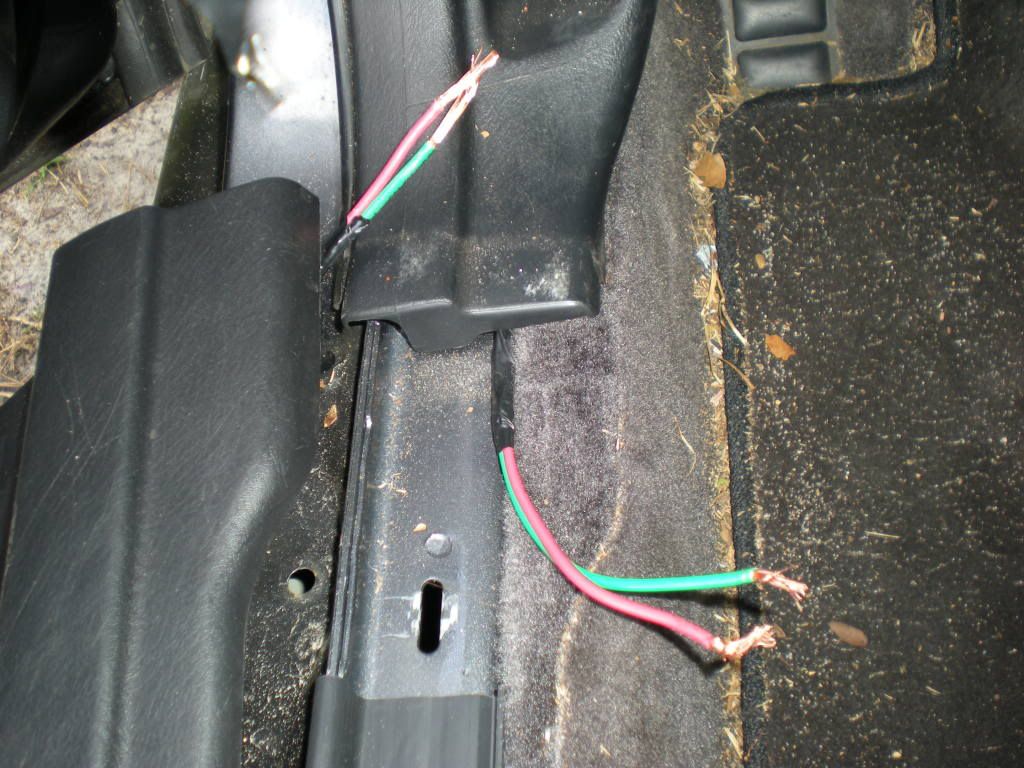
Boom. you can still see a LITTLE wire peaking out. but it's hardly noticeable.
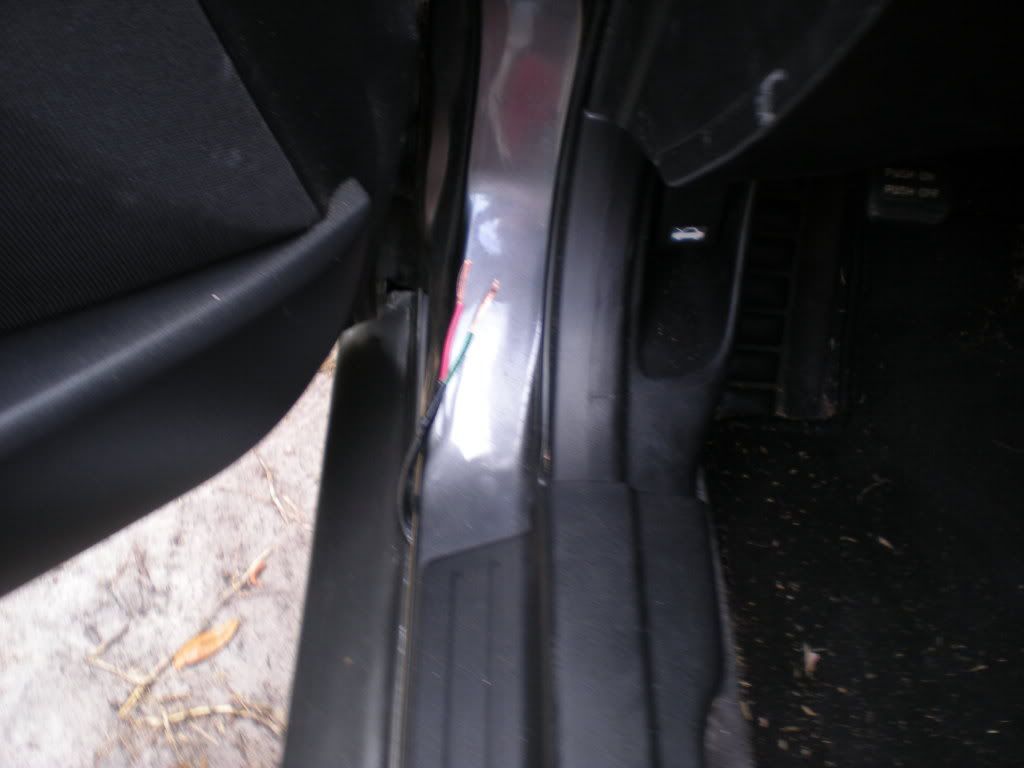
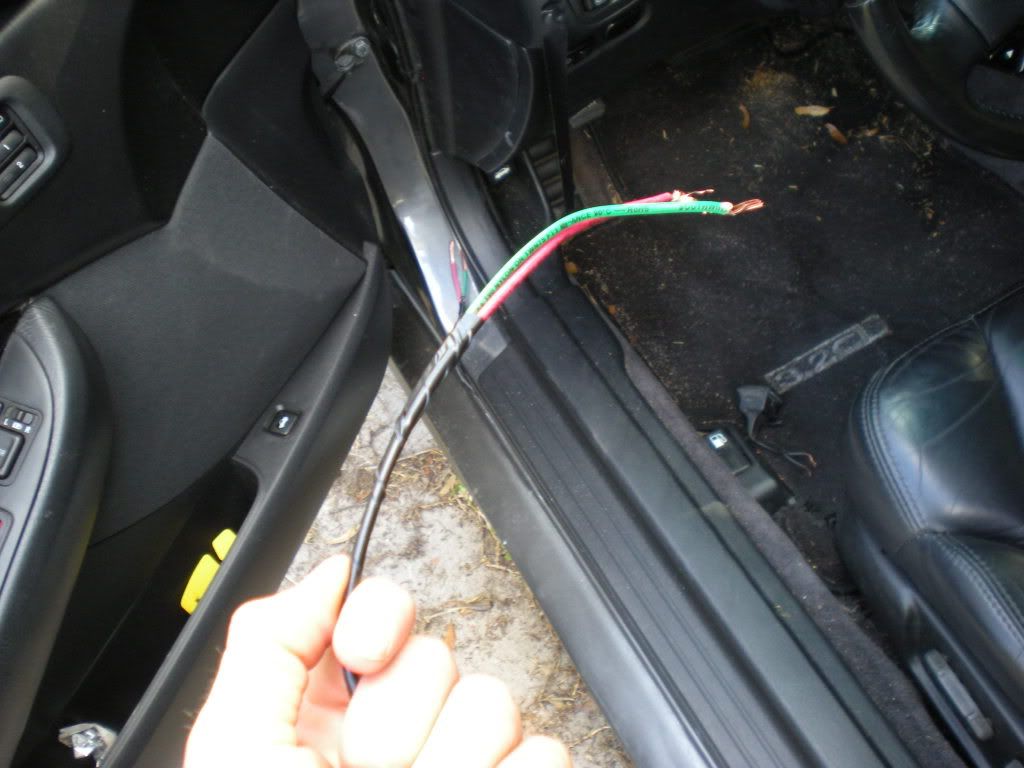
Then i brought the wires up to the A pillar
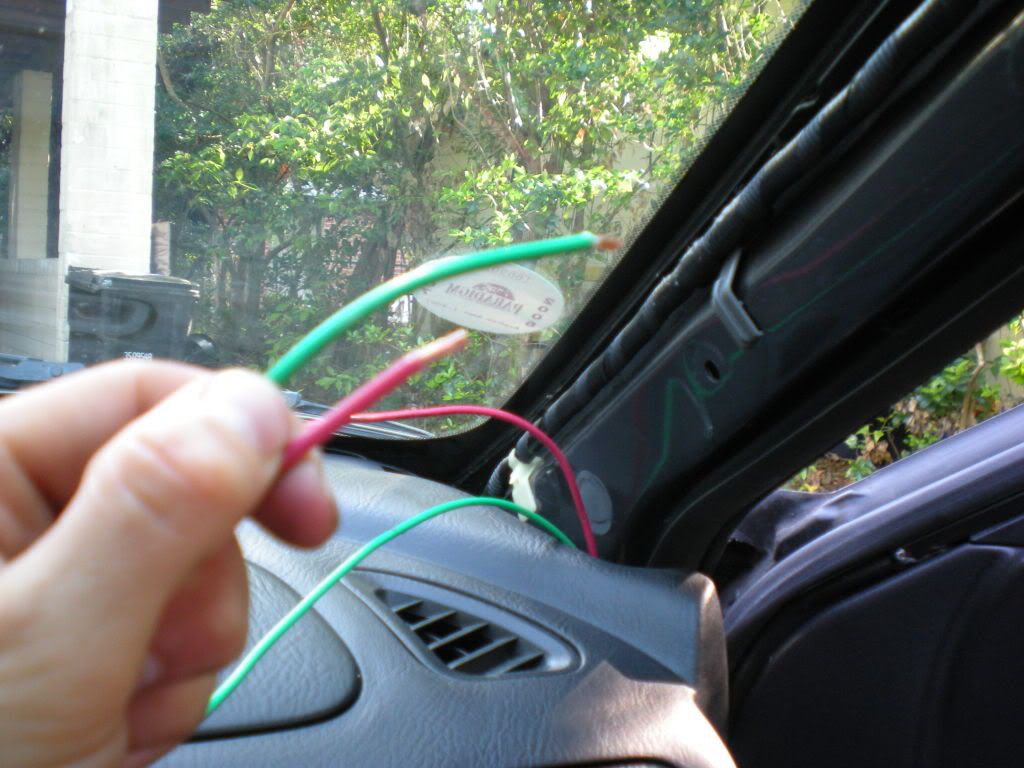
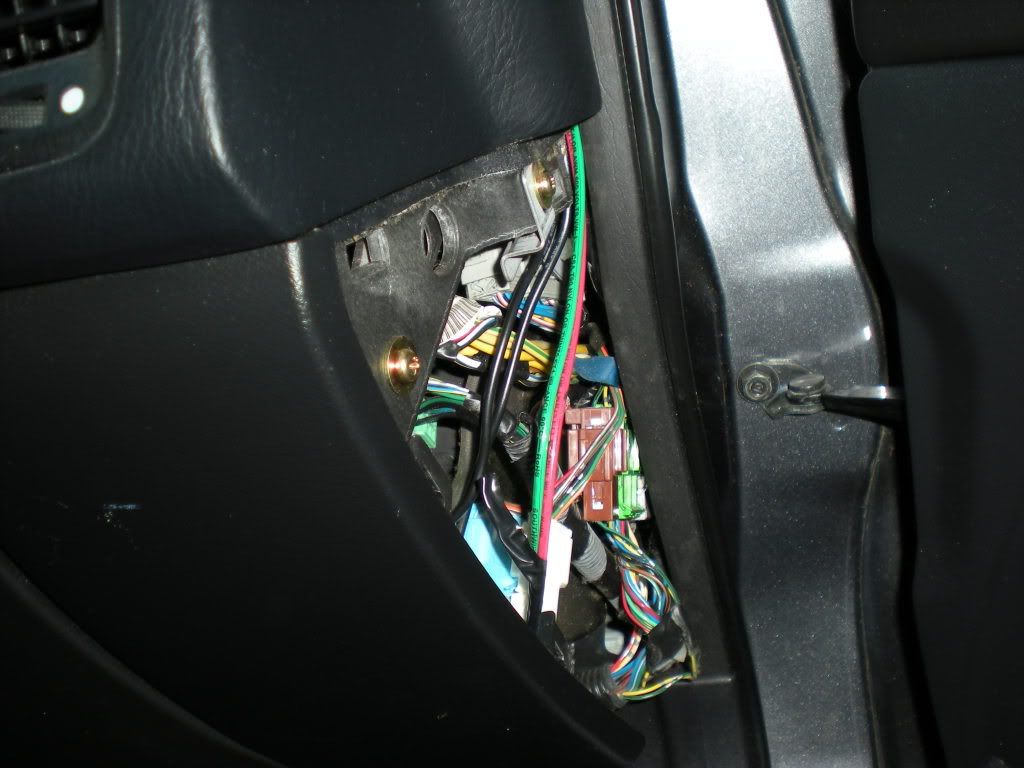
Now you have to wire them into this wire
The BLACK/WHITE wire in the a pillar
The black/white is the GROUND for the dome light when the doors and open/locked, etc.
The Blue/white is the POWER for the dome light. it's always running. but DONT tap into this, because you'll blow a fuse (personal experience)
Instead, tap into a fuse that's always on regardless of the car's power being on. (I used the memory seat (slider))
Next I hid the wires to the passenger side skirt
GREAT SUCCESS! AMERICA NUMBER ONE!!
(Night pictures to follow...)
I'll give a picture by picture ending write up...
First I braided the wire together with electrical tape just to make it look pretty and so it wasn't sagging all over the place under the dash...
(disregard the dirty car)
Made sure it was long enough to reach from the drivers side to the passengers side where the power will be
I hid the wires through the dash and the bottom dash pieces and took off the runner board
Boom. you can still see a LITTLE wire peaking out. but it's hardly noticeable.
Then i brought the wires up to the A pillar
Now you have to wire them into this wire
The BLACK/WHITE wire in the a pillar
The black/white is the GROUND for the dome light when the doors and open/locked, etc.
The Blue/white is the POWER for the dome light. it's always running. but DONT tap into this, because you'll blow a fuse (personal experience)
Instead, tap into a fuse that's always on regardless of the car's power being on. (I used the memory seat (slider))
Next I hid the wires to the passenger side skirt
GREAT SUCCESS! AMERICA NUMBER ONE!!
(Night pictures to follow...)
04-06-2009, 03:06 PM
#27
Senior Moderator
Regional Coordinator
(Mid-Atlantic)
Regional Coordinator
(Mid-Atlantic)
iTrader: (6)
Nice work, so you tapped off the relay that turns the dome on and off?
04-06-2009, 07:55 PM
#28
Wait...I just blacked out
Thread Starter
Join Date: Oct 2006
Location: Gainesville Florida
Age: 39
Posts: 639
Likes: 0
Received 0 Likes
on
0 Posts
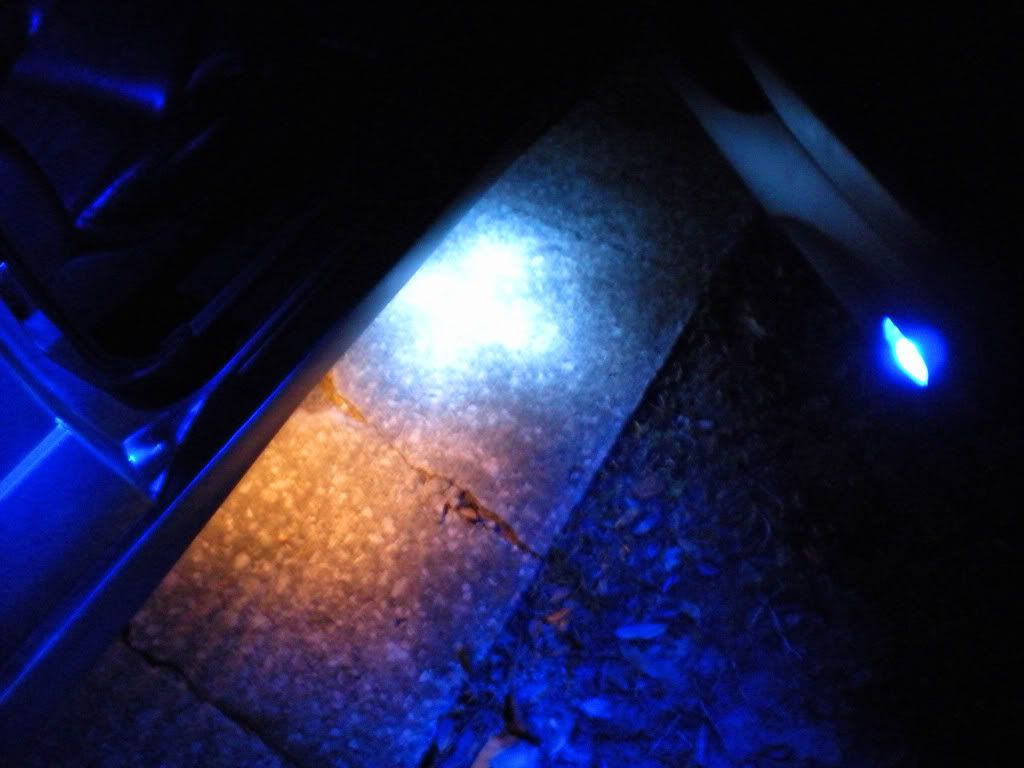
NIGHT SHOTS!
I really suck at nighttime photos (really photos in general) but you get the idea.
I am going to put LEDs in them you can see the difference in the second shot, I had one LED bulb sitting around so i tried it out. And yea, they go on and off and fade in and out with the dome light. as the doors are locked, unlocked, opened/shut.
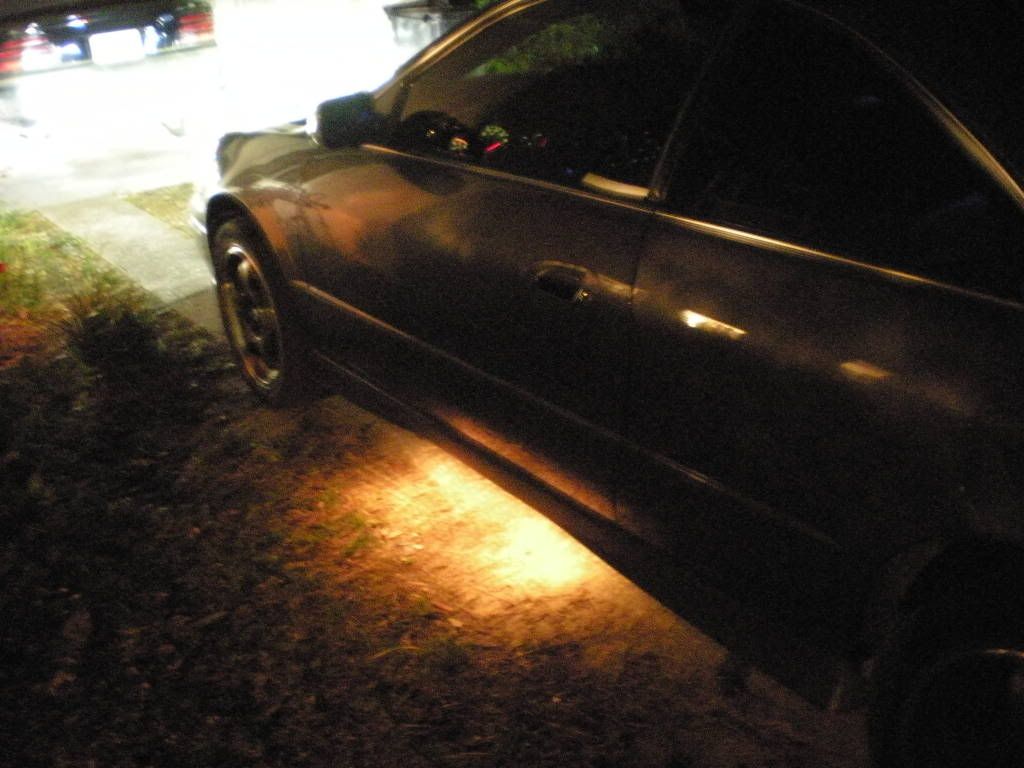
Last edited by evan03CL; 04-06-2009 at 07:55 PM. Reason: wrong link for the second picture
04-06-2009, 09:21 PM
#30
Wait...I just blacked out
Thread Starter
Join Date: Oct 2006
Location: Gainesville Florida
Age: 39
Posts: 639
Likes: 0
Received 0 Likes
on
0 Posts

 04-07-2009, 04:48 PM
#35
dont be mad
do they turn on with the keyless entry switch?

Thread
Thread Starter
Forum
Replies
Last Post
cycdaniel
1G TSX Performance Parts & Modifications
8
12-17-2019 10:58 AM
BoricuaTL
Car Parts for Sale
138
04-08-2016 01:08 PM
oyayjoe
Member Cars for Sale
1
09-12-2015 04:40 PM