
DIY: HID Retrofit w/ Morimoto H1's and 6000k bulbs
 08-30-2011, 02:48 PM
#1
DIY: HID Retrofit w/ Morimoto H1's and 6000k bulbs
I decided to do a fairly brief write up on my latest retrofit. Level of difficulty 7/10. Enjoy 
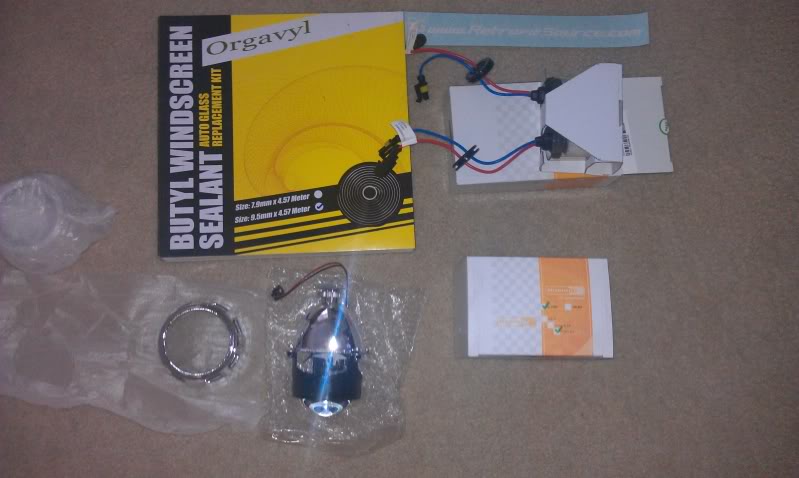
Projectors used: Morimoto Mini H1's with Morimoto 6000k bulbs
1: Take off bumper and remove headlights:
https://acurazine.com/forums/2g-cl-frequently-asked-questions-52/cls-front-bumper-removal-diy-482462/
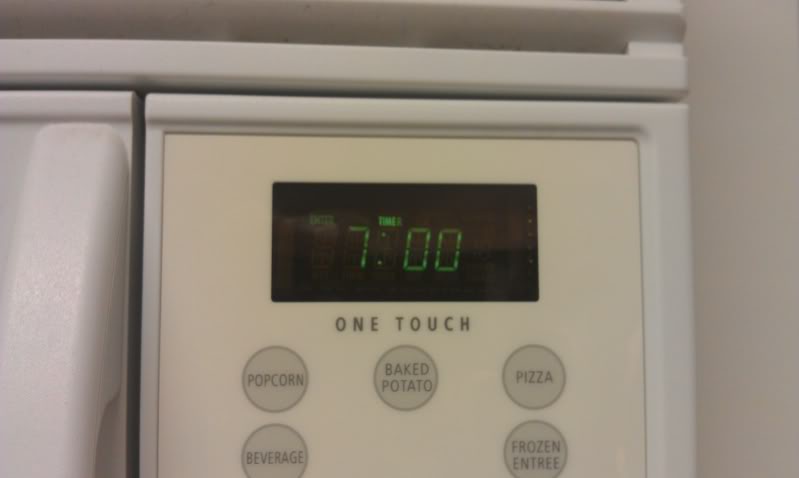
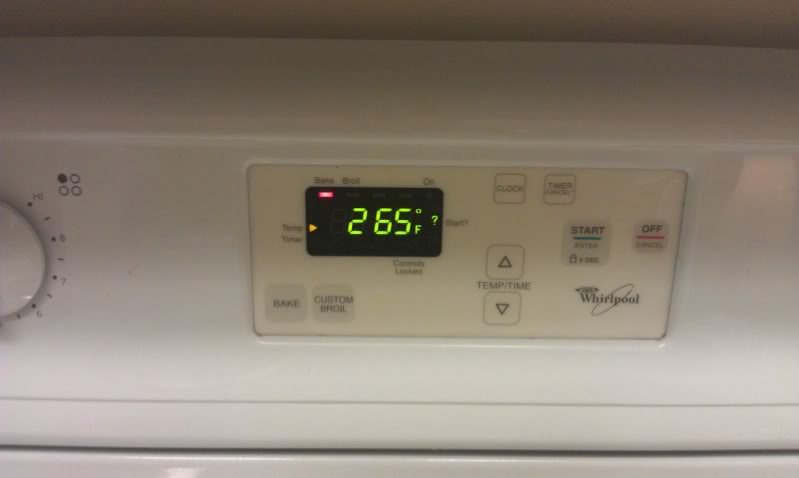
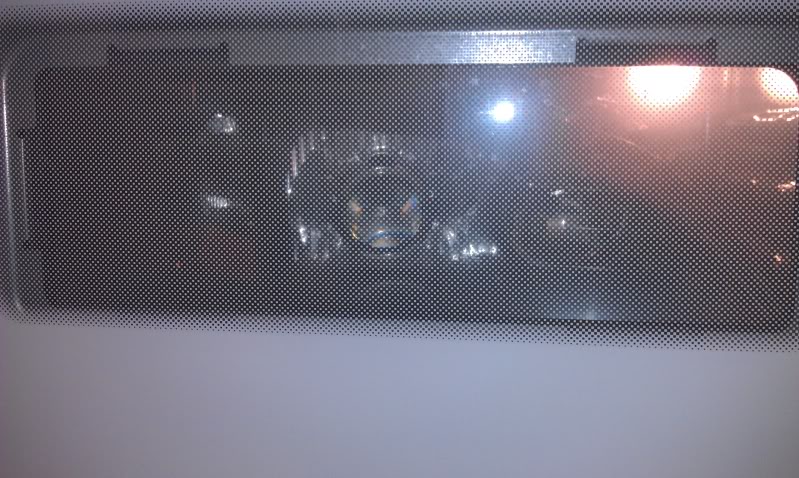
2: Once removed place each headlight in pre-heated oven for 7 minutes at 275 degrees:
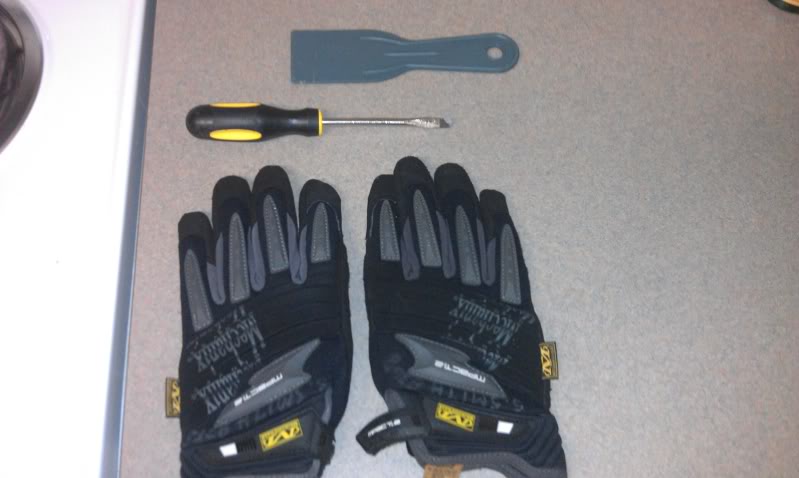
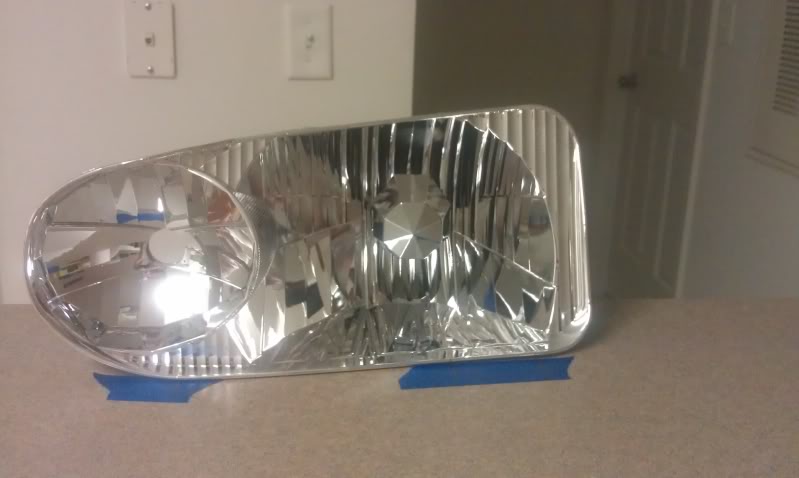
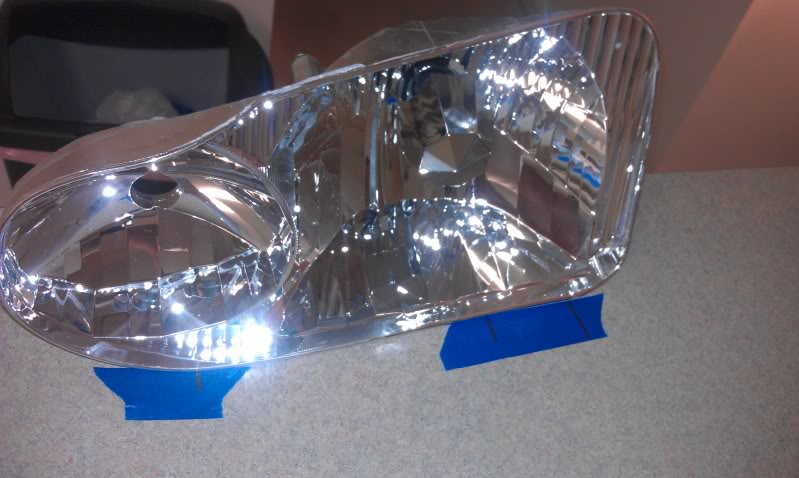
3: With work gloves pry headlights open at the corner. Start by wedging a flat head screw driver in the corner and the separate.
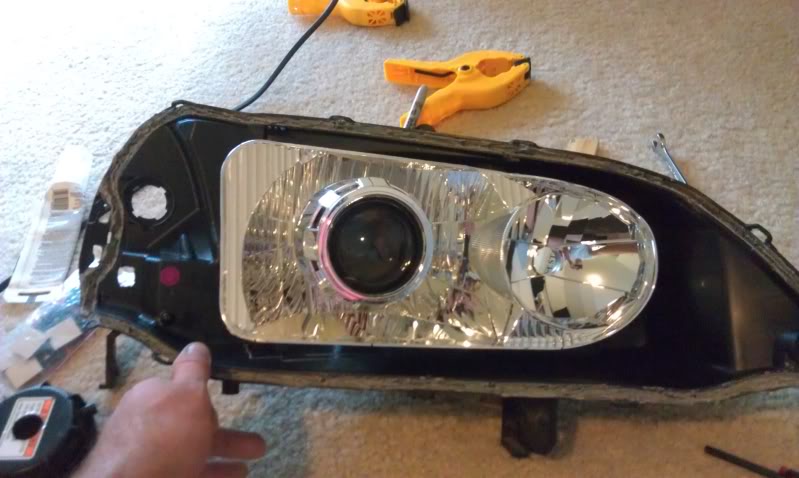
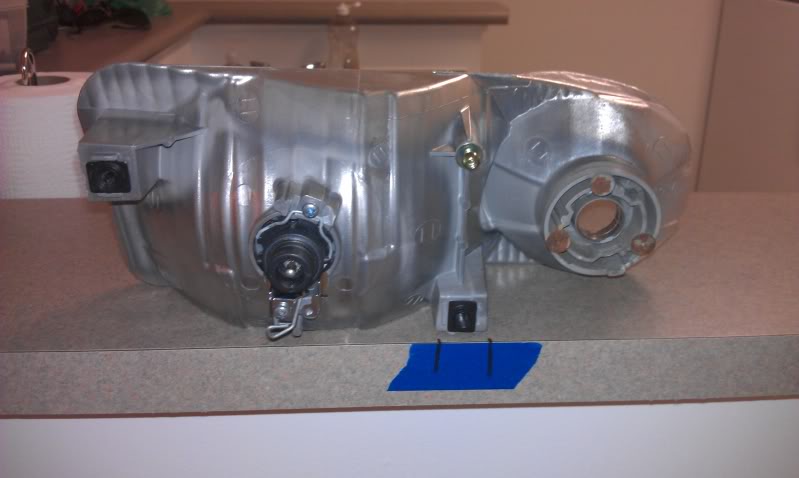
4: Now using a 10 mm socket and a 3/16 allen key unscrew the reflective housing from the plastic:
THESE NEXT STEPS ARE VERY CRUCIAL FOR PROPER ALIGNMENT AND ROTATION!
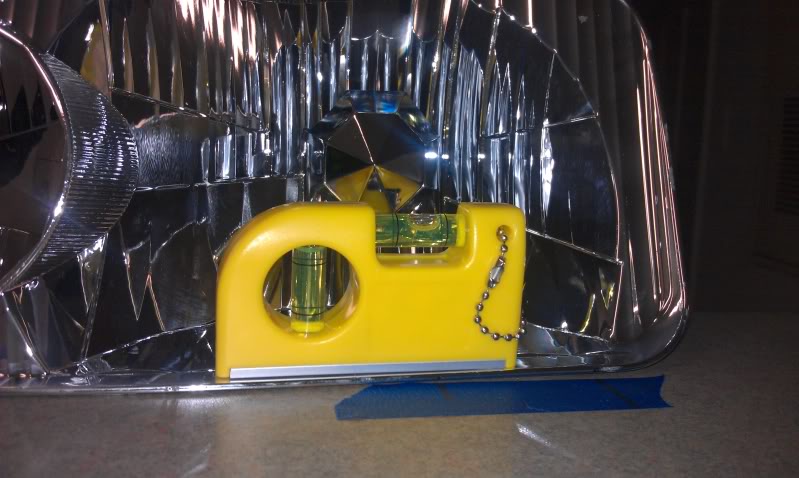
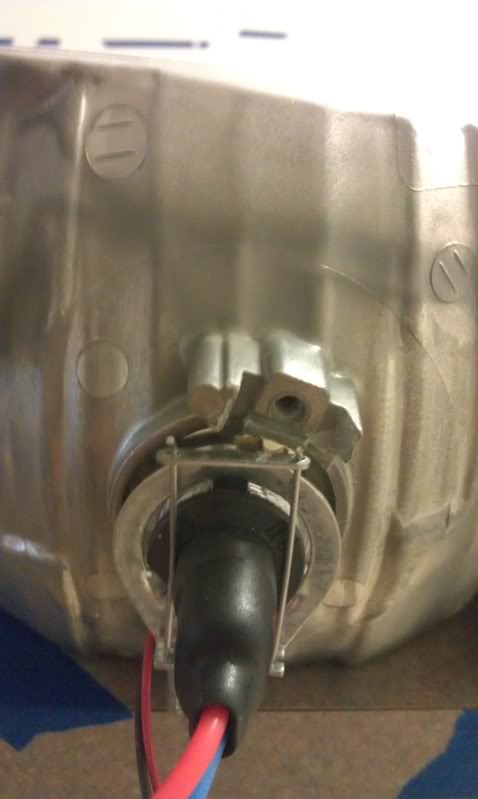
5: Now find a flat surface at least 10� away from the wall and set up your existing reflective housing make sure it is level (utilize the lines on the reflector bowl these are there for that reason)
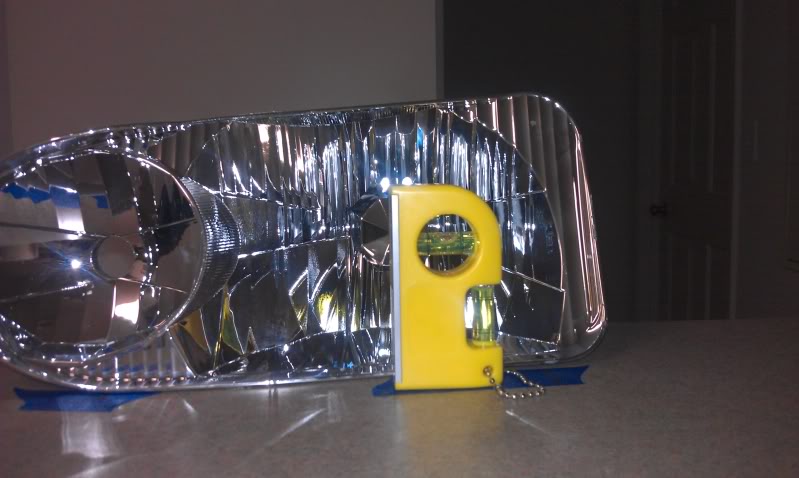
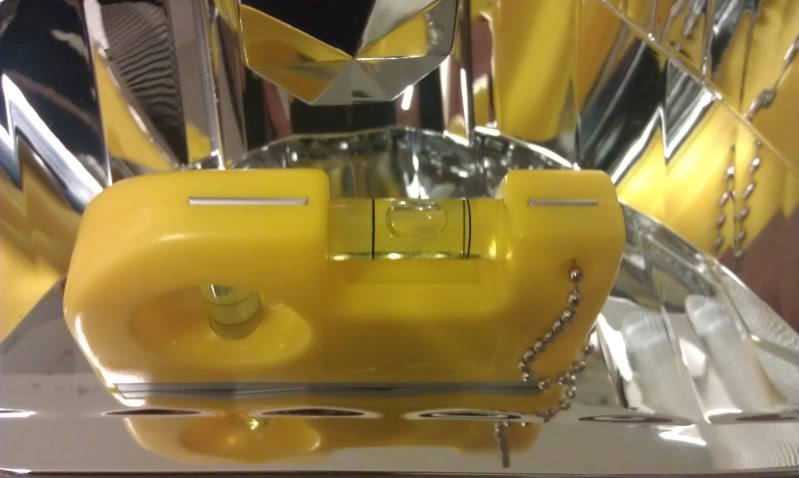
6: Once you have everything level mark your reflective housing with painters tape to ensure you line it back up properly when you have the projector mounted:
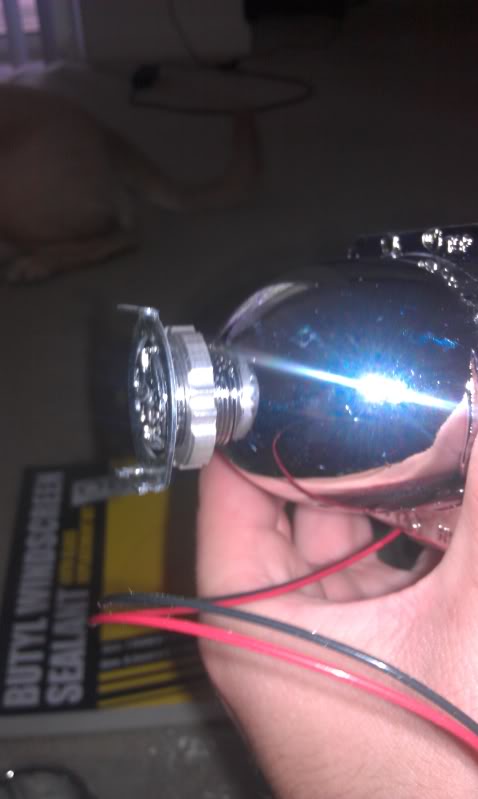
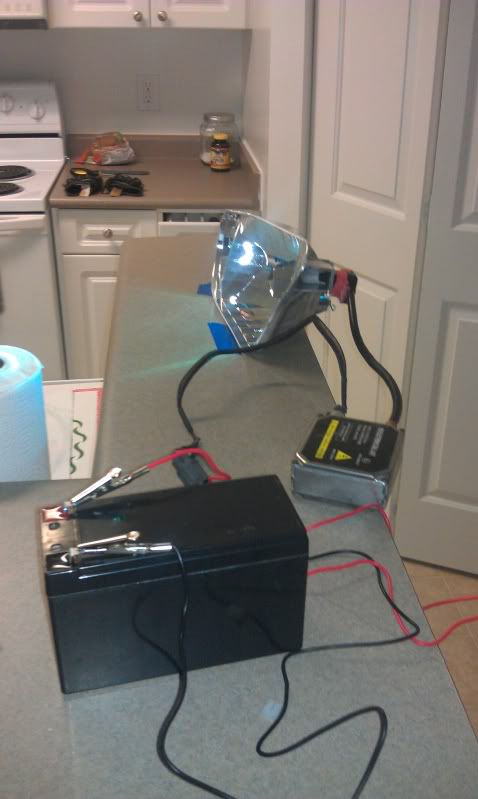
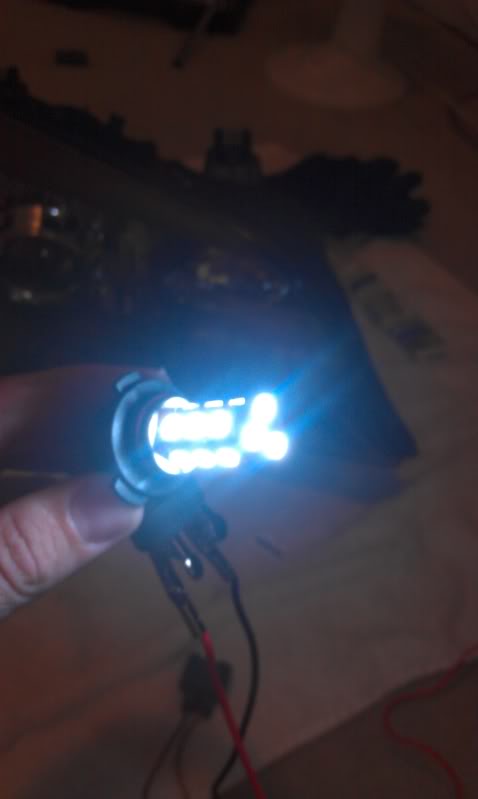
7: Now hook up your ballast and bulb to a 12v power supply. I got mine from Radio Shack:
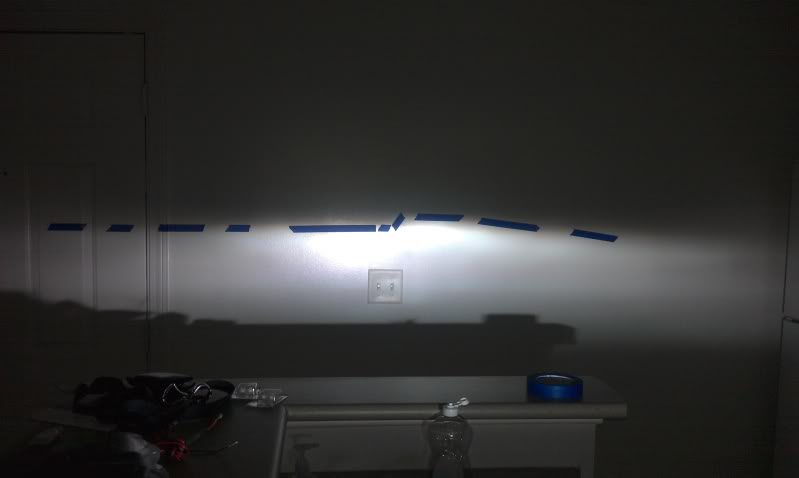
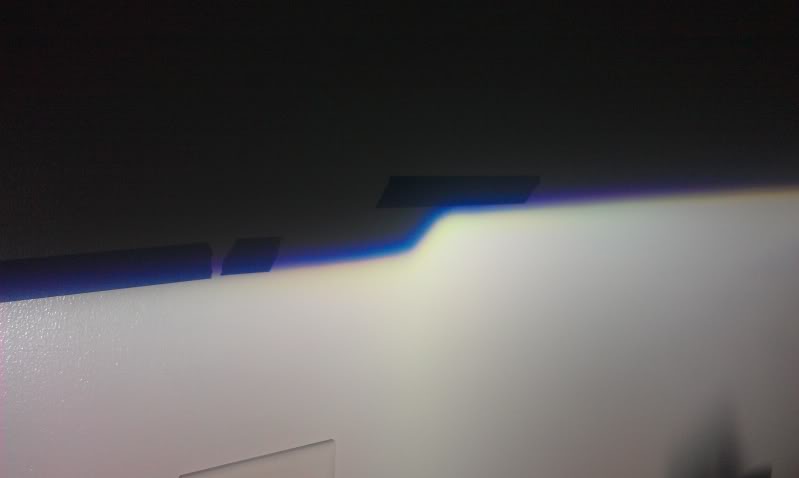
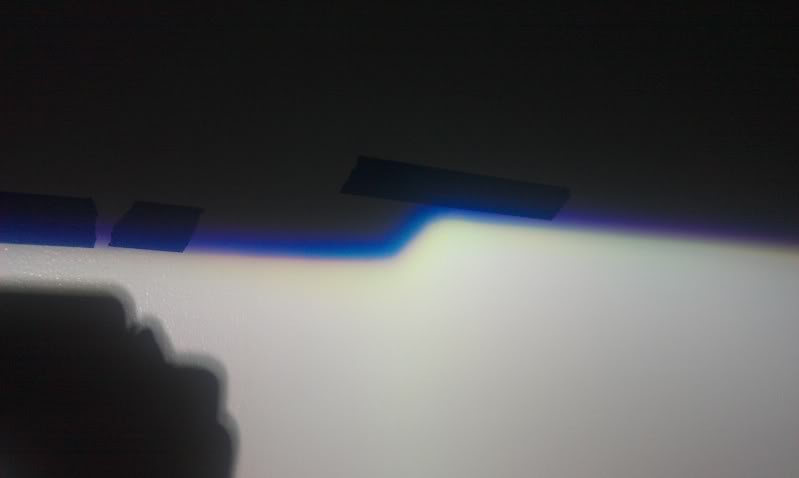
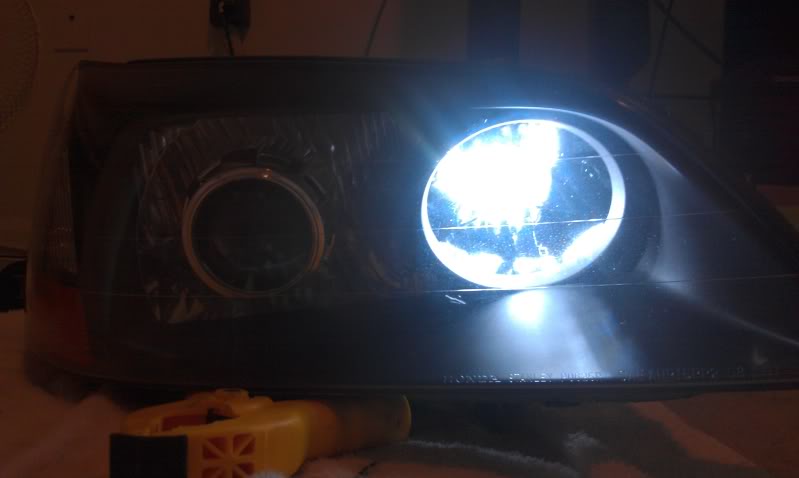
8: Mark with painters tape the OEM cutoff, this will be your reference point for aiming/aligning your new projector:
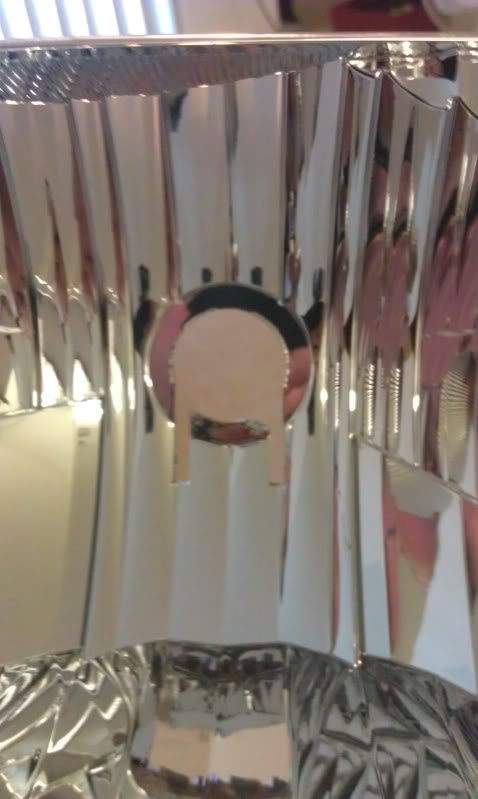
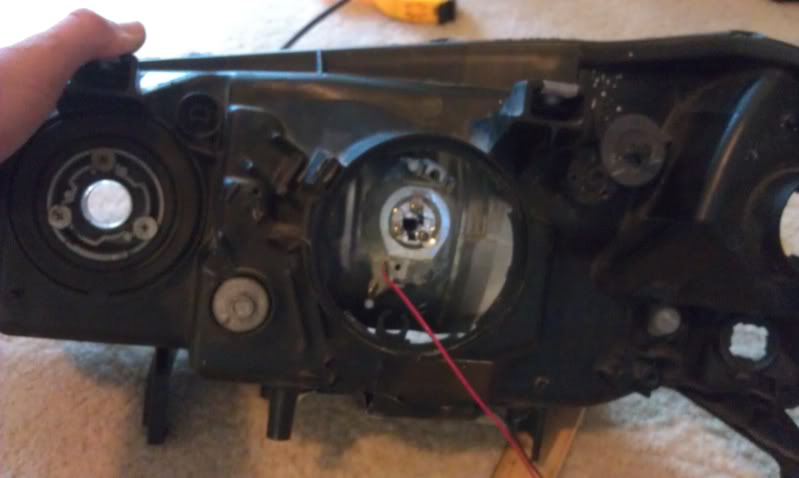
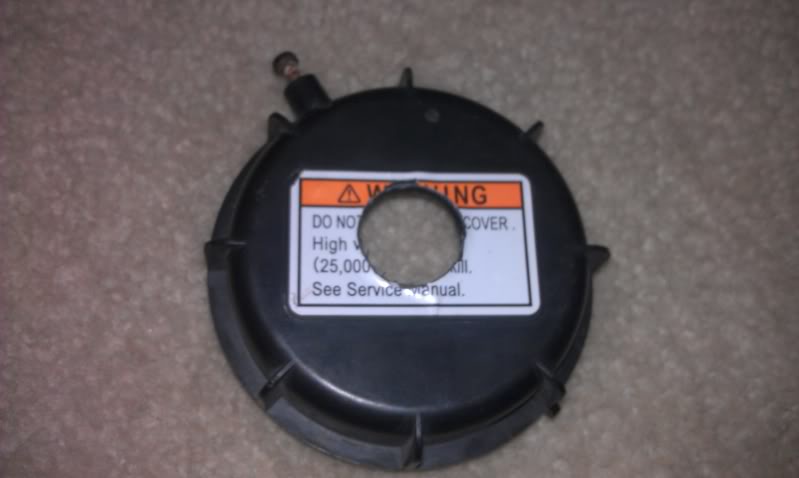
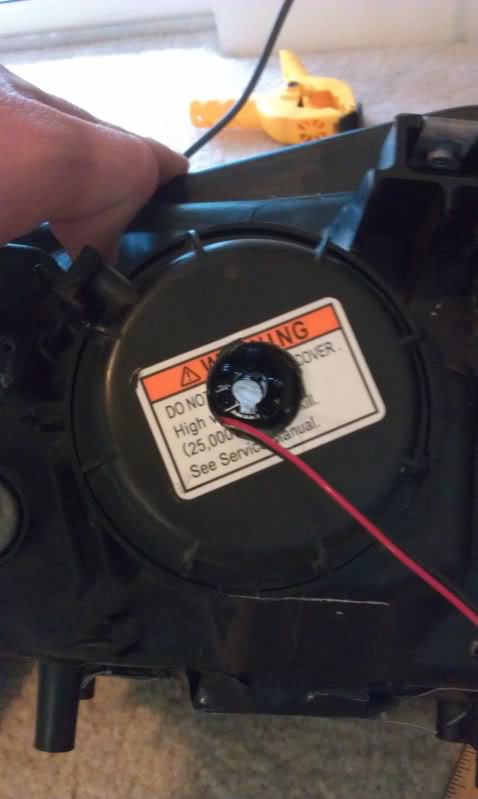
9: Remove the reflective piece that is in the center of the reflective housing with a Philips screwdriver:
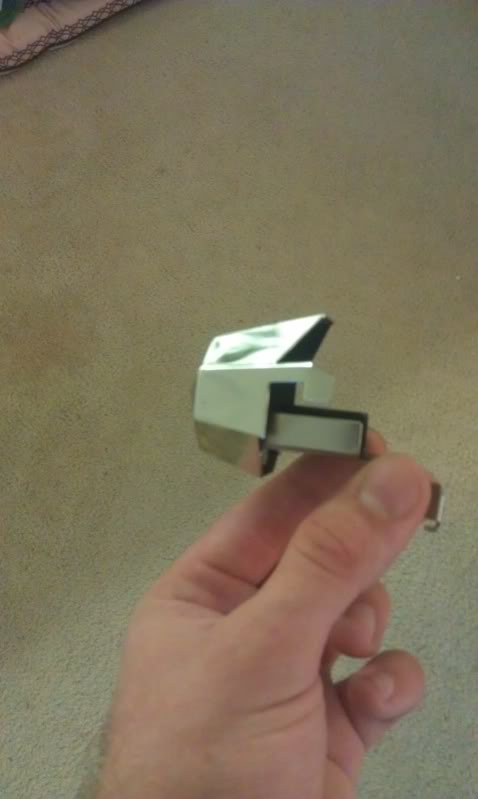
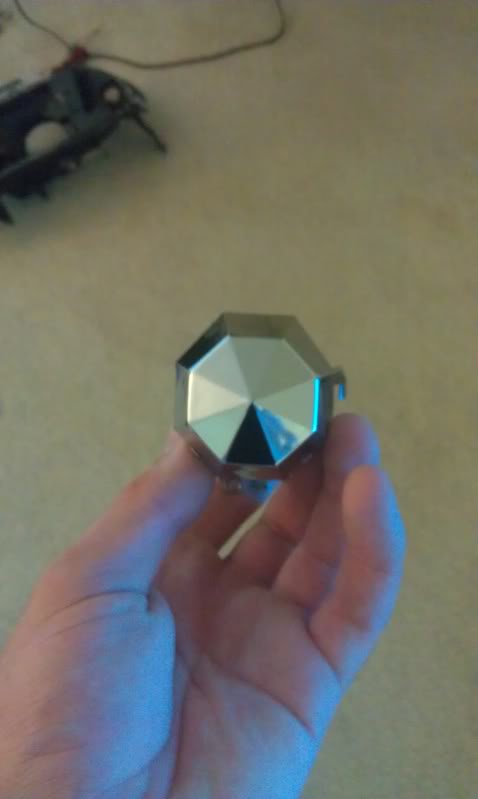
Should look like this when removed
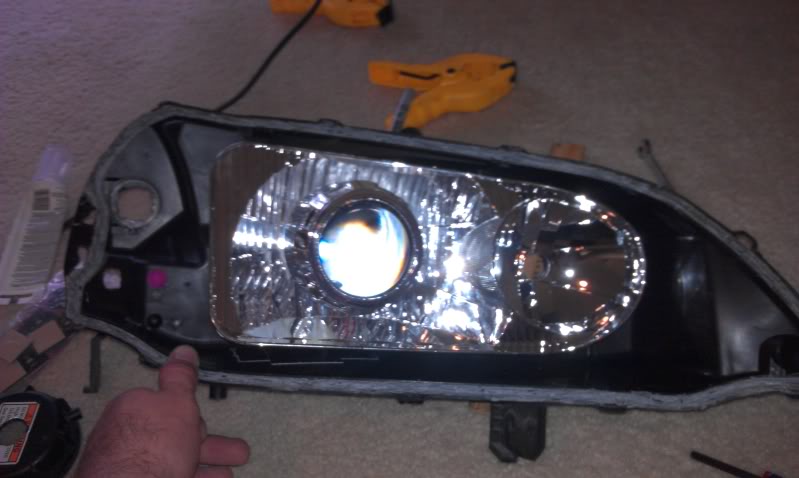
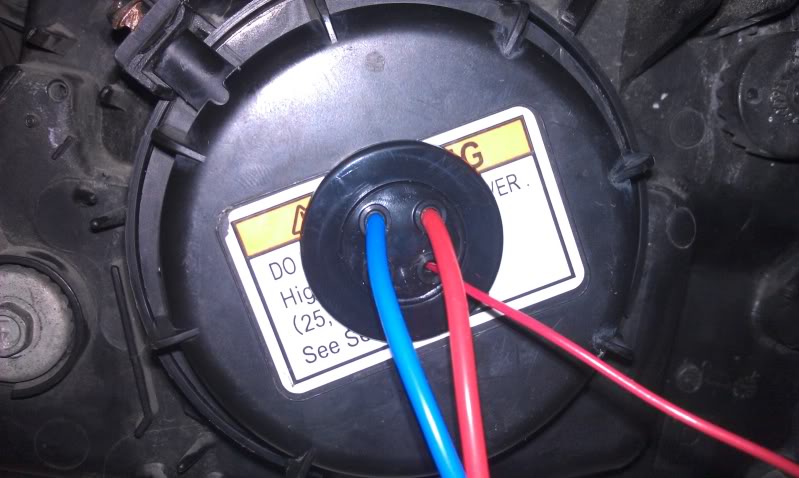
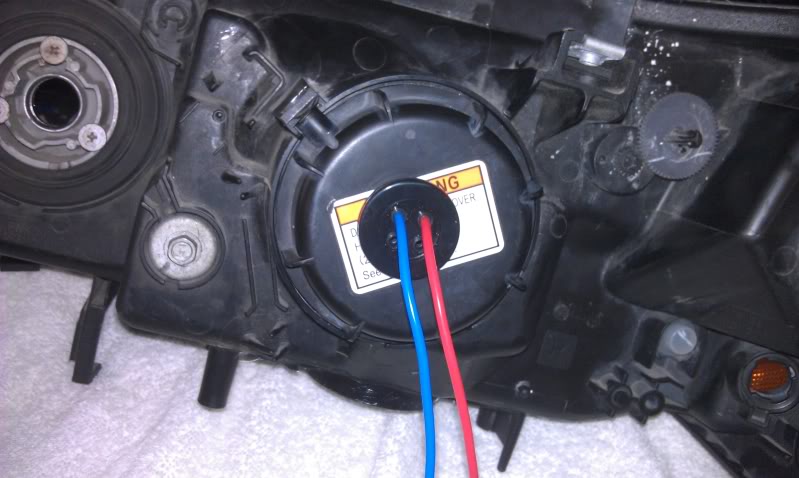
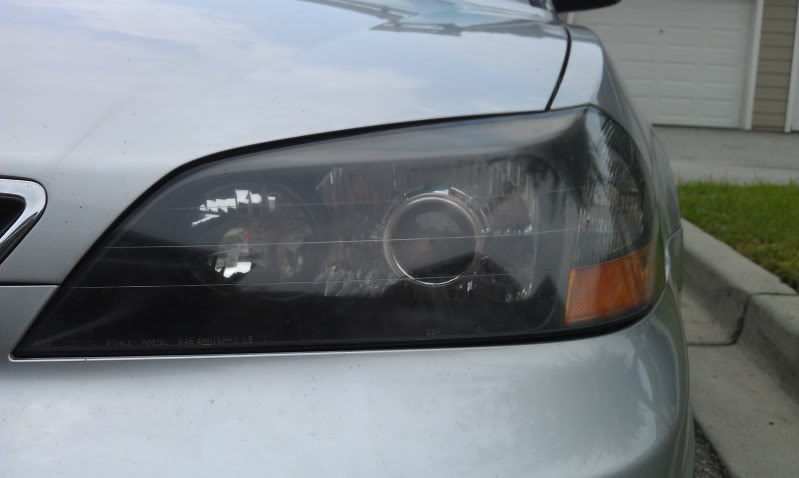
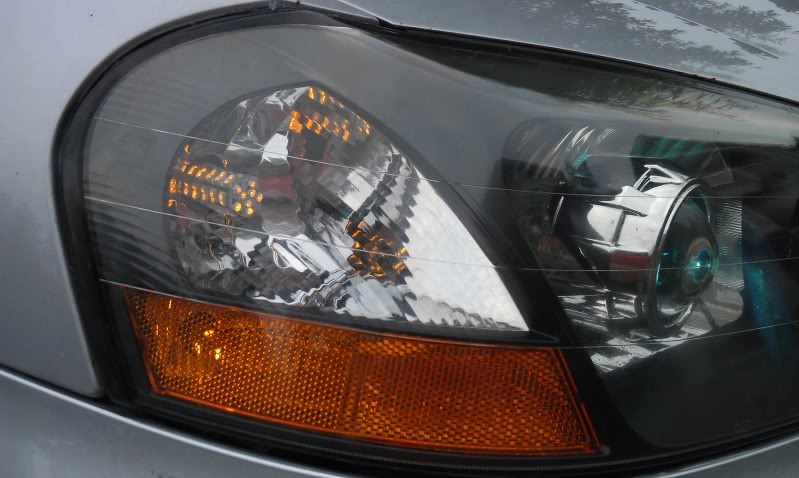
10: Now mount your projector inside the open hole and match the cut off with the cut off of your OEM:
11: Once you have it match your OEM reference, tighten the nut on the back of the projector. Make sure it is tight, you may have to trim away a little on the back but not very much:
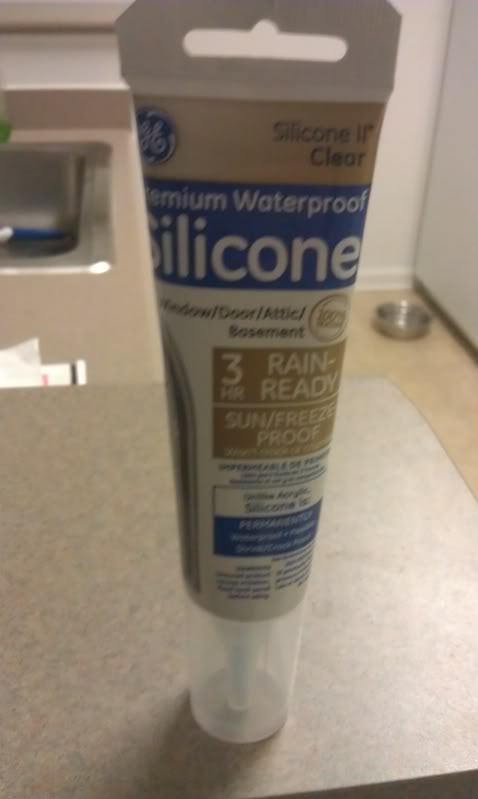
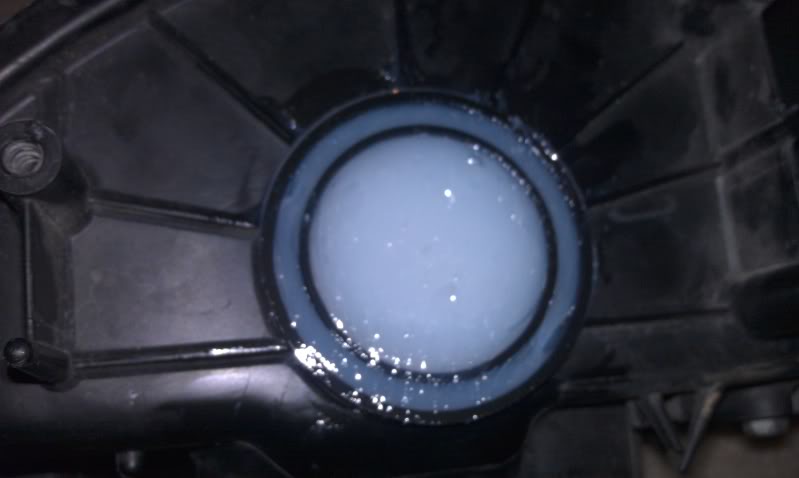
12: Now that you have it tight, apply silicone sealant liberally around where the reflector and projector meet:
13: Now once everything is dry mount the reflective housing back on to the plastic backing of the headlight:
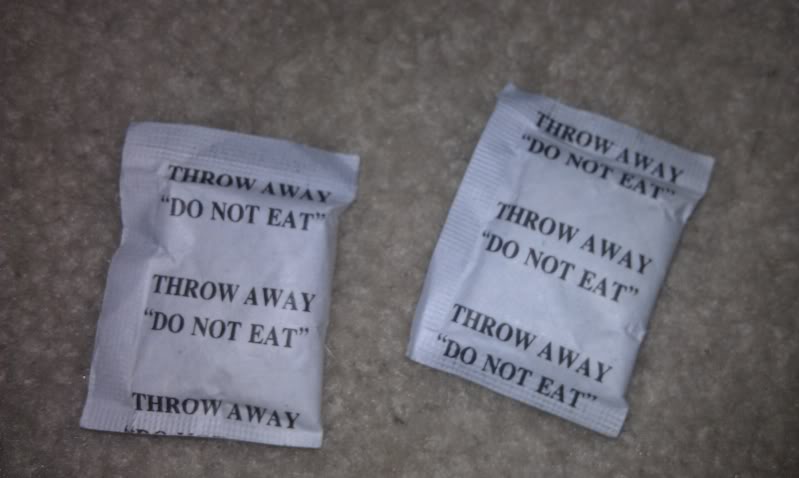
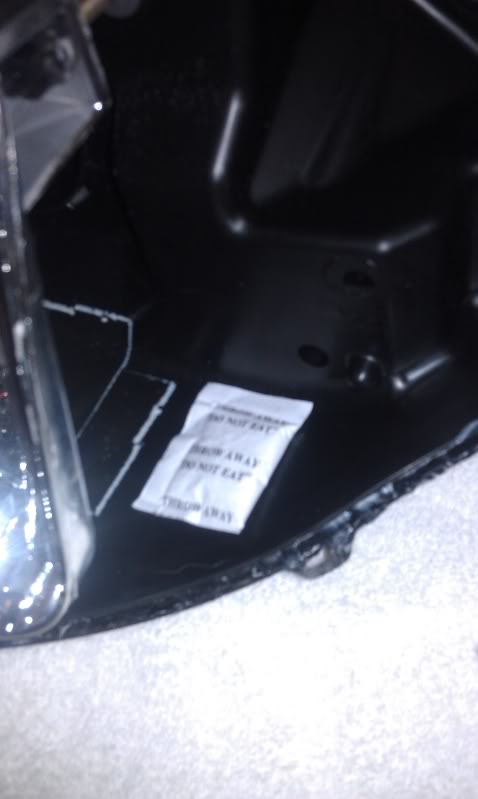
14: I added silica desiccants to absorb moisture in the event moisture got in the headlight:
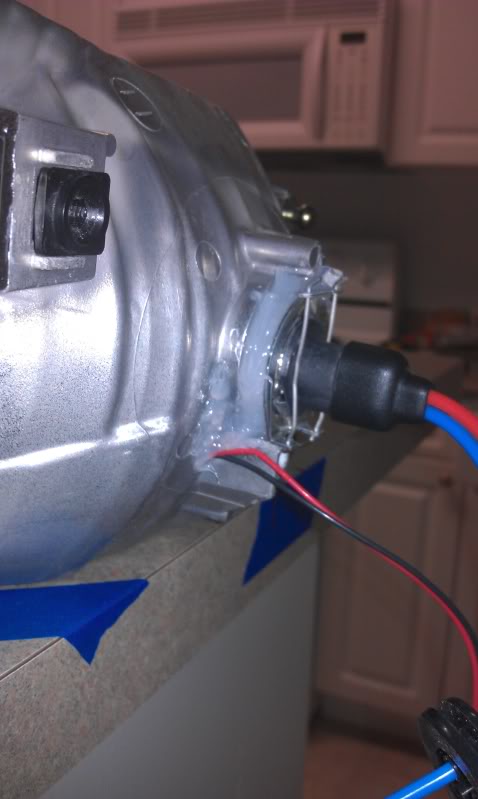
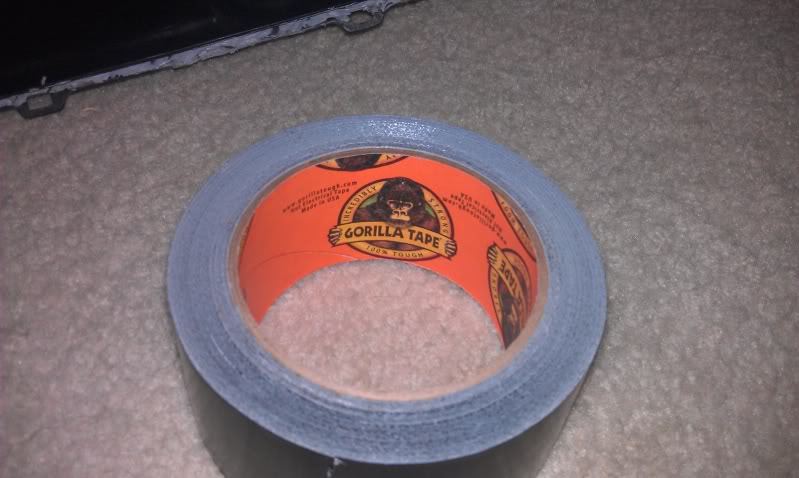
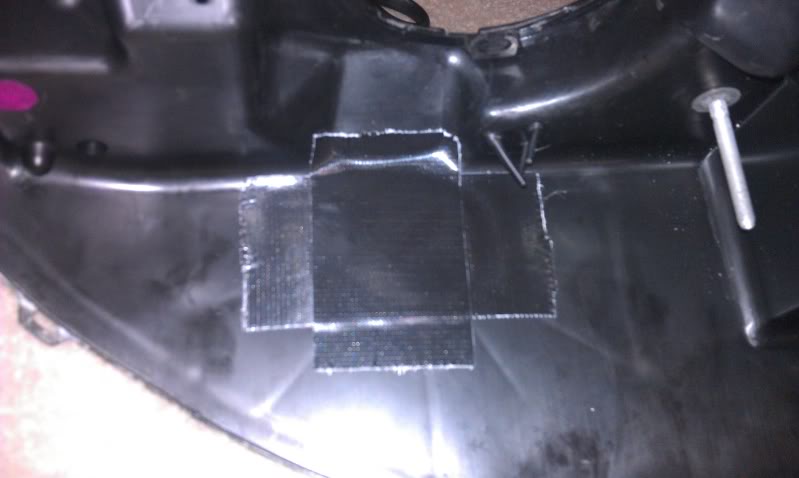
15: Since these projectors use H1 bulbs I sold my OEM ballast. Since they were removed there was a big hole on the bottom. I fixed this by taping the inside of the hole with black Gorilla duct tape and then filled with silicone:
16: Now you don�t have to do this. However, I wanted to be extra careful in making sure my headlights were sealed and didn�t have condensation issues in the future. I added window weld to ensure a perfect tight seal. This can be purchased from auto store, retrofitsource.com and HD/LOWES.

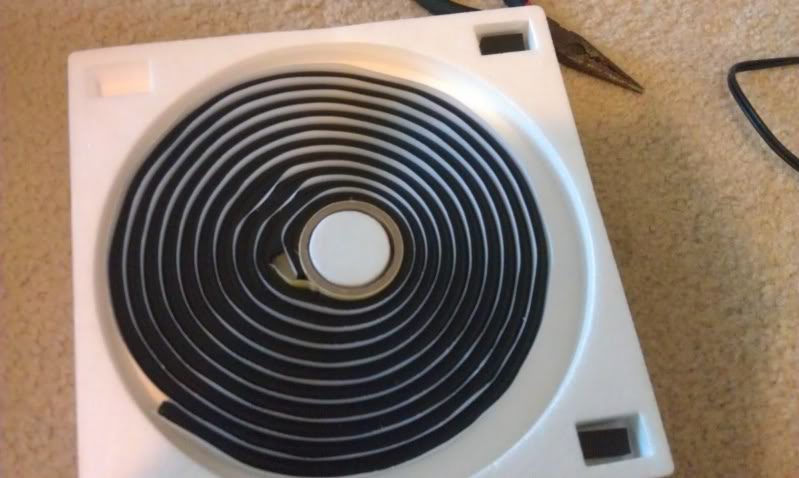
17: Place back in oven at 275 degrees for 7 minutes and remove with gloves. Use clamps to make sure the headlights lock into place:
18: The morimoto projectors come with grommets to ensure there is a sea. Drill a 7/8 hole on the back of the headlight cover so we can install the grommet allowing us to still retain a nice sealed headlight:
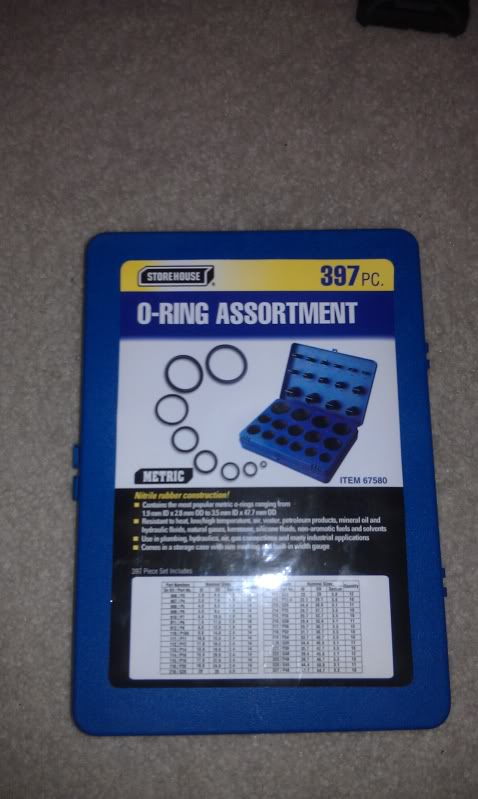
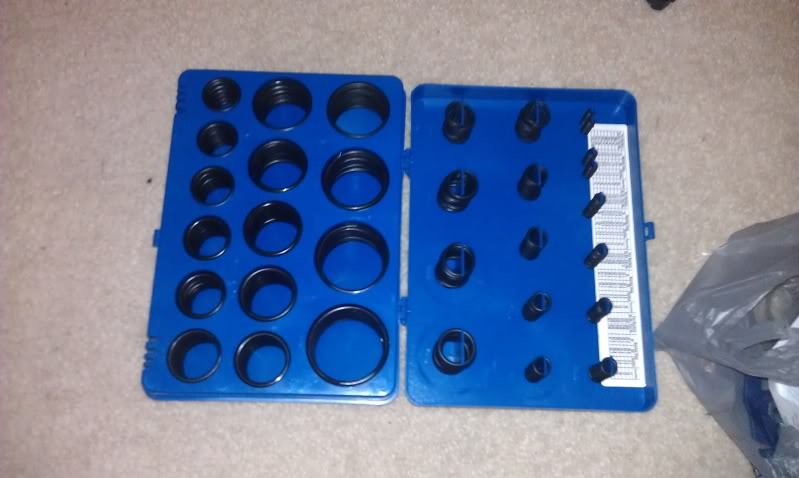
19: In addition I also replaced the o rings on the signal bulb sockets. They were worn and caused issues of condensation on my last set of headlights: Purchased from Harbour Freight:
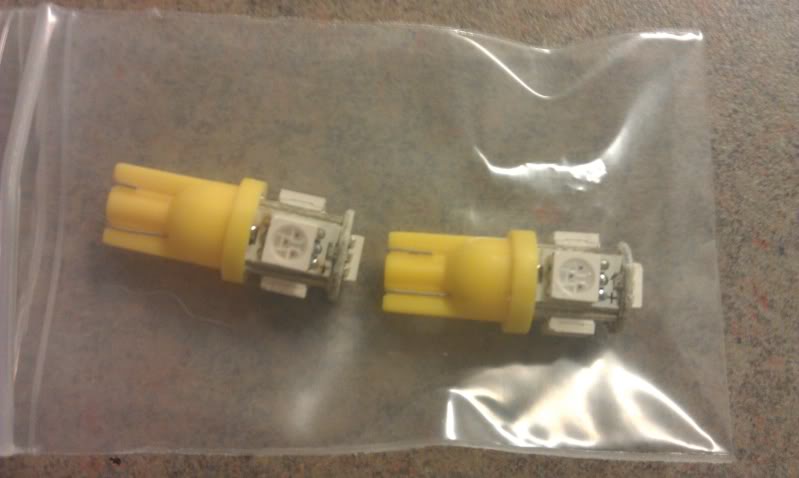
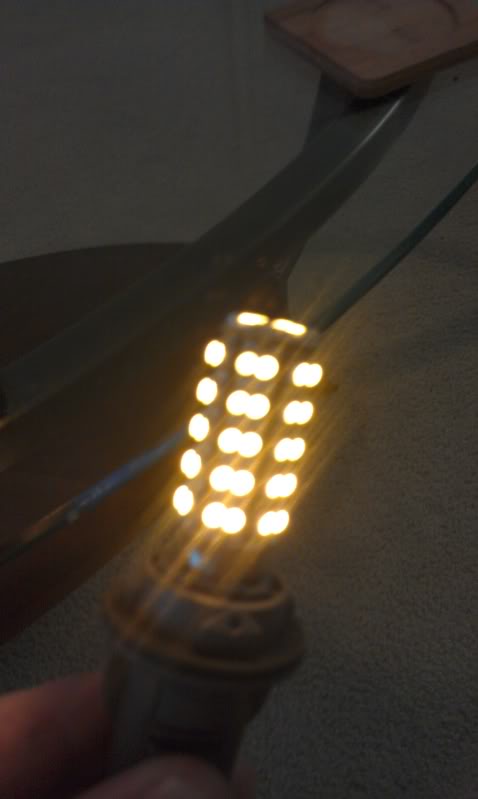
20: Also added new LED bulbs in my corners and since I have High beams in my projectors I installed 6000k LED bulbs in the old high beam spot:
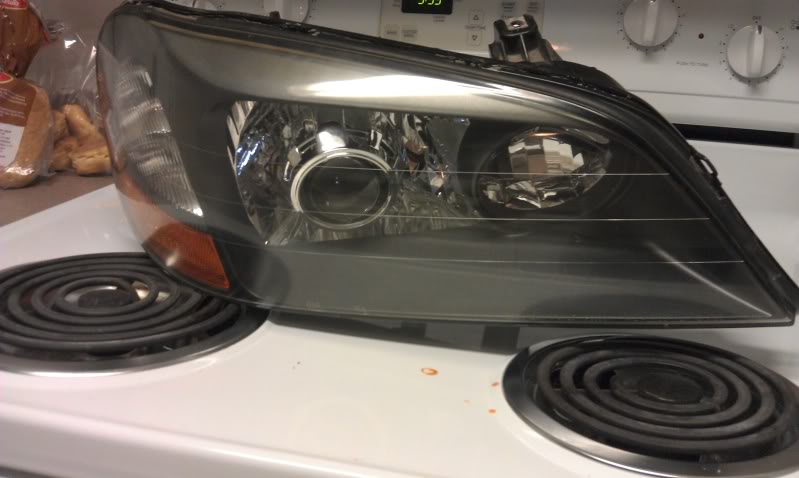
21: Repeat with the other headlight:
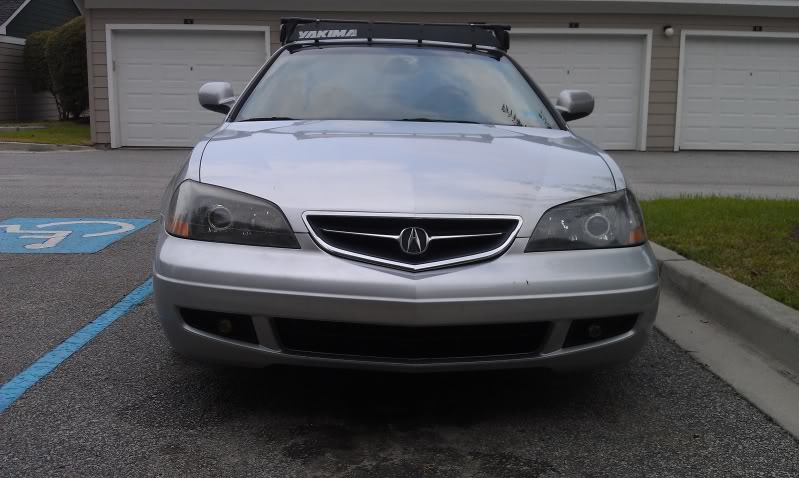
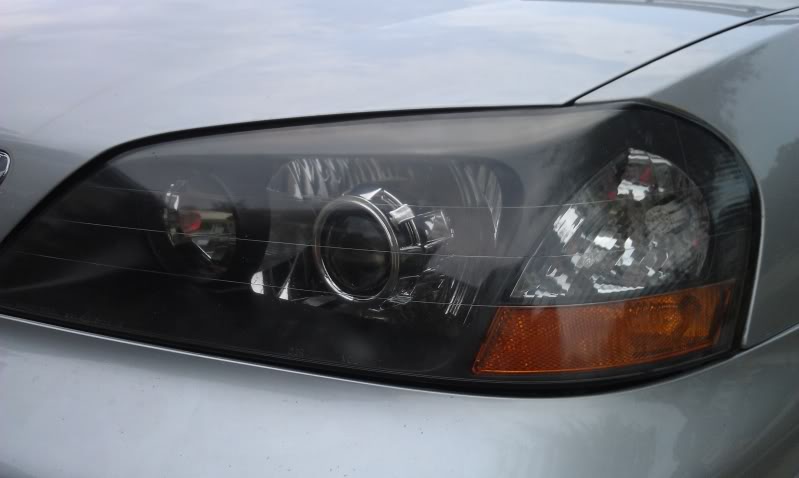
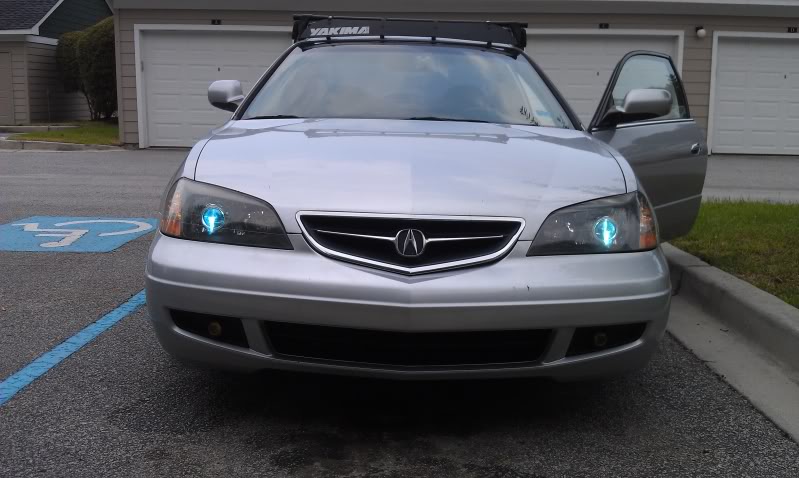
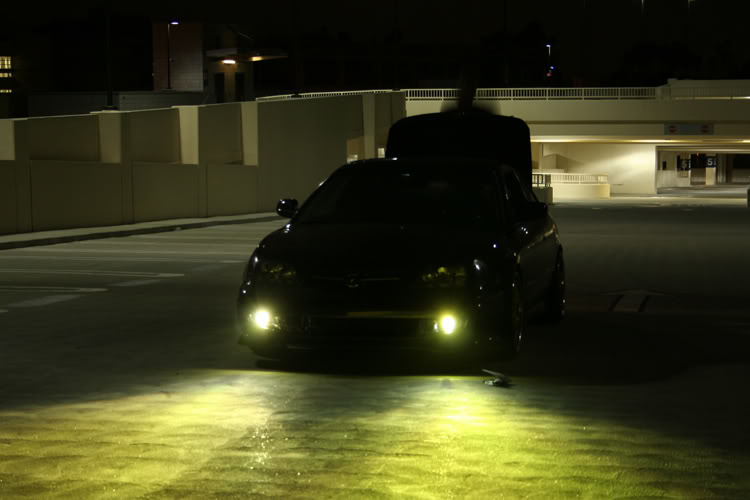
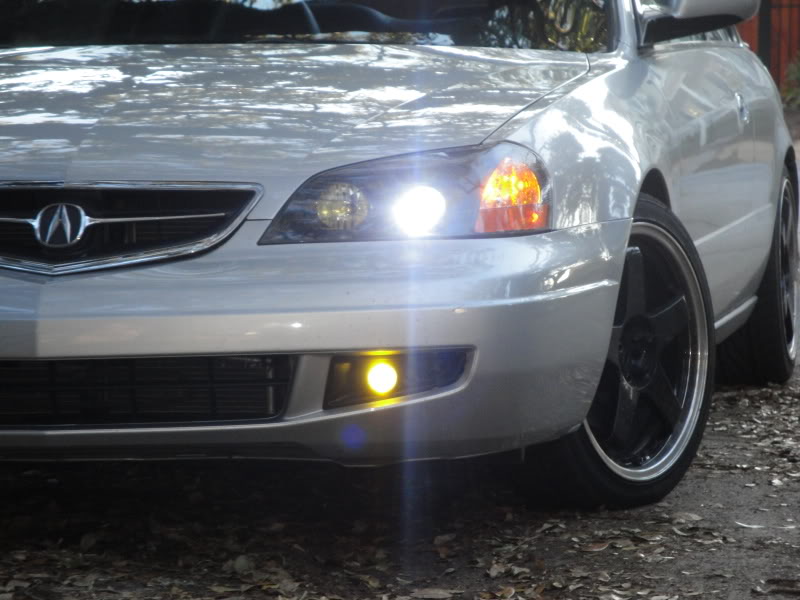
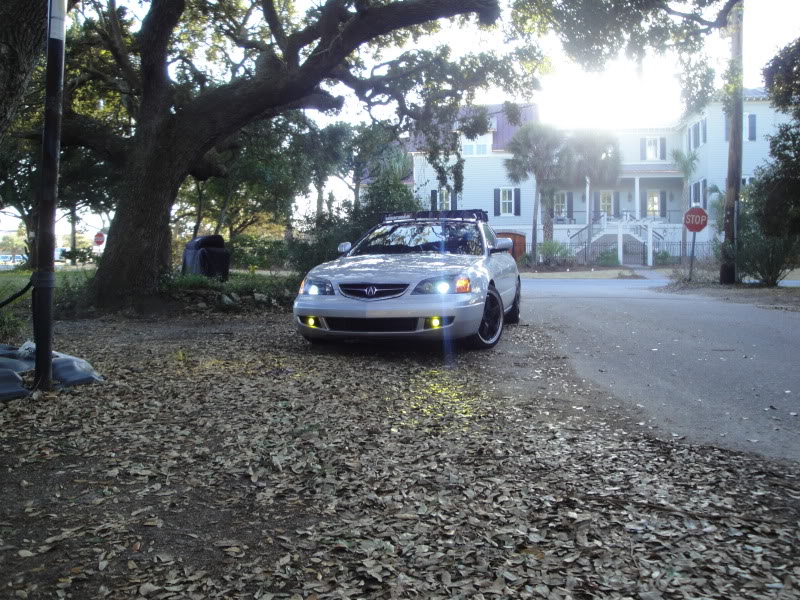
22: Installed on the car:
I don't have pics of the cut off yet because I finished this today and I am waiting till it gets dark. I will post later.
Projectors used: Morimoto Mini H1's with Morimoto 6000k bulbs
1: Take off bumper and remove headlights:
https://acurazine.com/forums/2g-cl-frequently-asked-questions-52/cls-front-bumper-removal-diy-482462/
2: Once removed place each headlight in pre-heated oven for 7 minutes at 275 degrees:
3: With work gloves pry headlights open at the corner. Start by wedging a flat head screw driver in the corner and the separate.
4: Now using a 10 mm socket and a 3/16 allen key unscrew the reflective housing from the plastic:
THESE NEXT STEPS ARE VERY CRUCIAL FOR PROPER ALIGNMENT AND ROTATION!
5: Now find a flat surface at least 10� away from the wall and set up your existing reflective housing make sure it is level (utilize the lines on the reflector bowl these are there for that reason)
6: Once you have everything level mark your reflective housing with painters tape to ensure you line it back up properly when you have the projector mounted:
7: Now hook up your ballast and bulb to a 12v power supply. I got mine from Radio Shack:
8: Mark with painters tape the OEM cutoff, this will be your reference point for aiming/aligning your new projector:
9: Remove the reflective piece that is in the center of the reflective housing with a Philips screwdriver:
Should look like this when removed
10: Now mount your projector inside the open hole and match the cut off with the cut off of your OEM:
11: Once you have it match your OEM reference, tighten the nut on the back of the projector. Make sure it is tight, you may have to trim away a little on the back but not very much:
12: Now that you have it tight, apply silicone sealant liberally around where the reflector and projector meet:
13: Now once everything is dry mount the reflective housing back on to the plastic backing of the headlight:
14: I added silica desiccants to absorb moisture in the event moisture got in the headlight:
15: Since these projectors use H1 bulbs I sold my OEM ballast. Since they were removed there was a big hole on the bottom. I fixed this by taping the inside of the hole with black Gorilla duct tape and then filled with silicone:
16: Now you don�t have to do this. However, I wanted to be extra careful in making sure my headlights were sealed and didn�t have condensation issues in the future. I added window weld to ensure a perfect tight seal. This can be purchased from auto store, retrofitsource.com and HD/LOWES.
17: Place back in oven at 275 degrees for 7 minutes and remove with gloves. Use clamps to make sure the headlights lock into place:
18: The morimoto projectors come with grommets to ensure there is a sea. Drill a 7/8 hole on the back of the headlight cover so we can install the grommet allowing us to still retain a nice sealed headlight:
19: In addition I also replaced the o rings on the signal bulb sockets. They were worn and caused issues of condensation on my last set of headlights: Purchased from Harbour Freight:
20: Also added new LED bulbs in my corners and since I have High beams in my projectors I installed 6000k LED bulbs in the old high beam spot:
21: Repeat with the other headlight:
22: Installed on the car:
I don't have pics of the cut off yet because I finished this today and I am waiting till it gets dark. I will post later.

The following users liked this post:
MTEAZY (09-14-2011)
08-30-2011, 03:42 PM
#3
Well, since I ended up buying some 03 headlights I have a little more money in this than someone would if they used their existing headlights.
$160 for the projectors, bulbs and window sealant from theretrofitsource.com (for some reason there not offering the bundle price for bulbs and projectors now)
$15 LED-Purchased from TL member @ BM
I would say around $200
You could do this on a budget and source out used stuff as well on HIDPLANET.com people sell nice stuff on there all the time. Doing this would save you even more.
08-30-2011, 10:00 PM
#5
Senior Moderator
Very nice. Though i may have painted the stock chrome shroud black 
Ive been thinking about getting a set of these and making a set of fogs with them
Ive been thinking about getting a set of these and making a set of fogs with them
08-31-2011, 05:12 PM
#6
If I would've only waited a few more weeks to order.
Also, Matt the owner has excellent customer service and are truly running an awesome business!
Last edited by slowcl-s; 08-31-2011 at 05:16 PM. Reason: grammar
Trending Topics
 I'm gonna redo mine soon.
 09-08-2011, 06:32 PM
#10
BTW where did you get those silica desiccants?
http://www.theretrofitsource.com/pro...roducts_id=792
09-08-2011, 08:59 PM
#11
i have not touched mine because i didnt like the outcome and i always thought CL looked best with stock headlights but right now i think im gonna change my mind... this looks clean and nice not sure about painting shrouds maybe tint it a lil bit and thats all... i think its best looking retro fit so far
09-09-2011, 11:05 AM
#13
Thanks everyone... This is my 3rd retro and by no means for the faint of heart, so hopefully my write up will make it that much easier for anyone trying to accomplish this.
My overall goal was to achieve as much of an OEM look as possible which is why I ultimately decided to decline painting. I was shooting for more of a look similar to the MDX.
My overall goal was to achieve as much of an OEM look as possible which is why I ultimately decided to decline painting. I was shooting for more of a look similar to the MDX.

 09-10-2011, 06:12 PM
#22
what about the blazer fog light stage III kit :
http://www.theretrofitsource.com/pro...roducts_id=243
what do you guys think of it? I wouldn't know what harness or anything to buy...or whether I'd install them in the roadlamp housing or the bumper
http://www.theretrofitsource.com/pro...roducts_id=243
what do you guys think of it? I wouldn't know what harness or anything to buy...or whether I'd install them in the roadlamp housing or the bumper
09-10-2011, 06:19 PM
#23
what about the blazer fog light stage III kit :
http://www.theretrofitsource.com/pro...roducts_id=243
what do you guys think of it? I wouldn't know what harness or anything to buy...or whether I'd install them in the roadlamp housing or the bumper
http://www.theretrofitsource.com/pro...roducts_id=243
what do you guys think of it? I wouldn't know what harness or anything to buy...or whether I'd install them in the roadlamp housing or the bumper
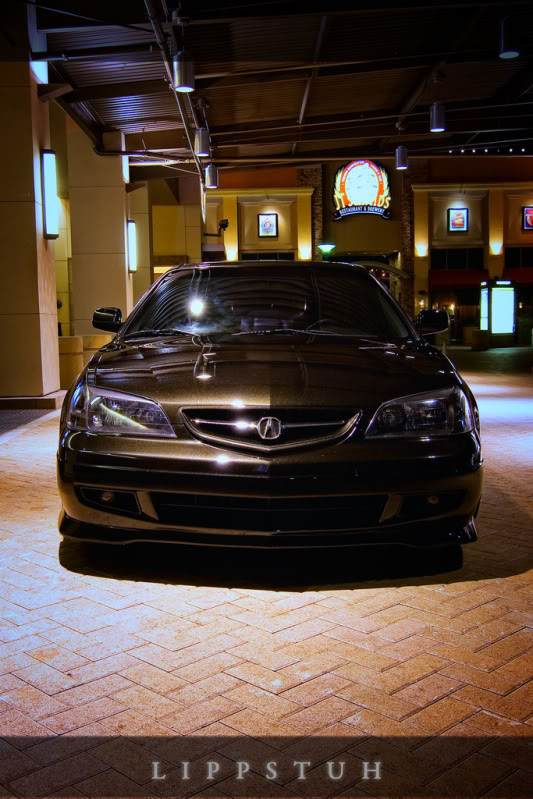
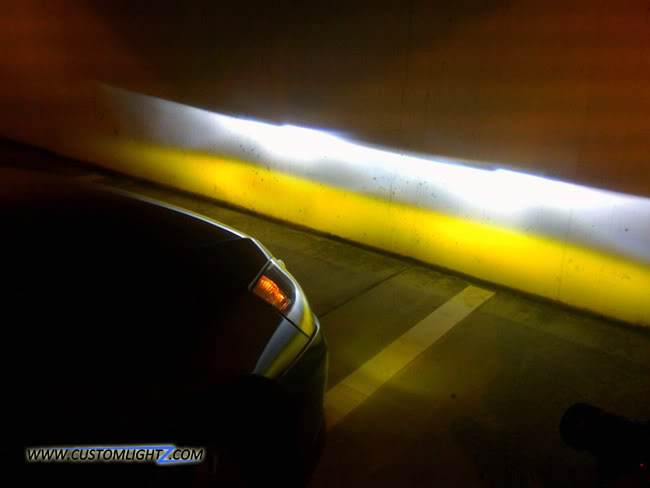
I will be redoing mine to be similar to LIPPSTUH's
Compliments of LIPPSTUH
 09-11-2011, 12:32 PM
#29
09-11-2011, 12:38 PM
#30
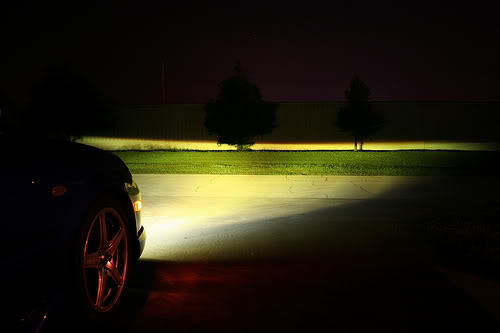
This was with my old retrofit setup so go easy, lol
 09-12-2011, 04:23 PM
#32
Whats up with RDX owners?
iTrader: (9)

Your retro came out good, but I would have used larger shrouds.
/says the guy still working on his
/says the guy still working on his
09-12-2011, 05:47 PM
#33
Something tells me I'm not done here. For some reason I have a problem with leaving something alone when it's perfectly fine. New ideas for retrofits are constantly racing through my head.
Maybe I should turn this into a progress thread, lol.
 09-12-2011, 07:42 PM
#34
Whats up with RDX owners?
iTrader: (9)
I know what you mean. Ive gone back to the drawing board four times now on the headlights. But I figure I dont want to do them again, so Im going to pull out all the stops. Ive got a two week vacation, hopefully I can finish them up in that time.
09-13-2011, 04:35 PM
#37
Clean install and nice writeup. Only things negative i would say is that I think it would look better with smoked/black shrouds and that overall projectors make the cl look weird to me, like a weird cross eyed bug eyed look.
09-15-2011, 03:29 PM
#40
nvm no motorcycle for me =[ I guess yellow [3000k] is the way to go huh? and any suggestions for an 01 CLS? I don't know what to do with the roadlamps...either disconnect them or somehow use wire them to use as DRL? anyone know how to do this? I haven't done much electrically...