350z mount + invisicord = hardwired valentine one under rear-view mirror
 10-16-2007, 07:59 PM
#1
ridiculously good looking
Thread Starter
Join Date: Apr 2005
Location: Stanton, CA
Age: 41
Posts: 308
Likes: 0
Received 0 Likes
on
0 Posts
350z mount + invisicord = hardwired valentine one under rear-view mirror
This was done on a 2004 tsx, i know the pictures are blurry, they are from my phone, but i think blurry pictures are better than no pictures at all, enjoy  :
:
Hardware Needed:
1 - Valentine One
1 - 350z 3/4 Plain Valentine 1 Mount
1 - 8" InvisiCord for Valentine 1
Tools Needed:
Phillips Screwdriver
Total Time Needed:
5 - 15 minutes
Installing the Invisicord:
1. Keep your car keys in your pocket
2. Unplug the rear-view mirror wire from the rear-view mirror (there is a tab you press down on on the top of the plug)
3. On the InvisiCord, push the yellow wrapped wire into the same hole as the yellow and black stock wire (it's the wire on the end of the plug)
4. On the InvisiCord, push the black wrapped wire into the same hole as the black stock wire (the wire next to the yellow and black wire)
5. I should look like this:
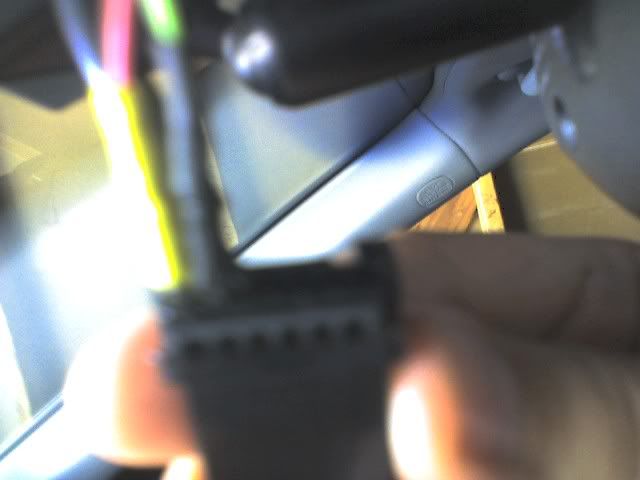
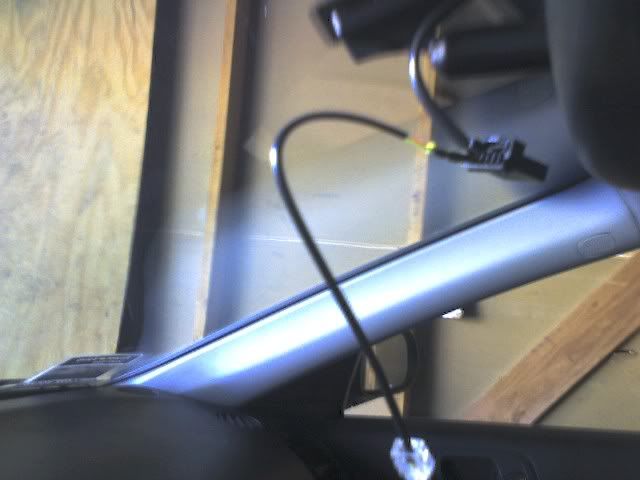
6. Plug the rear-view mirror wire back into the rear-view mirror, and plug in the Valentine 1 when done.
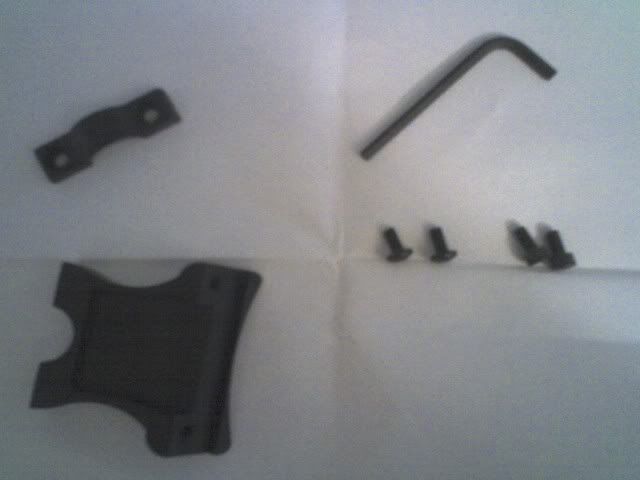
Installing the 350z 3/4 Plain Valentine 1 Mount:
1. Read the Instructions that came with the mount, they are pretty clear, these directions are just to help you.
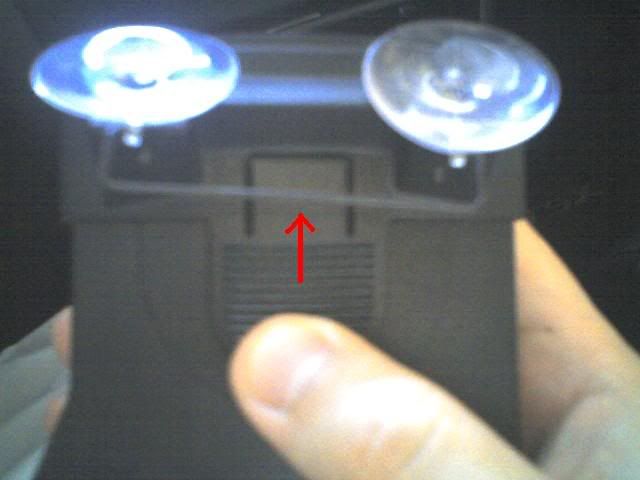
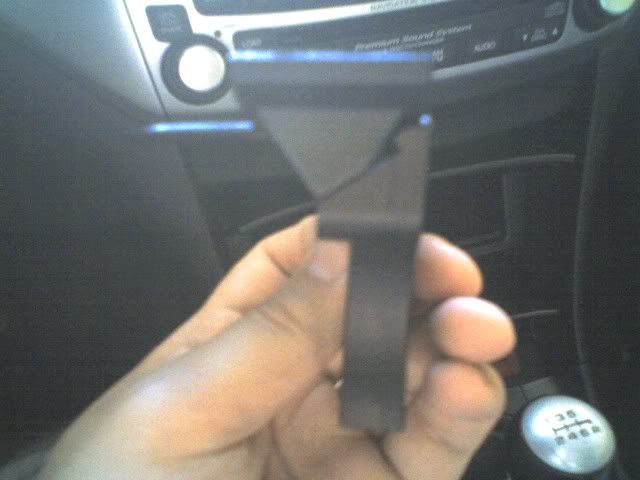
2. Remove the stock mounting bracket from your Valentine One by pressing down on your thumb and forward as the red arrow indicates:
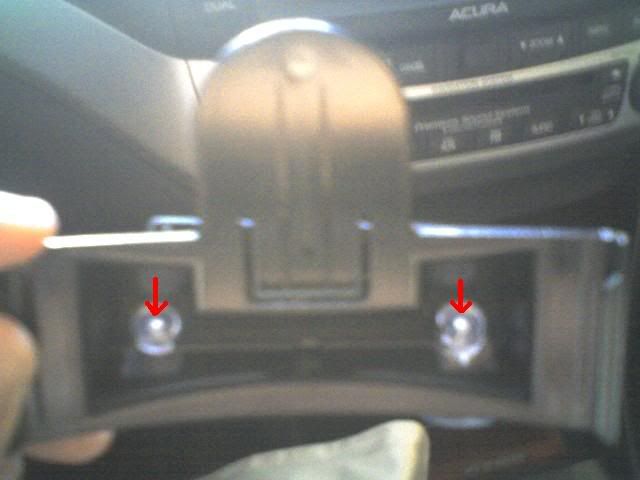
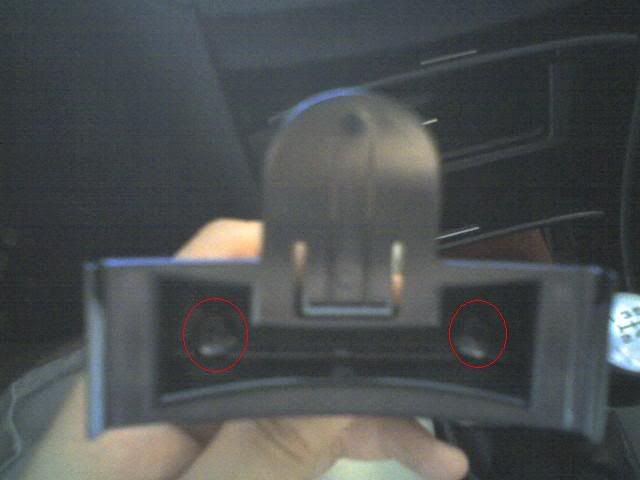
3. Remove the suction cups by pushing the cups downward and out as the red arrows indicate:

4. Attach the stock mounting bracket to the 350z bracket with the 2 provided screws
5. Attach the mount to the mirror's center post.
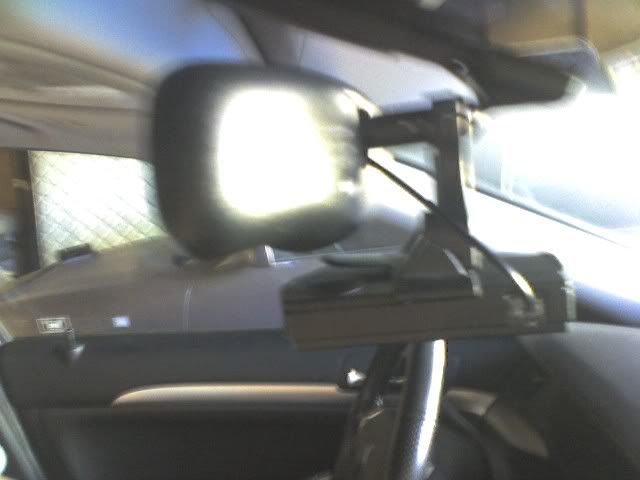
6. Reinstall the Valentine One to the bracket and test
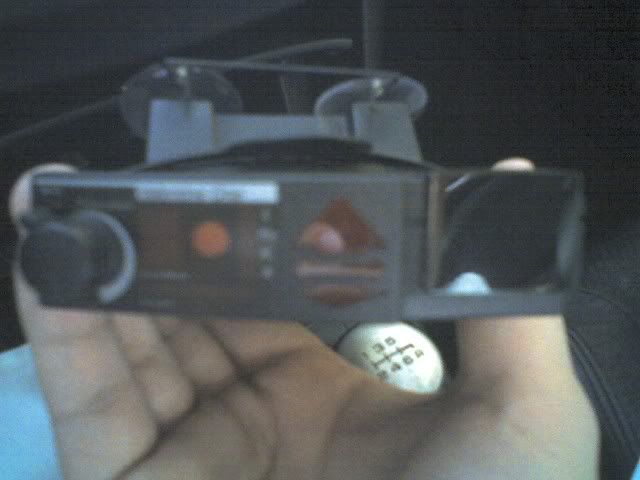
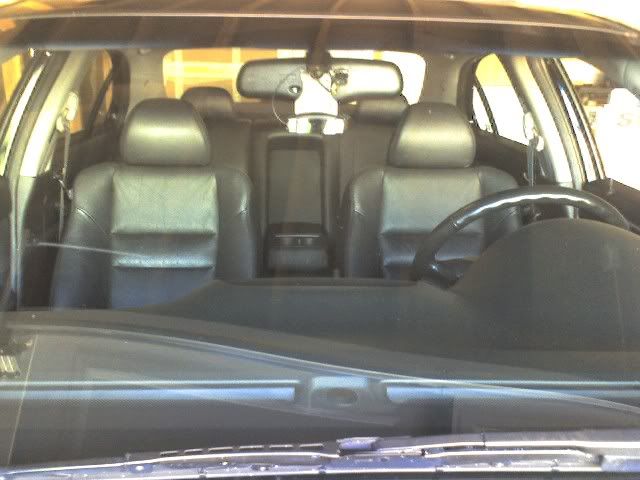
Before:
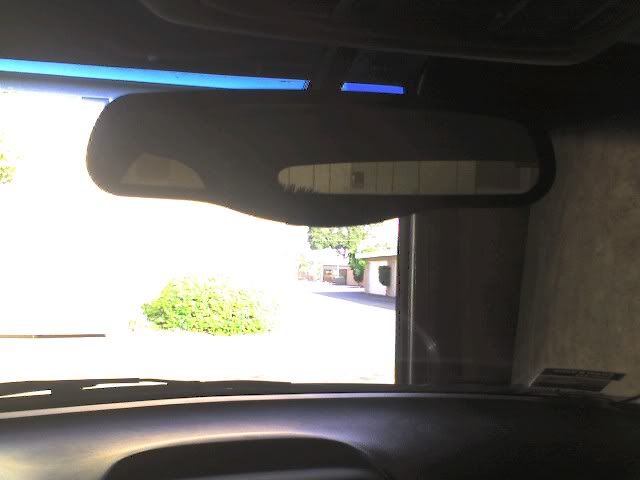
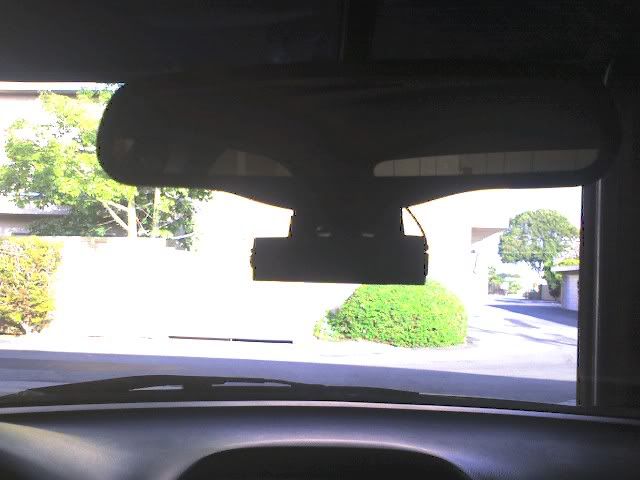
After:
Instructions:
350z Mount:
http://i217.photobucket.com/albums/c...0zmouninst.jpg
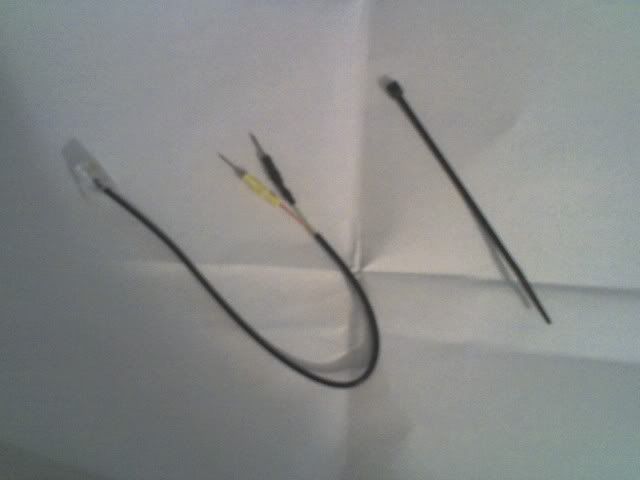
InvisiCord:
http://i217.photobucket.com/albums/c...sicordinst.jpg
:Hardware Needed:
1 - Valentine One
1 - 350z 3/4 Plain Valentine 1 Mount
1 - 8" InvisiCord for Valentine 1
Tools Needed:
Phillips Screwdriver
Total Time Needed:
5 - 15 minutes
Installing the Invisicord:
1. Keep your car keys in your pocket
2. Unplug the rear-view mirror wire from the rear-view mirror (there is a tab you press down on on the top of the plug)
3. On the InvisiCord, push the yellow wrapped wire into the same hole as the yellow and black stock wire (it's the wire on the end of the plug)
4. On the InvisiCord, push the black wrapped wire into the same hole as the black stock wire (the wire next to the yellow and black wire)
5. I should look like this:
6. Plug the rear-view mirror wire back into the rear-view mirror, and plug in the Valentine 1 when done.
Installing the 350z 3/4 Plain Valentine 1 Mount:
1. Read the Instructions that came with the mount, they are pretty clear, these directions are just to help you.
2. Remove the stock mounting bracket from your Valentine One by pressing down on your thumb and forward as the red arrow indicates:
3. Remove the suction cups by pushing the cups downward and out as the red arrows indicate:
4. Attach the stock mounting bracket to the 350z bracket with the 2 provided screws
5. Attach the mount to the mirror's center post.
6. Reinstall the Valentine One to the bracket and test
Before:
After:
Instructions:
350z Mount:
http://i217.photobucket.com/albums/c...0zmouninst.jpg
InvisiCord:
http://i217.photobucket.com/albums/c...sicordinst.jpg
 10-16-2007, 10:36 PM
#4
ridiculously good looking
Thread Starter
Join Date: Apr 2005
Location: Stanton, CA
Age: 41
Posts: 308
Likes: 0
Received 0 Likes
on
0 Posts
Originally Posted by Power1Pete
Thanks for the write up. Now i just have to figure out how to do it with the conceal display...
Now i just have to figure out how to do it with the conceal display...im selling my concealed display now
 10-16-2007, 11:10 PM
#5
Not a Registered User
Join Date: Mar 2002
Location: new jersey
Posts: 960
Likes: 0
Received 0 Likes
on
0 Posts
Originally Posted by Power1Pete
Thanks for the write up. Now i just have to figure out how to do it with the conceal display...
Now i just have to figure out how to do it with the conceal display... 10-16-2007, 11:37 PM
#6
E92
Originally Posted by CGTSX2004
If only radar detectors weren't illegal in VA...
Maybe that's what you need
Trending Topics
 [/URL]

 12-22-2007, 01:41 AM
#14
Burning Brakes

er...Asian TL, thats probably one of the more useless places to put a radar.... First ur cutting off the detection cone in the front with the left pillar, reducing the distance by keeping it low, and completely eliminating the rear detectors because ur body and the drivers seat is in the way.
12-22-2007, 07:48 PM
#15
Originally Posted by acn684
er...Asian TL, thats probably one of the more useless places to put a radar.... First ur cutting off the detection cone in the front with the left pillar, reducing the distance by keeping it low, and completely eliminating the rear detectors because ur body and the drivers seat is in the way.

 12-23-2007, 07:11 AM
#17
Asian07RL

Join Date: Jan 2005
Location: Warrington, PA
Age: 61
Posts: 453
Likes: 0
Received 2 Likes
on
2 Posts
Originally Posted by acn684
er...Asian TL, thats probably one of the more useless places to put a radar.... First ur cutting off the detection cone in the front with the left pillar, reducing the distance by keeping it low, and completely eliminating the rear detectors because ur body and the drivers seat is in the way.
For the rear, I have not encountered any but the rear detector sensor is pointed between driver side and the pillar.
01-07-2008, 11:18 PM
#18
Advanced

Join Date: Jun 2002
Location: Dirty South
Age: 45
Posts: 52
Likes: 0
Received 0 Likes
on
0 Posts

Thread
Thread Starter
Forum
Replies
Last Post
ITSJESTER
4G TL Audio, Bluetooth, Electronics & Navigation
17
12-06-2018 02:29 AM
rp_guy
Member Cars for Sale
9
07-16-2017 07:33 AM
soupi
2G TSX Audio, Bluetooth, Electronics & Navigation
14
11-15-2015 11:15 AM