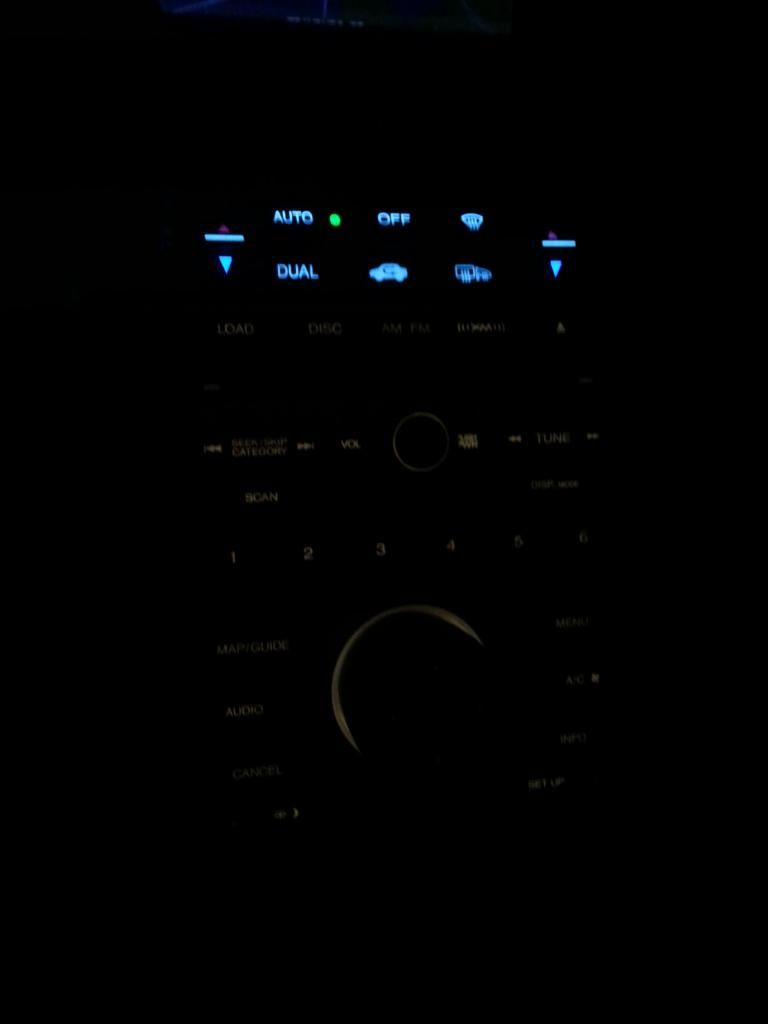
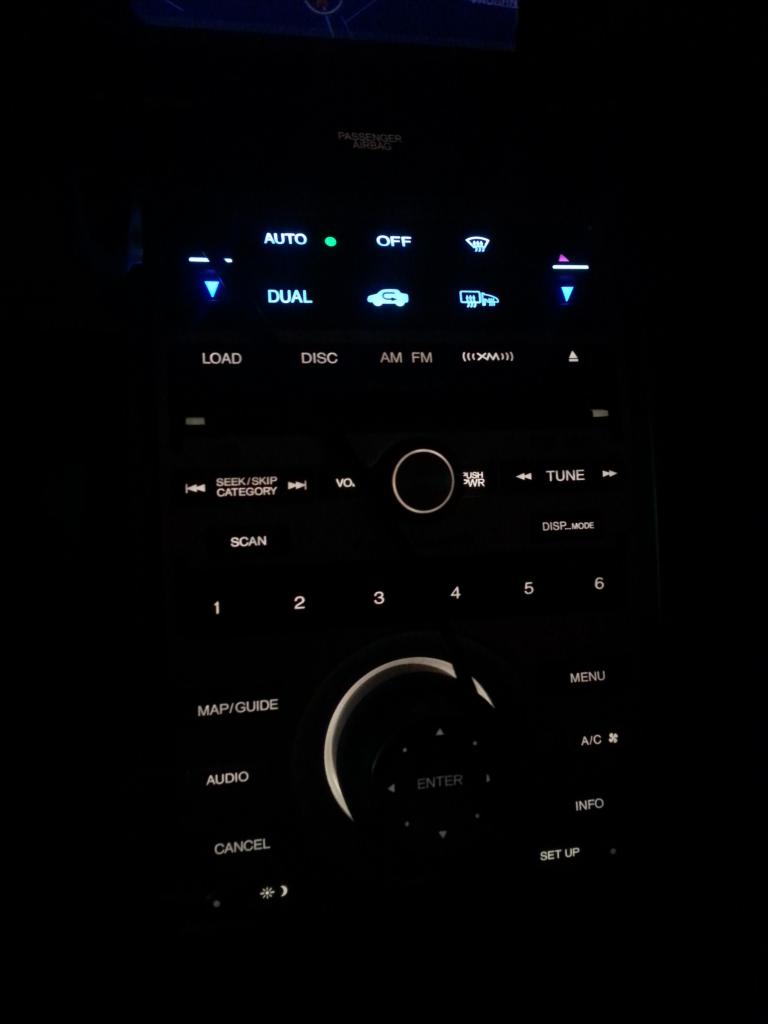
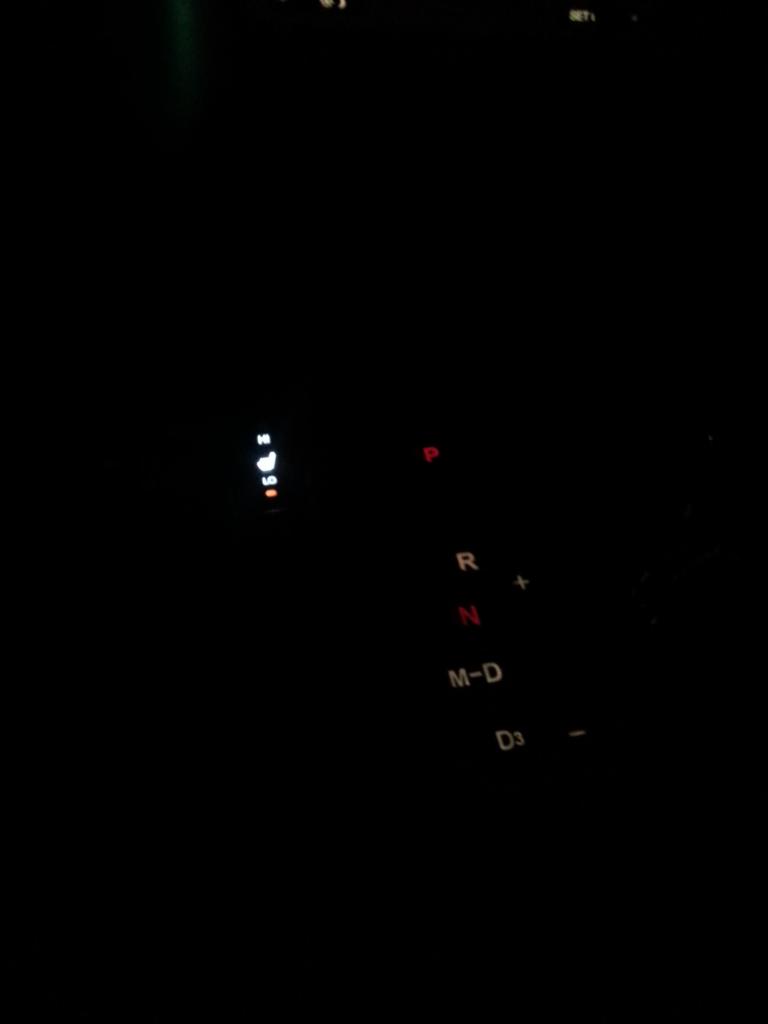
F-021: DIY Climate control bulb replacement
#41
I think (but not sure) T5 type of bulbs will help.
#42
Another option is to replace the hvac control unit with one from the 2009-2012. Those have LED backlights standard and you get the mode button that we don't have on the 2005-2008. It's a direct plug and play swap as long as you have the entire control unit assembly from the 2009-2012.
#43
Another option is to replace the hvac control unit with one from the 2009-2012. Those have LED backlights standard and you get the mode button that we don't have on the 2005-2008. It's a direct plug and play swap as long as you have the entire control unit assembly from the 2009-2012.
#44
You could use 5mm LED bulb replacements and re-wire them into the stock holder. I am going to try this over my next stretch of days off. I took apart the radio unit, that is an entire Soldering project in itself which for someone who has never soldered something will have to do some serious DIY research.
#45
Going to attempt this. My light for the driver side temperature control just went out.
If I'm successful, and able to access it, I'll probably just replace all of the bulbs at once, so I don't have to dig back there again.
If I'm successful, and able to access it, I'll probably just replace all of the bulbs at once, so I don't have to dig back there again.
#46
Burning Brakes
Can someone please confirm the bulb type for the hvac controls and seat heater switch, not seeing it in here. I've seen both t3 and t5 mentioned in different places. I'd like to get the base and bulb together in led.
Thx
Thx
The following users liked this post:
boomer1 (10-08-2014)
#48
Burning Brakes
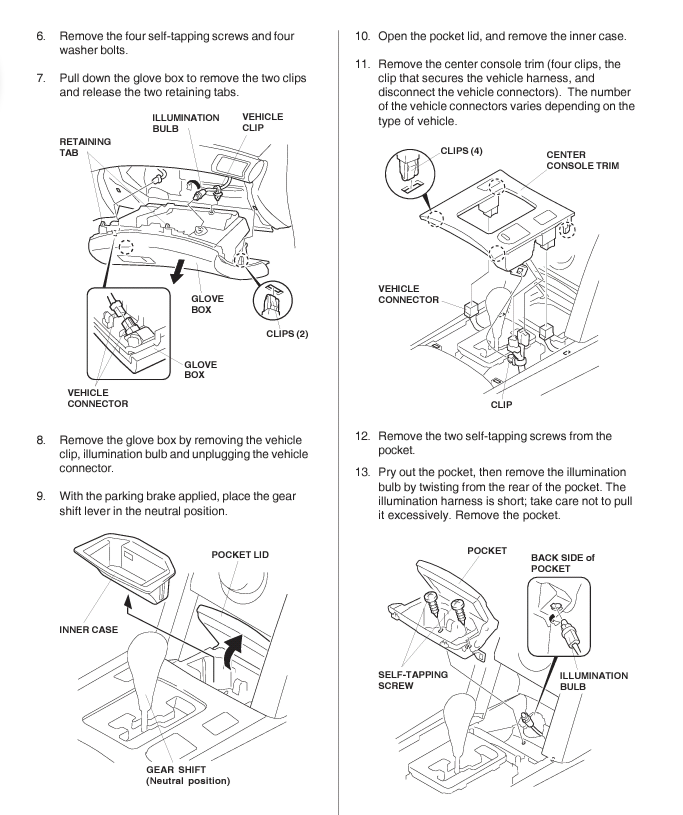
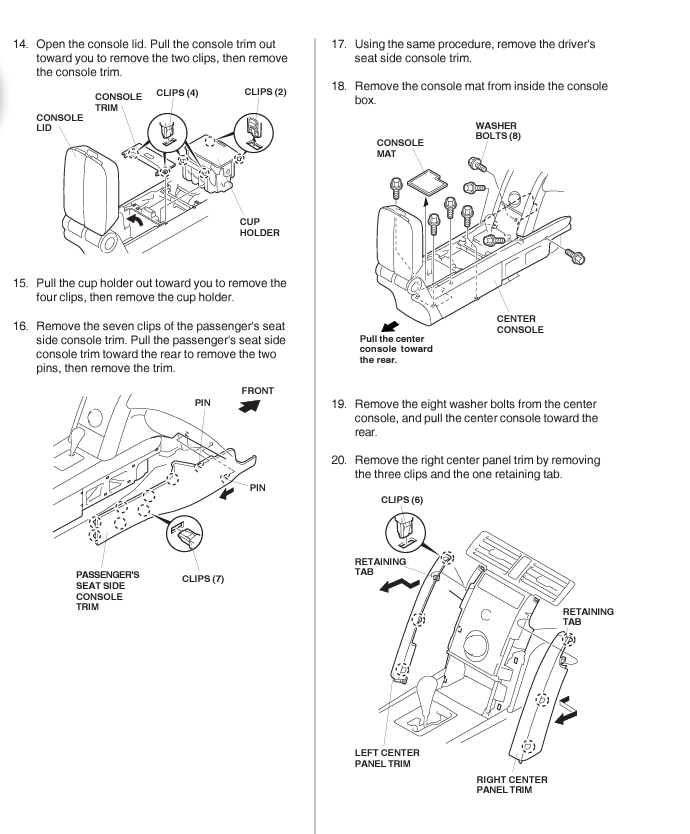
So I tackled this today, it was a PIA. It's not hard, but felt like I was being fought at every step. The hardest part was getting out the two bolts behind "not an ashtray," which I was prepared for. However, There were two sets of bolts, which I didn't realize and, of course, I tried to remove the wrong ones first, but luckily didn't take them out all the way. Note: there are four bolts, you want to remove the top ones! I only dropped one putting it back in, but luckily it fell in a spot I could get it with a long magnet.
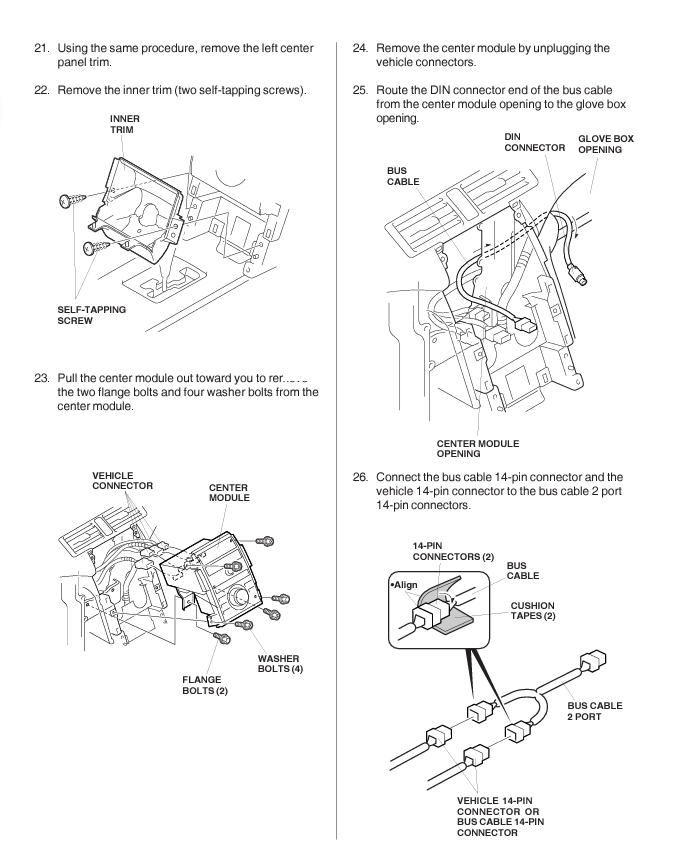
I also had trouble removing one of the screws from the hvac head unit to free the controls. Would not turn and was starting to strip. I finally got it, but it was a headache. I didn't unplug the hvac unit, but that would have made it easier. There were also four smaller screws in the back of the hvac unit, I removed them too.
I initially had trouble getting the light out of the back of the "not an ashtray." When I freed the tray housing, there was no slack and I was afraid to pull on it so I spent 15 mins trying to get my fingers back there to free the light housing. The workshop manual says there isn't much slack, but there was plenty. Once I got the housing out, I could pull the light wire harness to give a lot more slack making it much easier to put back in.
I could not fix my passenger seat heater light. Unfortunately, I think it's the switch contact not the bulb, I tried multiple bulbs, and all I could get was flickering. I'll have to play with the contacts. Got tired, so I'll come back to it.
Car needs to be in neutral to slide radio out far enough to access hvac screws, when you do that, car will keep beeping, so you need to disconnect the battery. Make sure you have your radio/nav codes.
I used t3 led bulbs and they are the right ones, they are shorter, but work good and are much brighter. Note that they are polarized, so you have put them in the right way. If they don't work when you put them in, pull them out and turn them 180 degrees.
I hope I don't have to do this again. It took me about 2.5 hours, but if I had to do it again, probably could do it in under an hour.
As for tools, you will need an extension for your ratchet to reach bolts behind the astray, I think my was about 6". Rest of the tools are standard, various screwdrivers.
Good luck, it's a big improvement!
The following users liked this post:
Maintenanceman (10-25-2014)
#49
So I tackled this today, it was a PIA. It's not hard, but felt like I was being fought at every step. The hardest part was getting out the two bolts behind "not an ashtray," which I was prepared for. However, There were two sets of bolts, which I didn't realize and, of course, I tried to remove the wrong ones first, but luckily didn't take them out all the way. Note: there are four bolts, you want to remove the top ones! I only dropped one putting it back in, but luckily it fell in a spot I could get it with a long magnet.
I also had trouble removing one of the screws from the hvac head unit to free the controls. Would not turn and was starting to strip. I finally got it, but it was a headache. I didn't unplug the hvac unit, but that would have made it easier. There were also four smaller screws in the back of the hvac unit, I removed them too.
I initially had trouble getting the light out of the back of the "not an ashtray." When I freed the tray housing, there was no slack and I was afraid to pull on it so I spent 15 mins trying to get my fingers back there to free the light housing. The workshop manual says there isn't much slack, but there was plenty. Once I got the housing out, I could pull the light wire harness to give a lot more slack making it much easier to put back in.
I could not fix my passenger seat heater light. Unfortunately, I think it's the switch contact not the bulb, I tried multiple bulbs, and all I could get was flickering. I'll have to play with the contacts. Got tired, so I'll come back to it.
Car needs to be in neutral to slide radio out far enough to access hvac screws, when you do that, car will keep beeping, so you need to disconnect the battery. Make sure you have your radio/nav codes.
I used t3 led bulbs and they are the right ones, they are shorter, but work good and are much brighter. Note that they are polarized, so you have put them in the right way. If they don't work when you put them in, pull them out and turn them 180 degrees.
I hope I don't have to do this again. It took me about 2.5 hours, but if I had to do it again, probably could do it in under an hour.
As for tools, you will need an extension for your ratchet to reach bolts behind the astray, I think my was about 6". Rest of the tools are standard, various screwdrivers.
Good luck, it's a big improvement!
I also had trouble removing one of the screws from the hvac head unit to free the controls. Would not turn and was starting to strip. I finally got it, but it was a headache. I didn't unplug the hvac unit, but that would have made it easier. There were also four smaller screws in the back of the hvac unit, I removed them too.
I initially had trouble getting the light out of the back of the "not an ashtray." When I freed the tray housing, there was no slack and I was afraid to pull on it so I spent 15 mins trying to get my fingers back there to free the light housing. The workshop manual says there isn't much slack, but there was plenty. Once I got the housing out, I could pull the light wire harness to give a lot more slack making it much easier to put back in.
I could not fix my passenger seat heater light. Unfortunately, I think it's the switch contact not the bulb, I tried multiple bulbs, and all I could get was flickering. I'll have to play with the contacts. Got tired, so I'll come back to it.
Car needs to be in neutral to slide radio out far enough to access hvac screws, when you do that, car will keep beeping, so you need to disconnect the battery. Make sure you have your radio/nav codes.
I used t3 led bulbs and they are the right ones, they are shorter, but work good and are much brighter. Note that they are polarized, so you have put them in the right way. If they don't work when you put them in, pull them out and turn them 180 degrees.
I hope I don't have to do this again. It took me about 2.5 hours, but if I had to do it again, probably could do it in under an hour.
As for tools, you will need an extension for your ratchet to reach bolts behind the astray, I think my was about 6". Rest of the tools are standard, various screwdrivers.
Good luck, it's a big improvement!
Dimming lights still works?
And got any pics?
Thanks,
D
#50
#51
Burning Brakes
They are holding up fine. Quite a bit brighter and bluer/cooler than the lights on radio panel, I like it. wasnt aware you can dim radio and hvac lights, though it was only instrument panel. I'll try to get some pics up. Lights for heater control are much better than stock.
Last edited by rlerman; 11-06-2014 at 06:26 AM.
#54
Racer
so my understanding of this is - the climate control lights can be changed .. what about the rest of the buttons on the layout? ( radio #'s 1-6, setup, info, map guide, menu etc)
My lights seems a little on the dull side and lately its been annoying me so I'm considering having my electronic guy do this for me since this is what he does
do the bulbs that you guys get from Radio Shack the only changes the climate lights? I'm not about to solder new lights so I'm just curious about this
#55
Racer
On the older 2G only the climate control lights are bulbs, the rest are LED and cannot be changed. I have read when you use non OEM lights, they are too bright. I have had the bulbs from Acura the whole 3 years I've had the car and have still not changed them. 2 of the lights are working again! I just never understood the description of taking the side bars off to access the screws. I pulled some, quite a bit and they would not budge. I'm just afraid to break it. I need to re-read this thread.
#57
Instructor
Join Date: Nov 2008
Location: Massachusetts
Age: 60
Posts: 128
Likes: 0
Received 0 Likes
on
0 Posts
Here's a tip for getting those 8mm bolts behind the "not an ashtray"
Put a little piece of duct tape inside the ratchet. It'll hold the bolt in a little better when you pull it out. Take your time, you don't want to drop it.
My A/C heater control unit died on me a few weeks ago. I bought a used one on eBay and replaced it the other night. When I took the old one out of the car, I heard rattling, so I opened it up. The bulbs were actually out of the sockets and rolling around inside the case! I then plugged the new unit into the console. The A/C worked, but a couple of lights were out on the buttons. I took a couple of bulbs from the older unit and used those .. they still worked.
However, I found it almost impossible to line up the lines that say "in" and "locked" on the bulbs. I got them about halfway in with a flathead, and they are holding, but I'm afraid they will jar lose and fall out later. Anyone else run into this problem, or do I just need to buy new bulbs?
Last edited by b0n3; 09-05-2015 at 09:44 AM. Reason: add ratchet tip
#58
Racer
#60
Purchased an 05 RL recently. Two of the climate control lights were out. This thread was essential at every step in helping me replace all the bulbs in the climate control unit. A special thanks to all who contributed from their knowledge base and experience.
#64
Intermediate
I just changed mine today with OEM bulbs. The bulbs came with yellow tops which I thought was odd since the old bulbs didn't have yellow tops. In my infinite wisdom I put them in anyway.
So of course those lights are more yellow. I'm guessing you can take the yellow caps off?
I saw that they worked but I didn't see the colour difference until I was in low light...
I don't feel like ripping it all apart again...
So of course those lights are more yellow. I'm guessing you can take the yellow caps off?
I saw that they worked but I didn't see the colour difference until I was in low light...
I don't feel like ripping it all apart again...
Thread
Thread Starter
Forum
Replies
Last Post
mada51589
3G TL Problems & Fixes
79
05-03-2022 08:54 PM
cycdaniel
1G TSX Performance Parts & Modifications
8
12-17-2019 10:58 AM


