Acura TSX: How to Replace Valve Cover Gasket
Sooner or later the valve cover gasket or spark plug seal tubes will start leaking, it's just a fact of life. Replacing them is nothing difficult. This how-to will guide you through the process and will show you how to change these out without breaking a sweat.
This article applies to the Acura TSX (All years with K24 engine).
The valve cover gasket seals the bottom of the valve cover to the head. It provides a means by which to keep the oil in the engine instead of down the sides of the engine, onto hot exhaust manifolds, and other such unneeded places. Changing the gasket as well as the spark plug tube seals will help keep the oil inside the engine and will, from time to time, need to be changed. The gasket is really easy to change, but the seals can be a little more tricky. As long as you have the right tools, getting this done is really a straightforward task. There really aren't any special tools needed, but there are some techniques involved. Even so, the average DIYer can accomplish this fairly easily.

Materials Needed
- Metric tool set
- Flat tip screwdriver
- Hammer
- Pliers
- Long extension or punch
- 30mm socket with matching 5" extension
- White lithium grease (or bearing grease)
With replacing the valve cover gasket, it is highly recommended to get a gasket set which will allow you to replace the spark plug tube seals and grommets. This ensures everything is fresh and more likely to seal on the first go. Please note, some gasket sets come with two sets of spark plug tube seals. You'll only need four of them. Match the size according to what is in the valve cover when you remove them.
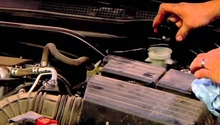
Step 1 – Remove engine cover
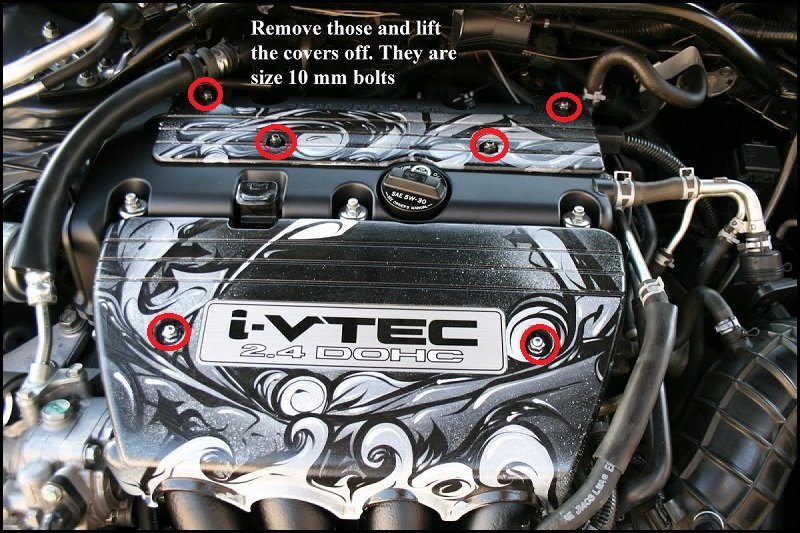
Pull out the dipstick and set it aside where it won't drop onto the ground. Using a 10mm socket, remove the two bolts holding the front cover onto the engine, then remove the cover and set it aside. Next, remove the two nuts and two bolts holding the coil cover and remove it as well.
Step 2 – Remove coils
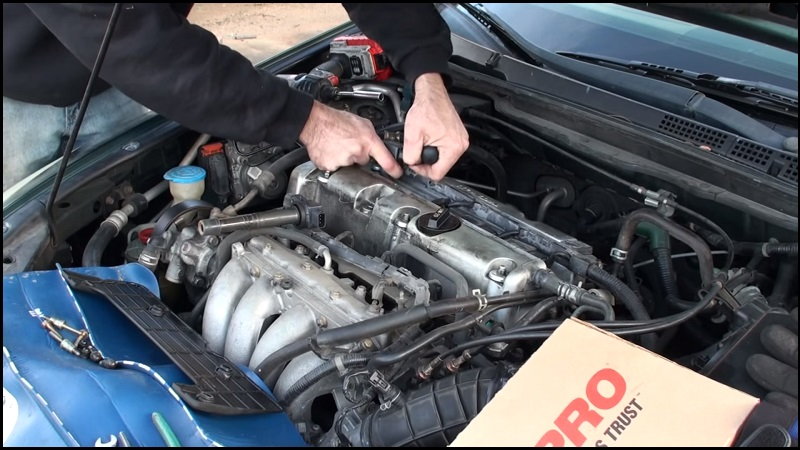
Remove the four screws/studs which hold the coils in place. Note the position of each screw/stud to ensure they are replaced in their proper location. Lift up slightly on each coil in turn and disconnect the wiring harness. Pull the coil out and place each aside in a safe place to prevent damage.
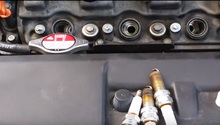
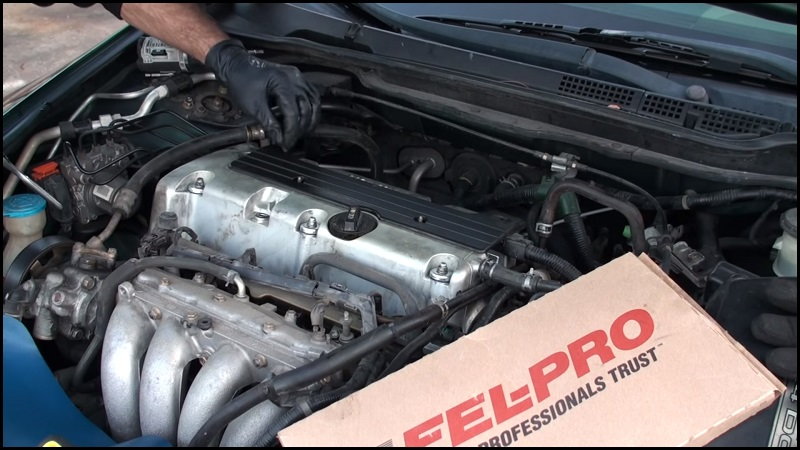
Step 3 – Remove valve cover
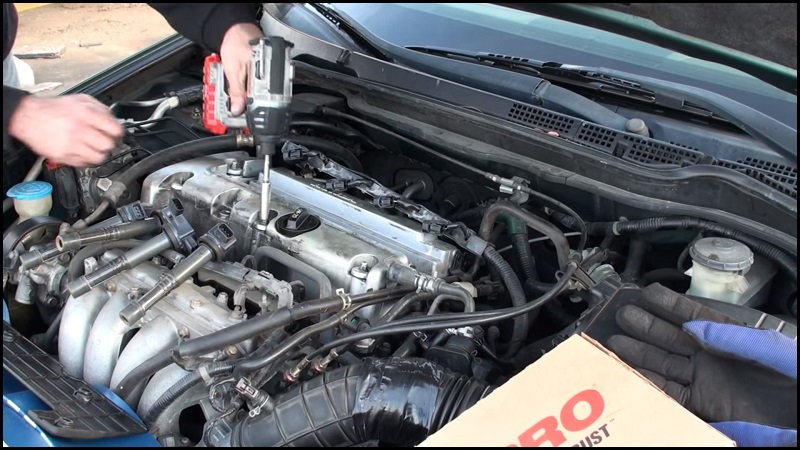
On the driver's side of the engine, un-clamp the hose using a pair of pliers and pull it from the valve cover. Right next to where the hose normally resides are two 10mm bolts, which keep the wiring and such in order. Loosen and remove these, then pull the coil wiring harness over and out of the way. Remove the six 10mm perimeter nuts, which hold the valve cover in place (Figure 3). Remove the grommets which reside underneath the valve cover nuts. You may need a screwdriver to pry these out, especially if they've never been replaced. Gently pry up on the valve cover itself to begin removal. You'll need to guide it around the power steering hose on the one end, then the wires and hoses on the other.
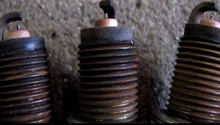
Step 4 – Replace spark plug seals
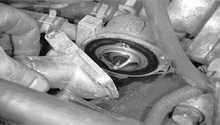
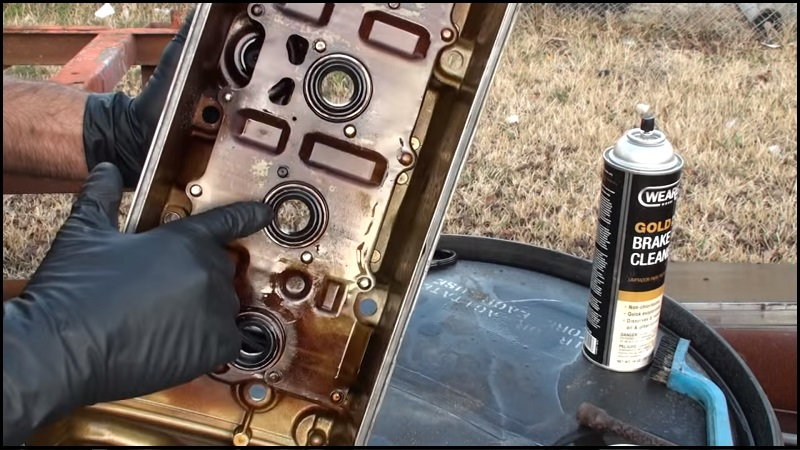
With the valve cover off, turn the valve cover gasket side down onto a flat secure work surface. Insert a long ratchet extension or punch through the first spark plug tube hole. Wedge the extension against the tube seal and ensure secure contact. Use the hammer to tap the old seal out. It may take several blows from the hammer, working it around the perimeter of the seal, for any given seal for it to pop out. Repeat this for the other three seals.
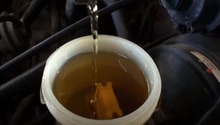
Turn the valve cover over to expose the inside of the cover, placing the top side of the cover onto the work area. Retrieve the four correctly sized seals, comparing them to the original seals. Coat the inside surface of the seals with grease. This helps the seals slip over the spark plug tube without damaging the seal. Place the side of the seal with the spring visible down onto the first hole in the cover, centering it while keeping it flush. Place the 30mm socket and 5" extension onto the seal, keeping it centered on the seal. Use the hammer to tap the new seal into place. The seal should be driven all the way down until it bottoms on the metal lip of the valve cover. The tone of the noise as it is driven is a dead give away it has reached its home. Turn the valve cover over and peer down the hole to ensure it has its proper resting place. Repeat this for the other three seals. When finished, pull the old valve cover gasket from the cover and replace with the new one, ensure it is secure around the entire length of the cover.
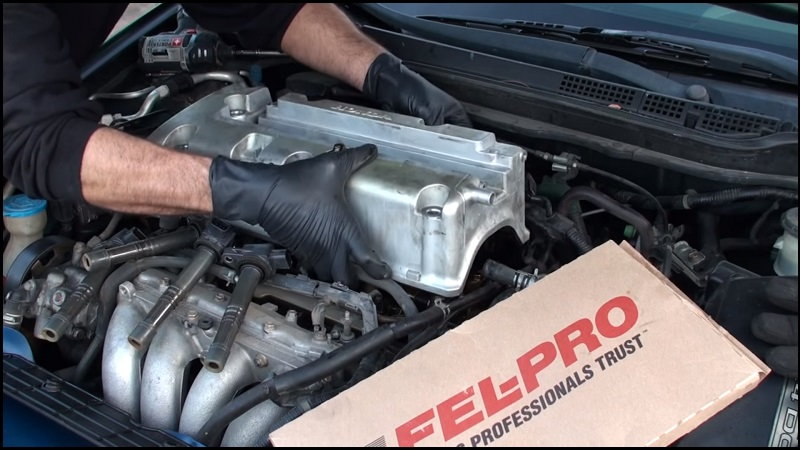
Step 5 – Refit valve cover
With everything back together, clean the area on the engine where the valve cover gasket sets to ensure no dirt, grime, or oil resides there. Gently place the valve cover down into place. The power steering line and other hoses may try to impede your progress. Push these out of the way as you guide the valve cover down into place. You will see the tops of the valve cover studs start to poke through their holes at this point. When the valve cover is squared up and nearly into position, gently push down on the cover to seat the seals down onto the spark plug tubes. Do this gently so as not to damage the new seals. Stick your index finger through each hole to help the seal pop over the tube. Check to ensure the valve cover seal is completely mated with the cylinder head all the way around. The valve cover studs should be plainly visible at this point as well. Place the new valve cover stud grommets into place, then replace the valve cover stud nuts onto their studs. Tighten these securely and evenly, but don't over-tighten.
Step 6 – Replace engine covers
Place the coils into position. Place the coil wiring harness back into position and reconnect each of the coils. Replace the screws/studs to secure the coils. Replace the two bolts in the end of the valve cover to secure the lines into place. Place the hose onto the nipple at the driver's side end of the valve cover and move the clamp back into position. Replace the coil cover and secure with the proper fasteners. Replace the engine cover and secure with proper fasteners. Replace dipstick.
Featured Videos: K24 Engine Valve Cover Removal
-
Part One
-
Part Two
Related Discussions
- DIY Valve Cover Removal Valve Cover Gasket Replacement - AcuraZine.com
- Valve Cover Compatability - AcuraZine.com
- Reg Valve Cover Gasket Replacement - AcuraZine.com
- Valve Adjustment When and How - AcuraZine.com