Acura TSX: How to Replace Serpentine Belt
Just one tool and a new belt is all you need to do this job. It's really simple and only takes a few minutes to accomplish. Why pay a dealership to fix this when anyone with a DIY attitude can do the labor for free? Read on to see just how easy it can be to do this little bit of maintenance.
This article applies to the Acura TSX (2004-2014).
The serpentine belt system takes power from the engine itself and provides it to the accessories on the engine, such as the alternator, power steering pump, and air conditioner compressor. Serpentine belts don't usually fail completely; they usually wear out and begin to slip or squeal. This weakens the accessories in that the accessory will not provide the output which it normally would. For instance, when the belt starts slipping, you'll hear chirping from the power steering pump as it is being used, or you'll hear squealing from the alternator upon first startup in the morning. Changing the belt is a fairly easy task, though routing the belt may be cumbersome, but really isn't hard at all. If you have the time and the tools, this is a no-brainer DIY job.

Material Needed
- Serpentine belt removal tool or long 14mm combination wrench
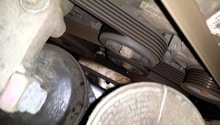
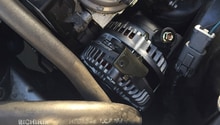
Step 1 – Remove old belt
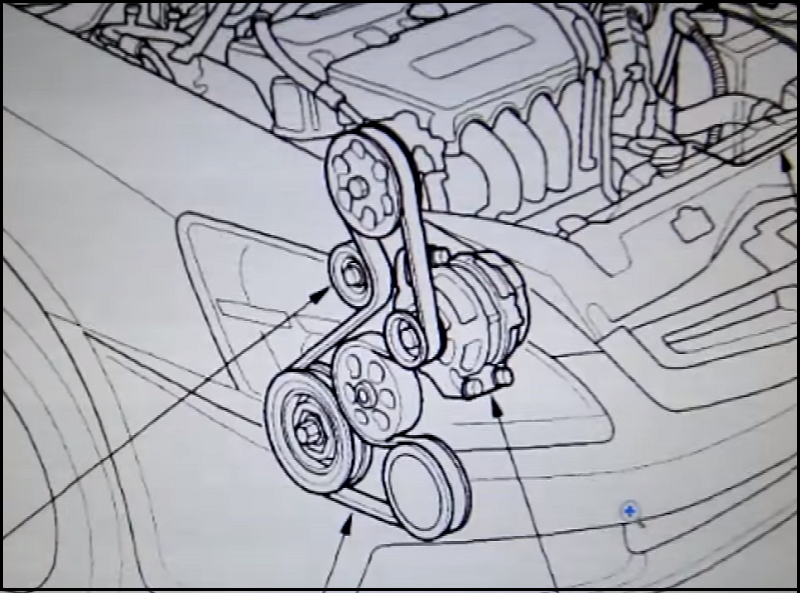
Open the hood and ensure it is supported. Locate the tensioner pulley (Figure 1). Place serpentine belt removal tool onto center bolt of the serpentine belt tensioner pulley. Turn the tool clockwise to loosen the belt, slipping it from the pulley when enough tension has been relieved. Allow the tensioner to go to the relaxed position and remove the serpentine belt removal tool. Un-thread the belt from around the different pulley, allowing it to pull free from the engine.
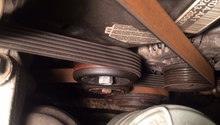
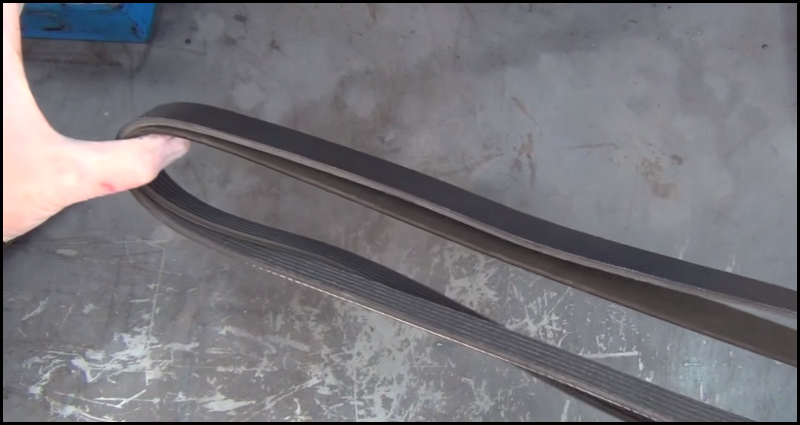
Step 2 – Compare old belt to new
Pull the new belt from the containing sleeve. Lay the new belt out flat. Using the old belt, stretch it out and hold it against the new belt like seen in Figure 2. Ensure the belts are basically the same length. The old belt may be a bit longer than the new due to stretching over time. Ensure the rib count is correct. The one for the TSX should have seven (7) ribs.
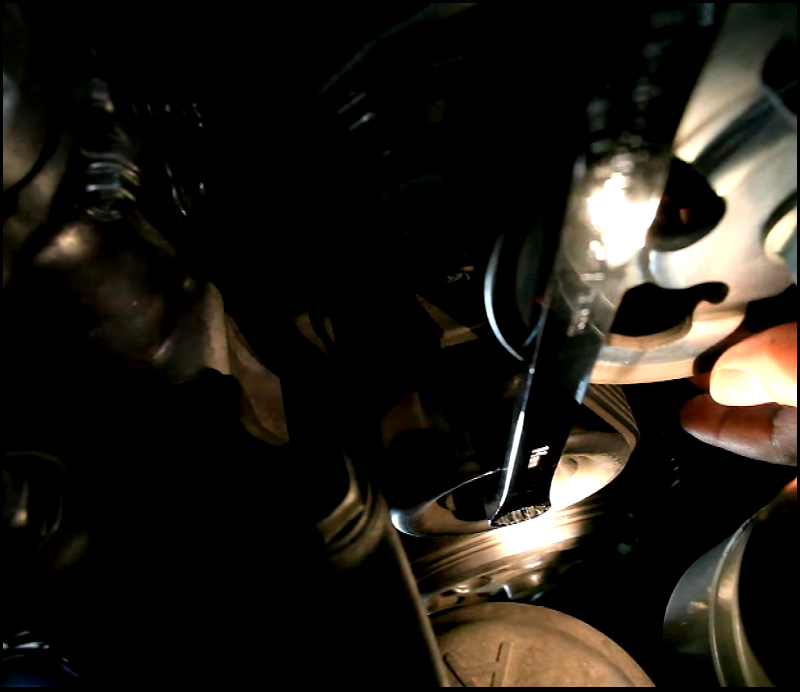
Step 3 – Place new belt
With the new belt in hand, loop a section with enough length to go over the crank hub pulley. Slide the loop down between the engine and the fender well until the loop can be placed over the hub pulley. Provide tension to the belt on the pulley from the back side, which should allow the other side to be brought around the A/C compressor pulley. Continue holding the belt on the one side while passing the other side up around the idler pulley. This will be the backside of the belt maintaining contact with the pulley. From here, thread the belt up over the alternator pulley and then bring it over the top of the power steering pulley. This should leave the tensioner pulley as the last pulley. Place the belt up close to the tensioner pulley so the serpentine belt replacement tool can be put onto the tensioner pulley bolt. The belt should be between the tool and the engine. Turn the tool clockwise until the belt can be slid into place over the pulley. Slowly release the pulley, ensuring the back of the belt is square on the tensioner pulley. Before removing the tool, ensure the belt is on the rest of the pulleys fully. If it isn't, take up release the belt again from the tensioner pulley and adjust the belt into proper position. Once satisfied, remove the tool from the tensioner pulley. Start the engine and observe proper belt operation.
Featured Video: Accord/TSX 2004+ K24 Serpentine Belt Replacement
Related Discussions
- 2009 TSX Serpentine Belt Replacement Issue - AcuraZine.com
- Bando Drive Belt OEC vs Aftermarket - AcuraZine.com
- Replacing Drive Belt Easy or Hard - AcuraZine.com
- Serpentine Belt Tensioner Question - AcuraZine.com