Acura TL 2009-2014: How to Replace Air Filter
Changing out the air filter requires about as much time as it does to find your best Phillips head screwdriver. It's a very easy job and something you can tell your better half you did, saving a bit of money in the process.
This article applies to the Acura TL (2009-2014).
The air filter is a needed part for the engine, as it helps remove dust and prevent larger pieces from entering the intake tract and furthermore intrude into the engine. Replacing it on a regular basis will not only help keep the dust/dirt out, but will actually help with fuel mileage and engine performance. When the filter becomes clogged, it reduces the amount of air the engine can intake. In order to overcome this, you need to press the engine harder and therefore it uses more fuel. Changing this part on the TL is a simple task which any person, even with minimal DIY skills, can accomplish. The only reason you might not want to do this chore is if you have an aversion to any form of dirt or your time is too valuable to do it yourself.

Material Needed
- #2 Phillips head screwdriver
Step 1 – Remove the engine cover
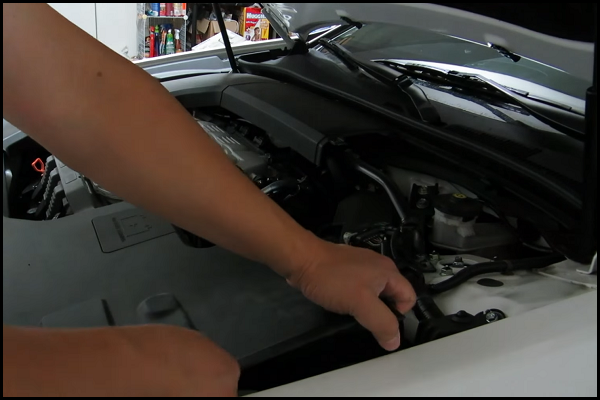
The hardest part of this job is to figure out where to start pulling the engine cover. Start by removing the one which is closest to the cowl on the driver's side. Be careful while removing the covers, as the friction clips can come free of the cover and are easily lost. Pull up by the engine side near the split to pop it free (Figure 1). There will be several friction clips which hold it in. After the center part pulls up, move to the back corner near the cowl. It should come free after this point. Set the cover aside.
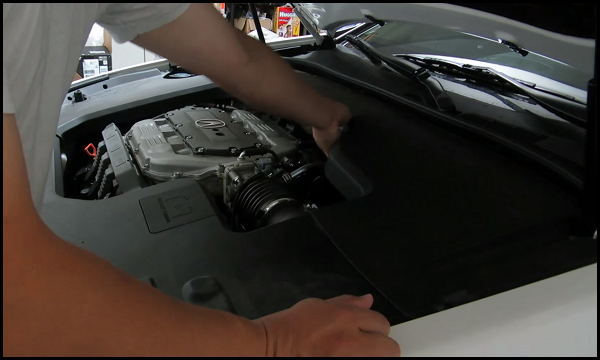
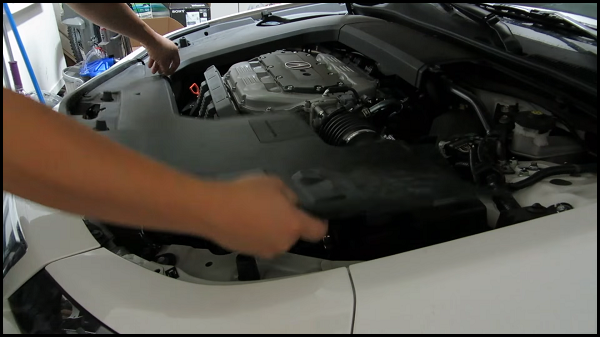
The next part to remove is the long part, which runs along the front of the engine bay, clockwise from the first piece that was removed. Start here by pulling up on the upper corner nearest the driver's side fender (Figure 2). Continue pulling up as connectors are found while following the contour of the fender and around to the front of the vehicle. There will also be a friction connector at the battery which will need to be released. When disconnected, put off to the side.
Step 2 – Remove the air box cover
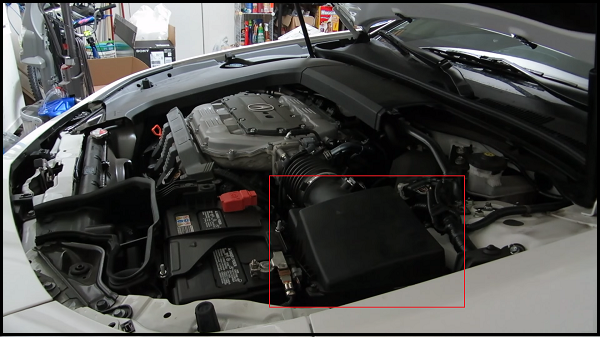
The air box containing the air filter is located on the driver's side of the engine compartment, right behind the battery (Figure 3).
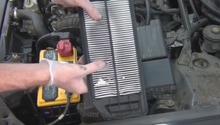
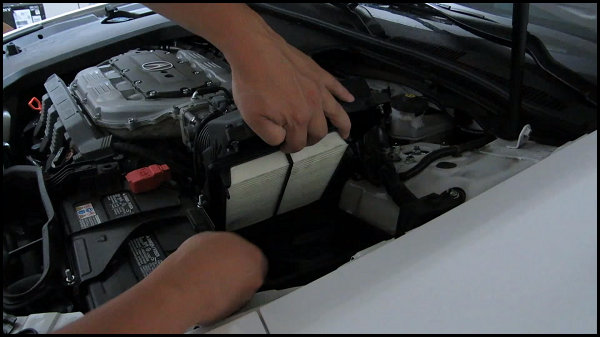
At the corners of the air box, there are four Phillips head screws. Loosen these all the way with a screwdriver, but realize these are captured screws and will stay in the cover even after being unscrewed. When all four screws are loose, lift up the cover to discover the filter element underneath. Carefully pull the old filter out, noting the orientation of the filter. Inspect inside the air box for any debris which may have found its way in. Remove any if found.
Step 3 – Place new filter
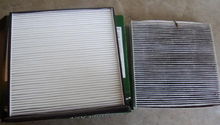
Lift the air box lid and place the filter in the same way you removed the old one. Looking at the corners of the filter, there are three plastic tabs, with one corner missing one. Place the short end with two plastic tabs towards the fender. The rubber lip should be towards the top, with the element itself facing downwards (Figure 4).
Once the filter is fitted into place, lower the cover so it is back in its place. Tighten all four screws firmly, but don't over-tighten, as these can be broken if over-stressed.
Step 4 – Replace engine covers
Starting with the long piece, fit the end under the engine cover piece that is still on the vehicle first (Figure 5).
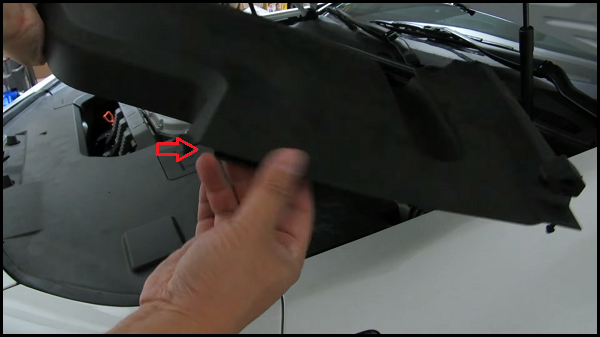
Push the starting corner into place, following around the front of the vehicle. At the center, the hood latch will need to be moved slightly to place the cover down into place over it. Continue along the front and towards the fender. When lowered down into place, push the friction clips down into place to secure the section of engine cover. Lastly, push down on the battery cover area to secure the last portion. Check all the way around the edge of the piece to ensure all fixtures are secure. Next, place the top cover piece into place. Note there are a couple of tabs which must be slid into place, as shown by the red arrow in Figure 6.
When the piece is slid into place, push down on the remaining friction clips into place to fully seat the cover. Double check to ensure all clips are secure. Close the hood.
Featured Video: How to Change Engine Air Filter on 4G TL
Related Discussions
- Time to Change Your Air Filter; Here's How - AcuraZine.com
- Steps How to Replace 4G TL Air Filter - AcuraZine.com
- Will Any Brand Engine Air Filter Do? - AcuraZine.com
- How Much Do Dealers Charge for Cabin Air Filter/Engine Air Filter Replacement? - AcuraZine.com
- Drop Filter vs Takeda vs Ice Box - AcuraZine.com