Acura TL 2004-2008: How to Replace Side Mirror
Driving with a broken side mirror is a hazard; learn how to replace it in the Acura TL.
This article applies to the 3rd Gen Acura TL (2004-2008).
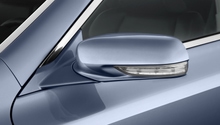
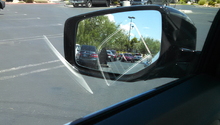
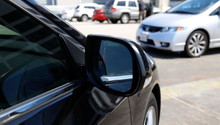
The side mirrors in your Acura TL are there for a reason: to help you see what is coming up beside you. Having a broken side mirror can limit visibility, thus causing an accident while you're changing lanes. Whether you have a broken mirror or you want to buy an aftermarket one that you like, the replacement process is the same. Don't be intimidated because you don't see any visible nuts or screws; replacing a side mirror is a lot easier than you may think. This guide will show you how to do it yourself, so read on to make sure you can watch your back when driving your Acura TL.

Materials Needed
- Flathead screwdriver
- 8mm socket
- Replacement side mirror
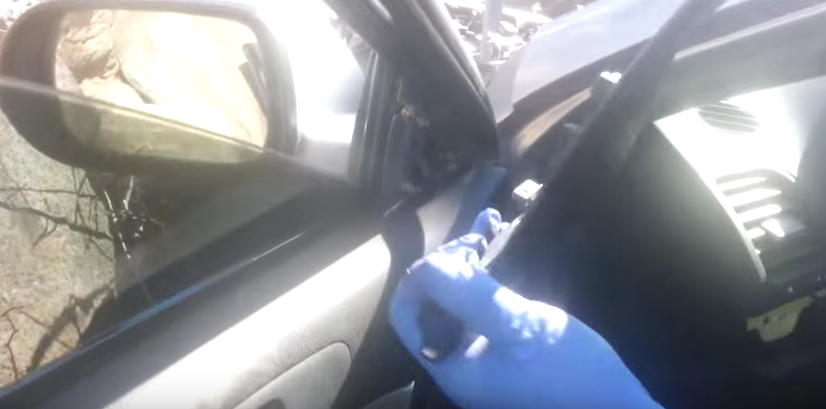
Step 1 – Remove mirror trim
There is a triangle-shaped trim piece on the inside of the mirror. You can remove this by pulling it with your hand; you don't need any tools to remove it.
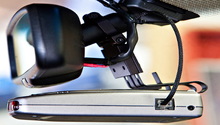
Step 2 – Disconnect electrical connection
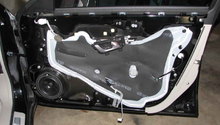
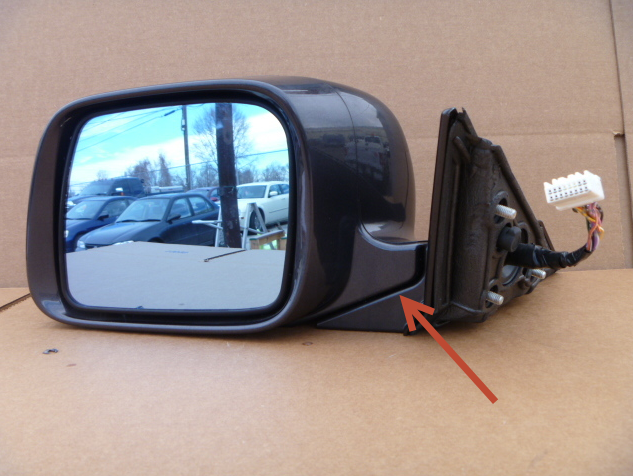
Disconnect the electrical connection of the side mirror (marked A in Figure 2). Simply squeeze the plastic tab and pull it apart. You can access it without removing the door panel; if you want to remove the door panel, you will need to remove a series of Phillips screws in the door handle and by the handle where you close the door from. The panel will then come off when you pull it apart, as it's held in place by some clamps.
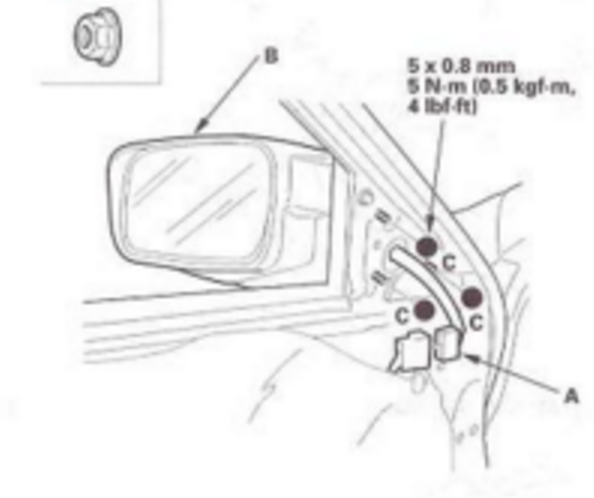
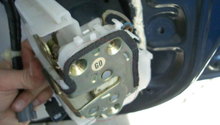
Step 3 – Remove and replace nuts
The mirror is held in place by three 8mm nuts. Use your socket to remove the nuts, then pull the mirror straight out to remove. Install the new mirror in place, inserting the studs into the hole, then tighten the three nuts to hold it in place. Connect the electrical harness for the power mirror.
Related Discussion
- Replacing side mirror - Acurazine.com