Acura RDX: How to Replace Shocks and Review
Blown shocks make for a bouncy, poorly controlled ride. If it's time to swap yours out, don't delay and do it today.
This article applies to the Acura RDX.
Shocks are an integral part of your vehicle's suspension system, serving to cushion you from the harsh realities that roads provide on a daily basis - from potholes to speed bumps to uneven surfaces. When your shocks begin to wear out, you'll notice that your car's ride quality begins to seriously diminish, and you'll start to feel those potholes a lot more on your back side. The good news is, replacing shocks is a job that most anyone can do with only basic tools and a little mechanical skill. Plus, you'll save a ton of money over letting a professional do it. Keep reading and we'll walk you through that process, plus help you choose the best set of shocks for your RDX.
Table of Contents
How to Replace Your Shocks

Materials Needed
- 12, 14 (deep), 17, 19, and 22mm hex head sockets
- 5mm Allen wrench
- Flat head screwdriver
- Torque wrench with 6" extension
- Needle nose pliers
- 10, 17, and 19mm open ended wrenches
- 17mm crowfoot
- Breaker bar or impact wrench (optional)
- Floor jack and jack stands
- Small blocks of wood
- U-shaped hacksaw
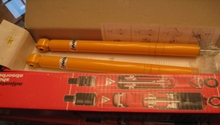
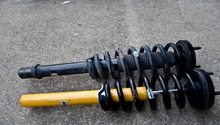
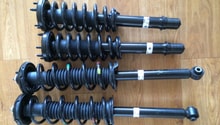
- Front and rear shocks/struts
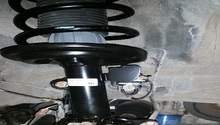
Step 1 – Remove the front struts
Before you begin, measure the distance between the center of the wheel hub to the fender with the car sitting on the ground. This will be used later to determine how much to compress the suspension when installing the new assembly. Jack up the car and place it on jack stands, then remove the front wheels.
Remove the wheel sensor harness clip using two screwdrivers and needle nose pliers, wire guide, as well as brake hose bracket (12mm socket). Move these components clear of the struts. Use a hacksaw to cut the old nylon harness clip from the sensor.
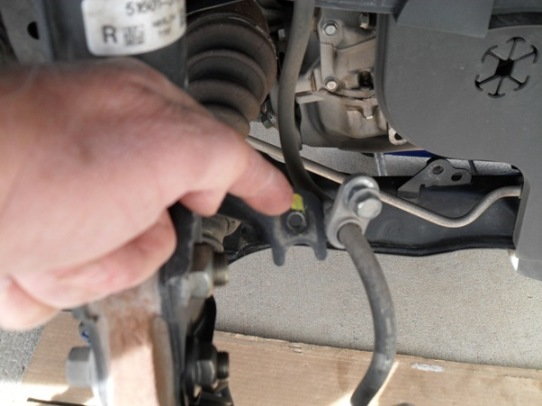
Figure 1. Remove the wheel sensor clip. 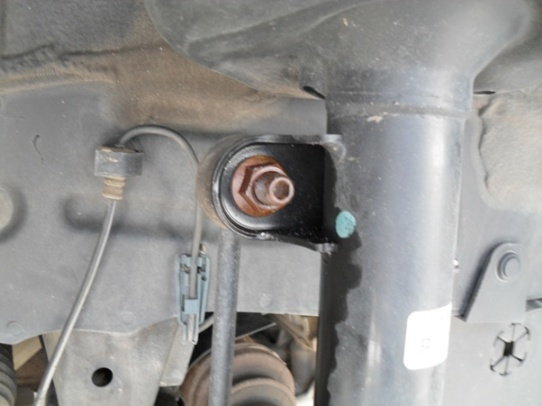
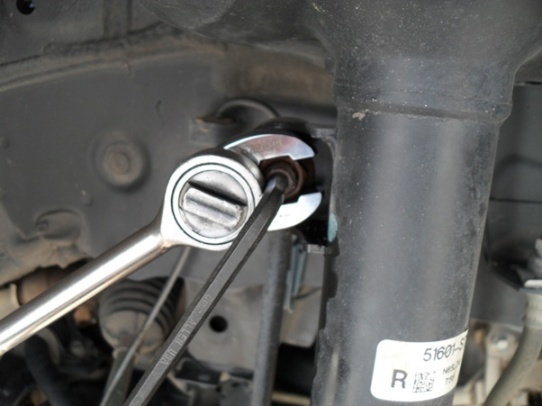
Figure 2. Remove the brake hose bracket nut. 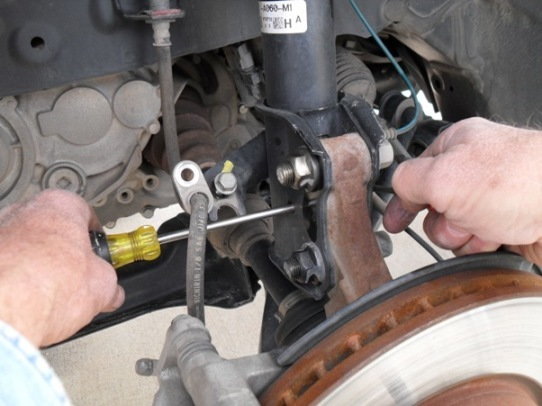
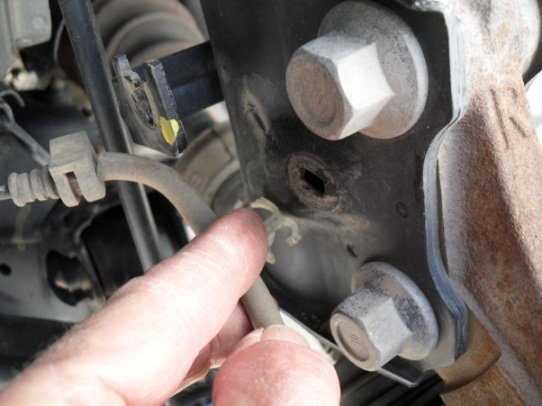
Figure 3. Remove the brake hose bracket. 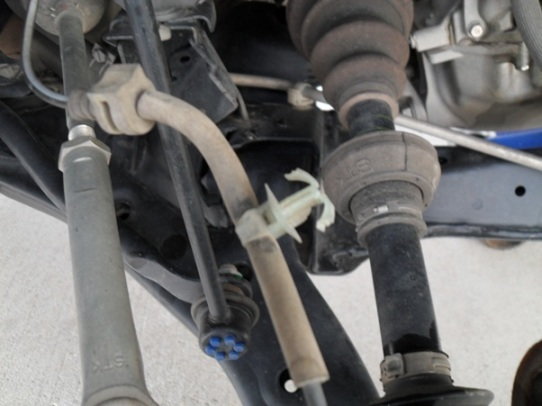
Figure 4. Cut off the old nylon harness clip.
- Use a 17mm crescent wrench to remove the stabilizer link nut and remove it.
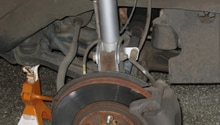
- Remove the damper pinch bolts and self-locking nuts with a 19mm socket for the bolt head and 22mm hex head socket on the nut. It's a good idea to place a ramp or something under the knuckle to prevent it from dropping down.
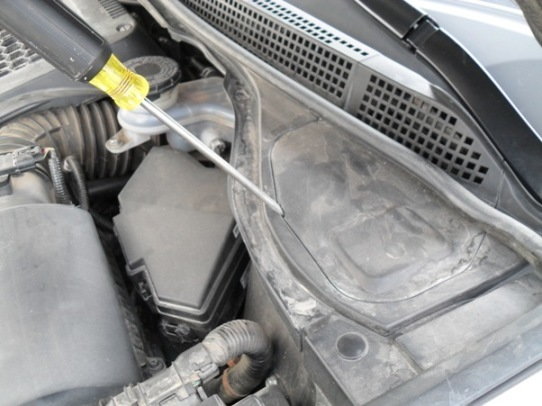
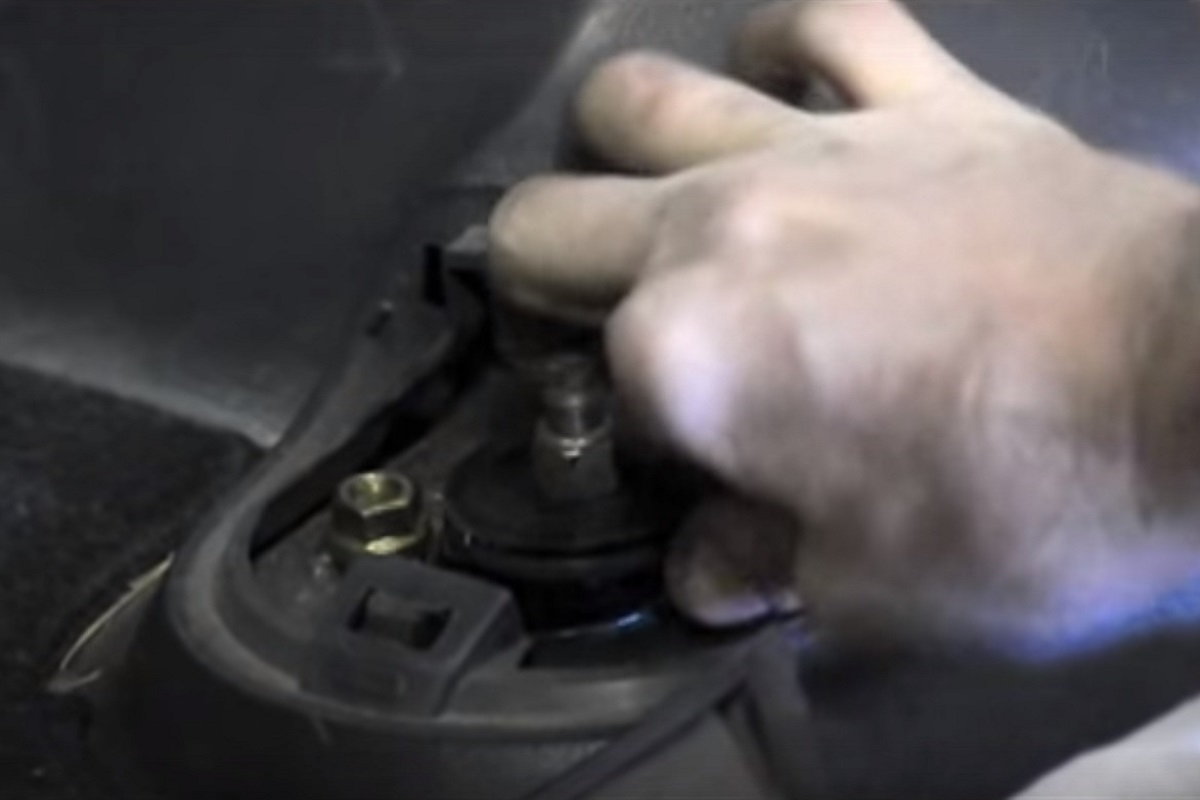
- Open the hood and pry off the covers for the coilovers, then remove the five flange nuts for the strut assembly with a 14mm deep socket. Grab the strut with both hands and lower it while tilting the bottom toward the front of the vehicle to remove it.
Step 2 – Install new front shocks
Set the new shocks into place and loosely tighten the damper flange nuts and bolts. Install the new damper damper pinch bolts and nuts. Connect the stabilizer link and install the bolt and nut. Install the new wheel sensor harness clip, the sensor wire guide, and the brake hose bracket. Raise the suspension under the lower arm assembly using a floor jack and some blocks of wood to load it until it is at the same height you measured in Step 1. Tighten and torque the pinch bolts and nuts to 122 ft-lbs. Tighten the damper flange nuts and torque to 33 ft-lbs. Replace the coilover covers and reinstall the wheels and tires.
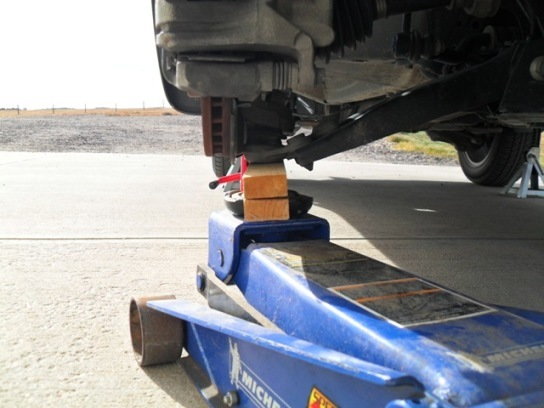
Figure 8. Use a floor jack and some wood to place the suspension under load. 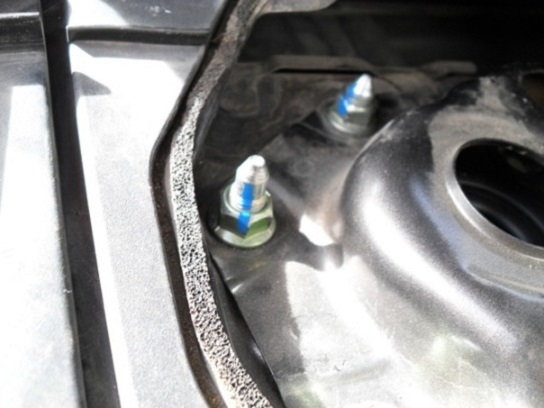
Figure 9. Reinstall and torque all bolts.
Step 3 – Remove the rear shocks
Jack up the rear of the car and remove the wheels and tires. Remove the cover for the top of the shocks in the rear cargo area by prying it open. Use the 14mm dogbone wrench and 5mm Allen wrench to loosen the damper shame bolt, but don't remove it. Remove the 17mm nut on the lower suspension link, then the two bolts on the front. Place a floor jack under the suspension link and raise it up until the suspension is compressed. Remove the lower bushing bolt with a 17mm socket and breaker bar or impact wrench. Use the 5mm Allen wrench and 14mm wrench to remove the upper mount nut. Grab the bottom of the shock and push up to compress it, then pull it out of the upper mount and lift it out.
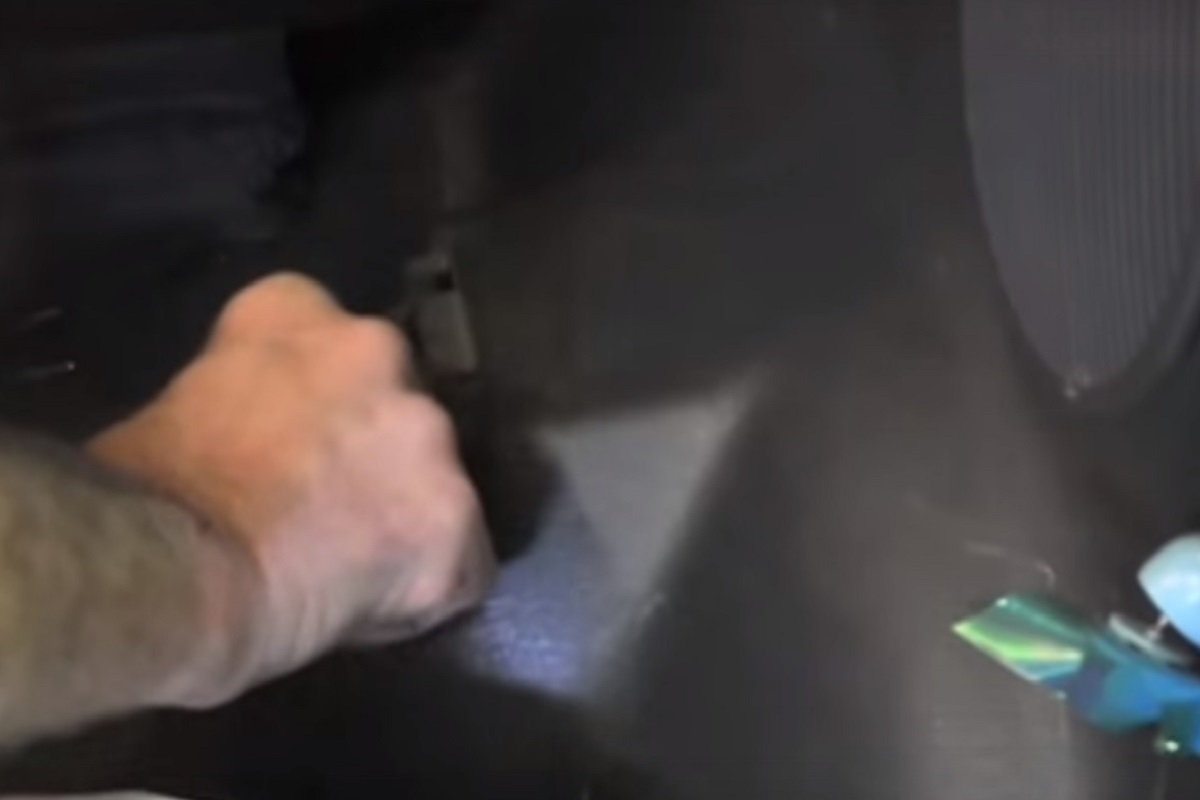
Figure 10. Remove the cover for the rear shock mount. 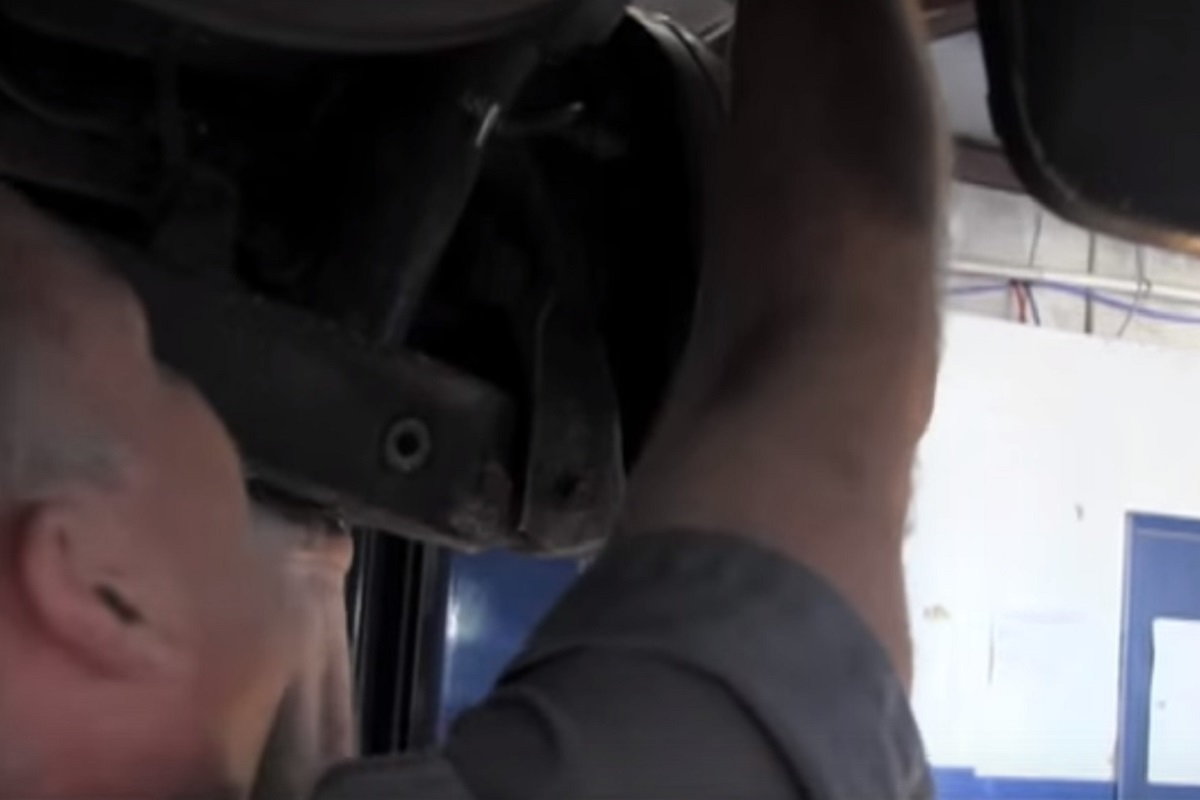
Figure 11. With the bolts removed and the suspension compressed, remove the shocks.
Step 4 – Install new rear shocks
Compress and install the new shocks, then let them extend down to the lower suspension link. Align the holes and install the bolt, but don't tighten it just yet. Raise the suspension up using the jack so that the car is off the support stands. Torque the lower bushing bolt to 76 ft-lbs. Replace the nut in the cargo compartment and torque it to 22 ft-lbs. Lower the suspension and reinstall the wheels and tires. At this point, it's a good idea to get your car aligned to prevent any uneven tire wear issues moving forward.
(Related Thread: Front Strut/Shock Replacement DIY - AcuraZine.com)
Featured Videos
-
How to Install Front Struts and Mounts
-
Replacing Rear Brakes and Shocks
Shocks Review
Worn out shocks can leak fluid, greatly diminish your ride quality, and lead to some pretty poor handling. They can also lead to damage of other, potentially expensive suspension parts. Because of their higher expense, people also tend to put off replacing bad shocks until they are really worn. This is rather unsafe and can lead to bigger expenses down the road.
KYB Excel-G |
Monroe OESpectrum |
Gabriel Ultra | |
|---|---|---|---|
Price Front (each) |
$105 | $116 | $90 |
Price Rear (each) |
$65 |
$66 |
$20 |
Front Shock Travel |
8.89" | 4.953" | 6.18" |
Rear Shock Travel |
6.54" | 7.48" | 3.15" |
Best Value: Gabriel
KYB Excel-G
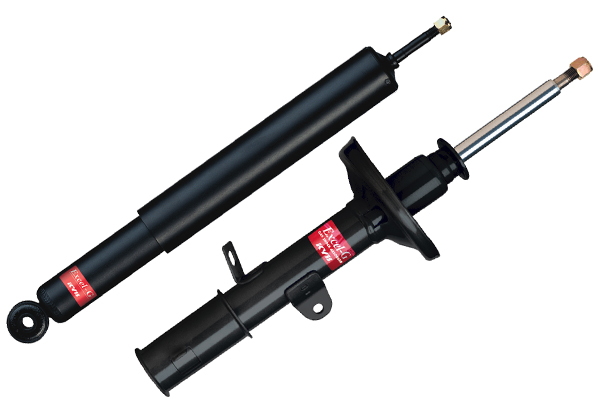
Price Front (each) – $105
Price Rear (each) – $65
Front Shock Travel – 8.89"
Rear Shock Travel – 6.54"
Regular old KYB shocks and struts don't have the best reputation among forum members. But these complaints come mostly from the entry level models, which are cheaply made and cheaply priced. The Excel-G line offers superior quality, along with improved handling over OEM shocks. Plus, those benefits don't come at the expense of ride quality, which remains close to stock. Recommended for anyone looking for an upgrade over OEM at a reasonable price.
Monroe OESpectrum
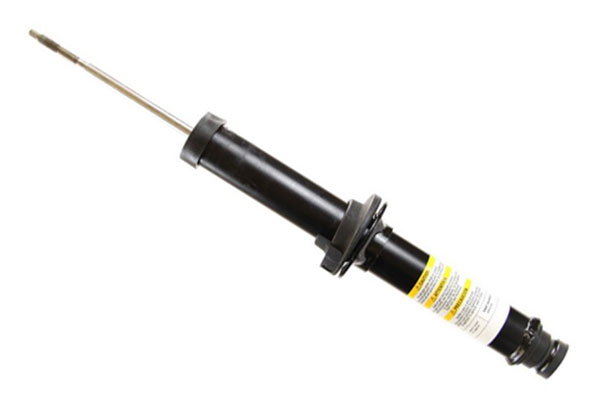
Price Front (each) –$116
Price Rear (each) – $66
Front Shock Travel – 4.953"
Rear Shock Travel – 7.48"
Monroe has a great reputation for making quality shocks, and the OESpectrum model offers great value for the money. They are, however, a little softer than the competition and more geared toward comfort than performance. Designed to be a close OEM replacement, they are a good choice if you prefer the factory tuned characteristics. Recommended if you prefer to retain stock ride quality and handling characteristics, but with better than OEM quality.
Gabriel Ultra
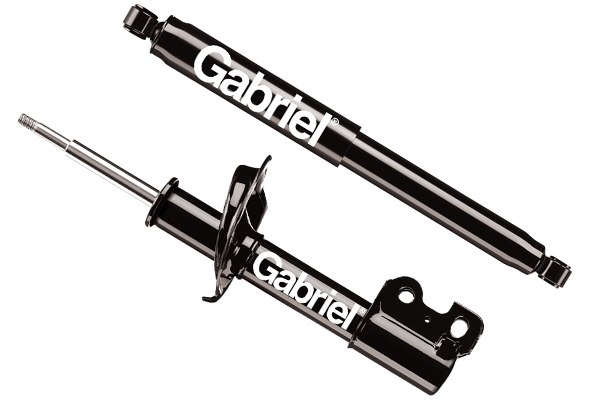
Price Front (each) –$90
Price Rear (each) – $20
Front Shock Travel: – 6.18"
Rear Shock Travel – 3.15"
Gabriel shocks are designed to provide better-than-stock performance and ride quality. Despite their low cost, they are backed with a limited lifetime warranty and feature a leak-proof piston seal that lengthens their lifespan. Reviews, however, are mixed, with some complaining about sagging while others praise their value. Just don't expect top notch performance or supple ride quality. Recommended for those who need new shocks but don't want to break the bank.
Related Discussions
- DIY Replace Leaky Rear Shocks - AcuraZine.com
- Front Shock Replacement - AcuraZine.com
- DIY for Strut/Shock Replacement - AcuraZine.com
- Strut/Shock Replacement - AcuraZine.com