Acura RDX: How to Change Automatic Transmission Fluid
Replacing the transmission fluid in your Acura RDX is a great way to ensure it lasts a long time. Read on to learn how to do it by yourself.
This article applies to the Acura RDX (2007-2016).
The transmission is one of the most important components in your Acura RDX, and expensive to fix if it should break or wear out. Although the transmission fluid doesn't need to be replaced as regularly as your engine oil, if your Acura is high in mileage, it's recommended you replace it. Replacing the transmission fluid ensures the transmission bearings, gears and bushings stays lubricated, which protects them from wearing out, and is used to apply hydraulic pressure inside to shift gears and lock clutches. Replacing the transmission fluid is not hard, and you can do it yourself without any special tools. Read on to learn how you can replace the transmission fluid in your Acura RDX.

Materials Needed
- Socket
- Drain pan
- Fluid pump
- Transmission fluid
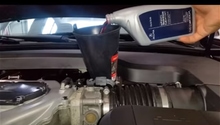
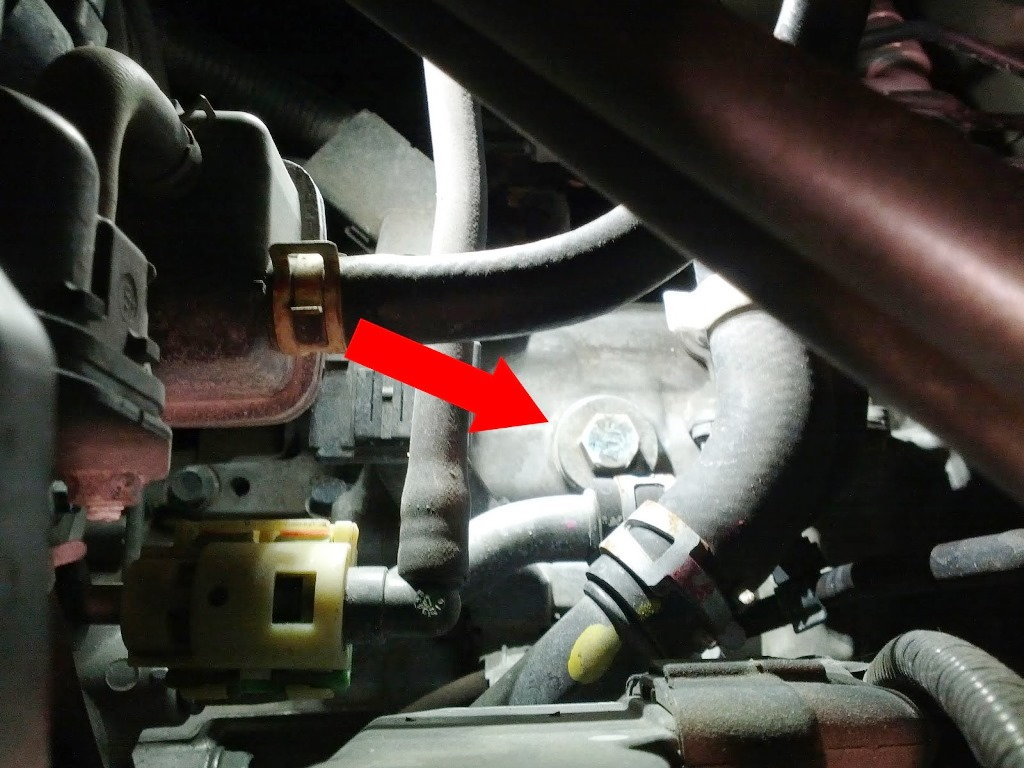
The RDX transmission has a fill cap at the top of the transmission, but is is under the airbox and hard to get to. You can also refill it—much more slowly—via the dipstick tube with a funnel and small hose. Either way is okay. Because it is easier to do it via the dipstick, we will not be detailing how to remove the airbox to get to the fill cap. The cap is a round metal piece with a hexagonal bolt head on it, as pictured, with ATF cast into it.
Step 1 – Warm up the transmission
Turn your car on, then move your transmission lever through the gears, pausing 30 seconds in each: from park, to reverse, neutral, and drive. Take the car for a ride and drive it at least 10 minutes, so all the fluid is circulating and warm. Cycle through reverse, and neutral again, then put it in park and turn it off. Remember now, when working under the car, some parts will be hot.

Step 2 – Raise the car
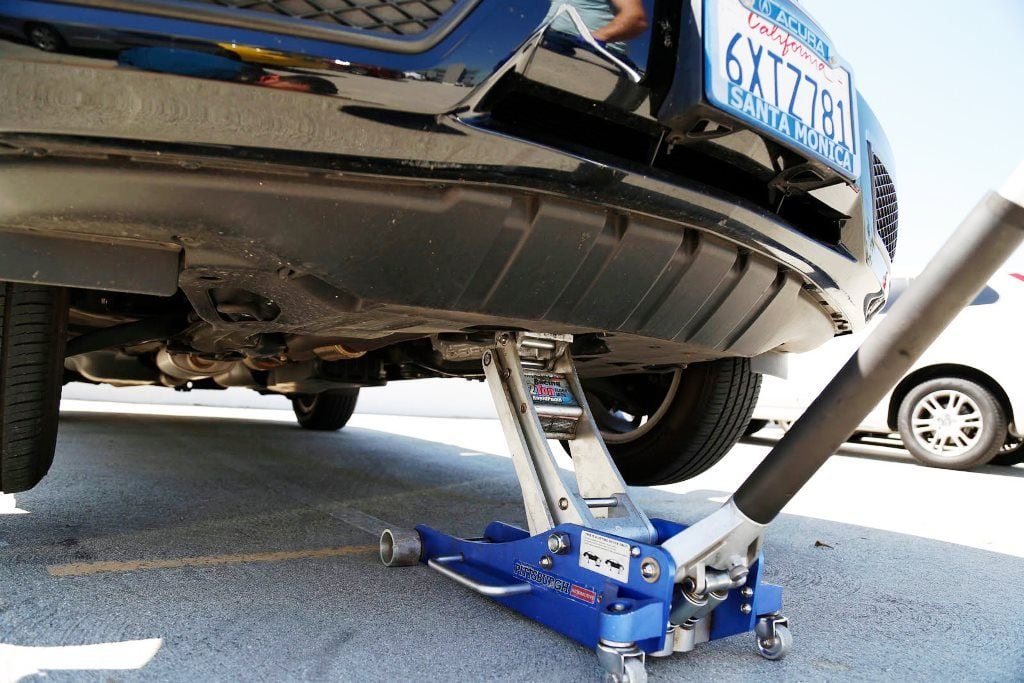
Use your jack to raise your car, then secure it with jack stands. Raise both the front and the rear to keep the car level, this will ensure all the fluid is drained out of the transmission.
Step 3 – Drain old fluid
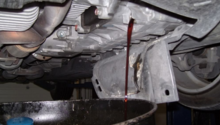
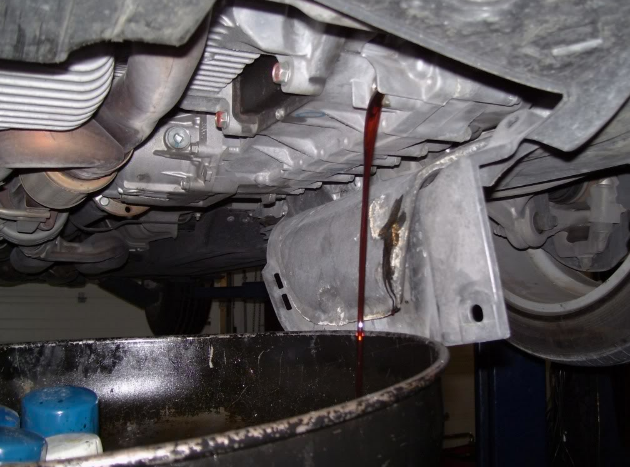
Under your vehicle you will find a plug in the transmission with a 3/8" square in it. Place the drain pan under it. Remove the transmission dipstick, to allow air in, then remove the drain plug and let the transmission drain until it's completely empty. Clean the magnetic drain bolt of any metal on it, and put it back in the transmission.
Step 4 – Add new fluid
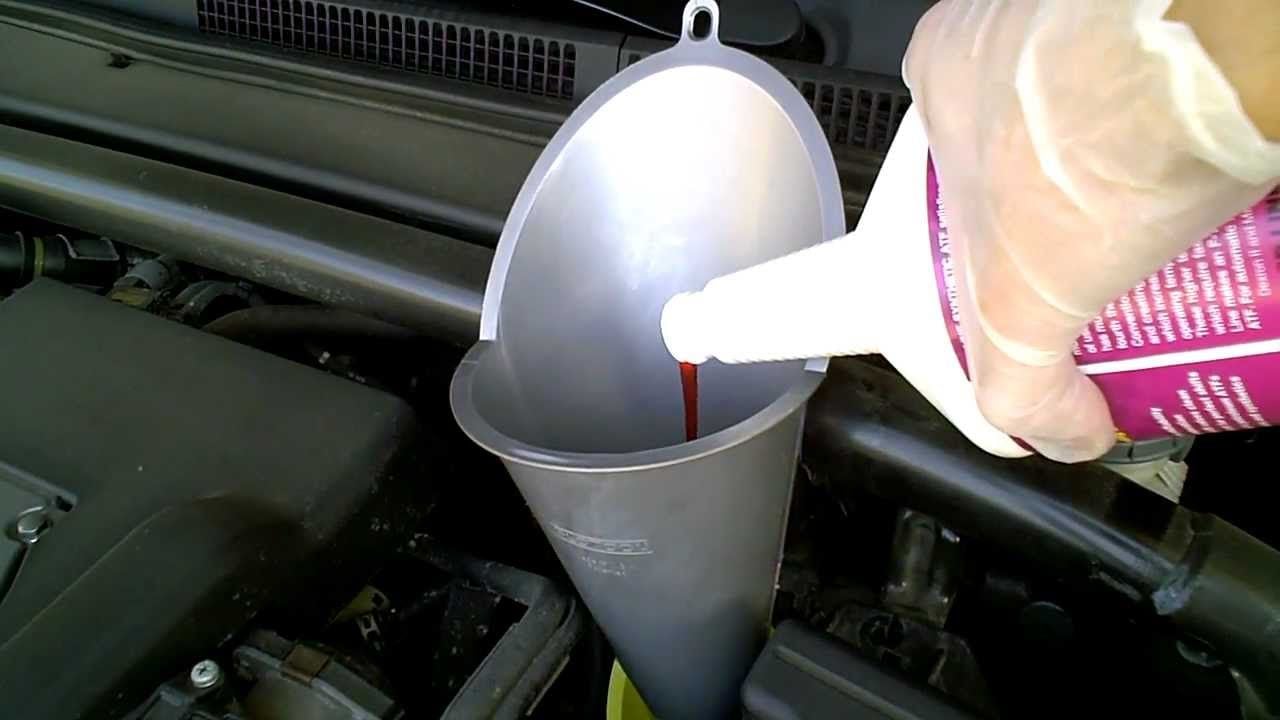
You can't get all of the fluid out of an automatic transmission just by draining it, because about 1/2 of it is in the torque converter most of the time. The RDX transmission should drain about 3.5 liters out of the drain plug during this drain and fill. If your drain pan doesn't have marks on it to tell you how much came out, simply refill the empty bottles as you pour the new fluid into the transmission. After you have added three liters, put the car back on the ground, start it and cycle through reverse, neutral and drive, then shut it off and check the level on the dipstick. Add fluid as needed.
Because there is always a good amount of old fluid in the transmission, it is popular to do three fluid changes within a short amount of time. This is usually referred to as the 3 x 3 transmission flush, because you are changing at least three liters, three times. To do this, take the car for another 10 to 15 minute drive, then repeat the above steps. Drive it one more time and change it a third time.
Pro Tip
Acura specifies AFT-Z1 fluid, but that may no longer be available. The new fluid is referred to as DW1 and can be used in place of the old fluid, and even mixed with it if needed.
Related Discussions
- DIY Transmission Fluid Flush by 3X Drain and Fill - AcuraZine.com
- Transmission and Differential Fluid Change - AcuraZine.com
- Transmission Fluid Change - AcuraZine.com

