Log In
Register
Forums
AcuraZine
New Member Introductions
AcuraZine Member Help, Support & Suggestions Area
AcuraZine Articles
Black Market
Marketplace
Sponsored Sales & Group Buys
AcuraZine Model Community
6G TLX (2021+)
5G TLX (2015-2020)
4G TL (2009-2014)
4G MDX (2022+)
3G TL (2004-2008)
3G RLX (2013+)
3G RDX (2019+)
3G MDX (2014-2020)
ILX
2G TSX (2009-2014)
2G TL (1999-2003)
2G RL (2005-2012)
2G RDX (2013-2018)
2G NSX (2017+)
1/2G MDX (2001-2013)
2G CL (2001-2003)
ZDX
1G TSX (2004-2008)
1G TL (1996-1998)
1G RL (1996-2004)
1G RDX (2007-2012)
1G NSX (1990-2005)
1G MDX (2001-2006)
1G CL (1997-1999)
Integra
Special Interest
Car Talk
Automotive News
Motorsports News
Audio, Video, Electronics & Navigation
Wash & Wax
AcuraZine's Hall of Fame
AcuraZine's Car of the Month Showcase
Regional Forums
Regions
Gallery
Tools
Car Payment Calculator
Tire Rim Calculator
Vin Decoder
Recalls
Technical Service Bulletins (TSBs)
Members List
Live Feed
Marketplace
Vendor Directory
Become a Vendor
New Posts
How-Tos
View Dark Mode
Please register or login to enable Dark Mode.
Log In
Register
Threads
Google
Threads
Posts
Advanced
Dark Mode
Please register or login to enable Dark Mode.
Log In
Forgot your Password?
By logging into your account, you agree to our
Terms of Use
and
Privacy Policy
, and to the use of cookies as described therein.
or
Login with Google
Login with Facebook
Recent
Commented
Albums
My Pictures
nats007's Photos
View Profile
Sort:
Commented
Most Recent
Most Comments
Albums
Photos
Forgot the crush washer.... I ended up draining the oil anyway to install it 😠 No issues, just frustrating.
0
2022/05/22 13:17:42
355741
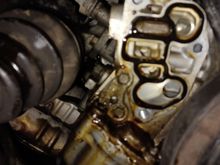
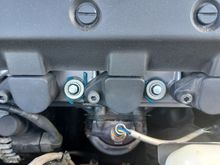
Everything mated up fine. Tip: fix leaks before you complete your oil change lol. Completed oil change on Friday. Saturday, I realized I should change these gaskets, got to it today.
0
2022/05/22 13:14:39
355741
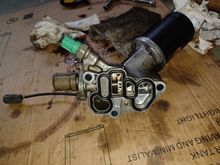
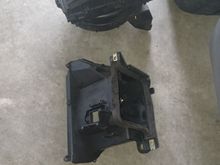
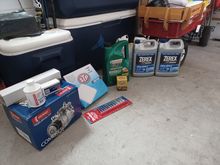
Removed and cleaned up the housing to install new gaskets. I went to the dealership to get new gaskets (15825-P8A-A01 and 36172-P8A-A01) on Saturday.
0
2022/05/22 13:11:54
355741
Pulled oil filter housing... gasket was stuck. Tip: recommend disconnecting the 2 plugs prior to unbolting. Took me 15 mins trying to disconnect them while the housing was hanging.
0
2022/05/22 13:11:11
355741
0
2022/05/20 18:14:07
355741
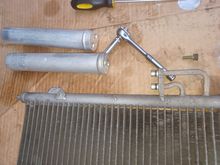
Dryer swapped
0
2022/05/20 18:13:25
355741
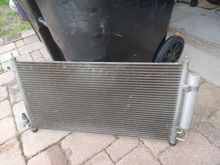
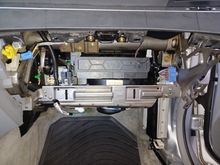
Condensor out to change dryer
0
2022/05/20 18:10:46
355741
Went to Ace, snagged some M6x1.0 20 mm bolts to attach the bracket.
0
2022/05/20 18:09:31
355741
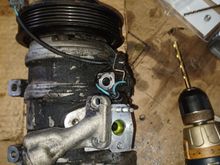
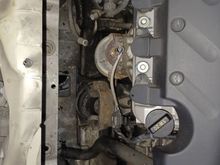
Had to drill out the stripped 5.5mm bolt. This was a PITA as I teied to save it for 1 hour.
0
2022/05/20 18:08:36
355741
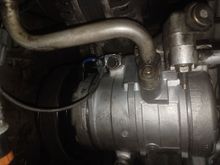
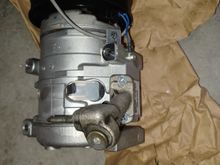
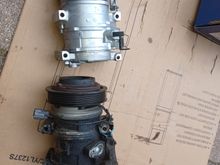
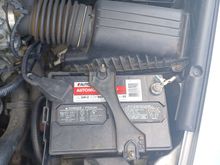
Compressor out and comparing to new Denso
0
2022/05/20 18:07:48
355741
0
2022/05/20 18:07:19
355741
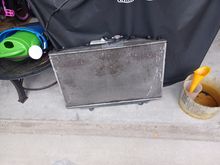
Radiator and fan shroud out
0
2022/05/20 18:06:47
355741
Done... drinking a beer, eating lunch and then back to work.
0
2022/05/20 11:07:31
355741
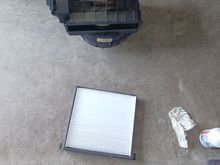
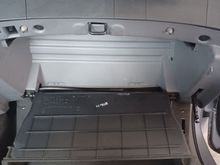
During reinstall, changed cabin air filter.
0
2022/05/20 11:06:52
355741
This was the hardest part lmfao... the damn o rings were a struggle to put on. No easy way to get under the dash while the lines are moving. Got 'er done though.
0
2022/05/20 11:04:58
355741
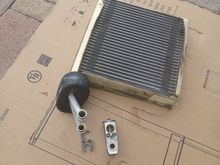
Removed old one. You have to reuse the foam piece and screws. I put never seize on thr bolts and lube the o rings before installation.
0
2022/05/20 11:03:16
355741
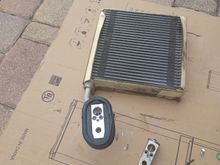
Installed a new Denso Expansion valve. It can withe 4 o rings and I changed all of them. The 2 for the lines had the most cursing 🤬
0
2022/05/20 11:00:35
355741
Pulled the evaporator out. Have to slightly dance it out while pulling. There was a small slot underneath I put a thin flat head screwdriver to help as well.
0
2022/05/20 10:58:54
355741
A little mess... be sure you have some rubber mats or newspaper to protect the carpet.
0
2022/05/20 10:56:26
355741
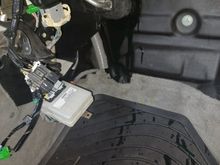
The setup to get that damn bolt.
0
2022/05/20 10:55:43
355741
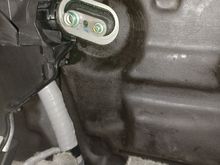
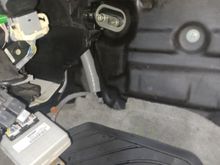
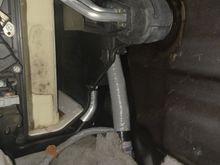
Onto the engine bay to get that 10mm bolt that is holding the lines in place. Its a PITA and you need a u joint to get to it. The cruise control was always a issue, but finally got it. Unbolt the brackets holding the High and Low pressure lines so it can move when you pull it off the evaporator.
0
2022/05/20 10:51:44
355741
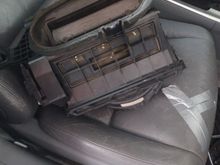
Evaporator exposed.
0
2022/05/20 10:50:50
355741
Blower out and this plastic cover between the evaporator and blower motor. There are quite a bit of self tapping screws that need to be undone to get it out.
0
2022/05/20 10:47:19
355741
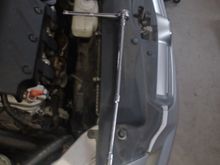
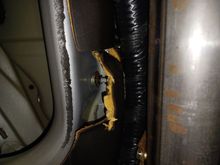
The clearance I left... it helped tremendously.
0
2022/05/20 10:46:22
355741
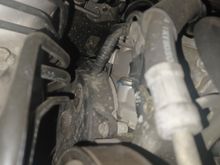
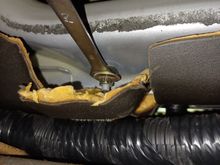
This nut is not accessible... i loosened it to help with re-installing.
0
2022/05/20 10:43:49
355741
0
2022/05/20 10:43:08
355741
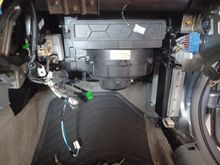
Blower motor ready to come out. 2 bolts and 2 nuts to pull. Afterwards, I gently pulled it out rocking left and right.
0
2022/05/20 10:42:27
355741
Taking it apart... straightforward for the most part and plenty of YouTube videos to help.
0
2022/05/20 10:41:24
355741
0
2022/05/20 10:33:48
355741
I used Fel-Pro and heres the result...
0
2022/04/16 08:28:12
355741
0
2022/04/09 15:51:48
355741
0
2022/04/09 15:51:24
355741
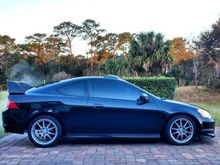
During the 2022 Central Floride freeze
0
2022/02/28 18:23:15
355741
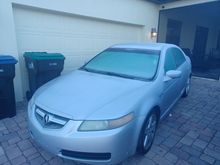
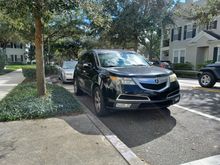
~2017 this photo was taken.
0
2022/02/28 18:21:26
355741
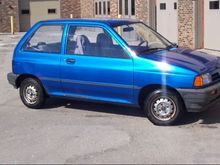
Not my photo, but looked like this originally. I cant find any of my old pics unfortunately.
0
2022/02/28 18:18:54
355741
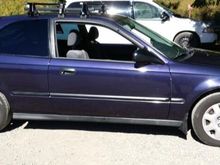
Not my photo, but it looked just like this. Of course I added tint, 2 10 inch woofers, and a cherry bomb muffler lol
0
2022/02/28 17:36:13
355741
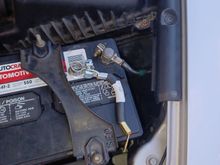
Install complete.
0
2022/02/26 11:25:55
355741
The new cables were thicker than the OEM, so I had to do some adjusting.
0
2022/02/26 11:24:48
355741
0
2022/01/08 15:58:01
355741
0
2022/01/08 15:56:20
355741
First
Page
2 of 9
Last
Go To
Page
1
2
3
4
5
6
7
8
9
2 of 9
Go To
GO
Go to page
of 9
pages
1
2
3
4
5
6
7
8
9