542 RWHP sleeper sedan by TSC17
 04-27-2009, 08:50 AM
#1
2012 SH-AWD / Advanced
Thread Starter
542 RWHP sleeper sedan by TSC17
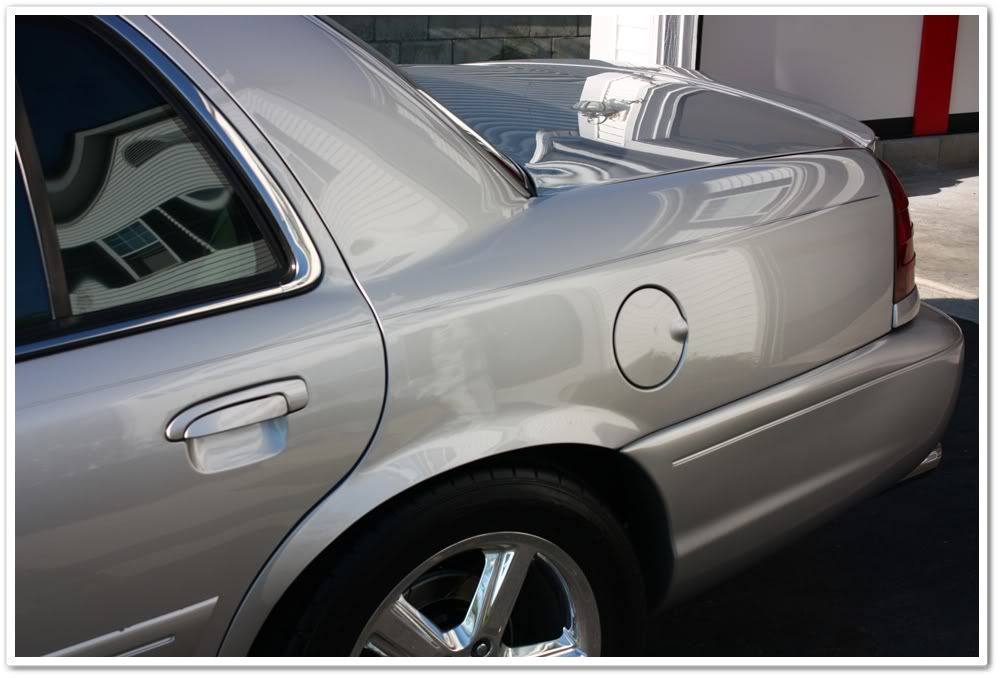
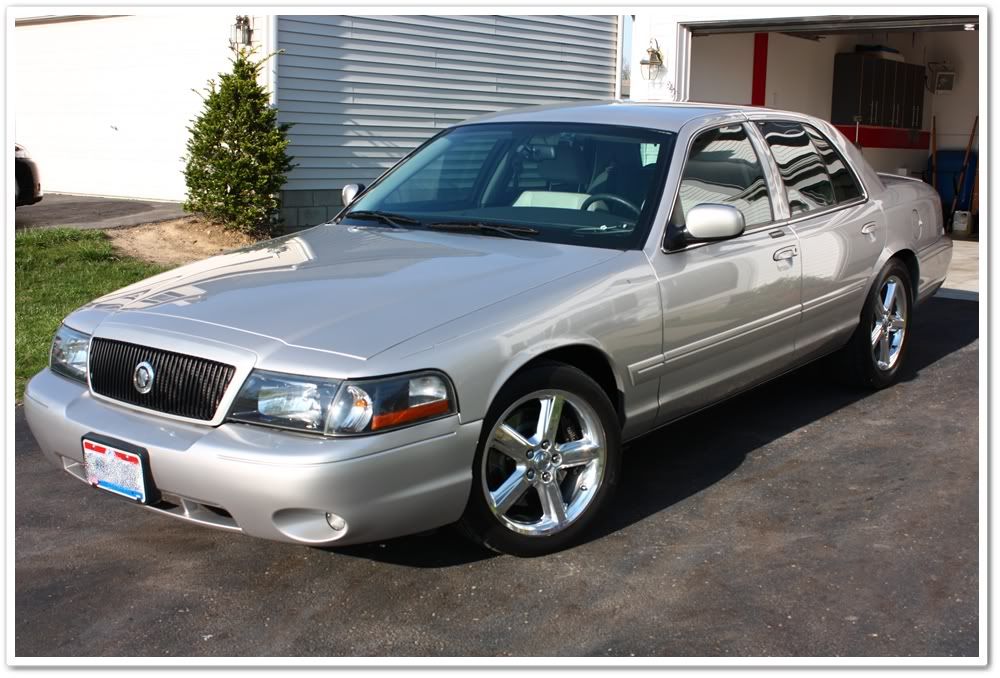
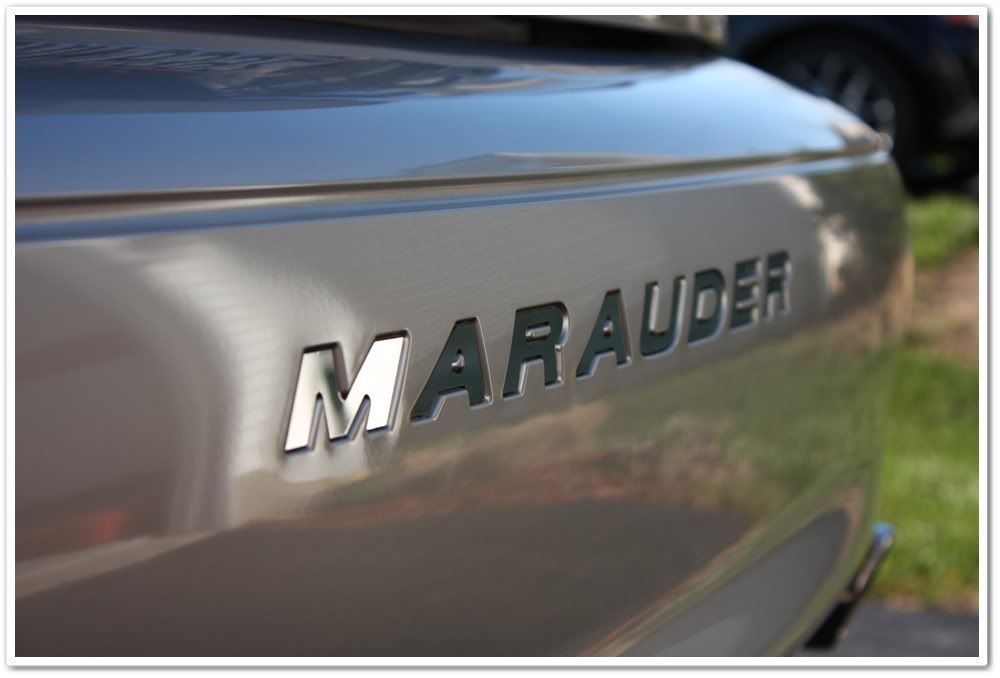
2004 Mercury Marauder
This nasty vehicle belongs to the person who built my website. I've detailed his DD before, and did a quick cleanup on this one last fall before he put it away for the winter. He moved to Ohio from Florida last year, and was a customer of Todd Helme of Bella Macchina while he lived down there (I guess he prefers to have his cars detailed by guys named Todd!).
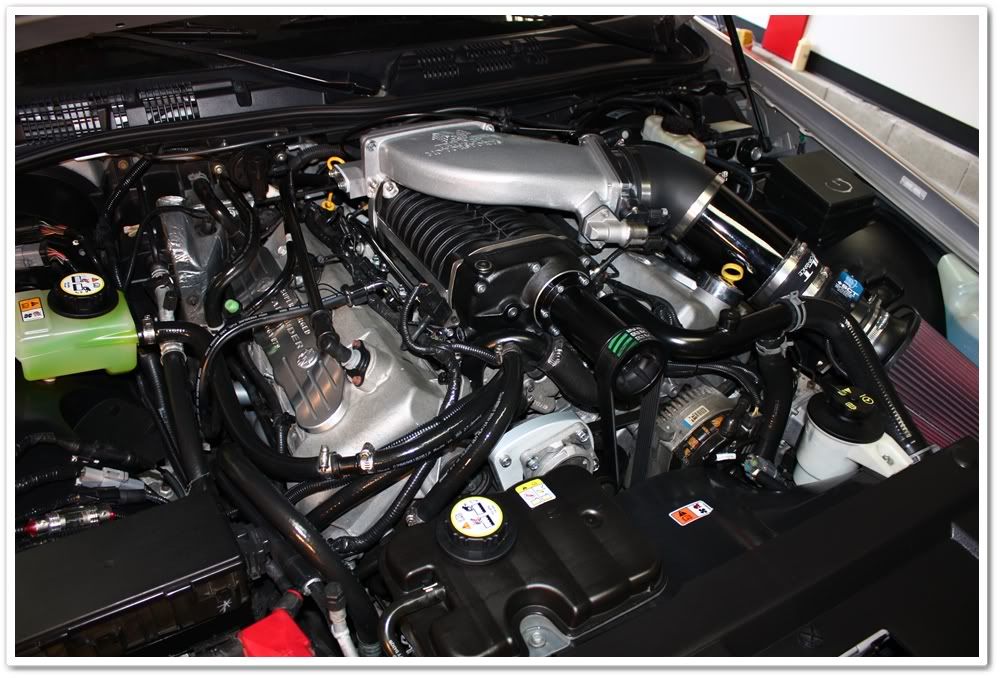
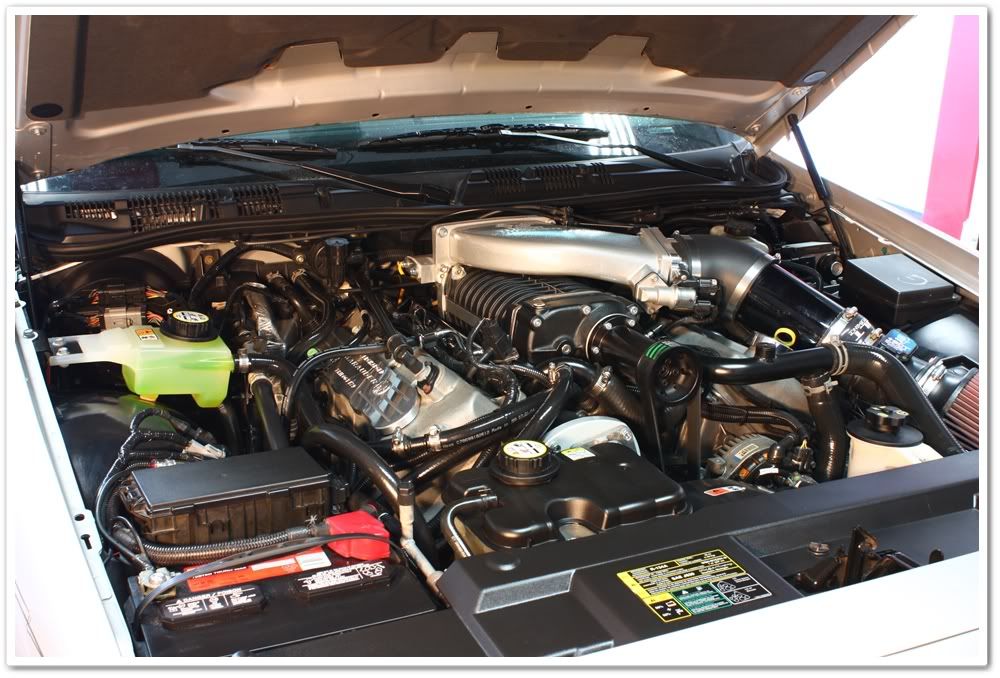
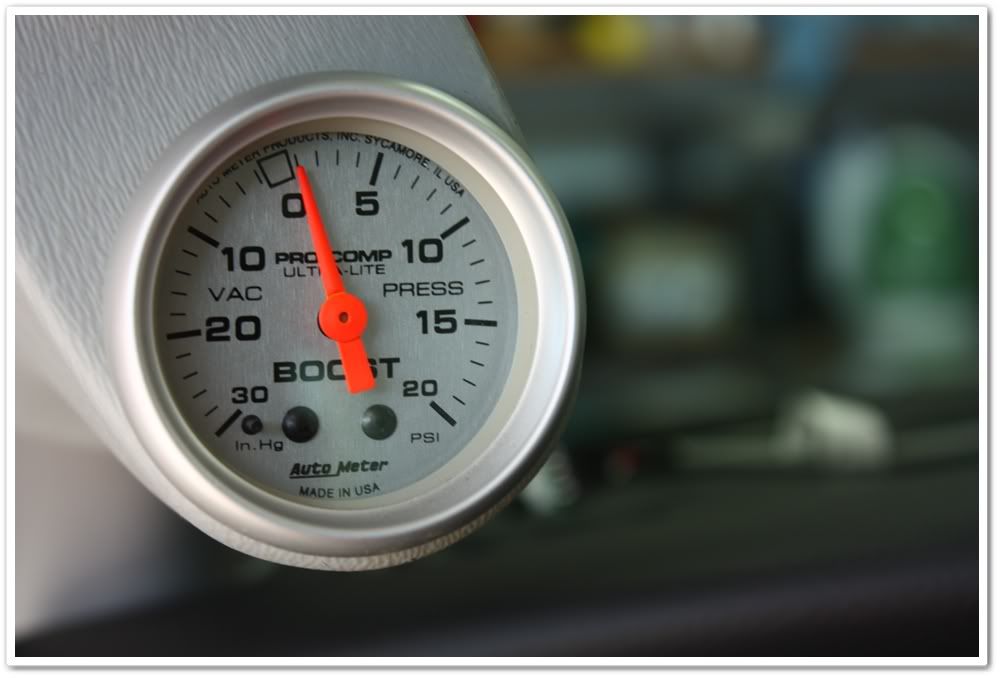
This is a highly modified car, and unless you have an equally modified (and lighter weight) vehicle, you do not want to line up against it. It's got a different block, crank, rods, pistons, cams, supercharger, suspension components, transmission mods, ported and polished head, etc, etc, etc. At the wheels on pump gas he's putting out 542hp and 522lb/ft of torque! You definitely need power like this to propel such a large vehicle to a 11.6 second quarter mile. He ended up having some mechanical issues at the track that kept him from more runs. With a little more tuning, he feels he can drop that time down a bit more.
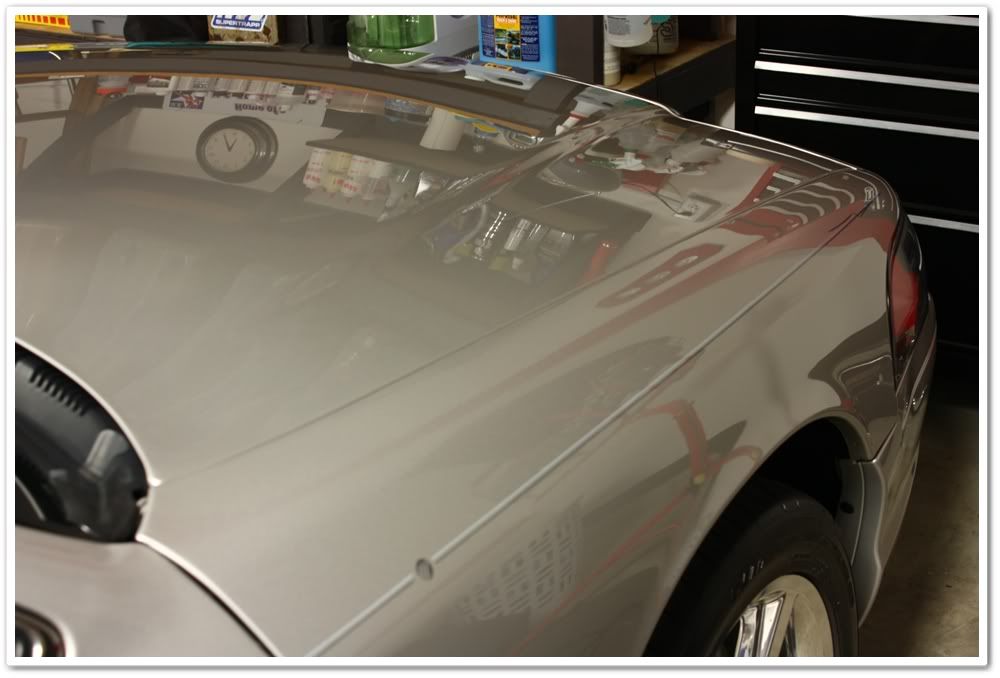
This car is BIG...really big! There was by far more surface area on this car than any other I've worked on. The trunk lid was bigger than most hoods...
OK, now for a little fun. This video was taken just the other day at a local track day. Check it out:
DRAG RACE VIDEO!
After watching the video, you get a good feel for what this car is all about (that Mustang wasn't stock either!).
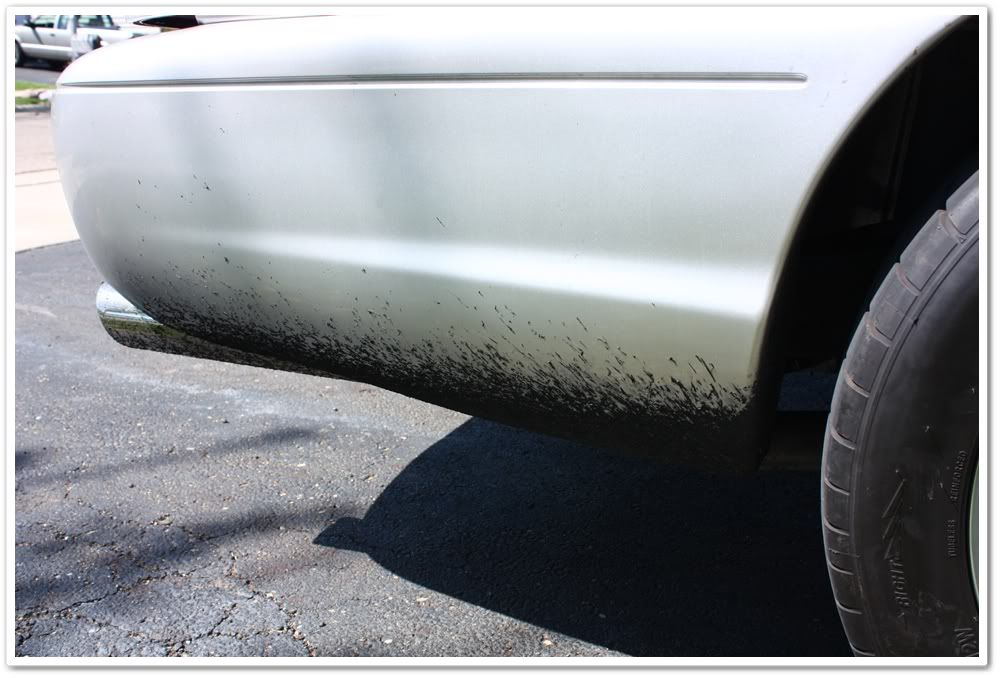
Now for the reality. Those pre-staging smoky burnouts sure look cool, but they leave an awful mess. He sprayed down the back end of the car with a product designed to help the rubber come off easier, but I have to say that it failed! More on that in a bit...
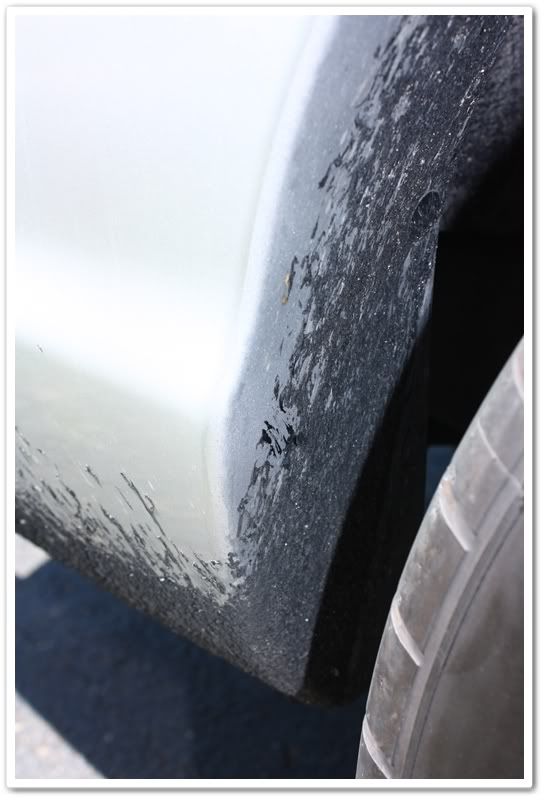
Rubber (more like tar) was on the body, all over the exhaust, in the wheel well, on the suspension components, etc.
The owner does a fantastic job taking care of this car, so it was in pretty good condition. It had it's share of swirls and RIDS since it had been 2 years since Todd Helme worked on it, but not bad at all.
When the car arrived...right off the track!

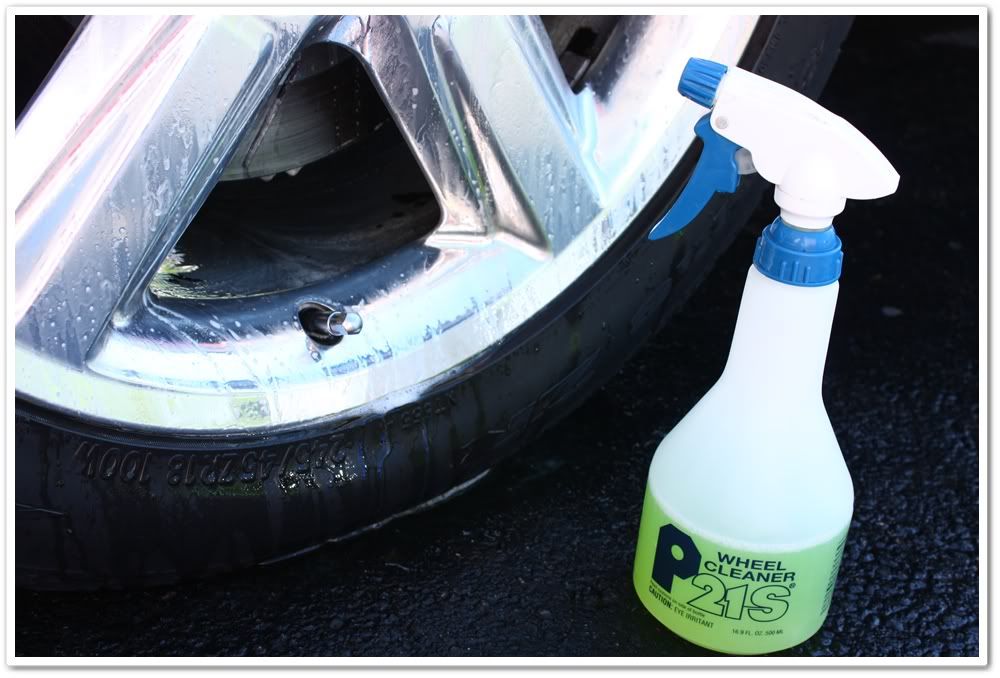
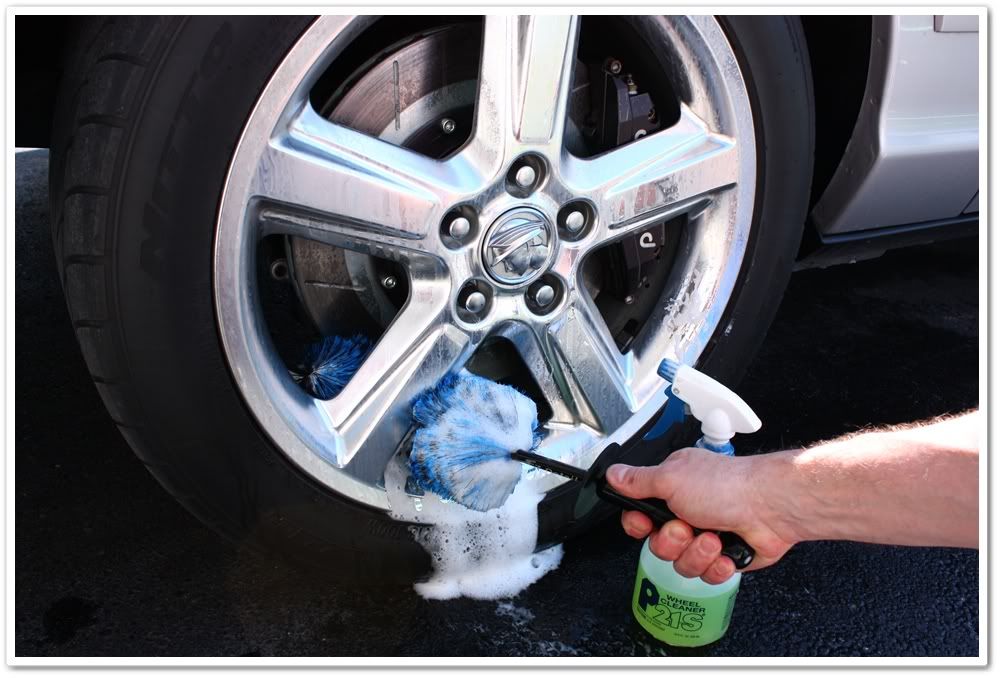
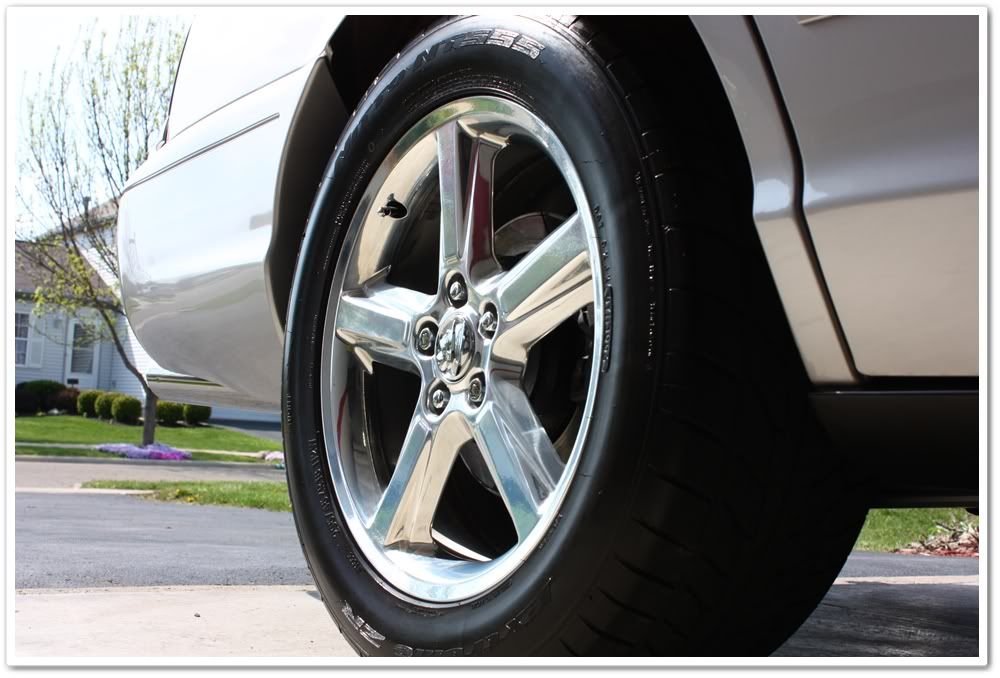
First up was the wheels. As always, I start off by spraying down the wheels (one side of the vehicle at a time) with P21S Wheel Gel. As it is dwelling to break down the grime, I spray P21S TAW on the wheel wells and tires.
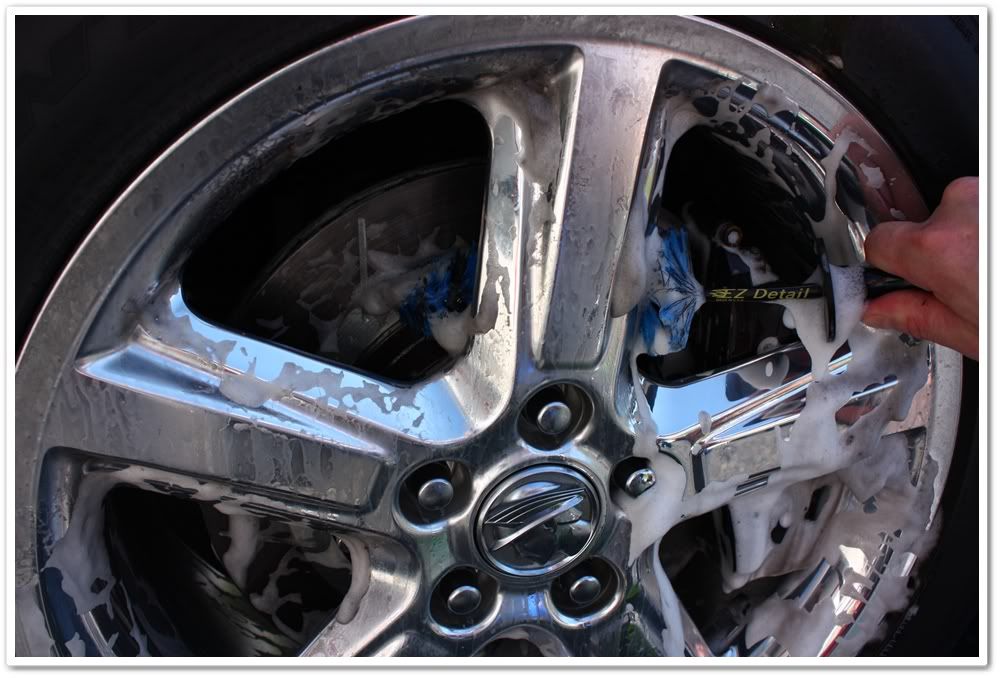
Now take your brush and bend it so you can access the backside of the spokes.
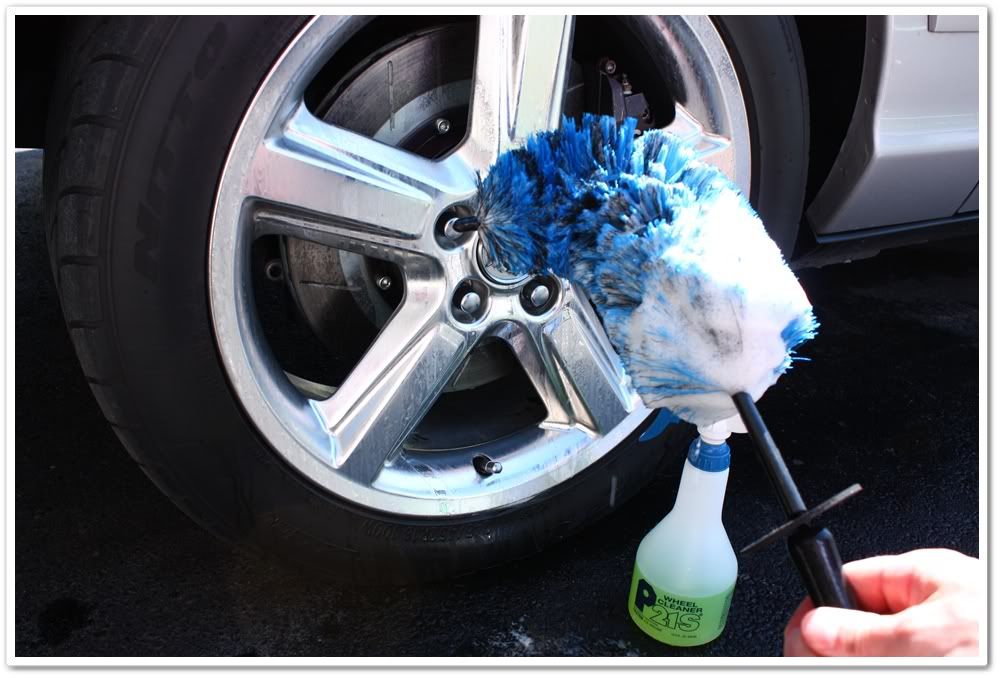
I have the new smaller E-Z Detail brush to get into the tighter areas:
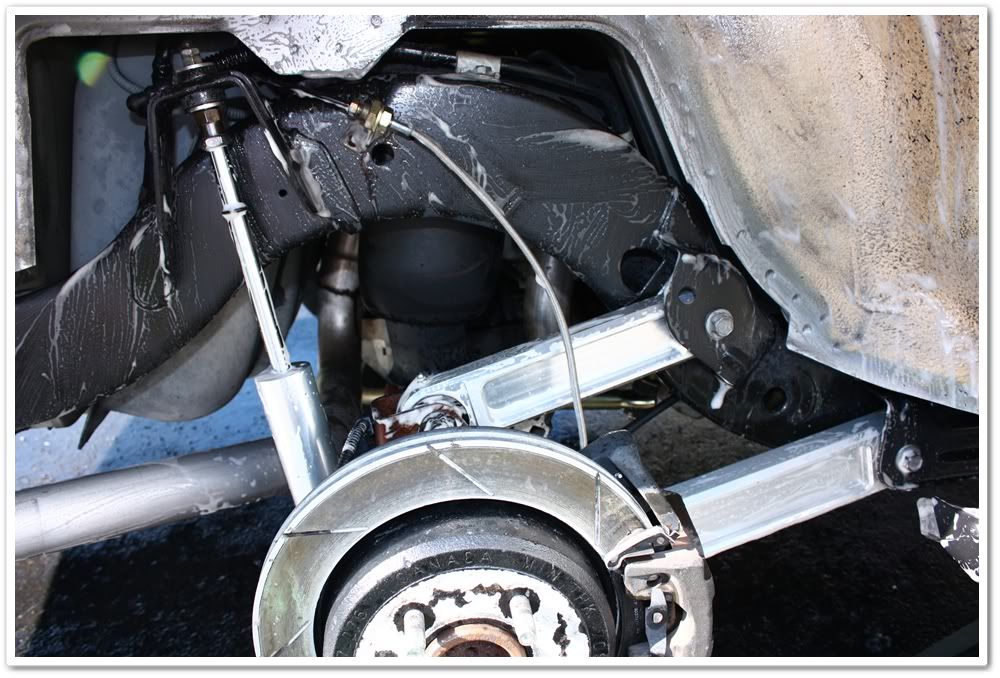
Now for the fun part! Like I said before, the rubber was everywhere. I used a variety of cleaners and tools to remove it, and found that a plastic razor blade was the best for getting it off of the rear quarter panel. Here's a pic while I was still in process...P21S TAW is being used here to clean up the frame and suspension components.
The tar-like rubber came off in small chunks, and because it was so sticky, it ended up everywhere...my face, arms, legs, clothes (ruined!), on my shoes, on every cleaner bottle, the hose, my tripod, and then tracked into the garage and subsequently into the house (my wife was pumped about that!). I still have a date with some solvent to clean up the floors. For his next track day he's going to tape everything up with blue painter's tape so the removal process will be much easier.
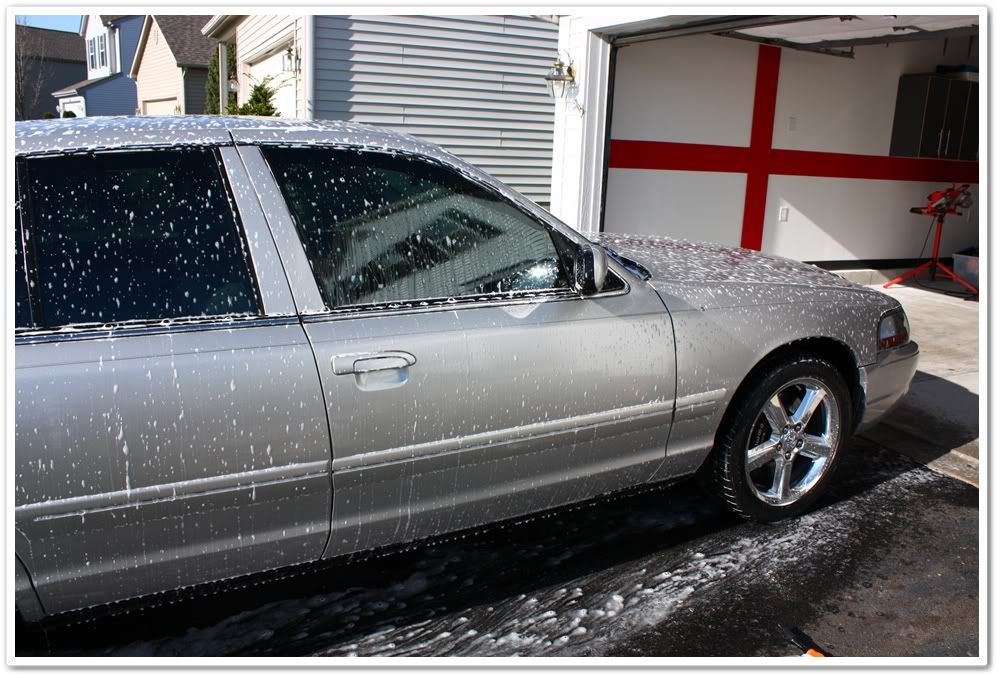
Now that the wheels were done, I foamed the car with Chemical Guys Wash & Clear at paint prep ratio to remove any wax on the surface. I then clayed with Clay Magic using Optimum No Rinse as lube.
This nasty vehicle belongs to the person who built my website. I've detailed his DD before, and did a quick cleanup on this one last fall before he put it away for the winter. He moved to Ohio from Florida last year, and was a customer of Todd Helme of Bella Macchina while he lived down there (I guess he prefers to have his cars detailed by guys named Todd!).
This is a highly modified car, and unless you have an equally modified (and lighter weight) vehicle, you do not want to line up against it. It's got a different block, crank, rods, pistons, cams, supercharger, suspension components, transmission mods, ported and polished head, etc, etc, etc. At the wheels on pump gas he's putting out 542hp and 522lb/ft of torque! You definitely need power like this to propel such a large vehicle to a 11.6 second quarter mile. He ended up having some mechanical issues at the track that kept him from more runs. With a little more tuning, he feels he can drop that time down a bit more.
This car is BIG...really big! There was by far more surface area on this car than any other I've worked on. The trunk lid was bigger than most hoods...
OK, now for a little fun. This video was taken just the other day at a local track day. Check it out:
DRAG RACE VIDEO!
After watching the video, you get a good feel for what this car is all about (that Mustang wasn't stock either!).
Now for the reality. Those pre-staging smoky burnouts sure look cool, but they leave an awful mess. He sprayed down the back end of the car with a product designed to help the rubber come off easier, but I have to say that it failed! More on that in a bit...
Rubber (more like tar) was on the body, all over the exhaust, in the wheel well, on the suspension components, etc.
The owner does a fantastic job taking care of this car, so it was in pretty good condition. It had it's share of swirls and RIDS since it had been 2 years since Todd Helme worked on it, but not bad at all.
When the car arrived...right off the track!
First up was the wheels. As always, I start off by spraying down the wheels (one side of the vehicle at a time) with P21S Wheel Gel. As it is dwelling to break down the grime, I spray P21S TAW on the wheel wells and tires.
Now take your brush and bend it so you can access the backside of the spokes.
I have the new smaller E-Z Detail brush to get into the tighter areas:
Now for the fun part! Like I said before, the rubber was everywhere. I used a variety of cleaners and tools to remove it, and found that a plastic razor blade was the best for getting it off of the rear quarter panel. Here's a pic while I was still in process...P21S TAW is being used here to clean up the frame and suspension components.
The tar-like rubber came off in small chunks, and because it was so sticky, it ended up everywhere...my face, arms, legs, clothes (ruined!), on my shoes, on every cleaner bottle, the hose, my tripod, and then tracked into the garage and subsequently into the house (my wife was pumped about that!). I still have a date with some solvent to clean up the floors. For his next track day he's going to tape everything up with blue painter's tape so the removal process will be much easier.
Now that the wheels were done, I foamed the car with Chemical Guys Wash & Clear at paint prep ratio to remove any wax on the surface. I then clayed with Clay Magic using Optimum No Rinse as lube.
 04-27-2009, 08:51 AM
#2
2012 SH-AWD / Advanced
Thread Starter
All taped up and ready for polishing.
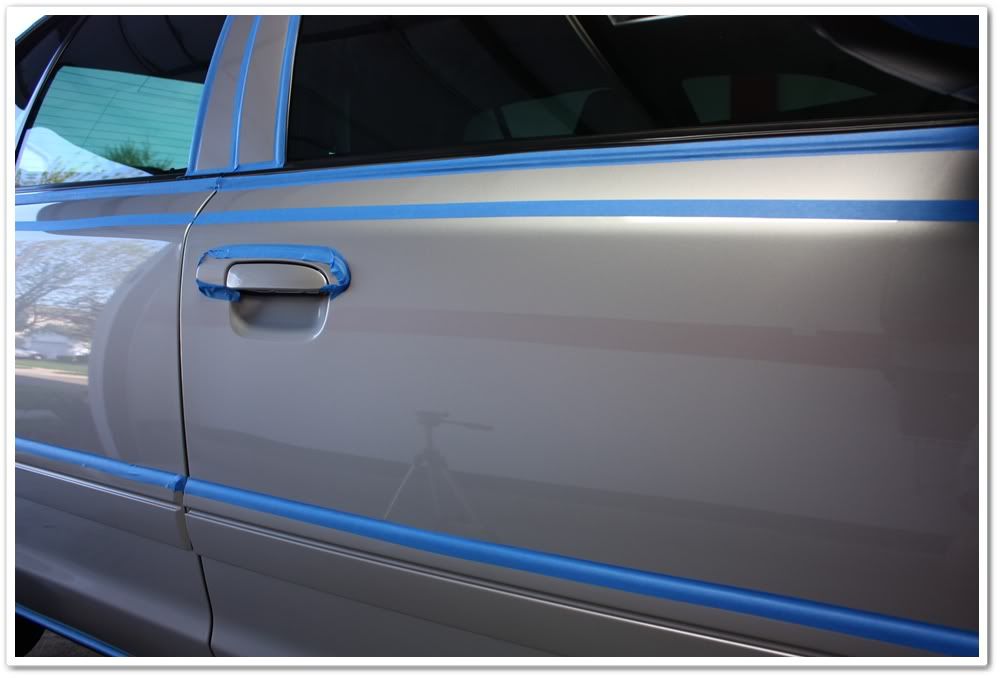
There were about a half-dozen chips in the car that the owner wanted me to touch up. I put about 4 layers of touch-up with plenty of cure time in between in each one to ensure that I had good coverage. Rarely do touch-ups produce a �factory� look because of paint matching, but they always look better.
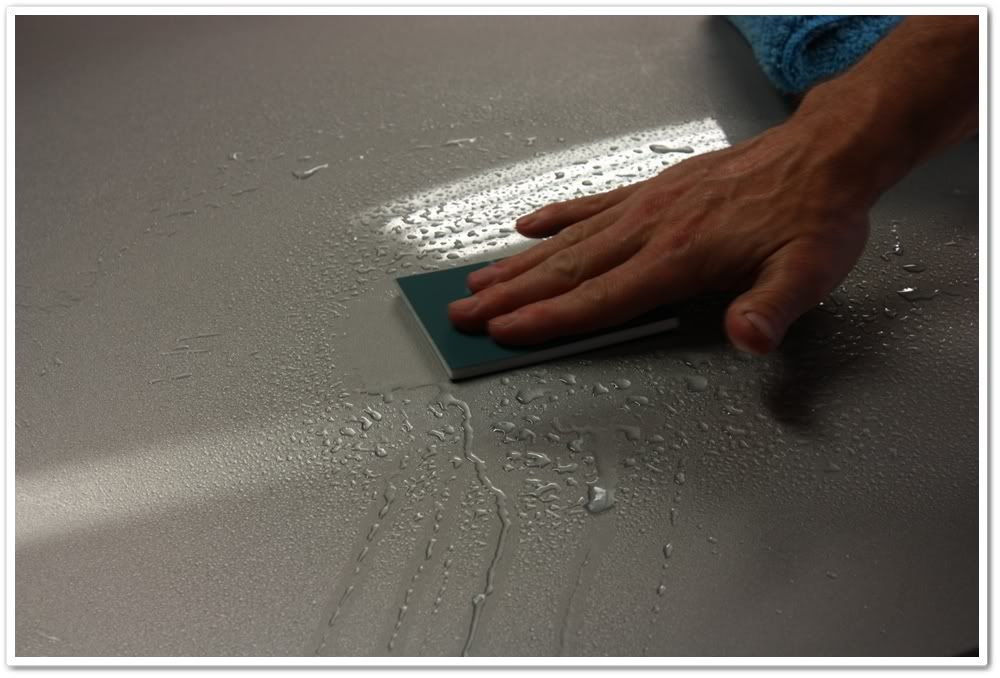
I sanded each touched-up area using a variety of Micro-Surface sheets, and then polished out the areas with Megs 105, rotary, and a 4� orange spot pad.
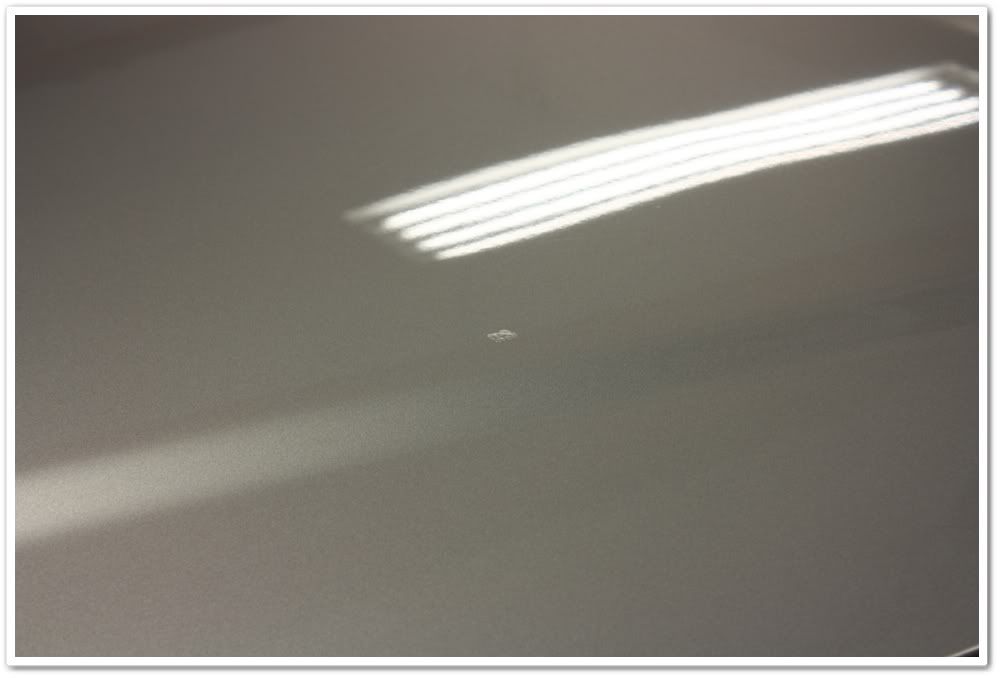
You can still see a little bit of the touch up outline, but that cleaned up nicely with the 105 compounding stage.
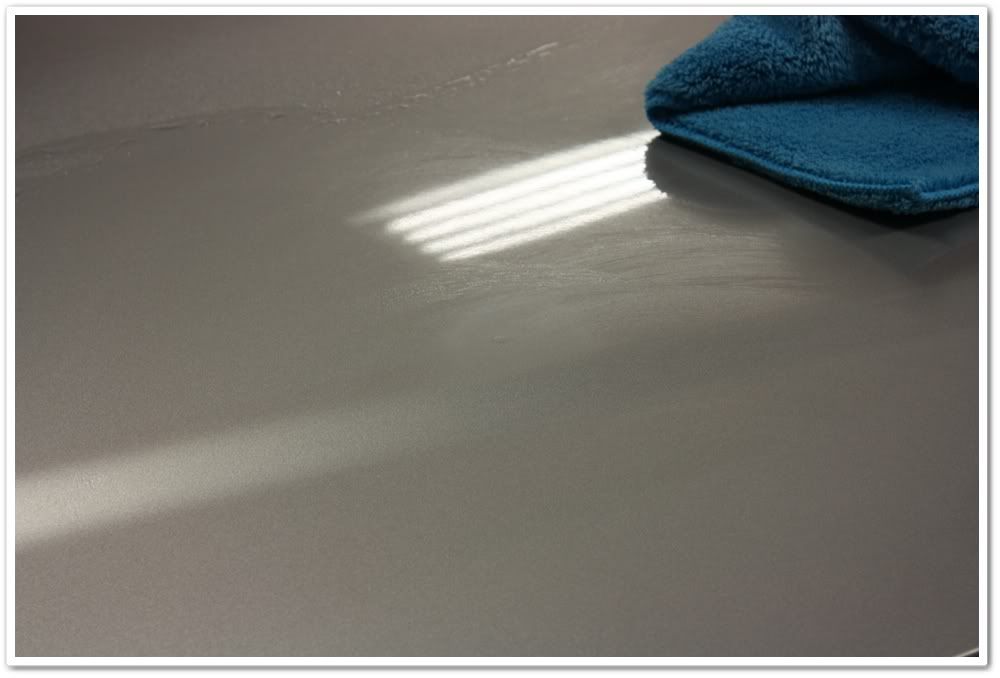
Now finishing up the sanded area (I quickly realized I still had my ring on and took it off for the rest of the polishing).
Since I moved the camera, I forgot to move it back to take an �after� shot.
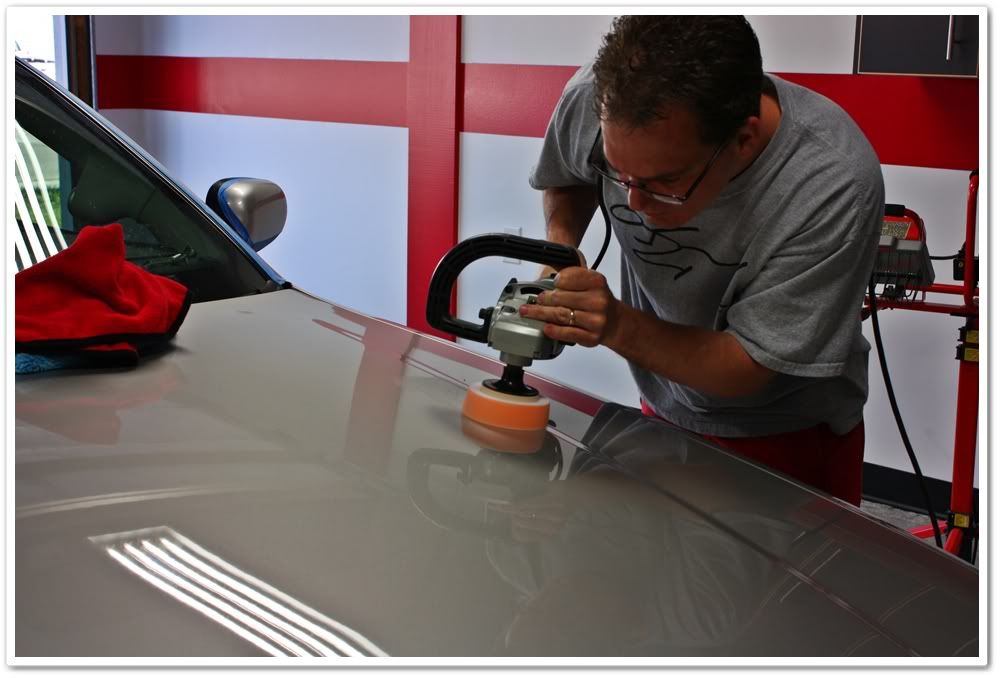
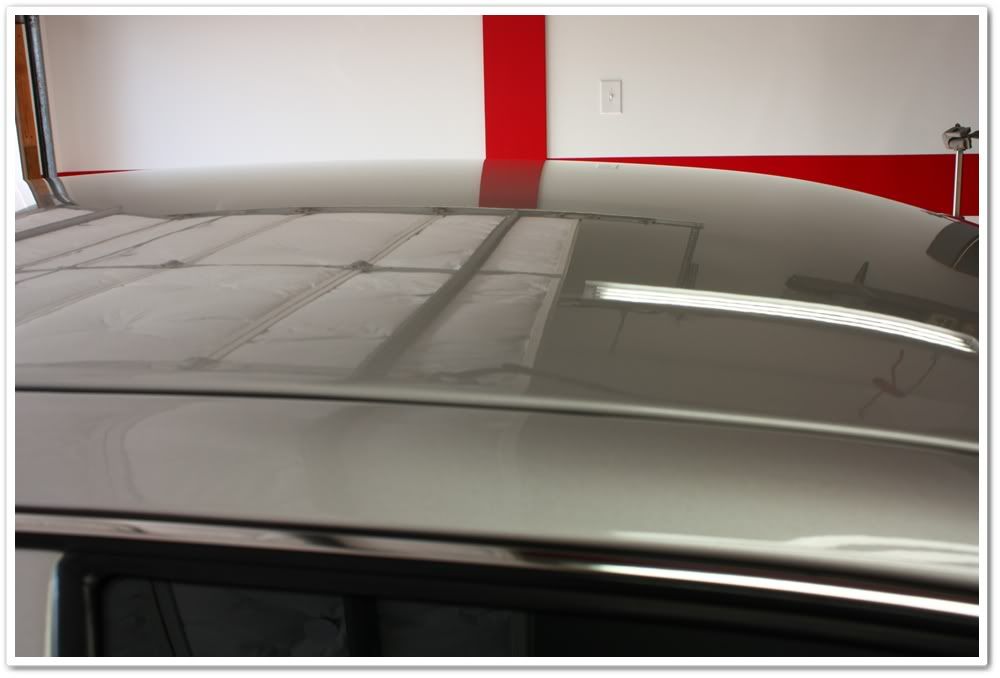
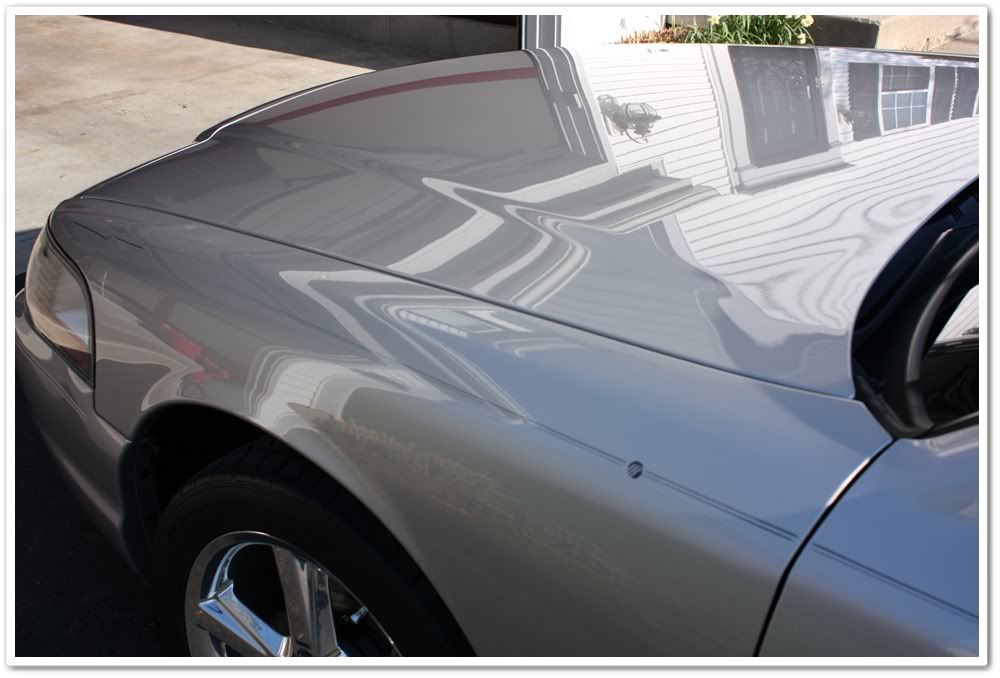
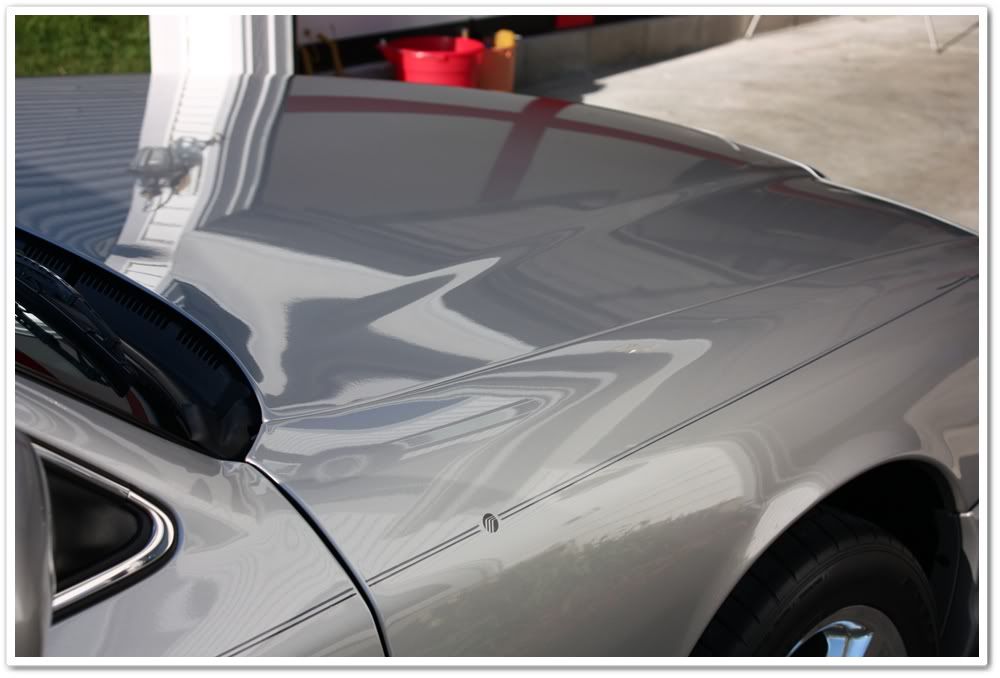
I used a wide variety of polishes, pads, and tools on this car depending on the needs. For the hood, I used Micro Surface black wool pad with SIP to remove some of the deeper defects, and followed it up with 106ff on a grey pad. The sides of the car got 106ff on a grey pad. The trunk lid and roof got M105/orange pad on a PC. After I finished the car, I went back over it with Optimum Poli-seal on a PC with a white pad.
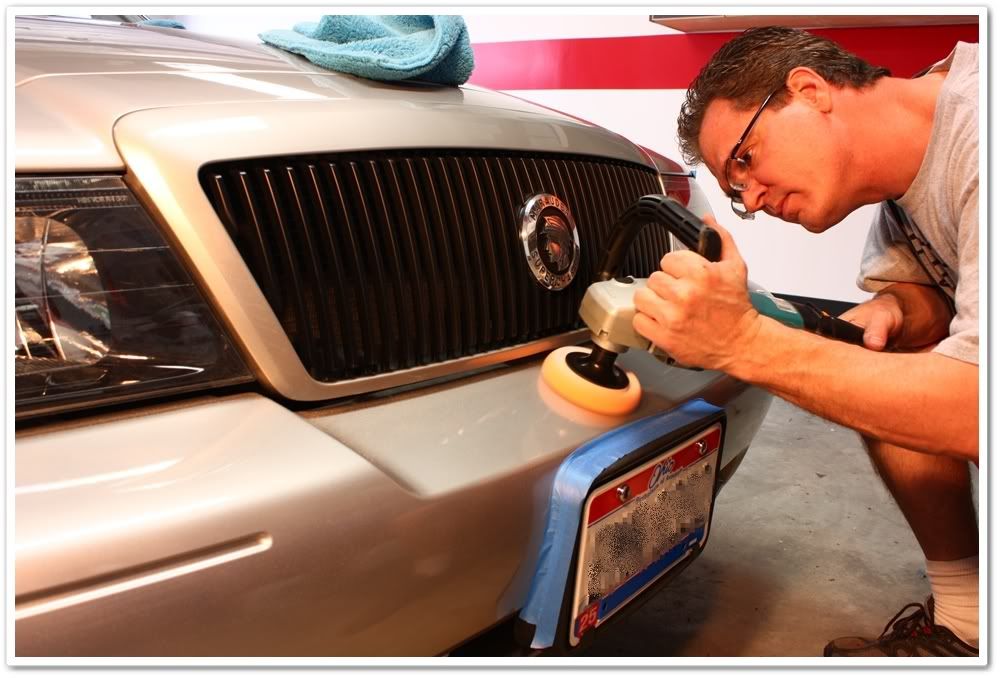
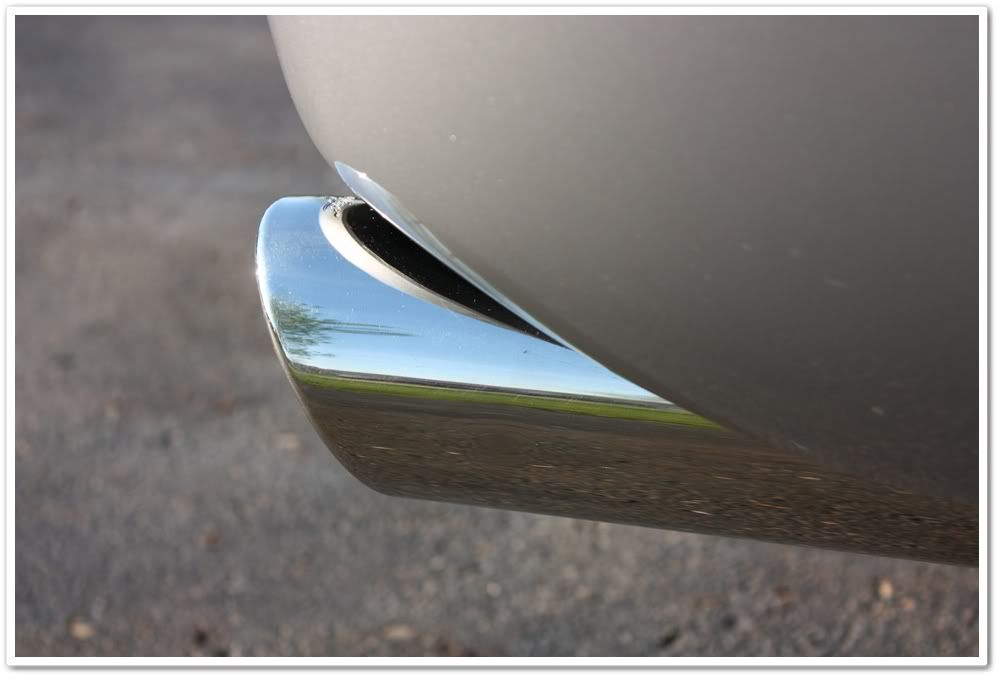
I find that on bumpers and other tight areas that may be tricky, M105 on the rotary with a 4� orange pad, and slow RPM's works wonders! You can clean up the defects without the fear of overheating the surface, and since it's on low RPM's it will finish practically LSP-ready. Even in good condition, I immediately noticed a significant increase in gloss. (Notice that the ring is now off...no chance of rubbing metal against paint!)
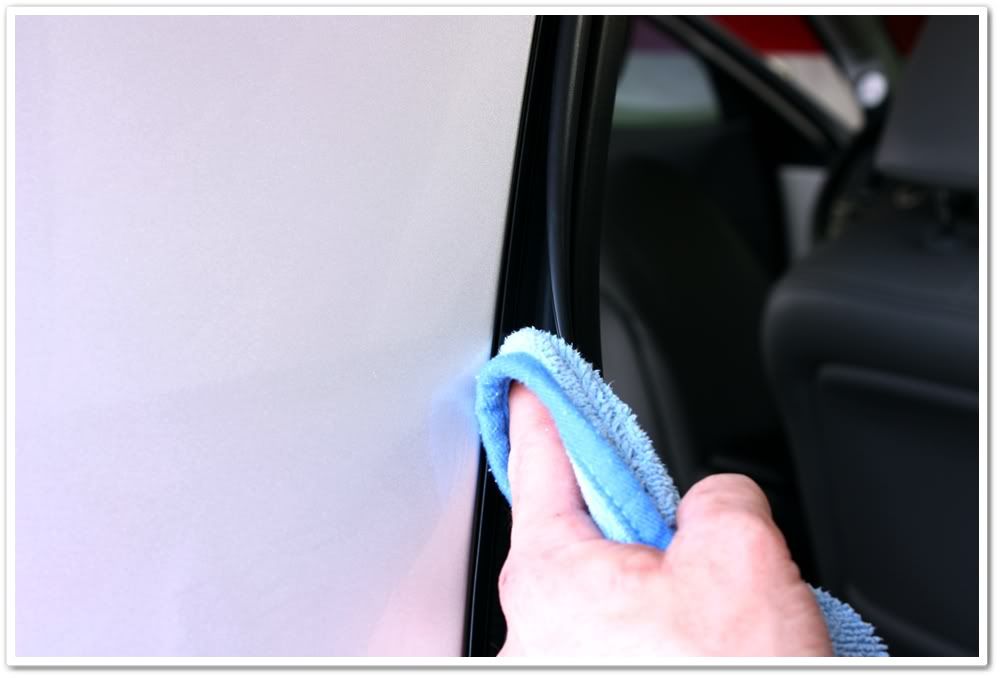
Polishing dust gets everywhere, and here is a place it likes to hide (along with dirt and grime). A little ONR and a MF towel cleans it up nicely.
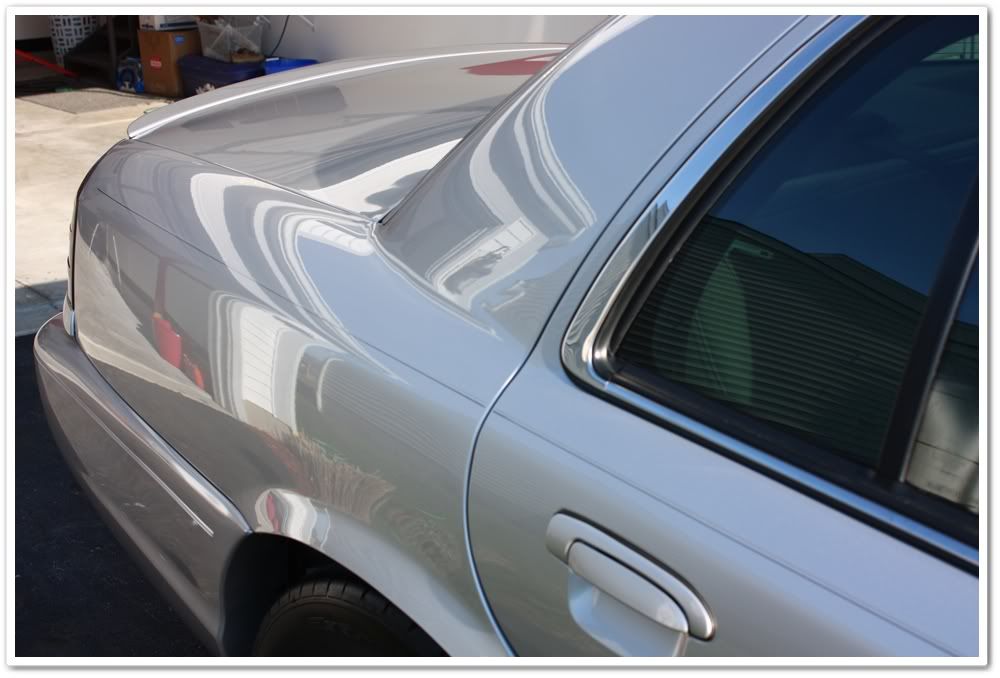
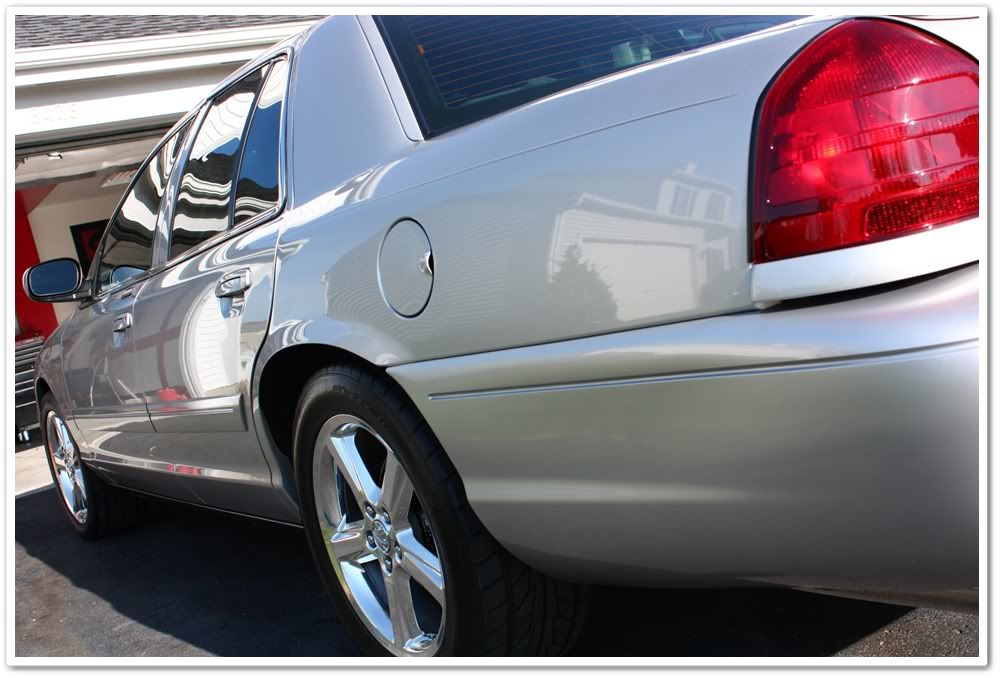
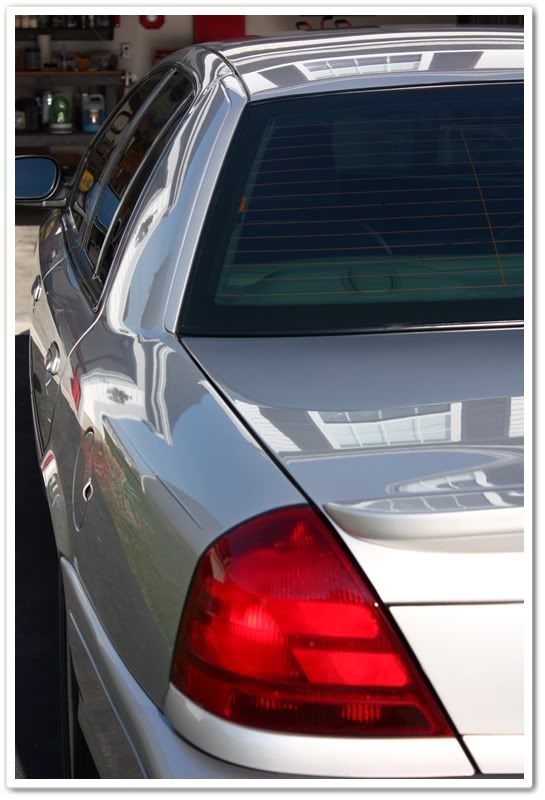
I finished up the painted surfaces with Optimum Opti-seal, and then wiped that down with Optimum Car Wax. The Poli-seal/Opti-seal/OCW combination looks tremendous on silver and really gives a wet, glossy finish.
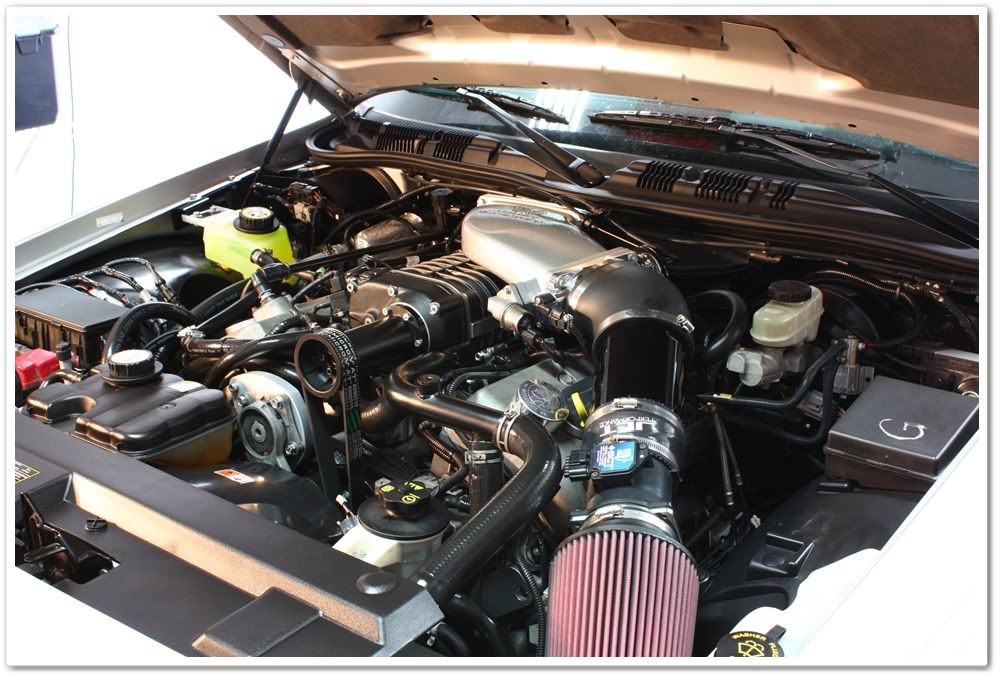
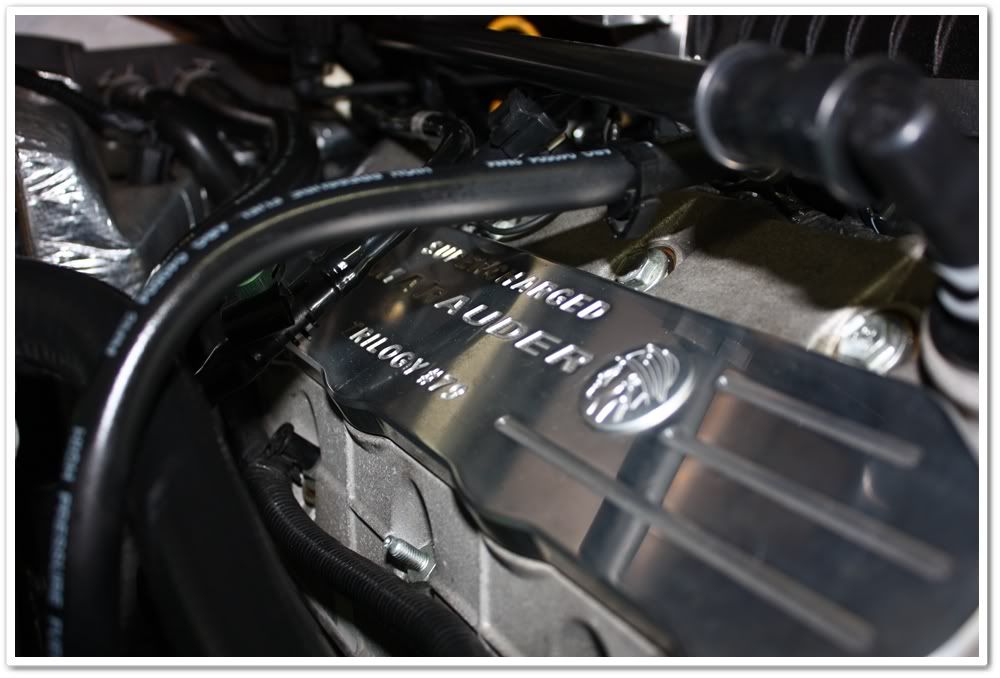
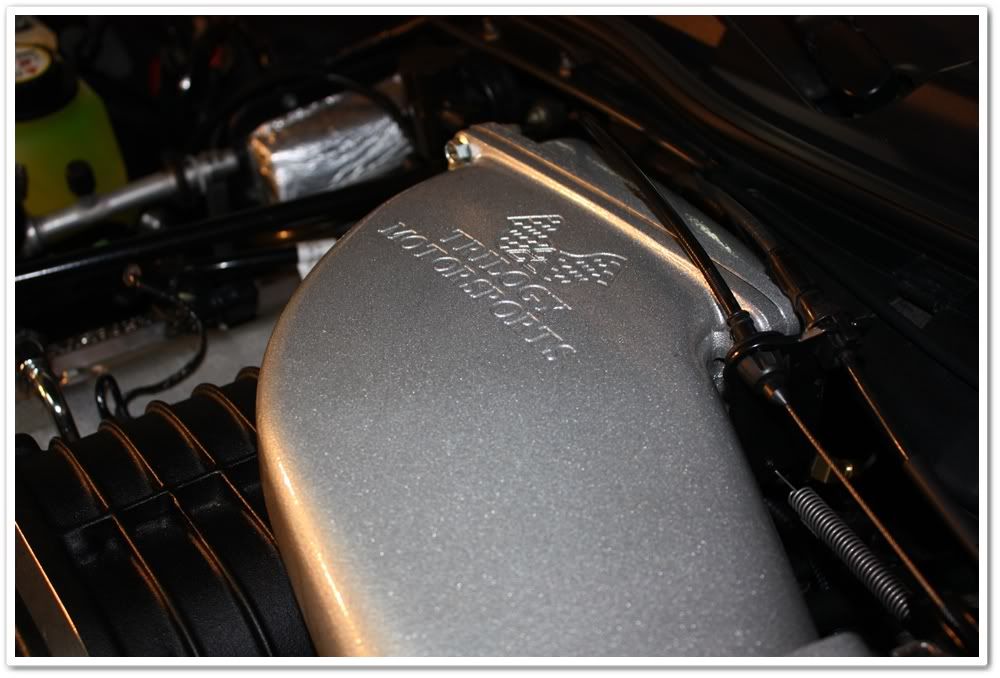
Now on to the testosterone-laced photos...the engine compartment! I cleaned this up with ONR, and then dressed the area with a combination of Chemical Guys Fade 2 Black and 303 Aerospace Protectant.
There were about a half-dozen chips in the car that the owner wanted me to touch up. I put about 4 layers of touch-up with plenty of cure time in between in each one to ensure that I had good coverage. Rarely do touch-ups produce a �factory� look because of paint matching, but they always look better.
I sanded each touched-up area using a variety of Micro-Surface sheets, and then polished out the areas with Megs 105, rotary, and a 4� orange spot pad.
You can still see a little bit of the touch up outline, but that cleaned up nicely with the 105 compounding stage.
Now finishing up the sanded area (I quickly realized I still had my ring on and took it off for the rest of the polishing).
Since I moved the camera, I forgot to move it back to take an �after� shot.
I used a wide variety of polishes, pads, and tools on this car depending on the needs. For the hood, I used Micro Surface black wool pad with SIP to remove some of the deeper defects, and followed it up with 106ff on a grey pad. The sides of the car got 106ff on a grey pad. The trunk lid and roof got M105/orange pad on a PC. After I finished the car, I went back over it with Optimum Poli-seal on a PC with a white pad.
I find that on bumpers and other tight areas that may be tricky, M105 on the rotary with a 4� orange pad, and slow RPM's works wonders! You can clean up the defects without the fear of overheating the surface, and since it's on low RPM's it will finish practically LSP-ready. Even in good condition, I immediately noticed a significant increase in gloss. (Notice that the ring is now off...no chance of rubbing metal against paint!)
Polishing dust gets everywhere, and here is a place it likes to hide (along with dirt and grime). A little ONR and a MF towel cleans it up nicely.
I finished up the painted surfaces with Optimum Opti-seal, and then wiped that down with Optimum Car Wax. The Poli-seal/Opti-seal/OCW combination looks tremendous on silver and really gives a wet, glossy finish.
Now on to the testosterone-laced photos...the engine compartment! I cleaned this up with ONR, and then dressed the area with a combination of Chemical Guys Fade 2 Black and 303 Aerospace Protectant.
04-27-2009, 08:52 AM
#3
2012 SH-AWD / Advanced
Thread Starter
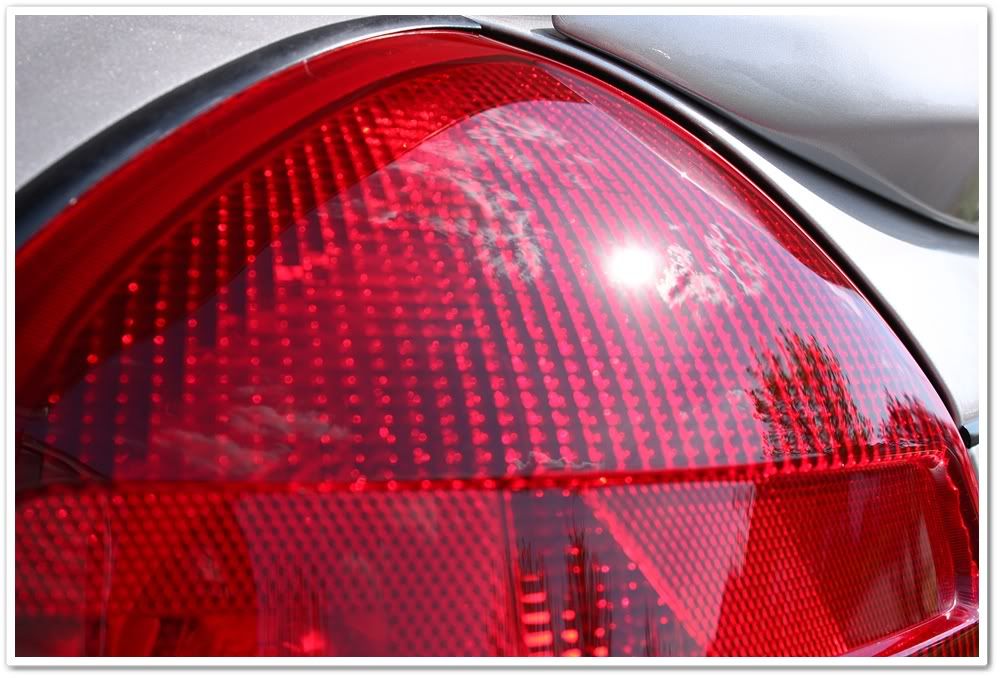
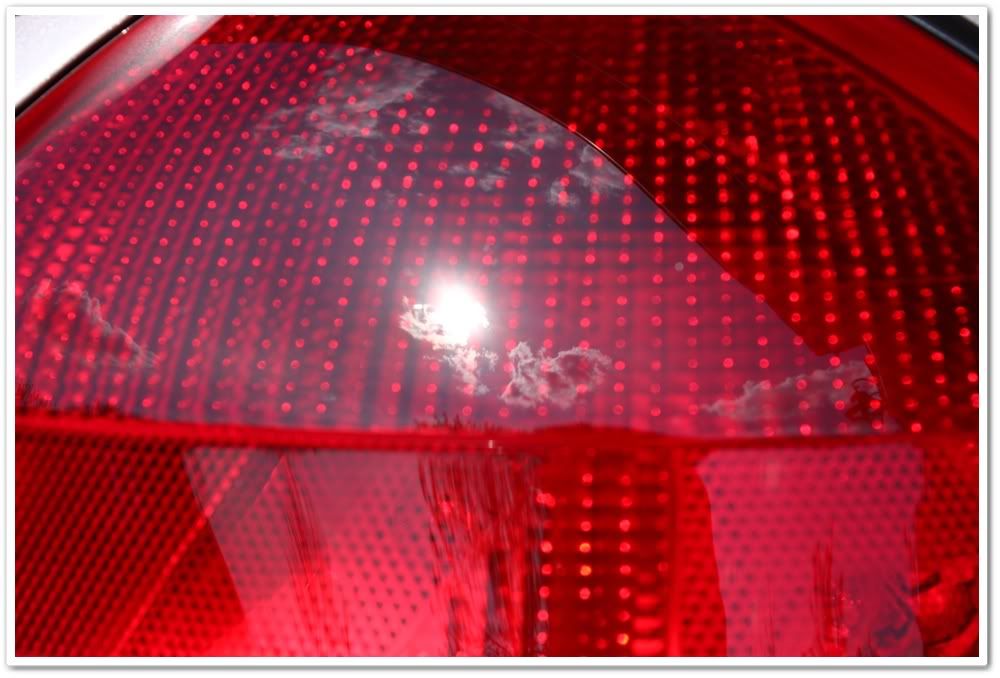
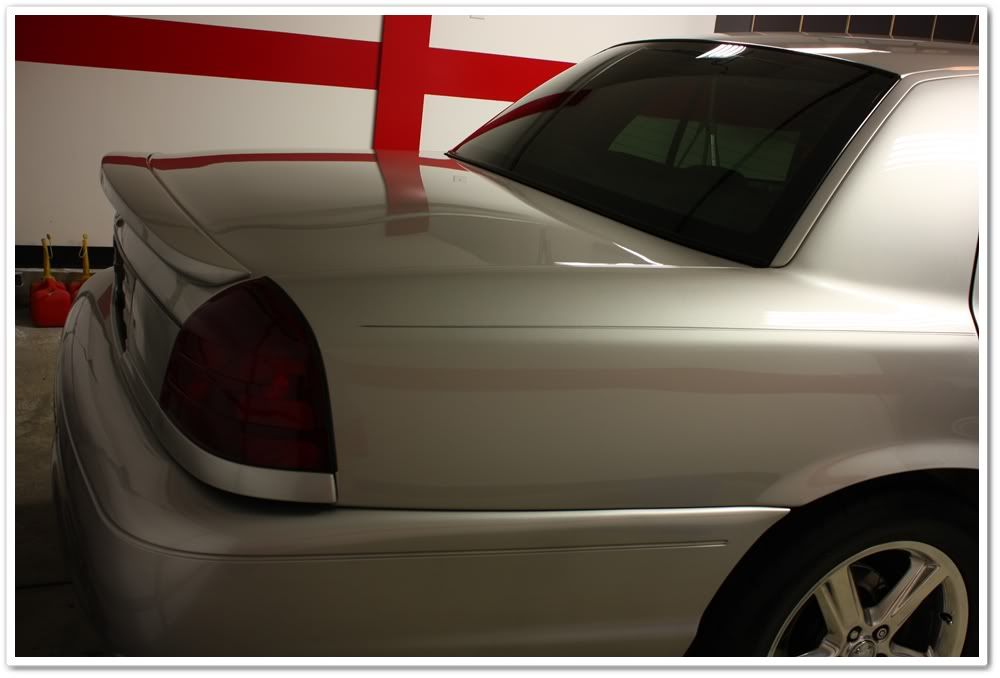
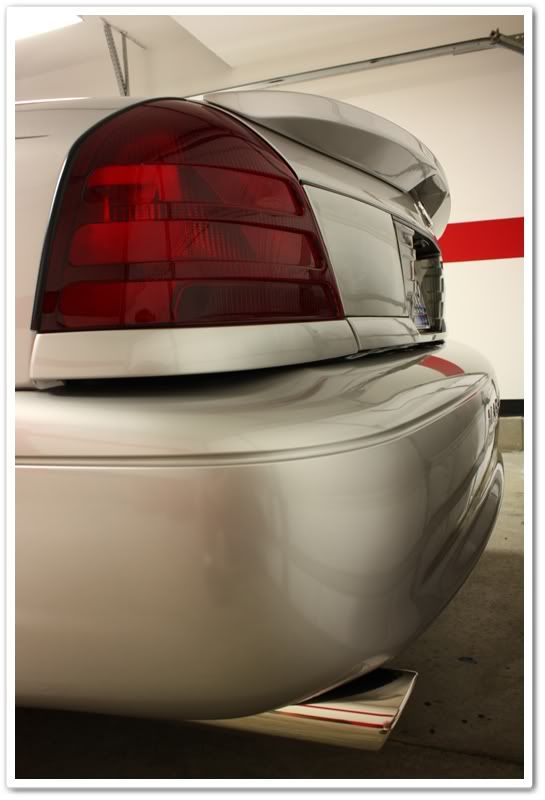
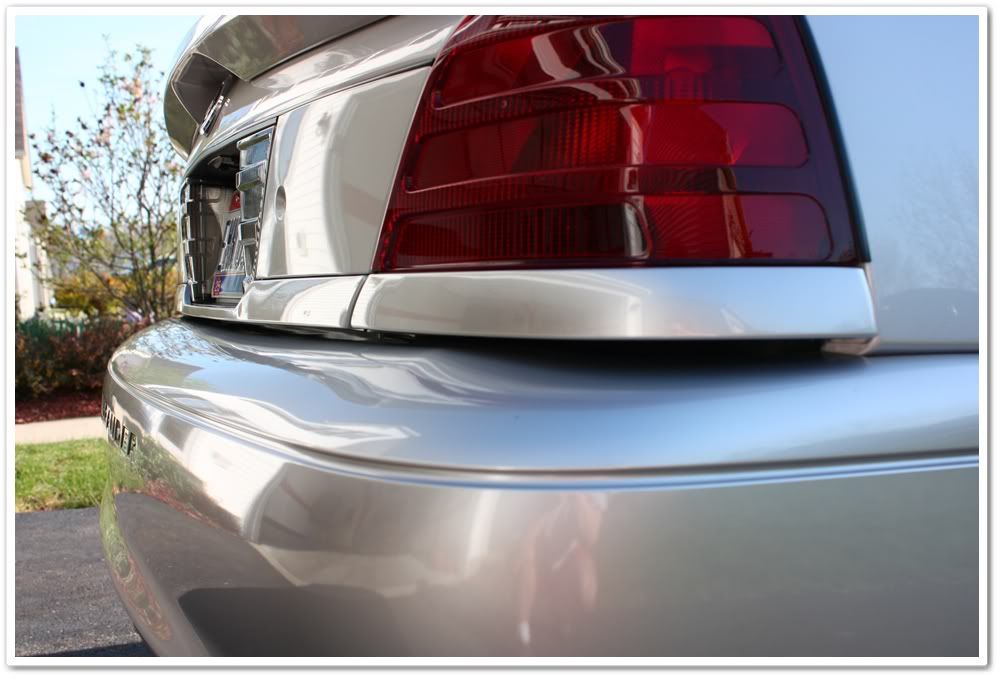
The tail lights were polished first with 105/orange and then refined with 106ff/white.
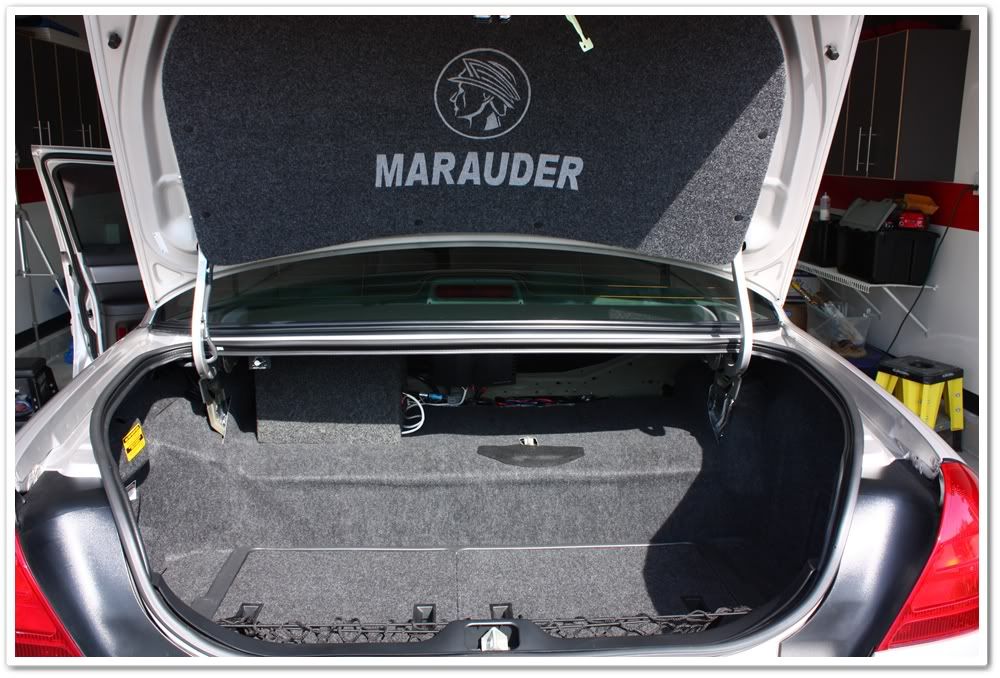
This is a massive trunk! The owner said it was a �9-body trunk�...he's from Miami, so I guess he'd know a thing or two about that.

The interior was pretty clean, so I just vacuumed, wiped down all of the surfaces with Megs Interior Detailer, and cleaned the leather with Leatherique Prestine Clean. Glass was cleaned with Stoner's Invisible Glass.

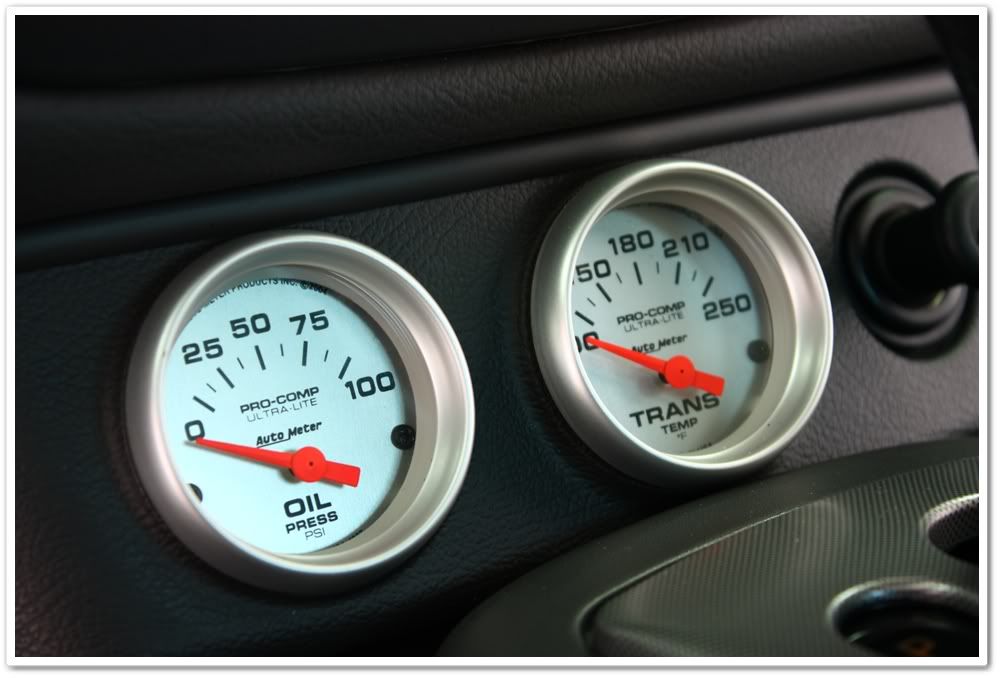
I think he means business!
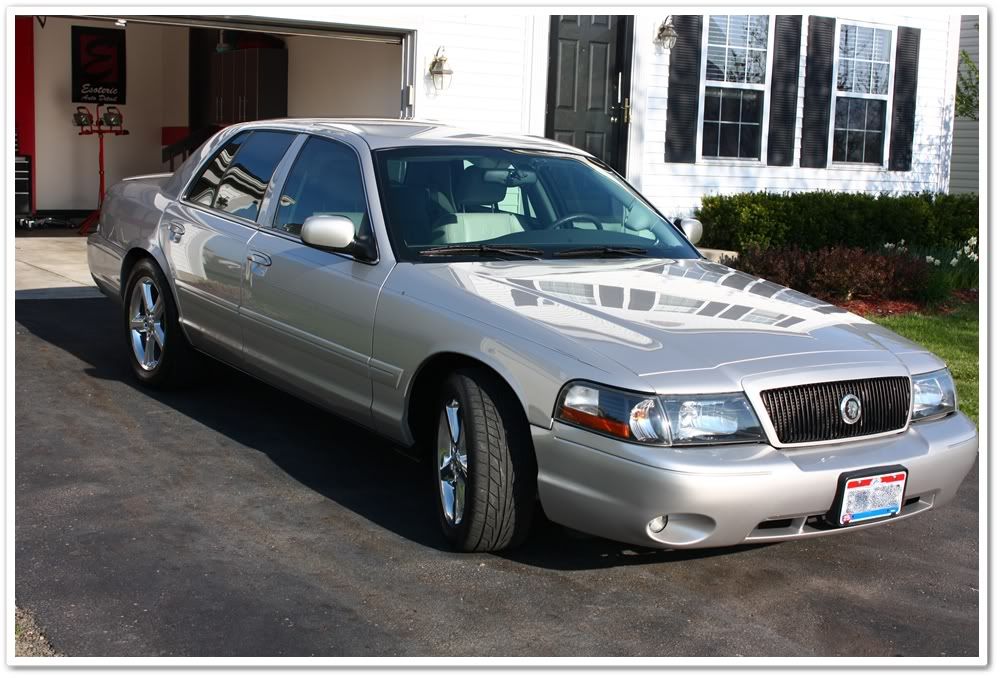
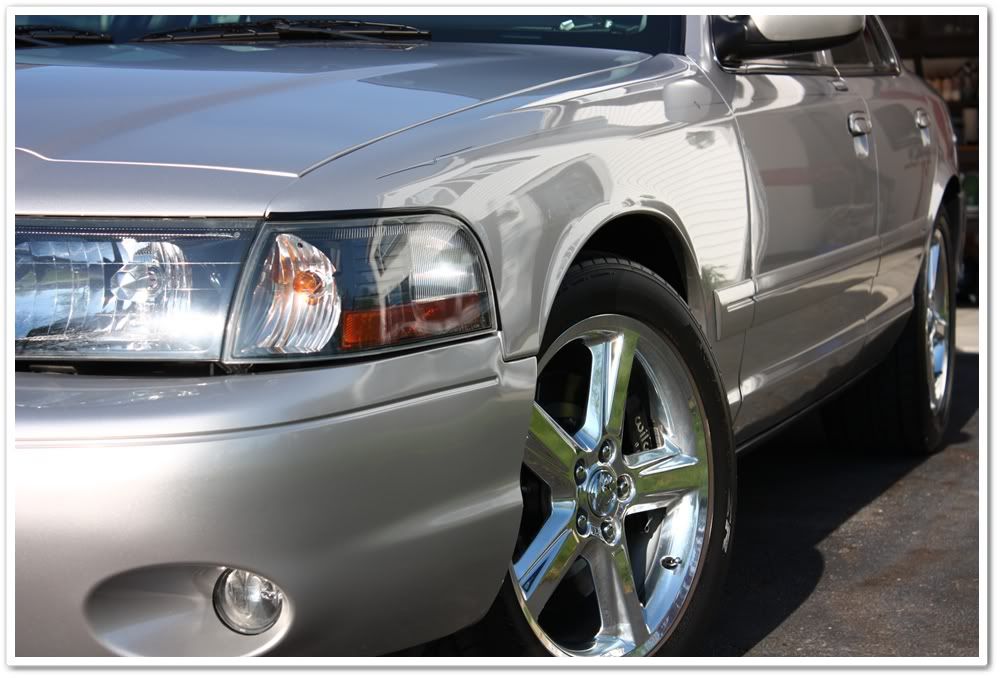
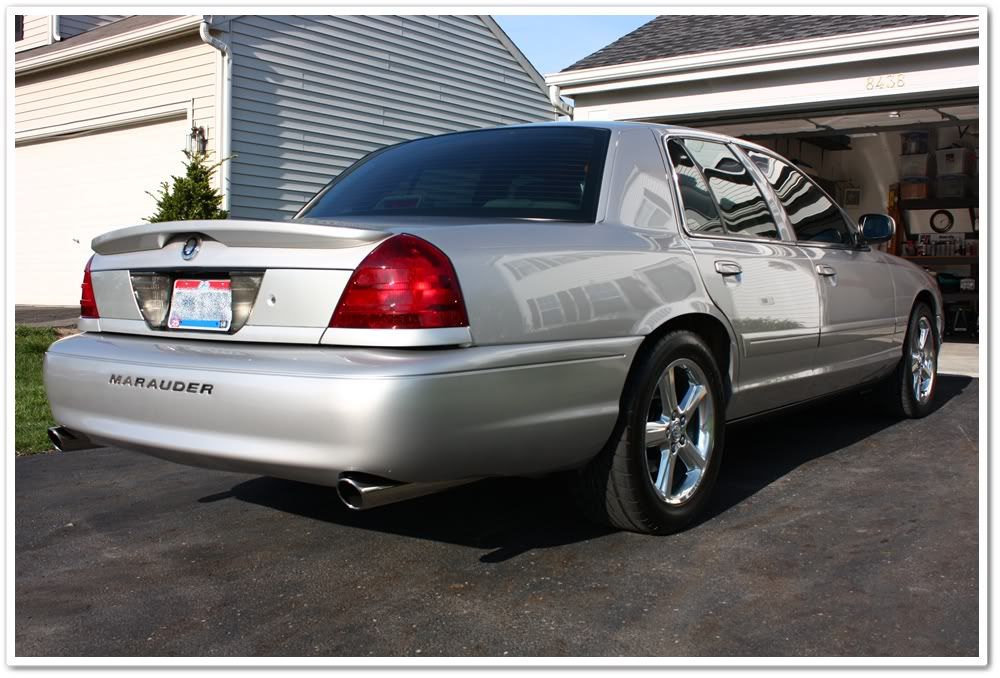
And now for some after shots...first up from inside the garage:
 04-27-2009, 08:52 AM
#4
2012 SH-AWD / Advanced
Thread Starter
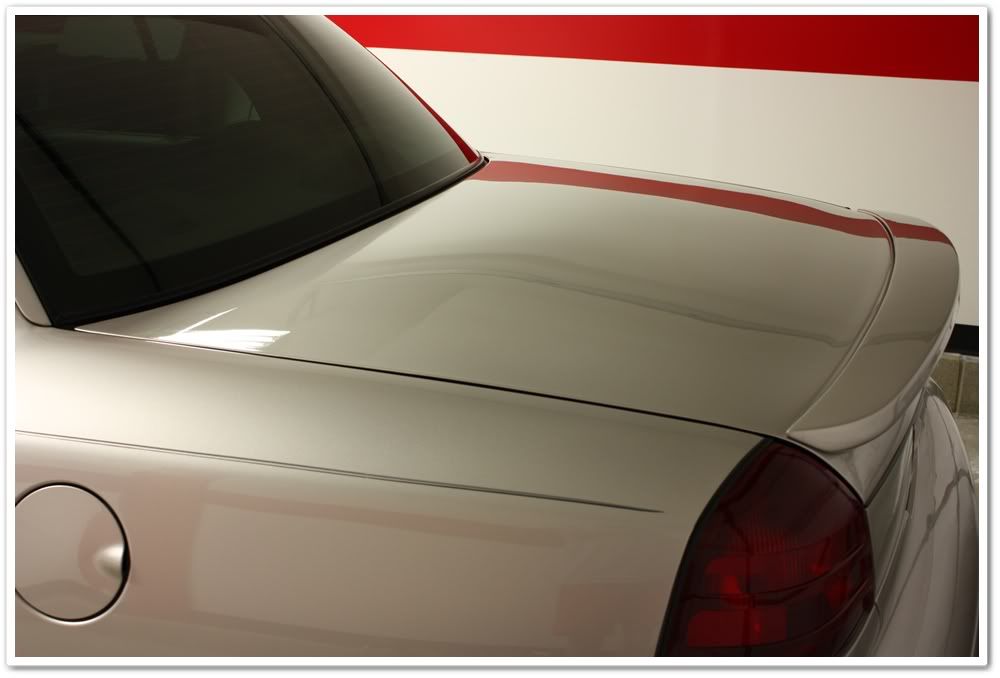
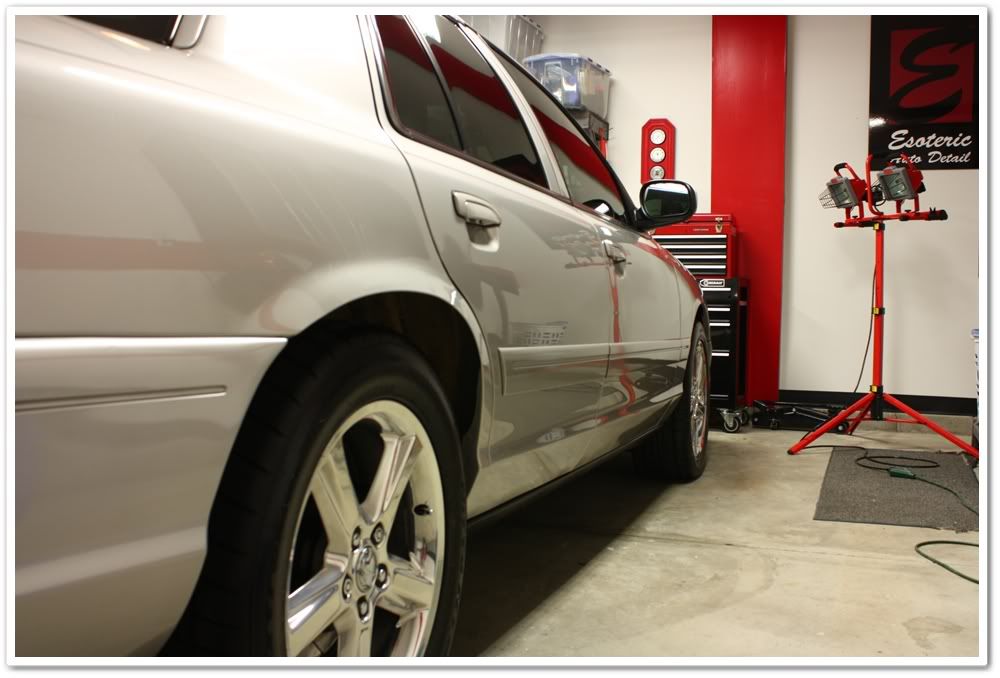
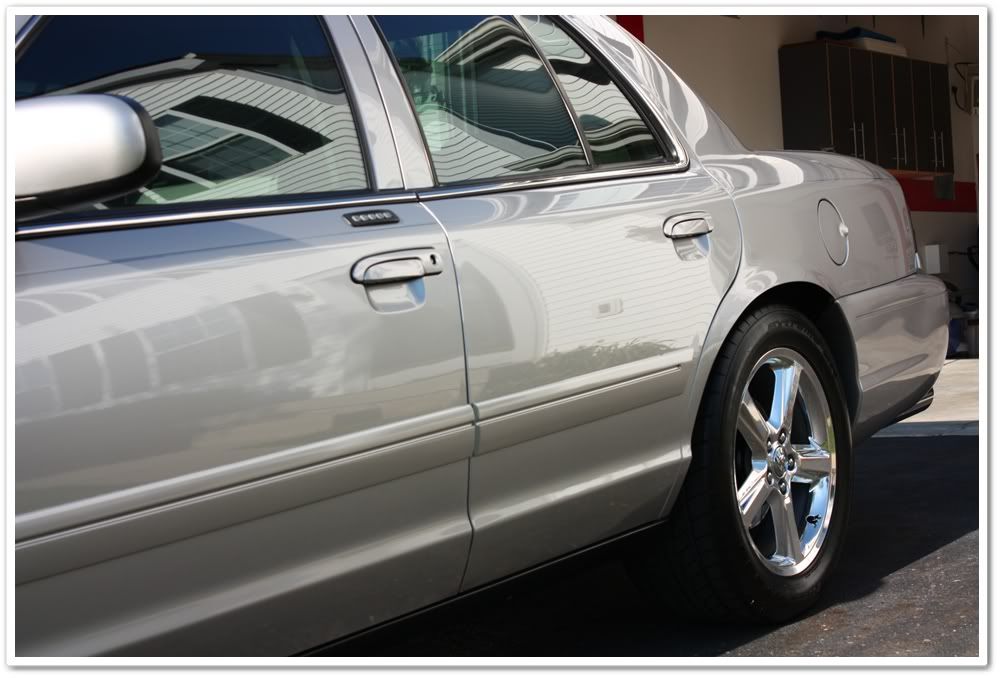
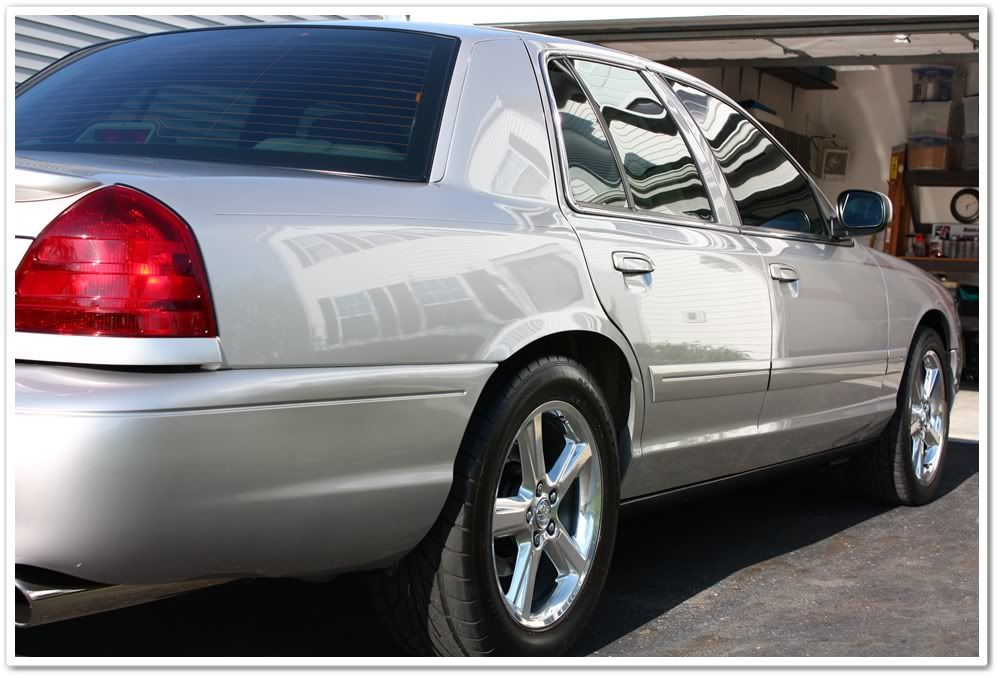
Direct sunshine shots are pretty difficult on silver, so I didn't bother trying to get a lot of them. When all was said and done, the car ended up about 95% defect free.

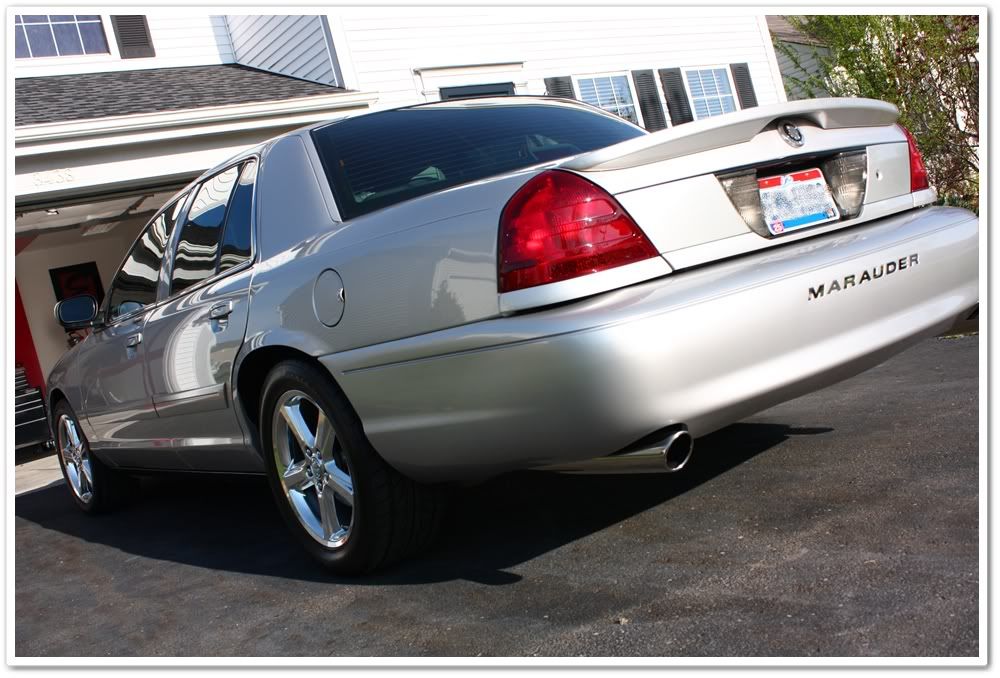
Remember all of that rubber that used to be here?
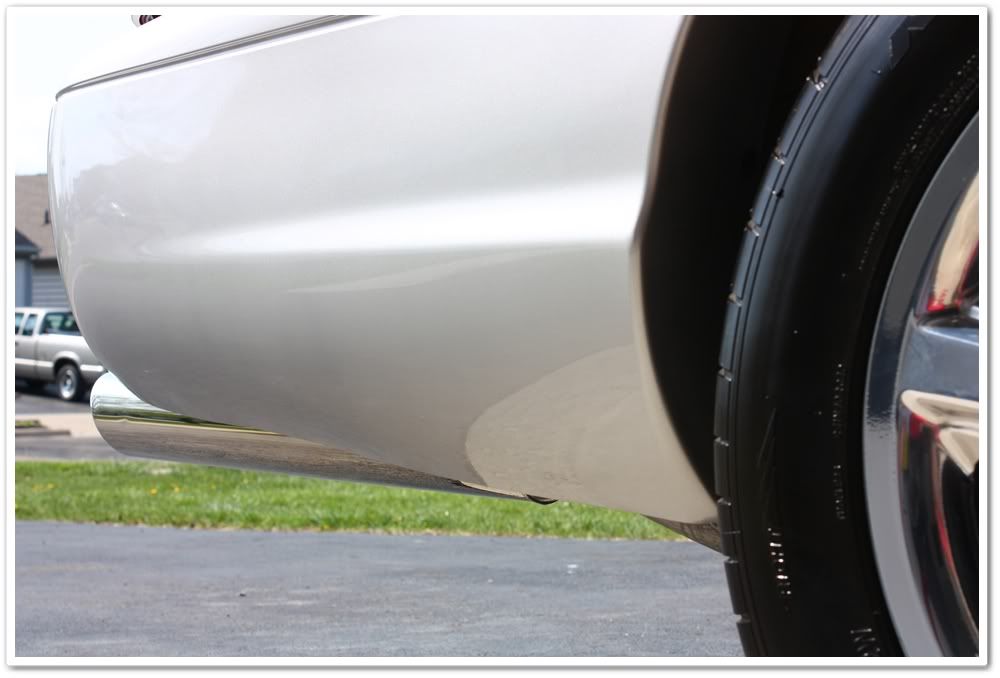
That is a big tire for a sedan.

Trending Topics

 04-27-2009, 10:06 AM
#11
2012 SH-AWD / Advanced
Thread Starter
Josh...yeah, 12 hours is a back-breaker. Thank you!
kamlung...thank you! He's going to put on slicks for next time around. Should be interesting!
rockstar...thanks! It's funny though because even after 12 hours I always think: "hmm, I could have done this, I could have done that, I wish I would have..."
Patrick...no need to go that far, but thank you kindly sir!
 04-27-2009, 12:09 PM
#14
Senior Moderator
Regional Coordinator
(Mid-Atlantic)
Regional Coordinator
(Mid-Atlantic)
iTrader: (6)
Wow, nice job as always Todd, that rubber mess looks like a pain in the arse. Great work as always 
04-27-2009, 12:10 PM
#15
Senior Moderator
Regional Coordinator
(Mid-Atlantic)
Regional Coordinator
(Mid-Atlantic)
iTrader: (6)
 04-27-2009, 12:13 PM
#16
2012 SH-AWD / Advanced
Thread Starter
Since KAIO works in a chemical fashion instead of a mechanical one like other AIO's, it's safe for potentially delicate areas (as in chrome-like coated plastic that many emblems are). It's a cleaner/polish/and protectant, so I'm also saving myself a step or two.
The wheels required some additional cleaning and polishing even after washing. If they didn't, I would have just hit them with the Opti-seal while I was doing the rest of the car. I didn't want to polish then and then seal them, so I did one step with the KAIO.
Also, when I have multiple areas of the car that needs to be done, I have just one product/rag in hand instead of having to continually go back to the workbench for something new and different. So it's about a convenient product that works well in a lot of different applications, and it's a time management issue as well.
A long winded answer, but hopefully it helped.
04-27-2009, 02:09 PM
#18
2012 SH-AWD / Advanced
Thread Starter
 04-28-2009, 01:39 AM
#25
I didn't know about this car... 
What a beast!
I almost didn't believe it...thought it was a joke at first.
Great work as usual and I love reading your write-ups.
Thanks for taking all the extra time to share your detailing world with us.
Also...love the humorous lines you throw in!
What a beast!
I almost didn't believe it...thought it was a joke at first.
Great work as usual and I love reading your write-ups.
Thanks for taking all the extra time to share your detailing world with us.
Also...love the humorous lines you throw in!
04-28-2009, 01:52 AM
#27
Looking back over the thread...
I can't believe how good that rear bumper came out.
I thought it was going to surely have some damage.
I see you took off the wheel to clean the well and suspension components.
Do you guys ever think it's worthwhile and would come out better to just remover the wheels when doing a full detail?
That way you really clean up the wheels and wells without interference.
Seems like it might save time and come out better.
04-28-2009, 07:25 AM
#29
2012 SH-AWD / Advanced
Thread Starter
Thank you everybody! I really, REALLY appreciate all of the compliments on my work and write-ups. I always try to make them educational and fun, and of course throw in some eye candy as well.
If you have the proper setup (some sort of lift, impact wrench, etc), then taking the wheels off for cleaning during a full detail would be quicker and more thorough. If you can only do one wheel at a time with a floor jack and manual tools however, it's a different story. If the customer wants that level however, I will do it.
I haven't even taken the time to take MY wheels off FWIW! One of these days...


Thread
Thread Starter
Forum
Replies
Last Post
Eggs999bacon
2G TSX (2009-2014)
10
09-24-2015 10:08 AM