2004 BMW E60 545i, Detail + Correction
 06-18-2011, 01:02 PM
#1
Pro
Thread Starter
2004 BMW E60 545i, Detail + Correction
Another write-up written by my buddy. Enjoy guys! Feel free to comment.
Hello again! v|nsan|ty and I finally had the time to do another detail. With Father's day coming up I decided to give my Father's 2004 E60 545i a much needed detail. This is one of our shorter write ups as I did not take many pictures due to time constraints.
The Subject:
Total Time: 19 Hours over two days
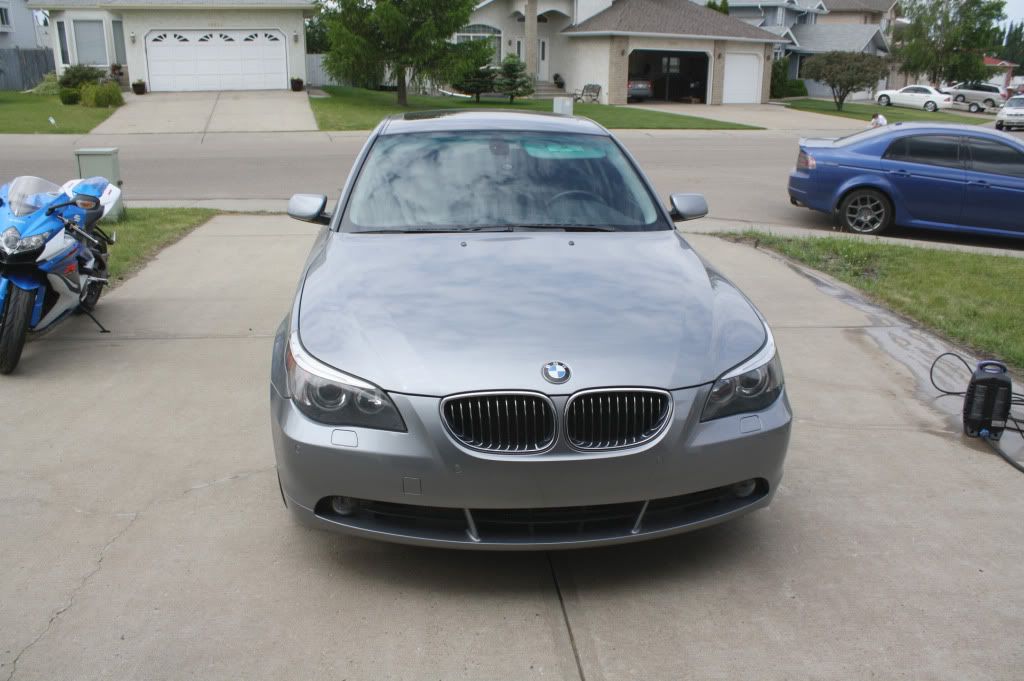
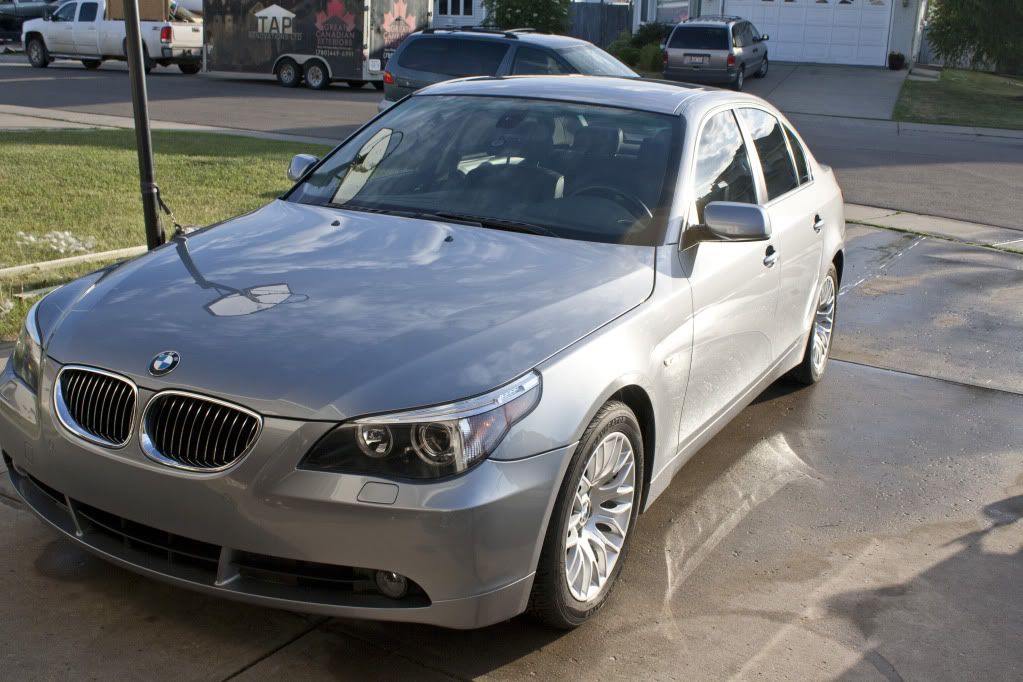
My father purchased this 545i in Silver Grey Metallic three years ago. Since then It has never gotten a proper detail as my father has a pretty busy work schedule.
A quick look:
Vince and I knew we would have our work cut out for weekend as the car has been quite neglected.
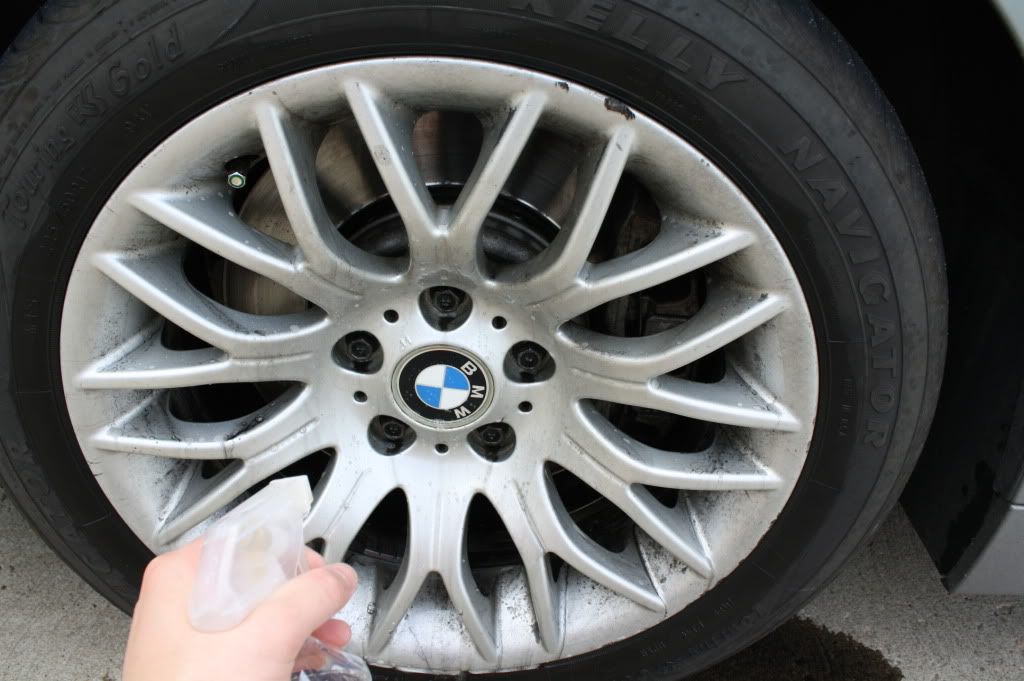
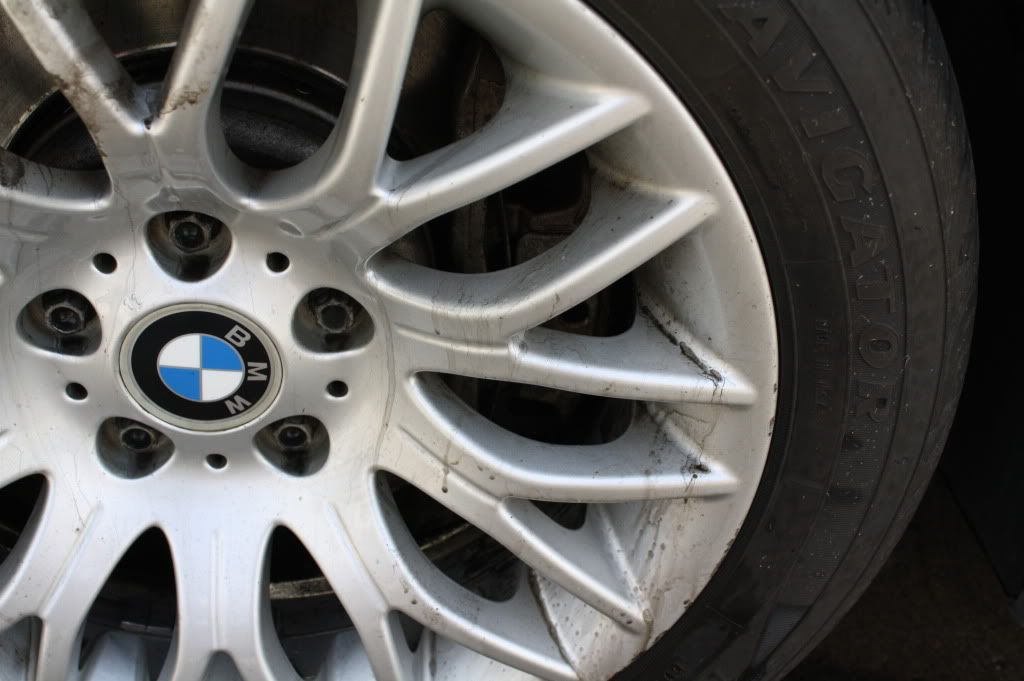
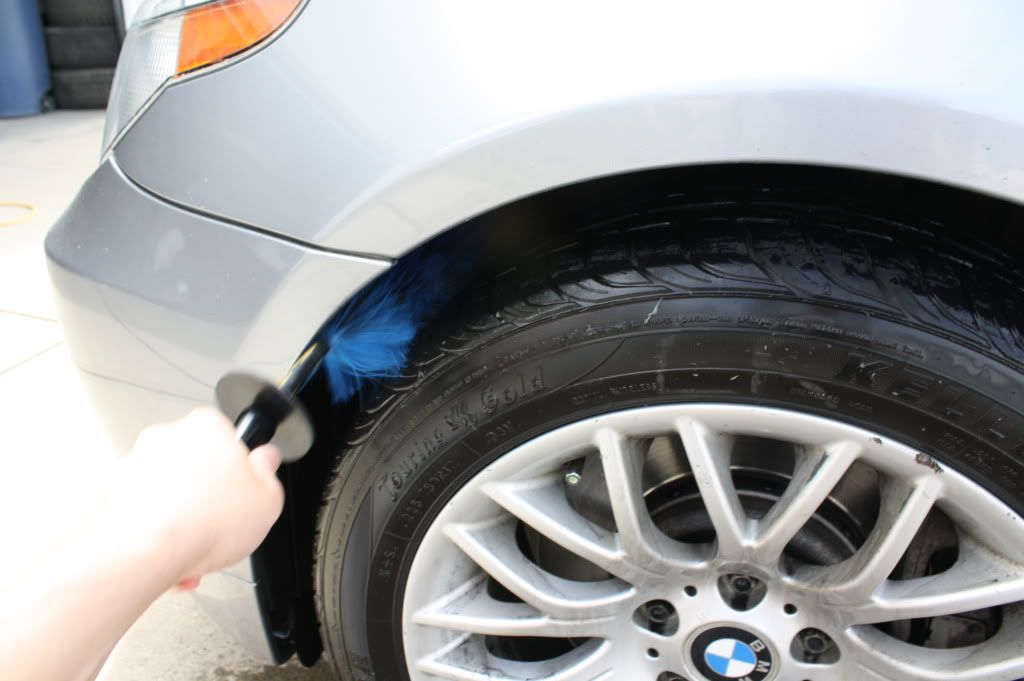
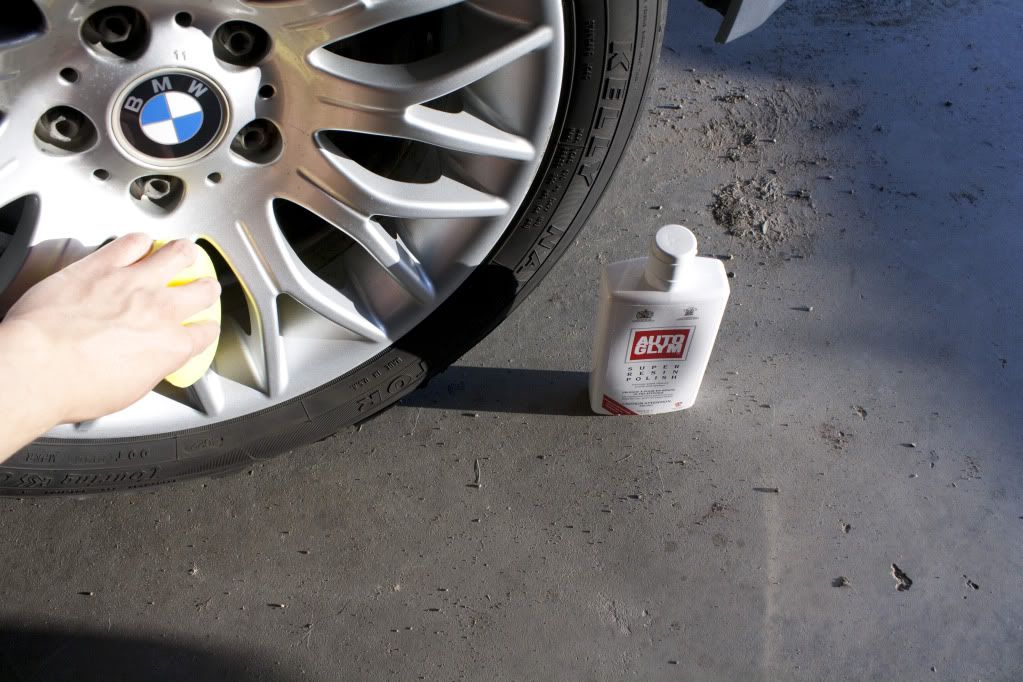
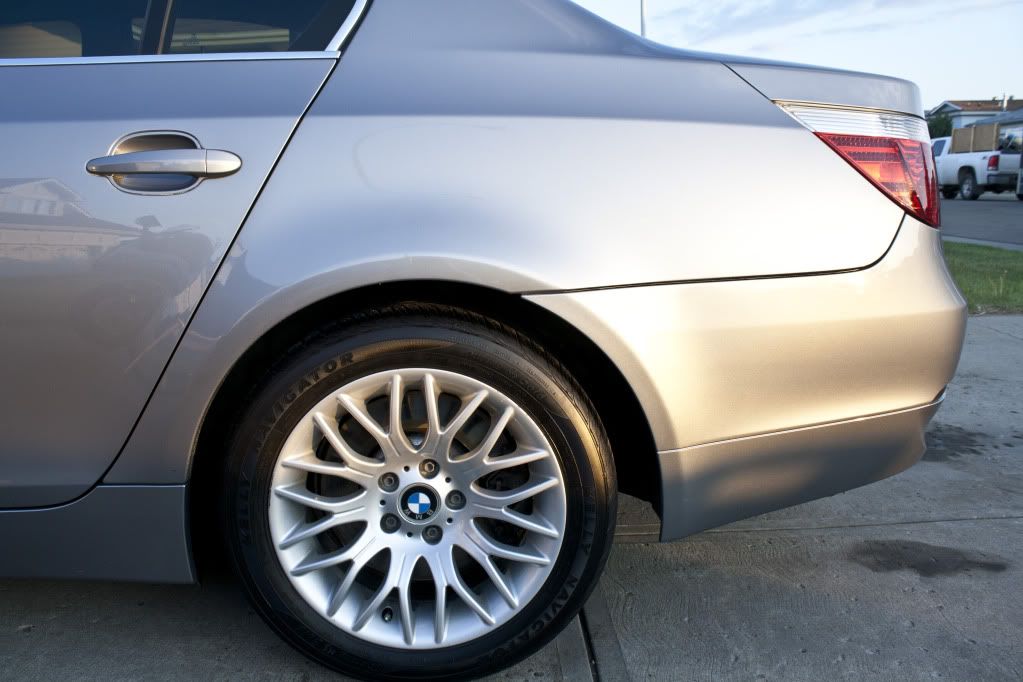
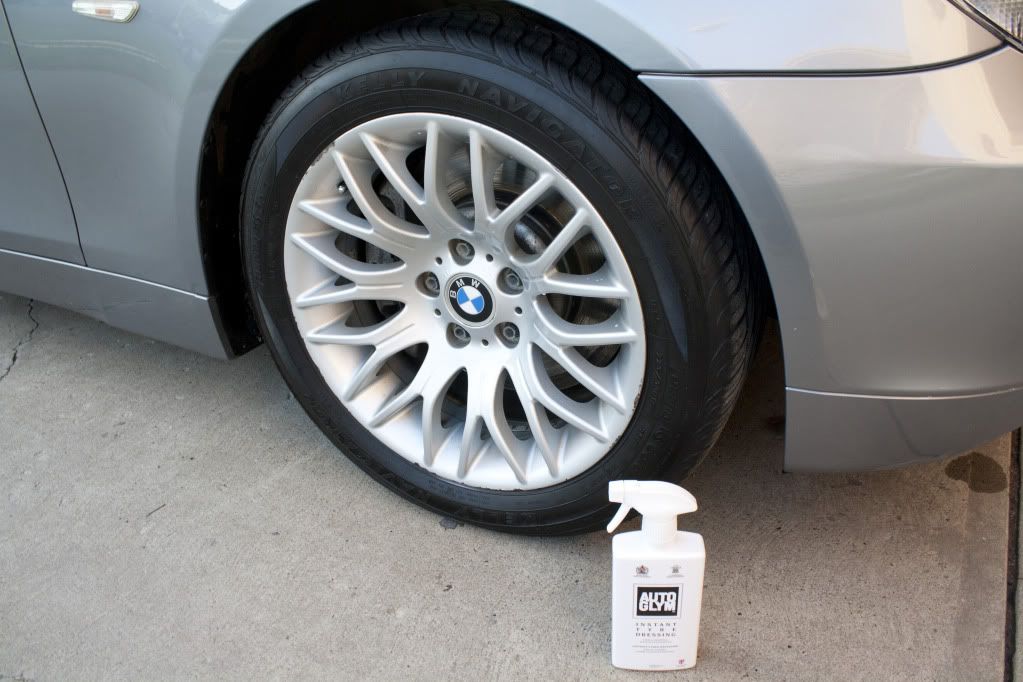
These 18' rims were caked with brake dust, a common annoyance with BMW brake pads:

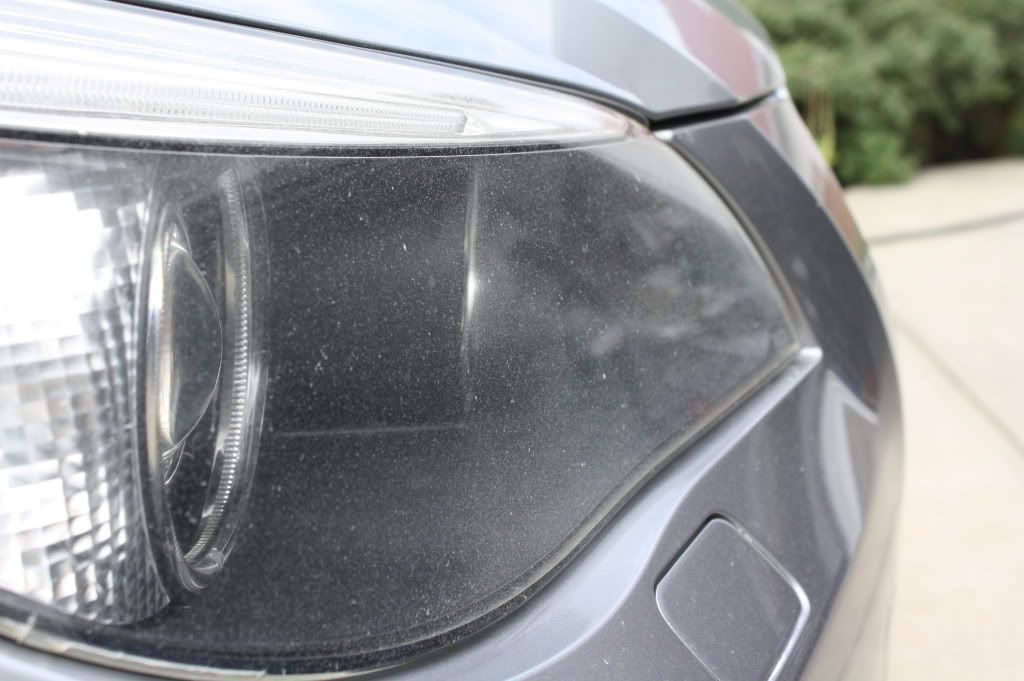
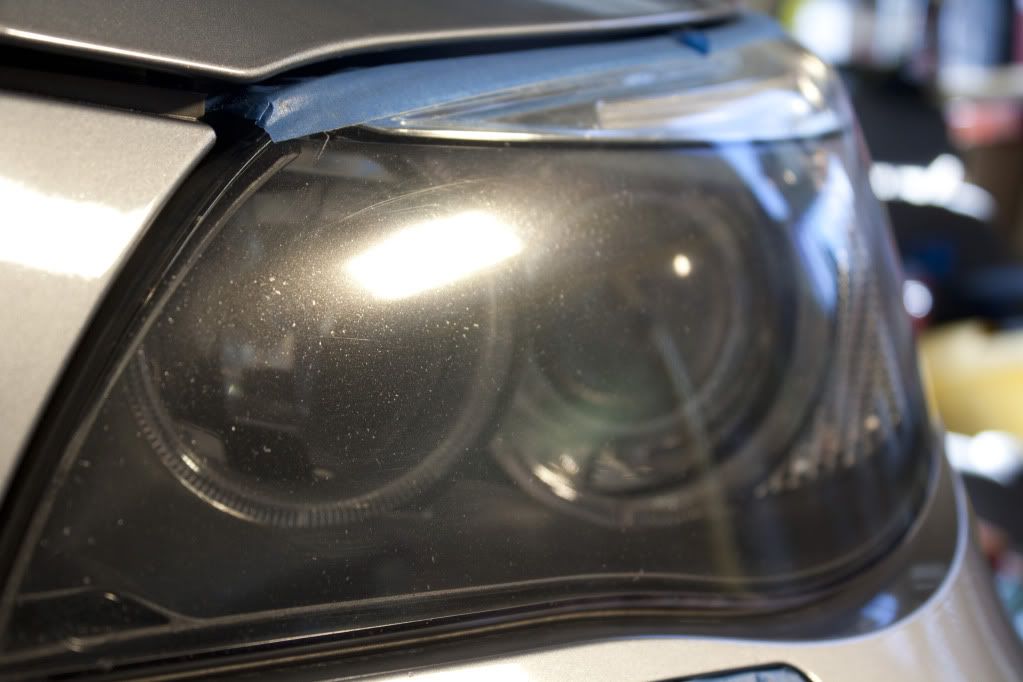
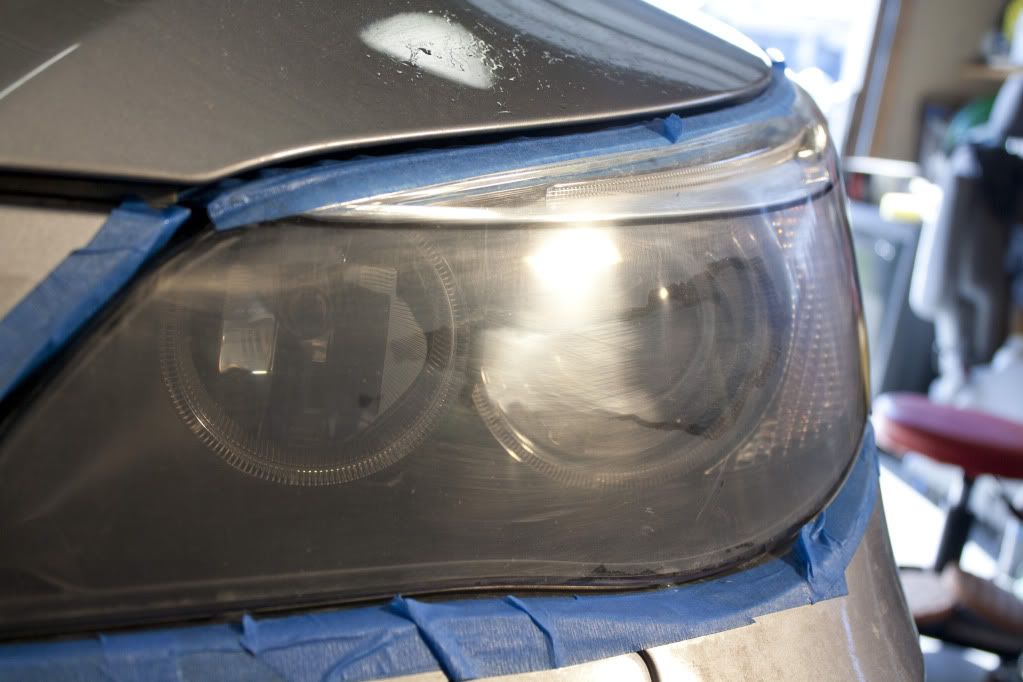
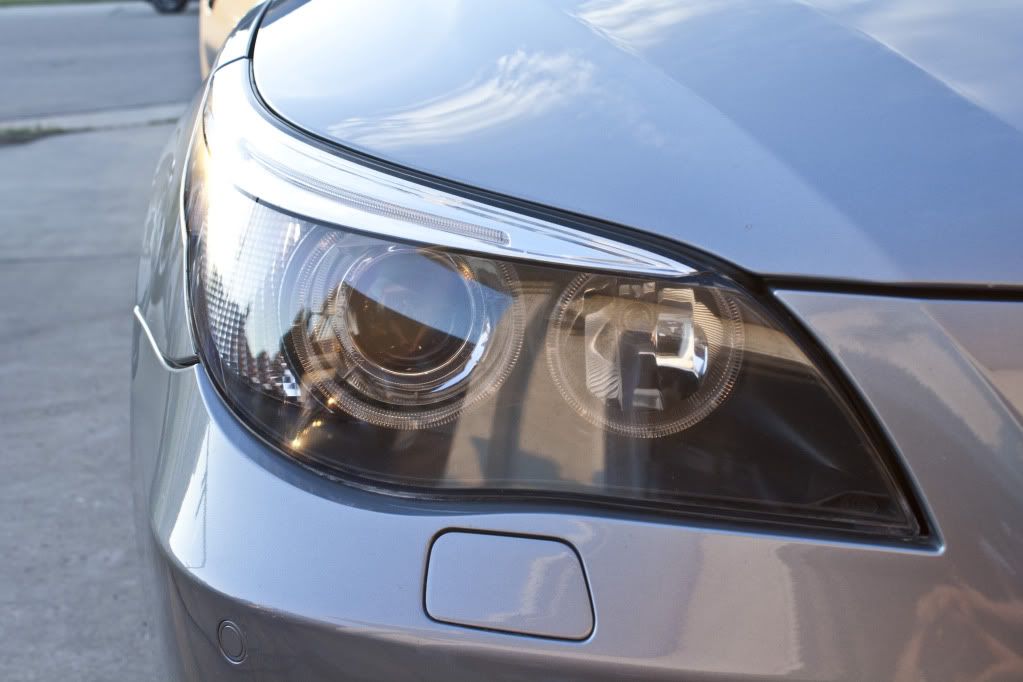
Headlights were heavily pitted from highway travel and required wetsanding:


We began by soaking the rims with Autogylm's Custom Wheel cleaner at full strength:
Cleaned the wheel wells with the EZ detail brush:
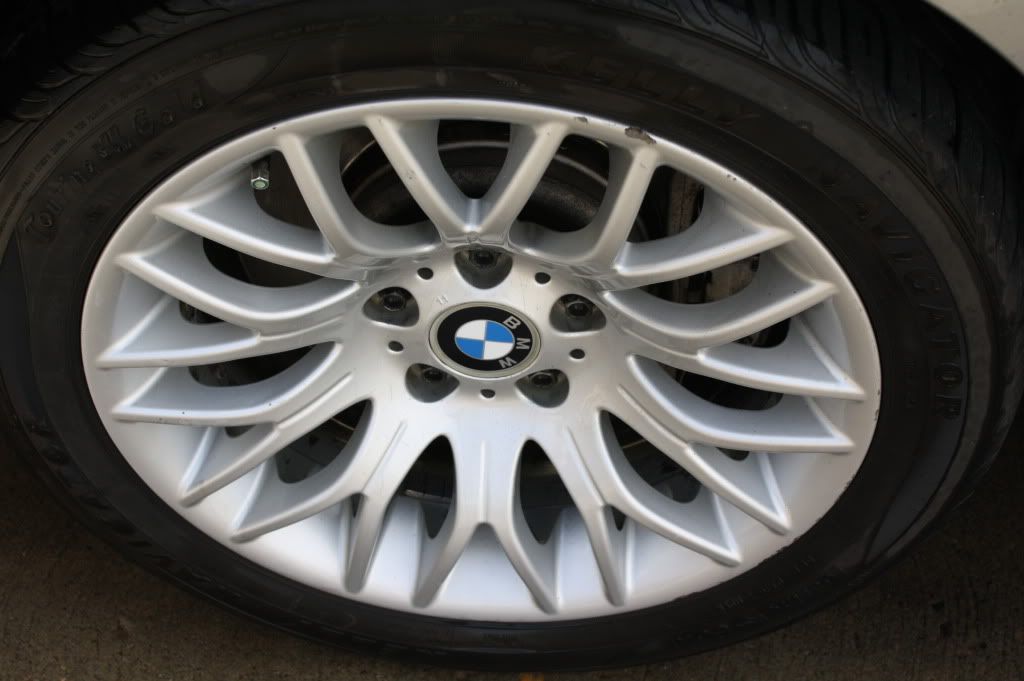
Cleaned:
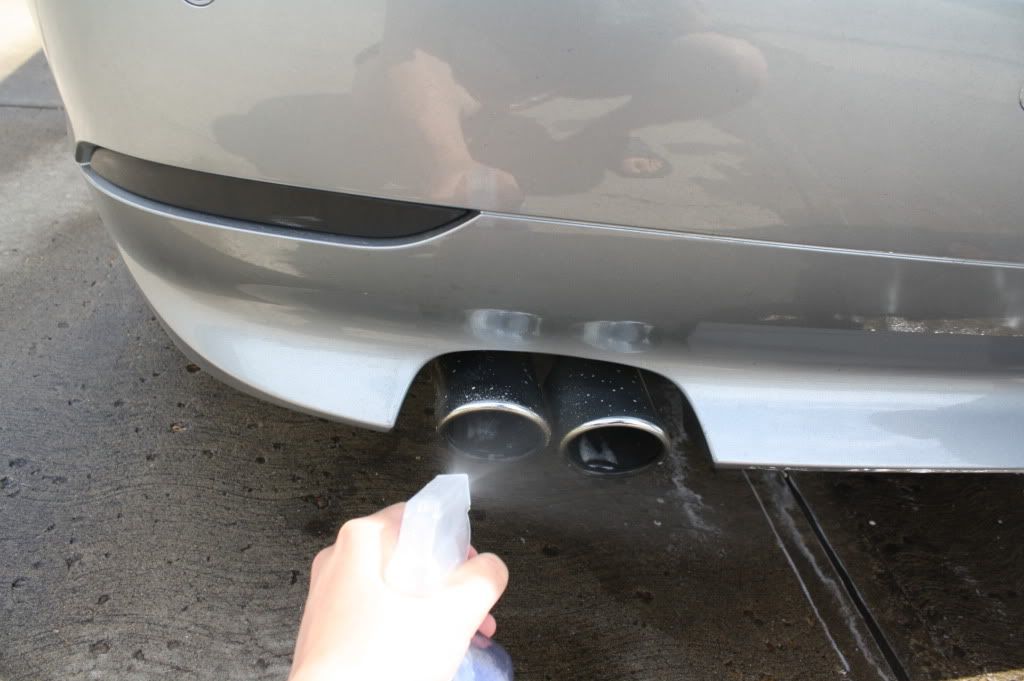
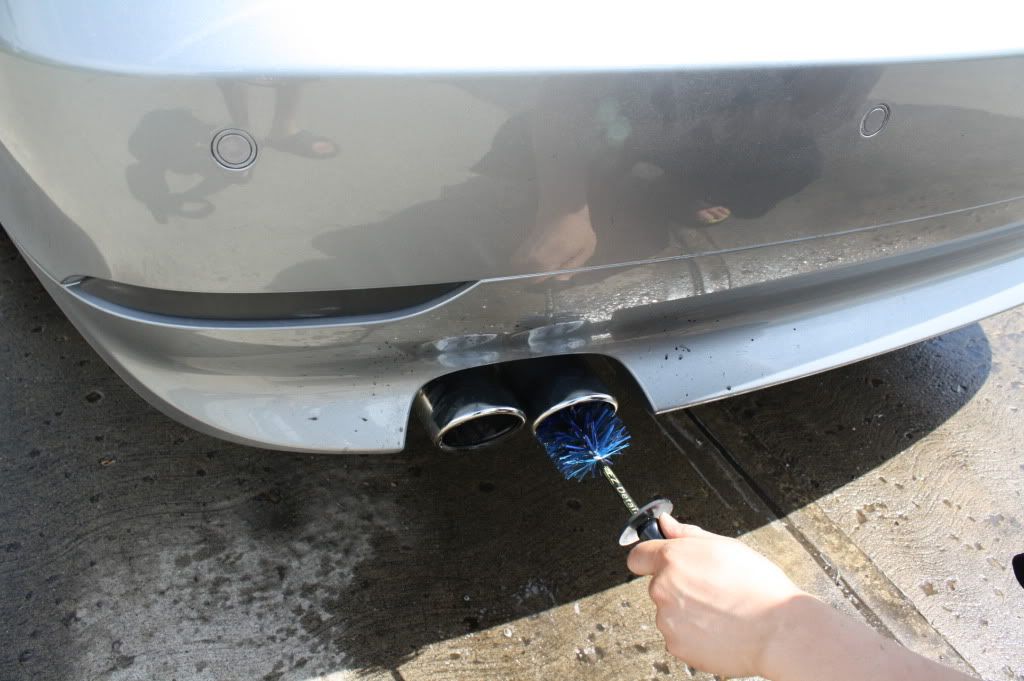
Vince attacked the exhaust tips with CG Grime Reaper at 5:1 dilution, the EZ detail brush, detailing steel wool, and P21s Metal Polish to finnish them off:
Cleaned:

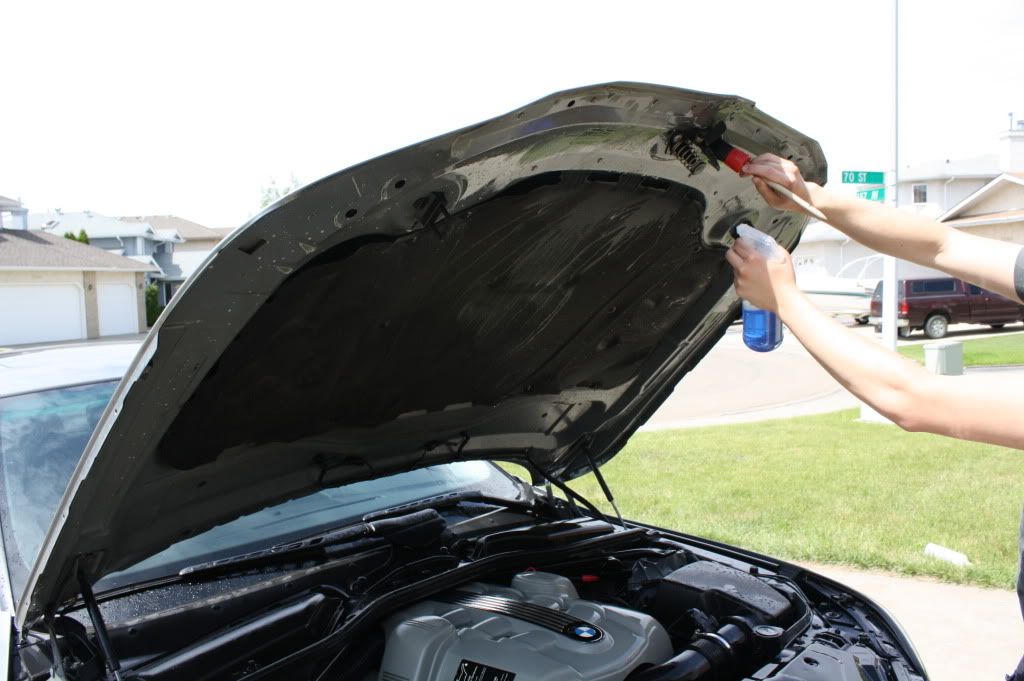
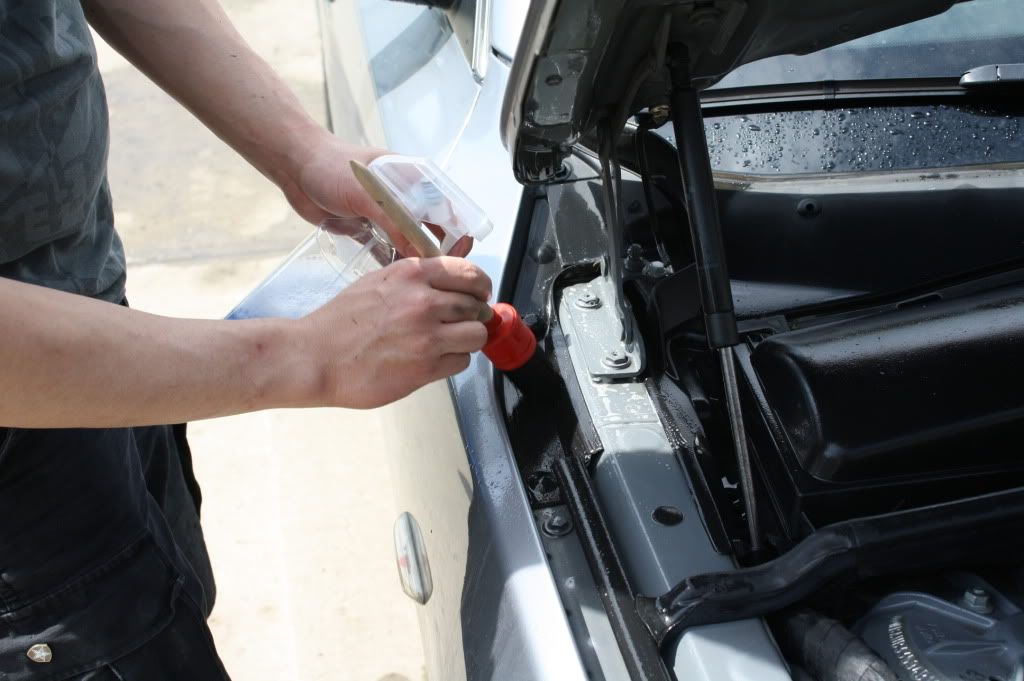
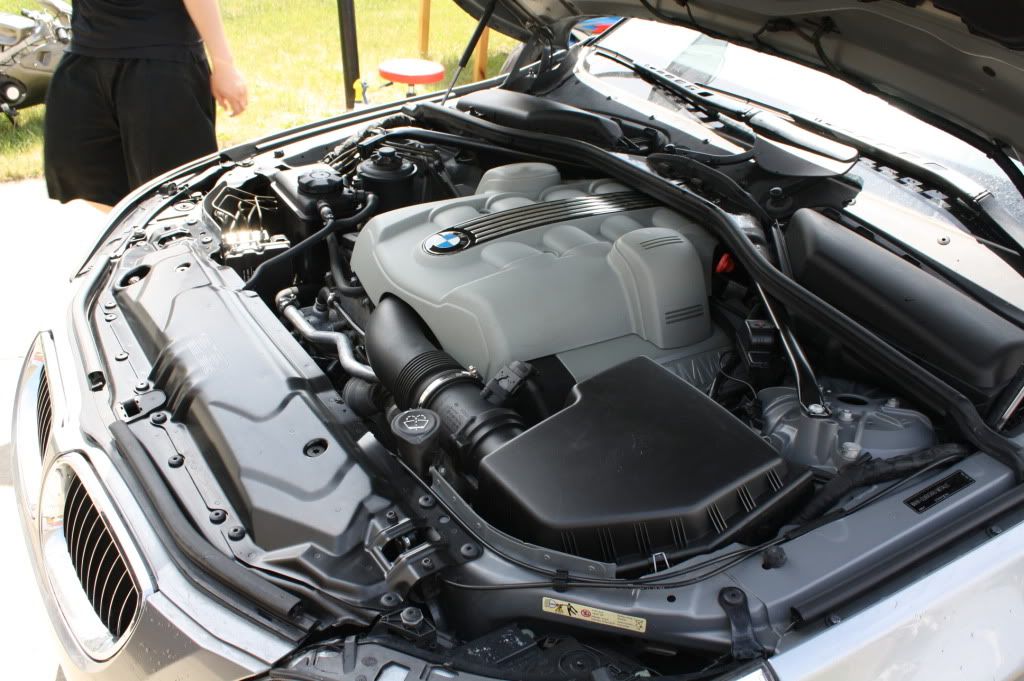
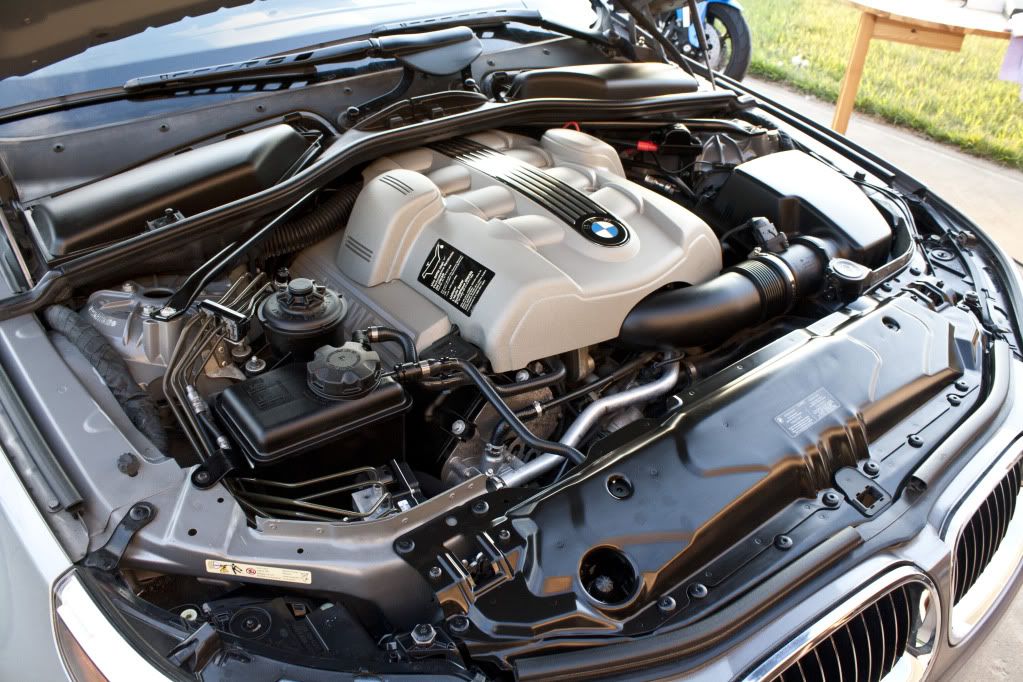
I got working on the engine bay using Grime Reaper at 5:1 and a variety of brushes:
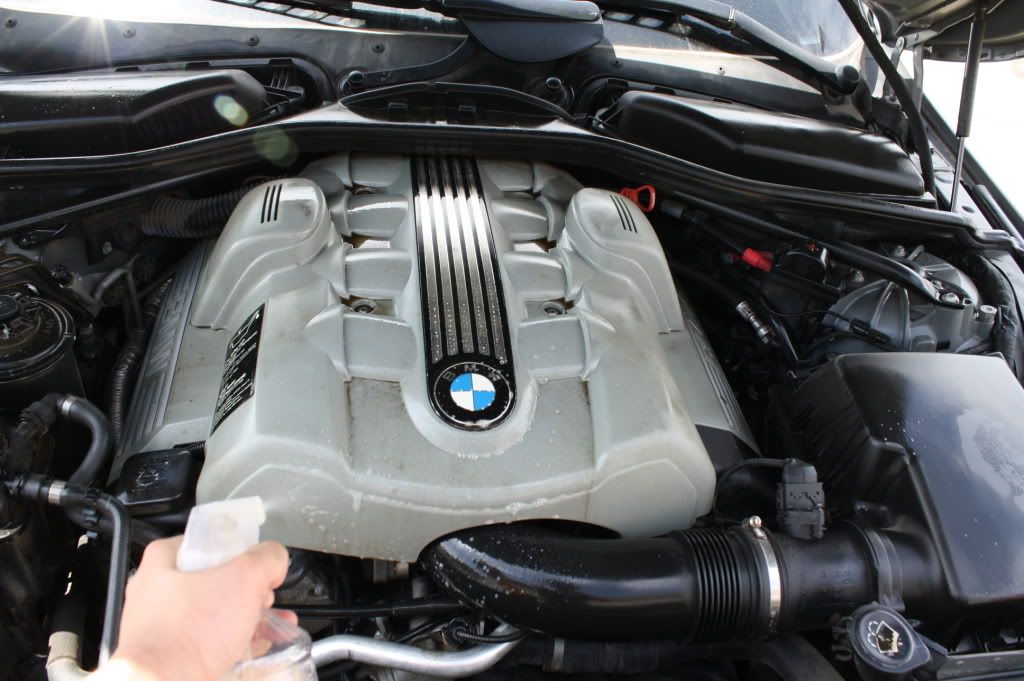
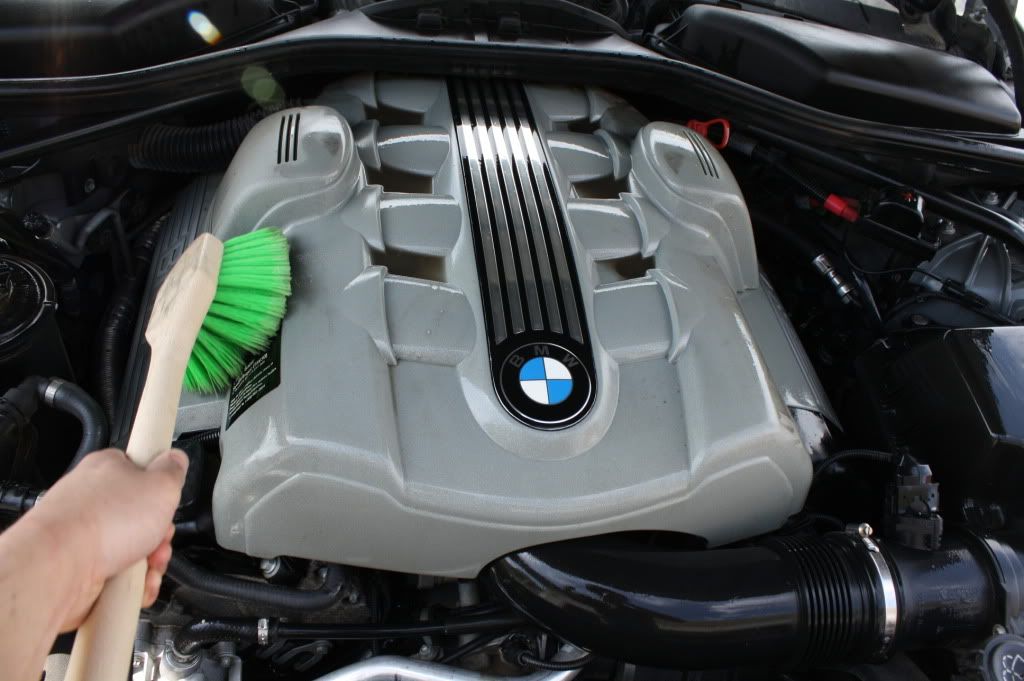
The entire engine bay was cleaned:

Cleaned:
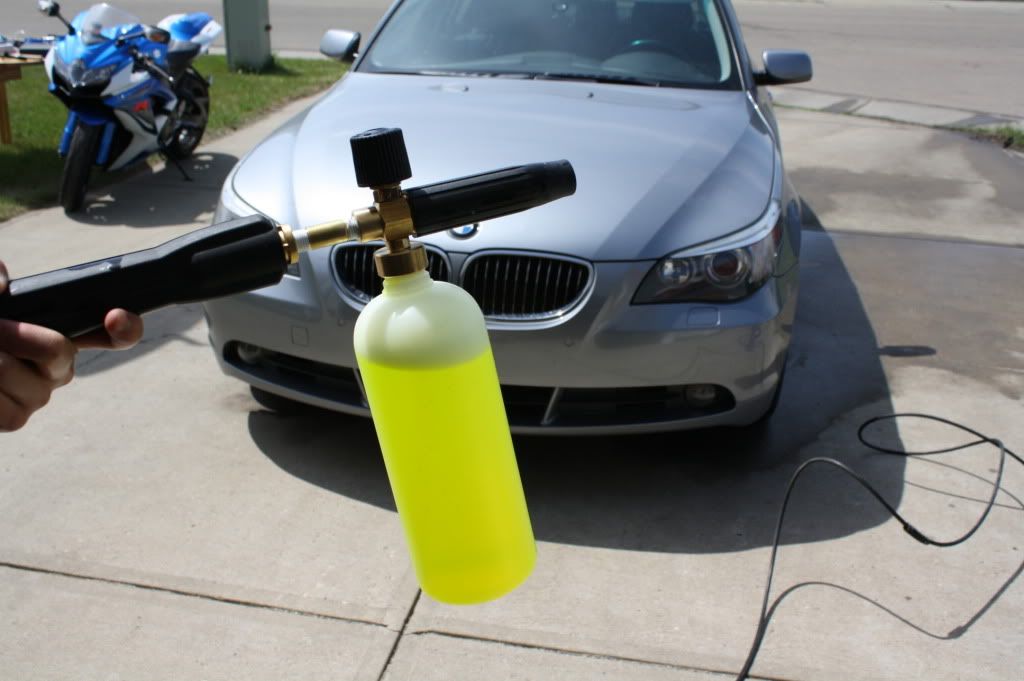
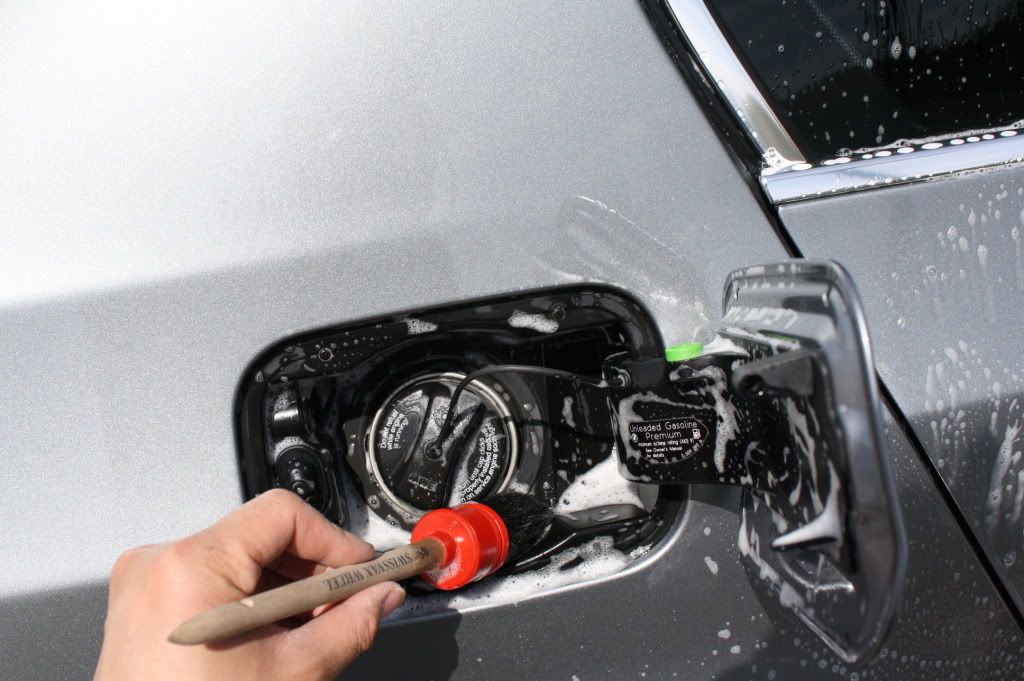
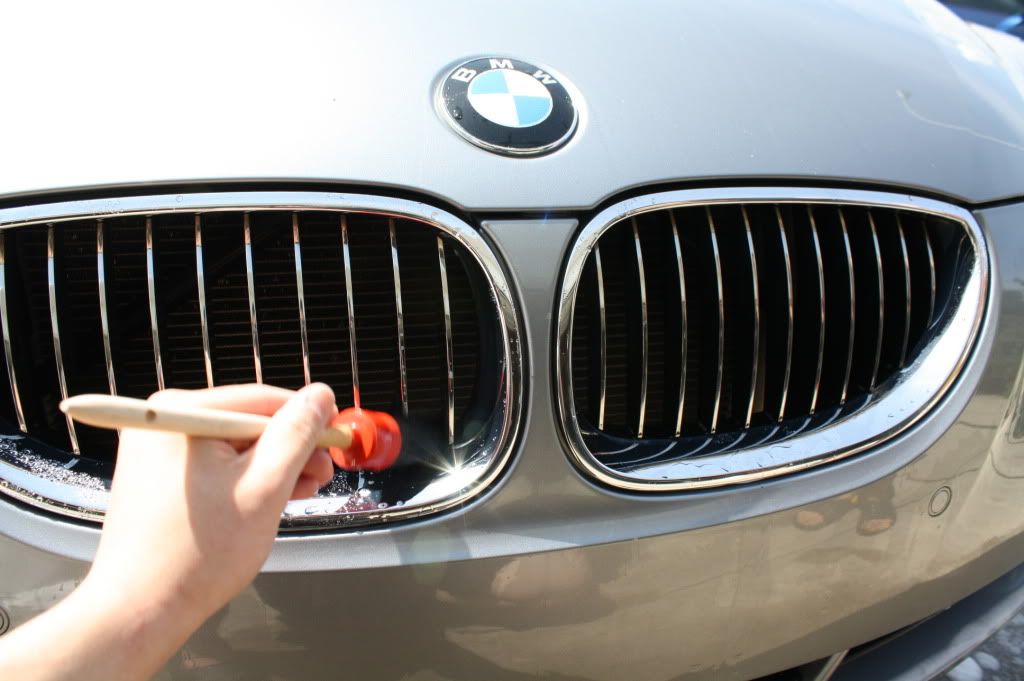
We then foamed the car using straight CG Citrus Wash n Gloss:
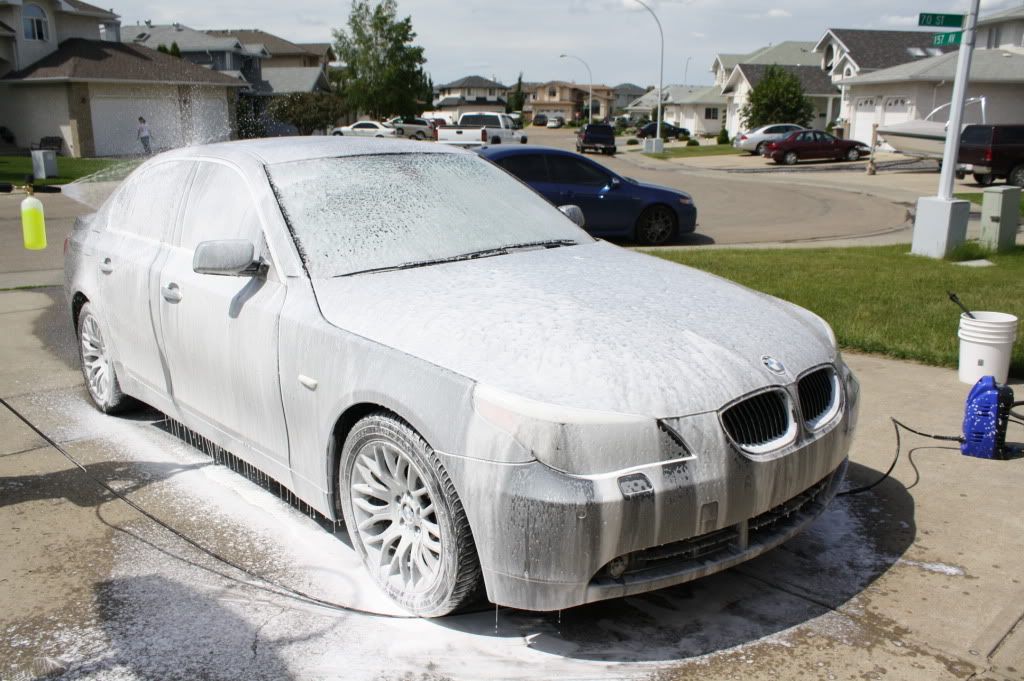
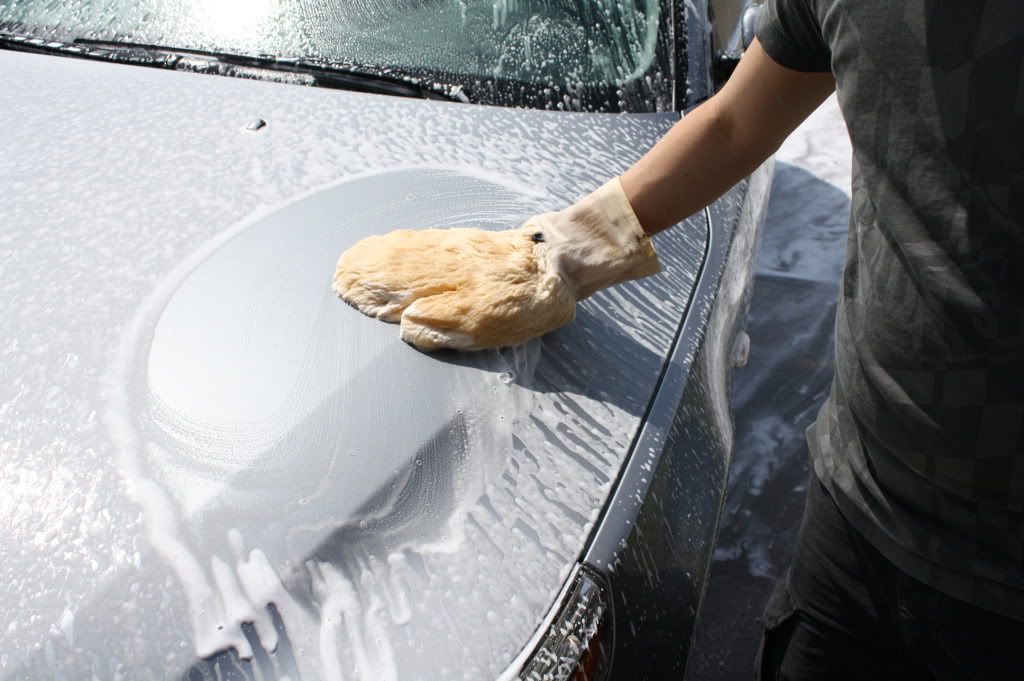
Using the suds for additional lubricity, I washed the car using CG Citrus Wash n Gloss and a sheepskin mitt:
Vince worked on the finer details:

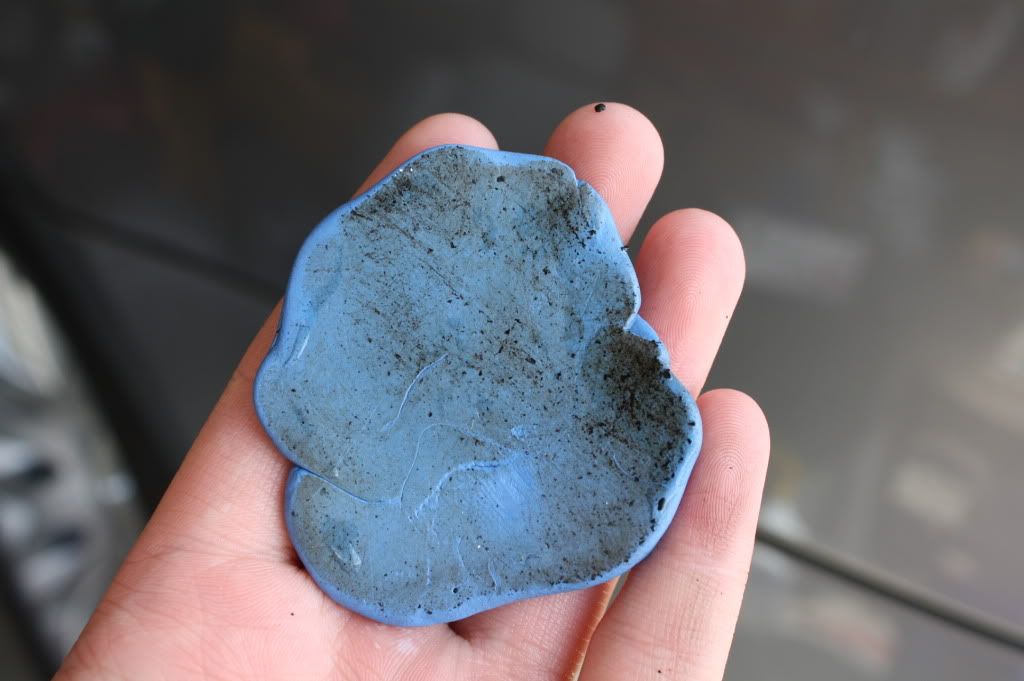
After the wash we brought the car into the garage and began claying:
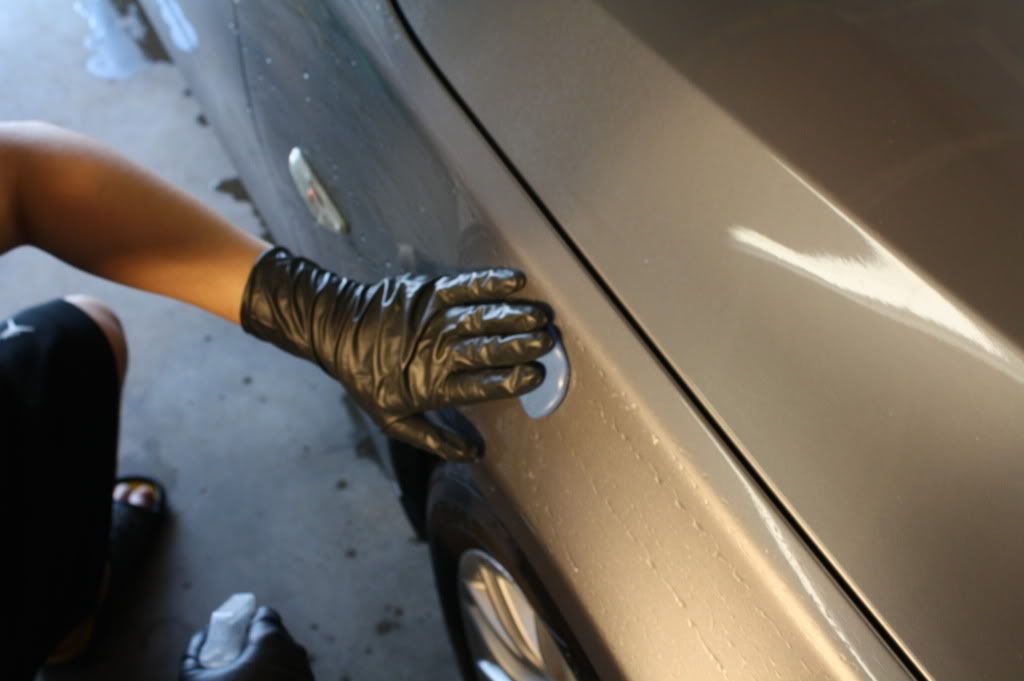
As you can see the car was heavily contaminated:

We should have used a Bug and Tar remover on the rocker panels during the wash, Yikes!!:
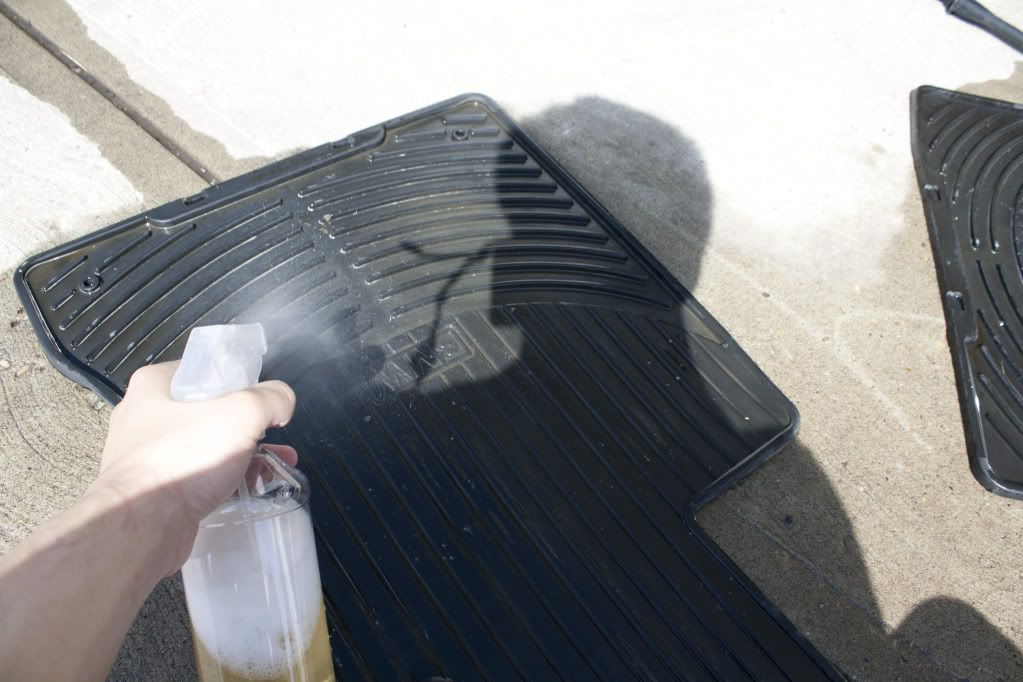
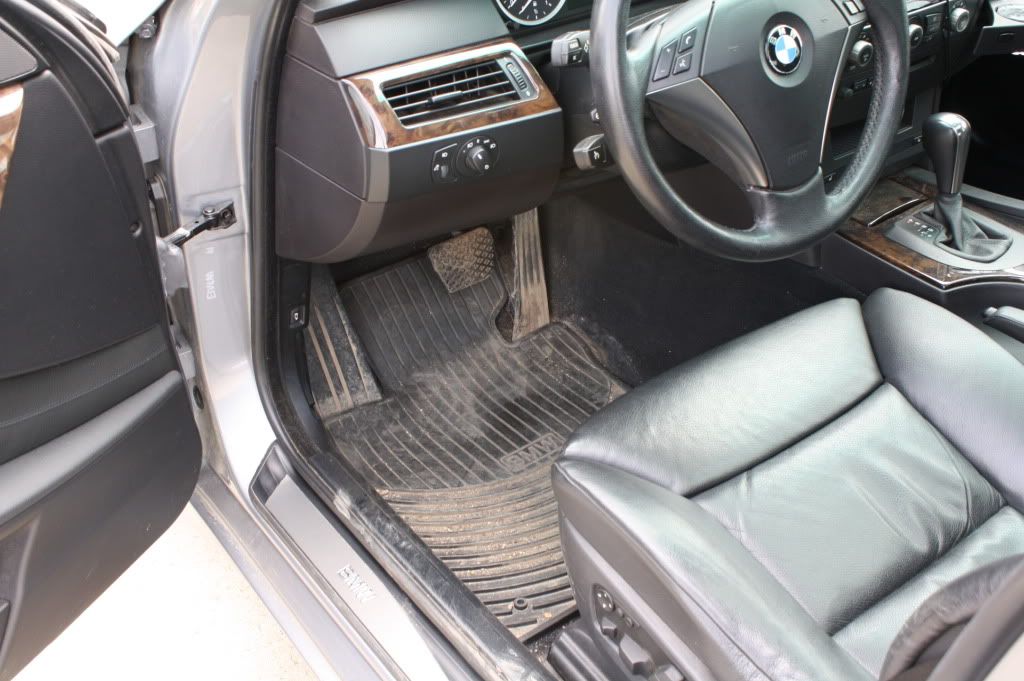
While Vince began taping I started on the interior, beginning with the floor mats. I used Meguiars All Purpose Cleaner Plus at 1:10 Dilution:
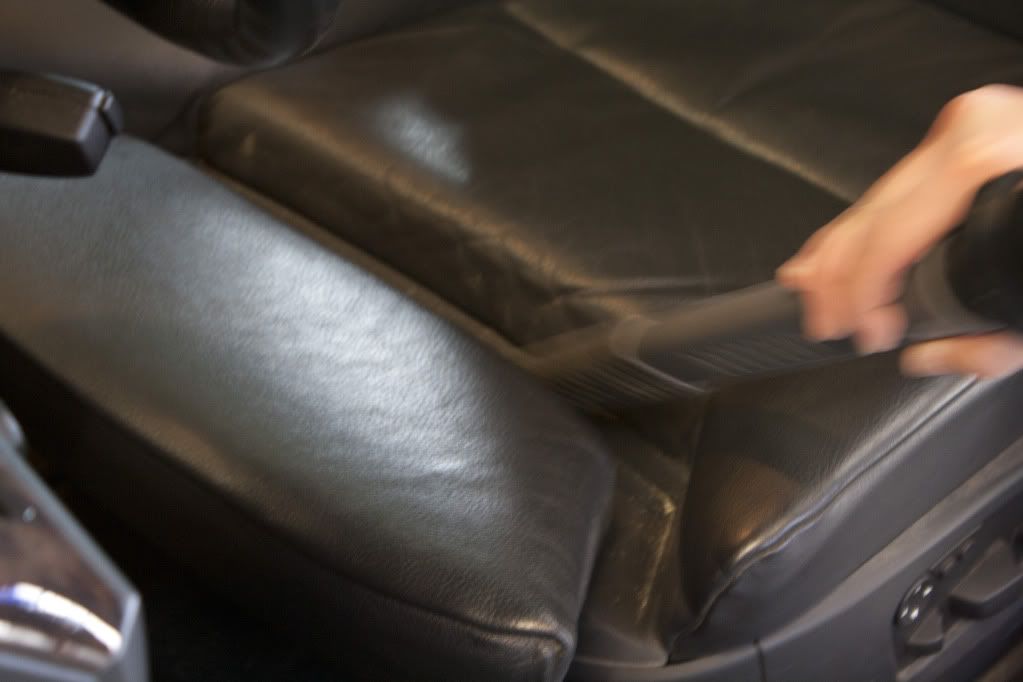
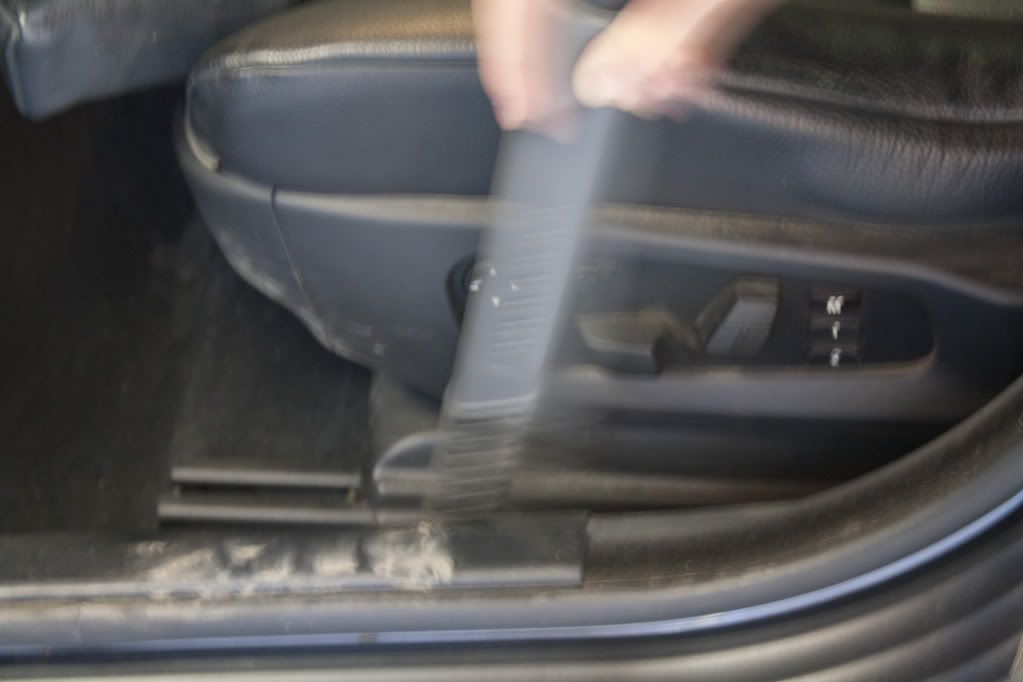
While they dried I began vacuuming the interior:
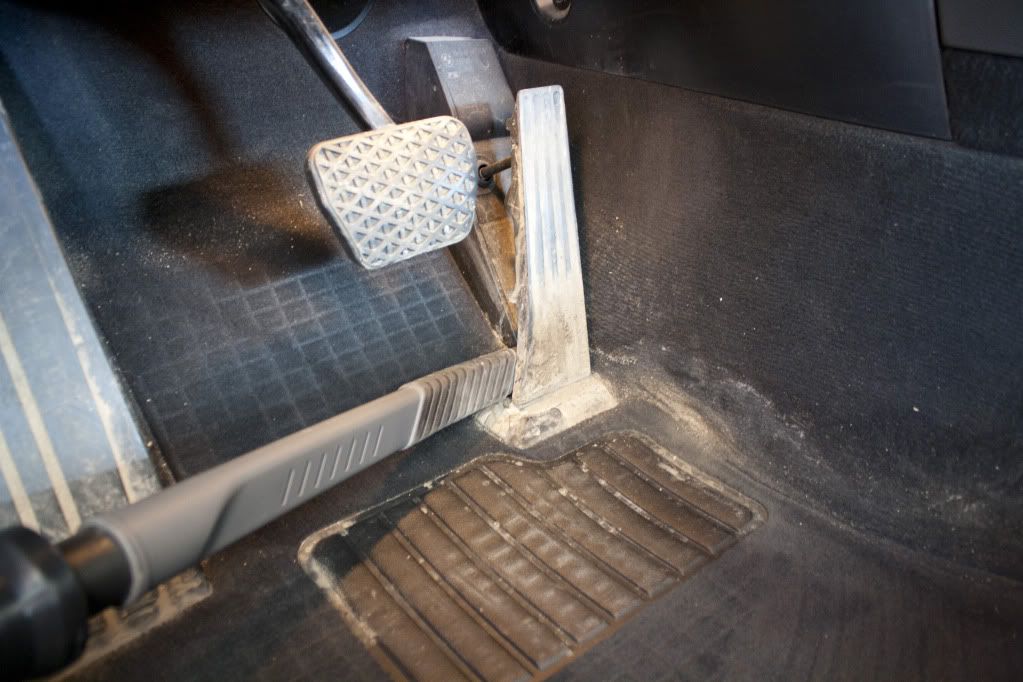
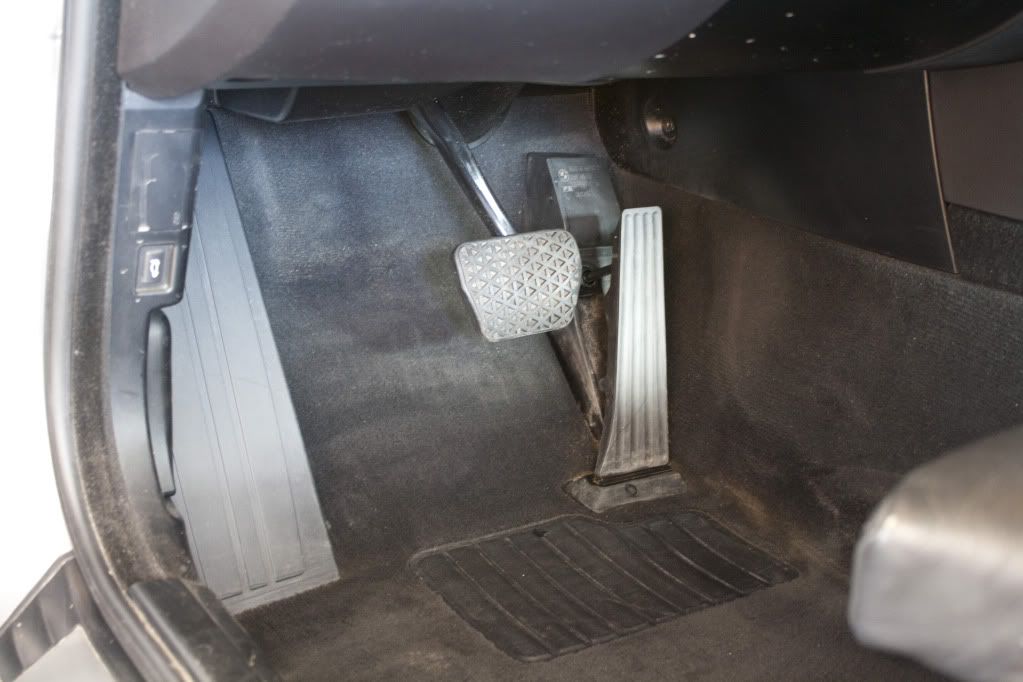
There seemed to be a truck load of rocks/debris behind the accelerator pedal:
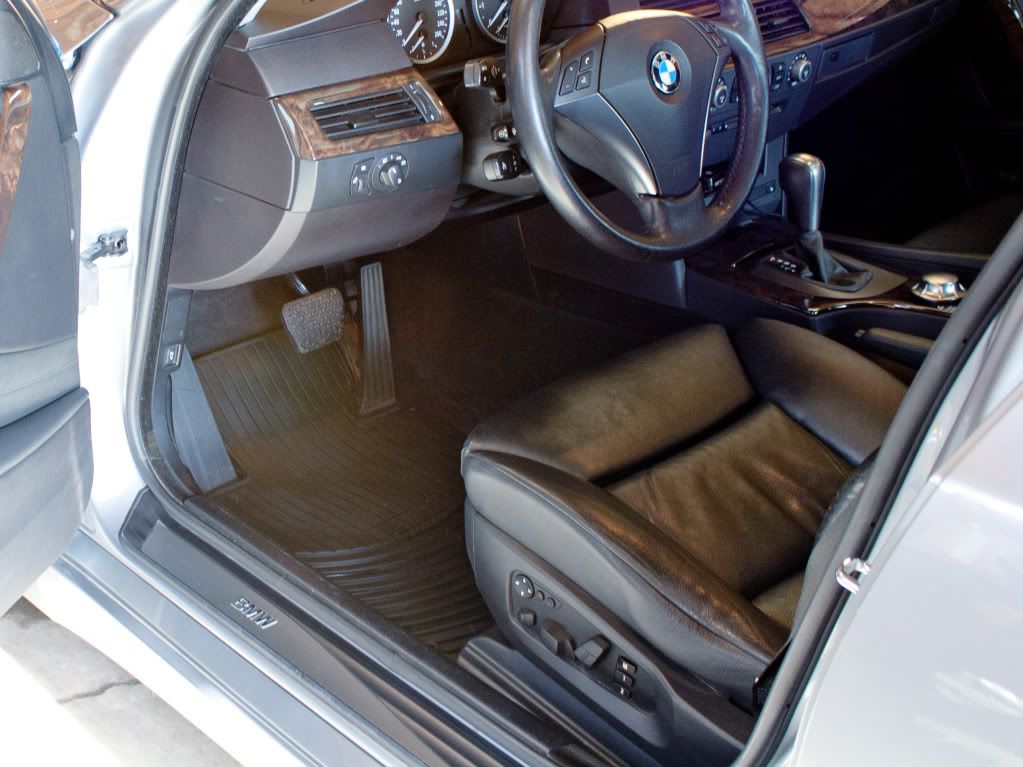
After a quick clean using a tooth brush and Meguiars APC+:
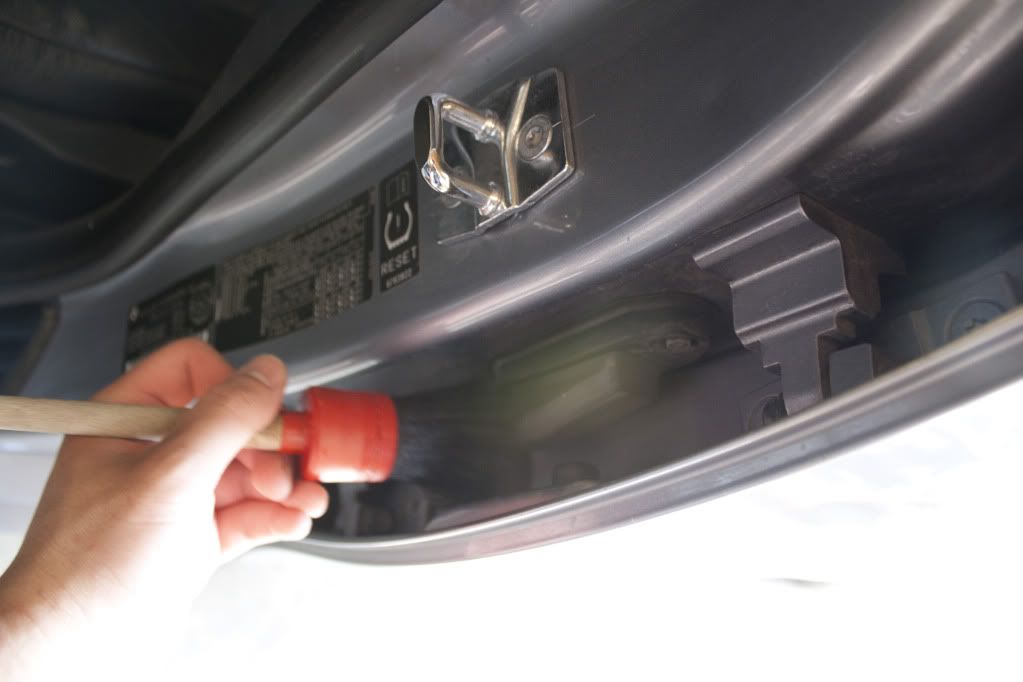
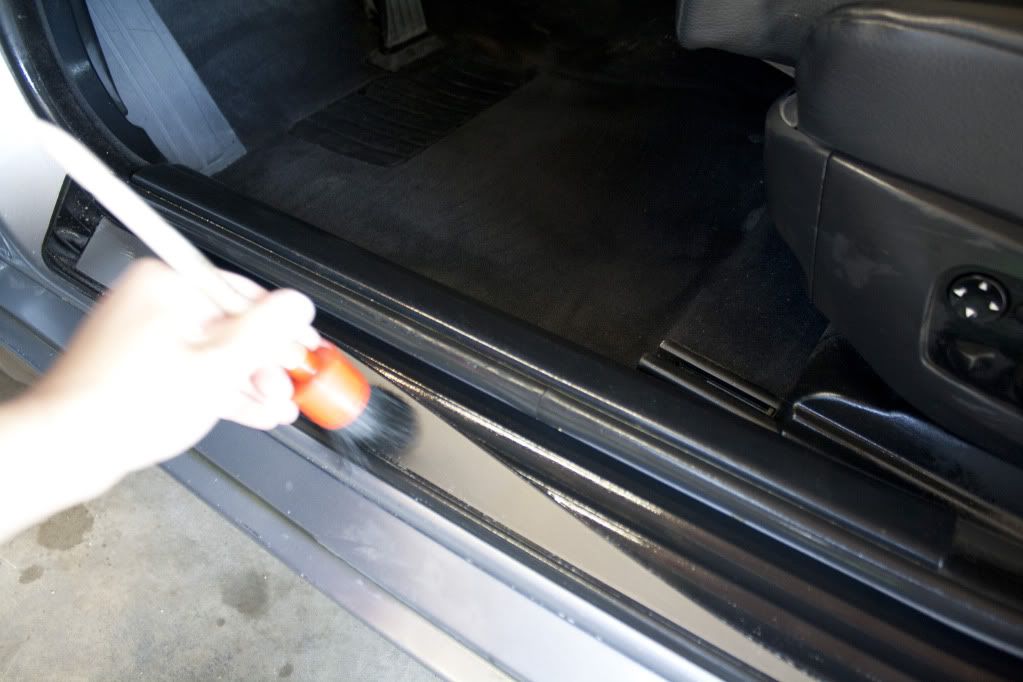
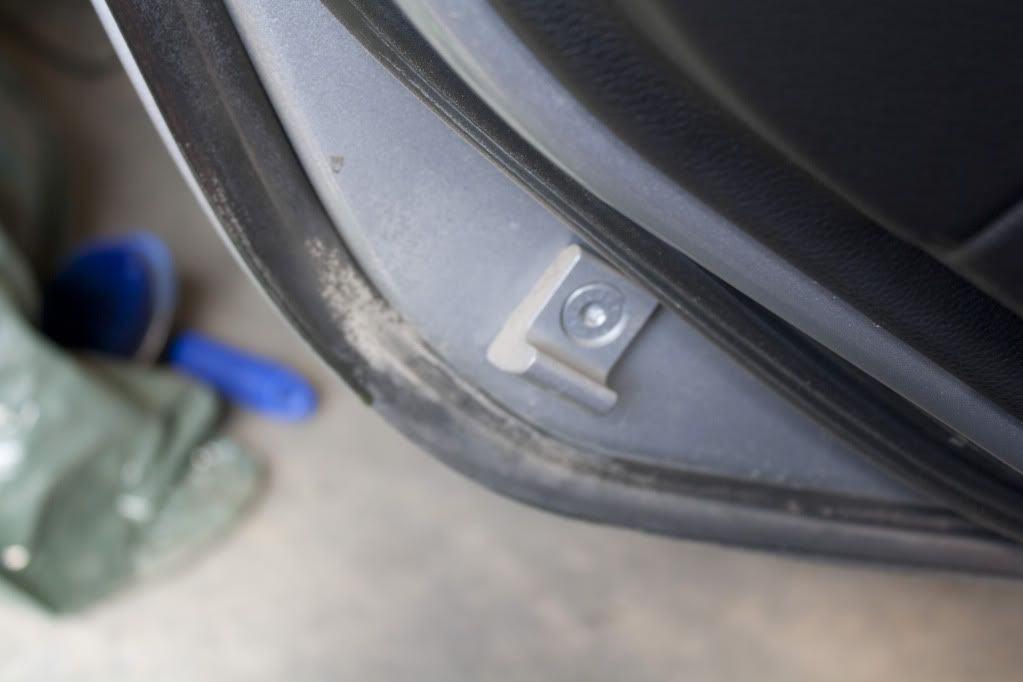
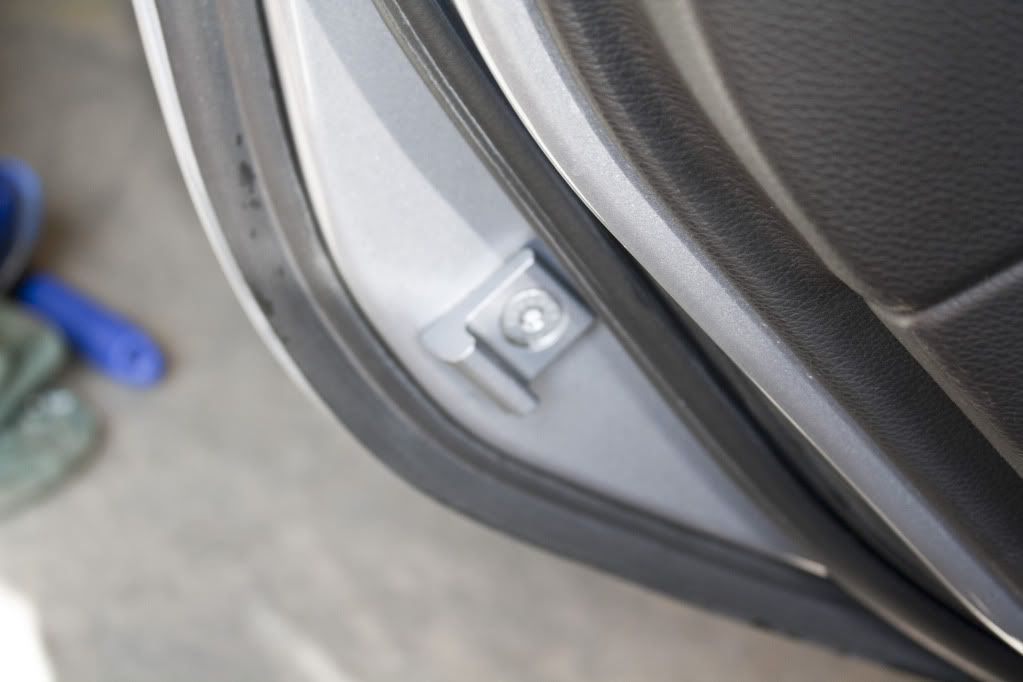
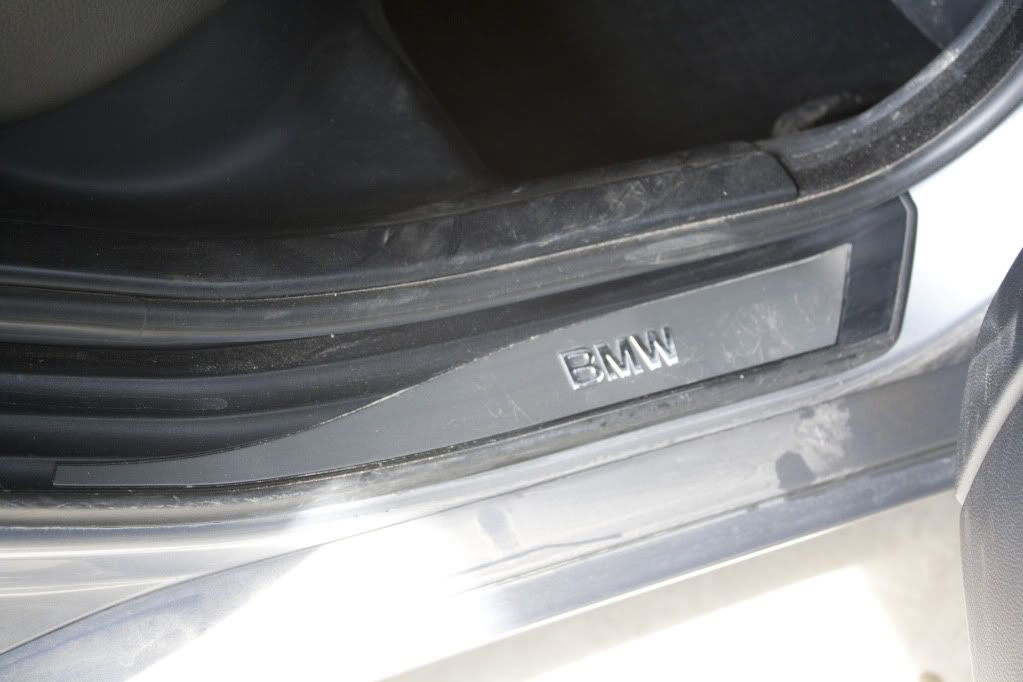
Door jams and surrounding areas were cleaned as well:
A few before/afters:
Before:
After:
Before:
After:
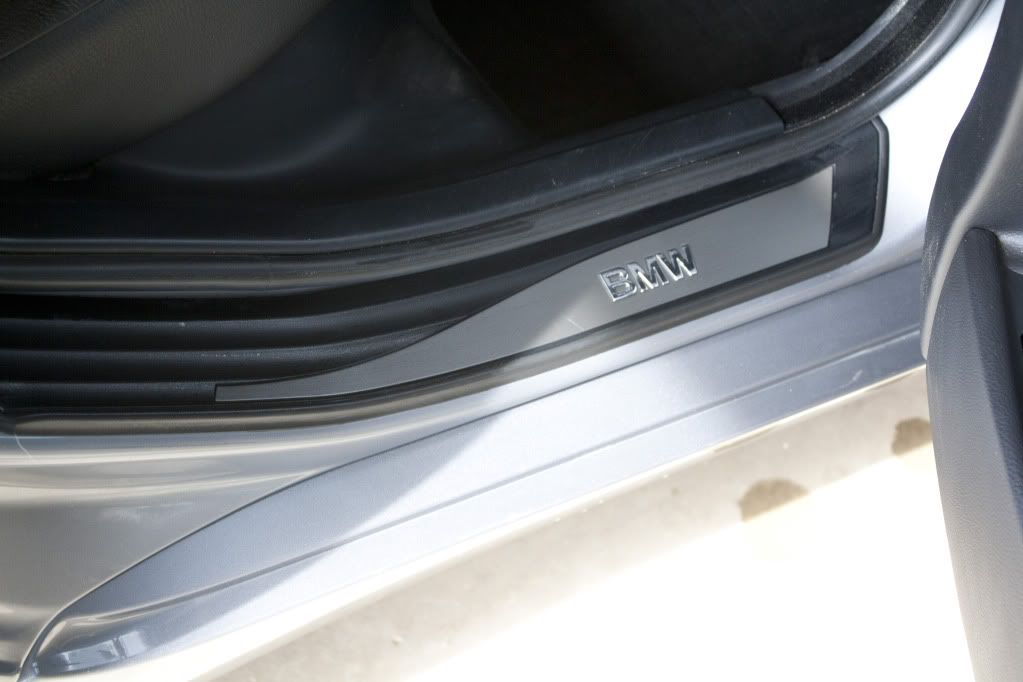
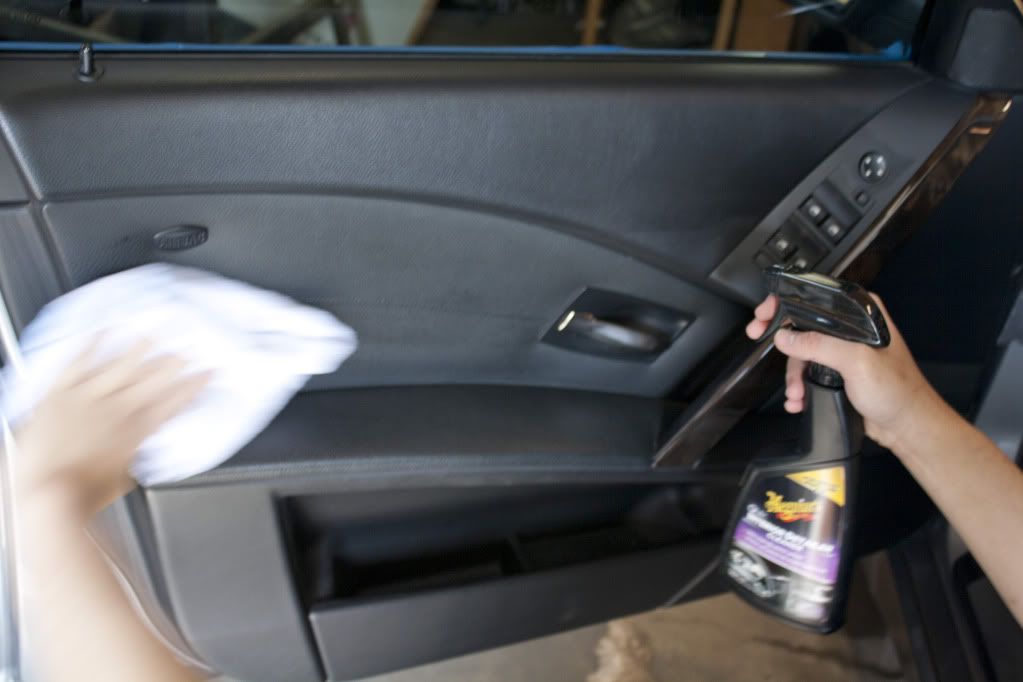
Meguiar's Quick Interior Detailer is now one of my favorite go-to products for interior trim as it cleans yet leaves no greasy dressing behind. Instead it leaves a stock matte finish look with a nice scent as a bonus:
Looks straight from the factory:
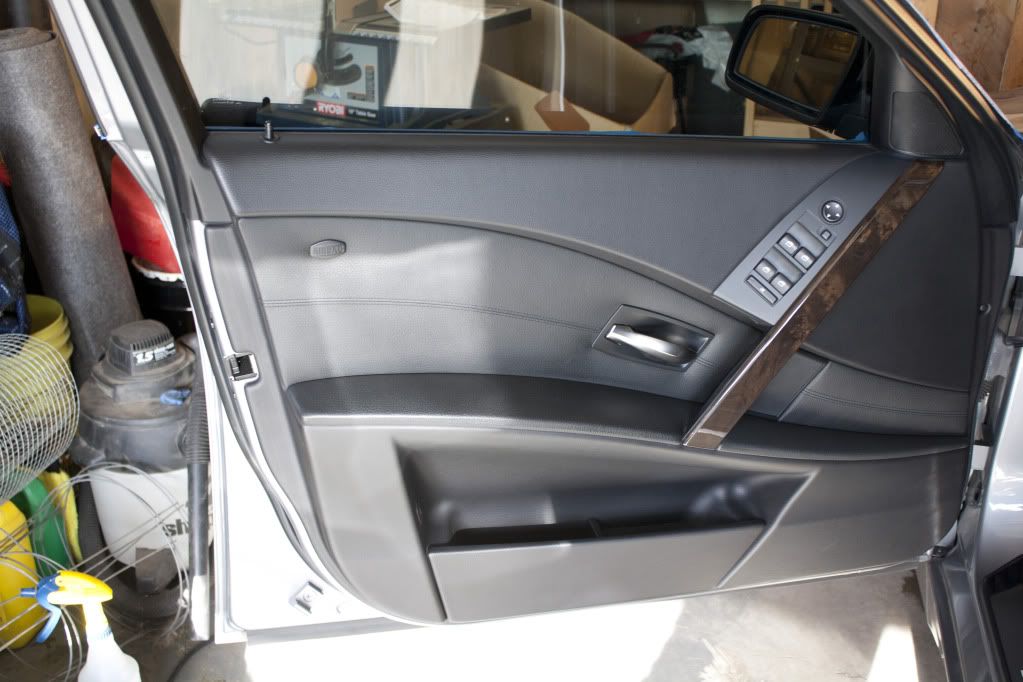
Interior completed:

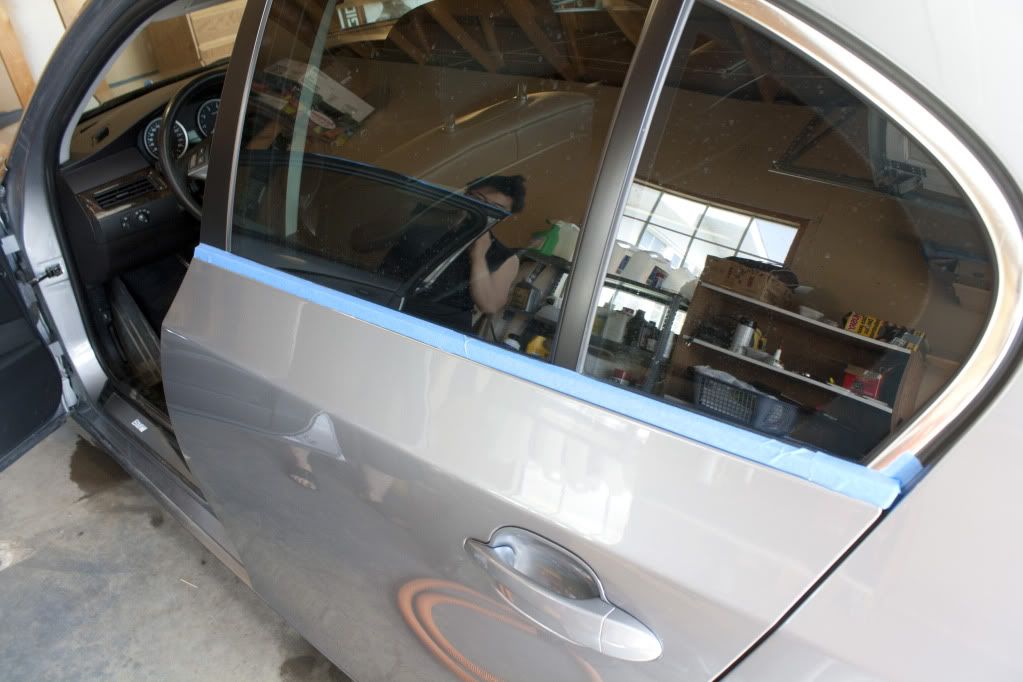
Vince showing off his tape job, although Vince is a very skilled detailer, his taping skills are mediocre at best:
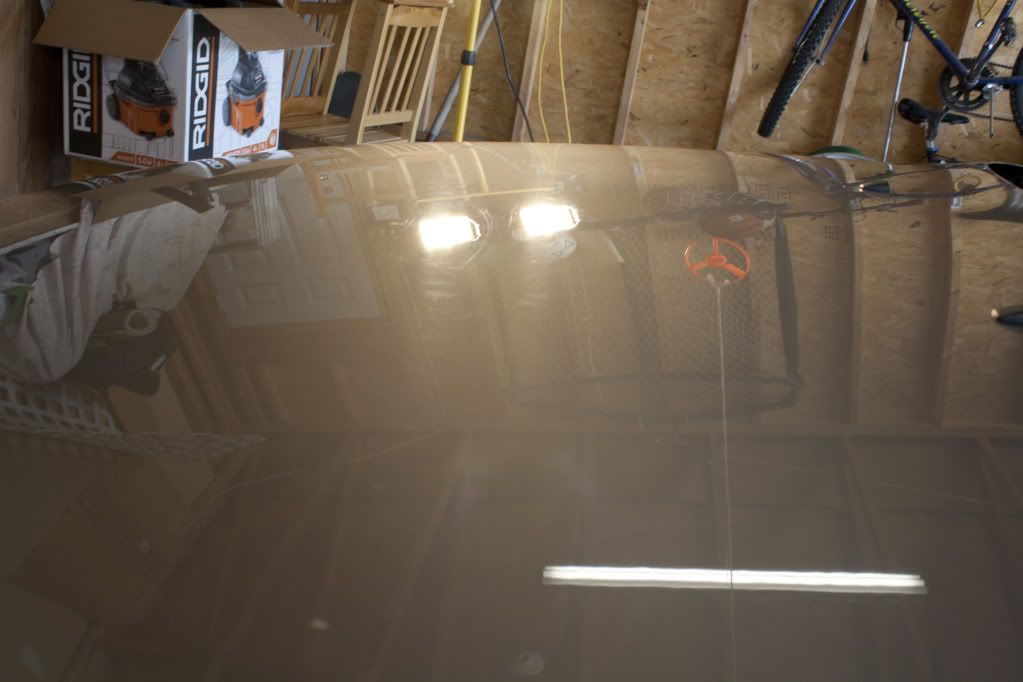
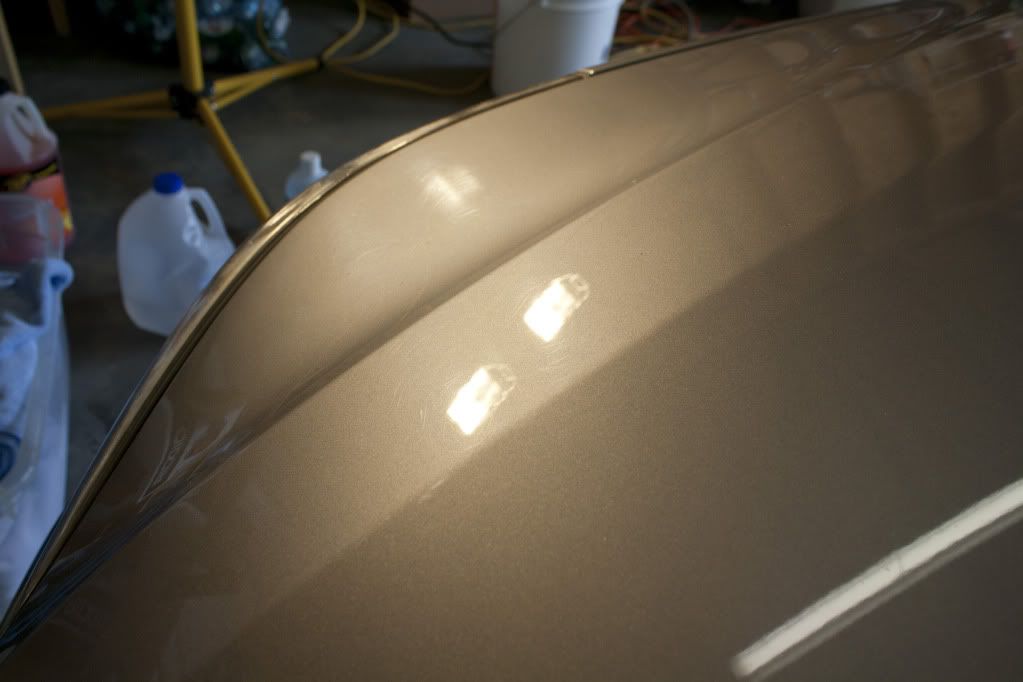
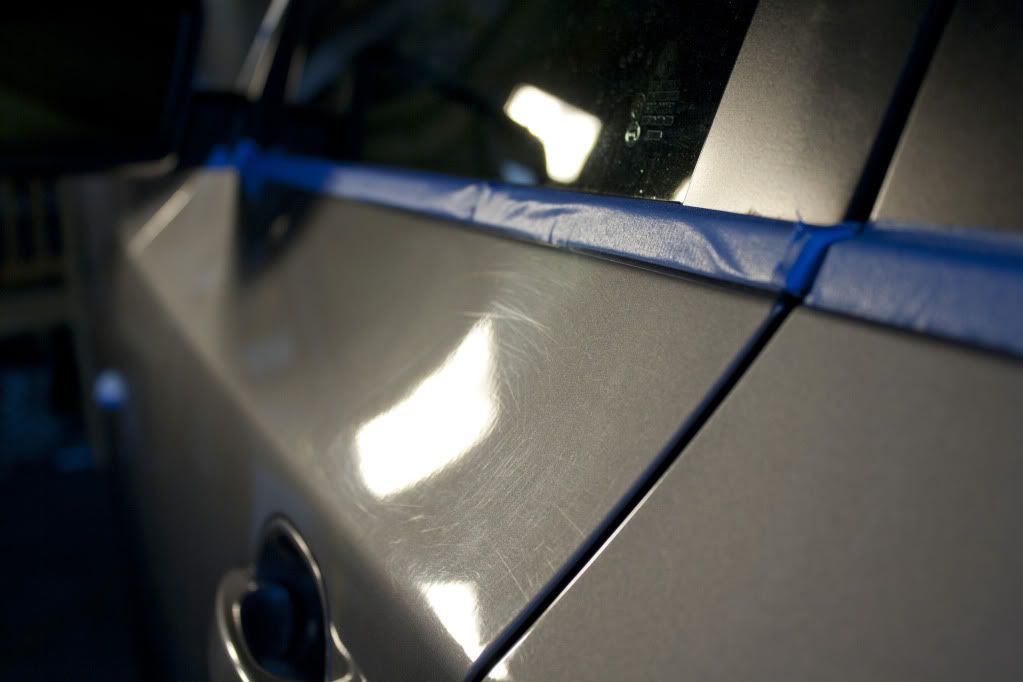
Initial paint inspection:
Plenty of holograms and deep RID's:
The Test:
My father was concerned with the idea of removing large amounts of clearcoat so we agreed deep RID's would be ignored as he would be happy with a 70% paint correction.
Armed with the knowledge that BMW has hard paint (Their black being an exception) we went with Meguiars M105 on a LC Orange pad for the compounding stage and finished with M205 on a LC White pad for the finishing stage.
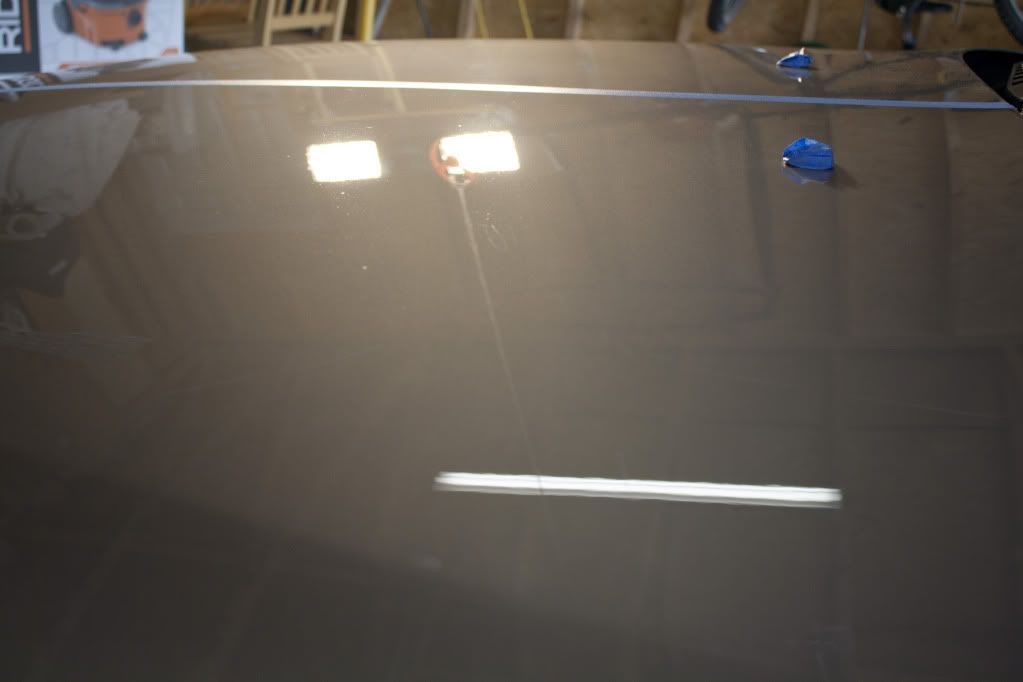
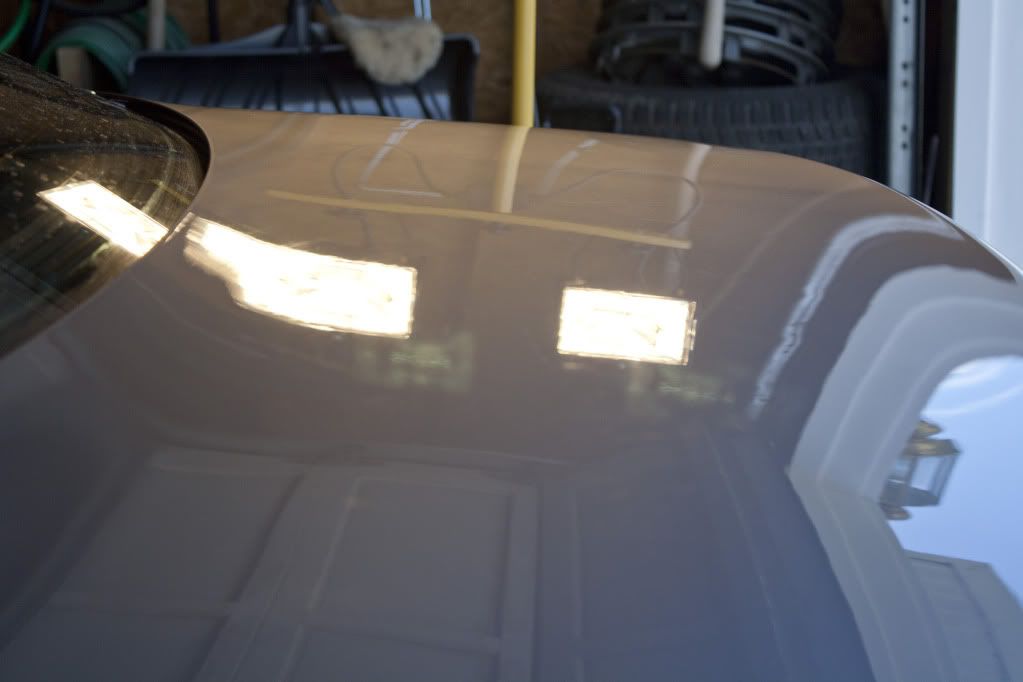
Hood before:
After:

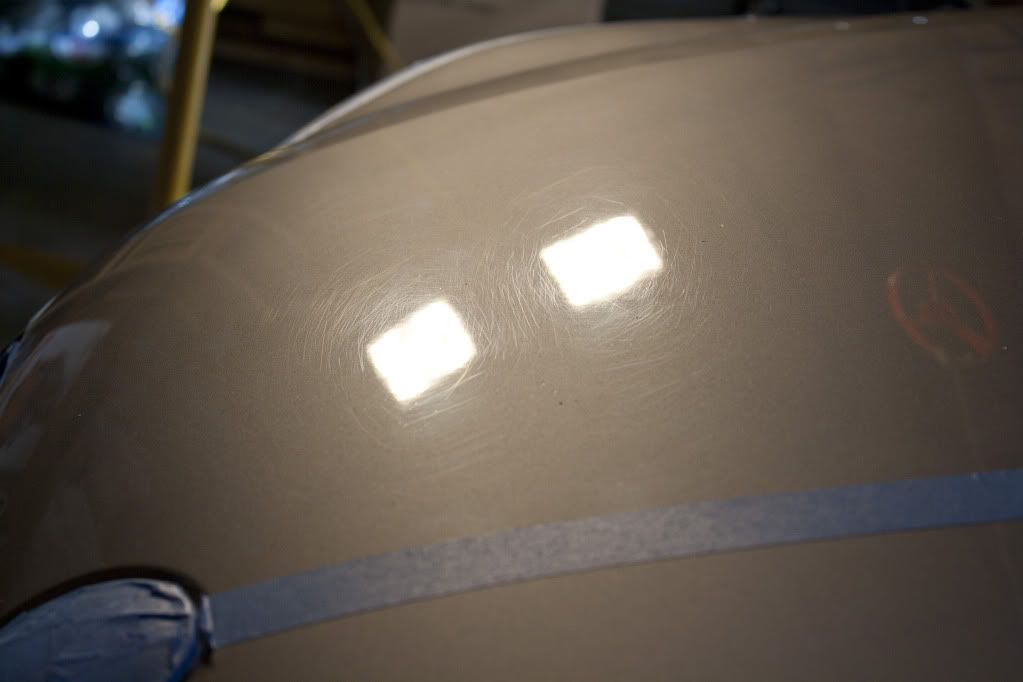
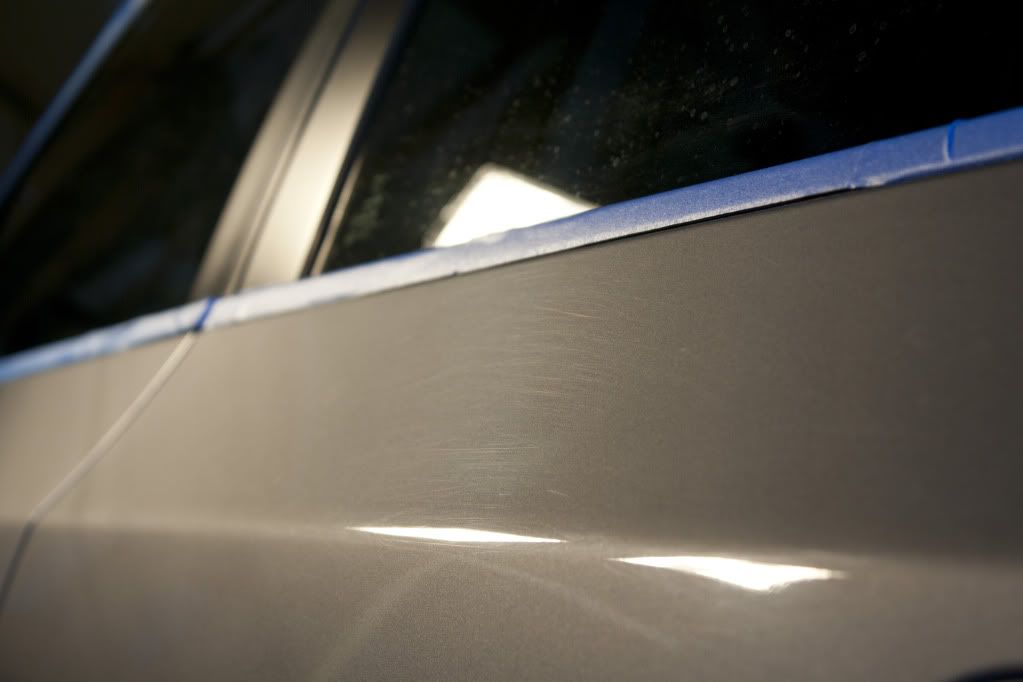
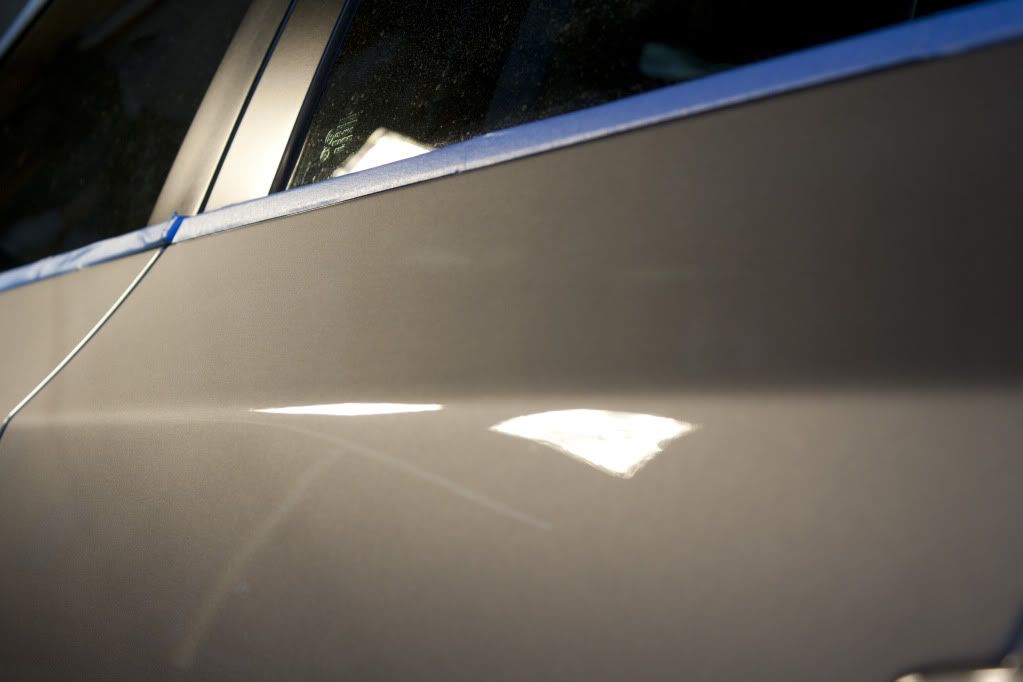
Passenger side rear door before (note the holograms):
After:
Trunk Before:

After:
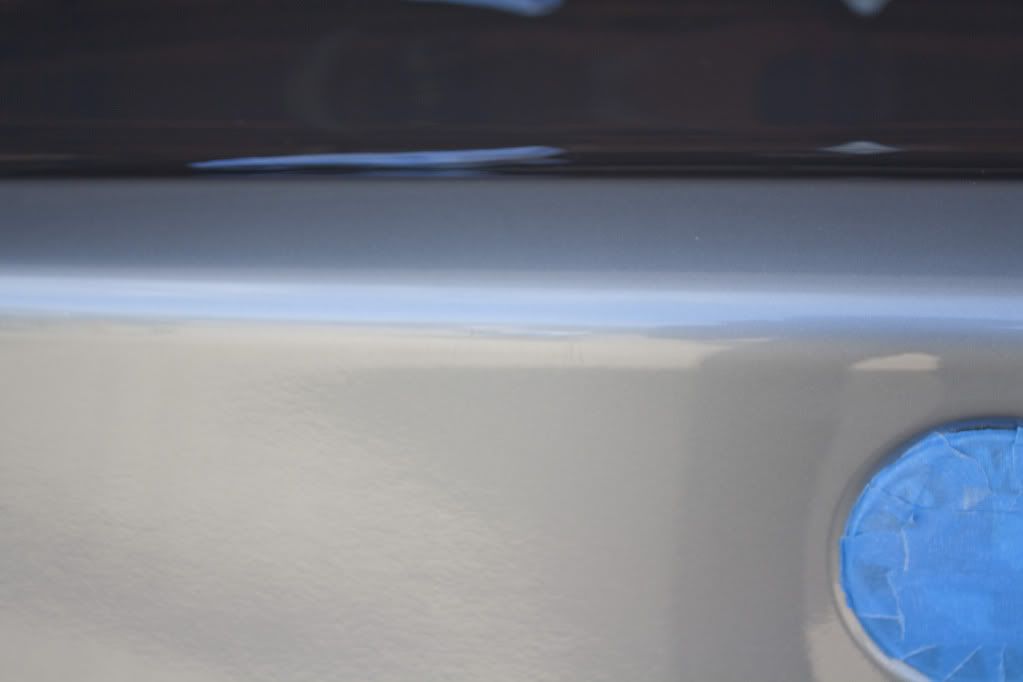
Nasty scuff on the trunk lid:
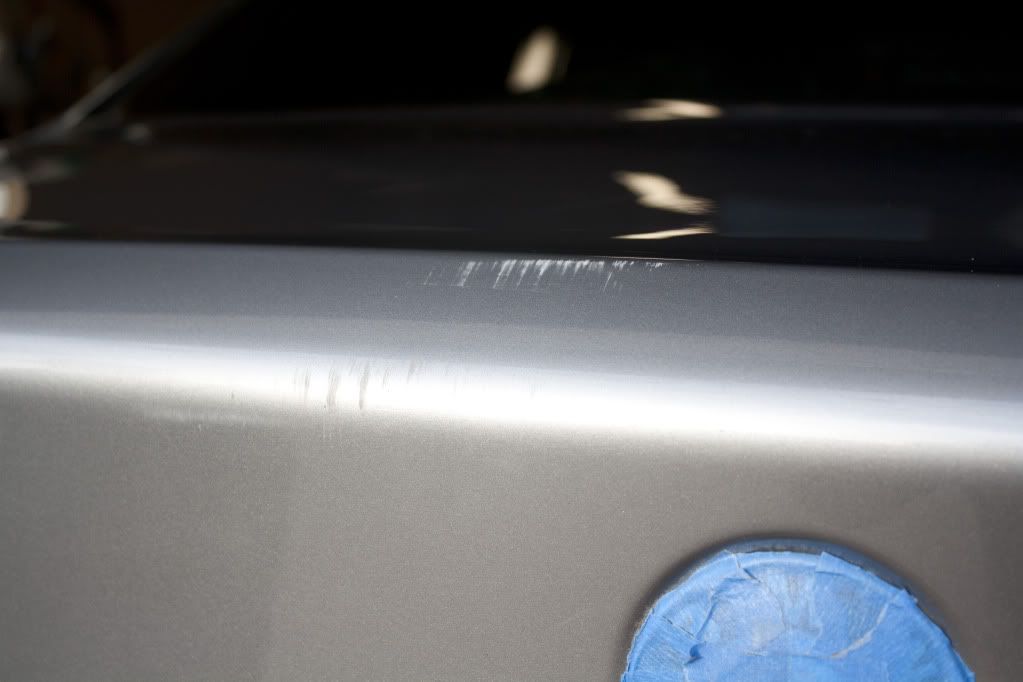
After a few passes with M105:
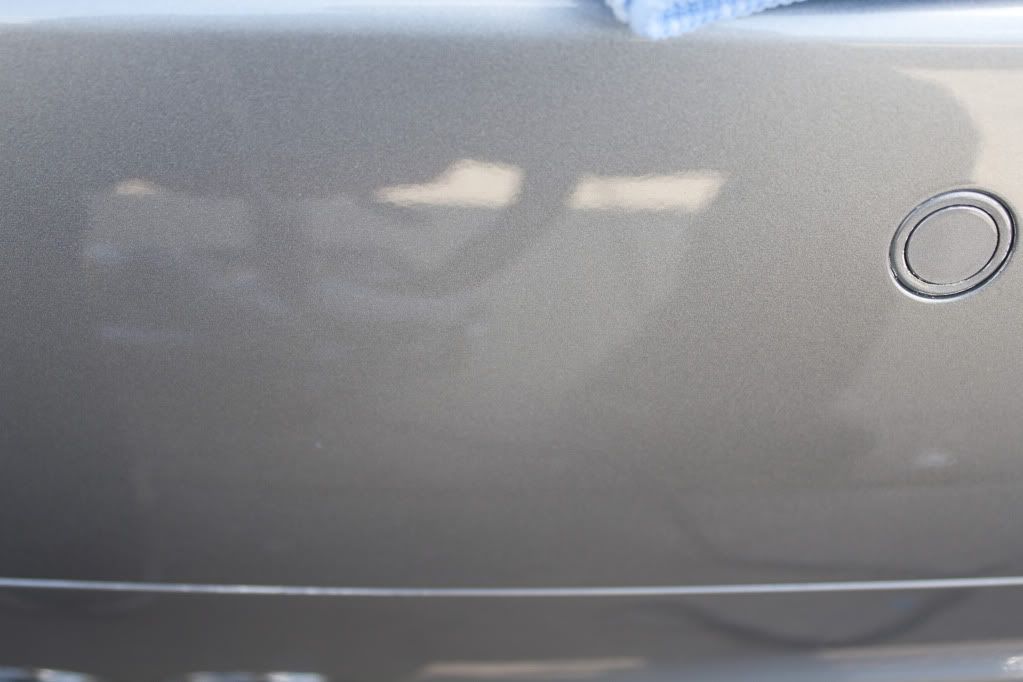
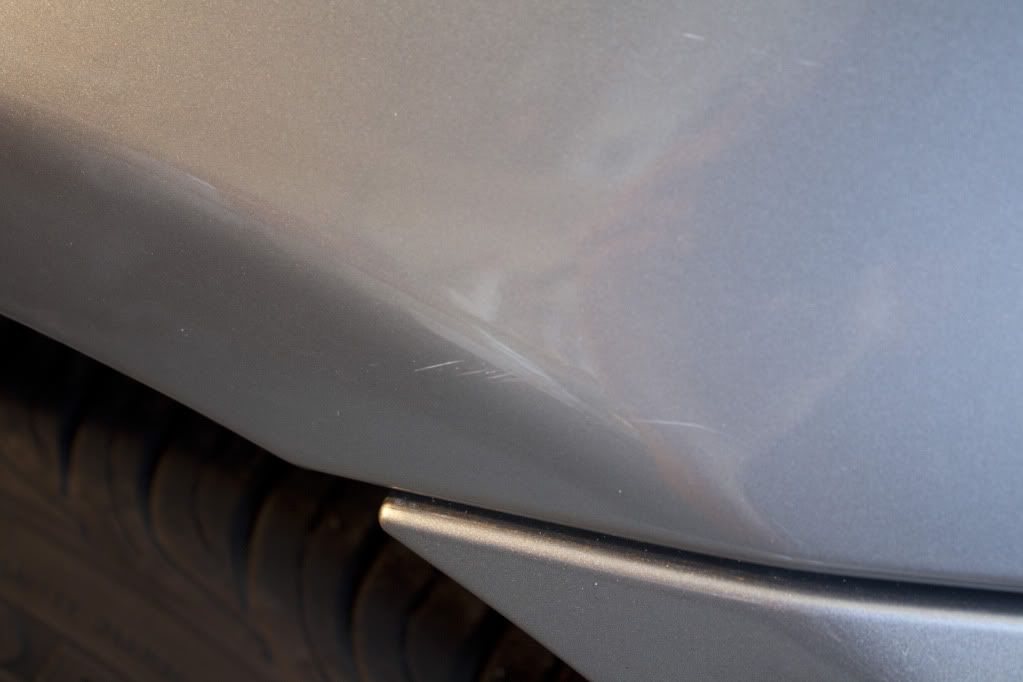
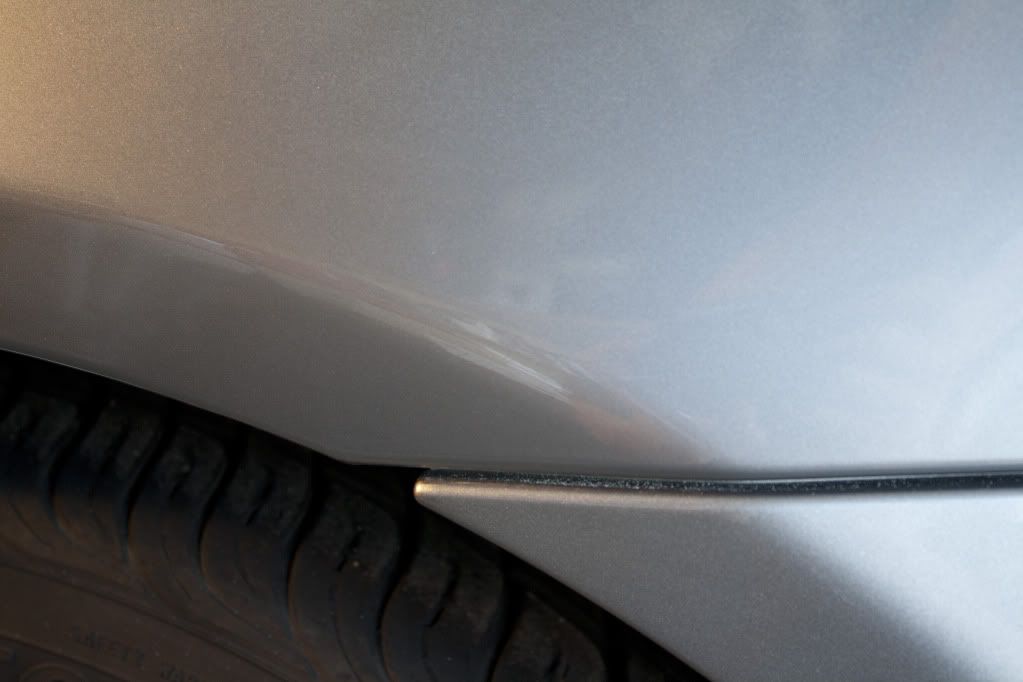
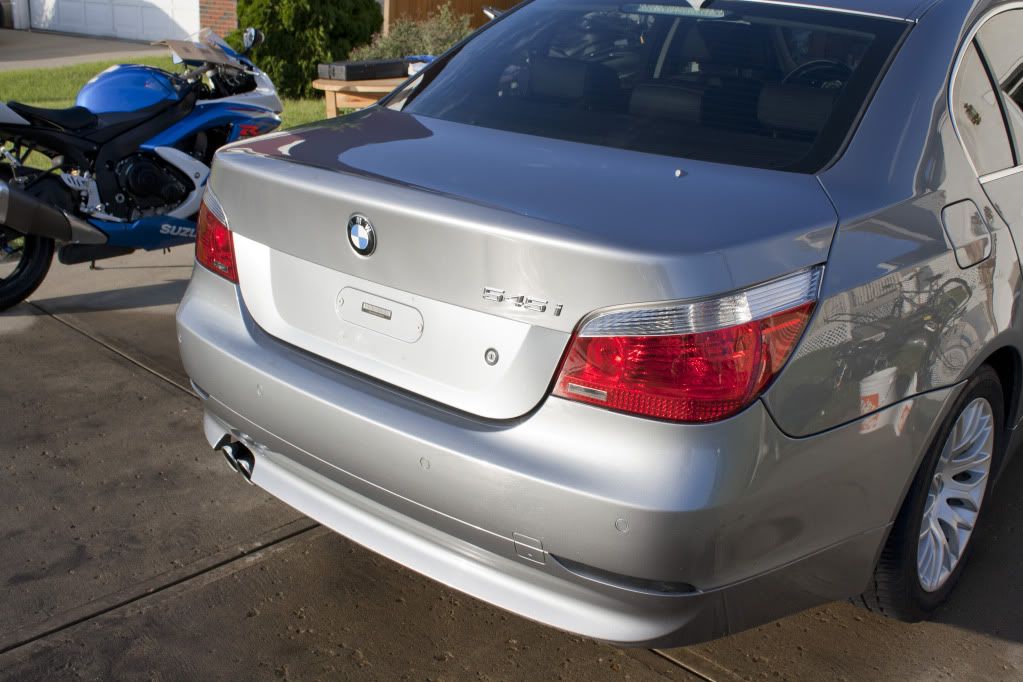
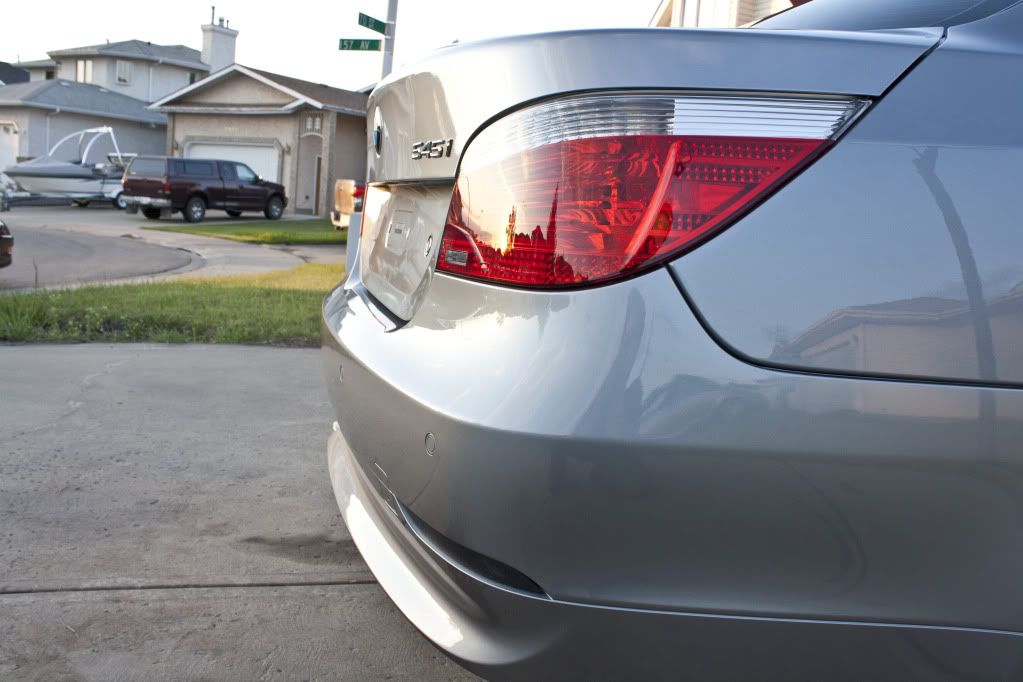
Minor scuffing on the rear bumper:
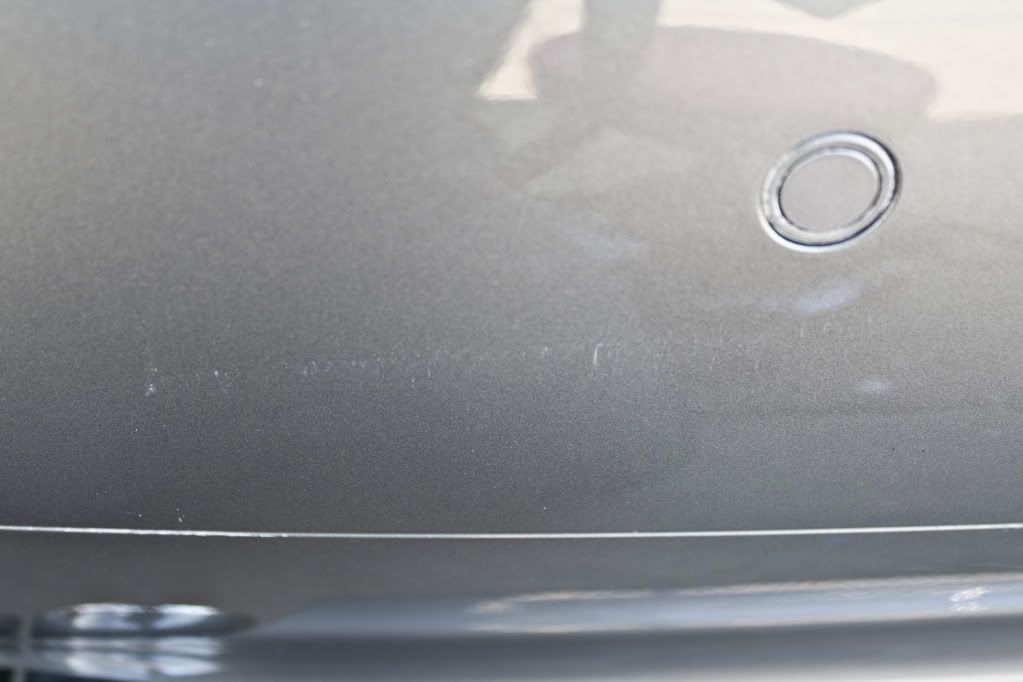
After:
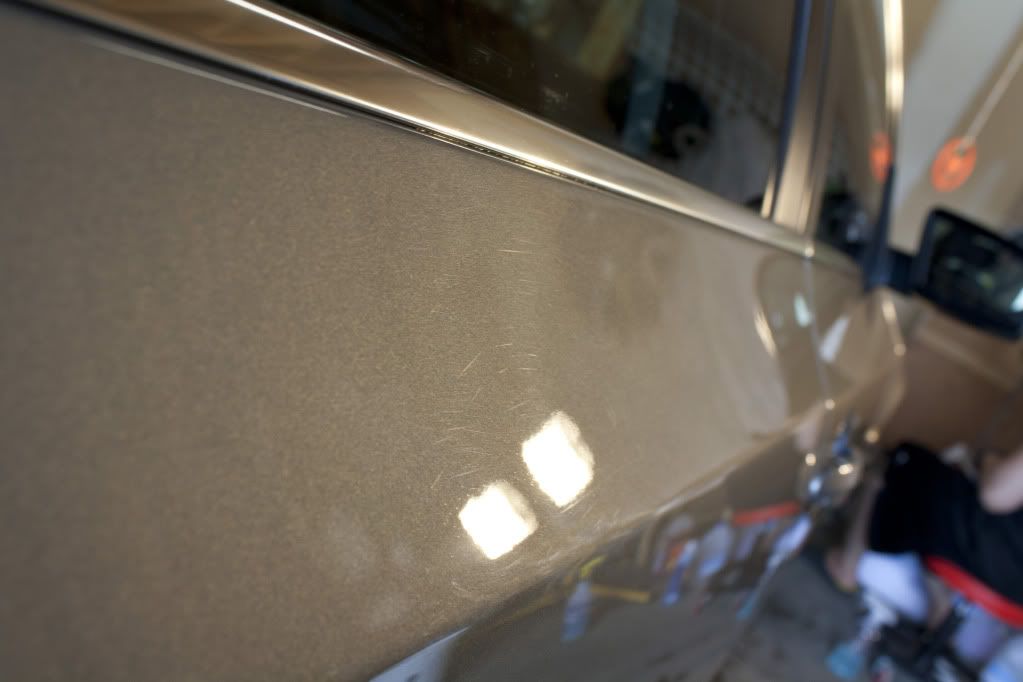
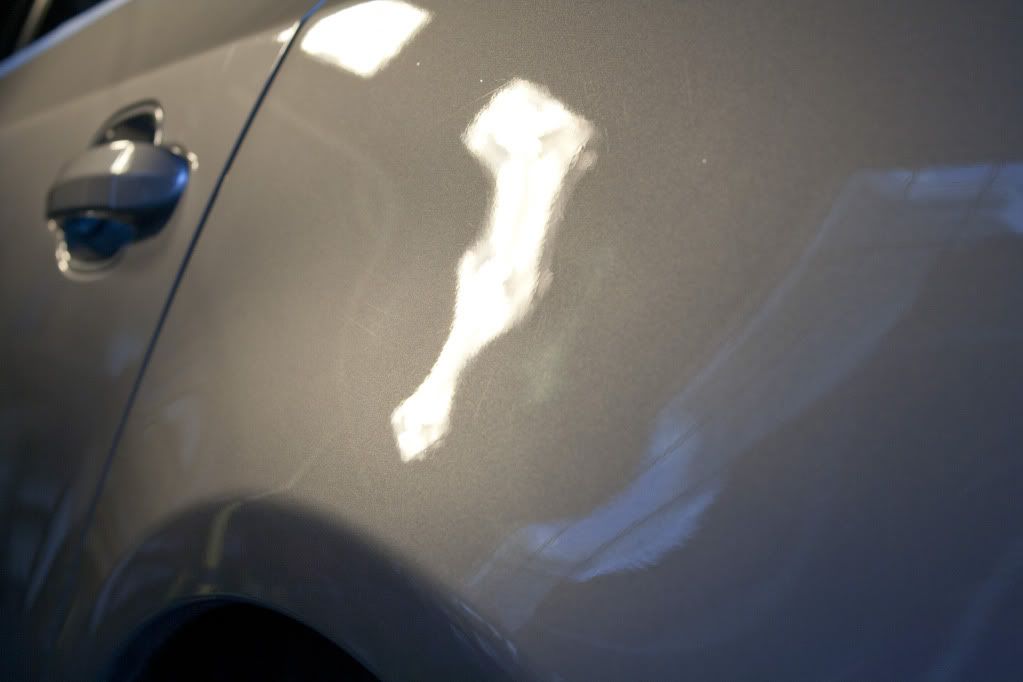
Rear quarter panel before:
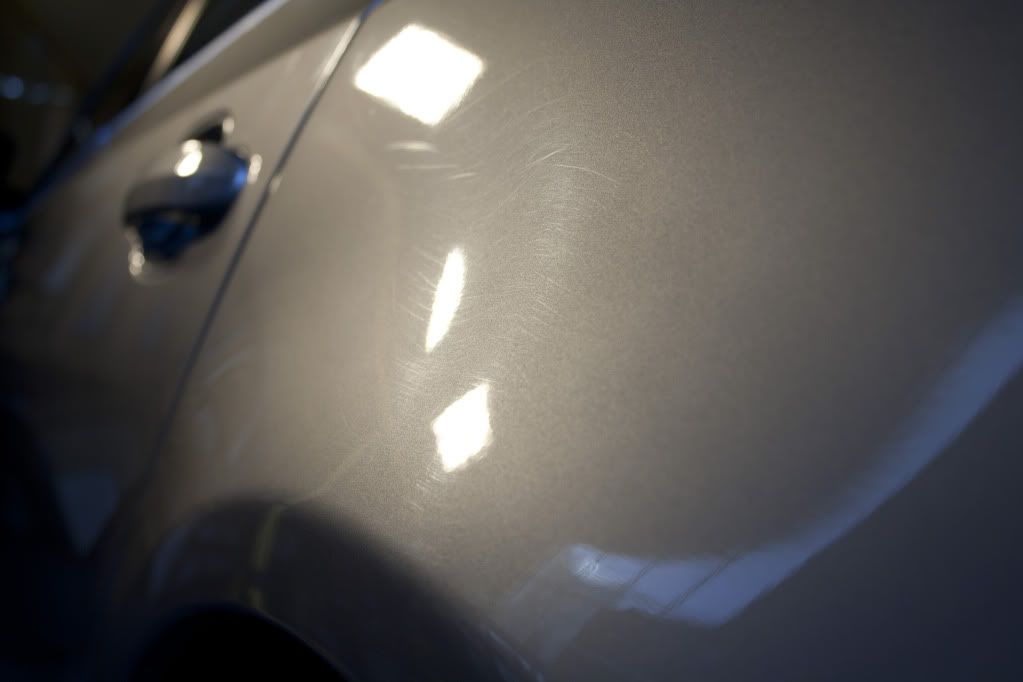
After (notice the increase in clarity):
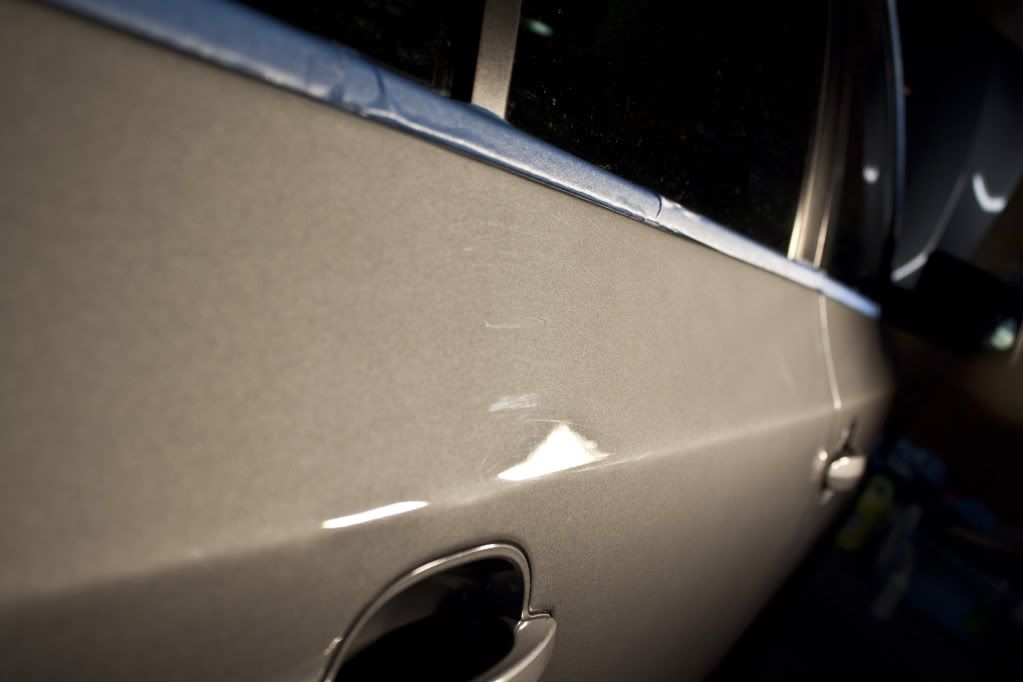
Another scuff:
After:
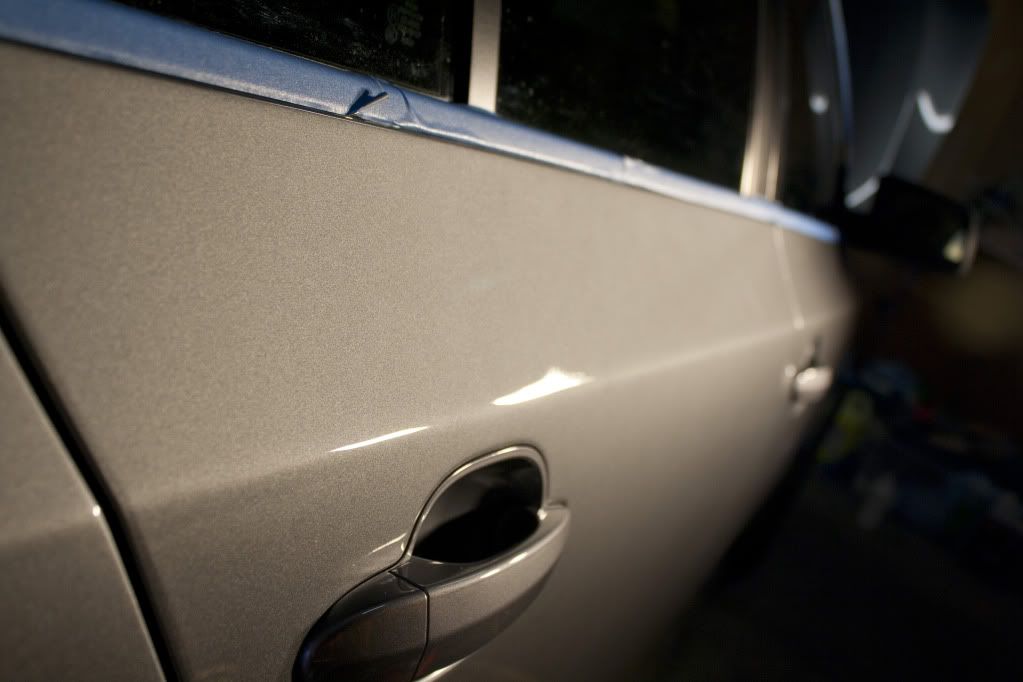
Driver side rear door before:
After:
Driver door before:
After (some deep RID's remain, but notice the clarity again):

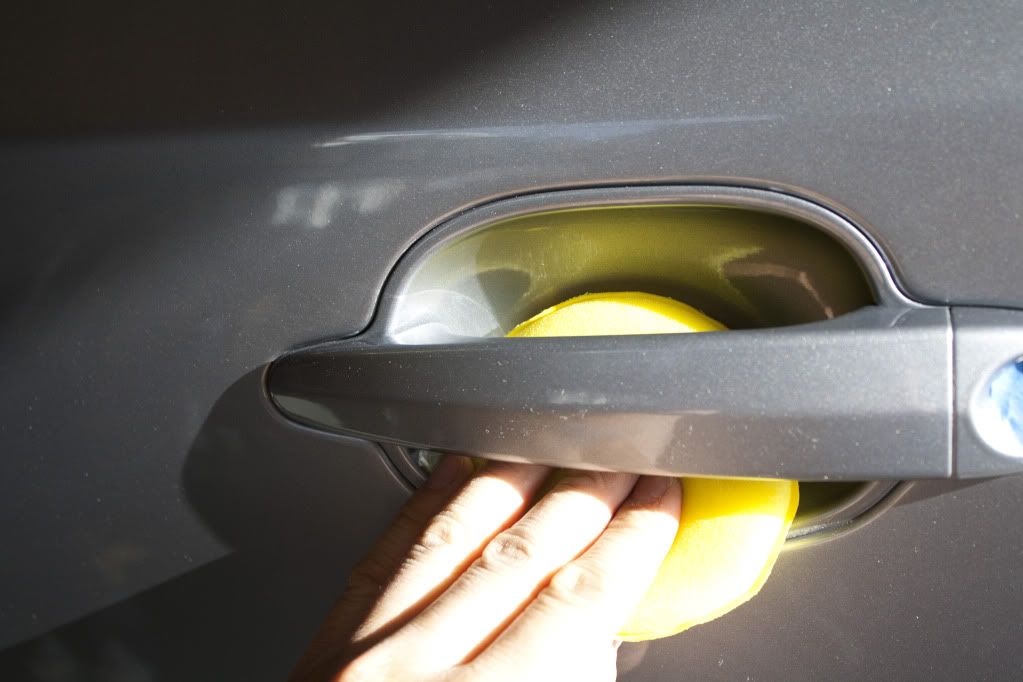
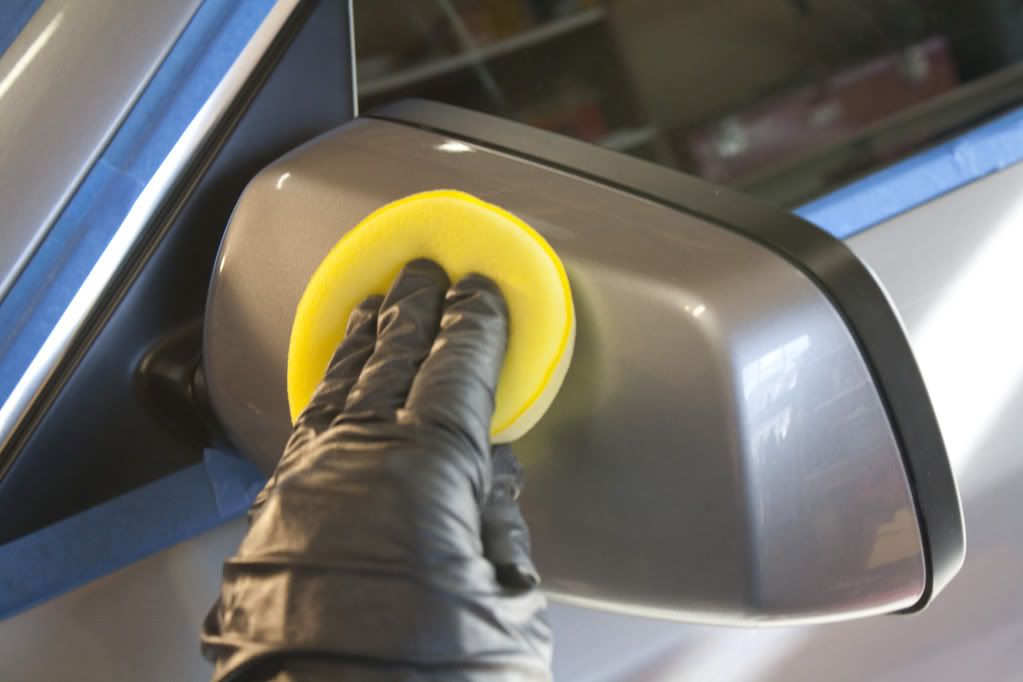
Vince worked on the smaller details using a hand applicator and some M105 for the door handles and Mirrors:
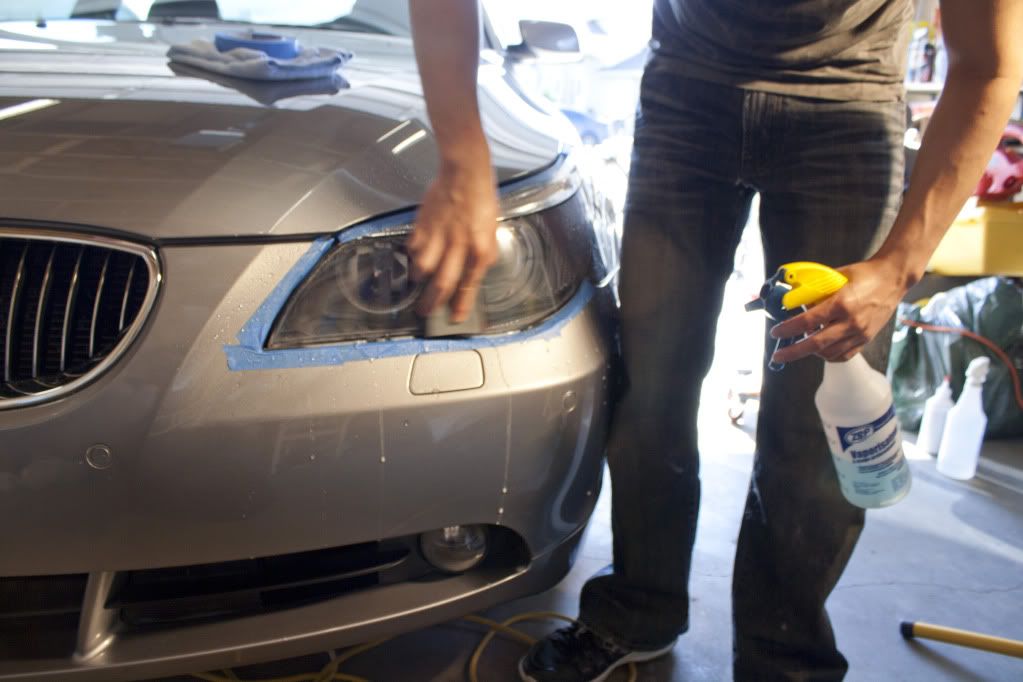
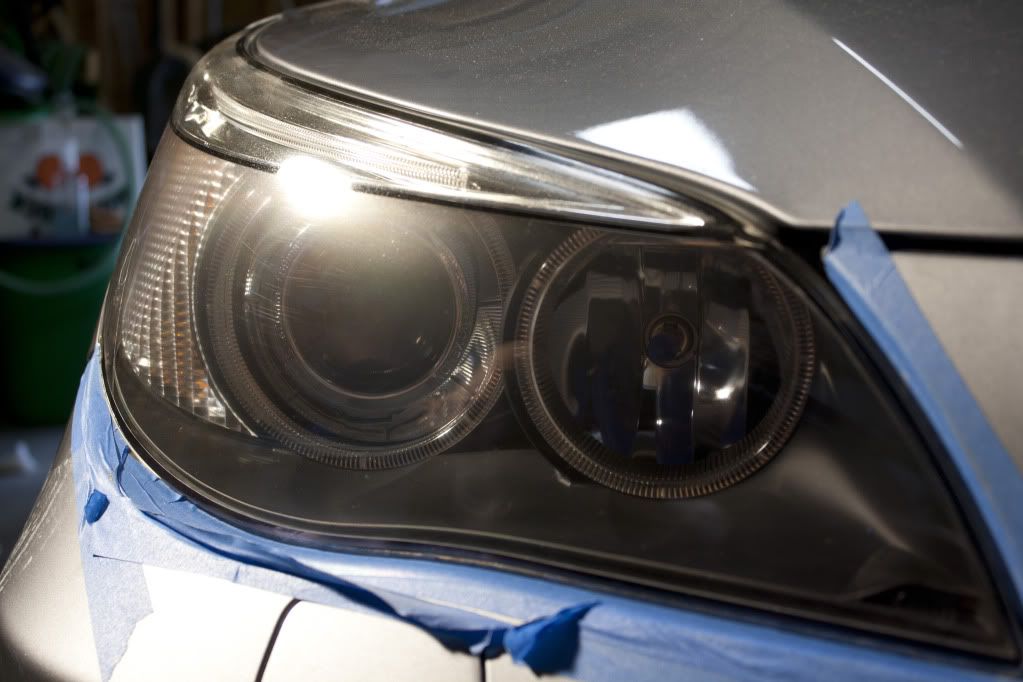
The Headlights:
After the paint corrections were done I turned my attention to the headlights which were heavily pitted and required wet sanding to restore clarity.
I began the process by using Meguiar's Unigrit Sandpapers starting at 1500 grit, moving my way up to 2000, 2500, and 3000 to finish it off. Optimum No Rinse in clay lube dilution was used to provide additional lubrication for the wet sand process:
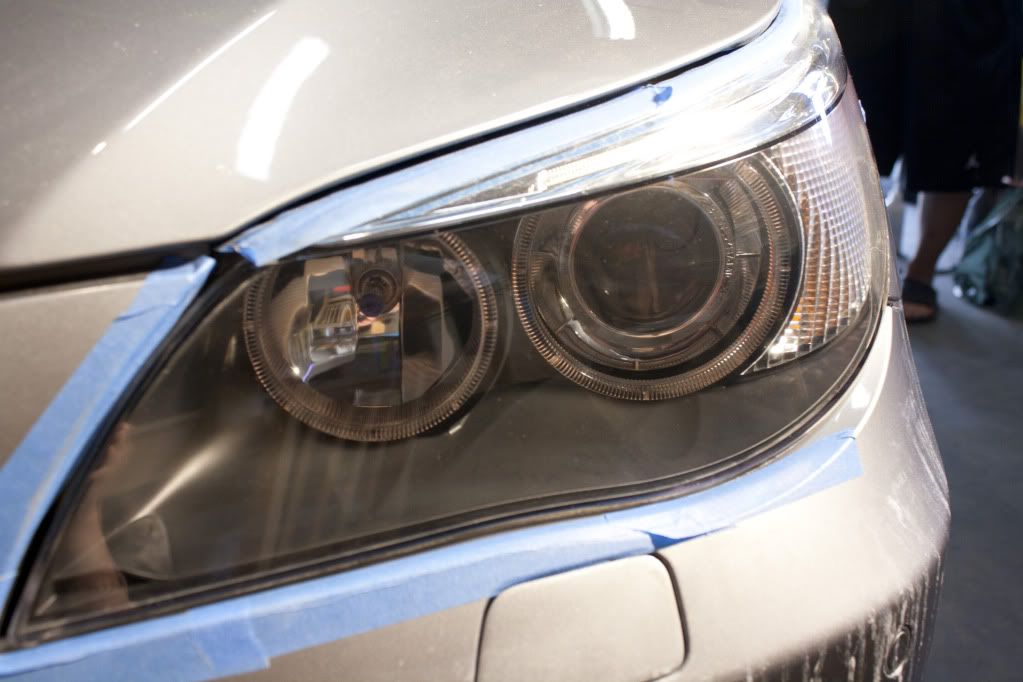
After wet sanding:
After compounding with M105 on a 4' LC Orange pad:
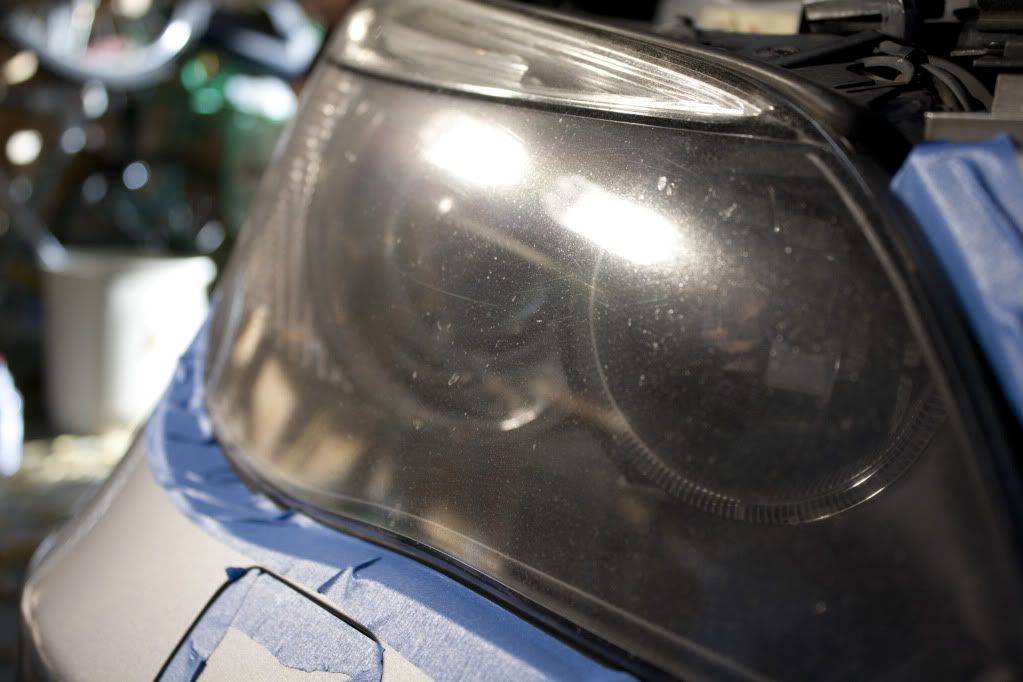
The same process was done to the passenger side:
Before:
After:
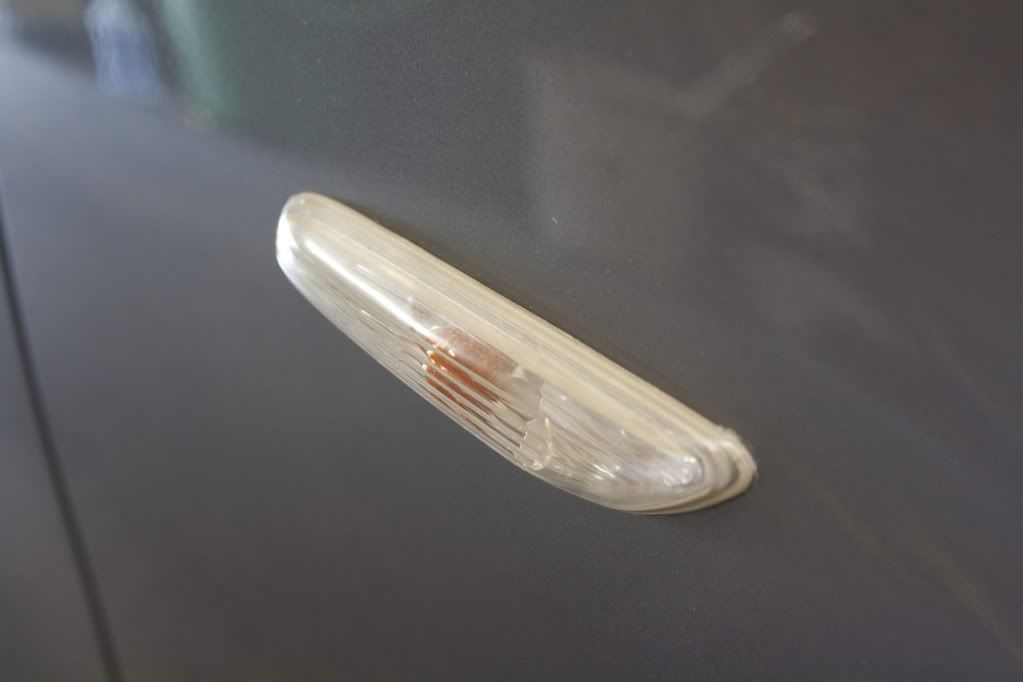
The side indicator housing was hazy as a result of UV exposure so I used a hand applicator pad to restore clarity:
Before:
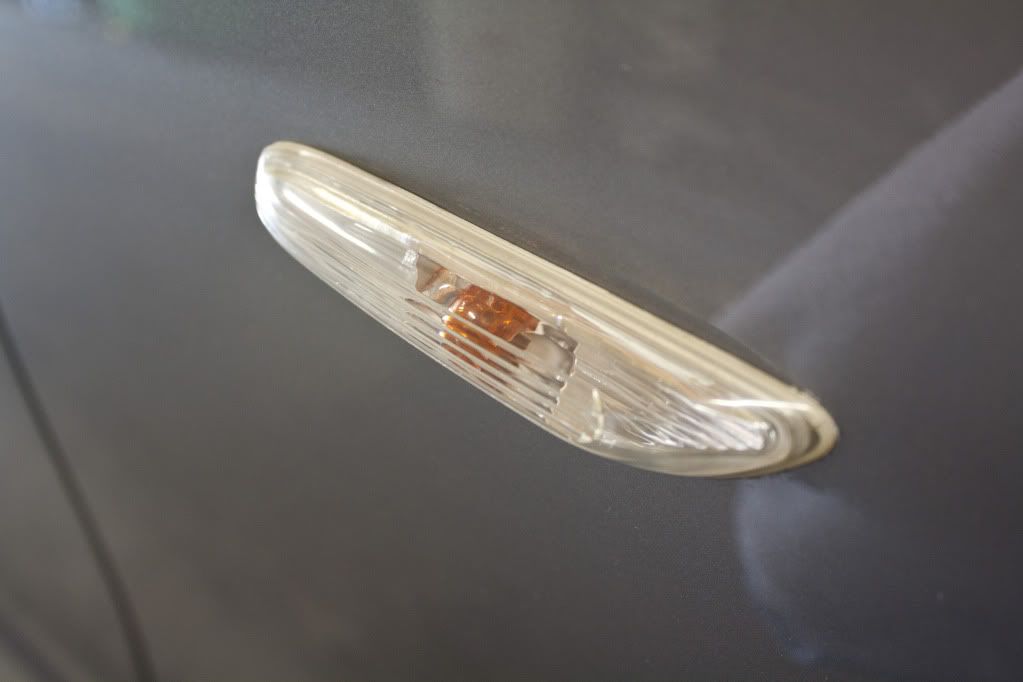
After:
After the paint corrections we pulled the car out for a final wash to remove polish residue:
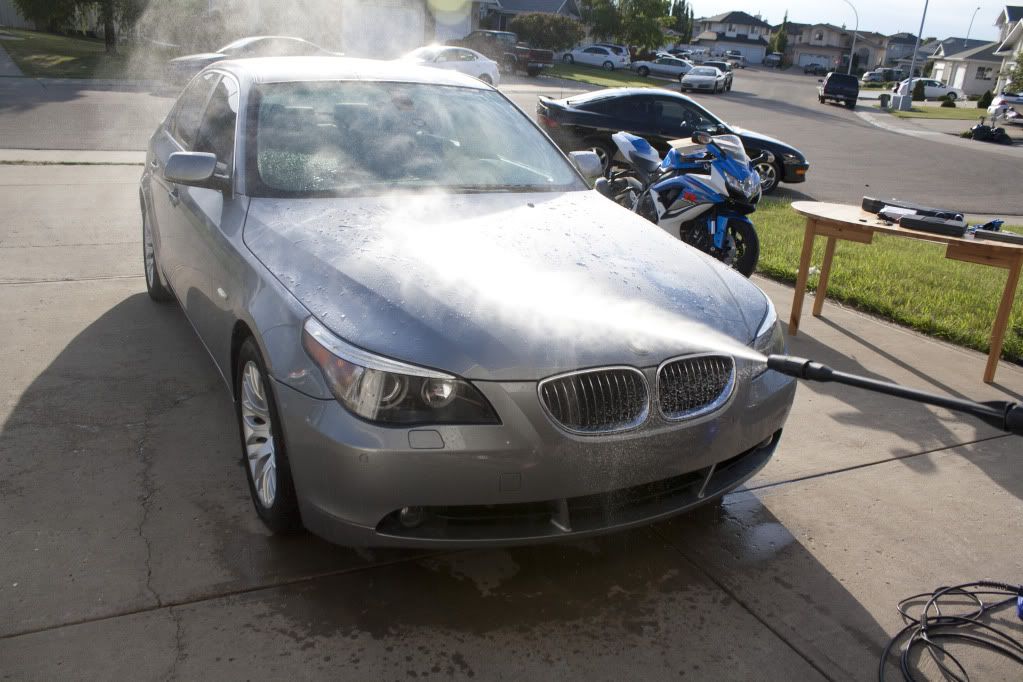
The paint was already looking miles better than before:
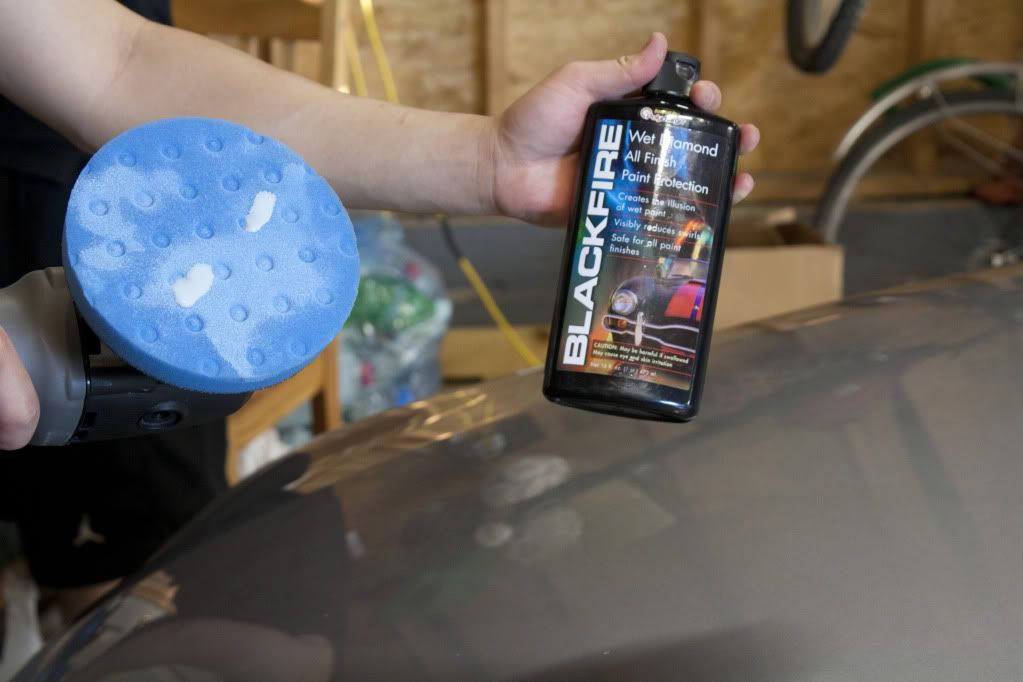
Blackfire Wet Diamond was used as a LSP:
We used Autogylm's Super Polish Resin to restore some clarity in the rim's clear coat, it also leaves a sealant behind:
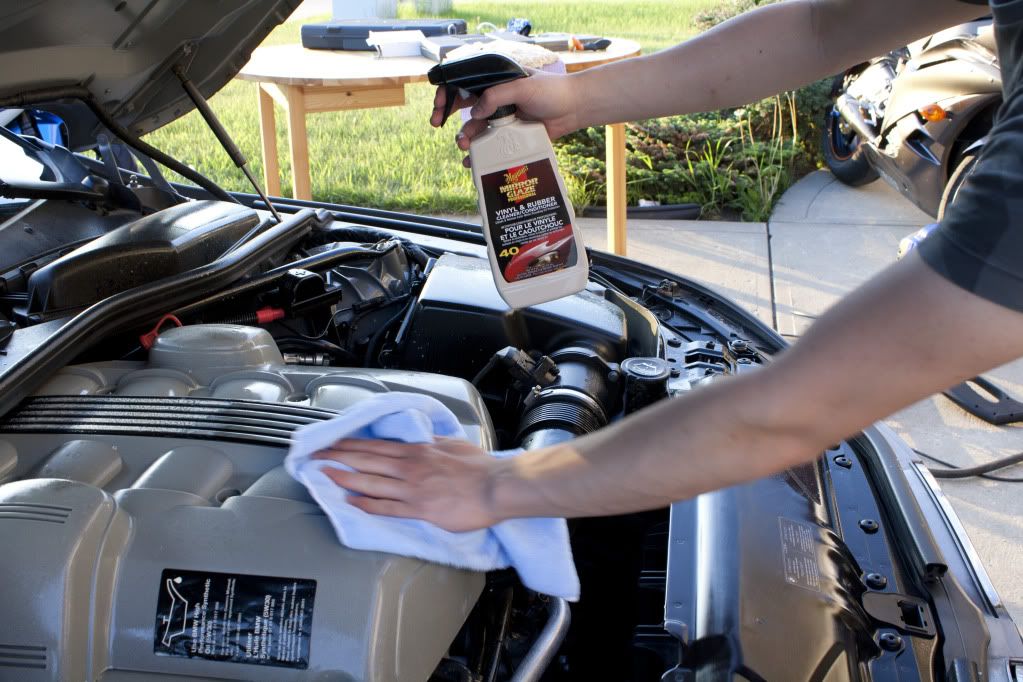
Meguiar's #40 was used to dress the engine bay:
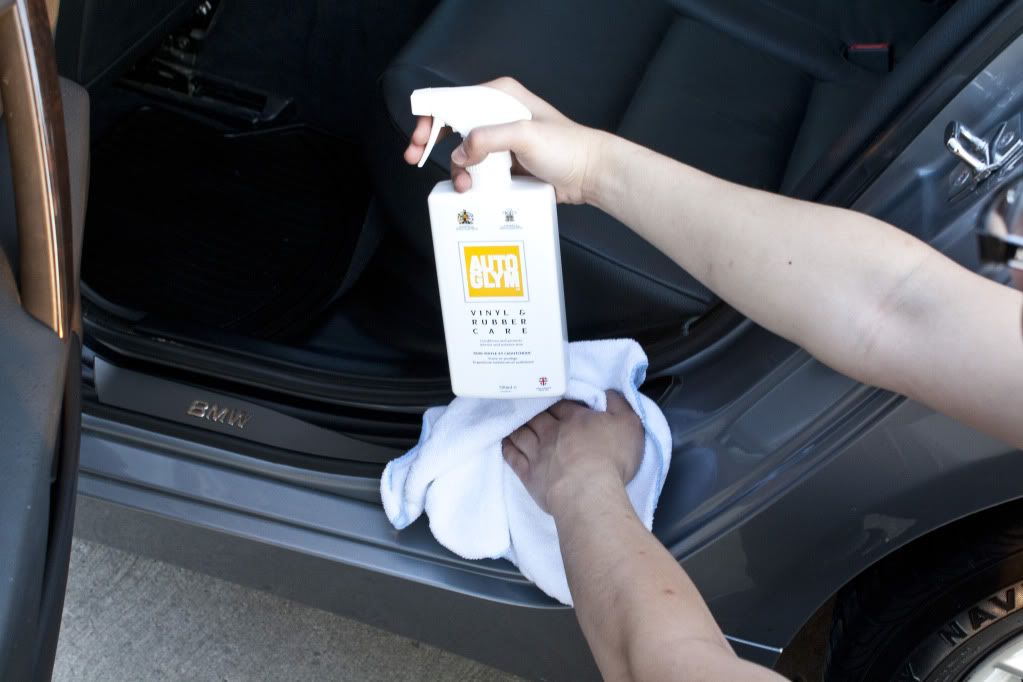
Autogylm's Rubber and Vinyl Care was used on the weather stripping and door trims:
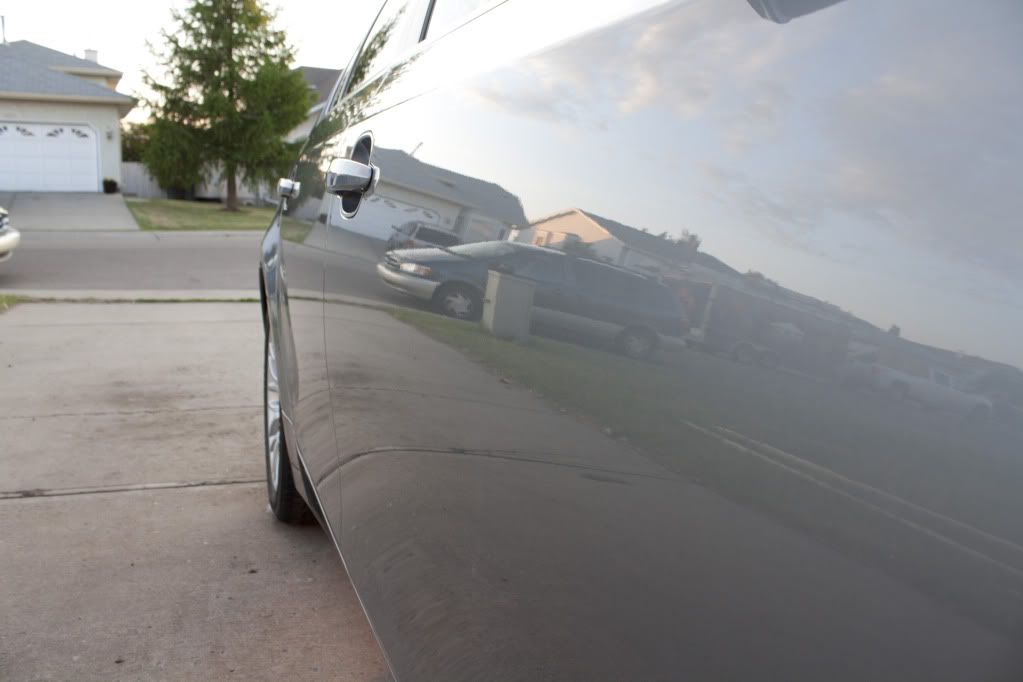
After Blackfire Wet Diamond reflection shots:
The Dramatic Before and After Photos:
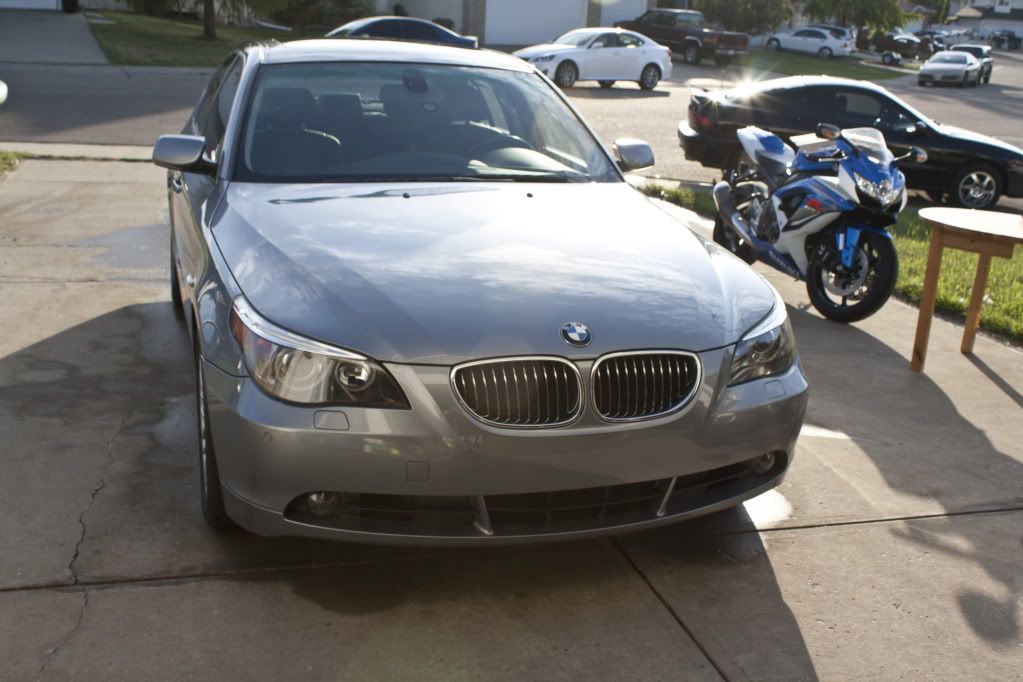
Car upon arrival:

After, reflection rich:
Engine bay before:
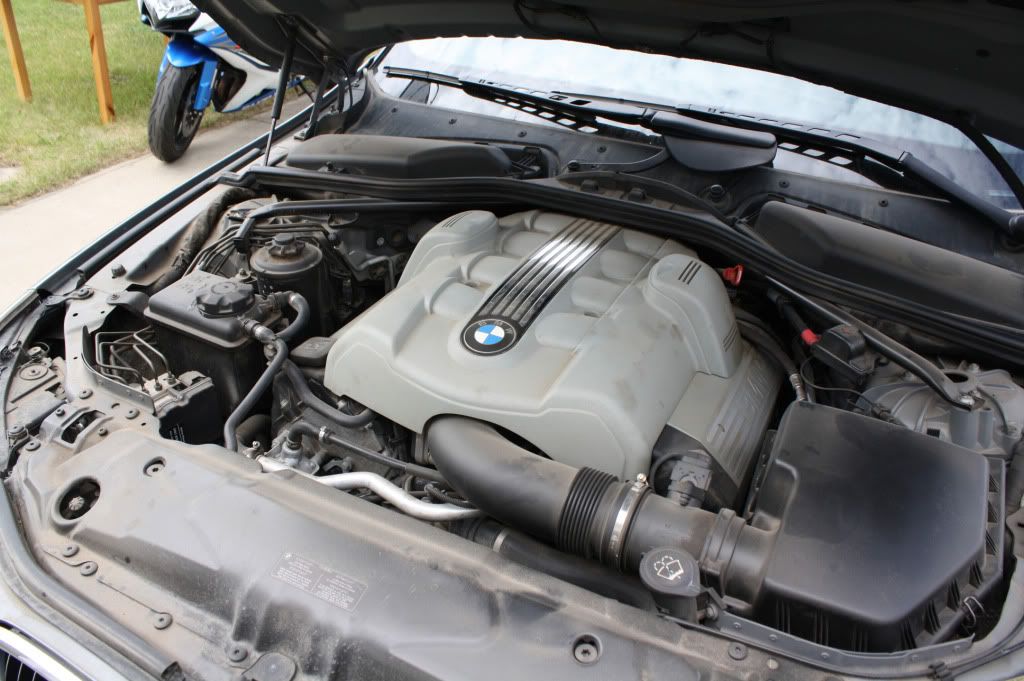
After:
Exhaust tips before:
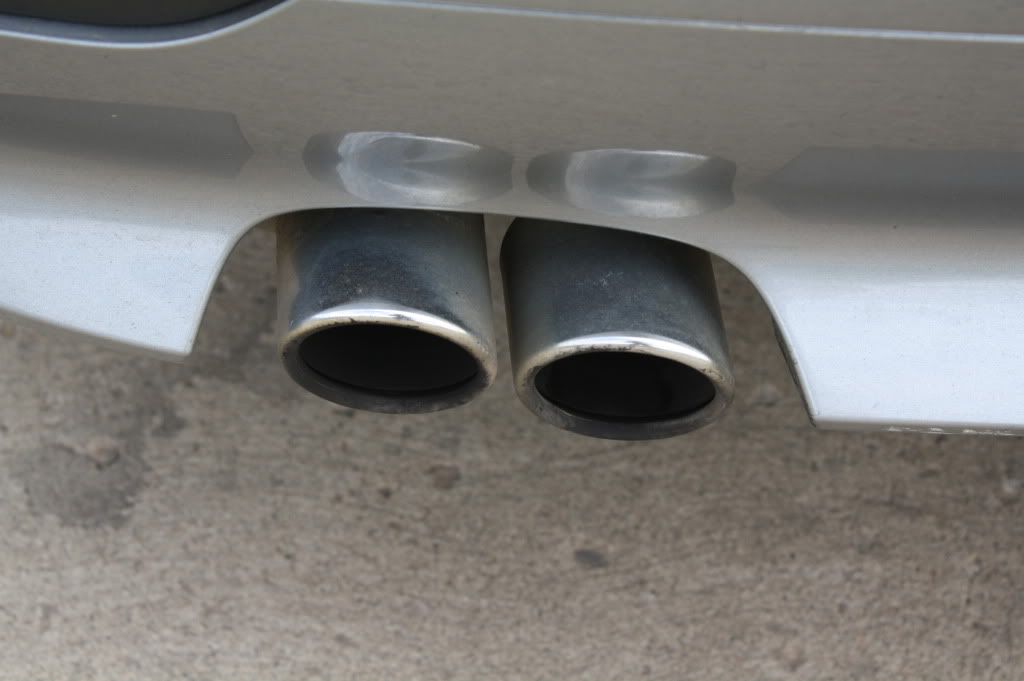
After:

Interior before:
After:
Tire/Rims before:

After:
Headlights before:

After:
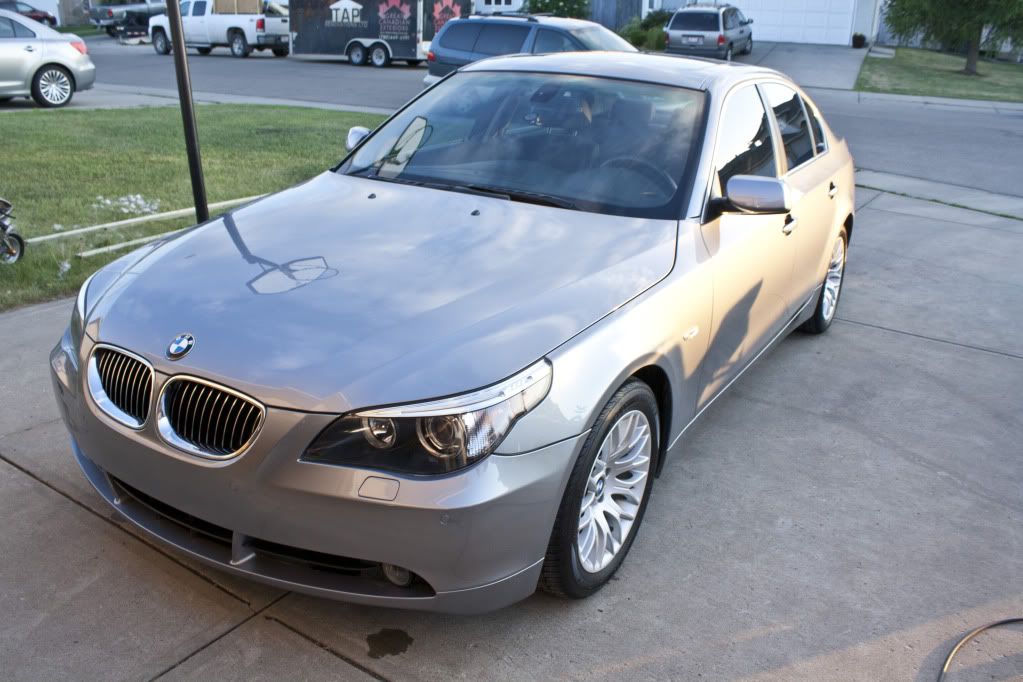
Parked safely back at home:

Thanks for reading!
Hello again! v|nsan|ty and I finally had the time to do another detail. With Father's day coming up I decided to give my Father's 2004 E60 545i a much needed detail. This is one of our shorter write ups as I did not take many pictures due to time constraints.
The Subject:
Total Time: 19 Hours over two days
My father purchased this 545i in Silver Grey Metallic three years ago. Since then It has never gotten a proper detail as my father has a pretty busy work schedule.
A quick look:
Vince and I knew we would have our work cut out for weekend as the car has been quite neglected.
These 18' rims were caked with brake dust, a common annoyance with BMW brake pads:
Headlights were heavily pitted from highway travel and required wetsanding:
We began by soaking the rims with Autogylm's Custom Wheel cleaner at full strength:
Cleaned the wheel wells with the EZ detail brush:
Cleaned:
Vince attacked the exhaust tips with CG Grime Reaper at 5:1 dilution, the EZ detail brush, detailing steel wool, and P21s Metal Polish to finnish them off:
Cleaned:
I got working on the engine bay using Grime Reaper at 5:1 and a variety of brushes:
The entire engine bay was cleaned:
Cleaned:
We then foamed the car using straight CG Citrus Wash n Gloss:
Using the suds for additional lubricity, I washed the car using CG Citrus Wash n Gloss and a sheepskin mitt:
Vince worked on the finer details:
After the wash we brought the car into the garage and began claying:
As you can see the car was heavily contaminated:
We should have used a Bug and Tar remover on the rocker panels during the wash, Yikes!!:
While Vince began taping I started on the interior, beginning with the floor mats. I used Meguiars All Purpose Cleaner Plus at 1:10 Dilution:
While they dried I began vacuuming the interior:
There seemed to be a truck load of rocks/debris behind the accelerator pedal:
After a quick clean using a tooth brush and Meguiars APC+:
Door jams and surrounding areas were cleaned as well:
A few before/afters:
Before:
After:
Before:
After:
Meguiar's Quick Interior Detailer is now one of my favorite go-to products for interior trim as it cleans yet leaves no greasy dressing behind. Instead it leaves a stock matte finish look with a nice scent as a bonus:
Looks straight from the factory:
Interior completed:
Vince showing off his tape job, although Vince is a very skilled detailer, his taping skills are mediocre at best:
Initial paint inspection:
Plenty of holograms and deep RID's:
The Test:
My father was concerned with the idea of removing large amounts of clearcoat so we agreed deep RID's would be ignored as he would be happy with a 70% paint correction.
Armed with the knowledge that BMW has hard paint (Their black being an exception) we went with Meguiars M105 on a LC Orange pad for the compounding stage and finished with M205 on a LC White pad for the finishing stage.
Hood before:
After:
Passenger side rear door before (note the holograms):
After:
Trunk Before:
After:
Nasty scuff on the trunk lid:
After a few passes with M105:
Minor scuffing on the rear bumper:
After:
Rear quarter panel before:
After (notice the increase in clarity):
Another scuff:
After:
Driver side rear door before:
After:
Driver door before:
After (some deep RID's remain, but notice the clarity again):
Vince worked on the smaller details using a hand applicator and some M105 for the door handles and Mirrors:
The Headlights:
After the paint corrections were done I turned my attention to the headlights which were heavily pitted and required wet sanding to restore clarity.
I began the process by using Meguiar's Unigrit Sandpapers starting at 1500 grit, moving my way up to 2000, 2500, and 3000 to finish it off. Optimum No Rinse in clay lube dilution was used to provide additional lubrication for the wet sand process:
After wet sanding:
After compounding with M105 on a 4' LC Orange pad:
The same process was done to the passenger side:
Before:
After:
The side indicator housing was hazy as a result of UV exposure so I used a hand applicator pad to restore clarity:
Before:
After:
After the paint corrections we pulled the car out for a final wash to remove polish residue:
The paint was already looking miles better than before:
Blackfire Wet Diamond was used as a LSP:
We used Autogylm's Super Polish Resin to restore some clarity in the rim's clear coat, it also leaves a sealant behind:
Meguiar's #40 was used to dress the engine bay:
Autogylm's Rubber and Vinyl Care was used on the weather stripping and door trims:
After Blackfire Wet Diamond reflection shots:
The Dramatic Before and After Photos:
Car upon arrival:
After, reflection rich:
Engine bay before:
After:
Exhaust tips before:
After:
Interior before:
After:
Tire/Rims before:
After:
Headlights before:
After:
Parked safely back at home:
Thanks for reading!
 06-19-2011, 07:16 PM
#7
Keep'n it clean- Orlando
it seems the meguires 105/205 combo is the best combo out ... I have seen amazing results with this.
question, in the case of your dads car and getting the 70% correction with the 105 and orange pad-if you wanted more correction how would you achieve that? additional passes of the same combo, or change to a more aggressive pad???
question, in the case of your dads car and getting the 70% correction with the 105 and orange pad-if you wanted more correction how would you achieve that? additional passes of the same combo, or change to a more aggressive pad???
Trending Topics
06-19-2011, 08:50 PM
#8
I'm Craig
iTrader: (2)
Great work! You guys really restored that BMW to like-new condition. Was his (your?) dad shocked with the results?
My mom also has a hectic work schedule as a realtor so she constantly is driving all over the place and her poor car always gets neglected and abused. She always says "thats why I have you". Let the parents leave it to their children to maintain their cars.
My mom also has a hectic work schedule as a realtor so she constantly is driving all over the place and her poor car always gets neglected and abused. She always says "thats why I have you". Let the parents leave it to their children to maintain their cars.
06-19-2011, 11:55 PM
#9
Pro
Thread Starter
Thanks for all the compliments guys 
I don't know if it's the best combo, but it certainly is very effective. Intially, we tried using Menzerna Power Finish 203 but it didn't offer the level of cut we were looking for.
We were already doing quite a few passes of M105 with the orange pad. It did dry up quite quickly so we added some distilled water to the panel to rework the area. For some panels, we applied 105, added water, applied 105, and added water again. Additional passes didn't appear to yield any better results. I'd imagine if we had bumped it up to a more aggressive tool such as wool, we would get more correction. However, we didn't feel comfortable doing so since we don't have a paint thickness gauge. We were also probably limited by the fact that we were using a DA. I imagine a rotary or even the Flex 3401 VRG could yield better results. I'm still learning so I prefer to stick with a simple DA and fine tune my skills before jumping to a rotary and possibly burning paint.
My buddy's dad came to pick it up and he was in complete wow. He kept saying it looked like a brand new car. Comments like that definitely instil pride into this hobby of mine.
Haha agreed with the parents. My mom was like, so you have all these detailing supplies, when are you going to fix up my car? She doesn't even care about her car. I think she just wants it to be shiny. All the other details would go in one ear and out the next. I'll probably just do a 1-step polish for her since her silver car isn't in bad condition anyway.
it seems the meguires 105/205 combo is the best combo out ... I have seen amazing results with this.
question, in the case of your dads car and getting the 70% correction with the 105 and orange pad-if you wanted more correction how would you achieve that? additional passes of the same combo, or change to a more aggressive pad???
question, in the case of your dads car and getting the 70% correction with the 105 and orange pad-if you wanted more correction how would you achieve that? additional passes of the same combo, or change to a more aggressive pad???
We were already doing quite a few passes of M105 with the orange pad. It did dry up quite quickly so we added some distilled water to the panel to rework the area. For some panels, we applied 105, added water, applied 105, and added water again. Additional passes didn't appear to yield any better results. I'd imagine if we had bumped it up to a more aggressive tool such as wool, we would get more correction. However, we didn't feel comfortable doing so since we don't have a paint thickness gauge. We were also probably limited by the fact that we were using a DA. I imagine a rotary or even the Flex 3401 VRG could yield better results. I'm still learning so I prefer to stick with a simple DA and fine tune my skills before jumping to a rotary and possibly burning paint.
Great work! You guys really restored that BMW to like-new condition. Was his (your?) dad shocked with the results?
My mom also has a hectic work schedule as a realtor so she constantly is driving all over the place and her poor car always gets neglected and abused. She always says "thats why I have you". Let the parents leave it to their children to maintain their cars.
My mom also has a hectic work schedule as a realtor so she constantly is driving all over the place and her poor car always gets neglected and abused. She always says "thats why I have you". Let the parents leave it to their children to maintain their cars.
Haha agreed with the parents. My mom was like, so you have all these detailing supplies, when are you going to fix up my car? She doesn't even care about her car. I think she just wants it to be shiny. All the other details would go in one ear and out the next. I'll probably just do a 1-step polish for her since her silver car isn't in bad condition anyway.
06-20-2011, 07:51 AM
#12
Your Friendly Canadian
Join Date: Dec 2007
Location: Toronto, Ontario
Age: 31
Posts: 17,431
Received 1,485 Likes
on
1,049 Posts
Looks great. I'm enjoying your details.

Thread
Thread Starter
Forum
Replies
Last Post
MrHeeltoe
1G TSX Tires, Wheels, & Suspension
20
02-23-2023 01:54 PM
ITSJESTER
4G TL Audio, Bluetooth, Electronics & Navigation
17
12-06-2018 02:29 AM
detailersdomain
Wash & Wax
3
10-09-2015 10:13 PM
MrHeeltoe
2G TSX Tires, Wheels & Suspension
3
09-29-2015 10:43 PM
MrHeeltoe
3G TL Tires, Wheels & Suspension
0
09-28-2015 05:43 PM