When you click on links to various merchants on this site and make a purchase, this can result in this site earning a commission. Affiliate programs and affiliations include, but are not limited to, the eBay Partner Network.
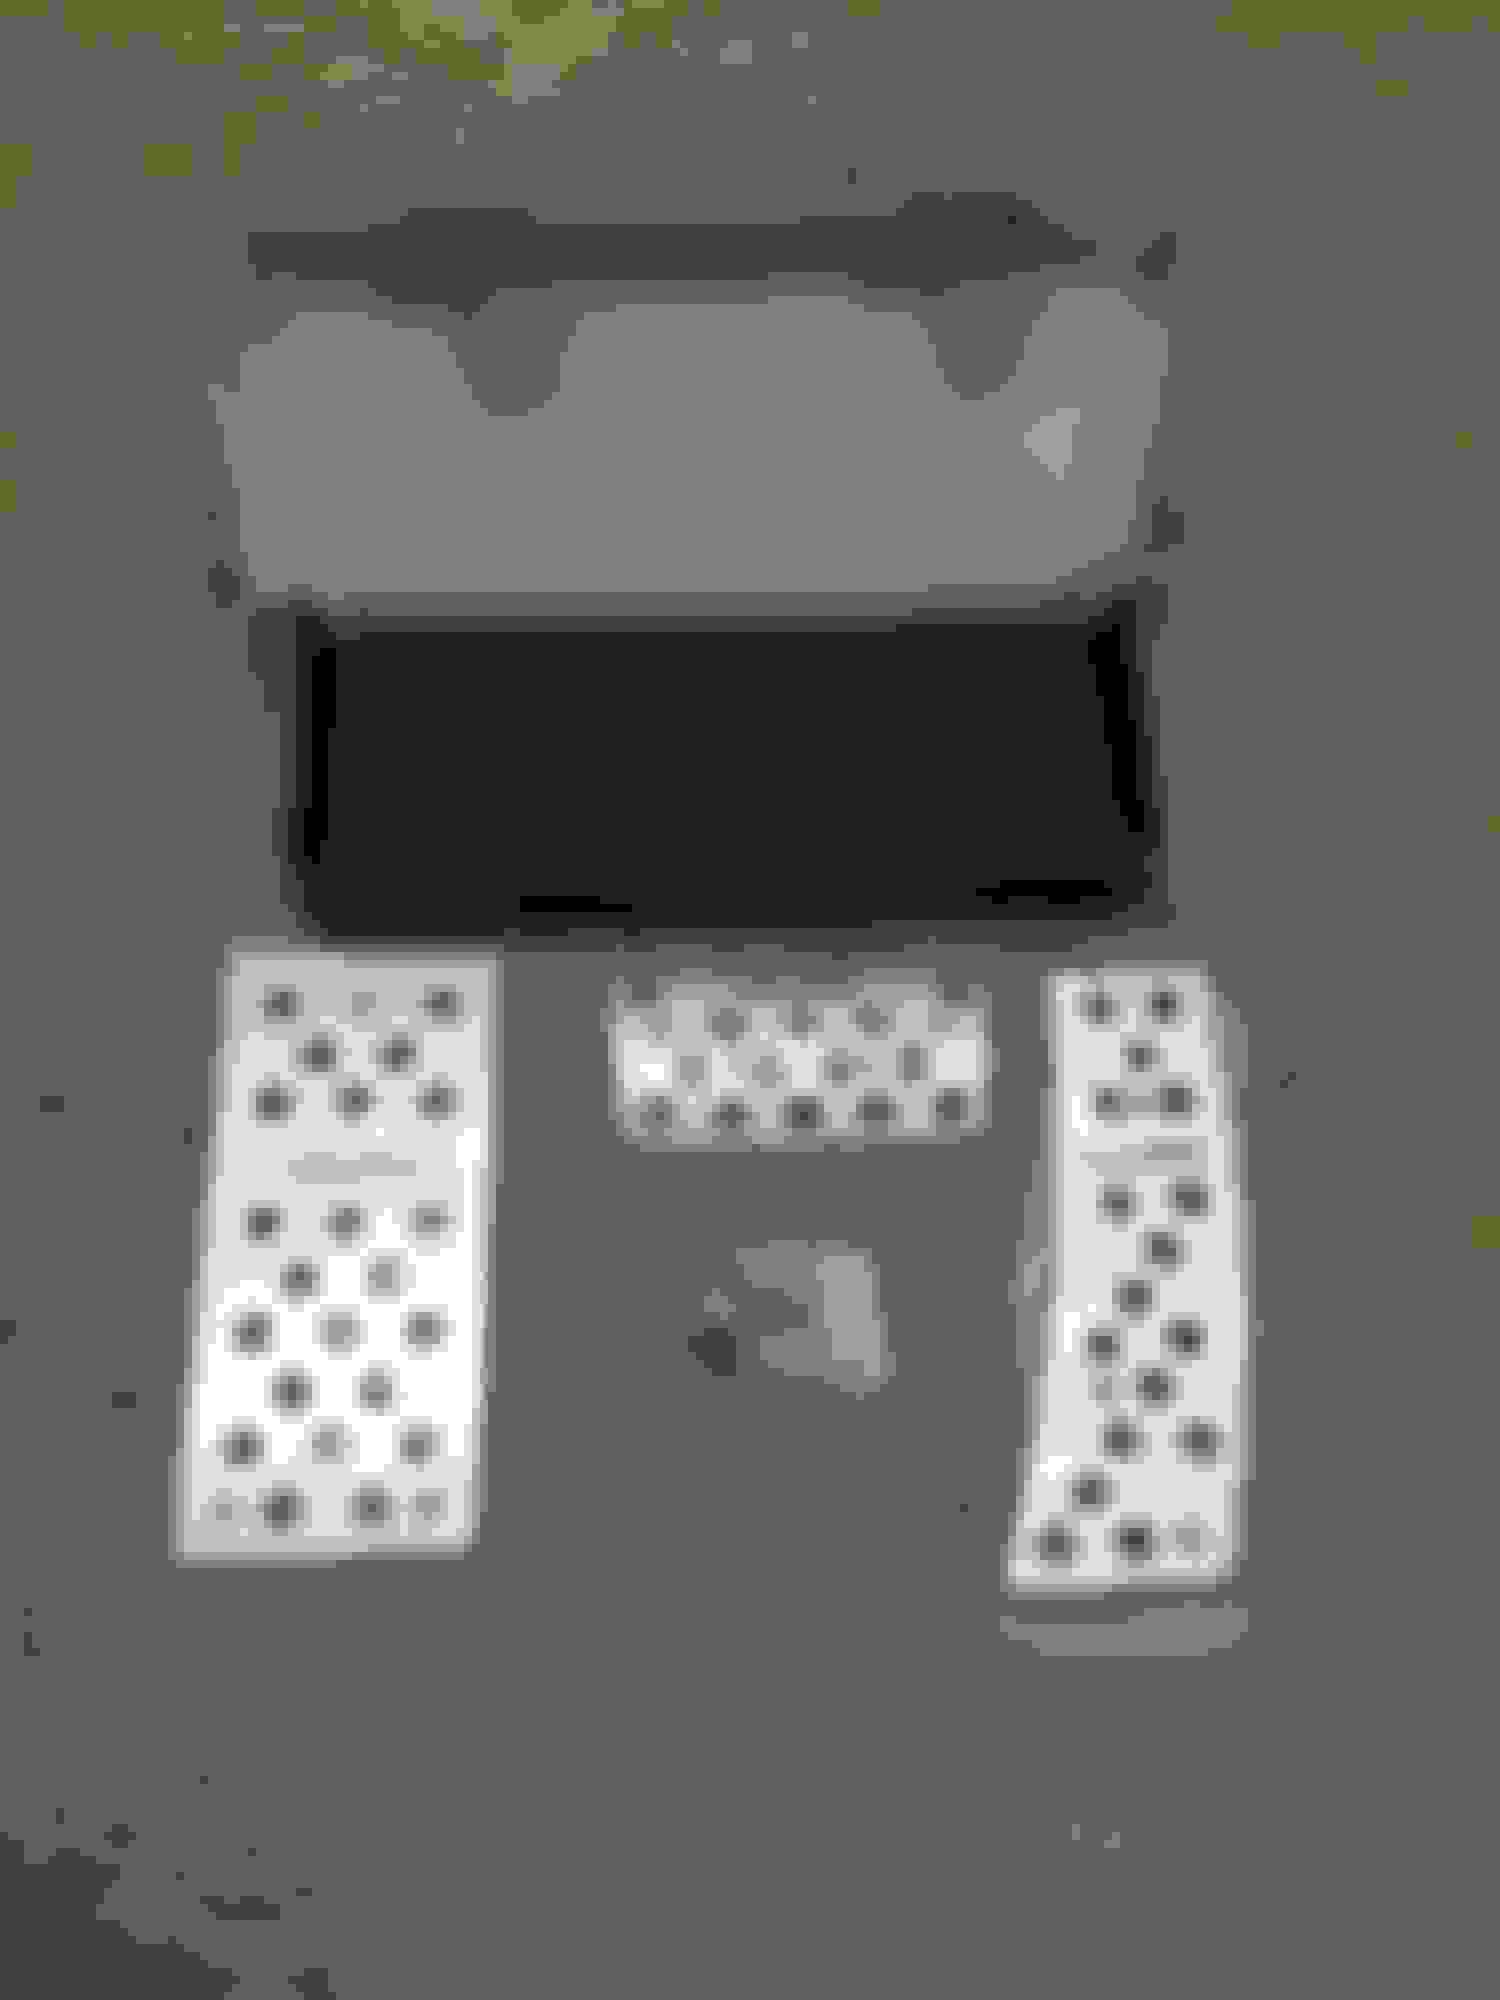
Unboxing
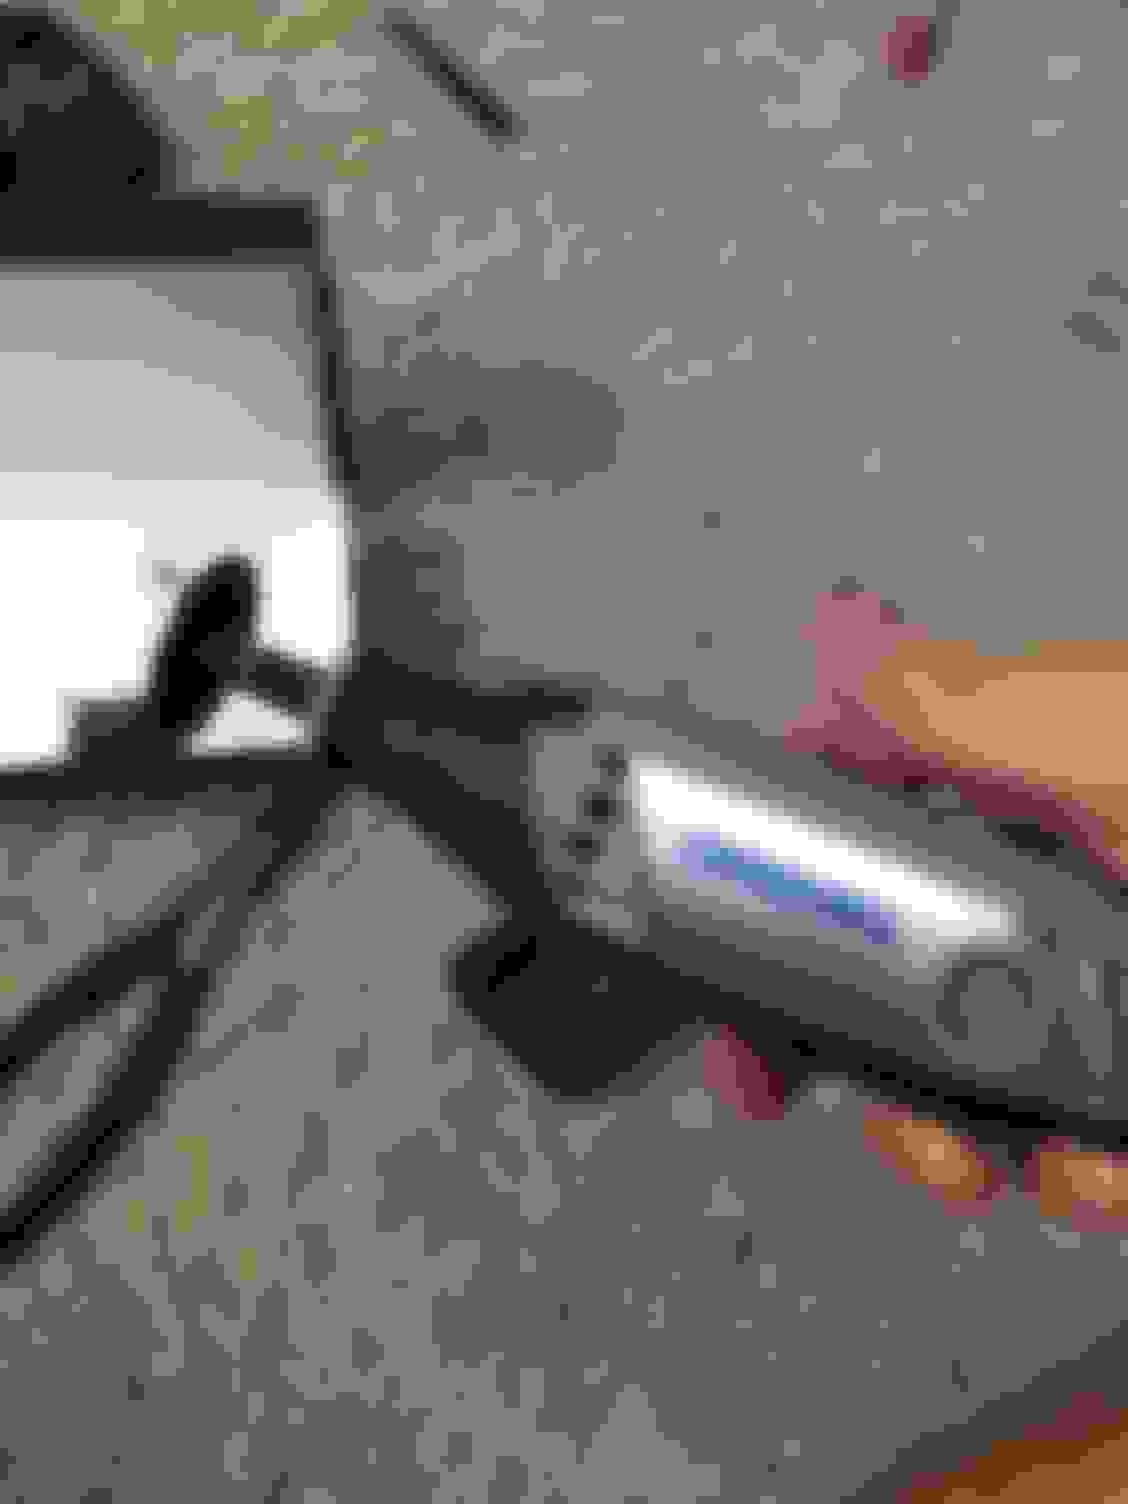
-Here is how the package arrived. I was initially very impressed with the quality. The rubber pegs are very thick a seem durable.
-I'm not sure if the screws and bolts are stainless steel or not (This will be an important factor to prevent rusting). Time will tell.
-If I recall correctly, the mounting hardware included 5 bolts, 4 nuts, and 7 screws. I will go into further detail about what mounting procedures I used for the installation.
-There were no instructions, so I figured I would add my two cents and provide you all with some insight.
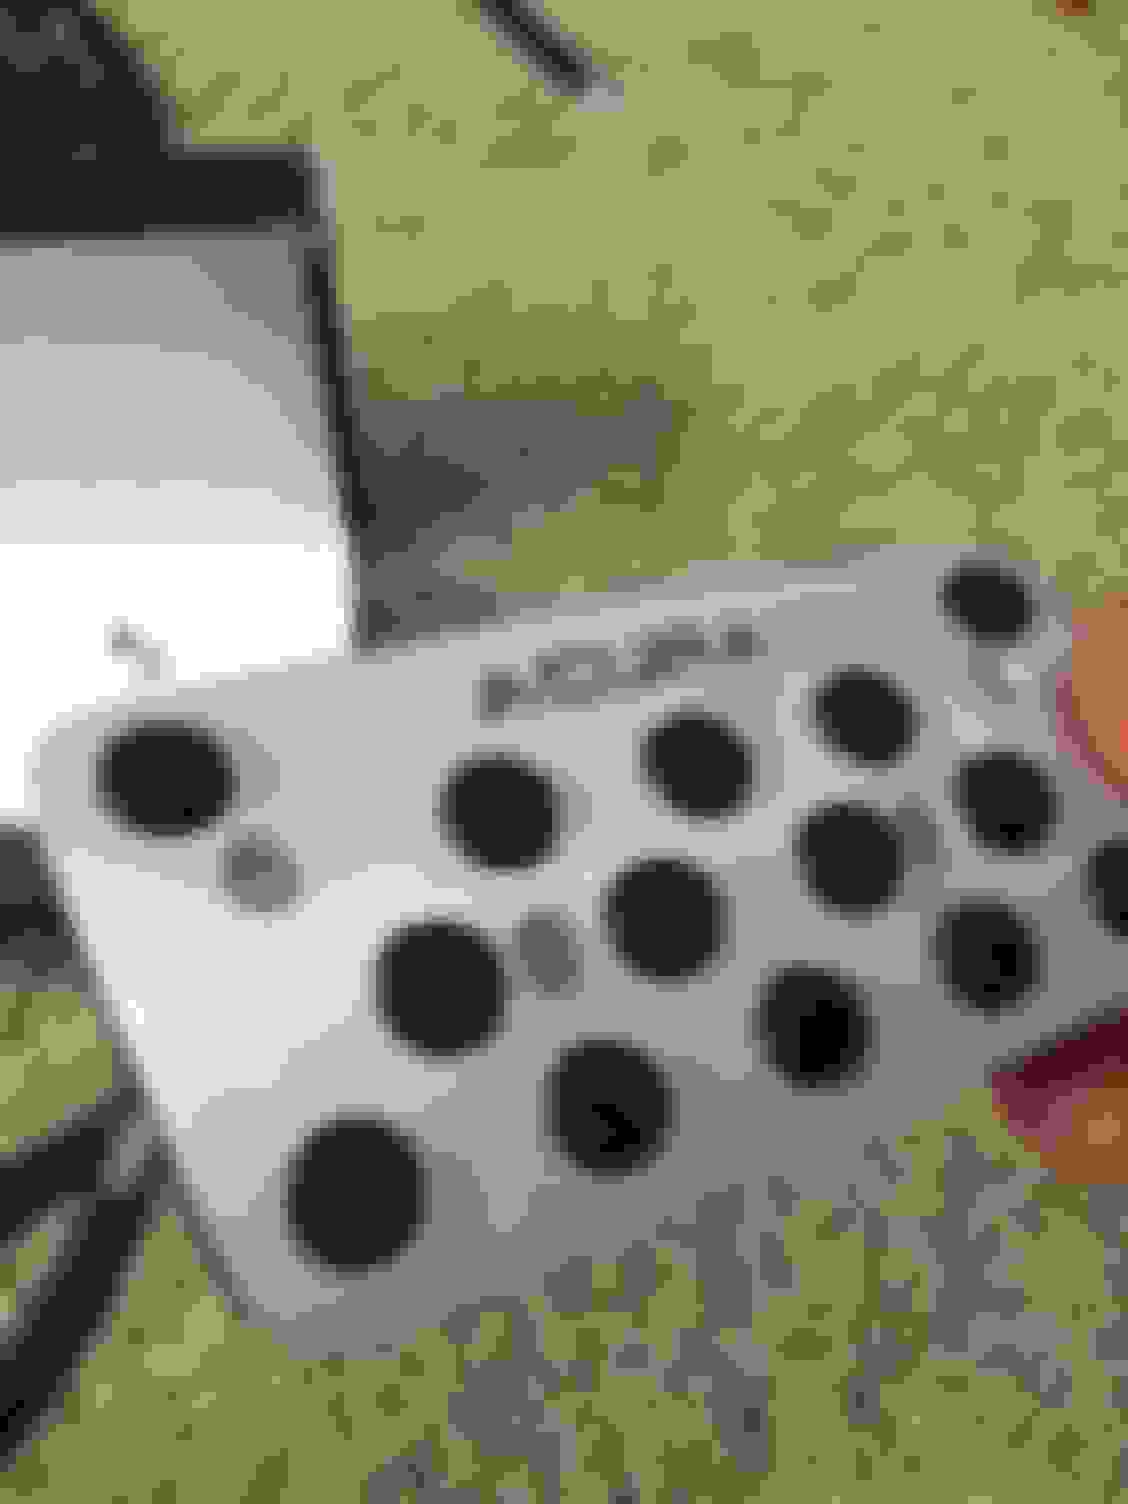
Dead Pedal
-If you look closely at my pictures, you will notice that the dead pedal does not have the traditional four screw holes in each of the corners. It actually only has three holes (one on top and two on the bottom). However, this is not a problem as each of the holes still lines up over top of the existing plastic dead pedal.
-As most have done, I did not remove the plastic dead pedal. I simply installed the metal pedal over top of the plastic dead pedal.
-First, I aligned the bottom edge of the new metal dead pedal to the bottom edge of the plastic dead pedal.
-Then I aligned the top left edge of the metal dead pedal to the right edge of the plastic paneling.
-After the alignment was straight, I marked the center of each of the drill holes by poking a hole into the plastic with a click pencil. I tried using a marker at first, but it was nearly impossible to see my mark on the black plastic. Colors don't show up on black materials very well.
-I pre-drilled the holes with my Makita 18v cordless drill, but don't remember what size drill bit I used. Just start out with a small drill bit and work your way upwards if the screws don't thread.
-Then I used 3 (of the 7) provided screws to mount the pedal into place. I secured them well enough, but I didn't want to risk cracking/striping the original pedal underneath, so I was careful not to over tighten.
Accelerator Pedal
-If you look closely at my pictures, you will notice that the accelerator pedal also does not have the traditional four screw holes in each of the corners. It actually only has three holes (which are randomly staggered). However, this is not problem as each of the holes still lines up over top of the existing accelerator pedal.
-Now, if you read the supercomputer install DIY thread, you may have noticed that the supercomputer accelerator pedals are attached with nuts and bolts instead of screws. Since I only received 5 bolts with my packaging, I wanted to save them for my brake pedal (You will see why).
-First, I aligned the bottom edge of the new metal accelerator pedal to the bottom edge of the existing accelerator pedal.
-Then, I moved the new metal pedal upward slightly, so that the slight C-shape curve of the pedals aligned.
-Similar to the dead pedal, once the alignment was set, I marked the center of each of the drill holes by poking a hole into the pedal with a click pencil.
-Unfortunately, I was stupid and set this project down. I came back later and used the wrong size drill bit. After I made two pre-drilled holes, I realized I made a mistake. The pre-drilled holes that I made were too large So, I made a trip to the Home Depot and bought some replacement screws, which were larger in diameter. Problem solved....
-After pre-drilling the new holes, I used 1 (of the remaining 4) screws and 2 of the new screws to mount the pedal into place. Again, I was careful not to over tighten them.
-One thing I should mention is that the bottom left corner of the metal accelerator pedal does not curve inward (away from your foot/towards your engine) like the pre-existing factory pedal does. The pedal's surface is flat. Therefore, I inserted 3 furniture pads underneath the bottom left-hand corner of the metal pedal, so that the rubber backing did not get compress away from the metal when you push your foot down.
Brake Pedal
-Now, here is the fun one. If you read the supercomputer DIY thread, you will see that many people used to install the aftermarket brake pedal by removing the rubber cover and mounting the aftermarket on top of the metal brake pedal underneath. This was tedious, took an immense amount of time/patience, and required a titanium drill bit. As time progressed, some people decided that it was much easier to remove the rubber cover, install the aftermarket brake pedal on top of the rubber cover, and place the modified rubber cover back on top of the existing metal pedal. This is the method that I chose.
-If you look closely at my pictures, you will notice that the brake pedal does not have the traditional four screw holes in each of the corners. It actually has four holes (which are randomly staggered). At first glance, you may think that the holes in the metal brake pedal match the holes on the pedal underneath the rubber cover. This is wrong. Although, it's a similar pattern, the two middle holes do not line up properly. Therefore, you would either have to drill two new holes in your existing pedal or you can just remove the rubber cover and mount your metal pedal that way. The latter is what I suggest.
-The first step was to remove the rubber cover from the brake pedal. It was on there pretty tight, but I managed to get it off with a little force.
-Once removed, I mounted the metal pedal on top of the rubber cover and marked my holes, using the same methods before with my trusty click pen.
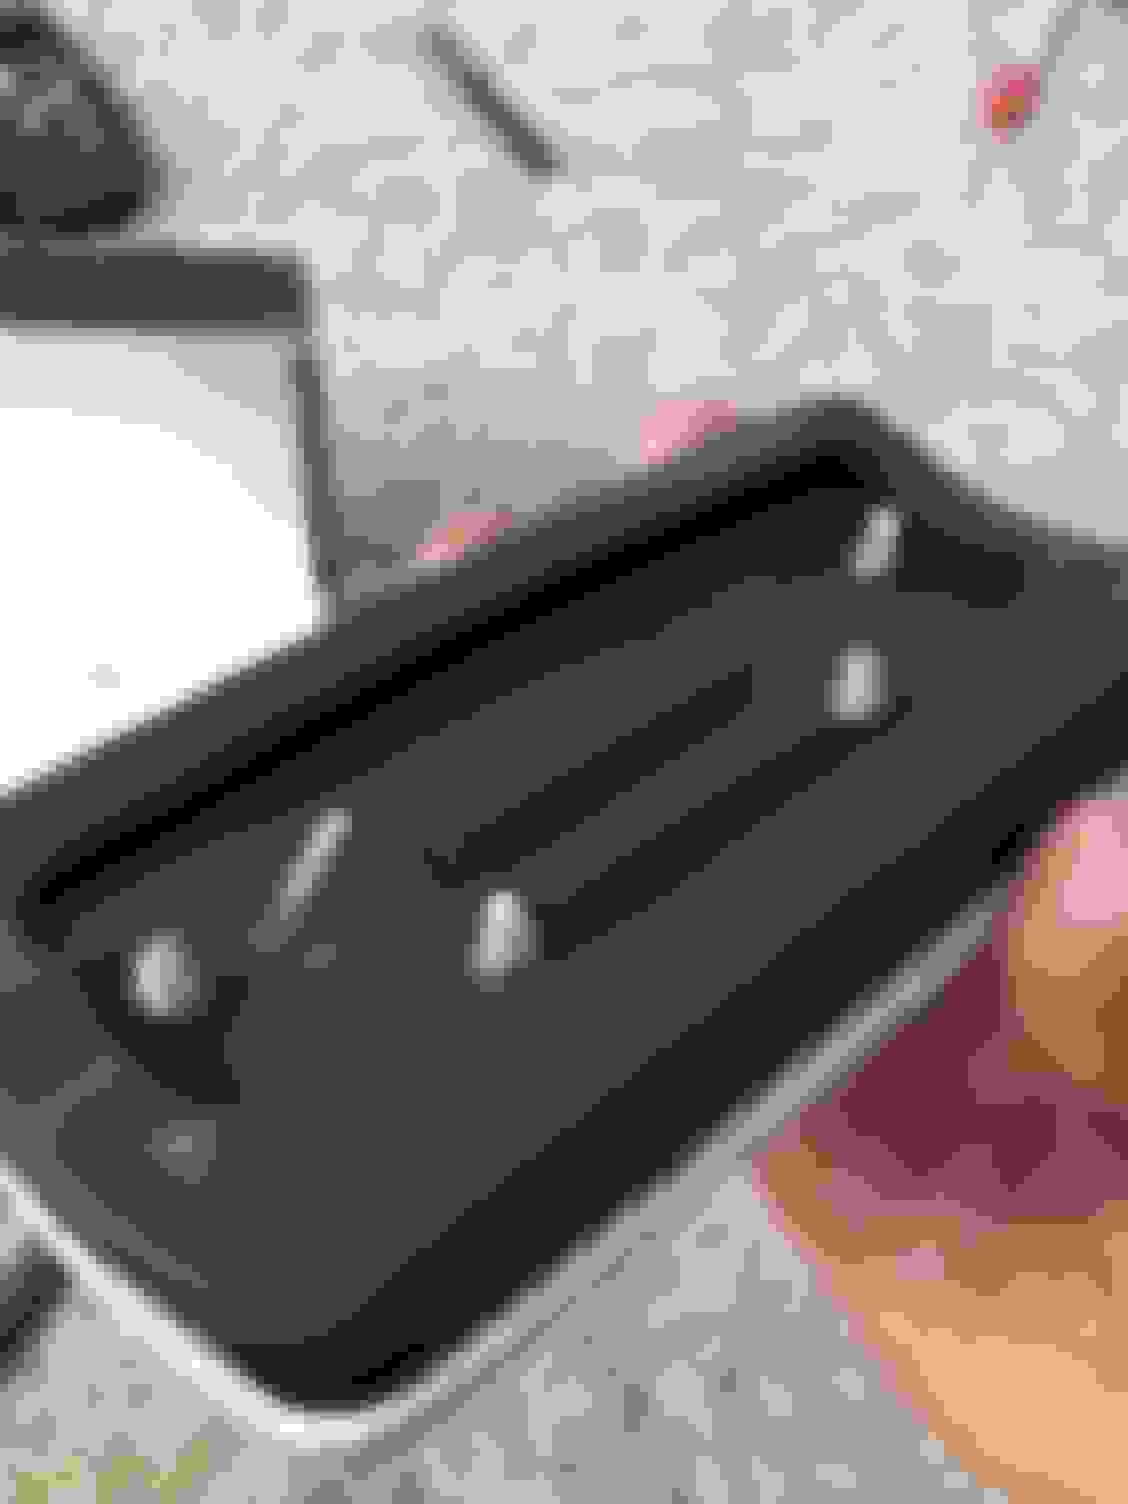
-After the alignment was complete, I used 4 (of the 5) provided bolts to mount the pedal into place.
-After the bolts were pushed through the pedal's holes, I tightened the bolts with the provide nuts on the backside of the pedal.
-If you chose this method, you will also need to cut off the backs of the bolts in order for the modified rubber cover to fit back onto the pre-existing brake pedal . To cut the overhang, I used my Dremel 3000 and an EZ Lock metal cutting blade. Please wear eye protection! Sparks will fly when you make these cuts . My wife is an optometrist , so she would kill me if I didn't put out a warning.
-I apologize, but I did not get a picture of the underside of the rubber cover after the cutting was complete. If you can picture it, I made my cuts right above the tightened nuts.
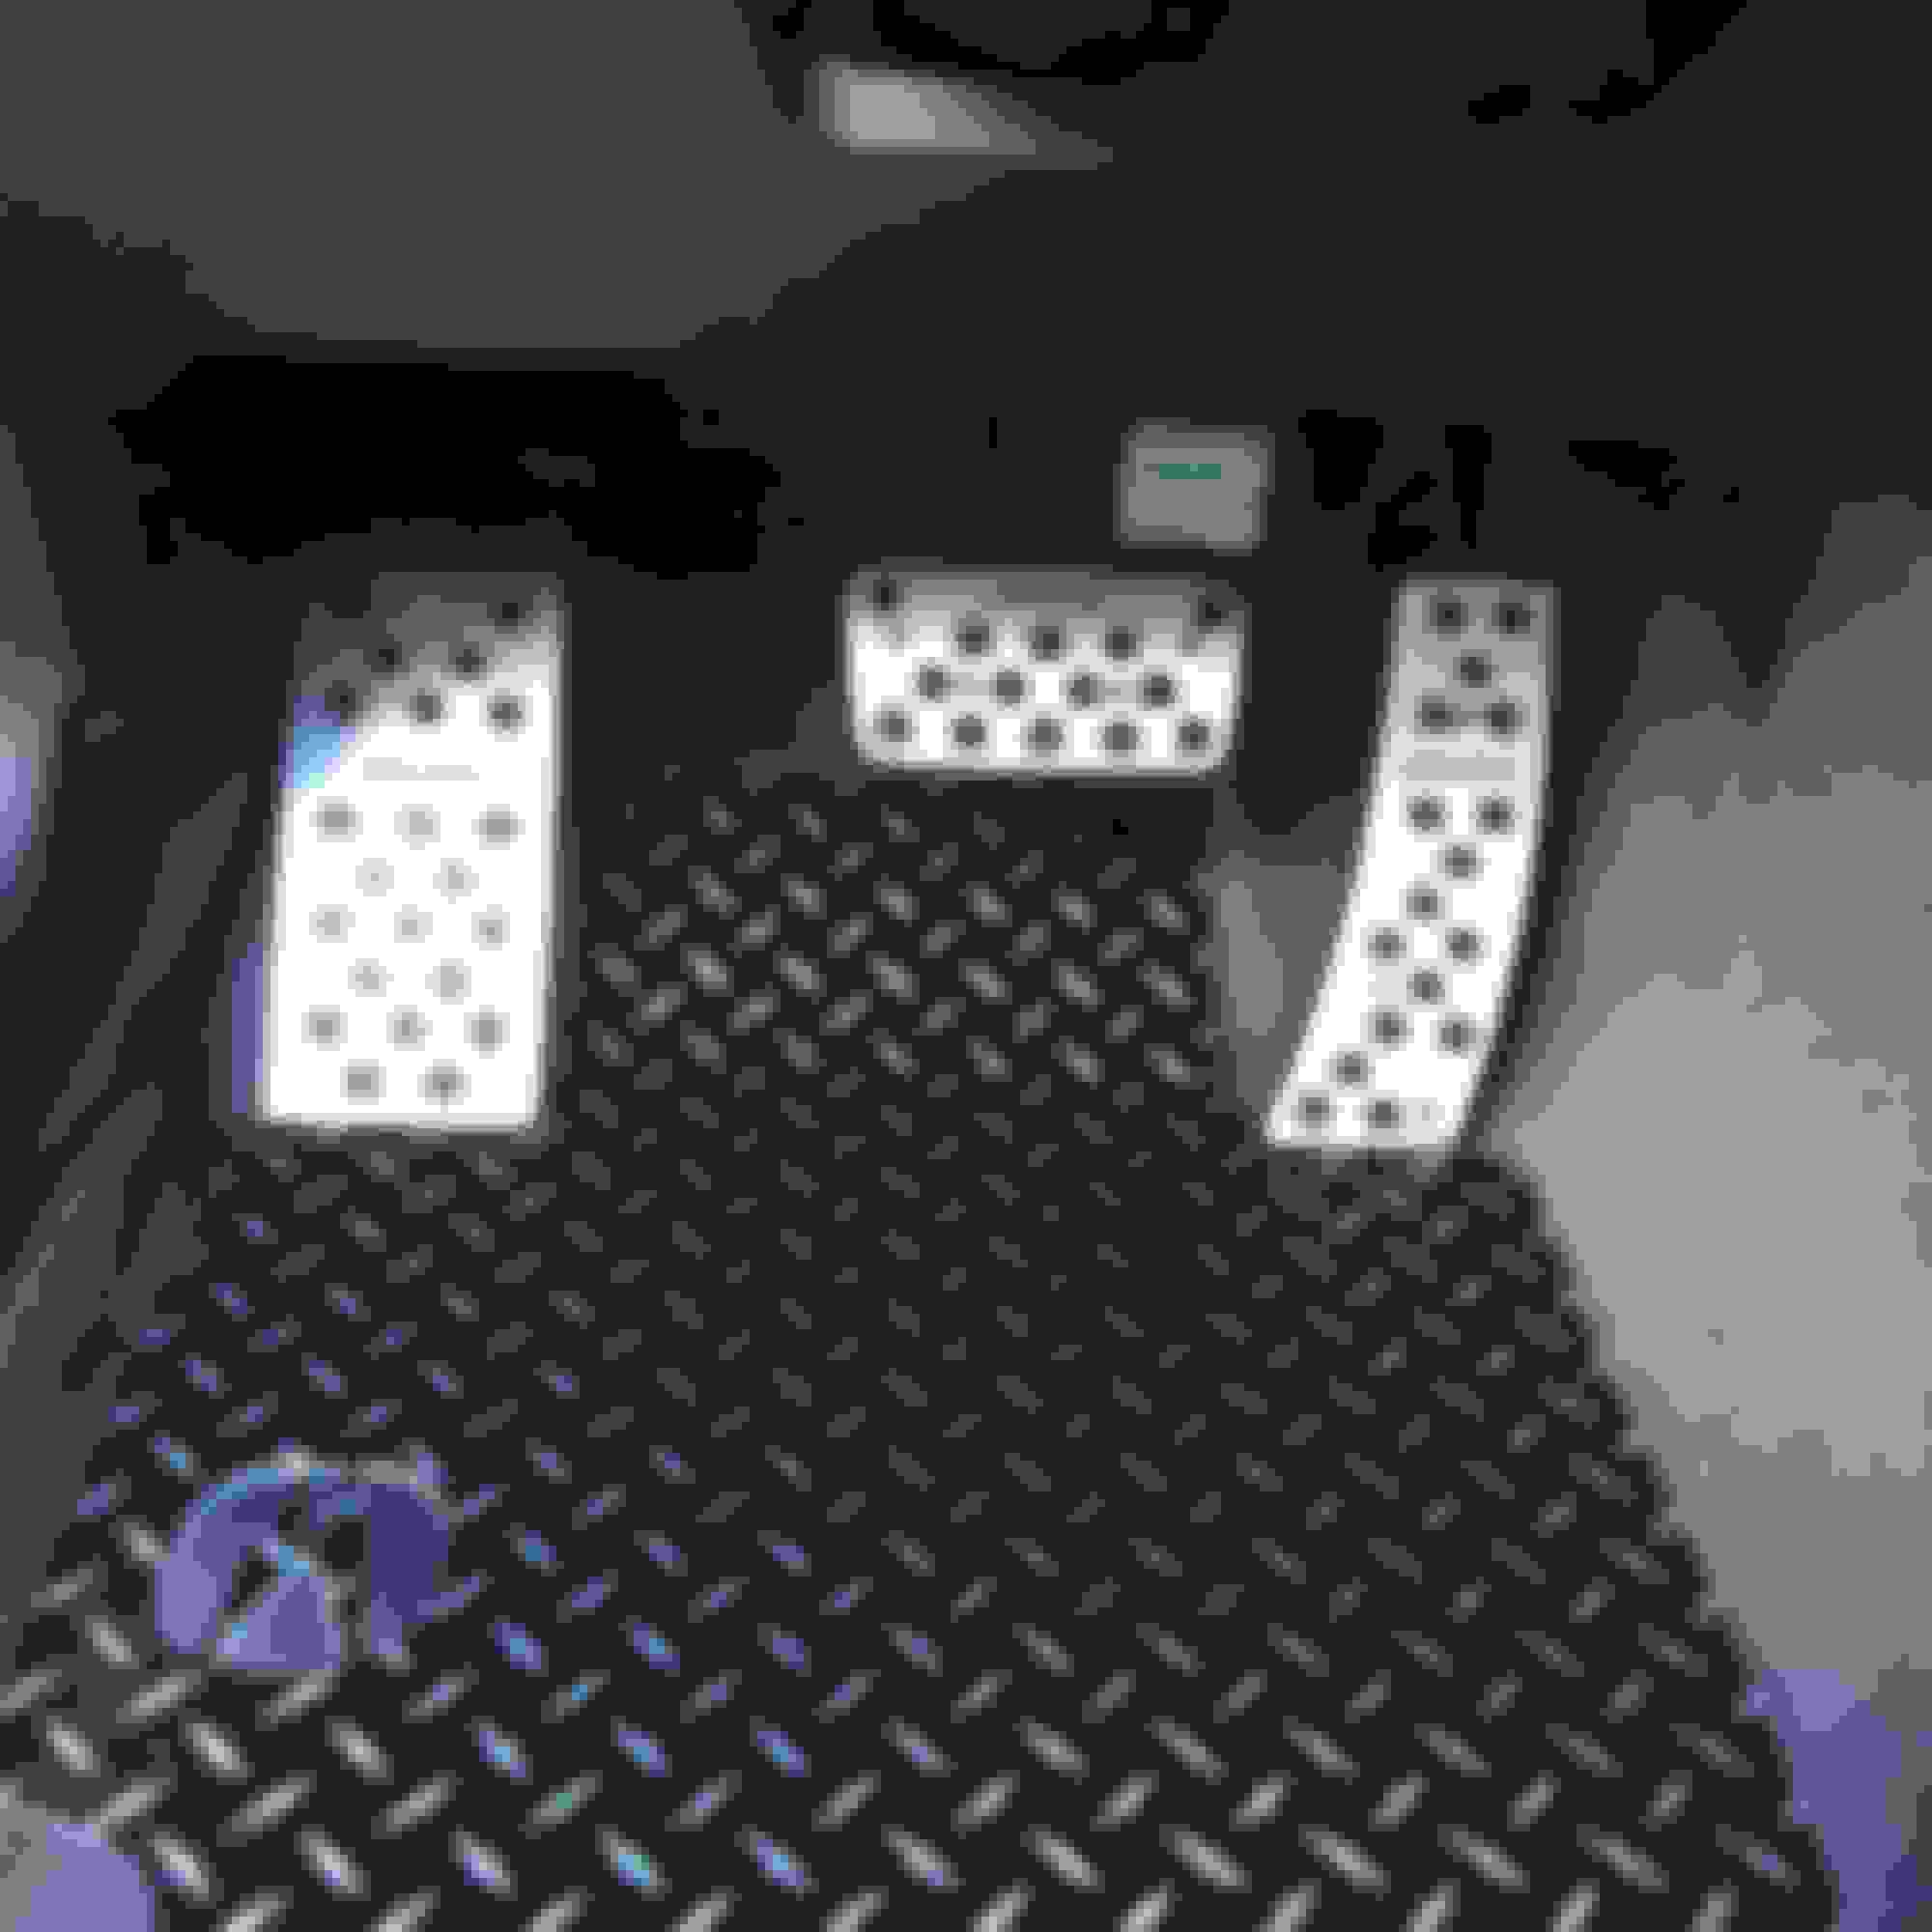
Final Result
Summary
Overall, I would give these pedals an 8/10. For $30, it is a pretty cool upgrade. However, there is the curvature issue that I talked about before with the accelerator pedal. It's not a huge deal, but still not ideal. The other thing that I would change is the shape of the dead pedal. These after market pedals do not taper at all. These pedals are more of a universal fit for various Acura models. Therefore, it does not align perfectly with the shape of the plastic dead pedal that exists in our 3g TLs.
Regardless, it was still fun to complete another project. Hopefully this was informative or at least entertaining for some.
I bought these and they are identical to the supercomputers pedals, minus the engraving.
The fit and curvature is spot on - after all they are supercomputers pedals.
I bought these and they are identical to the supercomputers pedals, minus the engraving.
The fit and curvature is spot on - after all they are supercomputers pedals.
Thanks for sharing.
I saw these as well, but didn't know if they would be an exact fit. It's good to know they are. If only they had the engraving...
I recently bought the same set... I've got a 6MT Type S, which already has aluminum pedals, but the lack of dead pedal bugged me. So, I bought that set just for the cheap dead pedal (they only sell auto, but it didn't matter to me). I couldn't justify spending the money on a full set of expensive pedals, since seemingly nobody sells it by itself. I liked that version over the 3amotor ebay pedals since the round rubber nubs match the OEM pedals better than the oval ones.
The only thing to note about these is that they claim to be for the 2009-2014 TL... I assume the difference in fit is just that the dead pedal is rectangular instead of trapezoidal. It's the perfect size otherwise, and looks great IMO. And from your install, it looks like the other pedals fit fine too.
For my dead pedal install, I removed the old plastic dead pedal (which had a small chunk cracked off) and installed it with 3M dual lock industrial velcro (stuck to the bare metal areas underneath the pedal). It's about the same thickness as the carpet, so it's flush, and seems to be holding great.
Also, the OEM Type S pedals are a shinier polished aluminum, and these are more of a brushed aluminum. So, I hit mine with the belt sander to give them a shinier look to more closely match the OEM. I didn't polish them though... maybe I'll do that some day.
You might have to some searching (which is extremely hard to do with the photobucket images being taken away), but it would be great if you could get your hands one one of these:

 08-05-2017 | 12:49 AM
 So, I made a trip to the Home Depot and bought some replacement screws, which were larger in diameter. Problem solved....
 . My wife is an optometrist , so she would kill me if I didn't put out a warning.