When you click on links to various merchants on this site and make a purchase, this can result in this site earning a commission. Affiliate programs and affiliations include, but are not limited to, the eBay Partner Network.
Which splitter are you installing? I just purchased an 11-14 CS-1 style lip and can't seem to figure out how to install it on the A-Spec lip. The splitter isn't easy to flex and I really want to get it put on. I've seen a couple 07-08 TL's with the splitter installed and it looks bad ass. If you can share some install pics once you figure it out it would be GREAT!!!
Which splitter are you installing? I just purchased an 11-14 CS-1 style lip and can't seem to figure out how to install it on the A-Spec lip. The splitter isn't easy to flex and I really want to get it put on. I've seen a couple 07-08 TL's with the splitter installed and it looks bad ass. If you can share some install pics once you figure it out it would be GREAT!!!
I'm installing the exact splitter you mentioned haha! I've ran it before on my base bumper and it worked great. I'm picking it up tomorrow and will install. I'll post pictures of it as I'm doing it. My wife had to help me heat and mold it last time and I'm sure I'll have to do it again. Coincidence enough, I'm buying the exact same lip back from the buddy I sold it to six months ago haha.
It definitely looks badass! Enhances the look for sure, keep an eye out!
Maaaaaan, if you can manage to post pics of where to tap the screws and where you applied heat to mold it to the lip it would help big time! Look forward to hearing from ya soon!!!
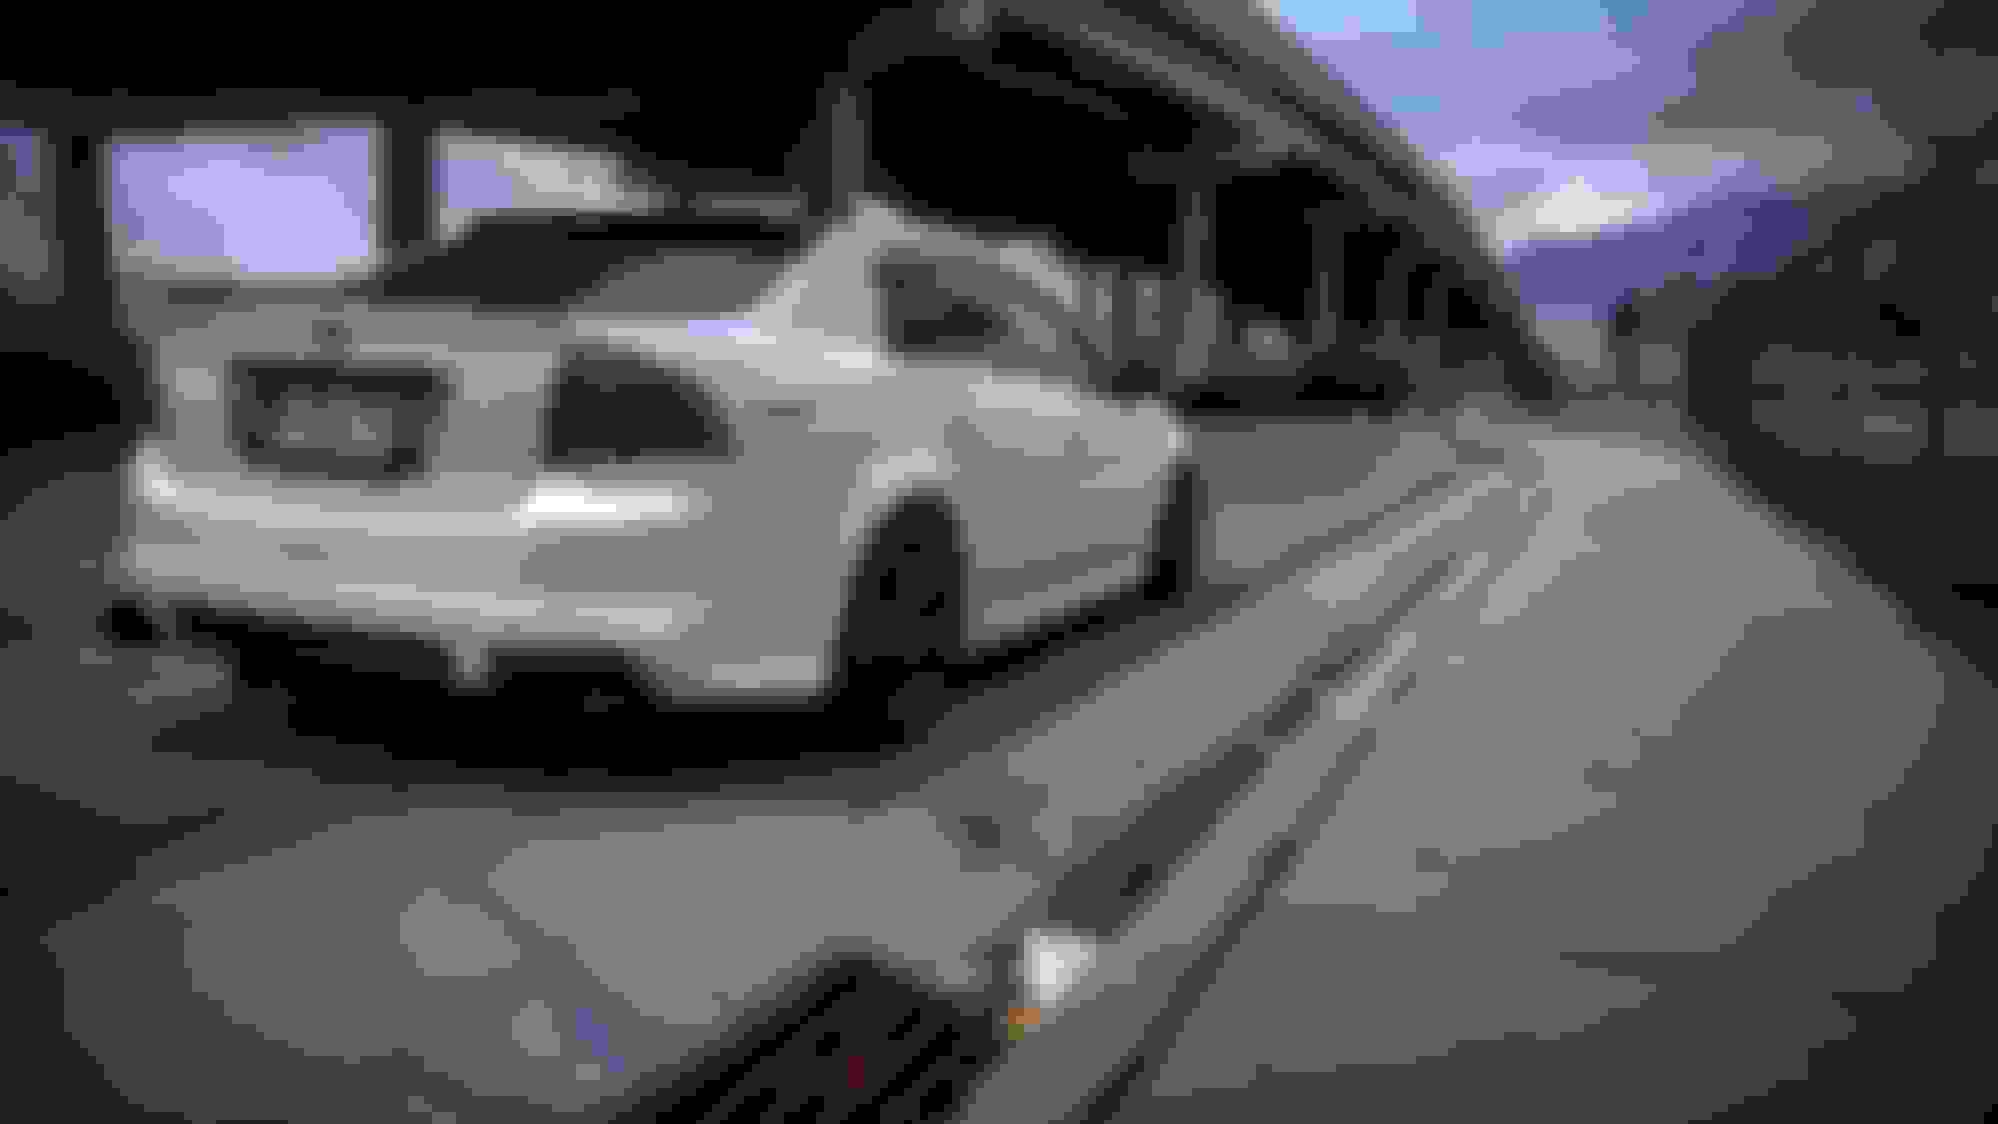
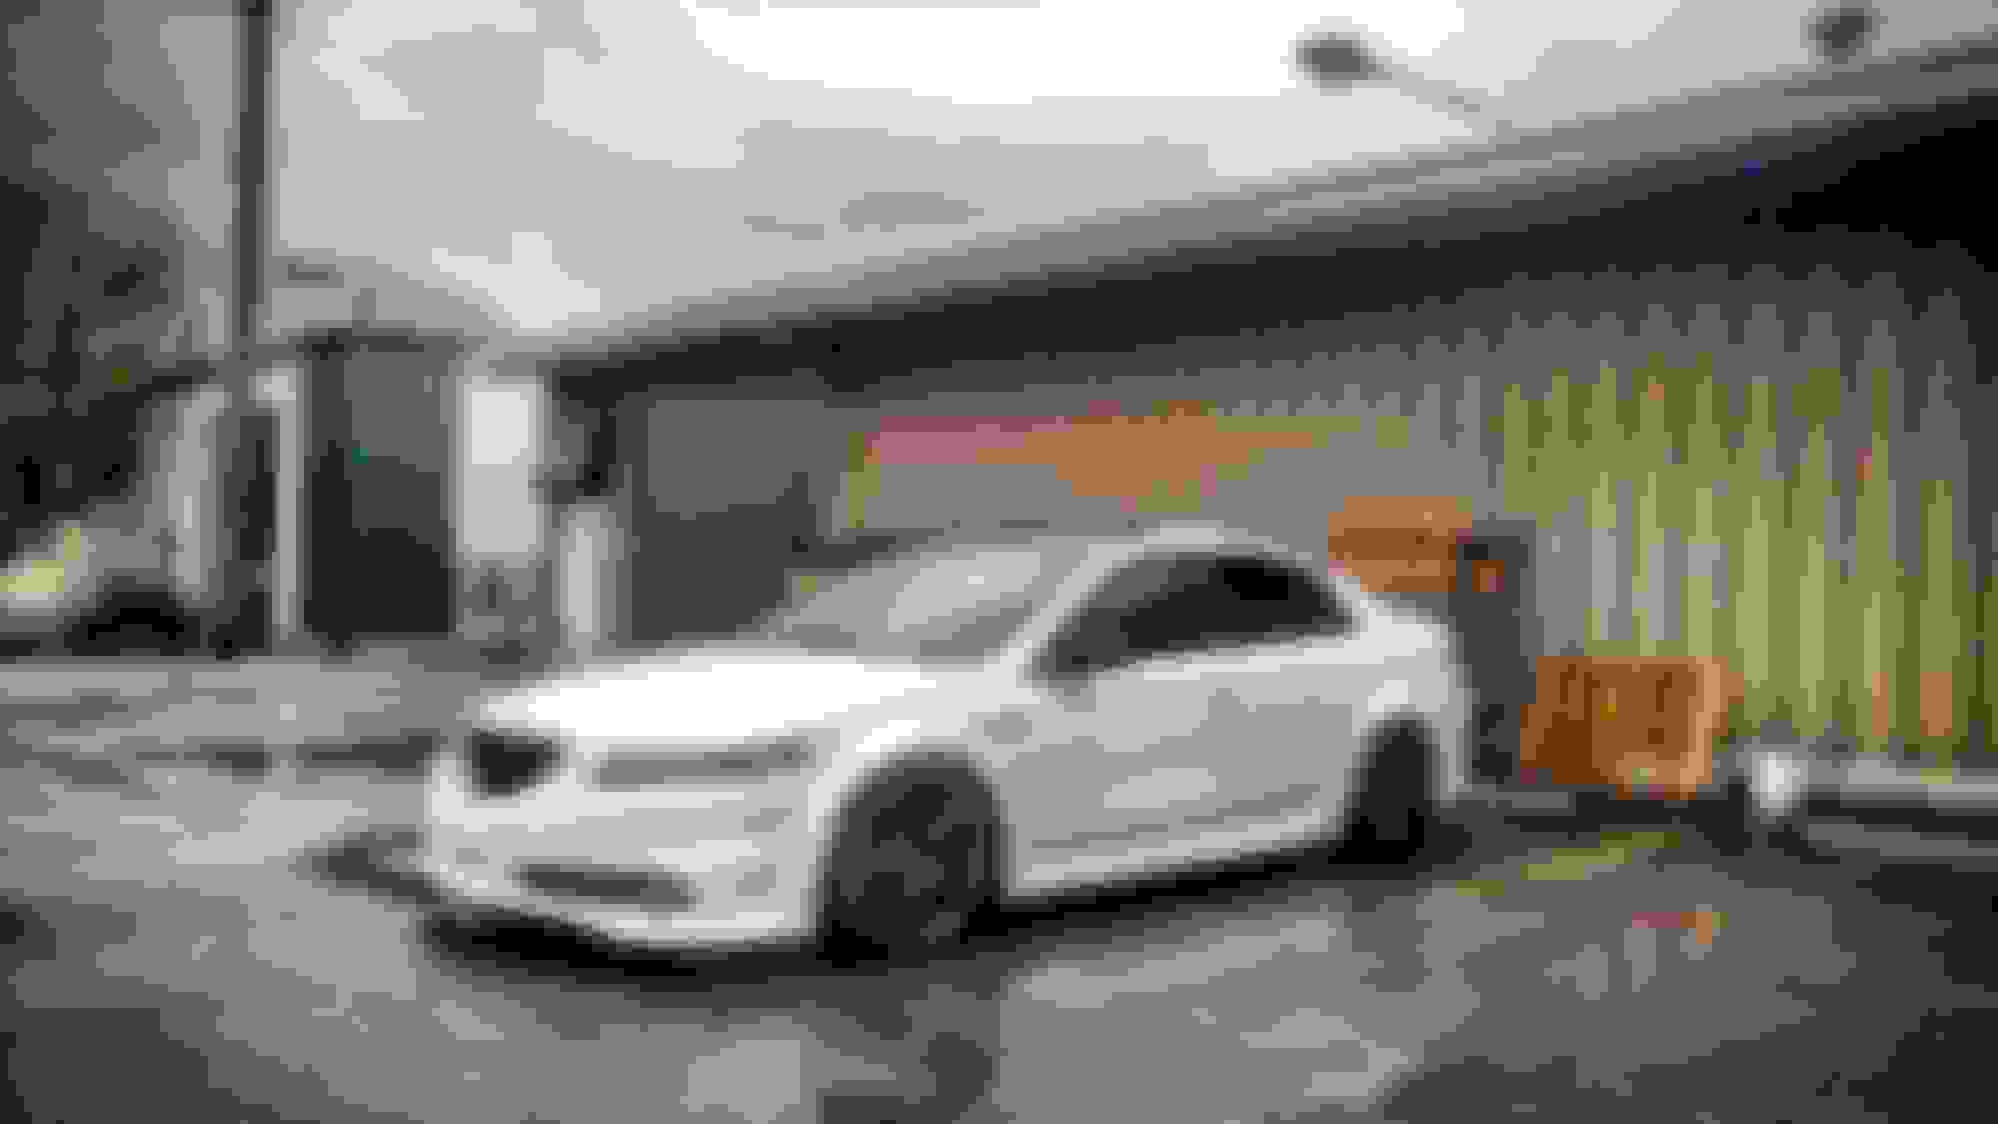
07-08 Type S Aspec Rear Lip installed this morning before work. I've gotta make a few adjustments w/ fit and put my rear diffuser and spats back on. I'll post pictures after that and a wash. Best purchases in a while, as we know it completely changes the look of the car. I'm ordering my STI Splitter tomorrow since my old one was cut for a base bumper it's too short. Keep an eye out for those pictures!
07-08 Type S Aspec Rear Lip installed this morning before work. I've gotta make a few adjustments w/ fit and put my rear diffuser and spats back on. I'll post pictures after that and a wash. Best purchases in a while, as we know it completely changes the look of the car. I'm ordering my STI Splitter tomorrow since my old one was cut for a base bumper it's too short. Keep an eye out for those pictures!
Coming along nice! The splitter you had installed before was for an 06-07. The splitter I was referring to is the 11-14 model. Are you installing the same one? Also where did you get the rear diffuser? I have one currently waiting to install but the fins are smaller than the one you have which I'm likin the look lol.
Coming along nice! The splitter you had installed before was for an 06-07. The splitter I was referring to is the 11-14 model. Are you installing the same one? Also where did you get the rear diffuser? I have one currently waiting to install but the fins are smaller than the one you have which I'm likin the look lol.
Thank you! That's correct, I'm going w/ the 11-14 CS Type 1 lip, same as what you're referring to. I actually custom made the diffuser out of ABS and hardware. It needs another fin or two but I really DIG IT.
Originally Posted by MyGuti
It could be the lighting in the shot, but is your rear aspec lip lower on the right side>?
No you're correct. I had to throw that one side on quickly before having to leave for work after nearly dying w/ anticipation haha. It's since been
Originally Posted by Shadow2056
Nice shot. What exhaust is that?
Originally Posted by navicolb
Same here i want to know how people install there 11-14 ST lip
I'll post some pictures of install once it's here. May be a few weeks considering recent splurges on the Aspec. Keep your eyes open! That's the lip I'm going w/ too, but I have one in my cart for only about $65 shipped. Here's the link. CS Type-1 Style Front Lip (Urethane) Fits 11-14 Impreza WRX STi | eBay
I'm loving your build my dude, amazing work!
Thank you very much! I've fallen in love again w/ the recent additions.
Originally Posted by Shadow2056
Nice shot. What exhaust is that?
Exhaust is mid/rear muffler delete to 4'' black blast pipes. Love the tone, I do want to swap out my resonator though to Dynamax.
Last edited by Steven Bell; 09-26-2017 at 08:06 PM.
Reason: Merged Posts-please use the Multi-Quote button (middle icon) in the lower right hand corner of each post to make your response look like this!
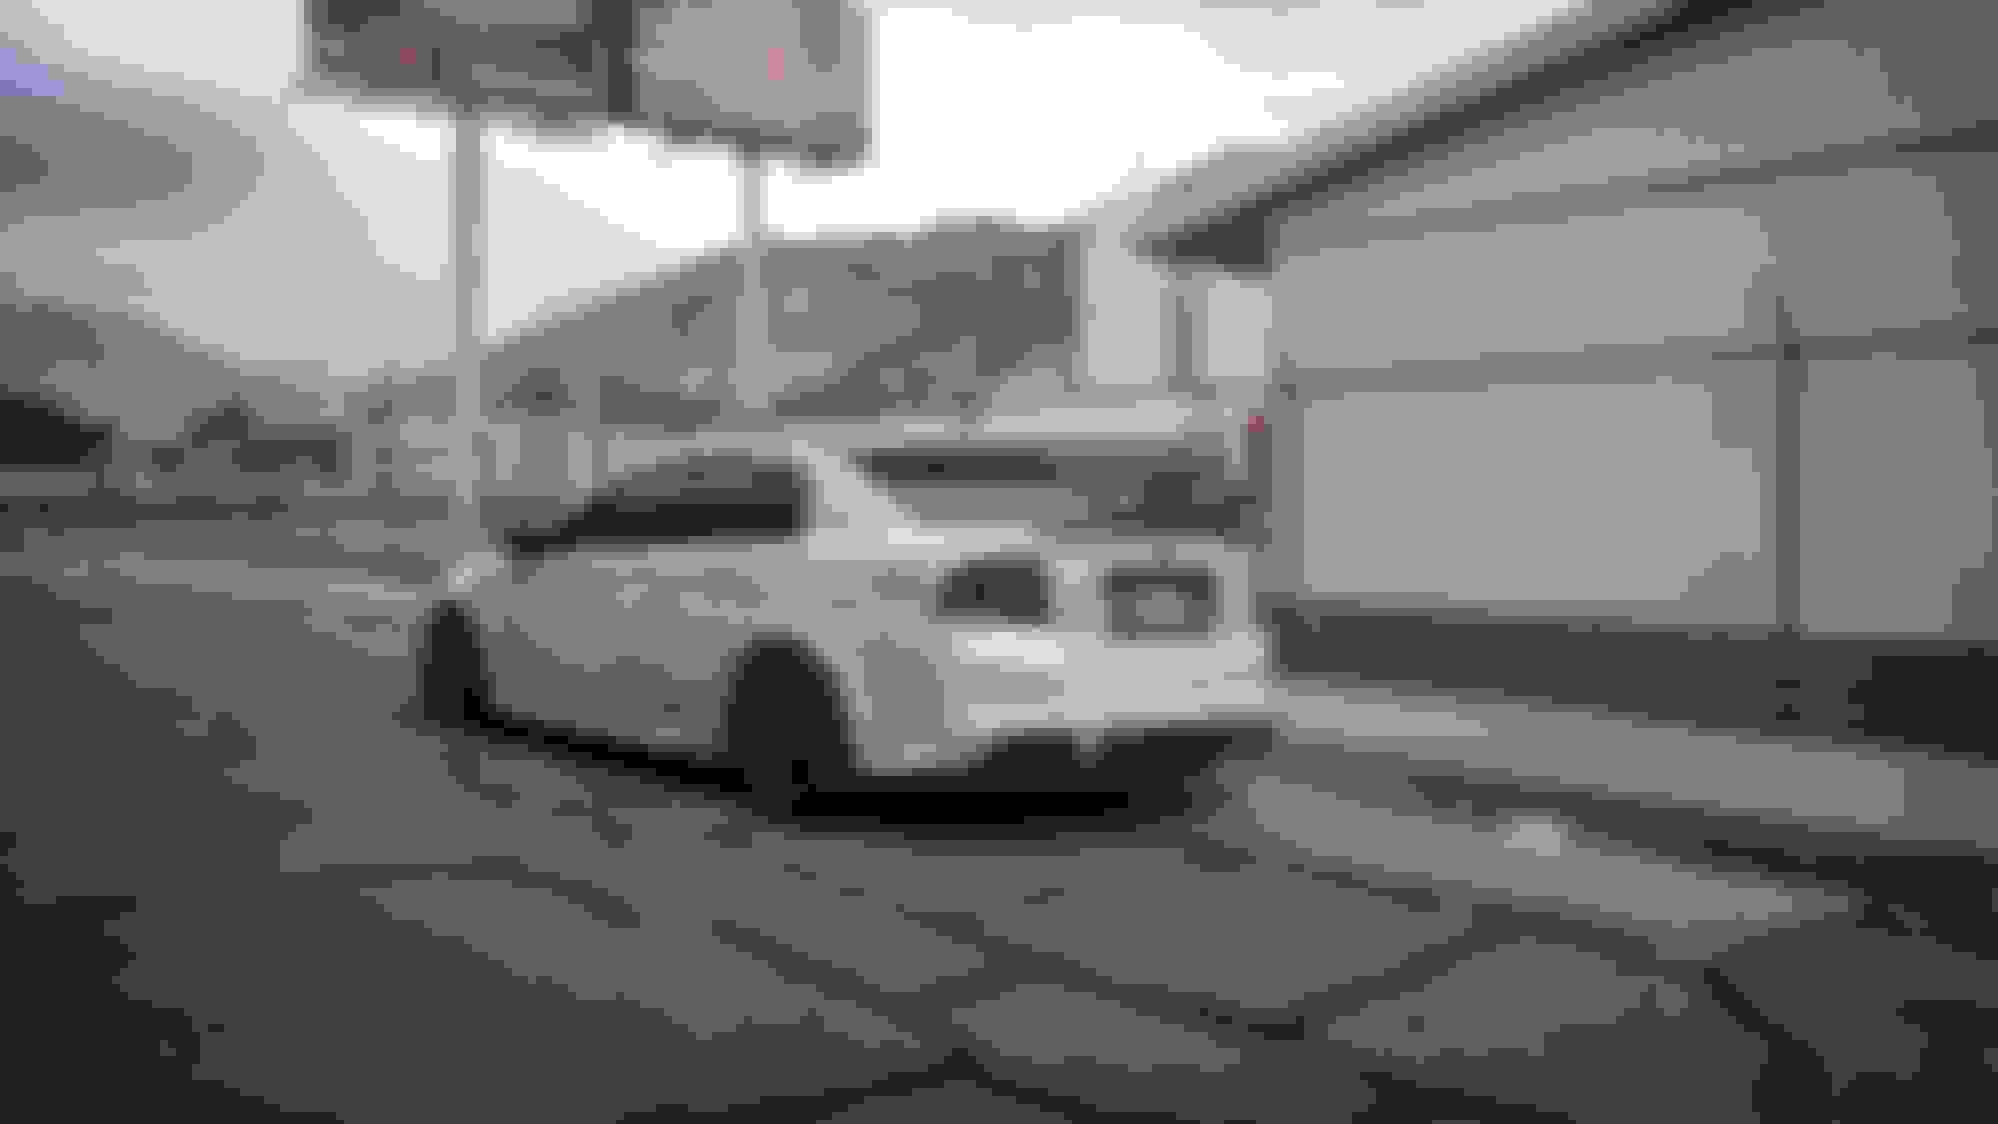
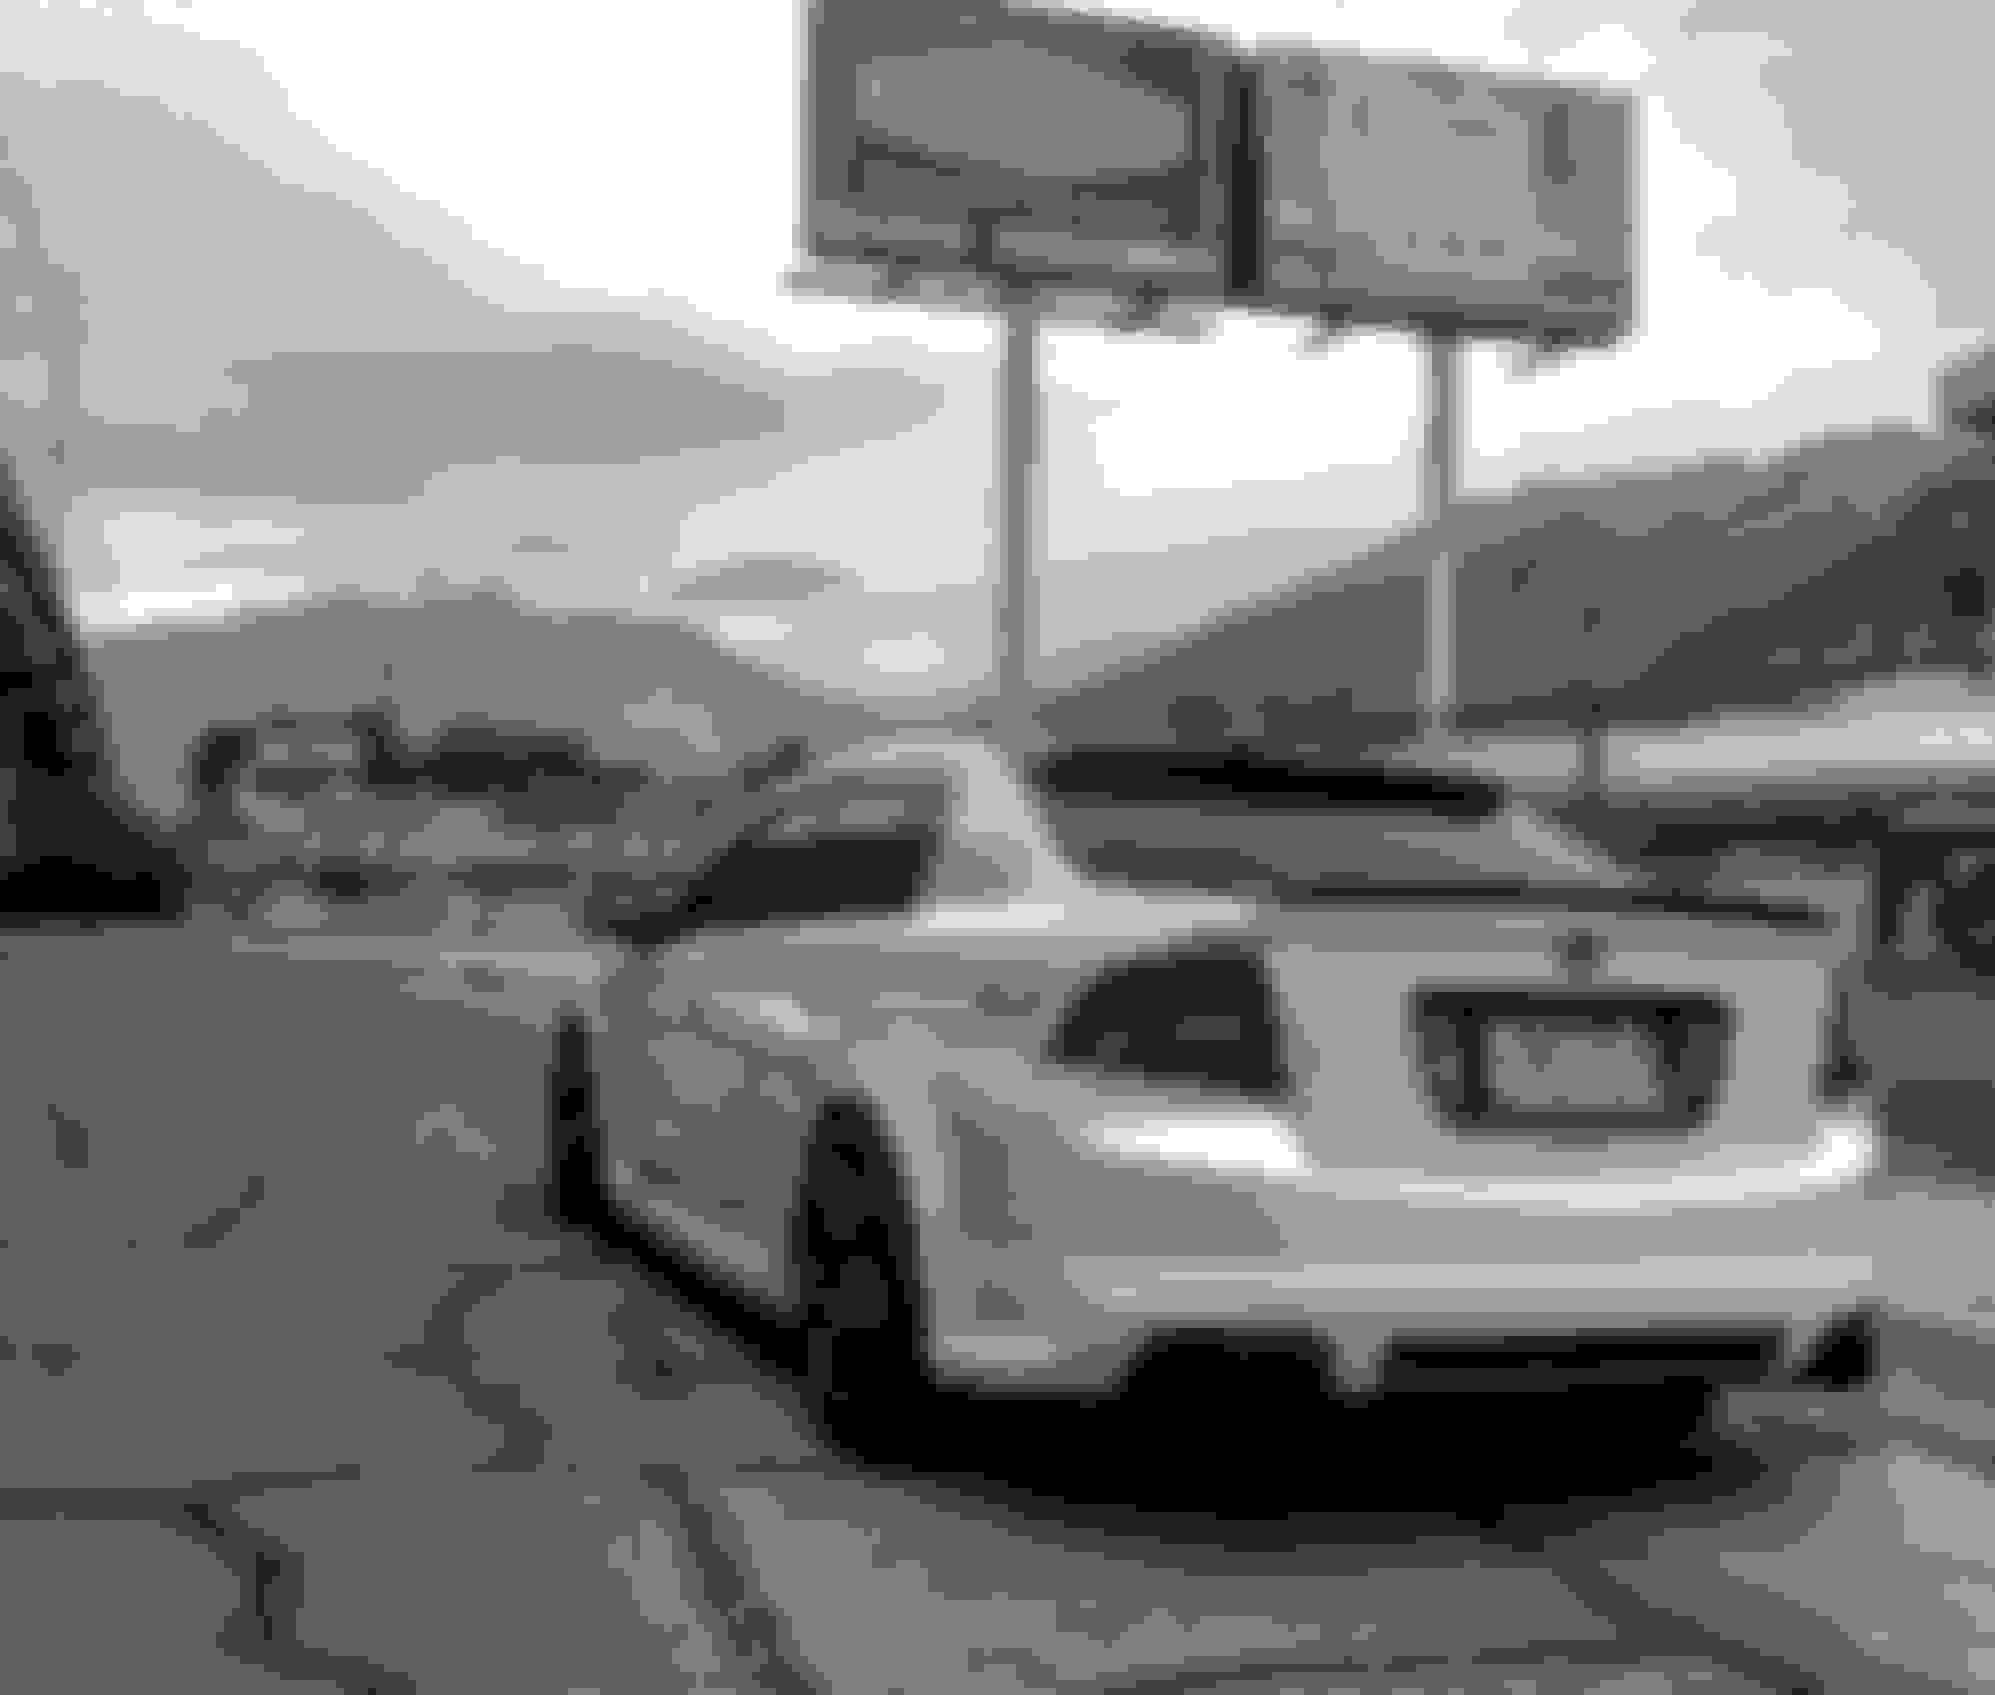
I'm not the best picture taker, but I wanted to snap a few since the front and rear were both installed. I'm going to get an STI front splitter at least before winter, along w/ some new fender liners (mine have been MIA for a while now haha), I've also got a sub and amp to install to give myself a much upgraded music experience, I'll probably run the wires this weekend. Anyways, as always thanks for stopping by!
07-08 Base Headlights Satin black housing Satin black Housing Gloss White Projector Shroud Clear diffusers Red Passive Demon Eye Finished Red Passive Demon Eye Finished
few things...
First off.... AWESOME!!!!! I'm impressed by all the work.
now 1st question: Where or how did you do the clear diffusers (Bought? or somehow cleared?)
2nd: How did you paint the rings? sanded (what grit?) and primed (What primer?)
3rd: What bulbs are in the turn signals (brand and K) along with what fog lights (brand and K)
can't seem to get my lights to match
Thank you very much!! It's taken lots of work but I'm very happy with where she is today.
Clear diffusers I sourced months back while waiting to source a set of decently priced headlights through a random site after months of searching.
Rings/Shrouds are painted w/ Rustoleum Gloss White w/ primer built in. Lightly sanded w/ 600 grit. After paint I baked painted pieces in oven to set.
Bulbs in signals are 7443 Endless RPM Switchback LED's. $46 shipped and they only come in one color, which I'd assume is 6K. Fog lights are 6K LED Bulbs from CREE Sourced online and I paid about $40 for the set.
Let me know if you have any other questions. Thank you!
dude, you either read up very well, or you have tons of experience. You NAILED the process of how to do it right. Extremely nice work.
I'd suggest having someone sand and 2K clear them and they'll be brand new forever.
Lights look good! I think that's my next 'big' project too
It's a great mod that really changes up the look and let's you be creative doing whatever color combo you want.
Originally Posted by rockstar143
dude, you either read up very well, or you have tons of experience. You NAILED the process of how to do it right. Extremely nice work.
I'd suggest having someone sand and 2K clear them and they'll be brand new forever.
Great job!
Haha! I've done both. I've read and read about it in the past and I have done this project several times over w/ my own and others' lights. I'll post some pictures of the other setups I've done below this post.
Originally Posted by Shadow2056
Love the white bezels man! Another thing about the TL is that we can paint those. Hahah. Looks great.
It was daring because I'm usually really into either black or gunmetal gray. But I went with it and am super happy I did. Thank you!
Bake for ten minutes at 200 degrees. Separate carefully, I use a butter knife to pry them apart.
Take your time, take your time, take your time. Rushing causes injury haha!
After I painted each piece I wanted, I baked in oven at 100 degrees to set the paint and cure.
Mock up on the car and make sure you like the way they look! Definitely a necessary mod in my eyes. I love my headlights!
lol I'm actually in the process of separating the headlights lens from housing. Correct in assuming you only paint the pieces that attach to the inside of the lens correct? don't touch anything in the black housing?
lol I'm actually in the process of separating the headlights lens from housing. Correct in assuming you only paint the pieces that attach to the inside of the lens correct? don't touch anything in the black housing?
Nice!!
Completely up to you. Paint anything you want, that's the fun part. However, I would say don't paint the projector shroud rings or the strip on the edge just to confirm you don't like them the stock color. They look awesome sometimes left unpainted but w/ the rest blacked out. LMK if you have any other questions. Happy to help!

 09-07-2017, 05:12 PM