When you click on links to various merchants on this site and make a purchase, this can result in this site earning a commission. Affiliate programs and affiliations include, but are not limited to, the eBay Partner Network.
Detailed Coilover Suspension Install on 07 TL-S 6MT
My friend found a mint 2007 TL-S 6MT locally and bought it a few months back.
A week after buying it, he asked if I would lower it for him. So...because I am an excellent person overall, I agreed.
He chose Tein Street Advances. This is his 2nd car that's been on SA's. This install should translate over into other similar systems as well. Hope you's find this helpful.
I hate that I have to say this portion...but this is the way I install suspensions. You're on your own to ensure your safety and quality of install.
This started off as a completely stock 07 TL-S.
I started off by PREPPING:
Really, that just means jacking the car up and putting 4 jackstands under it.
I decided to get to work on the FRONT SUSPENSION first.
I first removed the engine cover(s) - NOT PICTURED.
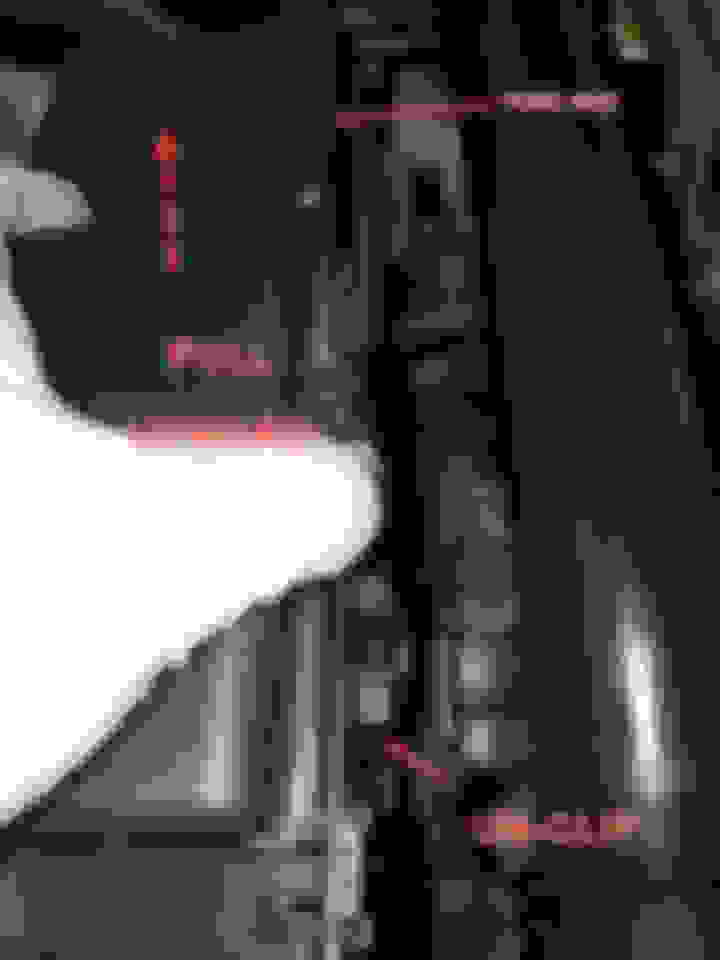
Then...the longassed process of REMOVING THE STRUT TOWER BAR:
I'm sure I missed some steps to removing that thing lol.
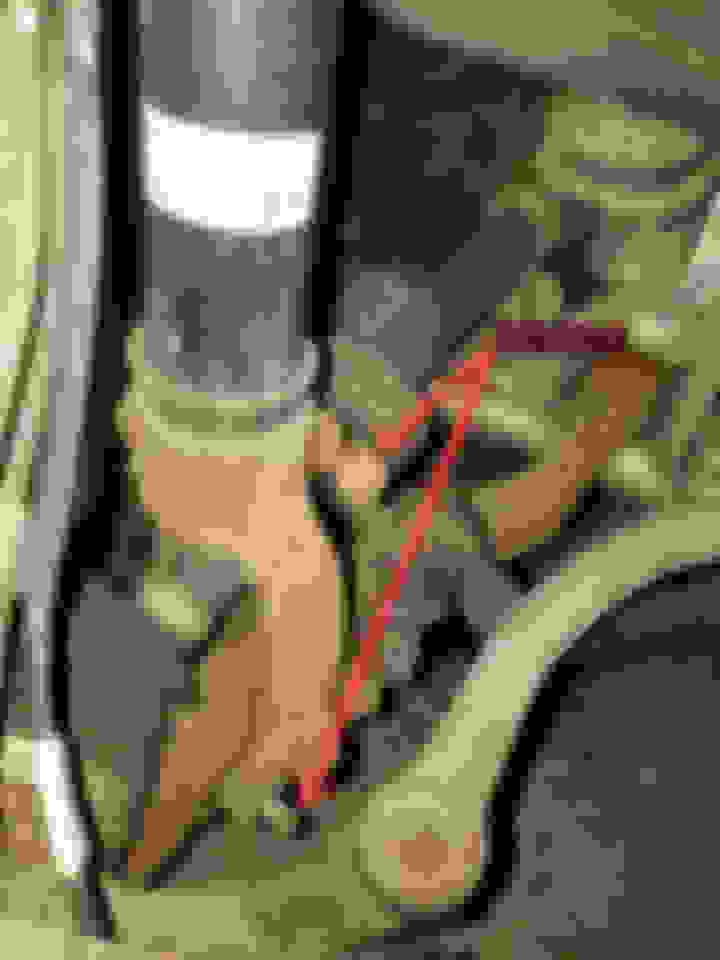
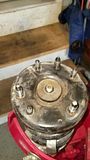
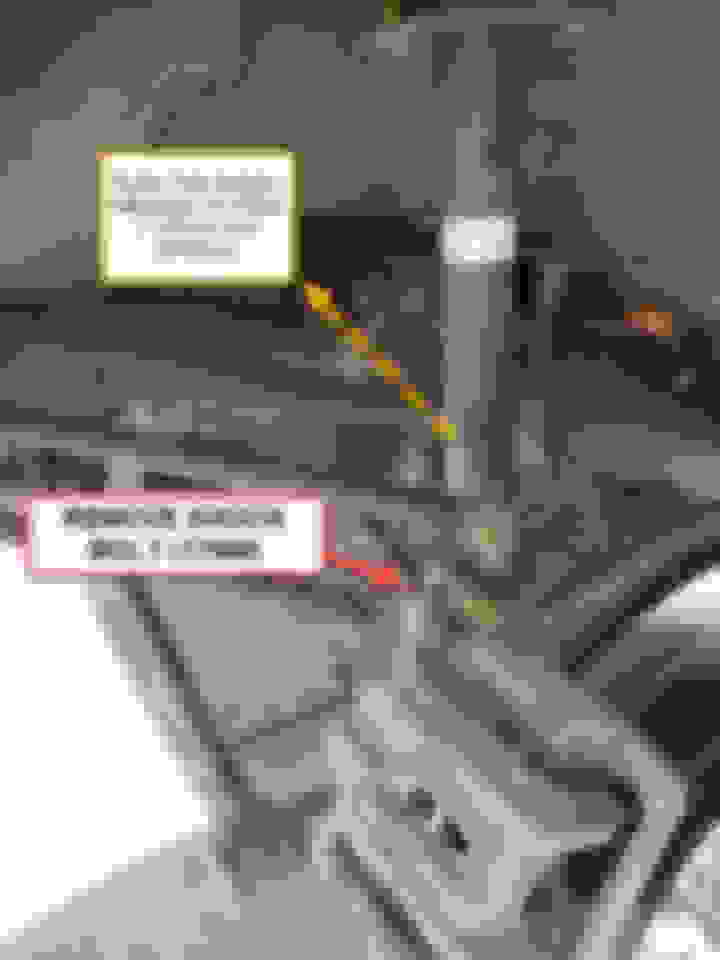
STEP 1 REMOVING THE FRONT SHOCKS:
- Un-bolt the lower shock fork:
-Then
STEP 2 PUT THE SPRING/SHOCK ASSEMBLY IN A SPRING COMPRESSOR TO DISASSEMBLE IT:
**You can skip these steps if you bought coilovers that already have pre-assembled top hats.**
Be careful doing this. The front spring is under a lot of compression.
The front spring has lots of power behind it when you release it. So be careful on this step:
STEP 3 REPEAT STEPS 1 - 2 FOR THE RIGHT SIDE
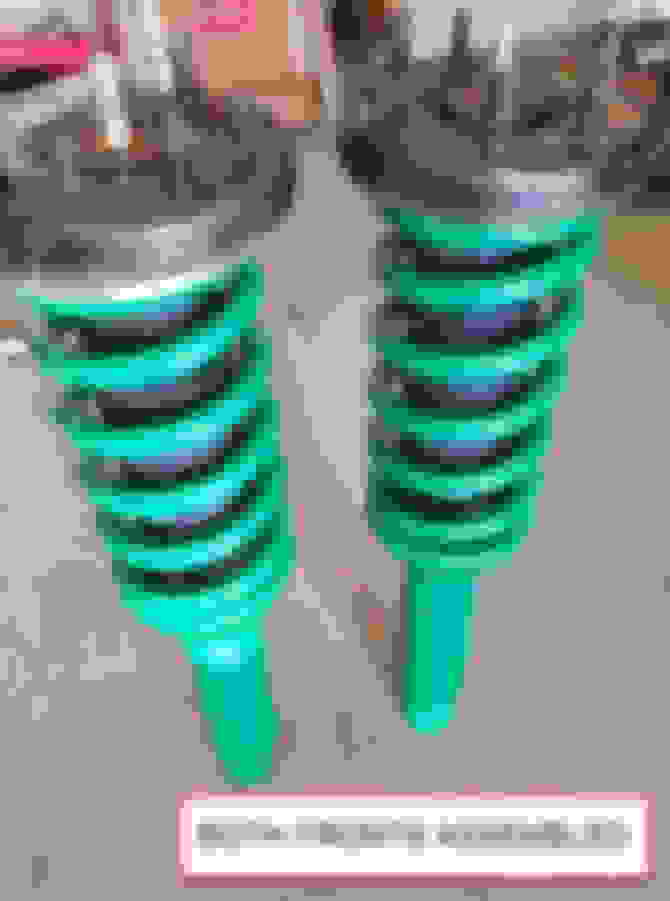
STEP 4START TO ASSEMBLE THE FRONT COILOVERS (TEINS IN THIS CASE):
Now, it's time to re-install the FRONT coilovers to the car.
******I AM STARTING MY INSTALL WITH THE LEFT FRONT WHEEL******
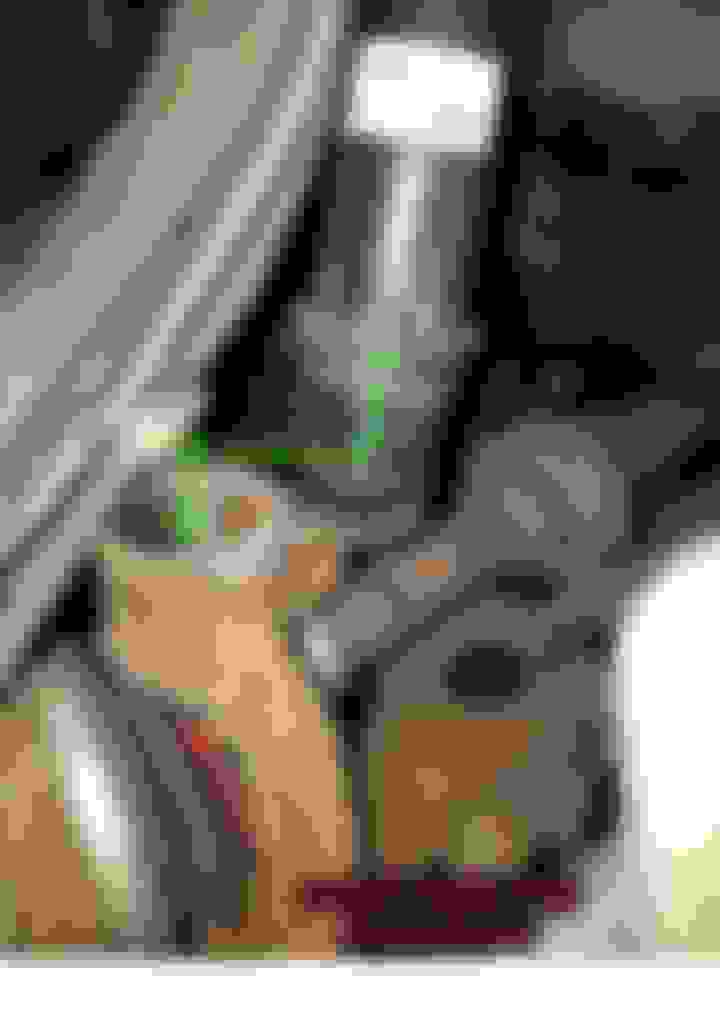
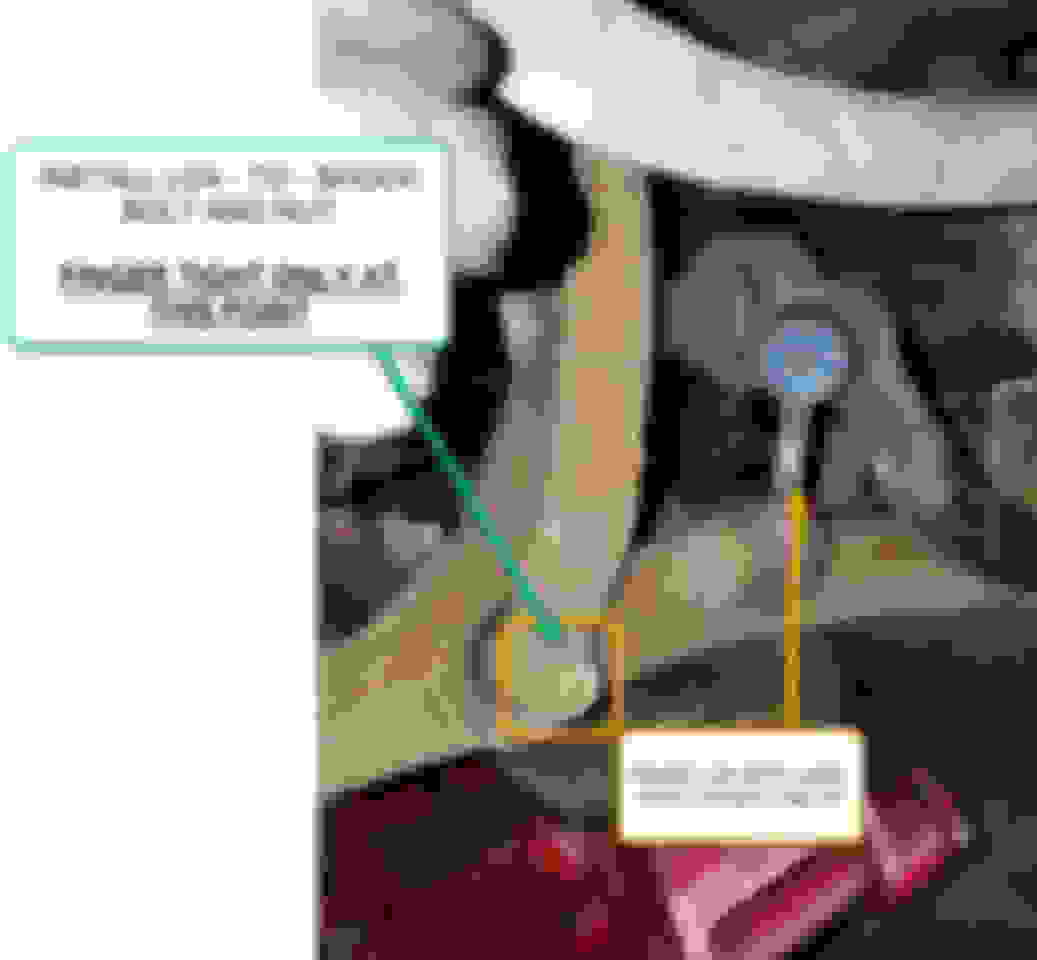
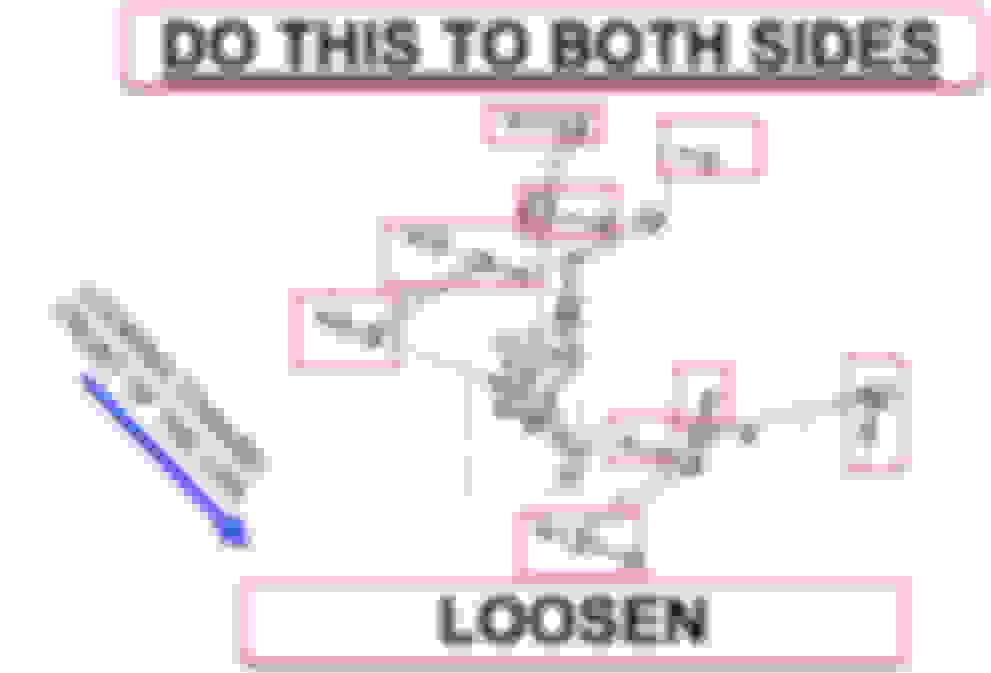
STEP 5 LOOSEN FRONT BUSHINGS:
-Loosen the red circled bolts:
STEP 6 INSTALL THE FRONT COILOVER:
STEP 7 CLOCKING THE FRONT BUSHINGS:
Clocking the bushings means to tighten them at your intended ride height. This is a critical step to make sure that the bushings don't prematurely tear out. I have seen so many posts on this forum about people who have had trouble with torn out bushings causing all kinds of issues....ESPECIALLY on aftermarket components, whose bushings are almost always inferior to Honda's.
Jack up on the LCA at the ball joint. Use a rubber pad or a hockey puck under the jack.
Jack upward until you reach the measurement of your intended ride height. If you want to ride around at 13" from wheel arch to wheel center, for example, then your dimension (A) below would be 13".
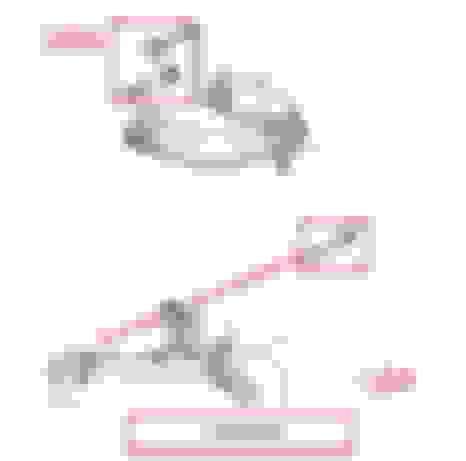
Tein's manual has reference measurements to this. So if you want to set your car up like Tein recommends...then follow THEIR measurements listed in the manual for this dimension. The diagram shown below is from the Tein manual.
Whatever dimension you want, make sure you WRITE DOWN THIS MEASUREMENT.
Once you have reached the "ride height" you want, go ahead and TIGHTEN the bushing bolts that I've circled below in red:
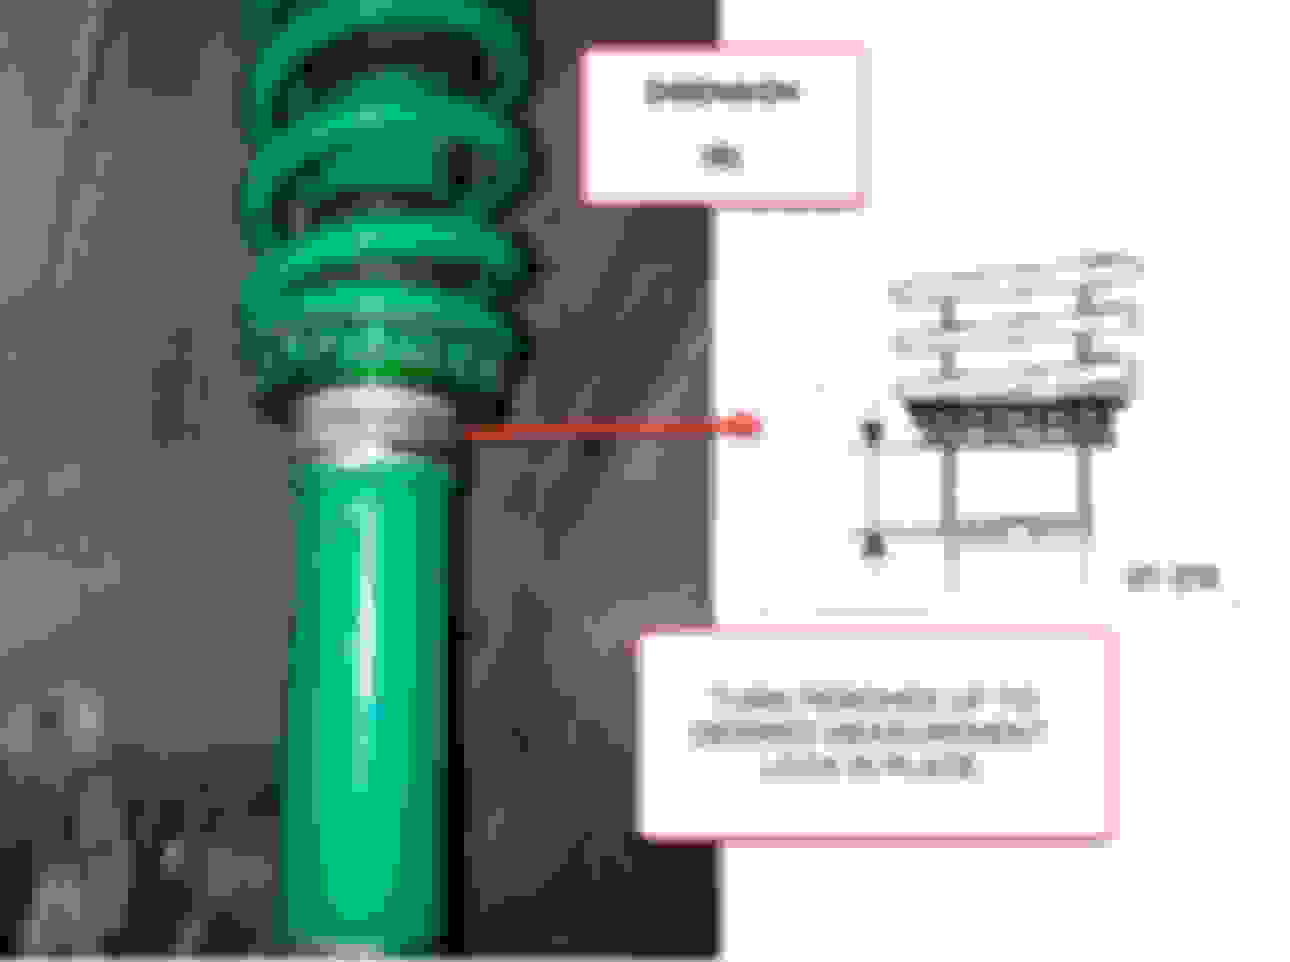
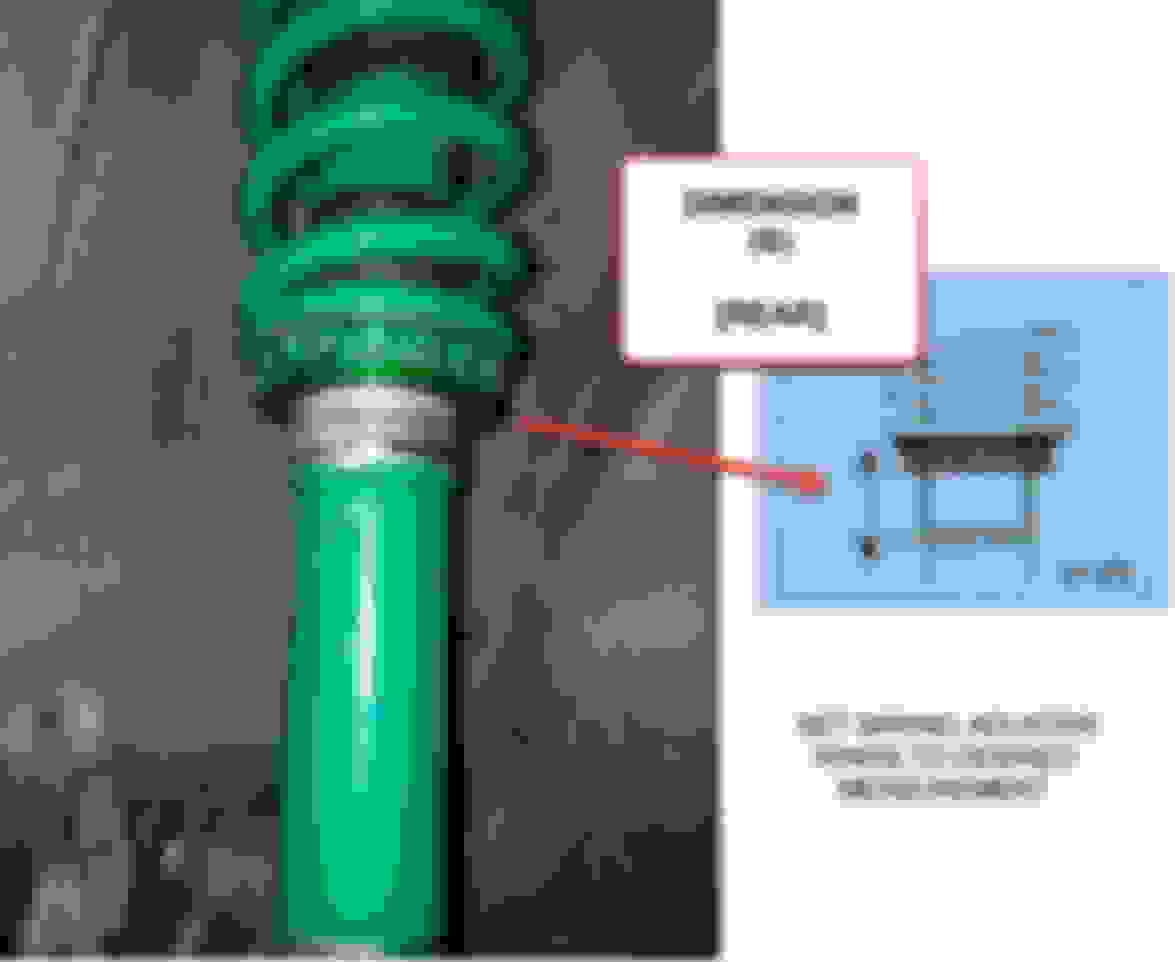
STEP 8 SET FRONT SPRING HEIGHT:
Now you're setting up the spring height. The spring height Dimension (B), must correspond with Dimension (A). I think Tein's manual shows a Dimension (B) of 1" to get a Dimension (A) of 13.25" (IIRC, check your manual. My memory is terrible. I store everything in the *cloud*.
STEP 9 REPEAT STEPS 3-8 FOR THE OTHER FRONT SIDE.
Now move to the rear of the car.
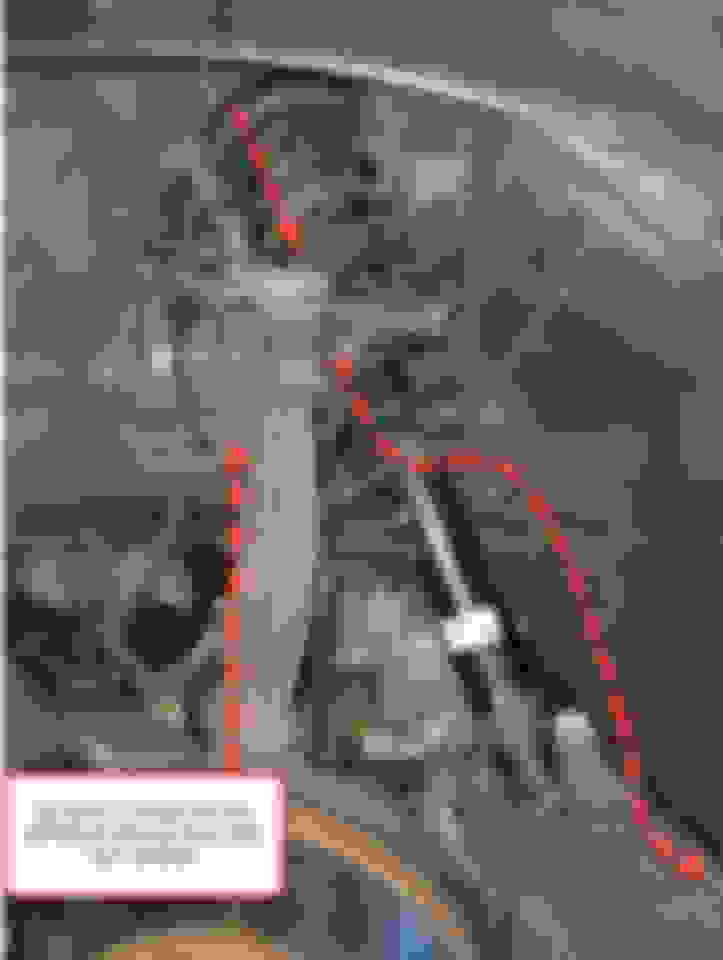
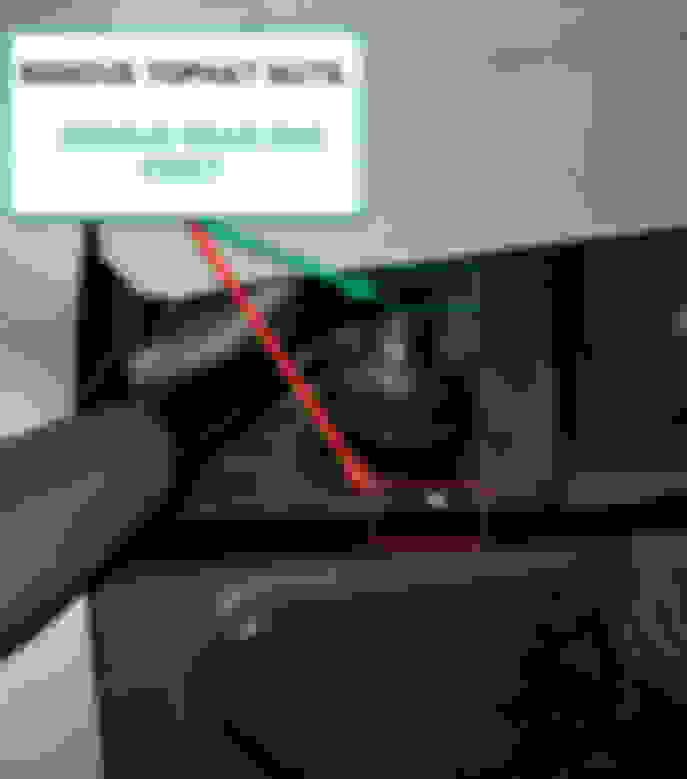
STEP 10 REMOVE REAR SEAT:
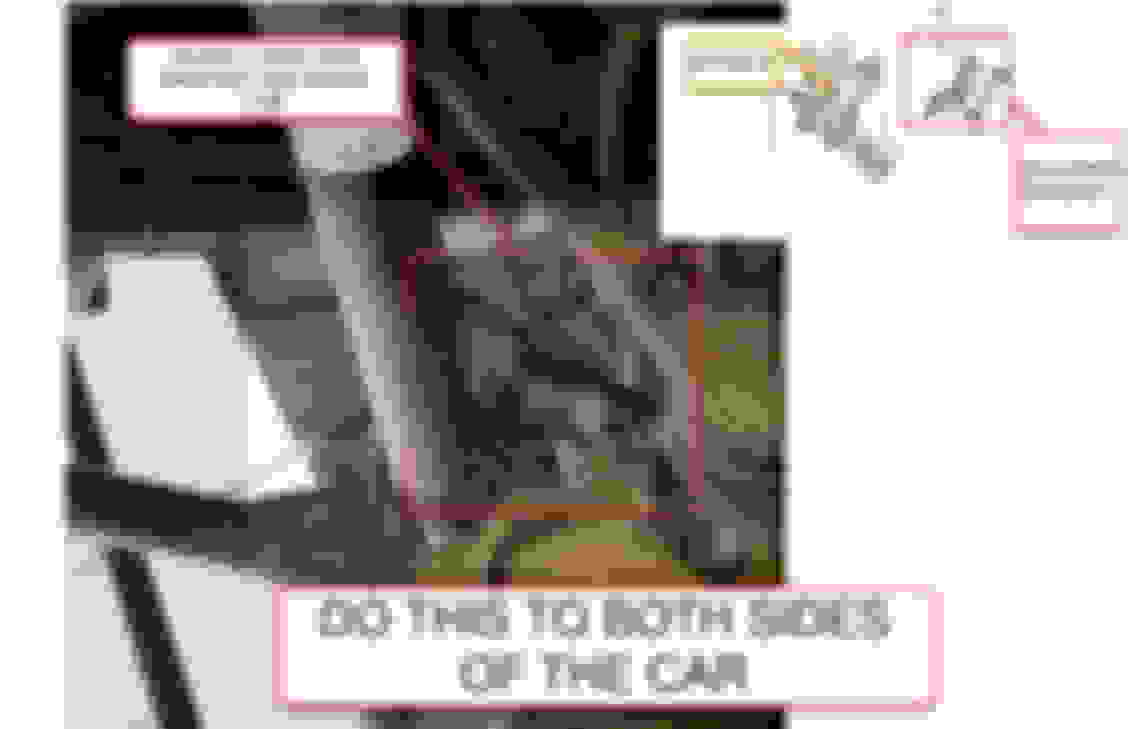
****I AM STARTING WITH THE RIGHT REAR WHEEL**** STEP 11 UNBOLT REAR SHOCK AND SWAY BAR BRACKET:
Step 11 should be done to BOTH sides of the car before moving on to step 12.
Note that loosening the sway bar as shown will allow you to move it out of the way and easily remove the shock.
STEP 12 REMOVE REAR SHOCK FROM THE CAR:
STEP 13 PUT THE REAR SHOCK IN A SPRING COMPRESSOR TO DISASSEMBLE IT:
Also, put together the rear coilovers.
REMEMBER TO RUN THE SPRING ADJUSTER THREADS ALL THE WAY DOWN.
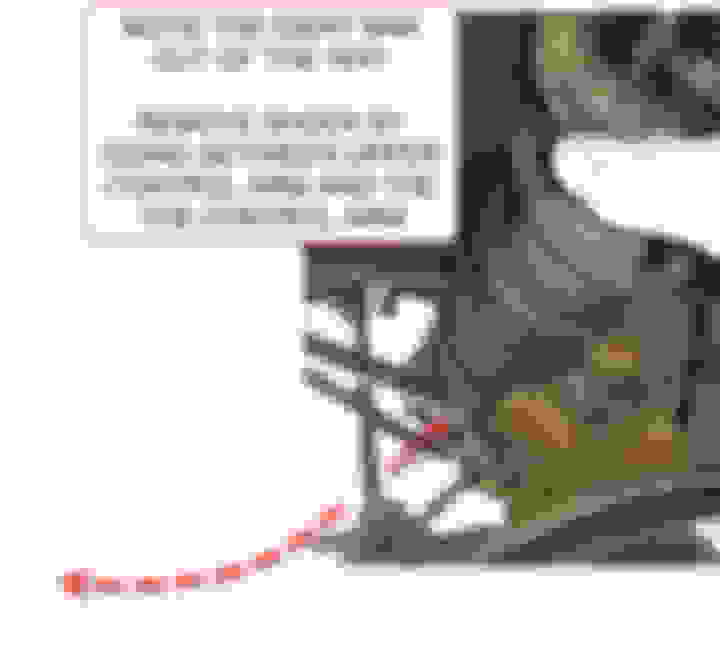
STEP 14 LOOSEN THE 800,000,000 REAR BUSHINGS:
Do step 13 to both sides of the car before moving on to step 14.
The suspension will go droopy and will move around freely after doing this. This will make it much easier to install the rear shock
STEP 15 INSTALL REAR COILOVER:
Do step 15 to both sides before moving onto step 16.
Re-install the sway bar bracket while doing this. This shouldn't be hard to remember. The lower shock bolt threads into the sway bar bracket weld nut.
Also re-bolt the sway bar D-bracket The impact is just there for show. Don't do this with an impact. Make good choices.
STEP 16 CLOCK REAR BUSHINGS:
Do step 15 to both sides before moving on to step 16.
Just like the fronts. Raise the suspension to the "ride height" you want. Then tighten all the bolts for the bushings. WRITE DOWN THIS MEASUREMENT.
STEP 17 SET REAR SPRING HEIGHT:
Do step 17 to both sides before moving to step 18.
Again, just like the fronts. You are setting the spring height to achieve your corresponding ride height.
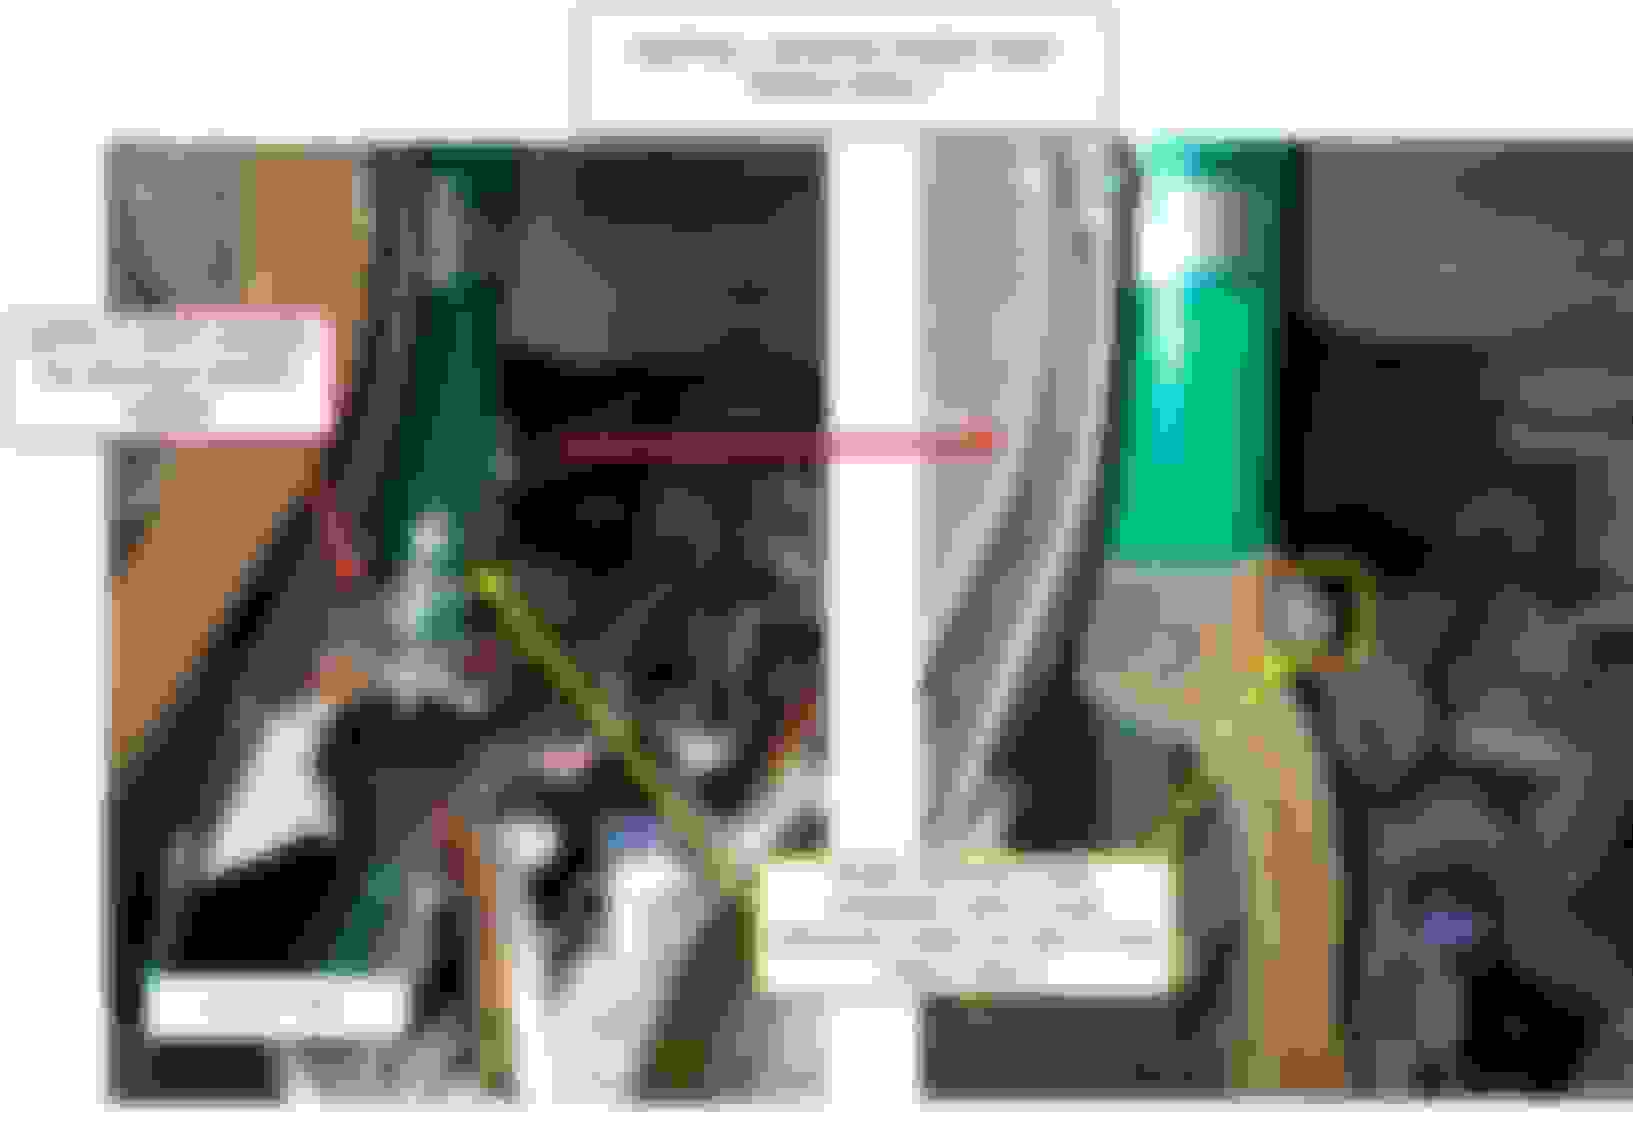
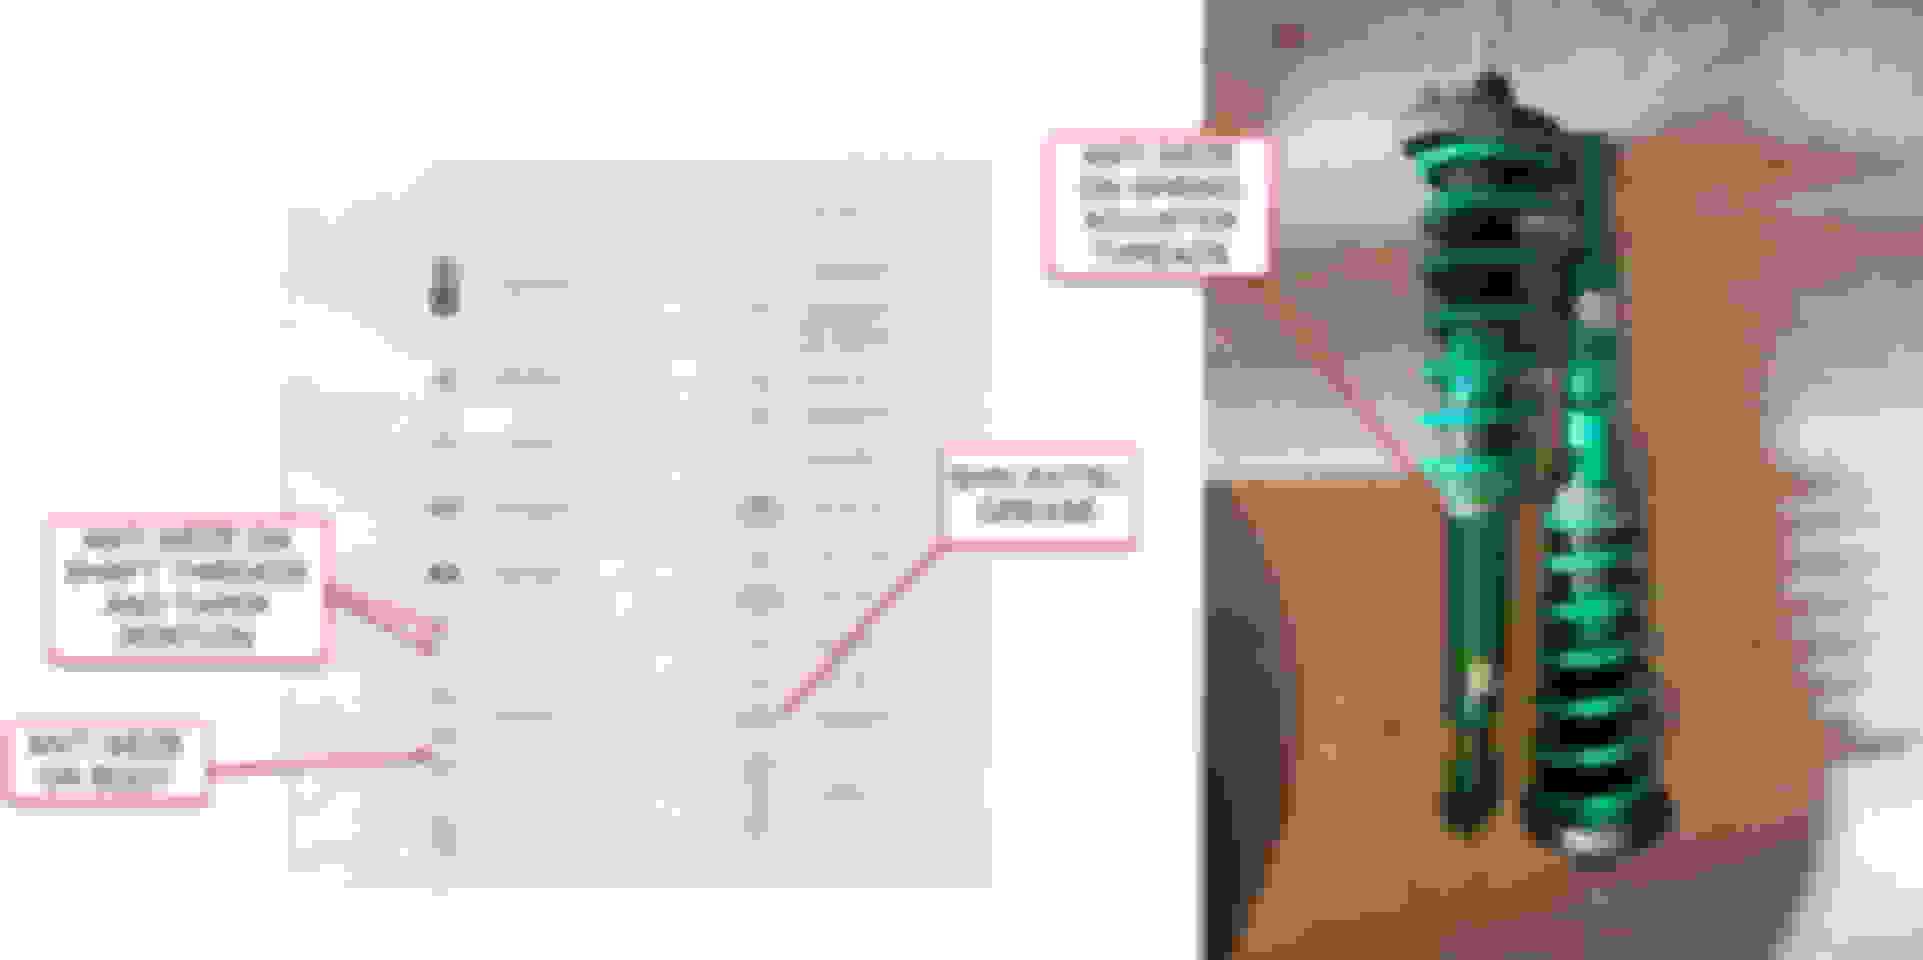
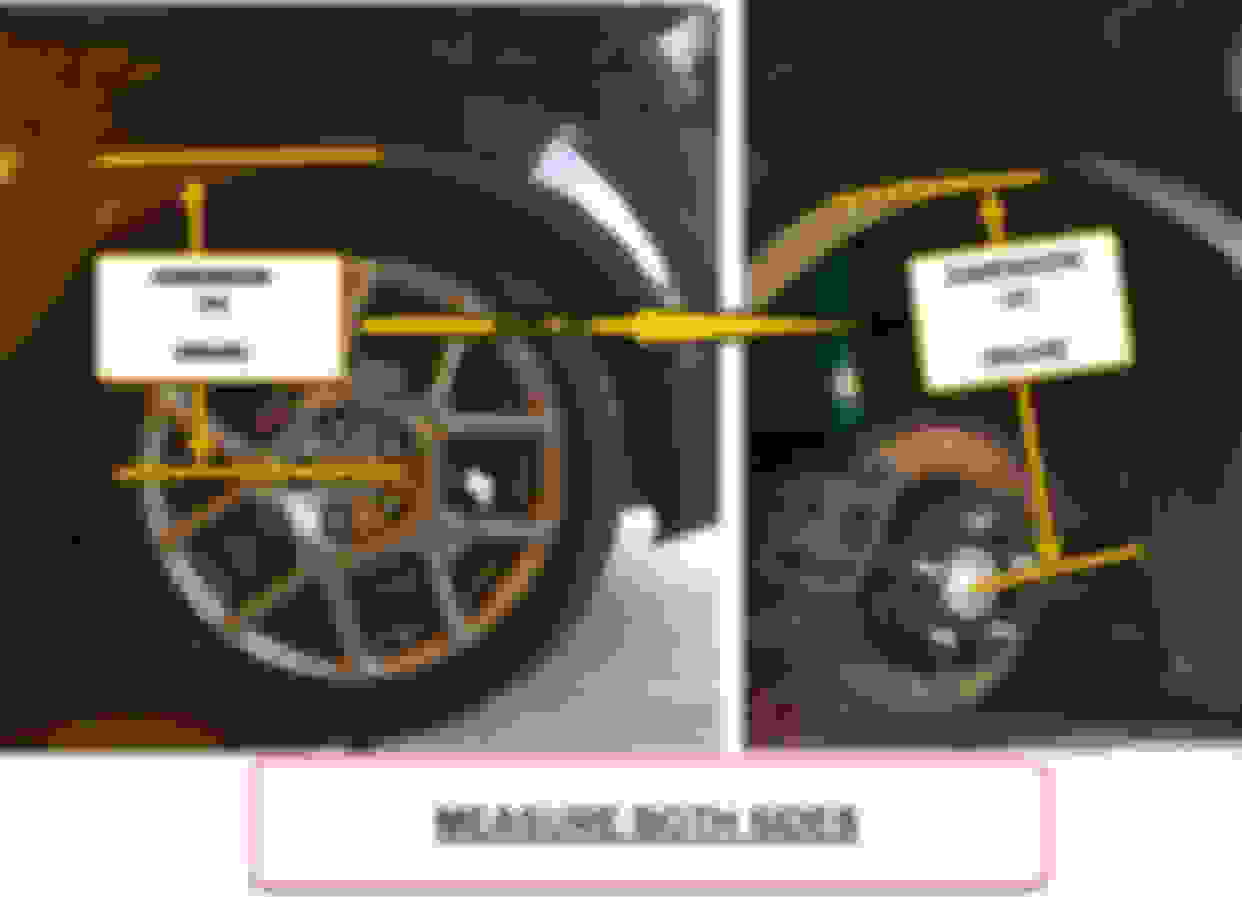
STEP 18 SET THE CAR DOWN AND CONFIRM YOUR MEASUREMENTS:
Put the wheels back on, torque the lug nuts...and set the car on the ground.
I roughly calculated that I'd end up at the ride height pictured below. IIRC, it was like 12.5 or 12.75" for me. I set my spring heights at about 0.75" to get the car to sit like this.
So if you set it up to Tein's measurements that are in the manual, I think you'll end up about 0.5 to 0.75" higher than you see here.
If the measurements on the LEFT of the photo do not match the dimensions on the RIGHT of the photo (you wrote these down earlier),then you'll need to re-adjust your spring heights.
STEP 19 SET THE DAMPING:
Go on a drive. Set the damping. I usually end liking mine WAY stiffer than Tein recommends. Tein's recommendations always seem to be under damped (to me). My buddy wanted to start with Teins' recommendations and then go from there. So that's where I set him up.
ALWAYS measure clicks from fully closed. So you first turn the adjuster fully counter clockwise til it stops (don't apply excess pressure once it stops). Then count backward.
IIRC, Tein recommends 8 clicks from full stiff for front and rear.
I prefer something like 4 clicks front and 6 clicks rear. That's how I have my TSX and TSX sport wagon set on Tein SA's.
STEP 20 PUT THE STRUT TOWER BAR AND BACK SEAT BACK TOGETHER:
Very detailed, nice write up man! Having done this twice with basic hand tools, I thought the second time would have been easier...but I was wrong and it sucked just as much. The rear shocks for me were a pain in the ass to get out both times I did this. I also ran into an issue on getting the one washer off the driver side shock in order to reuse on the Tein Coilover. Nothing ever goes as planned, but the end result is all that matters.
Tein SA and have a separate set of top hats so install should be a breeze. I still need to order a few OEM parts to complete the assy, but I have a few months for that!
Nice write up!
Do the rear seats not fold down in the TLs though? I tried once in mine and couldn't. But I just assumed I was an idiot and couldn't figure it out lol
Nice write up!
Do the rear seats not fold down in the TLs though? I tried once in mine and couldn't. But I just assumed I was an idiot and couldn't figure it out lol
Man, not only did you do a lot of work to the car, putting this tut together must have been a PITA. Well done bro. From now on you will be known as Master and Commander.
Man, not only did you do a lot of work to the car, putting this tut together must have been a PITA. Well done bro. From now on you will be known as Master and Commander.
Great write up. I�m thinking of the ISC�s for my 08. What changes occur to the alignment as the TL is lowered? Camber? Toe?
Camber and toe. Some very slight caster changes as a result of it being a semi-dependent angle.
Minimal front camber change. Massive rear camber/toe change.
Pro tip: Avoid full body adjustable coilovers unless your build absolutely necessitates them. Try and stick with a good single point coilover like the ones in the DIY.
Pro tip: Avoid full body adjustable coilovers unless your build absolutely necessitates them. Try and stick with a good single point coilover like the ones in the DIY.
Why? Maybe I'm not understanding what you mean by full body adjustable.
Why? Maybe I'm not understanding what you mean by full body adjustable.
The type that have a seperate height and preload adjustment. Tein Flex, for example.
There are some that ride properly, but they're hit or miss at best.
I installed Tein Flex Z's on my car, and I've had to do quite a bit to get them to ride well. I'm almost there. But off the shelf...they suck. I replaced my Street Advances with Flexes as kind of an experiment to see if a $700 full body coilover sucks or doesn't suck.
Again...off the shelf...it sucks.
There is also a CONSIDERABLE amount of measurement, setup, and tuning that they require. There are a lot of problems with just bolting them on and setting them low AF and riding off.
Unless you want to slam the car...keep it simple and use a quality single point adjustable like Tein SA's or similar.
My mindset is that if you are building a street car that you want to lower reasonably (between 0.5 and 1.5", usually)....then the right coilover should ride AS WELL or BETTER than stock.
For the rear:
Depends how low you go. If you buy one, I'd recommend using an upper arm type from a reputable company. Check the ball joints often, and expect to replace them at fairly short intervals (50-60K miles).
The lower arm types are useful in some respects or situations...but you're narrowing the rear wheel track width...and you're altering a more complex area of the suspension geometry. Plus, you will probably also need an aftermarket toe arm to go along with it. Make sure you clock the bushings properly...or buy arms with bearings instead of bushings
For the front:
You shouldn't need one. Whatever happens....Do NOT buy offset ball joints (SPC, Ingalls, etc). Especially on a lowered car. They are tall enough to defeat the factory safety measures and are highly likely to hit the shock tower on bumps.
Good info Bro! Always enjoy learning Info from you.’I don’t have rear camber yet, did,but was old ingalls lower arms. Gonna give
spc upper camber arms a go. I have the Skunk2 upper control arms,adjustable for front, wanted camber closer to spec, after lowering.
Good info Bro! Always enjoy learning Info from you.�I don�t have rear camber yet, did,but was old ingalls lower arms. Gonna give
spc upper camber arms a go. I have the Skunk2 upper control arms,adjustable for front, wanted camber closer to spec, after lowering.
Right on, man.
Idk how it is on TL's....but on my TSX, the nut that came with my hardrace camber kit did not properly fasten the arm to the spindle. As in...with the arm bolted in, they could be removed from the spindle
I had to re-use my stock nut (luckily, the thread was the same).
I ordered the same Tein kit from HeelToeAuto with assembled option with Type-S top hat. I then got it installed by Acura dealership. However, there has been noises coming from them. I can't figure out what. I've checked all the bolts and they all look fine.
I ordered the same Tein kit from HeelToeAuto with assembled option with Type-S top hat. I then got it installed by Acura dealership. However, there has been noises coming from them. I can't figure out what. I've checked all the bolts and they all look fine.
Seems that either the tophats were not properly installed...or the nuts holding the shock to the shock tower are not tight.
Which fasteners did you check?
Is only one of them making the noise?
Also...if you could get someone else to shake the car while you held the camera fairly steady, it would be easier to see what is moving around.
Have you tried calling heeltoe? Have you asked the dealer to look at the install? The dealer will likely give you a hard time about any diagnostics because they are aftermarket parts. But its worth a try.
Sorry to interrupt the thread. The person who messaged me about the used ISC coilovers a week or two ago please message me. I have deleted the original PM and have no record.
@BROlando : Thanks for the feedback. I asked my wife to shake and I didn't notice any movements. I reached out to both the part supplier and the dealer but neither seems to have the answer. I am not blaming them as they both said the jobs were fine and I trusted both for being professional. I'll try to remove the coilover and put back the old one and see if the symptom still occurs. If it still occurs, then I guess it's not the coilover and the installation
@BROlando : Thanks for the feedback. I asked my wife to shake and I didn't notice any movements. I reached out to both the part supplier and the dealer but neither seems to have the answer. I am not blaming them as they both said the jobs were fine and I trusted both for being professional. I'll try to remove the coilover and put back the old one and see if the symptom still occurs. If it still occurs, then I guess it's not the coilover and the installation
Well...was the noise there before installing the coilovers?
If not, I think you already narrowed it down to the two choices you mentioned.
The coilover is not supposed to make noise. So there is something wrong. Maybe not related to the coilover.
Have you tried going back to the dealer to have them check their work? Not sure how they can NOT have an answer. That noise is loud. It shouldn't be hard for them to replicate and narrow down further.
What bolts/nuts did you check on your own?
Put your hand on the shock shaft as someone shakes the car. See if you can feel where its moving.
Don't be intimidated by this issue. With common sense tactics, I think anyone can figure this out.
First off, excellent write-up! I'm tempted to do this on my car now. One thing I wanted to mention, with regards to all of the bushings that you loosen the bolts for (excellent point by the way, I'd never thought of that), is that some of the nuts & bolts used on the suspension are meant to be replaced rather than re-used. In the Service Manual, for the front suspension, fasteners marked as "replace" are the lower fork nut and bolt (the one that goes through the control arm), the 3 nuts that go on top of the damper/shock tower, the LCA nut and bolt, and both UCA bolts. For the rears, it's pretty much all the fasteners you mentioned loosening.
I obviously don't have any of the engineering specs from Honda, but I assume they are using class 10.9 bolts for the suspension. I don't think any of the torques called out in the Service Manual generate a preload high enough to exceed typical design standards for re-usable fasteners, but again, I don't have any of their engineering data. It could be based more on the actual loads seen in the suspension, I don't know.
I'm not telling anyone they have to replace all the fasteners, and I have no doubt that there are plenty of people that have made these upgrades without replacing fasteners and have not seen any failures. Personally, I'd replace any fasteners they specify, even though that's going to add a chunk of cost to the upgrade, but that's just me.

 12-18-2016, 11:40 PM


 The rear shocks for me were a pain in the ass to get out both times I did this. I also ran into an issue on getting the one washer off the driver side shock in order to reuse on the Tein Coilover. Nothing ever goes as planned, but the end result is all that matters.


