When you click on links to various merchants on this site and make a purchase, this can result in this site earning a commission. Affiliate programs and affiliations include, but are not limited to, the eBay Partner Network.
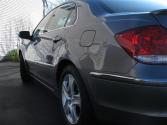
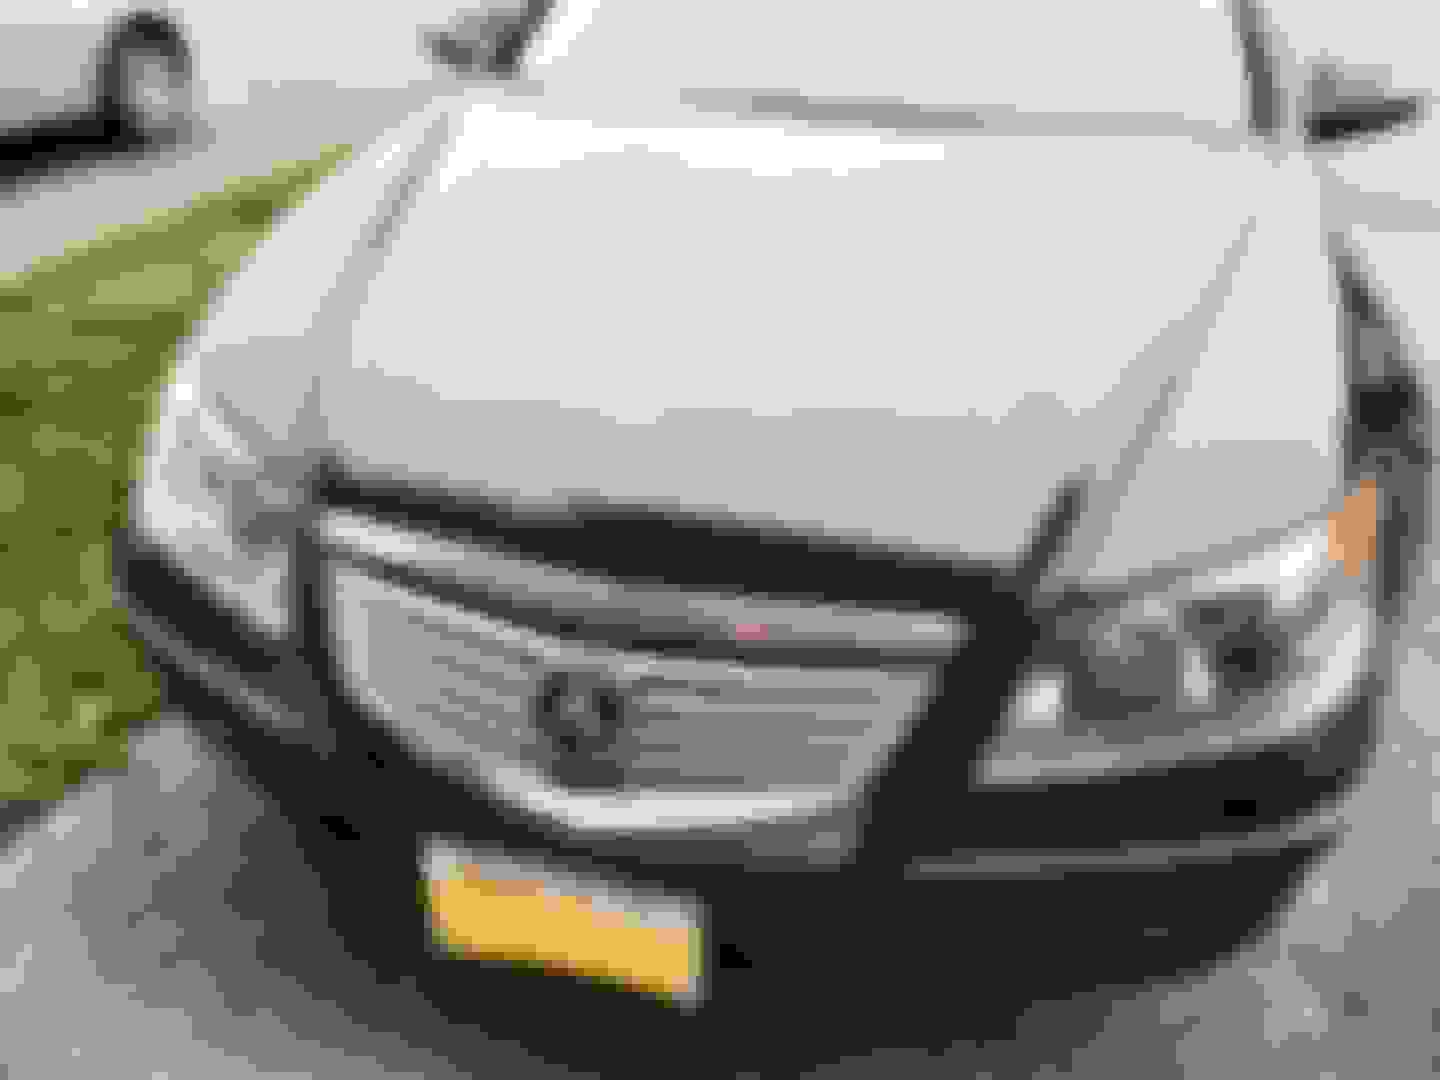
hey Rl owners so I have owned my 06 Rl for a little over 2 yrs now and since I owned it the chrome trim on on my rear driver-side has peeled off and made my car look really bad... After a color correction and sealant job I was deciding on how I can go about fixing the chrome trim to make it appeal well with the paint.. And i opted to order some chrome wrap off amazon to wrap so i can save me some money and time, instead of removing the bumper and replacing the trim just to have it peeled again in the long run... its not hard to do you just have to know how to use a heat gun, and try to be patient with the wrap.. I will provide the link to the wrap i bought off of amazon at the end of the post....good luck members!
Tools/Supplies
-Heat Gun
-Wrap
-plastic utility knife
-rubberized/plastic squeegee the ones used for window tints
(a credit card may work but it might be too thin to where it can scratch or break the wrap)
-Microfiber or cleaning cloth
Step 1- Clean off the chrome trip and around it with rubbing alcohol to remove any dust,dirt or debris before applying the wrap
Step 2- Now try to remove all of the chrome trim off the molding which should be easy to do if it is already peeling, make sure to clean it again with rubbing alcohol and cloth for any loose dirt or dust ( i just used a flathead screw driver and carefully scrape off the chrome from the trim)
Step 3- Now once you cut a piece of the chrome wrap within the specs of the trim , carefully apply it from one side of the trim to another to avoid causing air bubbles..
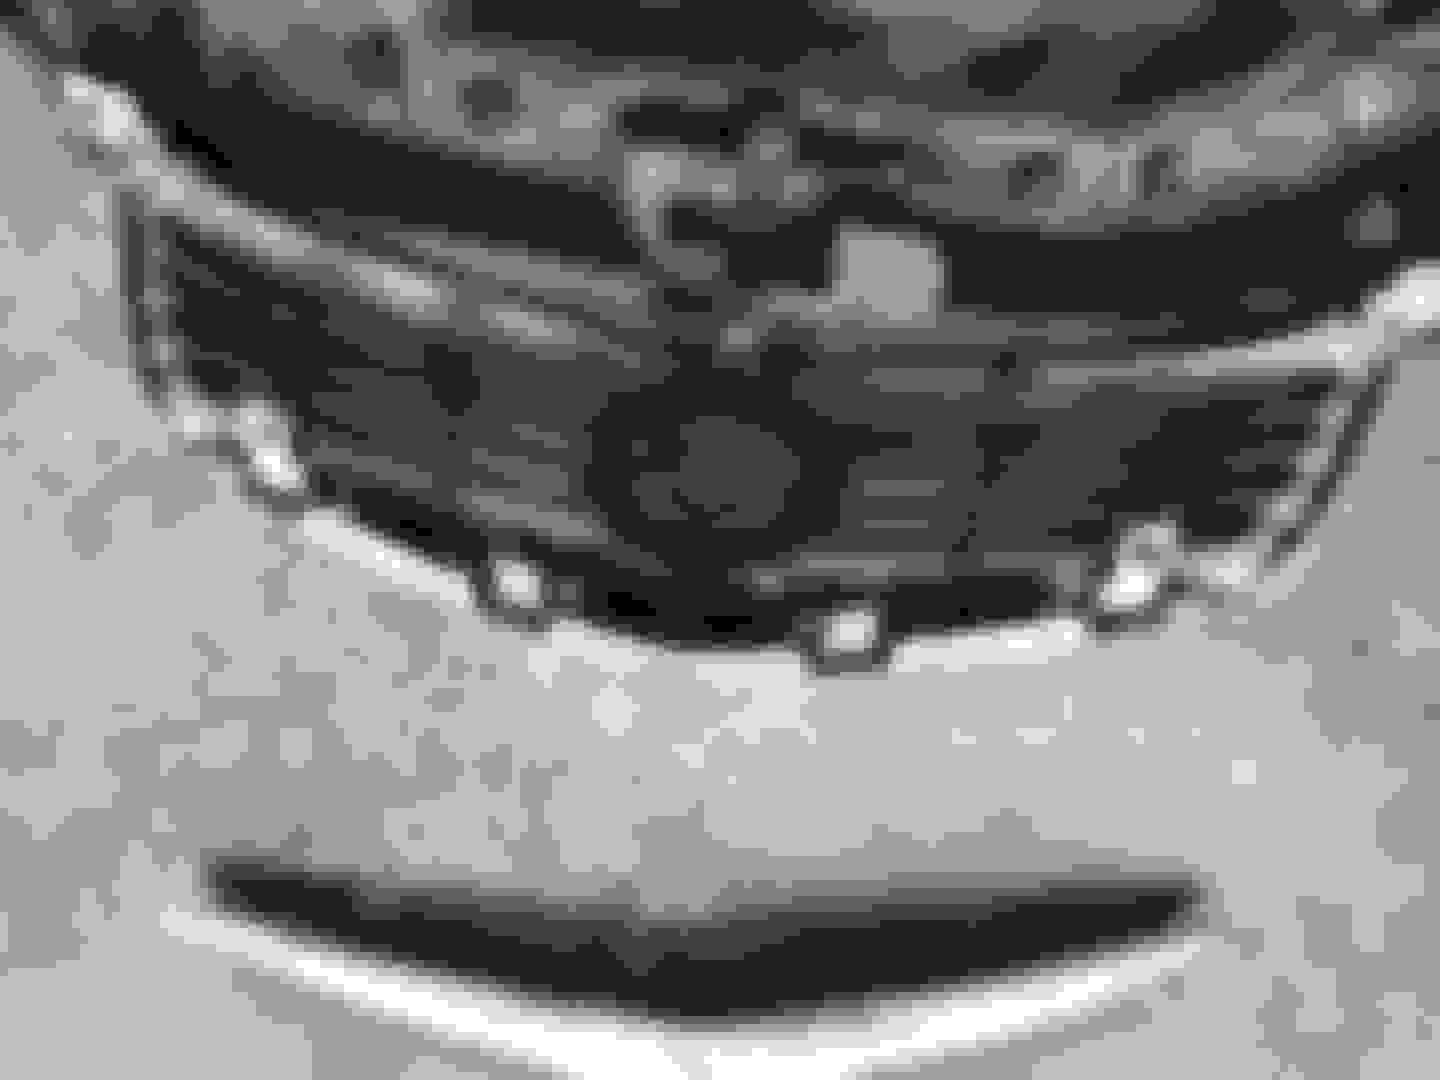
if you get air bubbles half way through the trim it can be smooth out after you cut along the lines of the trim...Looking at my picture i have already used my utility knife to cut around the chrome wrap into the non painted trim.. Step - After cutting the wrap, use the heat gun on the trim and slowly squeeze out all visible air bubbles until they are smoothed out.... once that is done slowly peel off the outer chrome wrap and try not to peel the wrap that is already on the trim..once you are done peeling off the excess wrap go back around with the squeeze and sqeeze in the ends of the wrap into the gaps of the trim so it will have a cleaner look to it instead of the ends sticking out...
Finished Product!
I apologize if some of my instructions arent as clear, but this is not a very hard to task to do if you give it some time and do it right! the results came out acceptable for me and hopefully it does for you too if you do decide to go this route.. all in all I spent about $20 max for tools and the chrome wrap...This method can be used towards other chrome trim around the car too if you want i just did it on my bumper trim since it was a eye sore to me...Good luck Again!
here is the link for the wrap i purchased through amazon
The bumper trims, my opinion is definitely OEM - yes more pricey, but shine of the OEM vs vinyl is definitely obvious... not only on photos but in person looks apparent.
However, to avoid the labor, I would use this on the lower lip - I may actually do it soon so I don't have to deal with taking out the whole grill to replace one piece ($60 OEM) that I currently have plastidipped
The bumper trims, my opinion is definitely OEM - yes more pricey, but shine of the OEM vs vinyl is definitely obvious... not only on photos but in person looks apparent.
However, to avoid the labor, I would use this on the lower lip - I may actually do it soon so I don't have to deal with taking out the whole grill to replace one piece ($60 OEM) that I currently have plastidipped
I definitely agree on both points! I've stickied this to the garage for future reference Good job OP!
The bumper trims, my opinion is definitely OEM - yes more pricey, but shine of the OEM vs vinyl is definitely obvious... not only on photos but in person looks apparent.
However, to avoid the labor, I would use this on the lower lip - I may actually do it soon so I don't have to deal with taking out the whole grill to replace one piece ($60 OEM) that I currently have plastidipped
Yes the shine of the wrap is not of the oem chrome trim, i just went this route since i didnt want to take apart my bumper and replace the moldings... good luck with wrapping your lip, post up some photos if you can!
I have never seen trim on any car deteriorate more than I have seen on my 05RL. Between that and the flimsy leather interior, it just make you wonder wtf?
I've never had a problem with flimsy leather in my interior. Where I've had a problem is where everybody else has: on the vinyl upholstery of the console lid. Worth noting is the eBay guy in Texas who will reupholster the thing in real leather for $50; he did an excellent job matching the parchment color, too. (Not to hijack the thread.)
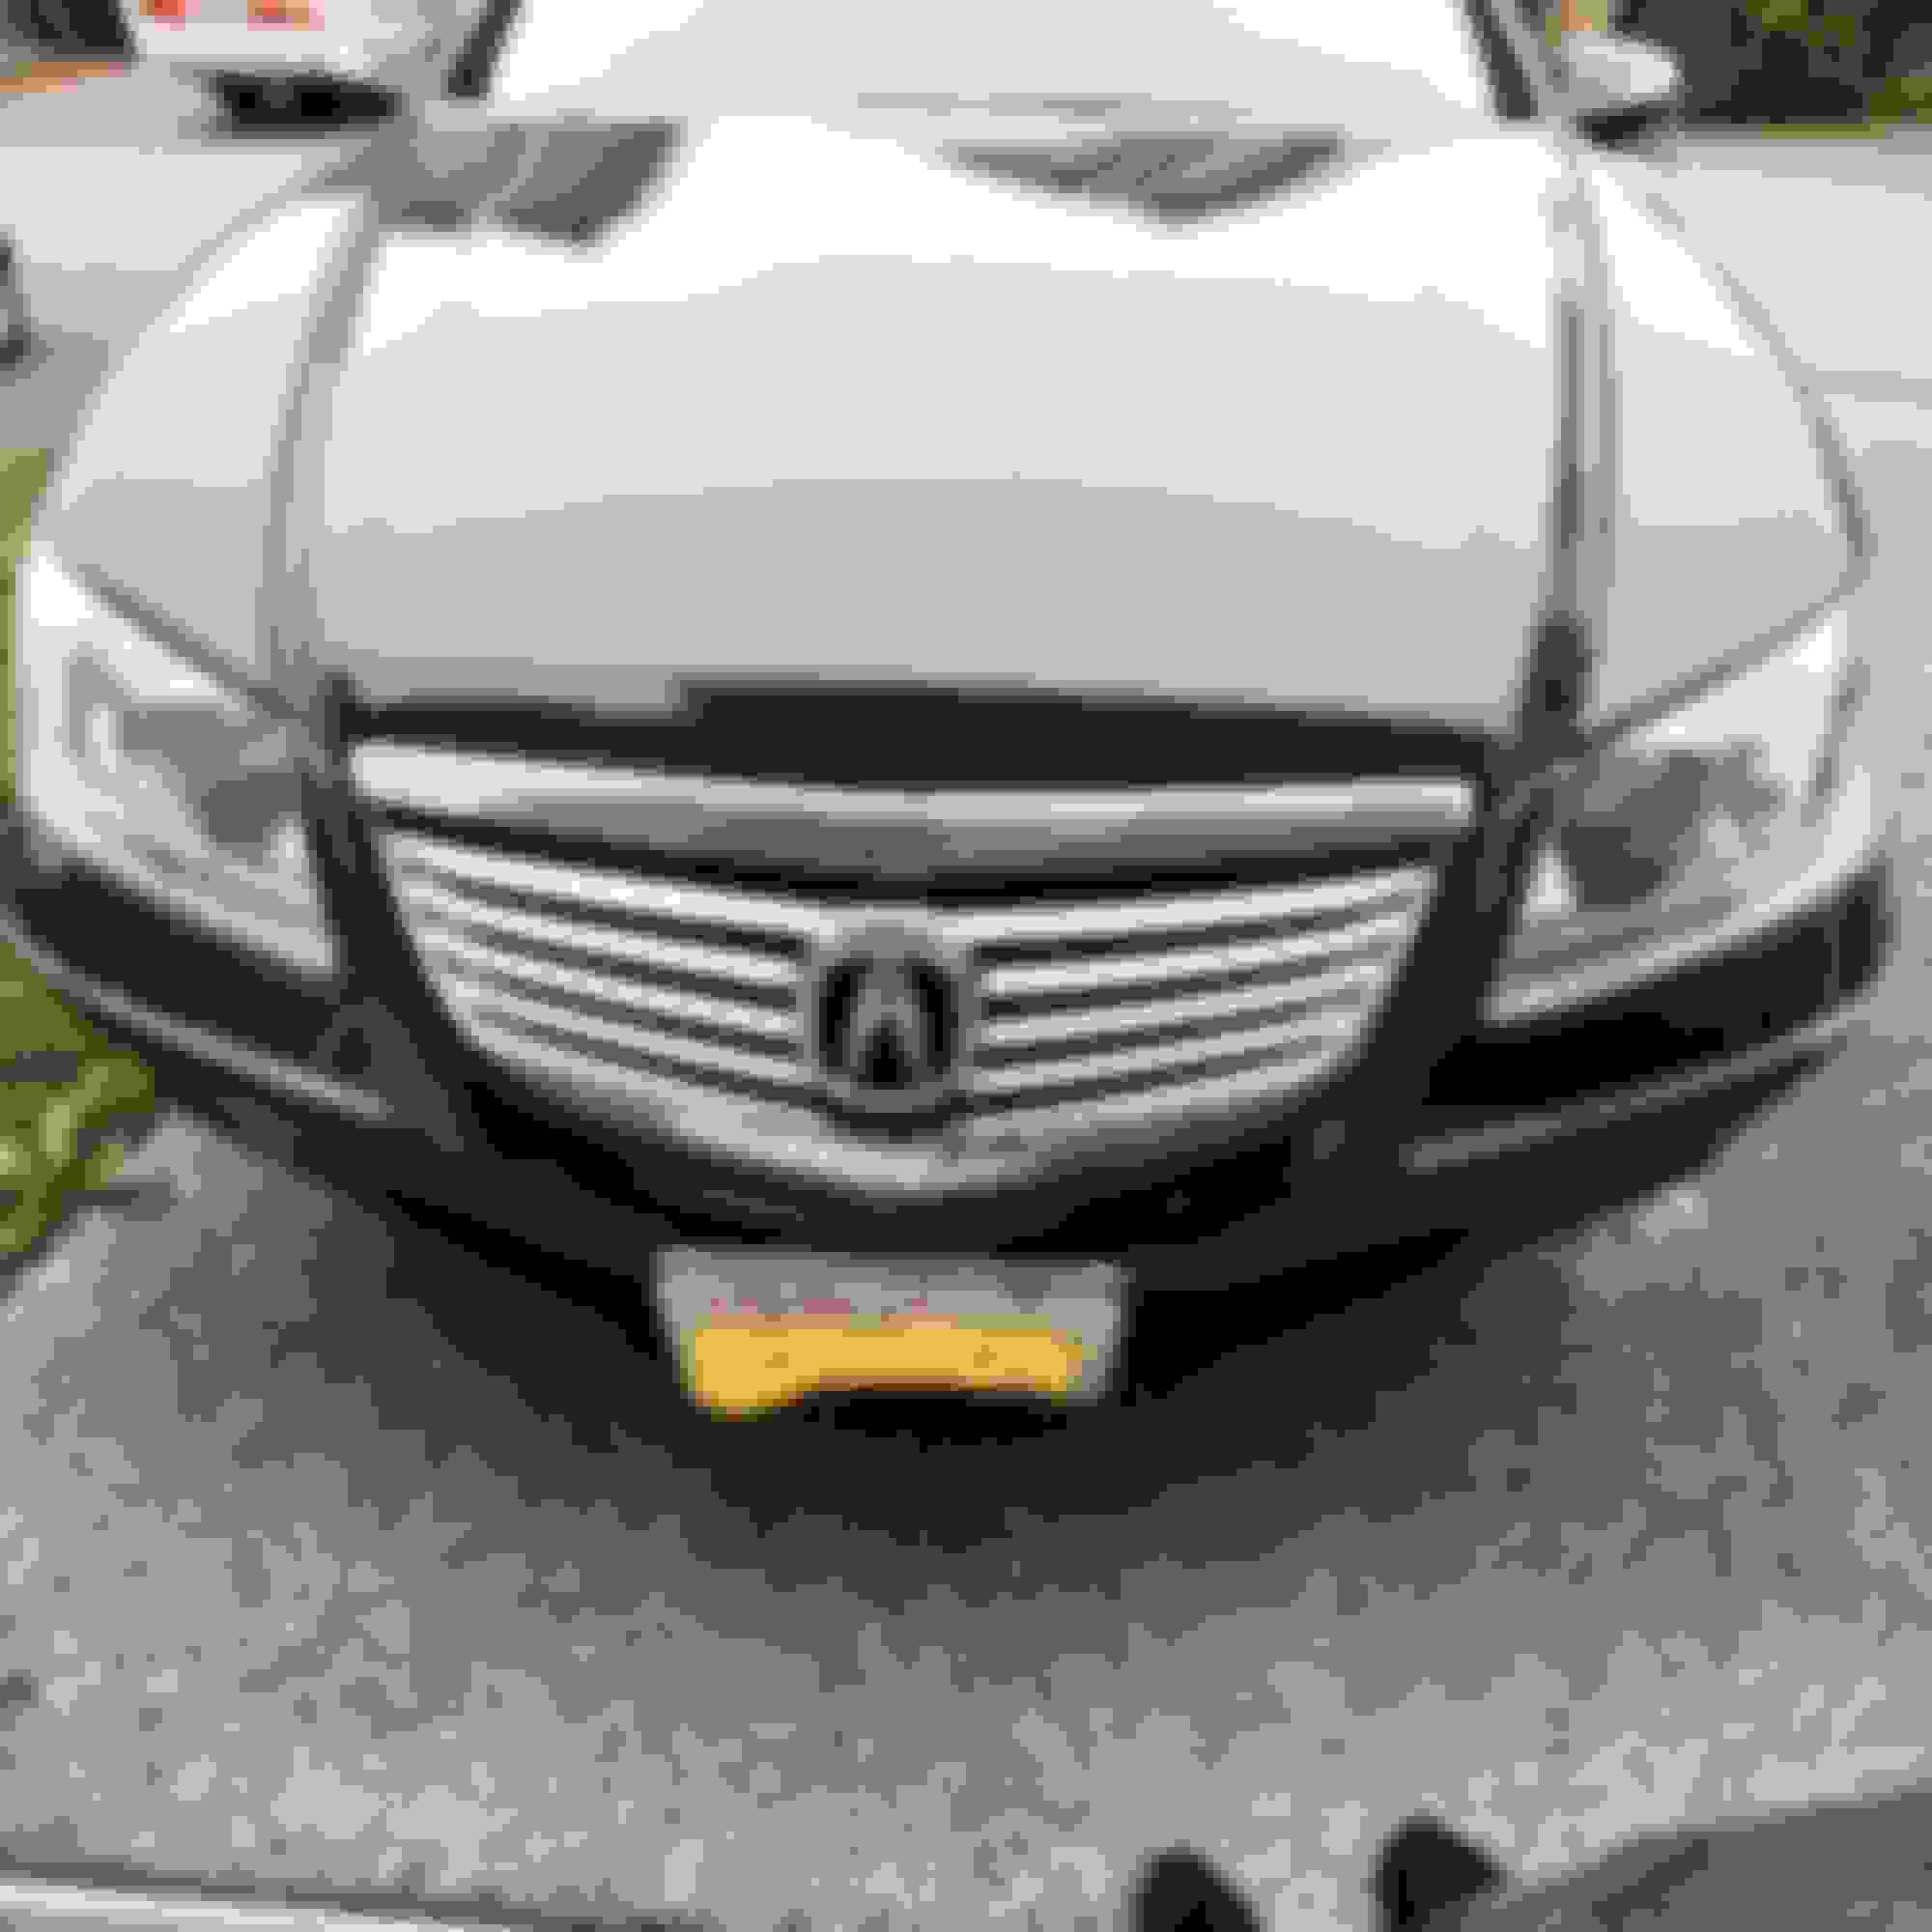
Thank you for posting this! My front grille looks like it has been through a war. This will bring the front end up to the level of the rest of the car. Even if you have to do this again in a year, it is not rocket science.
Our leather is holding up just fine so far.
Did this DIY today. Easy job but scrapping/removing the old chrome was time consuming. I used a flat head screwdriver for removal, sanded it down with 3000 grit and cleaned with soap water before applying isopropyl alcohol for final cleaning.
Did this DIY today. Easy job but scrapping/removing the old chrome was time consuming. I used a flat head screwdriver for removal, sanded it down with 3000 grit and cleaned with soap water before applying isopropyl alcohol for final cleaning.
Great job, but I'm unclear on how you did it. Are you saying you applied a vinyl chrome wrap to the trim?
Great job, but I'm unclear on how you did it. Are you saying you applied a vinyl chrome wrap to the trim?
Yes!
1. Remove the grill from the car. It is held with a few push pins.
2. There are 5 screws in the back of the grill that you need to remove to free the bottom chrome trim of the grill.
3. Once the chrome piece is removed, remove the old chrome. I used a flat head screwdriver to remove the chrome pieces little by little. This took about an hour.
4. Once all of the chrome has been removed, you can choose to clean it or sand it down with 3000 grit sand paper. Then clean the trim with soap water to remove all of the dirt and grimes. Then clean with a paper towel. Final step of cleaning is to use isopropyl alcohol to wipe down the trim.
5. Then cut the chrome vinyl wrap to the size of the trim.
6. Apply the vinyl chrome to the trim. I laid the sticky side of the vinyl chrome UP and then slowly put the trim onto the vinyl. Then I used a squeegee to remove bubbles..Also used a heat gun as well.
7. Use a sharp utility knife or blade to cut the excess vinyl off.