When you click on links to various merchants on this site and make a purchase, this can result in this site earning a commission. Affiliate programs and affiliations include, but are not limited to, the eBay Partner Network.
Tools needed:
Two 3" extensions for back spark plugs and or front. front can be done with one 6" extension.
1 3/8 torque wrench
1 5/8 spark plug socket
1 10mm socket
1 3/8 ratchet drive
1 flat head screw driver
Parts needed:
6 NGK Laser Iridium spark plugs #IZFR6K11. no antiseize needed. plugs come pregapped.
Dielectric grease (optional)
Notes:
1. Must be done on a cold engine. Do not install on a warm or hot engine since metal can expand when hot.
2. Spark plugs should be replaced every 105k
Procedure:
1. Pop engine hood and remove engine cover using a flat head screw driver.
2. Remove the front cowl by using a flat head driver to remove the plastic panel clips.
3. Lift the radiator expansion tank for clearance and put it to the side. This needs to be done to get access to cylinder 4.
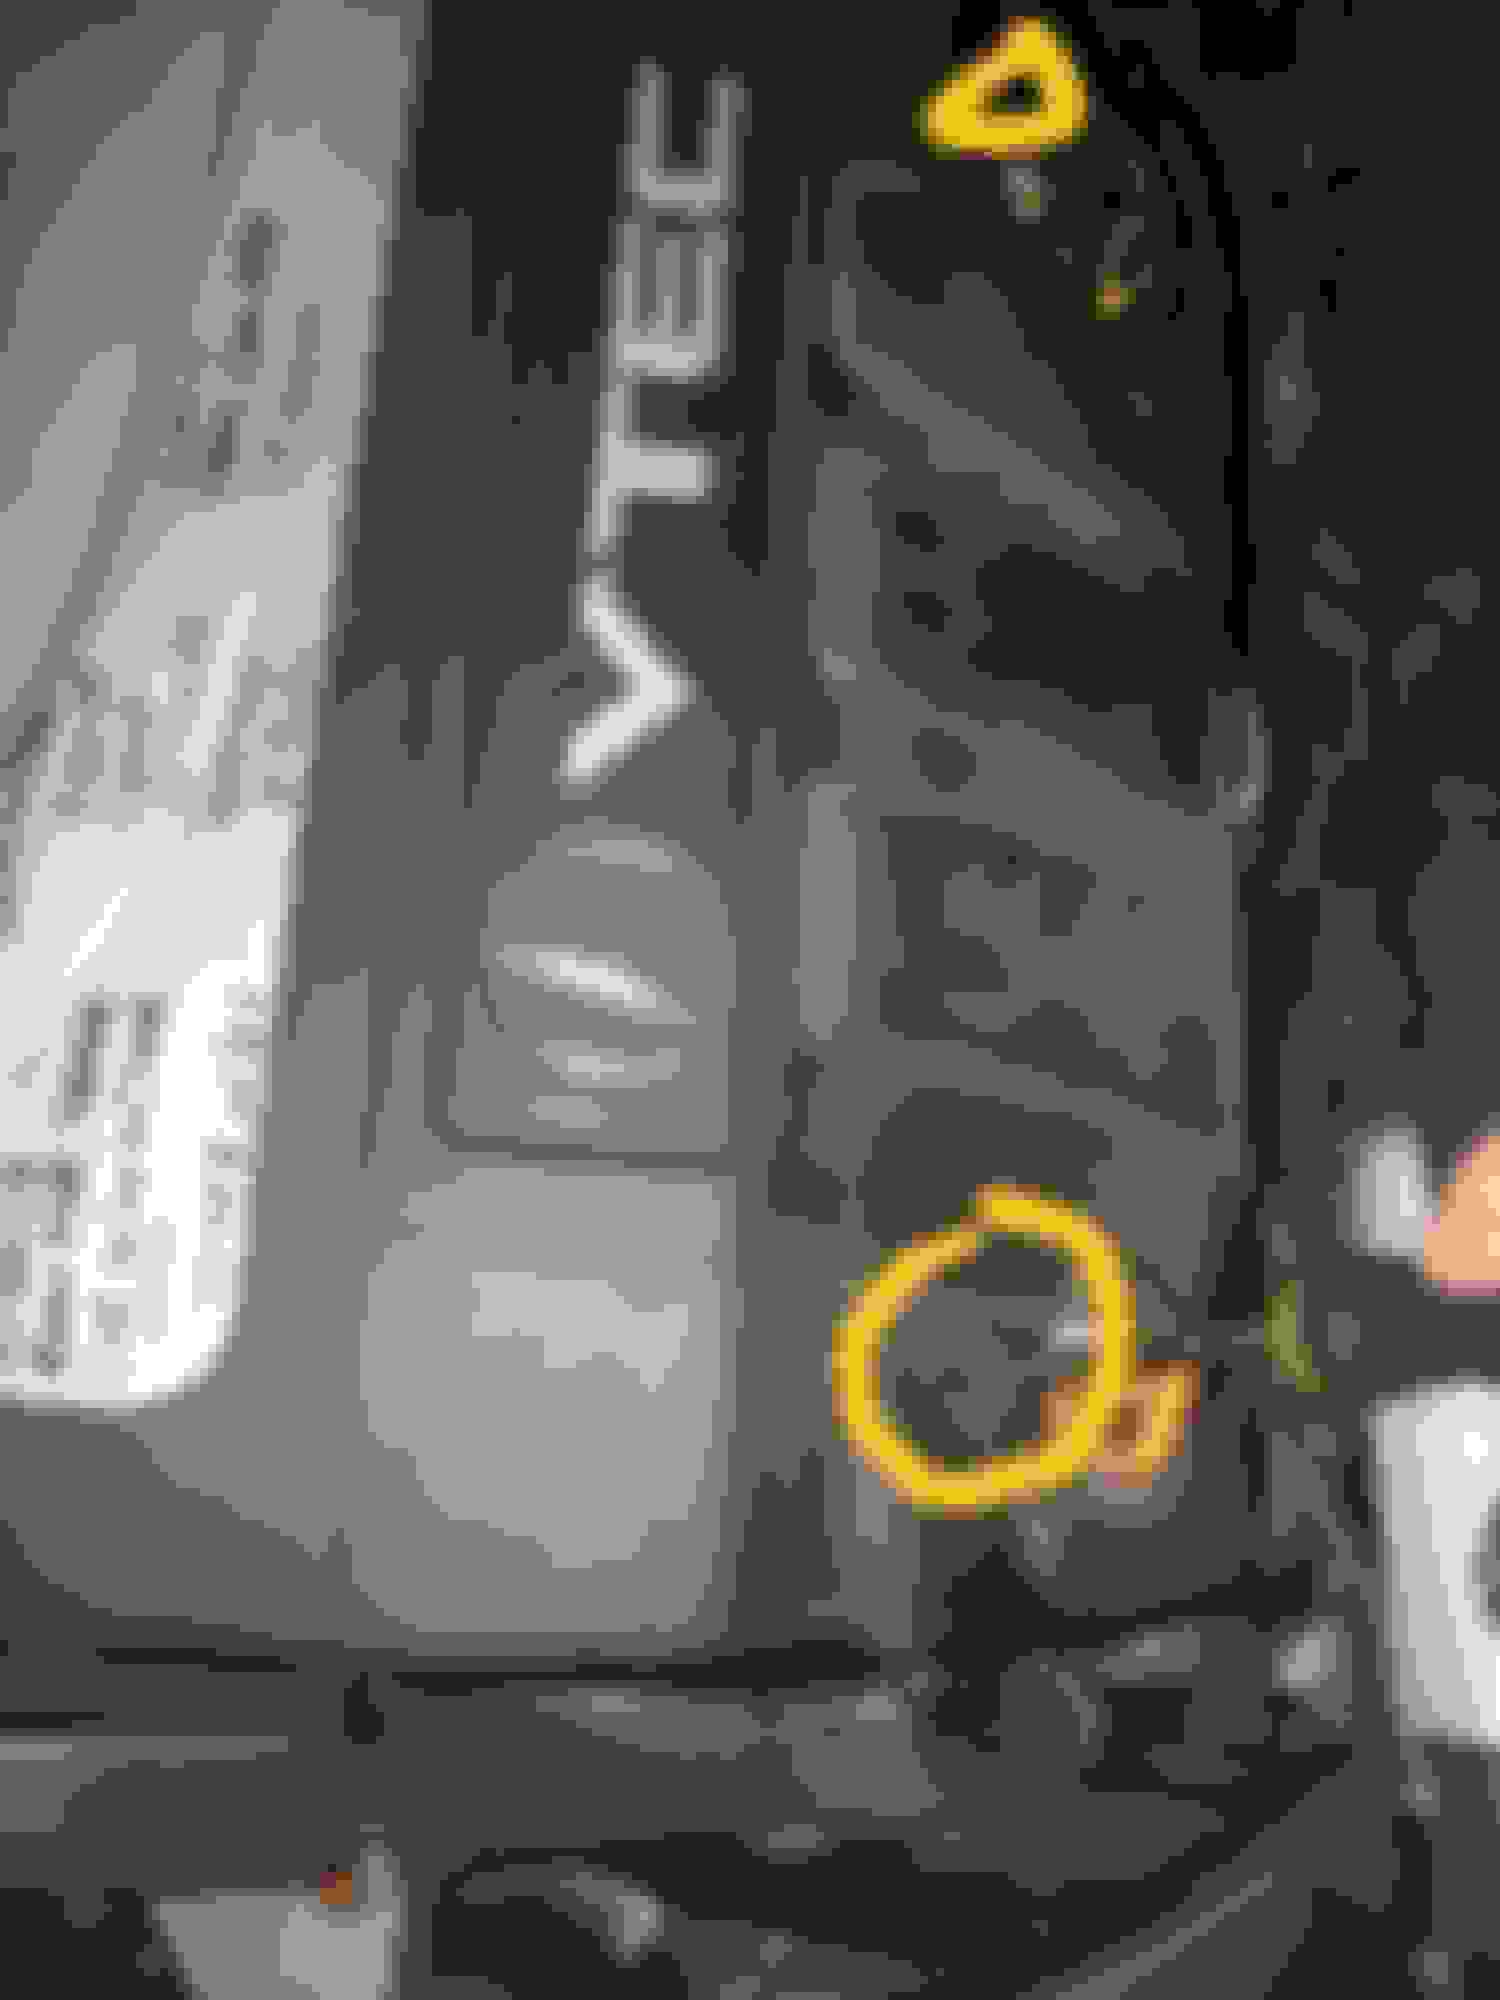
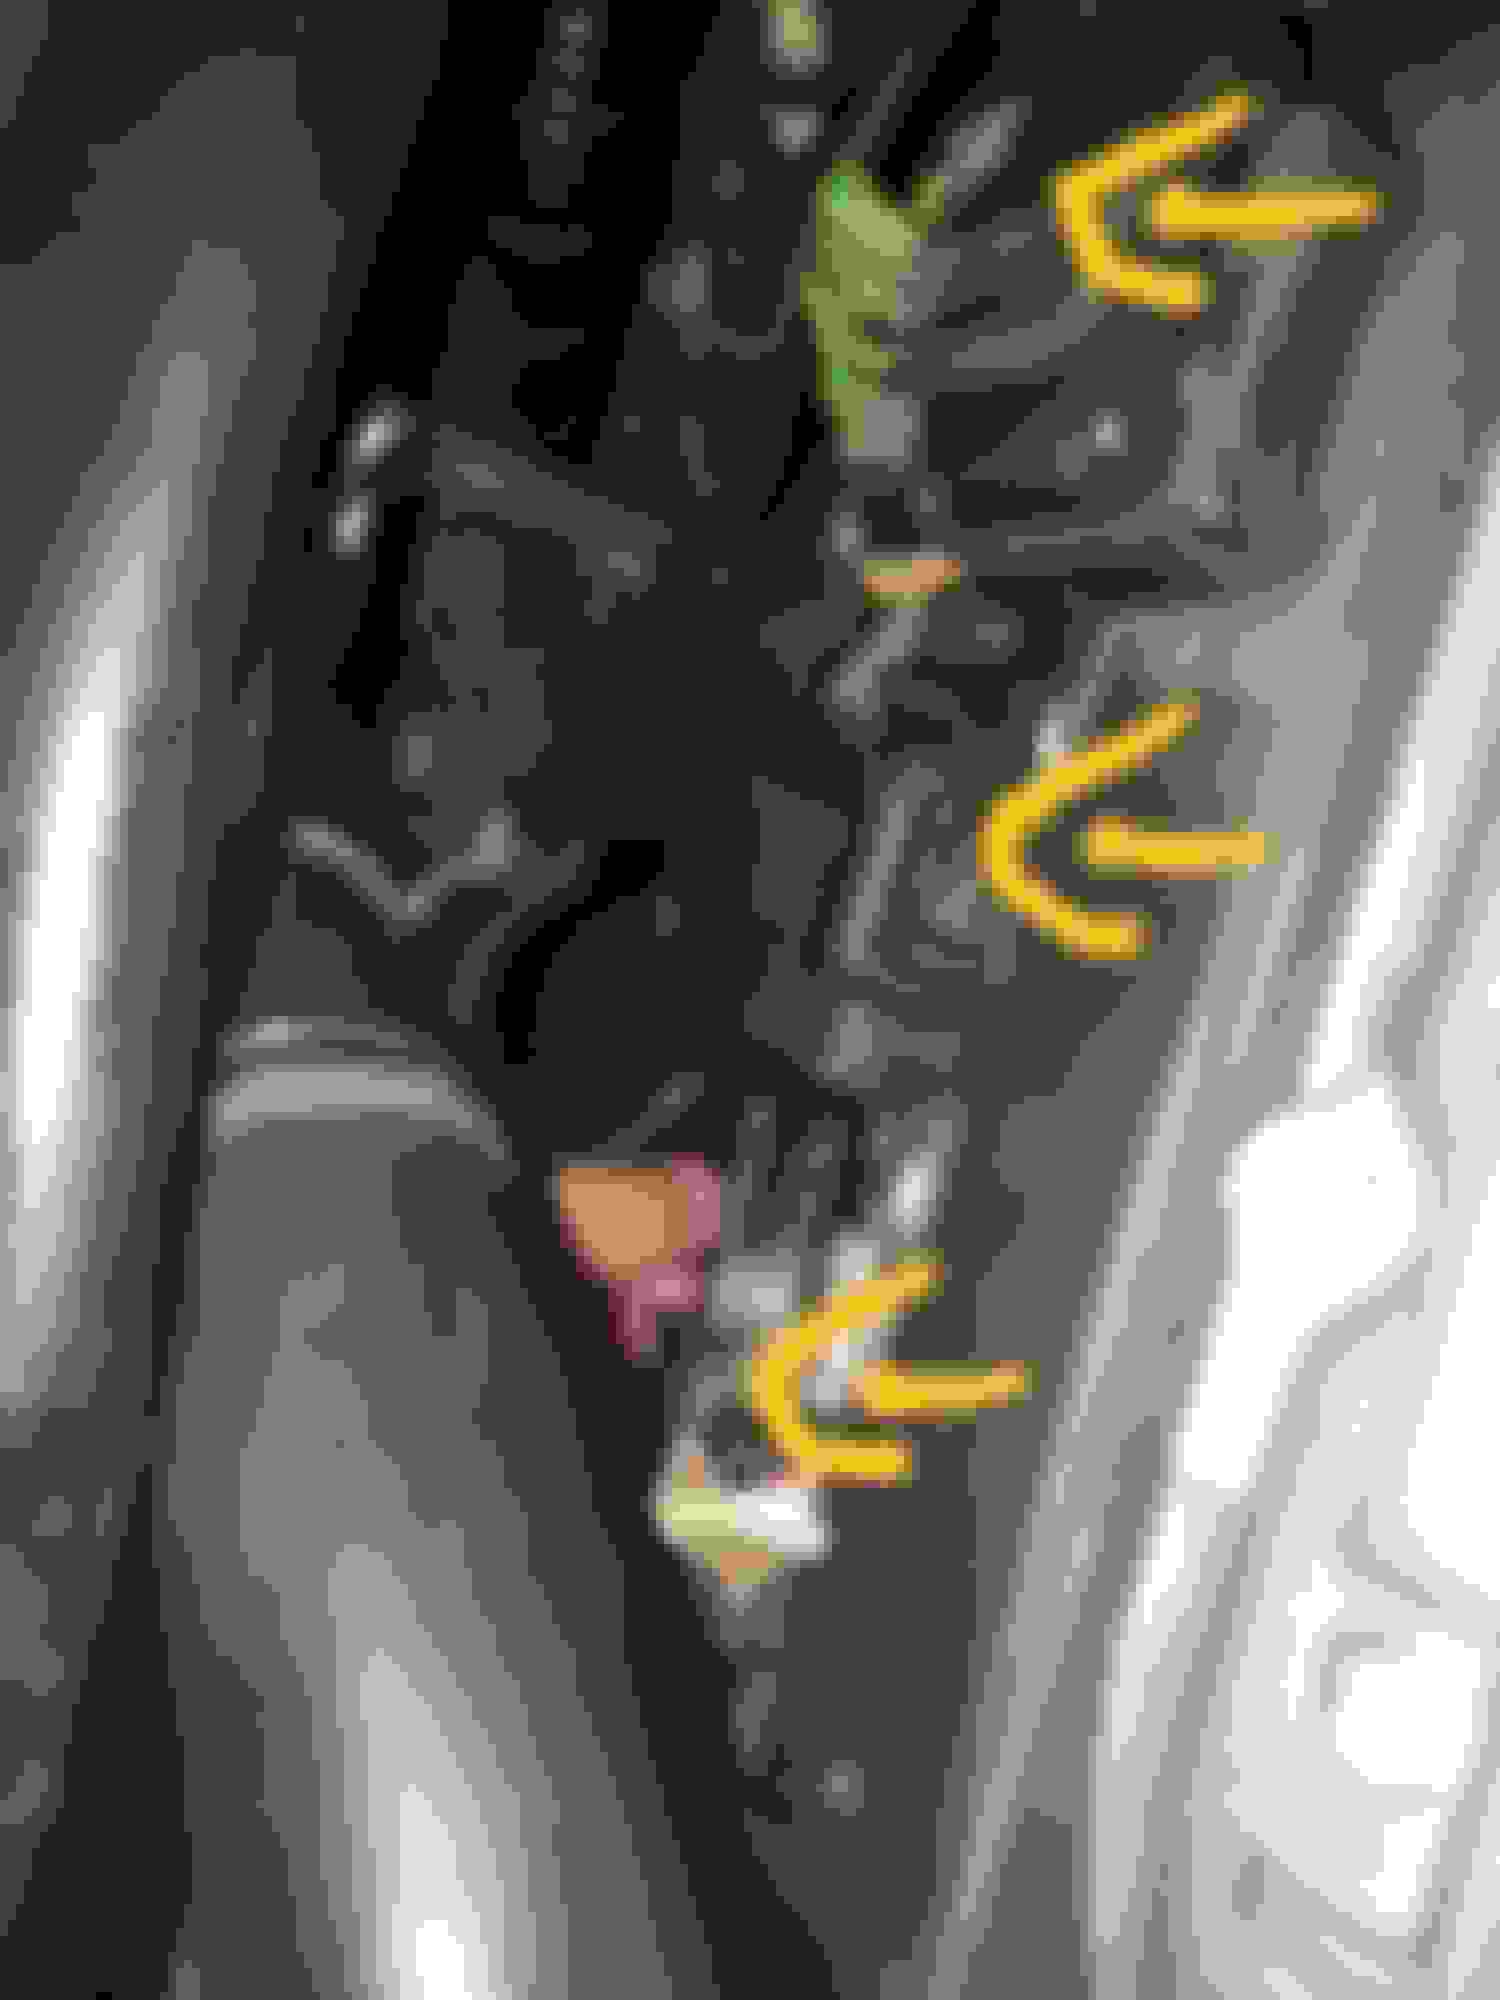
4. Remove the ignition coil by using a 10mm socket and 3/8 ratchet drive to unbolt the hex cap nut. Then disconnect the ignition coil from the connector. Be careful not to break the connector clip as the plastic can be brittle due to heat and age.
5. Now with the ignition coil removed, use the same 3/8 drive, 5/8 spark plug socket and a 6" inch extension to remove the spark plug for the front but use 2 3" extensions to remove the back. A 5/8 spark plug socket has a rubber ring inside to prevent the spark plug from falling out.
6. To install the new spark plugs, place new spark plug in the 5/8 spark plug socket with the 6" inch extension, and slowly hand tighten the spark plug. I usually give it two turns counter clockwise before I tighten it counter clockwise to limit risk of cross threading. Once the spark plug can no longer be tightened by hand, use a 3/8 torque wrench and torque it down to 24 ft lb. Acura recommends 13 ft lb, but that is ridiculously low as there have been many experiences of the spark plugs loosening over time and causing damage or misfire. I went throught this experience just this past week. I torqued mine down to 24 ft lb and another quarter turn when I felt it was seated.
If you do not have a torque wrench, then just tighten it until it is snug or when you feel the crush washer has been crushed and seated.
For the back which is cylinder 1,2,3 instead of using one 6"inch extension, use two 3" inch extensions due to limited access. What I do is I place the spark plug in the 5/8 spark plug socket and attach to one 3" extension and then I use one hand to put it in the cylinder just right before it hits bottom and then I use the other hand to attach the other 3" extension. Once the two extensions are connected I slowly lower the spark plug all the way down the cylinder and then tighten by hand before using the torque wrench to torque it down to spec.
7. Optional: Put a tiny bit of dielectric grease inside the ignition coil boot before reinstalling
8. Reverse order to put everything back.
any questions, feel free to ask. This is an easy job but work at your own risk as I am not liable for any issues that may occur.
right on, fellas! you guys should add a Milwaukee M18 Fuel 1/2 impact wrench to your arsenal if you haven't already. It removed my s2000 axle nut like a piece of cake whereas my 1/2 breaker bar was on the verge of breaking.
Great right up, thanks, keep them coming. I just did this, would loosen the plugs with breaker bar, then use air ratchet to back them out all the way. I was shocked how much rotation the plugs have to go through before they come out. I was able to screw the plugs in by hand, then use a torque wrench for final turns. I would not recommend using the air ratchet for putting the plugs in, as that could be a disaster for several reasons. I used anti seize on my plugs and torqued them to factor specs. However, with some of my other cars they do not recommend anti seize on the plugs, and recommend 24 pounds of torque like you did.

 08-14-2018, 02:59 AM