When you click on links to various merchants on this site and make a purchase, this can result in this site earning a commission. Affiliate programs and affiliations include, but are not limited to, the eBay Partner Network.
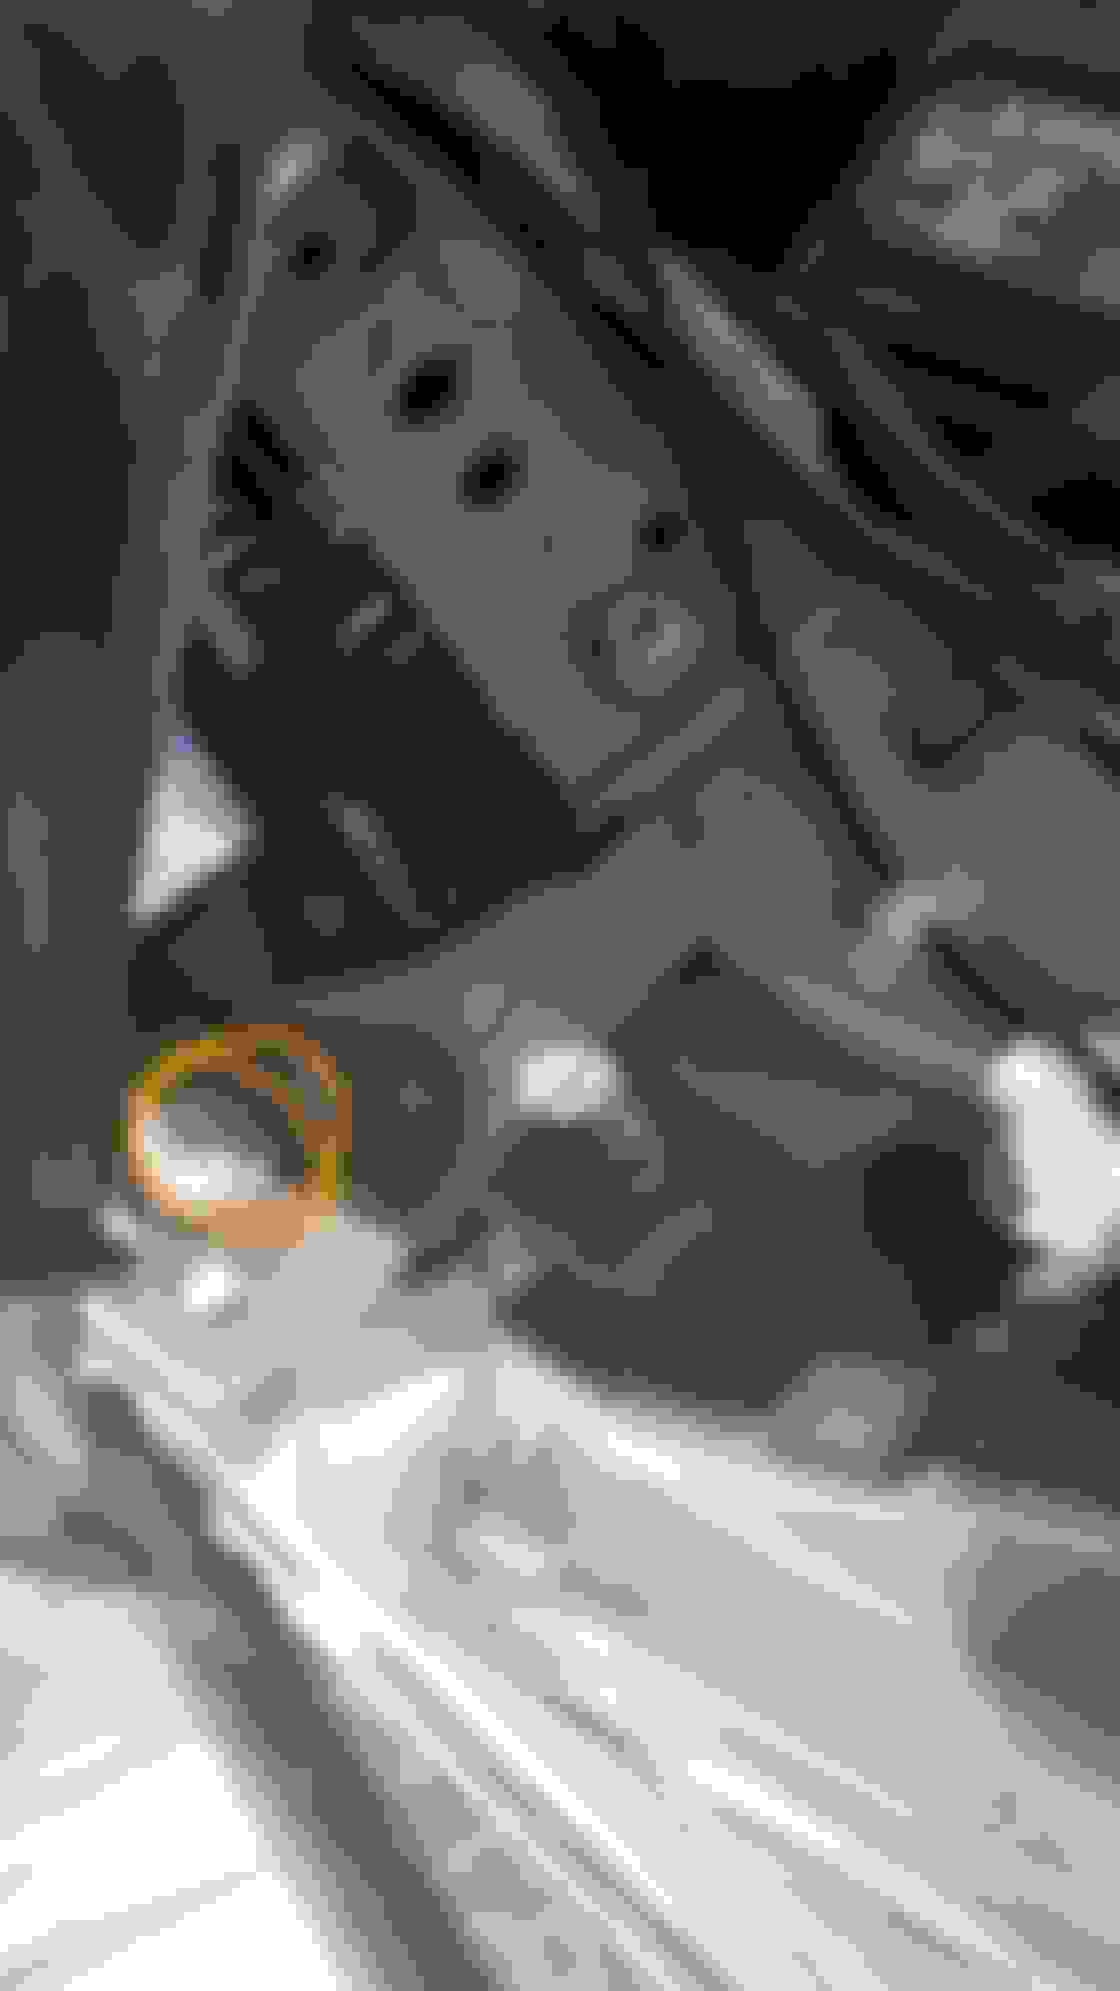
What's everyone, I just bought new aftermarket 6000k D2S HID bulbs to replace my factory bulbs from a pretty reputable company ( I will still be keeping my factory bulbs for back ups just in case of course ) . Reason doing so is I swapped my fog lights over to LED which have a slight blueish tint to them so I wanted my hids to match them. I have taken the headlights off and apart before to my black housing project but it has been a very long time since then and I can't remember how I got the assemblies off. I have taken the 3 main 10mm bolts out that hold the light but it only slightly budges as if something is still holding it back which I can't tell where. There is another bolt underneath the bracket but there's no way to get a socket or wrench in underneath to get to it not sure if it even has to come off or not. Any one have a diy write up on how to get them off? Pictures attached of the bolts I removed
Yes, you need to remove the 10mm bolt underneath the headlight - I believe there are only 3 bolts holding it in. Then you should be able to pop it out.
Is that a picture of your car, do you have hydraulics because that thing is slammed?!?
Yes, you need to remove the 10mm bolt underneath the headlight - I believe there are only 3 bolts holding it in. Then you should be able to pop it out.
Is that a picture of your car, do you have hydraulics because that thing is slammed?!?
okay gotcha, and I have Airlift performance air suspension
It looks like he just changed the bulbs not the ballasts. The idea for him was to change the color temp from 4300-4500 to more 6000 which is more of a bluish white (also known as crystal white) to closely match his fog lights color temp.
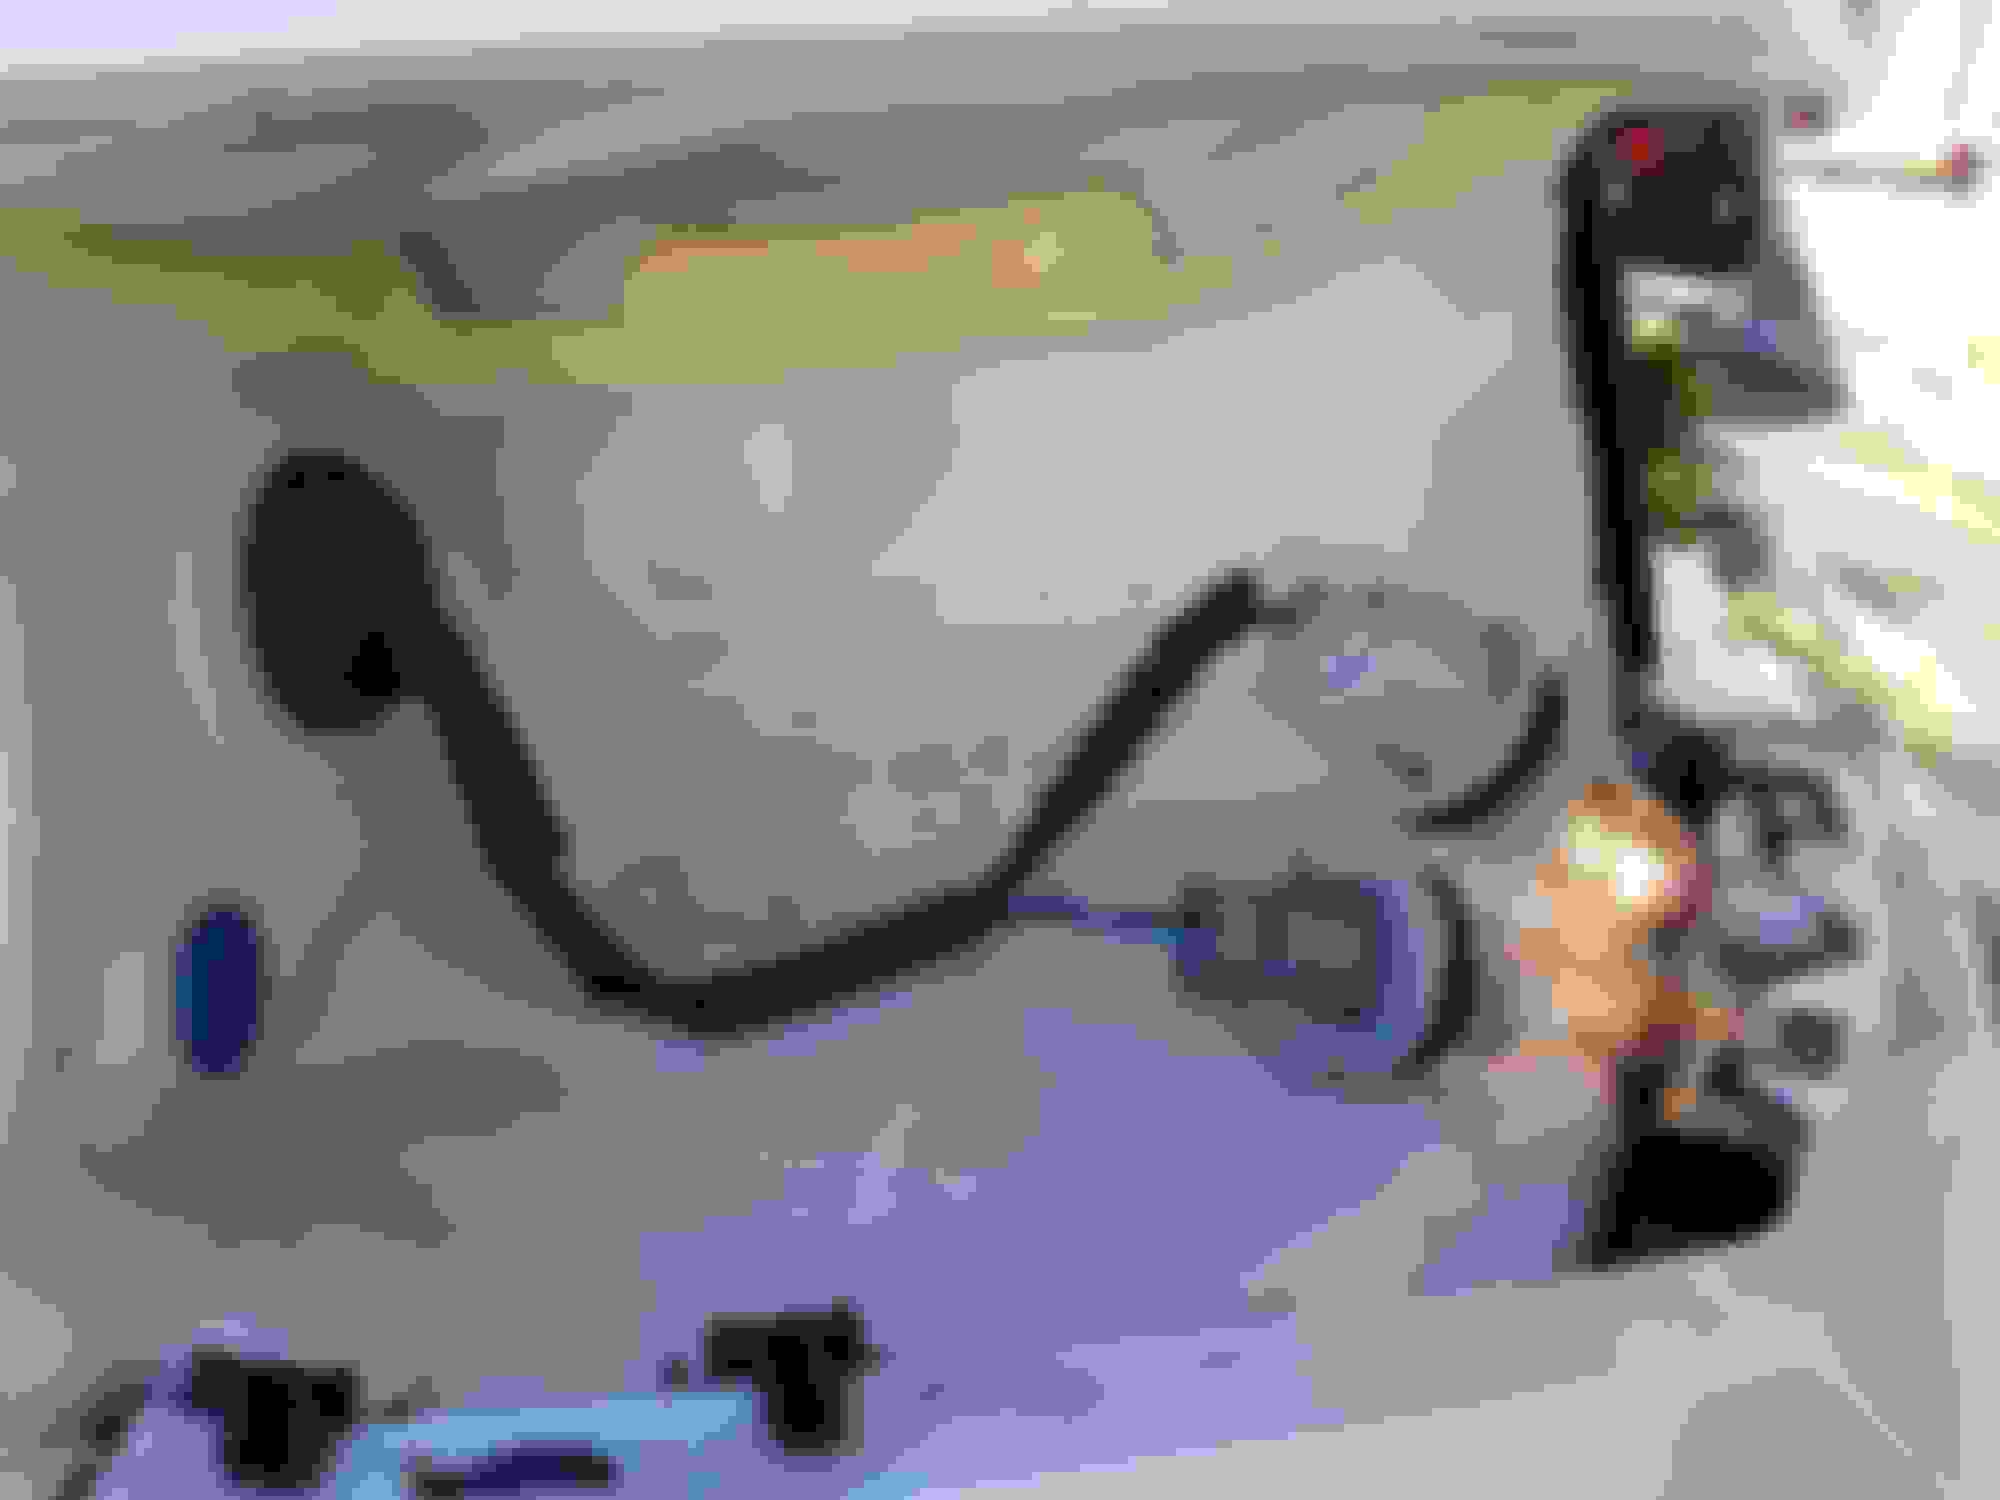
There really is no reason to change the ballast unless you want a higher watt/output. But the set up is a bit different here, where the stock ballast screws onto the bottom of the headlight assembly. The wires go through a harness into the headlight mount area. It is pretty clean, I wouldn't want to mess around with this. More likely just change the bulbs to better quality or different temperature. The ballast is on the bottom.
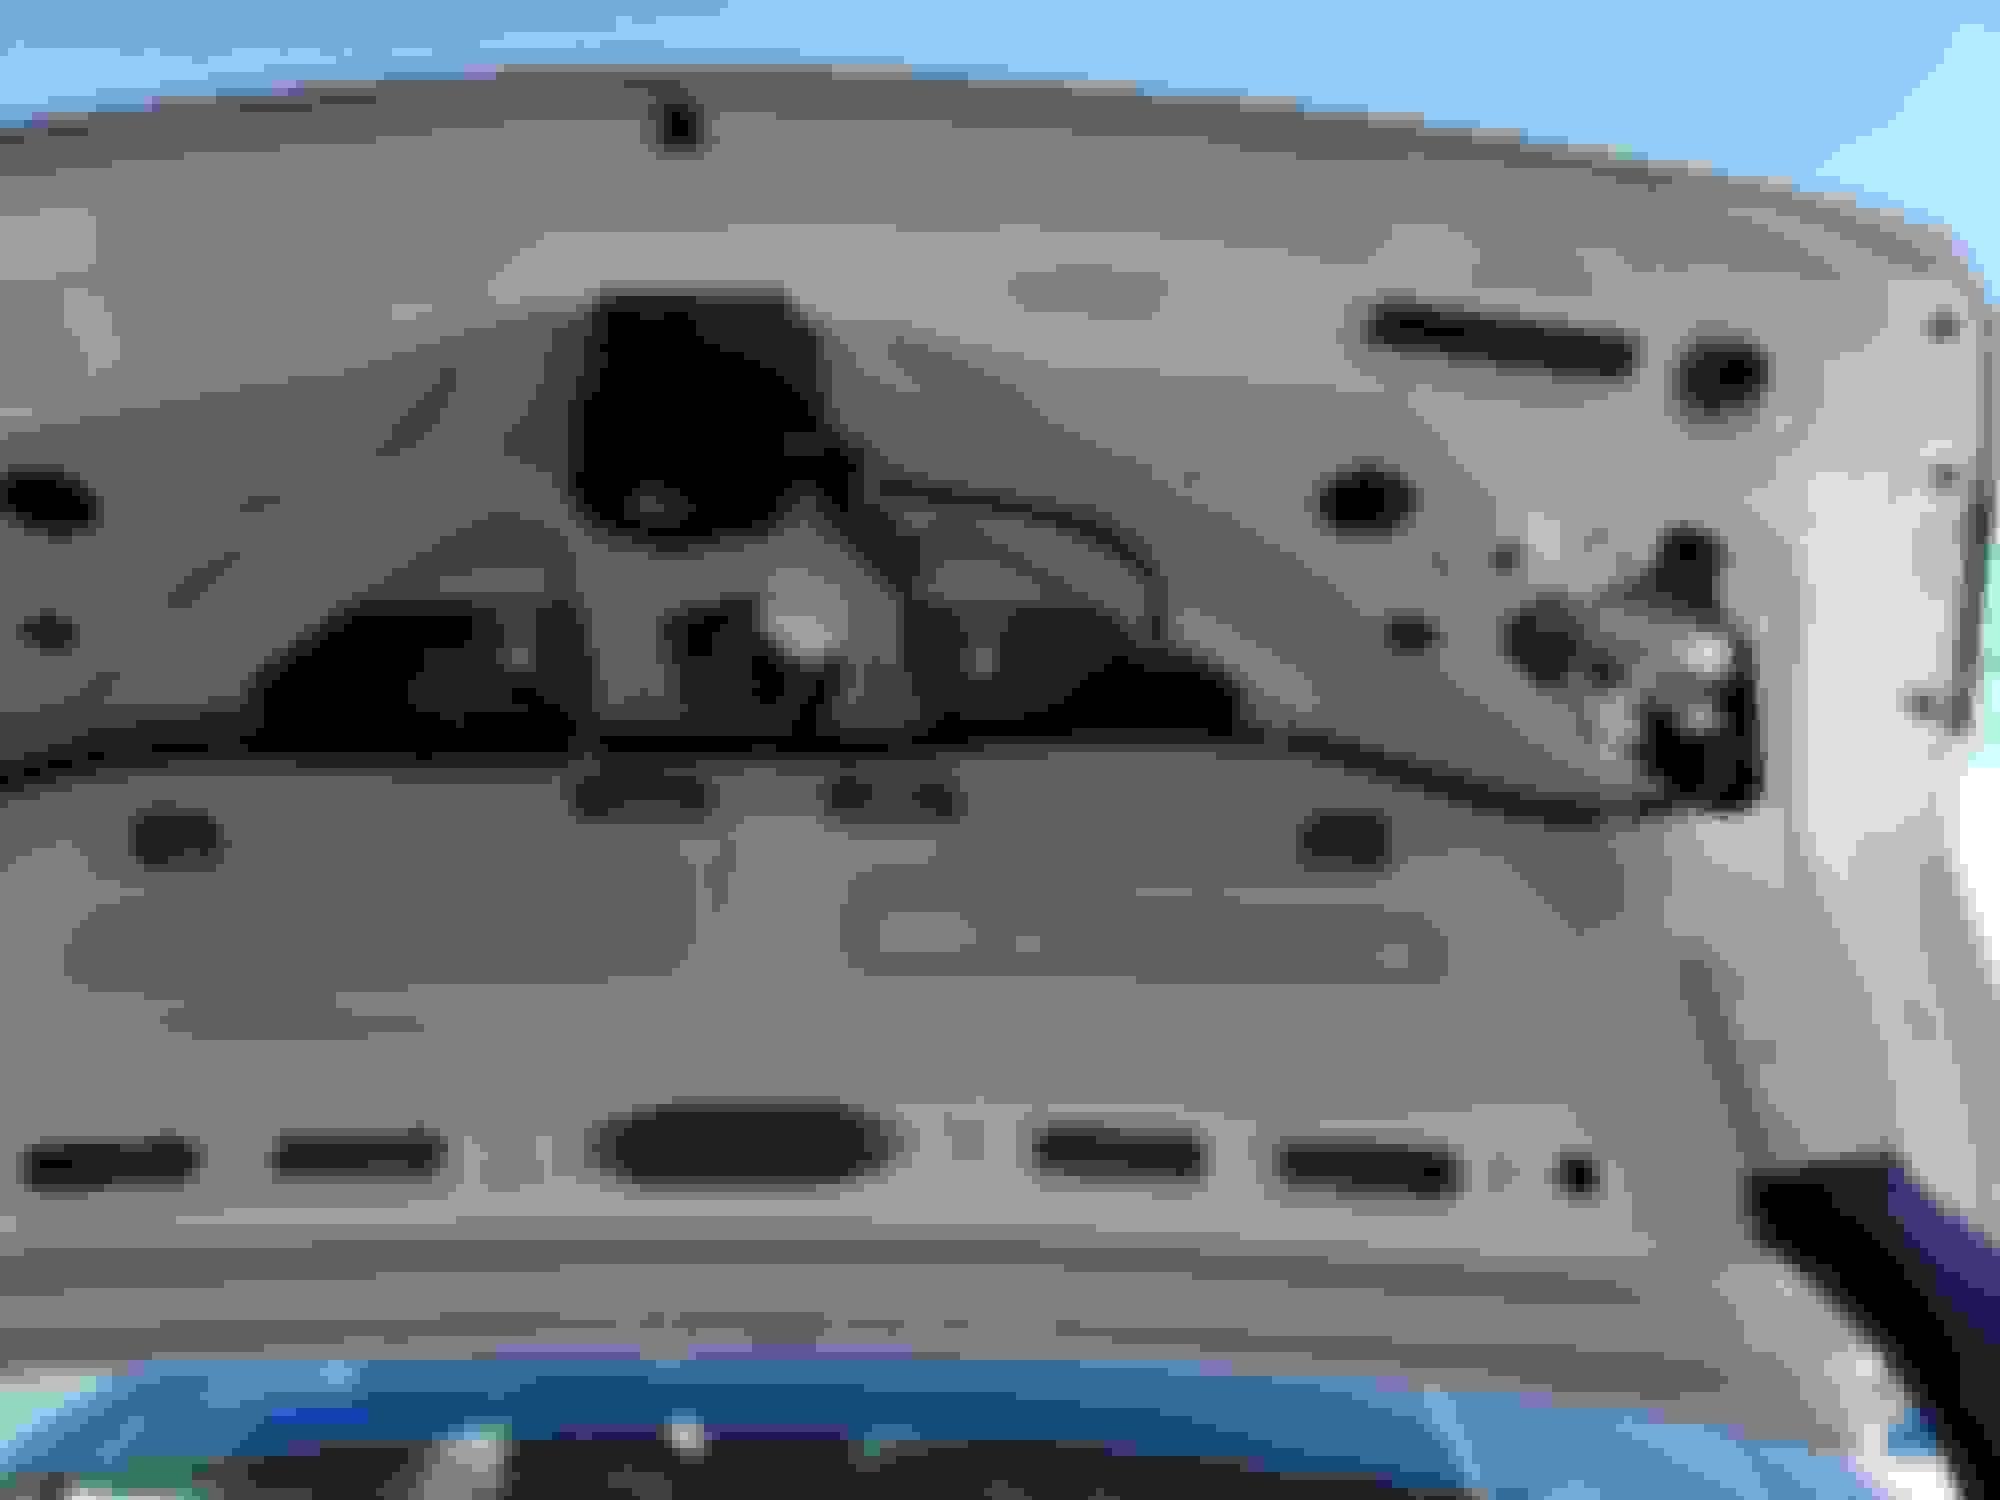
The stock wiring goes into the black plug directly into the ballast (square silver box). Underneath the ballast there is wires that lead to another harness (which has a seal) that leads into the mount for the bulb. To access the bulb you need to remove the large grey plastic circular cover.
Problem with DDM tuning bulbs is that the wiring for the HID bulbs would not be plug and play, you would need to splice the wires to fit the stock wiring into the stock ballast. Using DDM Tuning ballasts probably would not fit where the stock Ballast is located - You would probably have to relocate it.
Problem with DDM tuning bulbs is that the wiring for the HID bulbs would not be plug and play, you would need to splice the wires to fit the stock wiring into the stock ballast. Using DDM Tuning ballasts probably would not fit where the stock Ballast is located - You would probably have to relocate it.
Know of any Quality bulbs/companies that are plug n play?
Problem with DDM tuning bulbs is that the wiring for the HID bulbs would not be plug and play, you would need to splice the wires to fit the stock wiring into the stock ballast. Using DDM Tuning ballasts probably would not fit where the stock Ballast is located - You would probably have to relocate it.
Ok, my mistake... Yesterday I did a coolant flush and oil change and decided to take a look at the stock HID bulbs. It is a little bit of a pain to get at them but you can access the bulbs from the engine bay. Most importantly I will confirm that it is plug and play with probably any D2S bulb. I think I will be ordering a set from DDM Tuning - I have ordered from them many times in the past and their newer bulbs are pretty decent. I want a little more whiter look probably the 5500K temp and $35 for the pair is cheap enough to try.
"I have taken the headlights off and apart before to my black housing project" I realize ILX threads aren't that active and are basically dead however, care to share the details to this?
"I have taken the headlights off and apart before to my black housing project" I realize ILX threads aren't that active and are basically dead however, care to share the details to this?
ApexAcura....
What would you like to know? I have opened up my headlight assembly and even replaced my rear taillights. I maybe able to help you, what are you planning on doing?
ApexAcura....
What would you like to know? I have opened up my headlight assembly and even replaced my rear taillights. I maybe able to help you, what are you planning on doing?
Pretty much just blacking out my headlight housing. While I'm at it install a demon eye glow. My deal is I'm just worried about the whole baking a headlight process. Insuring the seal is re-established correctly. However a thorouth breakdown of somebody having done it before would be nice. Are your taillights different from stock? Pictures?
Pretty much just blacking out my headlight housing. While I'm at it install a demon eye glow. My deal is I'm just worried about the whole baking a headlight process. Insuring the seal is re-established correctly. However a thorouth breakdown of somebody having done it before would be nice. Are your taillights different from stock? Pictures?
The baking processes is a bit messy, but there has been no sealing issues for me. There are lots of U-Tube videos on how to throw your lens in the oven. The trick is to remove all of the rubber seals, electronics, and screws first. If you are worried about not having enough
'sealing butyl" you can pick up some (I did not need it but I still did pick up a pack from "DDM Tuning"). Do you know how to get to your headlight assembly by removing your bumper? I also removed a metal portion within the housing that seemed to block out some of the light shooting downward (fog light area).
I have replaced the stock 2013-2015 rear taillights and put in the 2016-2017 LED taillights - This is a bit expensive but IMO looks way better.
If you want to see my mods you can check out the "My 2013 Build" in this forum.
The rear taillight conversion looks damn good man. Thanks for the info. I'm sure you posted it but, did you have to do anything extra to fit them?
The rear taillight conversion looks damn good man. Thanks for the info. I'm sure you posted it but, did you have to do anything extra to fit them?
The taillight conversion is probably one of the most significant and clean mods to the rear of this gen ILX. I really like the look of the rear end of the my generation over the newer 2016-2018 especially after this mod. However it does requires a little work to remove the taillight assembly for the two inner trunk lights (the outer ones are essentially plug and play and only takes like 5 - 10 mins - Pop out the clip and then 2 screws on each side), I went to a dealership and got them to print it out. You need to take off the rear inside cover of the trunk lid, then remove a few bolts. The tricky part is that there is a bit of sticky sealant/adhesive that keeps the truck lid and the lip attached. For me I was very careful when I spread the two and was able to put it back together without adding more adhesive.
The next part isn't as tricky however is absolutely necessary... You need to splice additional wires to run the rear LED night lights as there is no wiring for the 2013-2015 model years. I ran a wire to the rear license plate bulbs, so when the auto lights turned on to ignite the rear license plate it also turned on the LED rear taillights.
It really isn't that complicated, especially if you know that someone was successful - It can be duplicated!
Good luck
Outer lights, one bulb is for the night light and the other is for the brake light. (no need to splice an additional wire). This swap is totally plug and play.
The 2013-3015 stock inner trunk lights only have a reverse light, you need a power source to light up the LEDs - Run a wire to the license plate holder. Inner Trunk without the cover.
*** TJCANLEY *** Sorry man, I don't mean to take over the thread or change the topic. (I really should do a HOW TO thread, perhaps when the weather gets better - I would need to take more pics).
My fault I could have just messaged you; I'd definitely read through it.