Rockstar143's Home Fixer Upper Thread - 6/2/15

The following users liked this post:
rockstar143 (06-07-2015)
 06-07-2015, 10:12 AM
#44
David_Dude
Thanks, man!
So the granite template guy wants all the counter tops and backsplash out to measure and make his template...then 10 days before we get granite. Awesome...having to take out, then make work so we have a working area until it's ready.
Working it...wish I'd figured out how to do this before damaging my drywall.
Tile backsplash removal without drywall damage

The following users liked this post:
rockstar143 (06-07-2015)
06-08-2015, 08:43 AM
#45
Ex-OEM King

Next most handy tool is a prybar followed by a sawzall.
 06-08-2015, 09:03 AM
#47
Ex-OEM King
Which one did you end up getting?
06-08-2015, 09:39 AM
#49
Ex-OEM King
I have the Dremel one and it works great for everything I've thrown at it. I didn't see the advantages of going with the more expensive kind if you're only going to use it intermittently.
That said, I did get the plug in one not the cordless. The motor uses a lot of power for continuous operation and the battery doesn't last all that long. Plug in is way better for something like this.
That said, I did get the plug in one not the cordless. The motor uses a lot of power for continuous operation and the battery doesn't last all that long. Plug in is way better for something like this.
06-08-2015, 09:41 AM
#50
Oh, I was going plug, for sure...unless it was a makita that already uses the batteries I own, I normally don't bother. I don't mind an extension cord knowing I won't have to worry about recharging during a job.
Thanks for the tips, Sam. I appreciate it. Looking at the MM45-02...$89 with the carry case and all.
Thanks for the tips, Sam. I appreciate it. Looking at the MM45-02...$89 with the carry case and all.
06-08-2015, 09:57 AM
#51
MM30, it is...same price as the MM45 with more accessories, including carbide blade.
Main reason I'm picking it...seems it has the magnetic plate to hold accessory in place while you tighten the handle...and it has the 3.2 degree oscillation, the MM45 has higher amperage, but has only 1.5 degree and is likely an older model.
Main reason I'm picking it...seems it has the magnetic plate to hold accessory in place while you tighten the handle...and it has the 3.2 degree oscillation, the MM45 has higher amperage, but has only 1.5 degree and is likely an older model.
06-08-2015, 10:57 AM
#52
Ex-OEM King
Nice, I don't remember which one I have but it works awesome for cutting in those tight spots. Carbide blade goes through anything and I mostly use it for plumbing jobs to cut PVC/copper/pex/whatever is in the way. Don't even bother with the drywall blades, they are useless. Use the wood/carbide for everything.
Good luck man!
Good luck man!
06-08-2015, 02:32 PM
#53
Damn...really? I ended up changing my mind once I realized it was the way they put it in the marketing. 3.2 degrees on one, 1.5 L and R on the other...
So I just ordered the 3.5 AMP big boy 45 series. I went to the store and held both and the 2.5 amp one had a broken off locking mechanism and felt somewhat light and flimsy in comparison in my hand. Figured for ONE bit difference and same cost, I'd be better off with the higher end, stronger one.
So I just ordered the 3.5 AMP big boy 45 series. I went to the store and held both and the 2.5 amp one had a broken off locking mechanism and felt somewhat light and flimsy in comparison in my hand. Figured for ONE bit difference and same cost, I'd be better off with the higher end, stronger one.
The following users liked this post:
rockstar143 (06-08-2015)
06-08-2015, 06:03 PM
#55
Thanks, Jake.
Honestly, although I have a few things like a grinder and sawzall that have not failed me...I vowed a while back to only buy quality tools to build my arsenal. Probably dumb...but I like the carrying case and reliability of the dremel name.
Honestly, although I have a few things like a grinder and sawzall that have not failed me...I vowed a while back to only buy quality tools to build my arsenal. Probably dumb...but I like the carrying case and reliability of the dremel name.
The following users liked this post:
rockstar143 (06-09-2015)
06-09-2015, 09:18 AM
#57
Senior Moderator
Regional Coordinator
(Mid-Atlantic)
Regional Coordinator
(Mid-Atlantic)
iTrader: (6)
Dremel > Harbor Freight junk
06-09-2015, 09:32 AM
#58
Senior Moderator
Yeah... stay away from HF if you plan on using it more than once or twice..

 06-09-2015, 09:42 AM
#60
Senior Moderator
Regional Coordinator
(Mid-Atlantic)
Regional Coordinator
(Mid-Atlantic)
iTrader: (6)
 06-09-2015, 09:45 AM
#61
Three Wheelin'
I do buy stuff from Harbor Freight sometimes but only if I am planning on using it once or twice since it's dirt cheap.
I just recently started slowly buying / adding on to my Milwaukee Fuel M18 cordless power tools - stuff is awesome but you sure pay for it.
I just recently started slowly buying / adding on to my Milwaukee Fuel M18 cordless power tools - stuff is awesome but you sure pay for it.
06-09-2015, 04:38 PM
#62
Ex-OEM King
Milwaukee power tools are teh sh1t. I have an impact driver from them and it kicks serious ass. Rockstar, if you don't have an impact driver (not wrench) you need to get one. Makes driving screws a piece of cake.
06-09-2015, 05:21 PM
#63
Makita guy here...
I know what you mean, Jake. I usually do buy the cheap ones for a couple time uses...but then they end up lasting!
I guess in a way, the HF stuff probably would be fine for my purposes.
I know what you mean, Jake. I usually do buy the cheap ones for a couple time uses...but then they end up lasting!
I guess in a way, the HF stuff probably would be fine for my purposes.
06-10-2015, 08:06 PM
#64
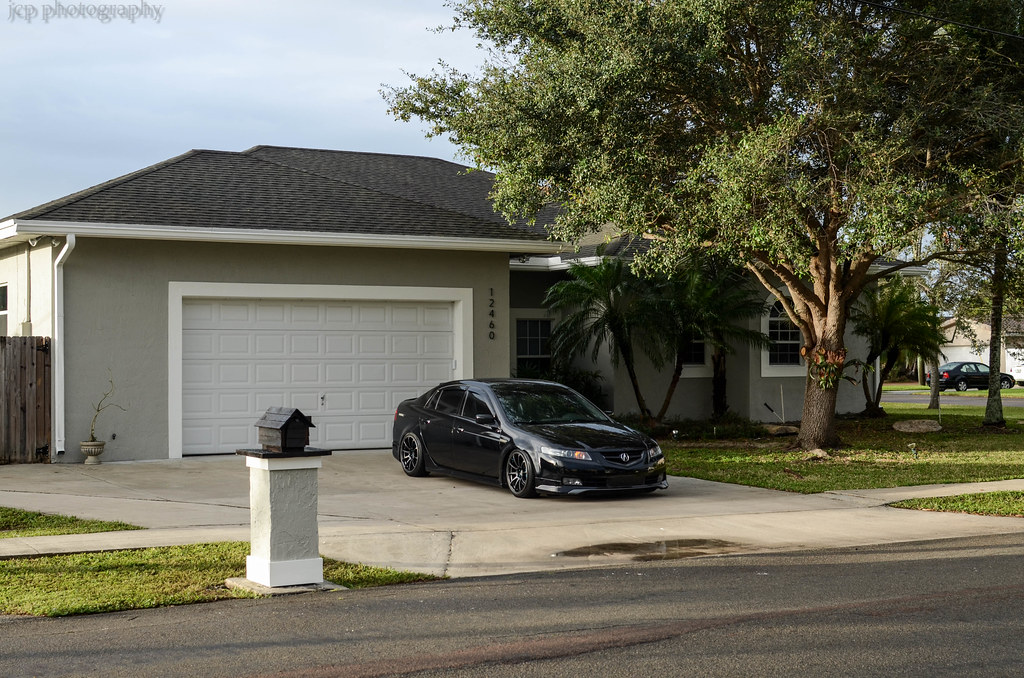
Well, I guess I'll be jumping around a ton here...kinda hard to remember how things have gone with the past stuff. I'll post a bunch of updated pictures of after we painted the interior and exterior and did the garage floor and had the garage door professionally painted (wood faux finish).
Then I'll start posting the updated work that's going on now.
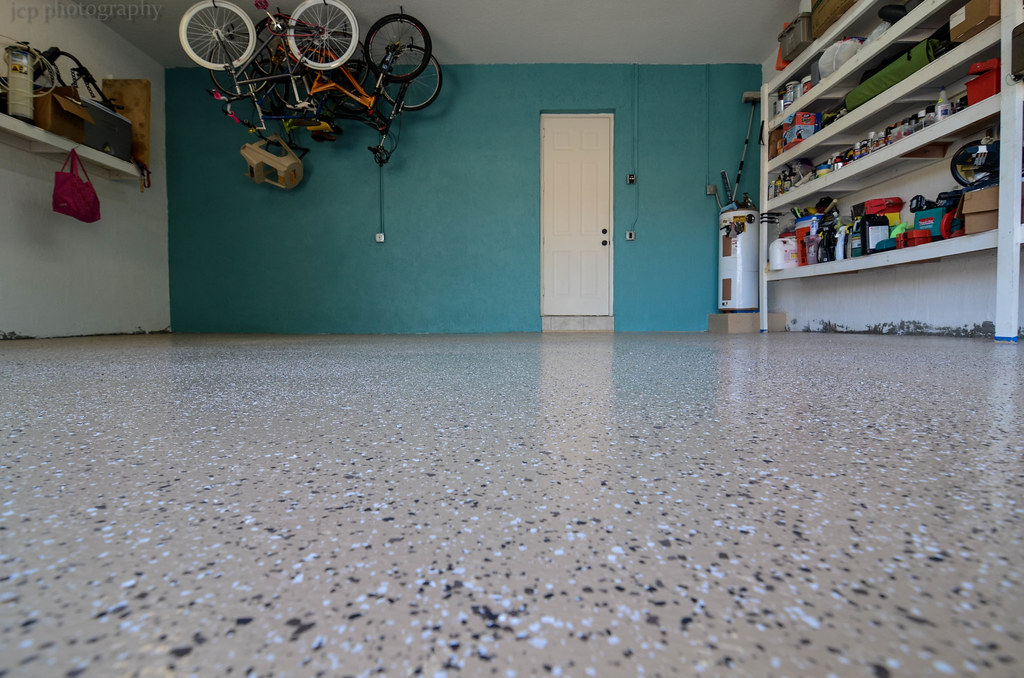
Garage wall started it all...decided to just do an accent so it wouldn't make it feel small.
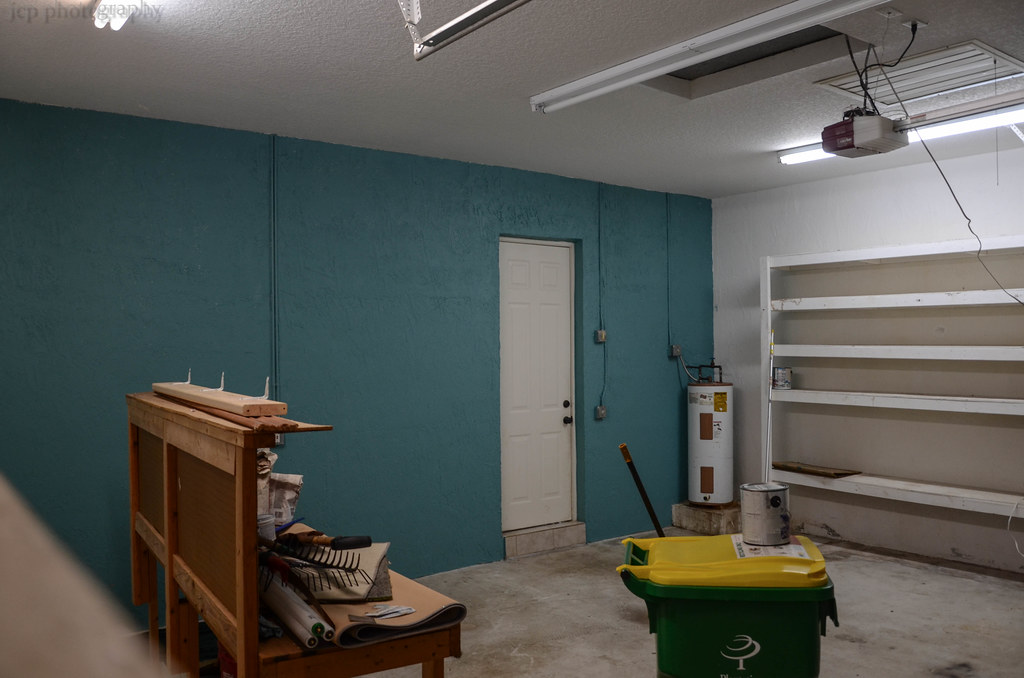 DSC_2736 by Jeremy Perrod, on Flickr
Laundry room got the same treatment...mind you, all freehand paintbrushing around those shelves. I hate painting, but I hate taping and having it bleed even more. A steady hand and patience...
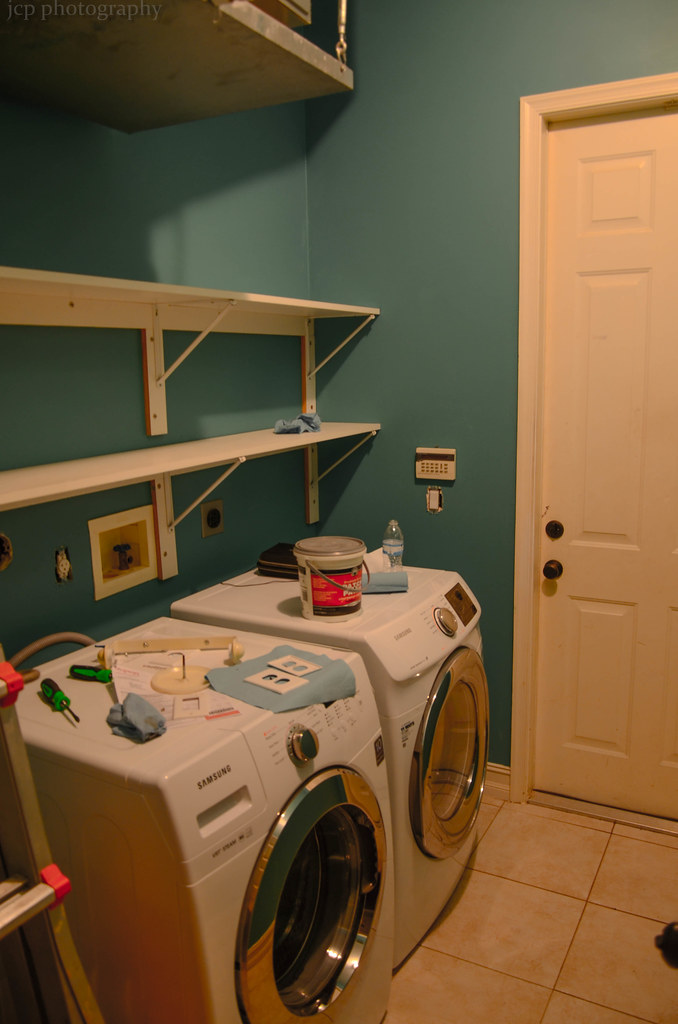 DSC_2731 by Jeremy Perrod, on Flickr
Getting started painting
 DSC_2730 by Jeremy Perrod, on Flickr
we bought the house without a fridge...here was our treat...showcase samsung fridge, open box hhgregg...and a stovetop/oven combo from craigslist...poor B had to go pick it up in the hood
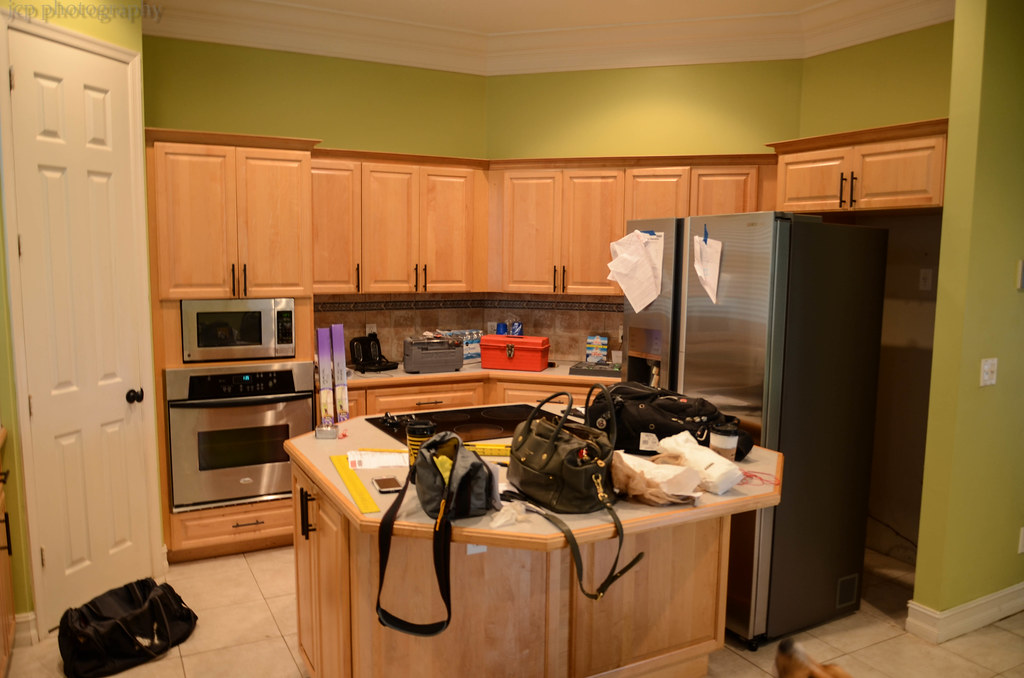 DSC_2729 by Jeremy Perrod, on Flickr
Here's that entry way painted. Betty loves grays...I fought for some teal variations here and there.
 DSC_2753 by Jeremy Perrod, on Flickr
Master bedroom new color...it was an ugly pinkish gray
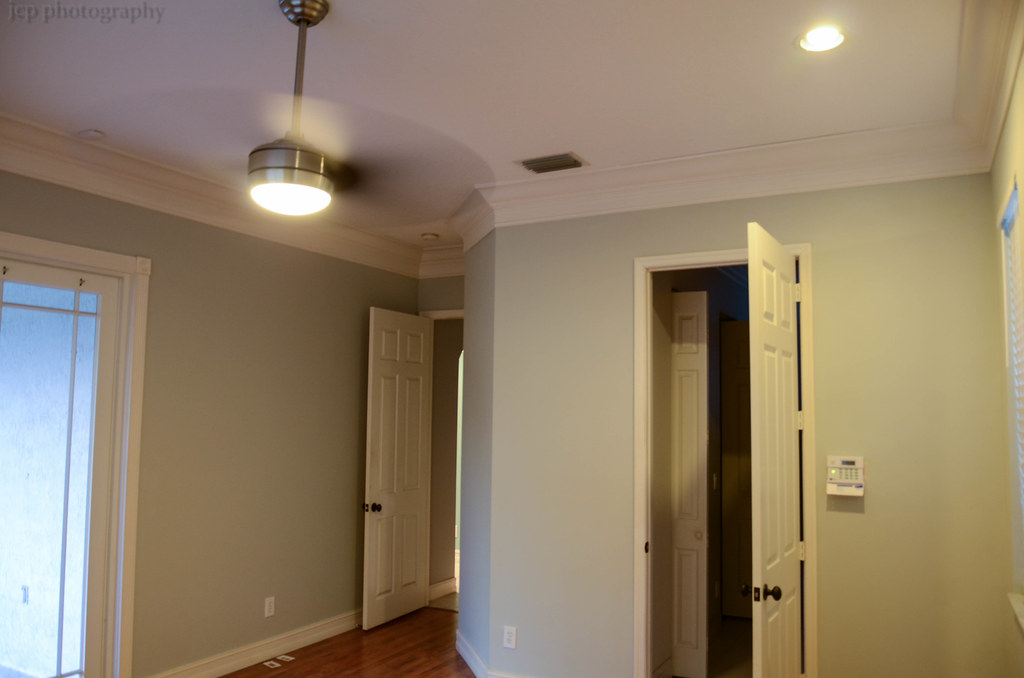 DSC_2757 by Jeremy Perrod, on Flickr
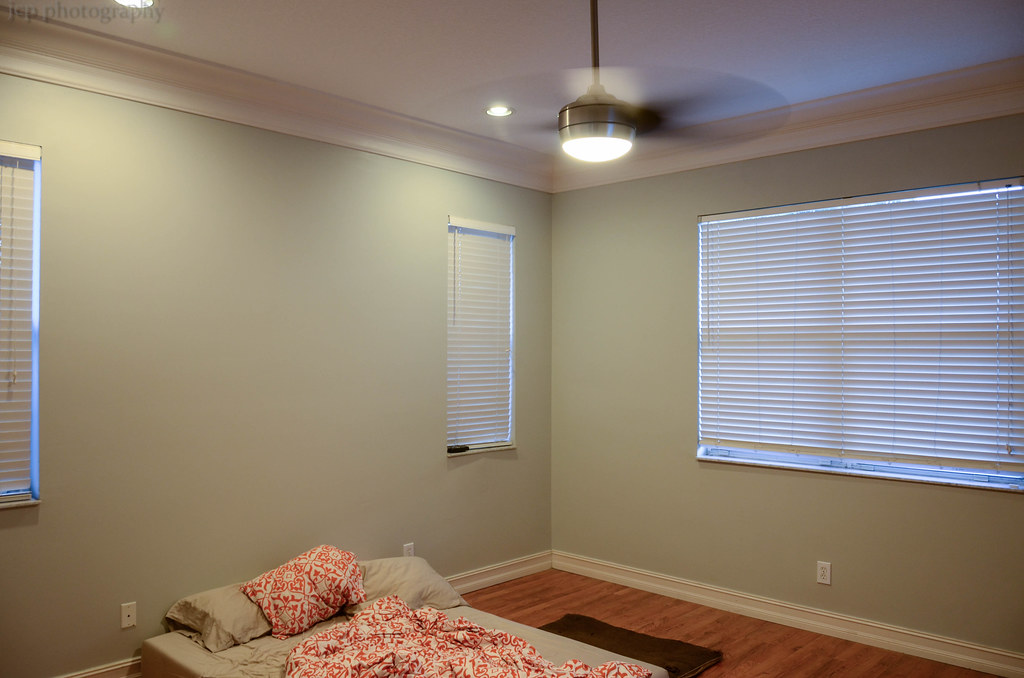 DSC_2758 by Jeremy Perrod, on Flickr
bye bye ugly yellow!
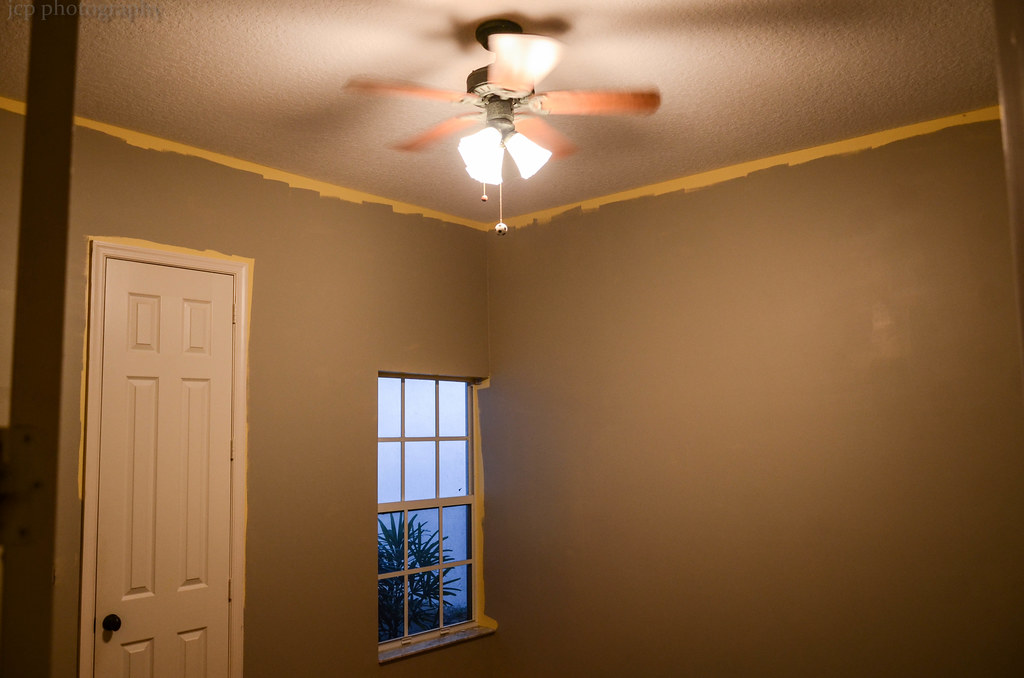 DSC_2761 by Jeremy Perrod, on Flickr
Then I'll start posting the updated work that's going on now.
Garage wall started it all...decided to just do an accent so it wouldn't make it feel small.
DSC_2736 by Jeremy Perrod, on FlickrLaundry room got the same treatment...mind you, all freehand paintbrushing around those shelves. I hate painting, but I hate taping and having it bleed even more. A steady hand and patience...
DSC_2731 by Jeremy Perrod, on FlickrGetting started painting
DSC_2730 by Jeremy Perrod, on Flickrwe bought the house without a fridge...here was our treat...showcase samsung fridge, open box hhgregg...and a stovetop/oven combo from craigslist...poor B had to go pick it up in the hood
DSC_2729 by Jeremy Perrod, on FlickrHere's that entry way painted. Betty loves grays...I fought for some teal variations here and there.
DSC_2753 by Jeremy Perrod, on FlickrMaster bedroom new color...it was an ugly pinkish gray
DSC_2757 by Jeremy Perrod, on FlickrDSC_2758 by Jeremy Perrod, on Flickrbye bye ugly yellow!
DSC_2761 by Jeremy Perrod, on Flickr
06-10-2015, 08:19 PM
#65
Here was a cool shot of the half bath...new mirror I found at homegoods for $25...and new paint
 DSC_2797 by Jeremy Perrod, on Flickr
These were dirty and horrendous...
 DSC_2781 by Jeremy Perrod, on Flickr
a little elbow grease, a grinder and some paint...
 DSC_2799 by Jeremy Perrod, on Flickr
 DSC_2800 by Jeremy Perrod, on Flickr
 DSC_2808 by Jeremy Perrod, on Flickr
close friends and dad...helpin us
 DSC_2812 by Jeremy Perrod, on Flickr
little helpers...
 DSC_2831 by Jeremy Perrod, on Flickr
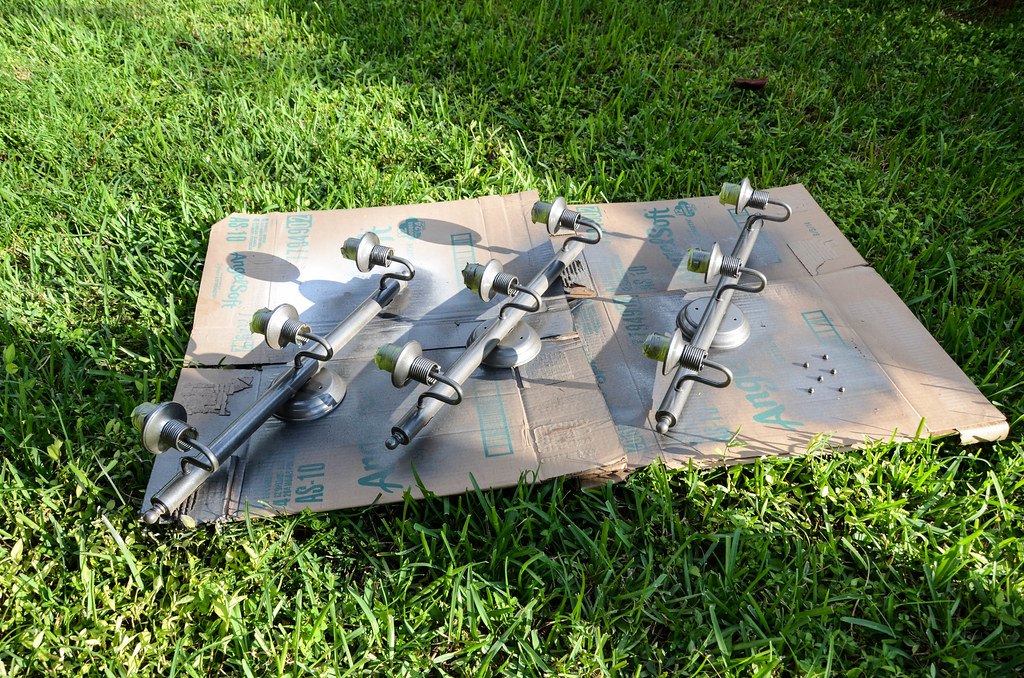
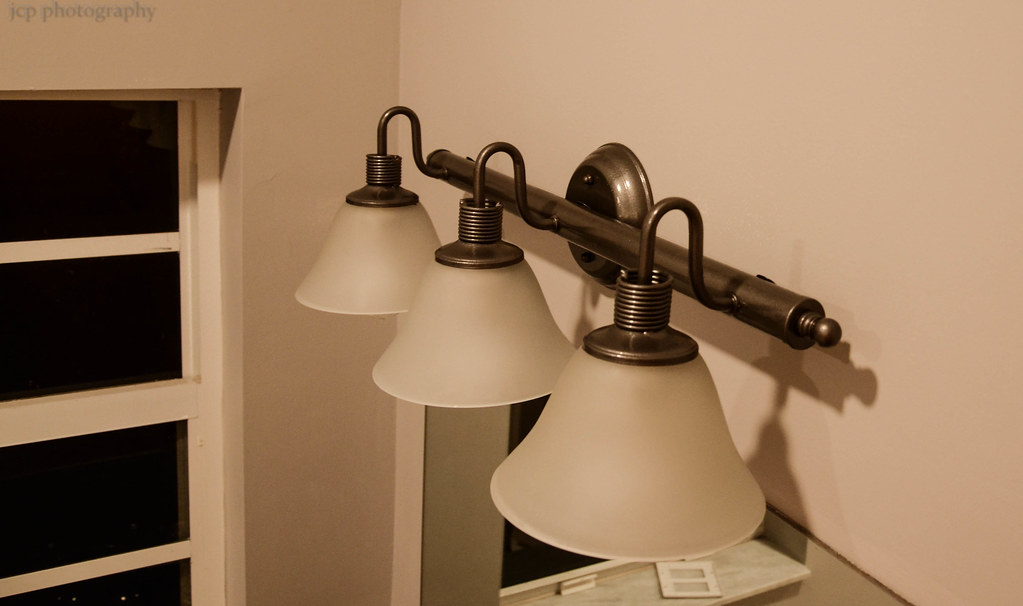
Inherited one of these...needed about $100 in parts to get it perfect
 DSC_2823 by Jeremy Perrod, on Flickr
Master Bathroom love
 DSC_2827 by Jeremy Perrod, on Flickr
Cars, duh
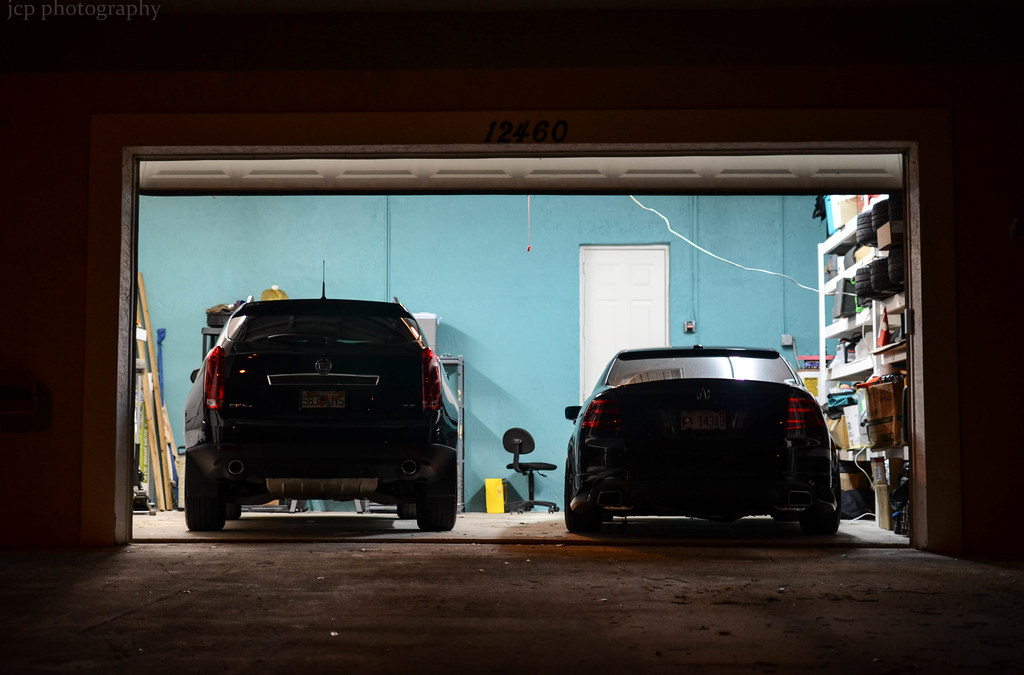 DSC_2833 by Jeremy Perrod, on Flickr
Decorated but TV not mounted yet
 DSC_3087 by Jeremy Perrod, on Flickr
curtains
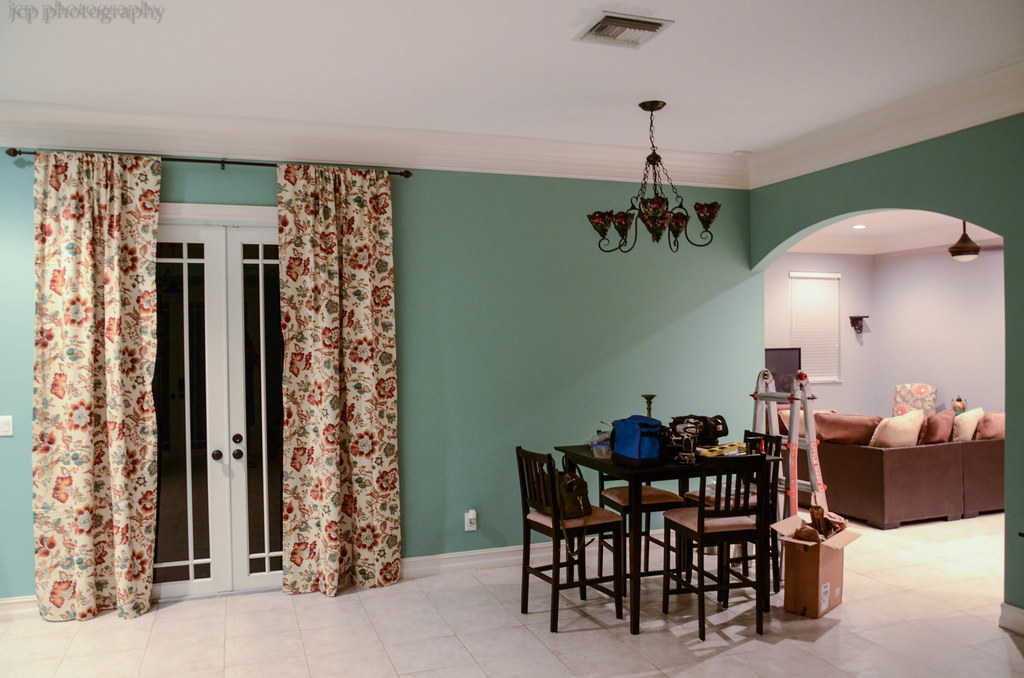 DSC_3088 by Jeremy Perrod, on Flickr
schwagggggg
 DSC_3090 by Jeremy Perrod, on Flickr
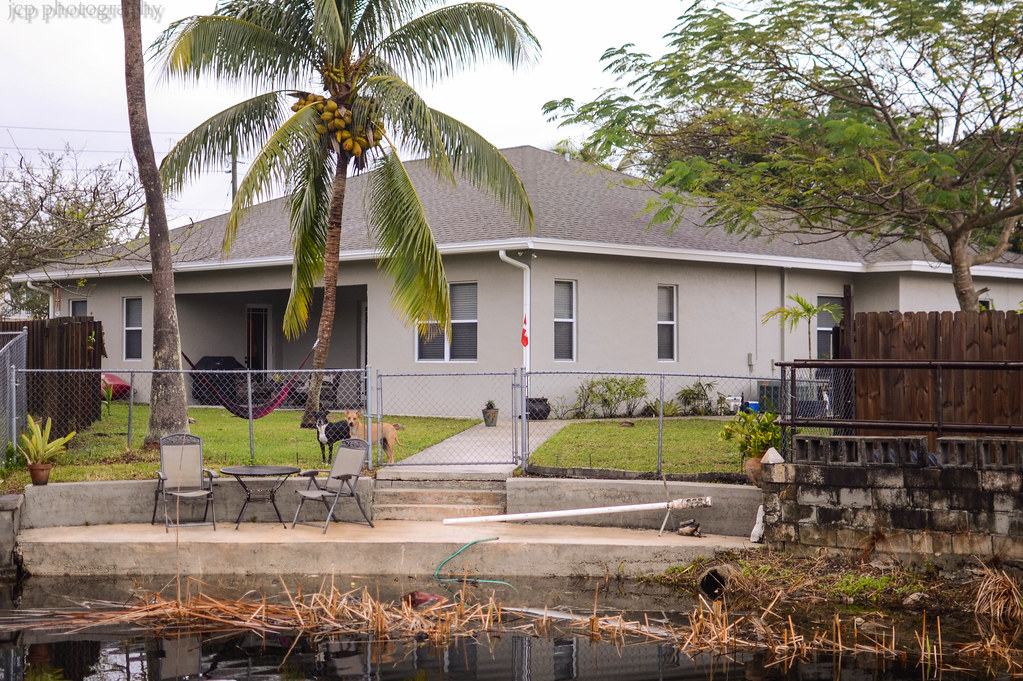
Got to enjoy the canal finally...thanks dad!
 DSC_3178 by Jeremy Perrod, on Flickr
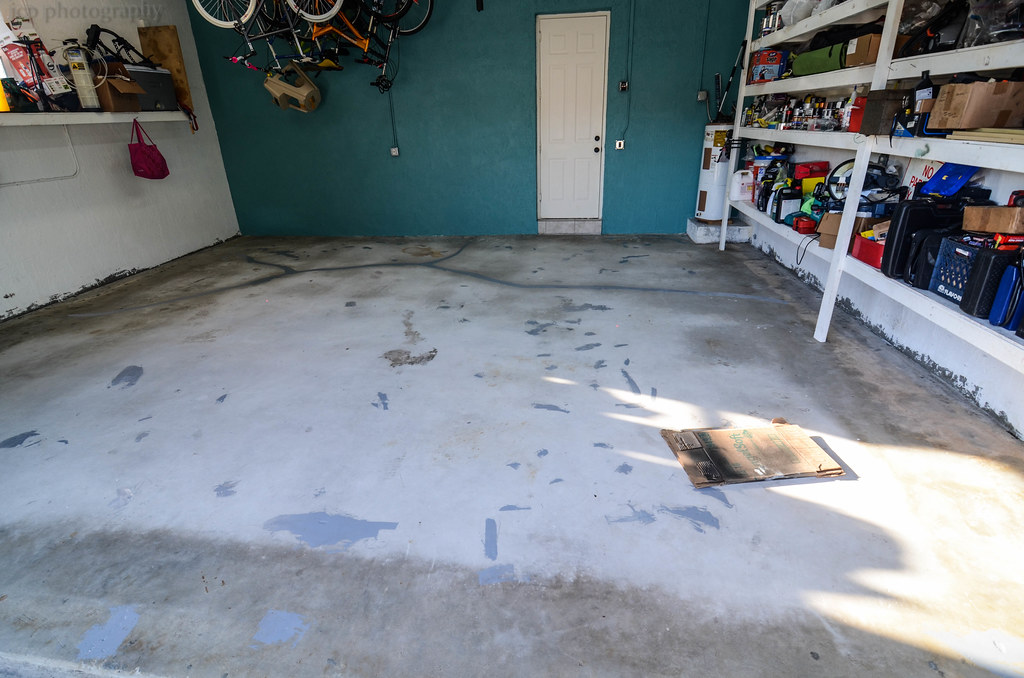
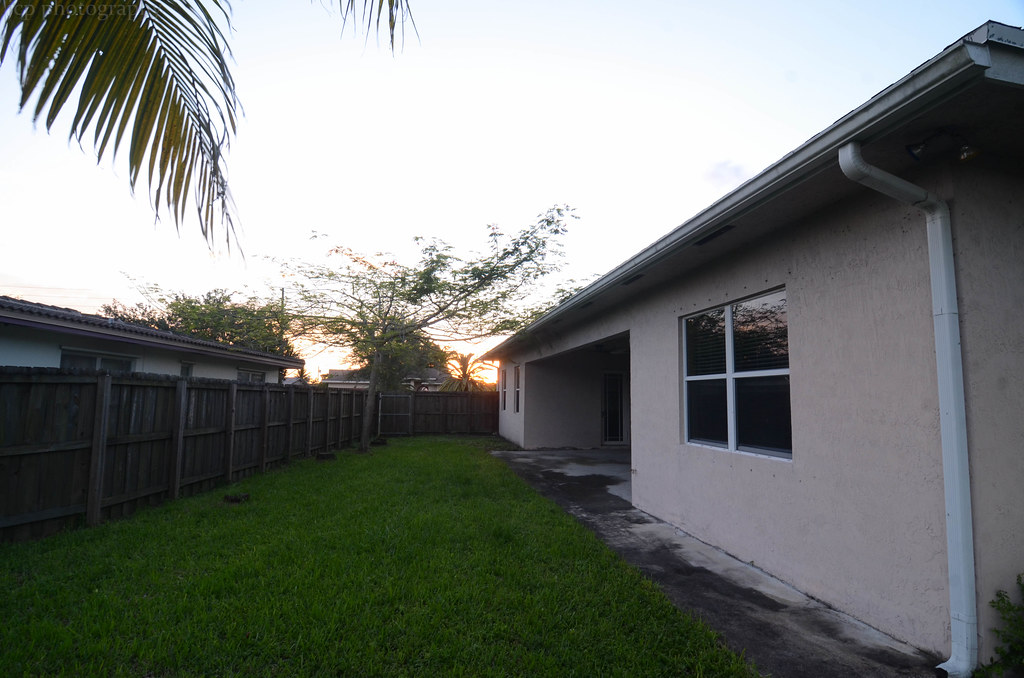
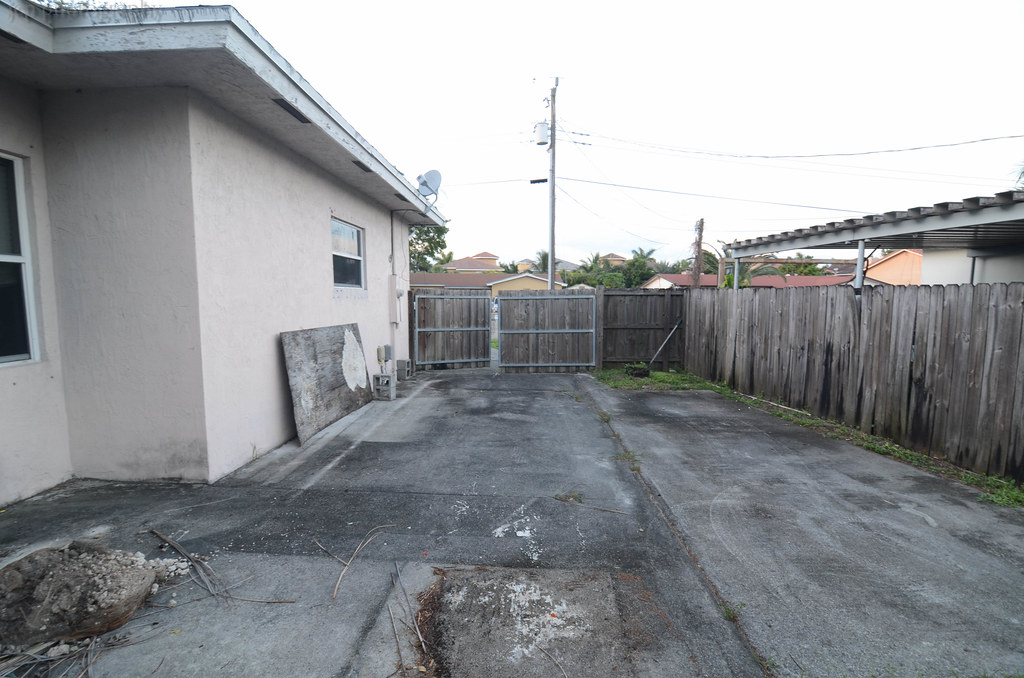
Garage Floor prep time...this was a dream of mine for a long time.
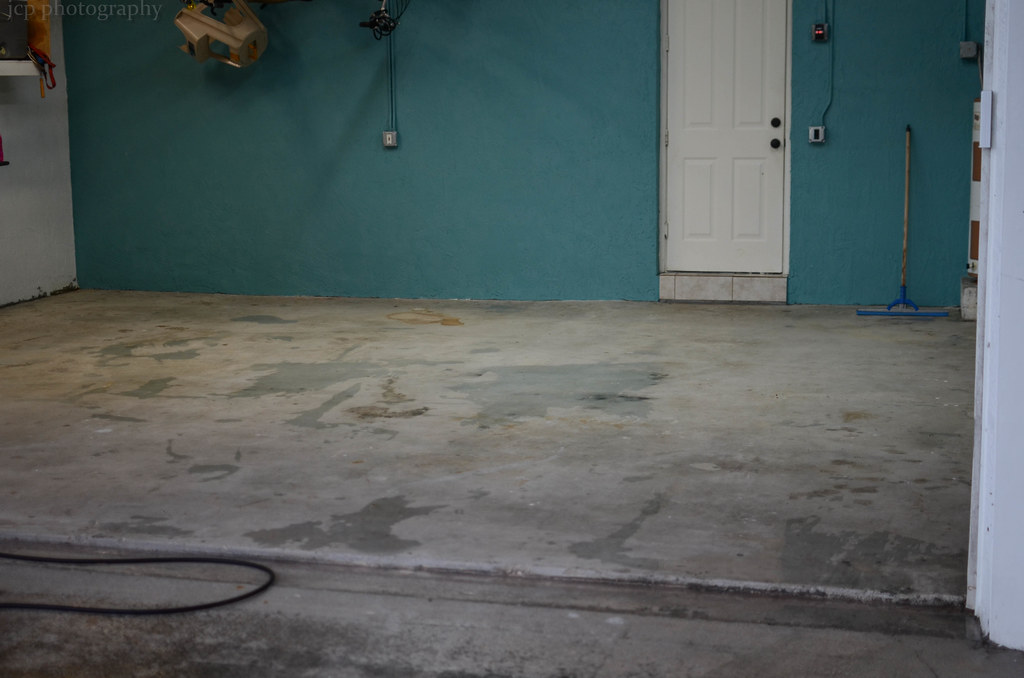 DSC_3230 by Jeremy Perrod, on Flickr
 DSC_3232 by Jeremy Perrod, on Flickr
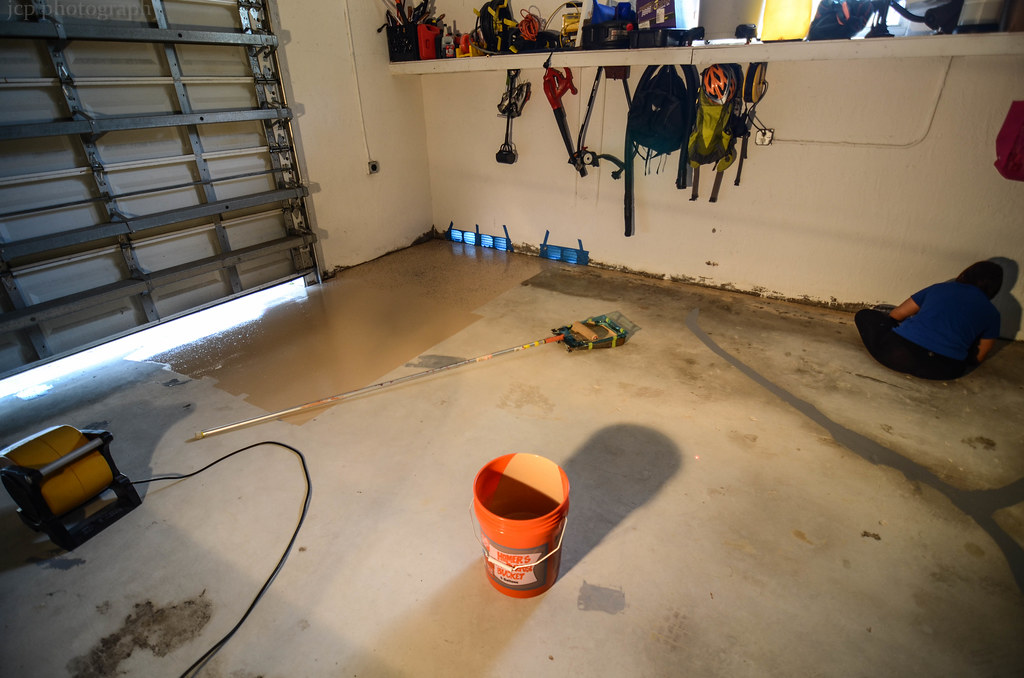
cracks filled...acid etched twice...
 DSC_3262 by Jeremy Perrod, on Flickr
if you ship site to store...for the same cost you get the professional kit...it dries a few mil thicker and is solvent based and not water. Harder to work with...but no hot tire lifting etc.
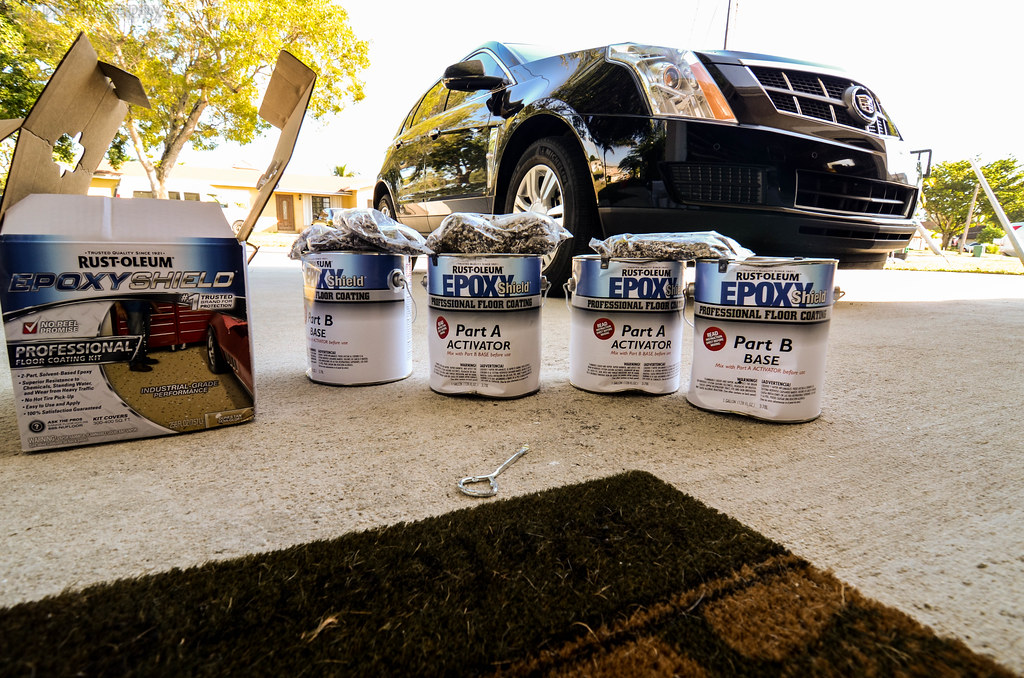 DSC_3263 by Jeremy Perrod, on Flickr
 DSC_3265 by Jeremy Perrod, on Flickr
 DSC_3271 by Jeremy Perrod, on Flickr
I was a little too liberal in some areas and a little too cheap in others, with the sprinkles...oh well...
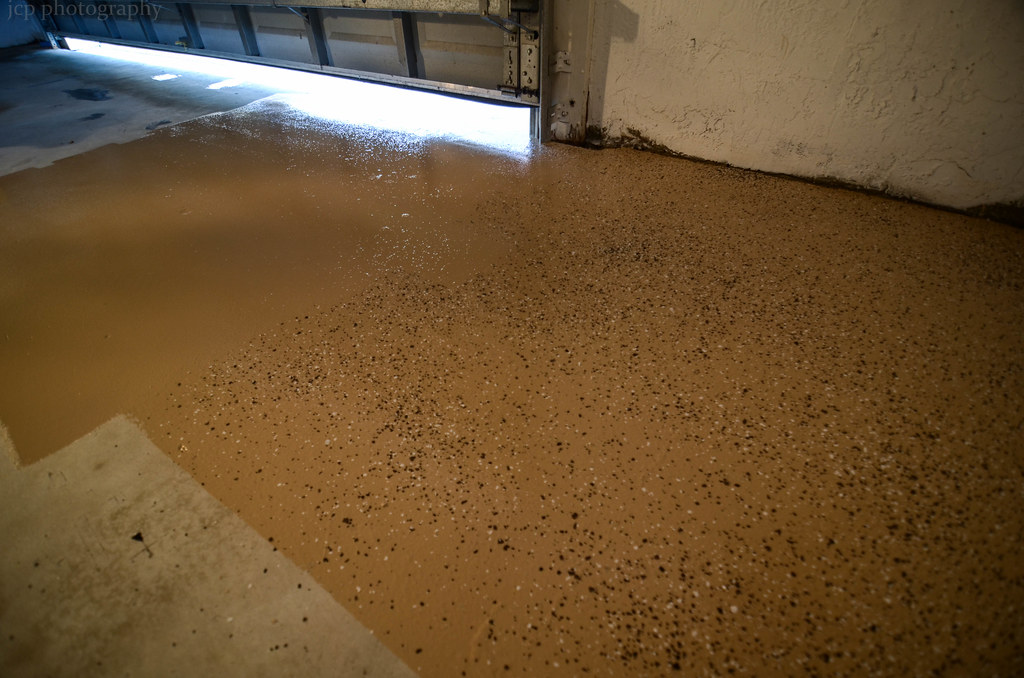 DSC_3272 by Jeremy Perrod, on Flickr
 DSC_3273 by Jeremy Perrod, on Flickr
Finished...well...almost. We decided to do clear coat the next day.
 DSC_3278 by Jeremy Perrod, on Flickr
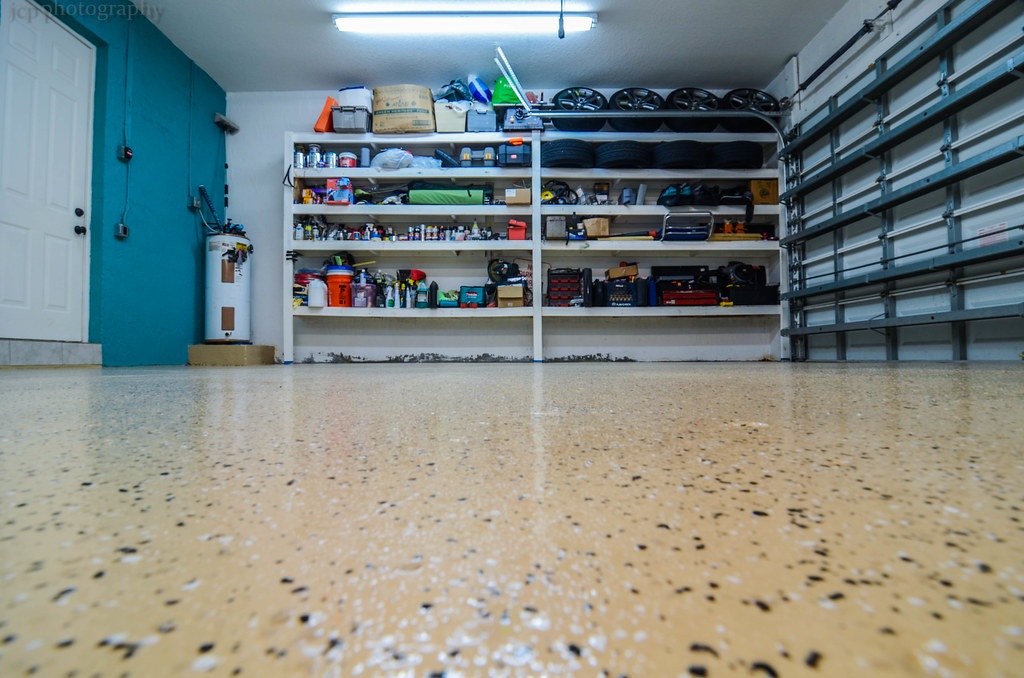 DSC_3282 by Jeremy Perrod, on Flickr
rebuilding sprinkler pump...that was a 6 week ordeal...I learned a TON about sprinkler systems and how they work.
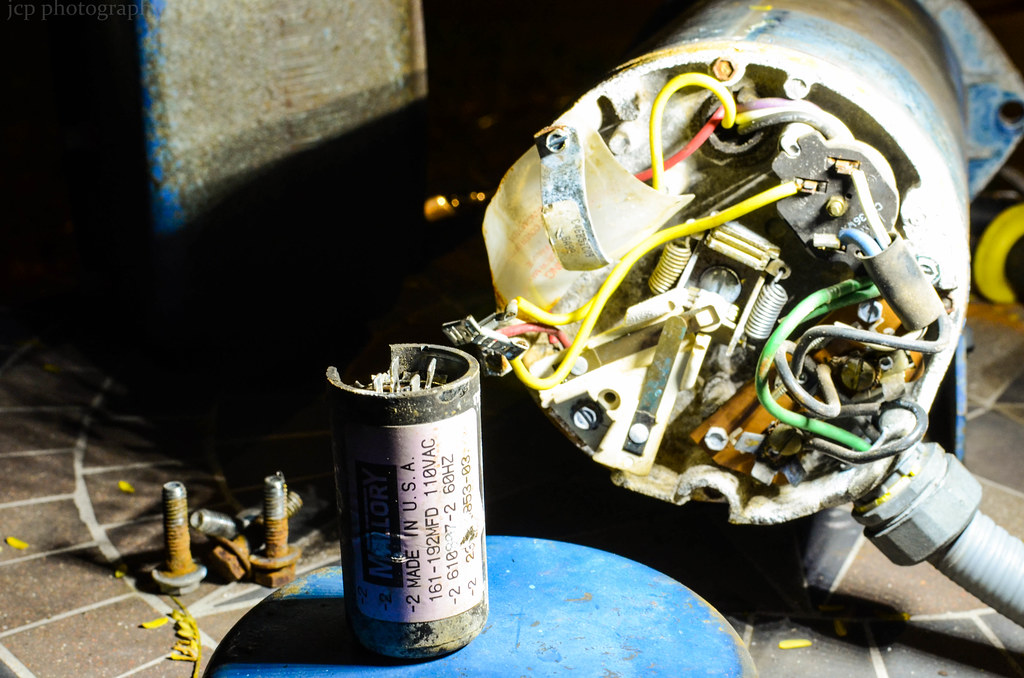 DSC_3353 by Jeremy Perrod, on Flickr
DSC_2797 by Jeremy Perrod, on FlickrThese were dirty and horrendous...
DSC_2781 by Jeremy Perrod, on Flickra little elbow grease, a grinder and some paint...
DSC_2799 by Jeremy Perrod, on FlickrDSC_2800 by Jeremy Perrod, on FlickrDSC_2808 by Jeremy Perrod, on Flickrclose friends and dad...helpin us
DSC_2812 by Jeremy Perrod, on Flickrlittle helpers...
DSC_2831 by Jeremy Perrod, on FlickrInherited one of these...needed about $100 in parts to get it perfect
DSC_2823 by Jeremy Perrod, on FlickrMaster Bathroom love
DSC_2827 by Jeremy Perrod, on FlickrCars, duh
DSC_2833 by Jeremy Perrod, on FlickrDecorated but TV not mounted yet
DSC_3087 by Jeremy Perrod, on Flickrcurtains
DSC_3088 by Jeremy Perrod, on Flickrschwagggggg
DSC_3090 by Jeremy Perrod, on FlickrGot to enjoy the canal finally...thanks dad!
DSC_3178 by Jeremy Perrod, on FlickrGarage Floor prep time...this was a dream of mine for a long time.
DSC_3230 by Jeremy Perrod, on FlickrDSC_3232 by Jeremy Perrod, on Flickrcracks filled...acid etched twice...
DSC_3262 by Jeremy Perrod, on Flickrif you ship site to store...for the same cost you get the professional kit...it dries a few mil thicker and is solvent based and not water. Harder to work with...but no hot tire lifting etc.
DSC_3263 by Jeremy Perrod, on FlickrDSC_3265 by Jeremy Perrod, on FlickrDSC_3271 by Jeremy Perrod, on FlickrI was a little too liberal in some areas and a little too cheap in others, with the sprinkles...oh well...
DSC_3272 by Jeremy Perrod, on FlickrDSC_3273 by Jeremy Perrod, on FlickrFinished...well...almost. We decided to do clear coat the next day.
DSC_3278 by Jeremy Perrod, on FlickrDSC_3282 by Jeremy Perrod, on Flickrrebuilding sprinkler pump...that was a 6 week ordeal...I learned a TON about sprinkler systems and how they work.
DSC_3353 by Jeremy Perrod, on Flickr
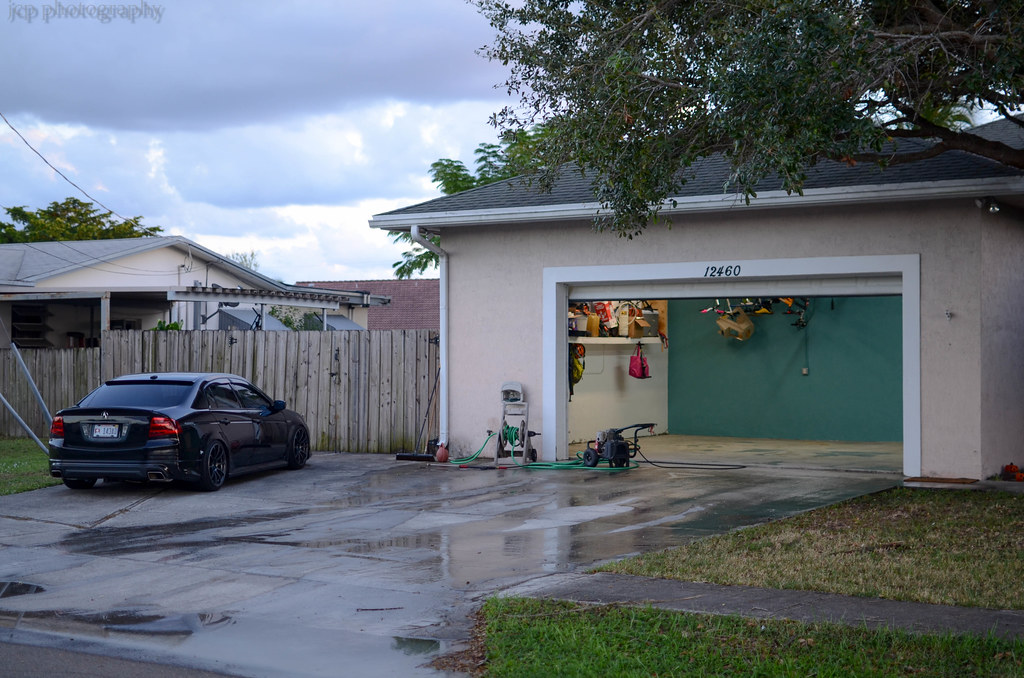
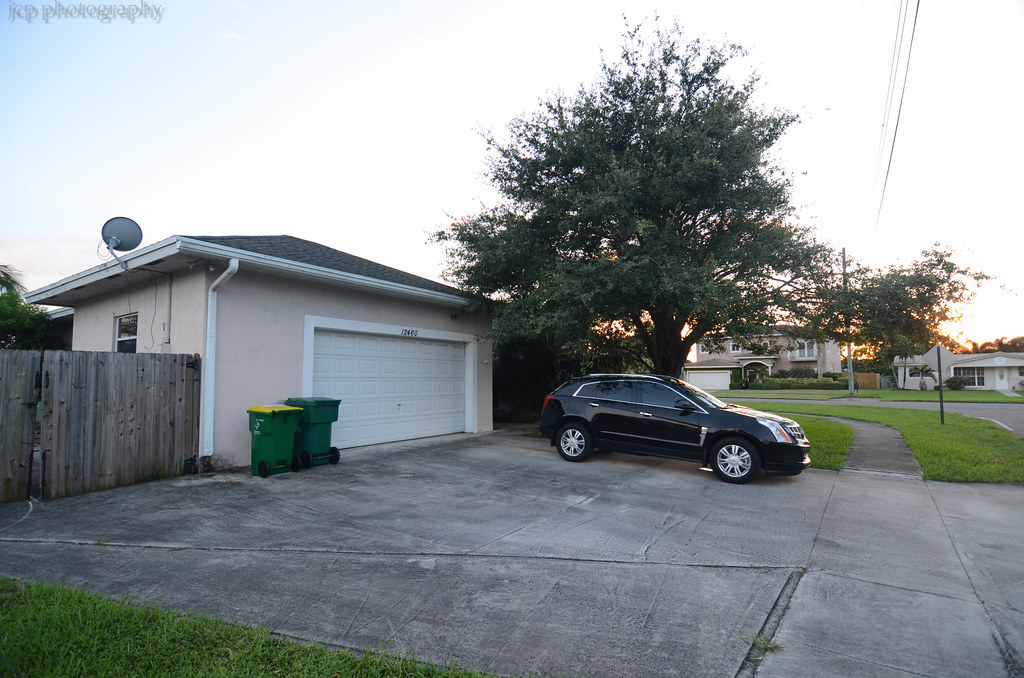
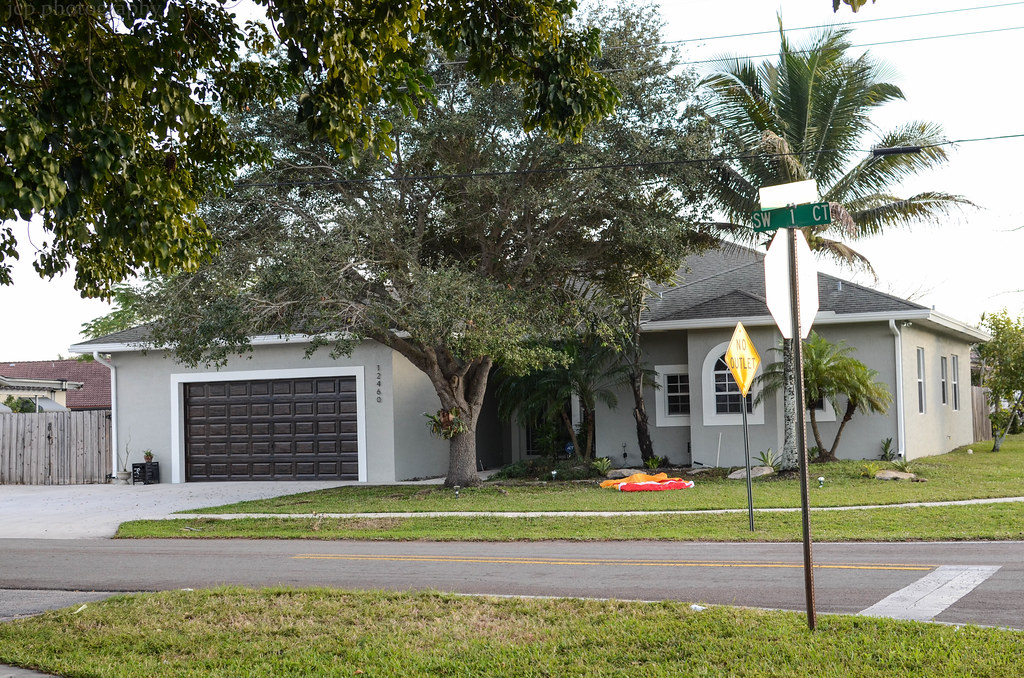
06-10-2015, 08:35 PM
#66
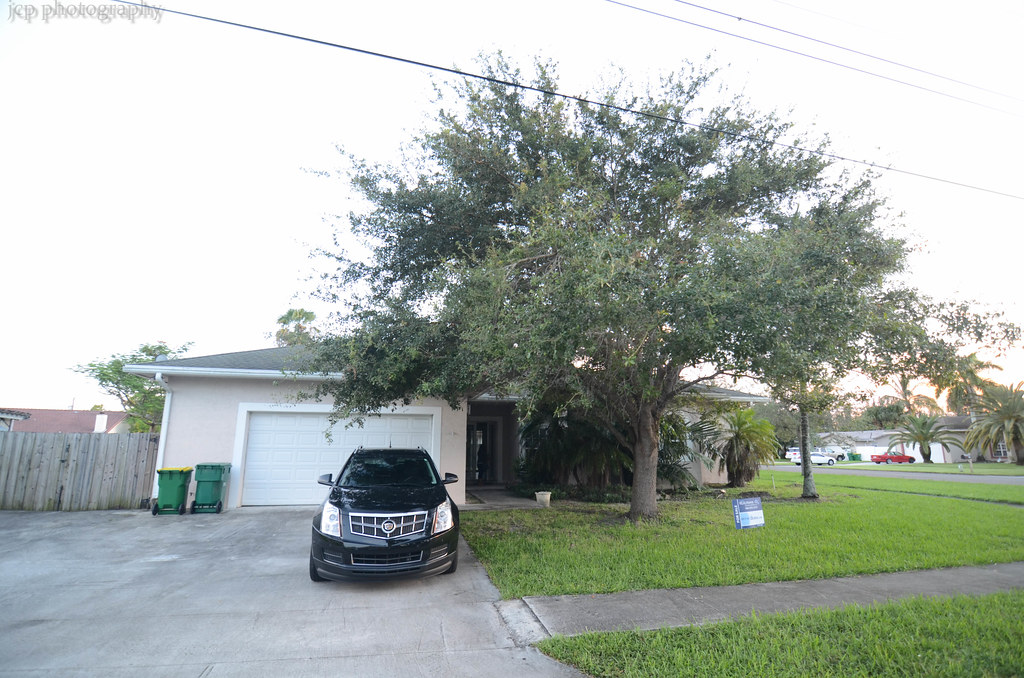
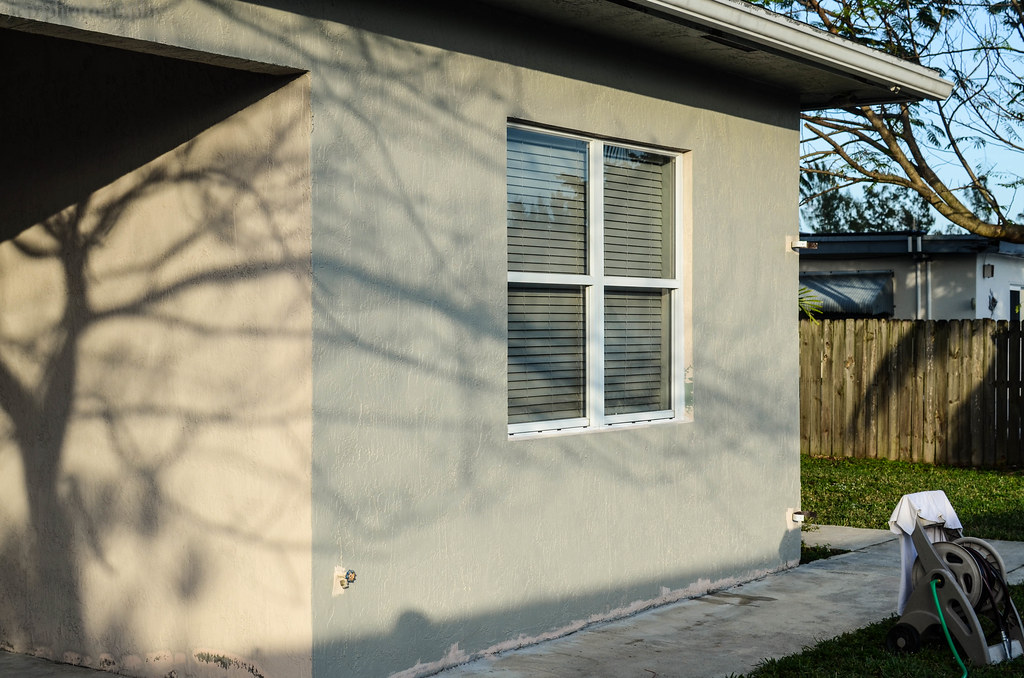
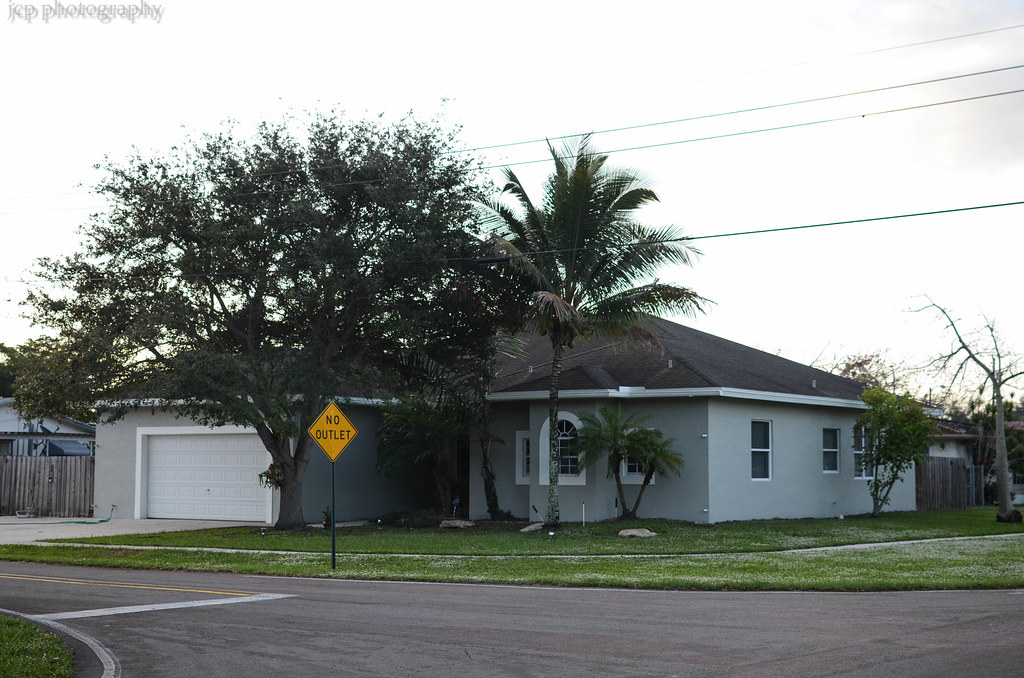
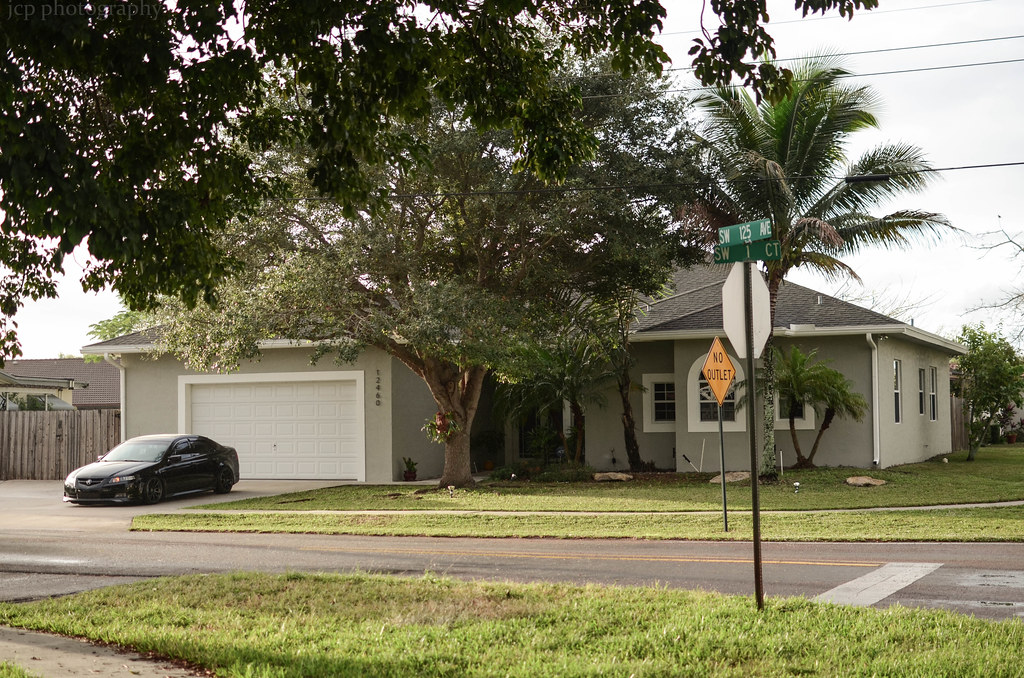
Okay, here are the before/after of the exterior painting...
Cost us about $1000 in paint/materials...I would guess it would have been $3500 for a contractor PLUS paint. Windy days...so we rolled.
Betty was very against it...but I knew we could make it happen. 4 days of prep including pressure cleaning, filling cracks with cock, removing downspouts and lights, sanding fascia, treated roof with spray and forget to kill mildew/mold, dug dirt away from foundation base...
4 days of painting during Thanksgiving week...
In the end, it was very rewarding.
BEFORE
 DSC_2118 by Jeremy Perrod, on Flickr
 DSC_2119 by Jeremy Perrod, on Flickr
 DSC_2120 by Jeremy Perrod, on Flickr
 DSC_2121 by Jeremy Perrod, on Flickr
 DSC_2122 by Jeremy Perrod, on Flickr
 DSC_2123 by Jeremy Perrod, on Flickr
 DSC_2125 by Jeremy Perrod, on Flickr
 DSC_2126 by Jeremy Perrod, on Flickr
 DSC_2127 by Jeremy Perrod, on Flickr
 DSC_2128 by Jeremy Perrod, on Flickr
Cost us about $1000 in paint/materials...I would guess it would have been $3500 for a contractor PLUS paint. Windy days...so we rolled.
Betty was very against it...but I knew we could make it happen. 4 days of prep including pressure cleaning, filling cracks with cock, removing downspouts and lights, sanding fascia, treated roof with spray and forget to kill mildew/mold, dug dirt away from foundation base...
4 days of painting during Thanksgiving week...
In the end, it was very rewarding.
BEFORE
DSC_2118 by Jeremy Perrod, on FlickrDSC_2119 by Jeremy Perrod, on FlickrDSC_2120 by Jeremy Perrod, on FlickrDSC_2121 by Jeremy Perrod, on FlickrDSC_2122 by Jeremy Perrod, on FlickrDSC_2123 by Jeremy Perrod, on FlickrDSC_2125 by Jeremy Perrod, on FlickrDSC_2126 by Jeremy Perrod, on FlickrDSC_2127 by Jeremy Perrod, on FlickrDSC_2128 by Jeremy Perrod, on Flickr
06-10-2015, 08:40 PM
#67
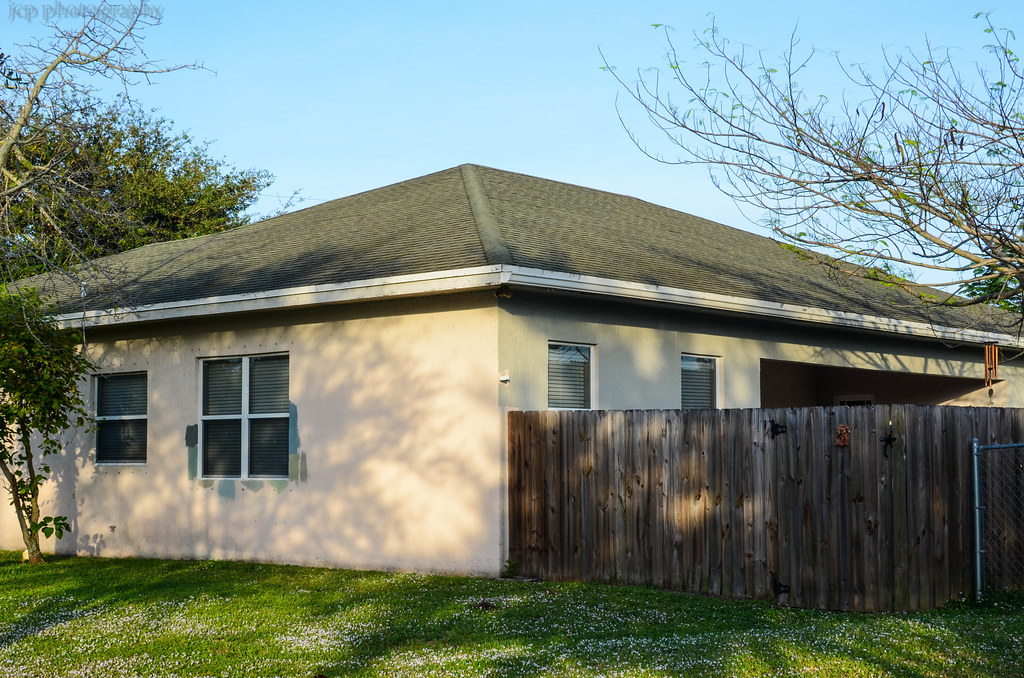
and after painting...
AFTER
had a hard time picking a color...different times of day and different parts of the house made it SUPER hard to pick (for Betty )...although in the end, she did well!
 DSC_3795 by Jeremy Perrod, on Flickr
here, we started
 DSC_3792 by Jeremy Perrod, on Flickr
 DSC_3791 by Jeremy Perrod, on Flickr
back done...front not yet
 DSC_3797 by Jeremy Perrod, on Flickr
 DSC_3924 by Jeremy Perrod, on Flickr
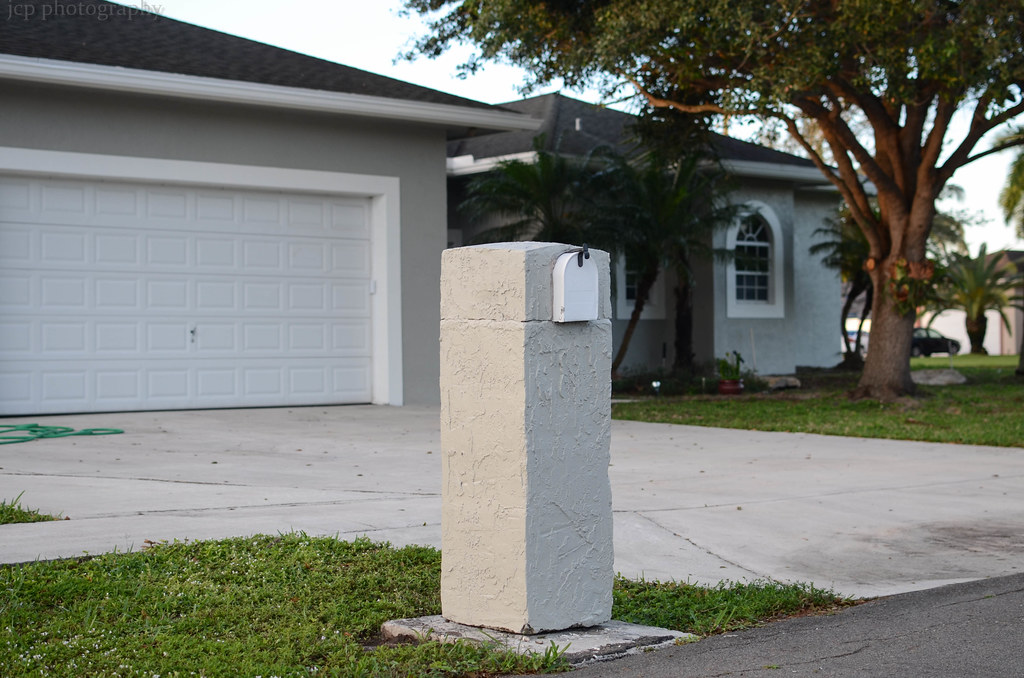
makeshift mailbox fix...picture it falling over, pink like the house and the top broken off
 DSC_3928 by Jeremy Perrod, on Flickr
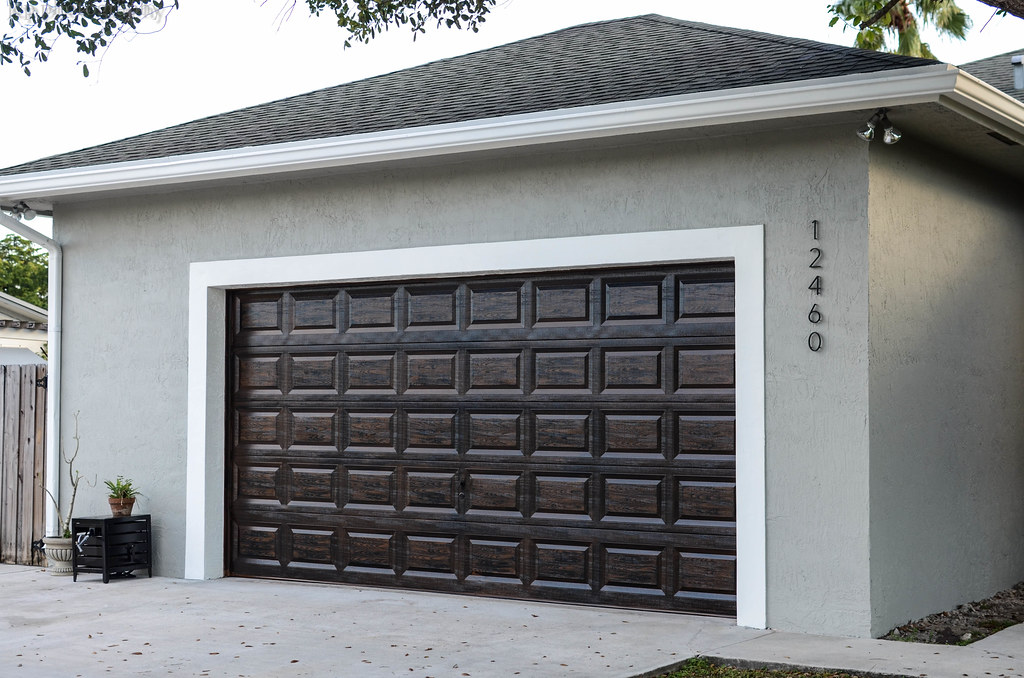
Before garage door paint
 DSC_3930 by Jeremy Perrod, on Flickr
New mailbox project
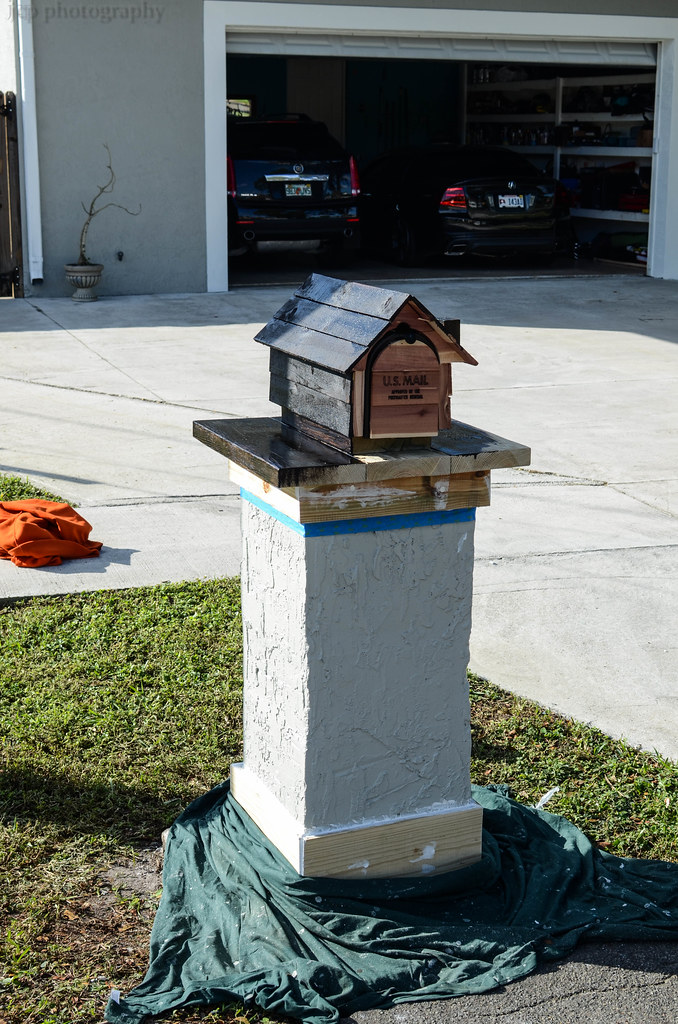 DSC_3939 by Jeremy Perrod, on Flickr
Framed out, caulked...painted...new box
 DSC_3942 by Jeremy Perrod, on Flickr
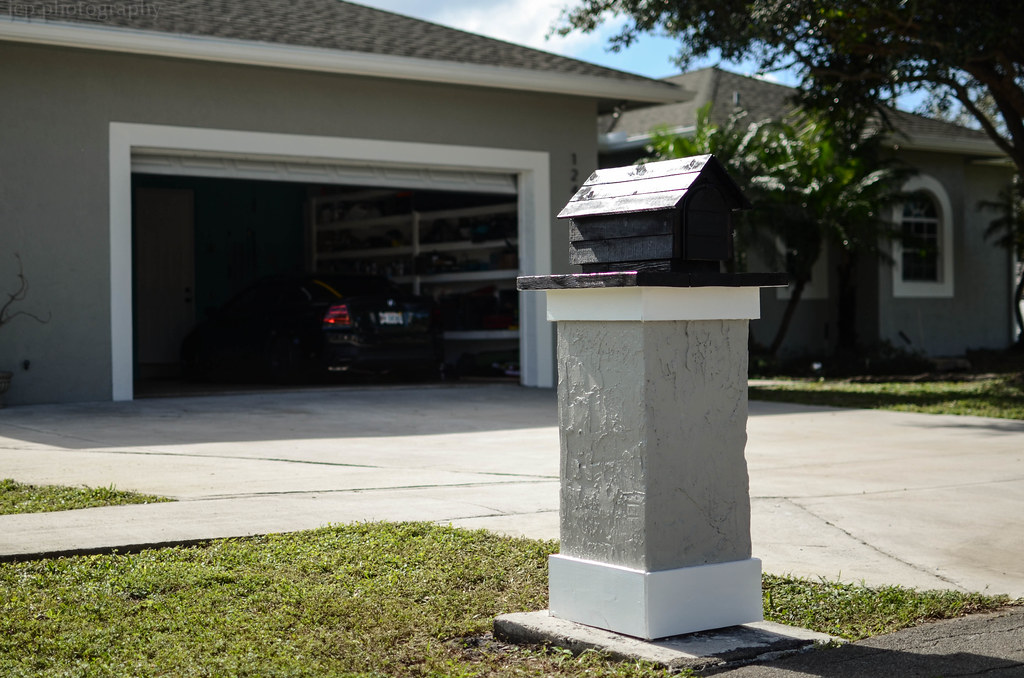
loved how it looked...but front end looked cold
 DSC_3949 by Jeremy Perrod, on Flickr
 DSC_3953 by Jeremy Perrod, on Flickr
rear
 DSC_3965 by Jeremy Perrod, on Flickr
a little fun at Christmas!
 DSC_4084 by Jeremy Perrod, on Flickr
AFTER
had a hard time picking a color...different times of day and different parts of the house made it SUPER hard to pick (for Betty
)...although in the end, she did well!DSC_3795 by Jeremy Perrod, on Flickrhere, we started
DSC_3792 by Jeremy Perrod, on FlickrDSC_3791 by Jeremy Perrod, on Flickrback done...front not yet
DSC_3797 by Jeremy Perrod, on FlickrDSC_3924 by Jeremy Perrod, on Flickrmakeshift mailbox fix...picture it falling over, pink like the house and the top broken off
DSC_3928 by Jeremy Perrod, on FlickrBefore garage door paint
DSC_3930 by Jeremy Perrod, on FlickrNew mailbox project
DSC_3939 by Jeremy Perrod, on FlickrFramed out, caulked...painted...new box
DSC_3942 by Jeremy Perrod, on Flickrloved how it looked...but front end looked cold
DSC_3949 by Jeremy Perrod, on FlickrDSC_3953 by Jeremy Perrod, on Flickrrear
DSC_3965 by Jeremy Perrod, on Flickra little fun at Christmas!
DSC_4084 by Jeremy Perrod, on Flickr
06-10-2015, 08:46 PM
#68
During my time working in the field...I often wanted to have a house worthy of this faux finish...decided NOT to DIY this one...although I probably could have...it's hard to replace 20 years experience.
Loved the outcome
 DSC_4414 by Jeremy Perrod, on Flickr
 DSC_4415 by Jeremy Perrod, on Flickr
 DSC_4419 by Jeremy Perrod, on Flickr
 DSC_4417 by Jeremy Perrod, on Flickr
OHHHH...another thing I was very proud of...
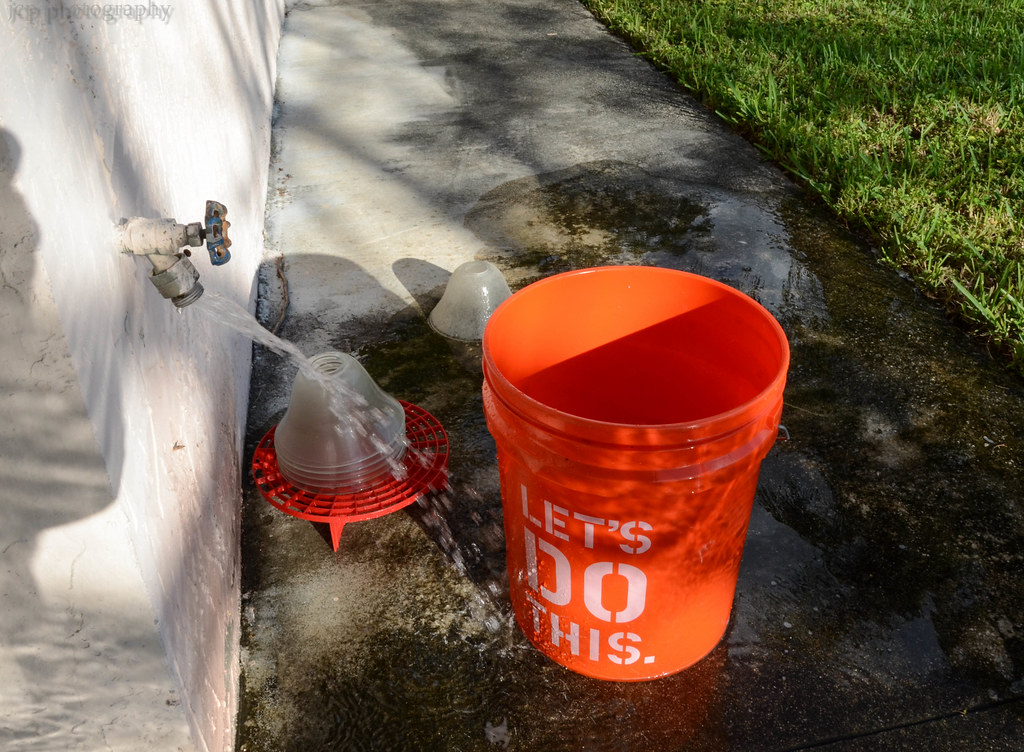
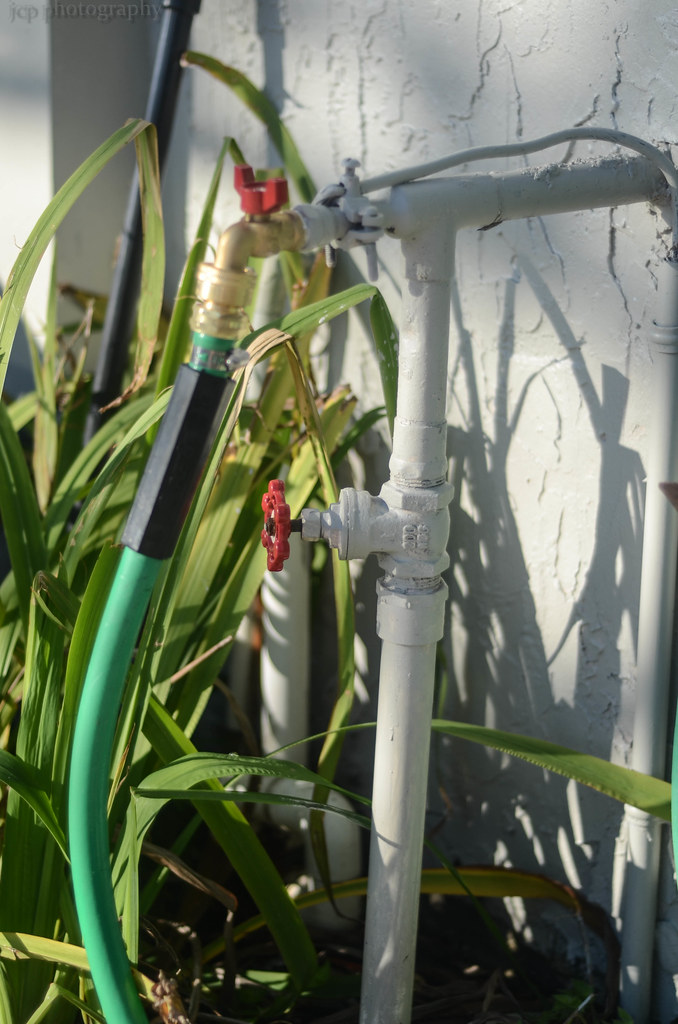
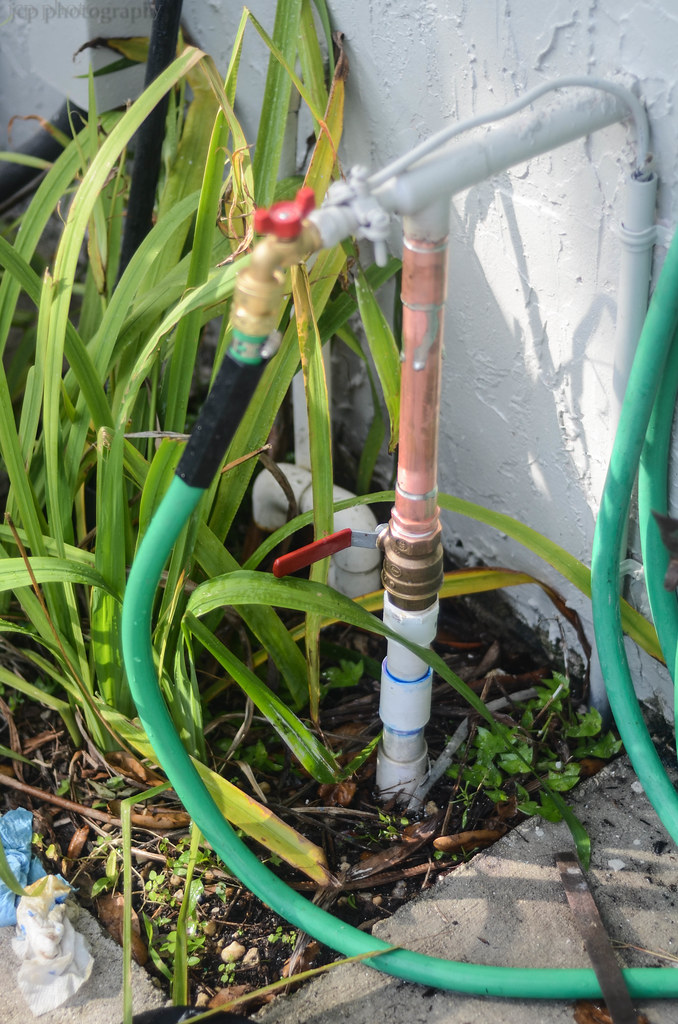
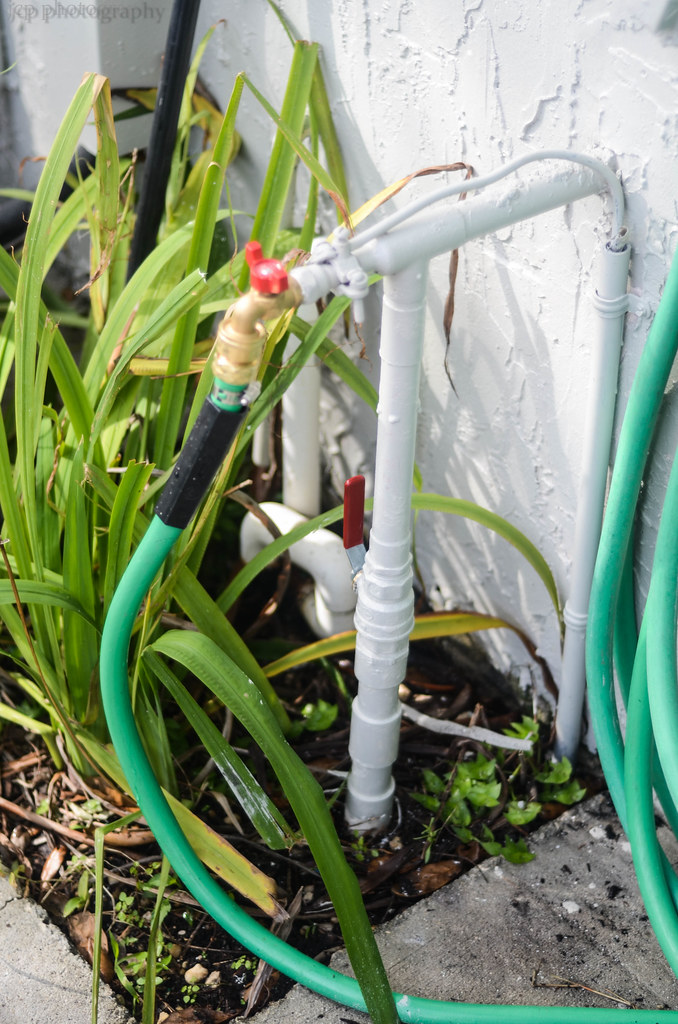
what started as ONE spigot having a broken handle that was a 16 point broach...that I couldn't find to replace...decided to replace all 4 spigots with quarter turns. Never had I brazed copper...learned that...added a female coupler to be able to remove...
DSC_4417 by Jeremy Perrod, on Flickr
also quick disconnects and vacuum breakers to prevent backflow into drinking water
 DSC_4791 by Jeremy Perrod, on Flickr
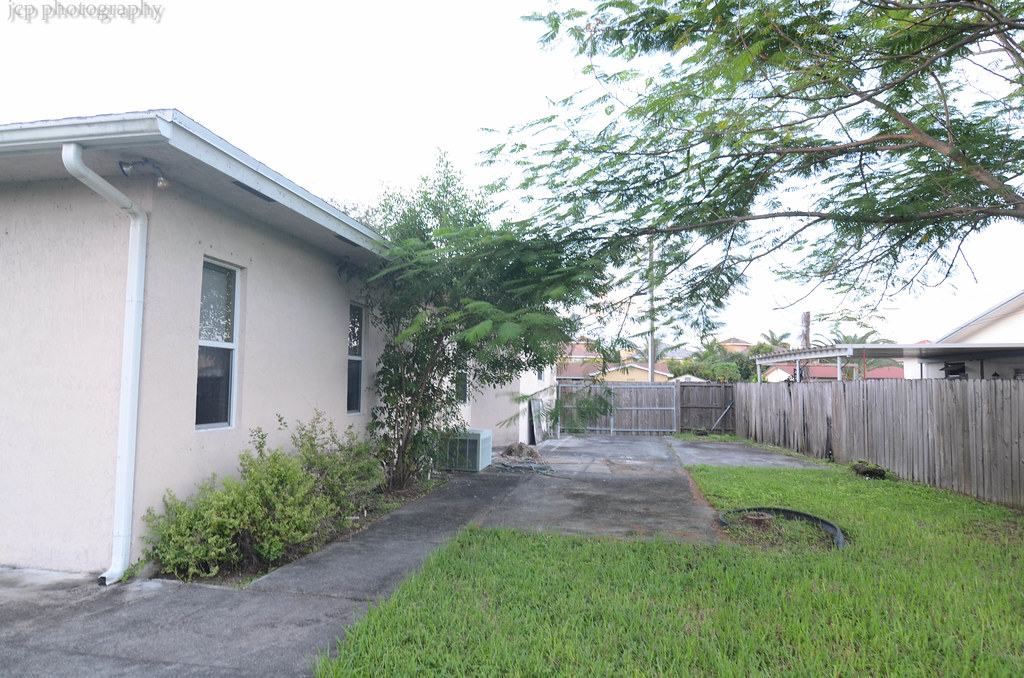
New landscape out back
 DSC_4910 by Jeremy Perrod, on Flickr
I was VERY proud of this...Betty helped me...we had an old slipping main shut off to the house...swapped out for quarter turn ball valve also...unnerving because you have 3 pvc joints...3 copper joints and a couple of screwed in joints that you have to hope NONE of them leak...turn on water main and BAM...it was perfect. Big major relief there otherwise you have to rebuild the entire thing again.
old
 DSC_4911 by Jeremy Perrod, on Flickr

 DSC_4912 by Jeremy Perrod, on Flickr
 DSC_4913 by Jeremy Perrod, on Flickr
and yes...all that for something that wasn't broken yet. I'm must be loco.
done...painted and pretty
 DSC_4918 by Jeremy Perrod, on Flickr
Loved the outcome
DSC_4414 by Jeremy Perrod, on FlickrDSC_4415 by Jeremy Perrod, on FlickrDSC_4419 by Jeremy Perrod, on FlickrDSC_4417 by Jeremy Perrod, on FlickrOHHHH...another thing I was very proud of...
what started as ONE spigot having a broken handle that was a 16 point broach...that I couldn't find to replace...decided to replace all 4 spigots with quarter turns. Never had I brazed copper...learned that...added a female coupler to be able to remove...
DSC_4417 by Jeremy Perrod, on Flickralso quick disconnects and vacuum breakers to prevent backflow into drinking water
DSC_4791 by Jeremy Perrod, on FlickrNew landscape out back
DSC_4910 by Jeremy Perrod, on FlickrI was VERY proud of this...Betty helped me...we had an old slipping main shut off to the house...swapped out for quarter turn ball valve also...unnerving because you have 3 pvc joints...3 copper joints and a couple of screwed in joints that you have to hope NONE of them leak...turn on water main and BAM...it was perfect. Big major relief there otherwise you have to rebuild the entire thing again.
old
DSC_4911 by Jeremy Perrod, on FlickrDSC_4912 by Jeremy Perrod, on FlickrDSC_4913 by Jeremy Perrod, on Flickrand yes...all that for something that wasn't broken yet. I'm must be loco.
done...painted and pretty
DSC_4918 by Jeremy Perrod, on Flickr
06-10-2015, 08:48 PM
#69
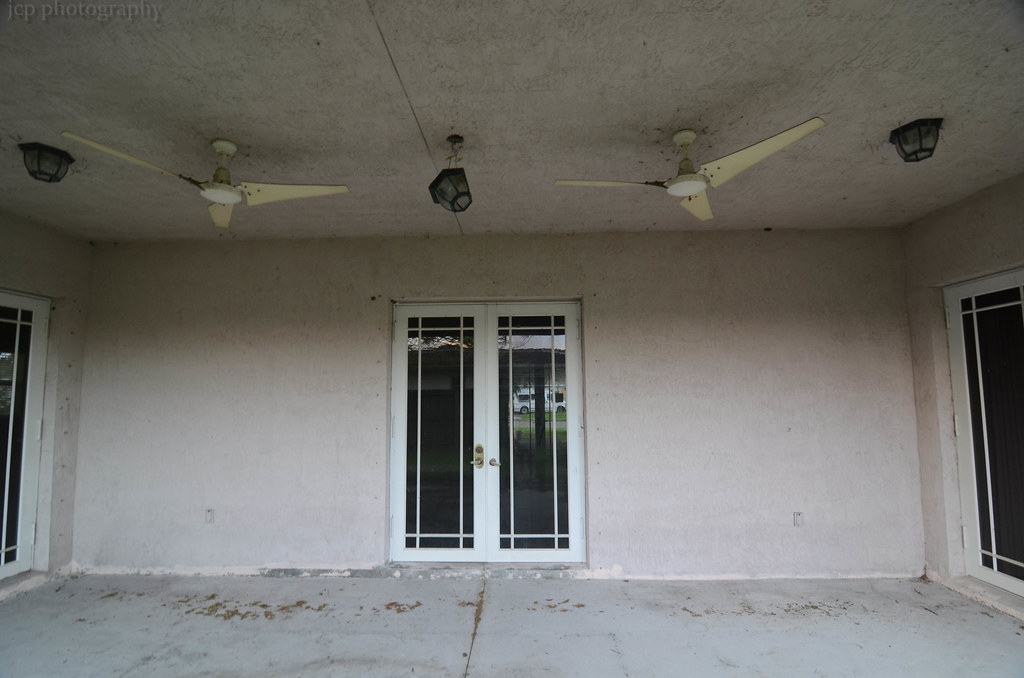
Current mod...
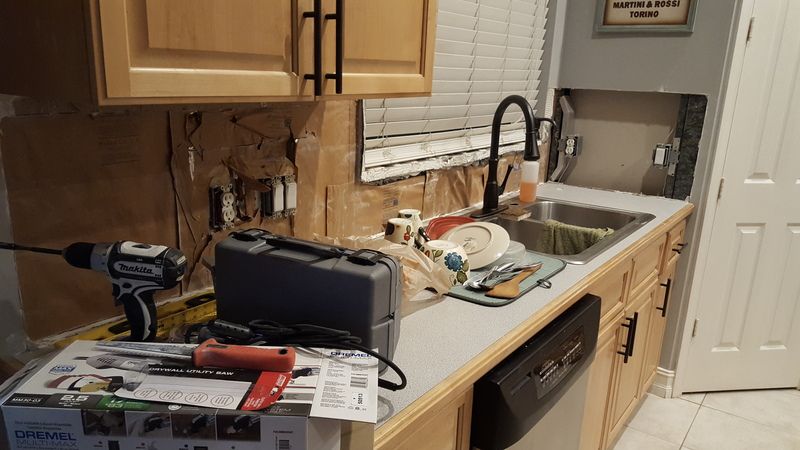
Granite coming...backsplash off...decided to get an oscillating tool to remove the old cleanly...need to get that and the steel reinforcement for the island figured out before Monday.
Down to studs!
20150610_203246_zps7fwbknwi.jpg
Granite coming...backsplash off...decided to get an oscillating tool to remove the old cleanly...need to get that and the steel reinforcement for the island figured out before Monday.
Down to studs!

20150610_203246_zps7fwbknwi.jpg
 06-11-2015, 08:46 AM
#72
Senior Moderator

loved the new updates.
Epoxy looks GREAT!
Looks like oooodles of fun, can't wait to have a place of my own to do the same..
except in CA with those prices, i'll afford a house when I retire..

The following users liked this post:
rockstar143 (06-11-2015)
06-11-2015, 10:47 AM
#73
Senior Moderator
Regional Coordinator
(Mid-Atlantic)
Regional Coordinator
(Mid-Atlantic)
iTrader: (6)
Wow, awesome updates J, loving the outside paint color, and that bathroom mirror is sweet
The following users liked this post:
rockstar143 (06-11-2015)
06-11-2015, 11:42 AM
#74
Senior Moderator
J did it right. 1) Fix house. 2) Have kids. There is no visa versa.
The following 5 users liked this post by oo7spy:
97BlackAckCL (06-11-2015),
Acura_Dude (06-12-2015),
DarkTower19 (06-12-2015),
rockstar143 (06-11-2015),
thoiboi (06-17-2015)
06-11-2015, 12:53 PM
#75
tehLEGOman
Join Date: Dec 2004
Location: Charlotte, NC
Age: 41
Posts: 9,135
Received 1,982 Likes
on
1,335 Posts
Very nice upgrades. I love the garage door and the floor in there. What's next?
The following users liked this post:
rockstar143 (06-11-2015)

The following 2 users liked this post by rockstar143:
97BlackAckCL (06-12-2015),
Acura_Dude (06-12-2015)
06-11-2015, 01:25 PM
#77
Ex-OEM King
Looks awesome man, great work. I wish I could do as much as you in that short of time.

The following users liked this post:
rockstar143 (06-12-2015)
The following users liked this post:
rockstar143 (06-12-2015)