When you click on links to various merchants on this site and make a purchase, this can result in this site earning a commission. Affiliate programs and affiliations include, but are not limited to, the eBay Partner Network.
I sent Racedeck an email early this afternoon with a photo of the color discrepancy. They said they'll get back to me. I got an shipping confirmation in my email this evening for 37 new white tiles.
I'm nearly done with another project in the house - the laundry room. This project was not quick, as it started in late January, but it was fun. This is what it looked like:
Useable, kinda. But it just felt cramped, and there was no space for us to fold items and we really didn't use the storage built into the pedestals (not to mention, the washer would violently shake). So I set out to change that:
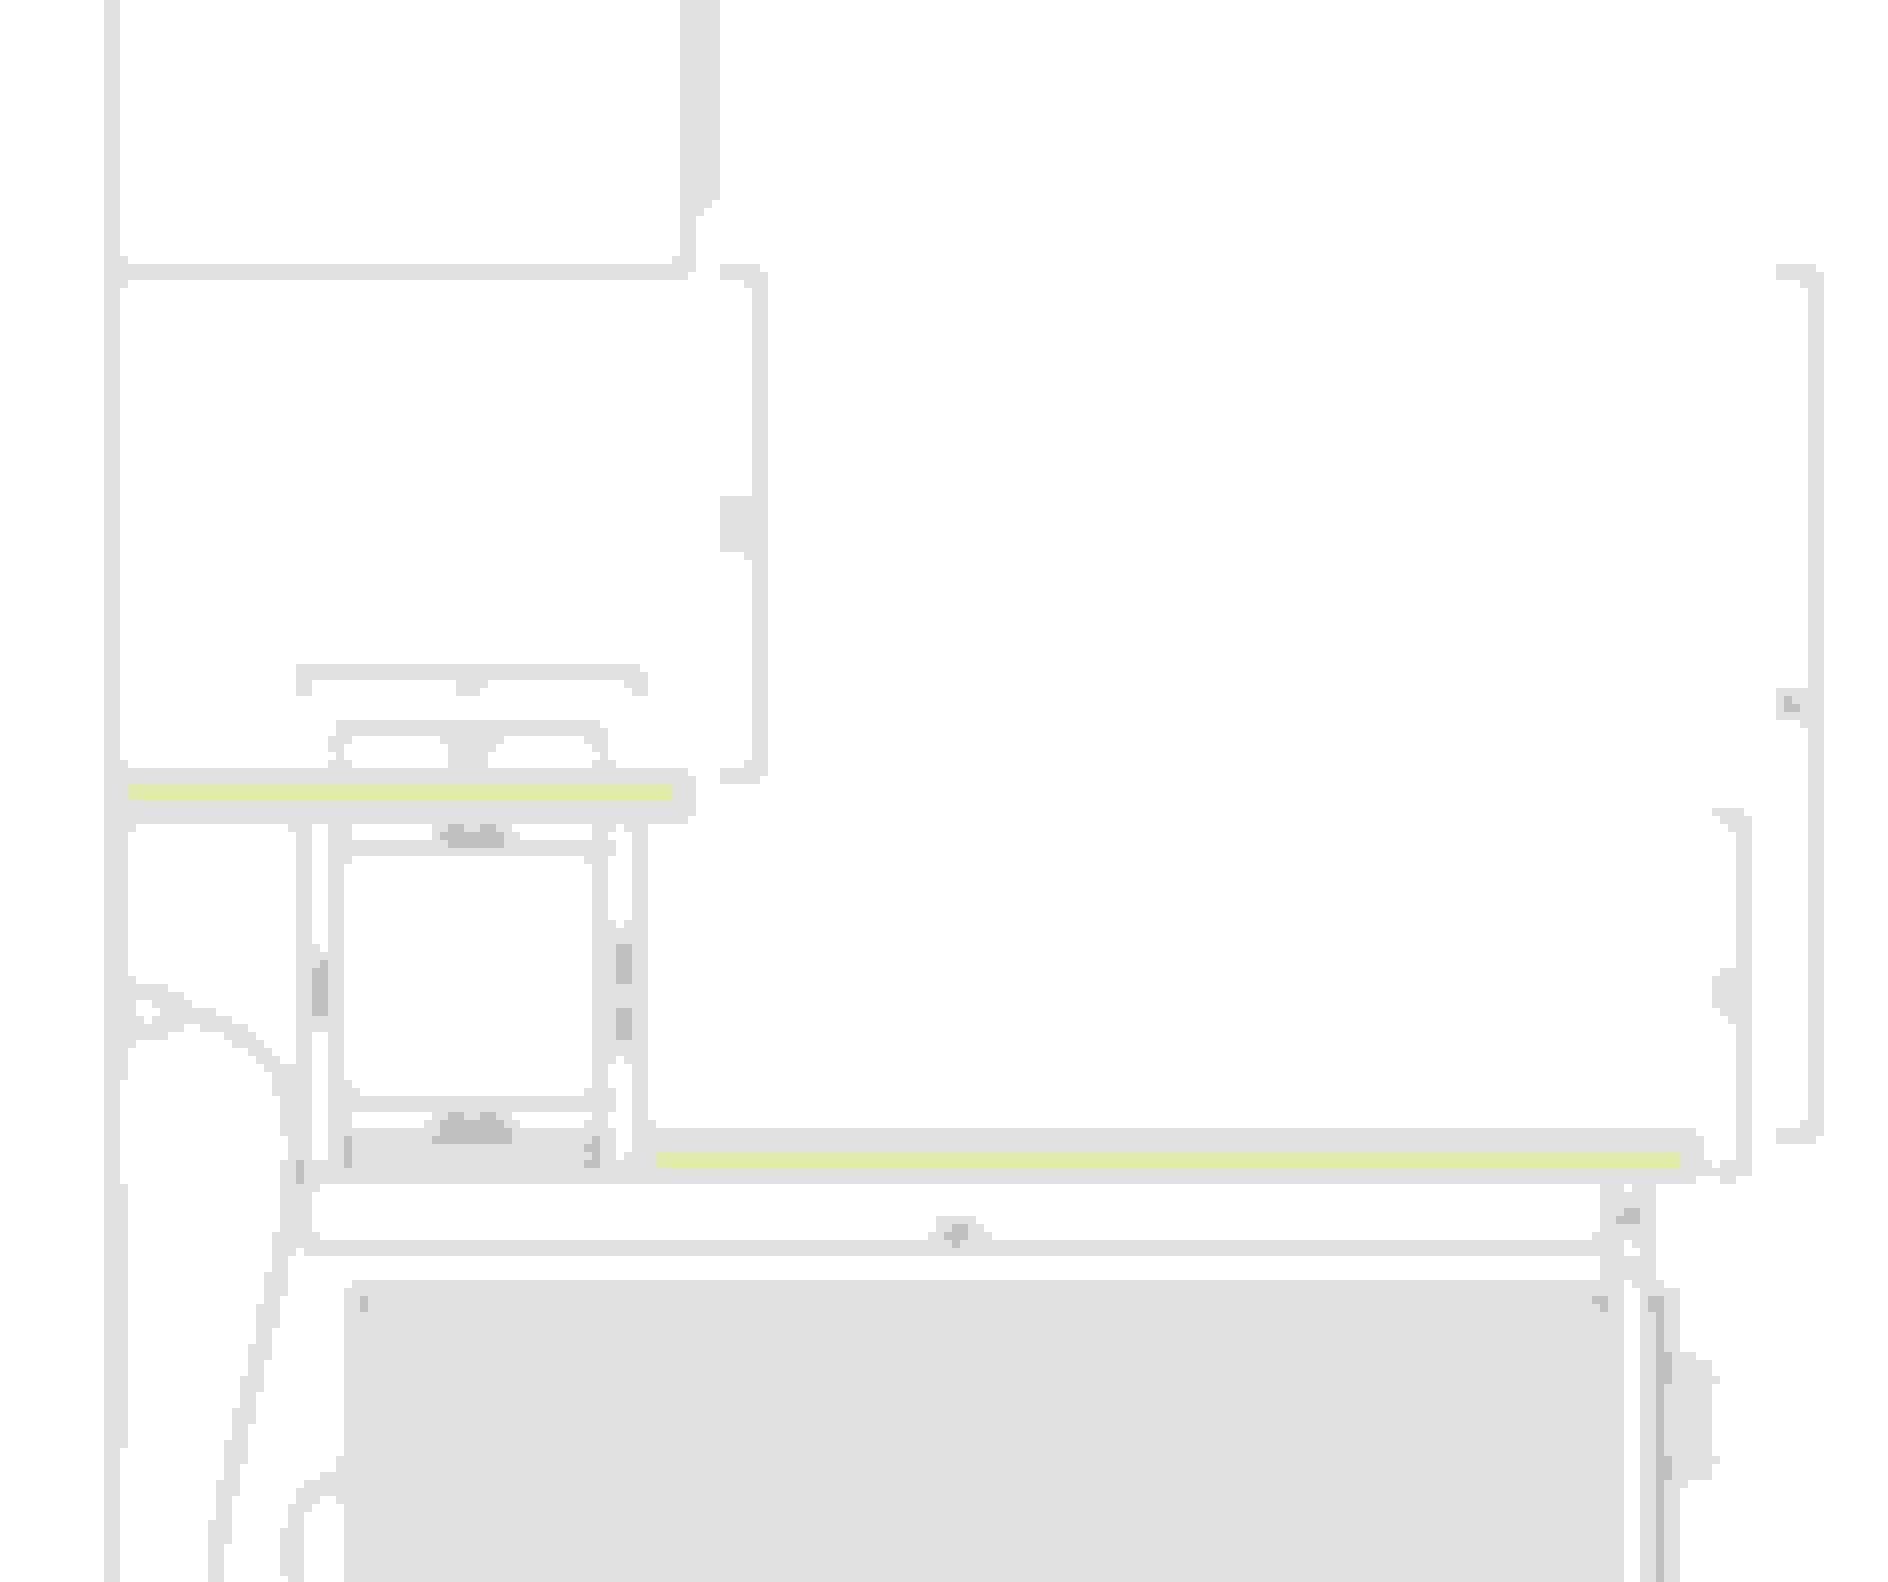
This was pretty simple - just some rough framing, face boards, cubbies, cabinets, and a countertop. The idea here is that the lower countertop would be permanently attached. The upper countertop can slide out and the cubbies can tilt forward or lift out entirely so you can access the water valves and outlets.
But, I had to start somewhere, so the washer and dryer were removed, the wire shelf was ripped out, and holes patched:
Then I taped a rough outline of where things will be to make sure the design would work, mainly because my girlfriend is vertically challenged.
Then hung the cabinets and built the frame. I used some scraps here - it was hidden and this thing isn't going to see a ton of weight.
This is when the project kinda stalled since my girlfriend couldn't decide on paint, tile, or wallpaper along the back wall. Fast forward about 3 months (seriously) I said fuck it, ripped out the cabinets, and put up shiplap. There's shims behind this board because surprise! This wall isn't straight! Straightening the shiplap actually made cutting the countertop much easier, so I didn't have to bother with a rounded cut:
But, it was my first time doing shiplap, and aside from not finding a single 90 degree corner anywhere in this house, it went up pretty quickly - all in all, about 4 hours. Don't mind the 5th board from the bottom - I accidentally cut that short but "strategically" placed it where the cabinets will go
Then I painted the whole room a nice, bright white and re-hung the cabinets:
This part was more fun than anything - the countertop. I didn't want to use laminate, and regular boards just weren't doing it for me. So ripped down a bunch of sticks and glued them back to make my own butcher block. I had to limit the sections to less than 18" to fit into the planer, so there were a total of three of these. I connected two of them via dowels and glue in order to create the lower countertop. And yes, I did this inside since it was cold out at the time:
Clamps removed:
Planed and sanded:
And then finished. I decided to skip a stain and just do 3 coats of a wipe on satin Poly. I sanded with 320 grit between coats, and then finished with 2 coats of paste wax applied with #0000 steel wool - similar to the finish on the entryway table. This is by far my favorite way to finish wood. It has a beautiful warmth to it, it's as slick as freshly waxed paint, and has just the right amount of gloss:
And at this point I realized I didn't take any photos of building the face frame, the cubbies, or painting The cubbies were built out of 3/4" ply with a 1x2 face frame and a scribe molding where it meets the lower countertop.
Nearly finished product:
We went with standard gloss white cabinet paint for the cubbies (same stuff I used on the garage cabinets) and a Benjamin Moore color - Hale Navy - for the base. The pictures don't do it justice IMO - it's a beautiful blue that we're using on another project (post to come later this week, maybe). I still need to install the hardware for the doors (the jig will be here tomorrow), but I'm happy to see this one done. We would've liked to replace the flooring, but I didn't want to complicate the build or drive up cost. The goal was to use the money from selling the pedestals to fund this project, and I'm happy to say it came in under budget - right around $200. We've got plenty of storage in the cabinets now and the girlfriend has more space to decorate, so she's happy.
Last edited by civicdrivr; 06-28-2020 at 01:26 PM.
Technically the planer is my brother's, but I borrowed it back in January and he hasn't asked for it back yet Once he does, I'll probably get my own. I love that thing.
She doesn't like how long some projects take, and neither do I. But I'm a bit of a perfectionist, and if something isn't sitting well with me, I won't leave it that way. Most times, she doesn't even see the issue
Technically the planer is my brother's, but I borrowed it back in January and he hasn't asked for it back yet Once he does, I'll probably get my own. I love that thing.
Love oil based poly, way better than the water based stuff. Just takes forever to dry.
I'm jelly of the big planer. Mine only goes to 13" and I've run into that limiter a few times already, oh well.
She doesn't like how long some projects take, and neither do I. But I'm a bit of a perfectionist, and if something isn't sitting well with me, I won't leave it that way. Most times, she doesn't even see the issue
I promised one more finished project this week and I (surprisingly) delivered. We got this hutch for free in April of last year. Neither of us liked the dated look, and the plan was to simply repaint it. Much to Casey's dismay, the gears started turning in my head and I found a new use for it. Instead of having it in the dining room, we'd move it into the kitchen and I could rebuild the bottom portion to be more useful.
So I started out doing just that. I cut out the face frame inside the lower cabinet and then removed the shelf:
Then I filled some weird gaps that existed around the edges and installed a piece of wood in the center:
Trim removed and mostly primed:
Base painted in the same blue I used in the laundry room and new trim fitted, cut to allow the cabinet to fit flush against the wall, and primed:
Then I built two drawers, one to hold a trash can and another for storage. I may add a third in the right compartment, but we need to figure out what we're storing in there first. I used soft close sliders good for 75lbs:
And the finished product:
The painting process was probably the biggest pain in the ass as Casey didn't want me to use the spray gun, she wanted to roll the paint on because that's what the internet told her to do
Then when that failed, she wanted to brush it on. Because that's what another article online said...
Then when I got fed up with painting the doors, I broke out the spray gun and laid a smooth coat in about 4 minutes, she said "wow we should've just done the entire thing like that". Yeah, she almost died that night...
The other part that sucked was the lower cabinet was not square, so mounting the drawer slides proved to be a pain in the ass. I used some shims to get it dialed in, and while not ideal, it works.
I didn't get any photos of the rear, but there is a back to the lower cabinet, and there is a divider between the two sides so the trash is sealed. And you may notice that the top originally had mirrors mounted to the back. We wanted to reuse them, but I broke them when reinstalling them. Getting replacements for that size was going to run me around $300, which was out of the question. All in all, I think I spent around $150 on it, and $100 of that was on the doors (I ordered them online). I need to extend an outlet to the top of the hutch to get power to the display light (which I'll have on a timer), but that's an easy one I'll probably tackle this weekend.
Next up is a simple closet organizer I've started to draw up. I just need to finalize plans. The goal is to do it with no more than 1 sheet of ply
Last edited by civicdrivr; 06-29-2020 at 11:00 PM.
1. That looks excellent, of course.
2. What the holy fuck in hell is wrong with the END BOOK bookends? They're totally backwards. But can't go rightwards. That's... just... no man... no.
3. No mirrors looks better. "Accidentally" breaking them was the right decision.
Funny how these new "modern" colors look. Don't get me wrong, it looks awesome! I'm just used to the dates 60's look since everything this old down here.
1. That looks excellent, of course.
2. What the holy fuck in hell is wrong with the END BOOK bookends? They're totally backwards. But can't go rightwards. That's... just... no man... no.
3. No mirrors looks better. "Accidentally" breaking them was the right decision.
yeah we need new book ends. I just tossed that stuff on there to get it off the island. I'll leave it to Casey to redecorate.
I agree 100% on the mirrors. Not having them is less distracting imo. Casey was not pleased at first but she's come around.
Originally Posted by thoiboi
nah he has a strong hatred for books and how they spread lies so it was his subtle boycott/political statement
That looks really good. Like how you trimmed it up to meet the wall trim making it look like it is a builtin piece.
Don't know if your neighborhood does recycling but you could just put a second bin on the other side for that unless you need the storage.
We do, but the recycling bin is just outside the garage door (like 6 steps away from this, so we'd rather have the storage. The house is kinda small, and storage is at a premium for us.
It made short work of some furniture we've painted.
I figure I can pull doors off of rooms that aren't in use & swap them out for in-use rooms as they dry. Assuming the same door dimensions
It works well enough but there are better ones on the market.
@00TL-P3.2 I highly suggest spraying the doors with the HVLP.
Thanks, I don't know much about sprayers, minus spraying a porch ceiling with a little Wagner Power Sprayer at my parents, years ago. I was tempted to buy an inexpensive one, like yours, off Amazon because no matter how much I sand these doors, they still don't look perfect and it pisses me off. I only have a small compressor so I'm not sure I want to get into a new compressor and a sprayer, do you think the more expensive airless would work for doors? Your finish looks pretty clean but I don't want to half ass it, I've already done that with the brush and roller
I'm sure the electric sprayers would work fine; you just have to make sure your paint flows well. If it's too thick, it won't lay down evenly and you'll get runs and puddles - or if it's way too thick, it won't even spray.
My wife wants to do the same. Haven't had a chance to look into the preferred method to get it done.
At home, I've only got brushes & rollers, but my dad has an HVLP; would just need to haul a few doors to his house at a time..
There are a lot of portable HVLP systems, does he have one that requires a compressor?
Originally Posted by 1StGenCL
Thanks, I don't know much about sprayers, minus spraying a porch ceiling with a little Wagner Power Sprayer at my parents, years ago. I was tempted to buy an inexpensive one, like yours, off Amazon because no matter how much I sand these doors, they still don't look perfect and it pisses me off. I only have a small compressor so I'm not sure I want to get into a new compressor and a sprayer, do you think the more expensive airless would work for doors? Your finish looks pretty clean but I don't want to half ass it, I've already done that with the brush and roller
You can get a self powered HVLP system for ~$100. That's what I'd do.
 04-24-2020, 03:13 PM


 Straightening the shiplap actually made cutting the countertop much easier, so I didn't have to bother with a rounded cut:


 The cubbies were built out of 3/4" ply with a 1x2 face frame and a scribe molding where it meets the lower countertop.


 Yeah, she almost died that night...


