When you click on links to various merchants on this site and make a purchase, this can result in this site earning a commission. Affiliate programs and affiliations include, but are not limited to, the eBay Partner Network.
Moved into my house 3 years ago and have been cleaning it up ever since and putting our own touch on things to make it our own. Frustrating at times to get everything in order but it is turning around and starting to feel more like home. Quick glance of the past 3 years
Purchased my first home! Didn't know what I was getting myself into but that quickly changed.
Rang up the credit card the first couple weeks buying everything I didn't have that I needed.
Previous owner had his grill up against this portion of railing. It wasn't sturdy and looked like shit so it immediately came down.
The lawn was in decent shape but had these circle stones embedded so I removed those since they were pointless.
On to the deck to remove the eyesore and broken Hot Tub... First I tried to give it away for free and everyone who looked at it passed on it. Time to dismantle it.
First the railing was rotting and very flimsy, almost to the point you would push it over if you leaned on it.
Made her do all the light work!!
Once it was removed, it opened up the deck a lot. We host a lot of parties so the space was much needed.
Out the patio door to the left was a "garden", more weeds than anything, and a tripping hazard for the dogs/people. Cleaned it out and filled it in.
Cleaned out the trash in the window well. Added new river rock.
House didn't have a storm door on the front and we like to have the natural light come in, so I put a storm door on.
While doing the storm door I noticed the dirty siding, so I started to scrub it clean and slowly progressed into cleaning the whole house.
Windows were hard to open when we moved in and looked to be original to the build (87) so we had them replaced.
While we had the shutters off to get the windows installed, my mother wanted to help paint them.
The mud room was a little dark for us. A little paint and cabinet door removal brightened things up a lot!
Don't worry behind the washer/dryer is now painted!
Bathroom was a piss yellow color and we hated it so that got some new paint.
I still need to change out the outlets and plugs from Ivory to White. This is our "Master" bath and will get a full remodel eventually. The color of the tub is gross!
Future Ideas: New vanity w/top, mirror, light, tub with tile surround, toilet, tile, exhaust fan, doors, trim
Backyard had stone in the beds against the house. I personally like mulch better, so my co-worker took the rocks for his walkway.
Built a shelf for the shed.
My dog is good at pest control. Got into a few opposums that like to den up under the deck. We added some lattice fence to help prevent them. They ended up chewing thru it so this summer I will be going underneath and screwing plywood up to block off where they go.
Trying to grow grass under the trees is so hit or miss. Right now it is mud, but this gave me hope that one day I can get it to stay green!
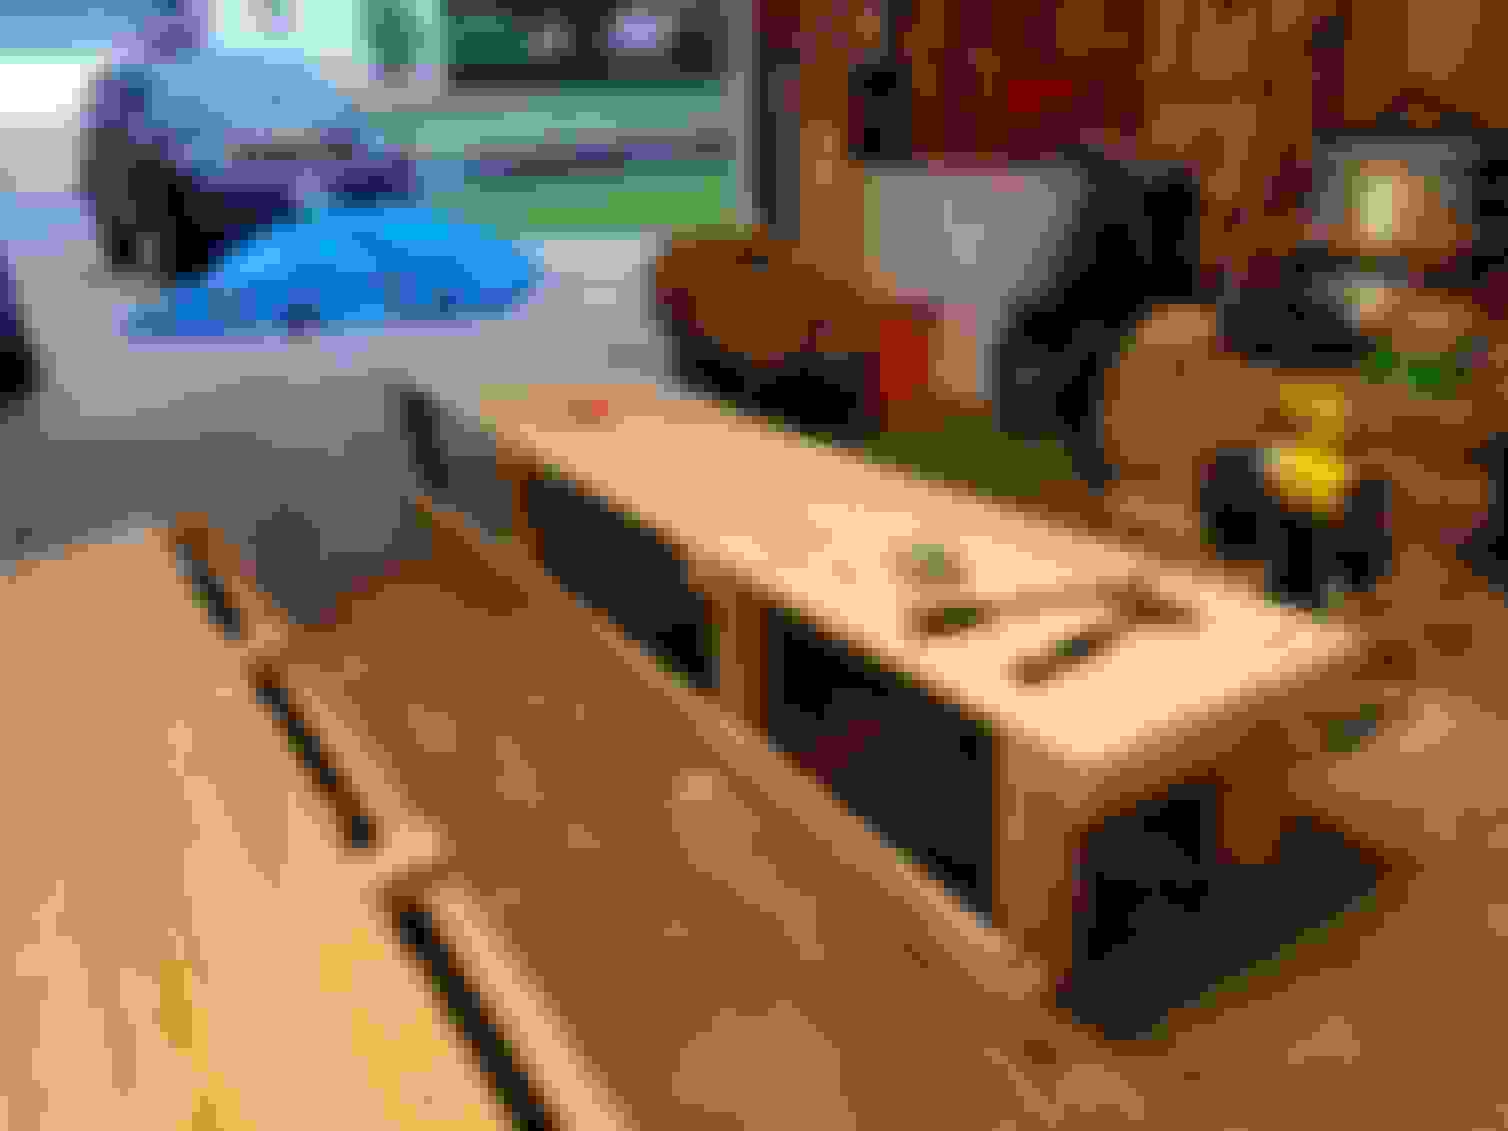
My work ships large machines and has heavy duty pallets that get tossed all the time. Was able to snag one and make a few things from them. Made a bench for the deck.
Made a firewood rack.
The garage was a mess and needed to figure that out. Pulled everything off the wall and hung up the kayaks. Tossed/sold all the stuff I never use. This will get insulated and dry walled this summer.
relocated the outlets so I could use them when the Kayaks are on the wall. They were originally too high and behind the orange Kayak.
Our bedroom carpet was shit and thought with the dogs to go laminate for ease of cleaning. Laid down a large rug under the bed after installing the laminate
Quality work by previous owner...
Cut it out and did it the right way!
Beginning to lay out the laminate.
Half-way!
Finished the floor.
Wanted something different in the small bed to the left of the front walk. Split some hostas and put a flower pot in. Clean and simple.
Trying to plan out the front flower bed has been a pain. Doesn't see a whole lot of sun until the evening hours so plants/shrubs will be difficult to choose.
Clean cut front!
Trees touching the house were trimmed this past fall. No updated pics. Will update once trees have leaves again.
Final thought on the new outline. Next week we will start filling it in with dirt/mulch then go get stuff to fill it up. Just need to level all the bricks and clean them.
Toilet started to leak so it was time for a bathroom remodel...
Water damage...
New 1/4 turn on/off valves
Soft sub-floor, put my hand thru it!
Cut out old sub floor and reinforced new floor.
Needed to open it up a bit more to get sawzall in to cut the old toilet piping for new flange.
First go at drywall repair. Turned out better than I thought it would!
Cutting and fitting all the tile before setting them in place.
Waiting for it to dry.
Cleared all the grout lines of mortar.
Originally had white grout picked out but decided last minute to go with gray. I feel I made the right decision!
Vanity couldn't be pushed to the corner so had to figure out what to do. Add a filler piece or leave it open. As you can see below the wall isn't even so this is the best I can do at the moment.
Screwed the Vanity to the wall.
Siliconed the top on.
Installed the Toilet and buttoned up the rest of the small things.
Summer '19 plans: Front flower bed, deck overhaul, outdoor lighting/speakers.
That is a lot of nice updates. Did you do all of the work yourself like the bathroom remodel?
Thanks and Yes, most of it. I had a friend help with the tile. It was my first time putting tile down and didn't want to screw it up so I asked him if he could give me a hand. Basically walked me thru step by step. I feel confident enough to do the next job. It is just time consuming to say the least. Definitely learned a few new skills thru this project though so it was beneficial to do it myself, let alone the savings from not having someone else do it start to finish. Time it took was at the 6 weeks mark. Could only do about 1-2 hours a night when I could work on it. Felt like I would get my tools out and then have to put them away. Our master bath will have to be quicker since that is the only shower in the house. I'd love to put a 3/4 bath in the basement, but that is cutting up the floor for the drains... I would probably seek a professional for that job.
Hardest part was getting the subfloor level, or as level as possible, and the tile. Once it was all reinstalled, turning the water back on I had crossed my fingers hoping my new pipe connections were properly sealed!
Honestly I love owning a home and not having to get permission to do something. It is a lot of work at times but worth it in the end. My neighbors think I work to hard, I don't think I work enough. It's hard for me to sit around.
Yes I did. Used the mesh tape. Previous owner didn't on a patch where the door handle went thru the wall. If you pushed on the wall you could see the outline of the crap job he did. I cut it out and redid it the right way!
Yes I did. Used the mesh tape. Previous owner didn't on a patch where the door handle went thru the wall. If you pushed on the wall you could see the outline of the crap job he did. I cut it out and redid it the right way!
Mesh is the best for butt joints/patches!
It sucks for inside corners though, that's where Paper prevails
Trim-tex for outside corners... though much pricier than their metal counterparts
Breezy, how did you handle the transition form the new tile to the old wood floor?
Stogie- I haven't addressed that yet. Was going to be taking car of that this week, just left the gap uncovered for the moment. Eventually when the floors on main floor get replaced, I will put 3/4 plywood down and put laminate over the top. Should come out almost even with the tile. A simple transition strip will cover the joint between rooms. I think the floors are about 1/8 in difference, so I will have to see what different strips the local hardware stores has.
Originally Posted by thoiboi
Mesh is the best for butt joints/patches!
It sucks for inside corners though, that's where Paper prevails
Trim-tex for outside corners... though much pricier than their metal counterparts
Thankfully I didn't have to do any corner repair. In the corner where the vanity is, I just slapped some compound on it and smoothed it out with a finish sand then paint. Turned out better than expected!
Was one long weekend and definitely feeling it today! Front flower bed turned out great, but need to get more mulch this evening. Totally transformed the front of the house. Unfortunately our huge Ash Tree is half dead so that will be cut down this summer/fall or if I want to spend $1000 to have it professionally done. I'd prefer to save some money, but the cost of a mistake may be worth it. It's about 50-60 ft tall and 40-50 ft wide.
Local landscape supply place finally had their top soil dry out enough to screen it so that was delivered this past Friday. Been raining nonstop for the last 2 weeks or so. I don't really know plants that well but have been reading up on what is good and where it should be planted, so I called my mother over and she was ecstatic to spend my money at the nursery. I nearly had to drag her out of the place and had to remind her multiple times to stay focused on what we need instead of spending a ton of money. I set a limit of what I wanted to spend at $600 and we came in below that so I was pretty happy about that. We picked up 21 plants in total. 1 hanging basket and 1 shrub my mom couldn't leave without so I bought it for her house. They just built a new one and are going back to get stuff next week. Can only imagine that bill to plant on 3 sides of a house.
3.5 yards are dirt was way too much!!
Filled in the bed and tried to pack it down as much as possible. I added about 5 inches is most areas.
Arranging the plants is the fun part. Trying to decide if you want to clump them or spread them out, mix colors, keep it symmetrical or not. This is what we ended up with.
My mom absolutely loves the Hydrangea. I saw it and basically ran over to it to grab it before anyone else did.
We will be cleaning out around the tree and spacing the Hostas. They are overgrown and clumped in there more than we like. I will also be adding some plants to the back side once I get more bricks to finish the border to try to hide the gas meter.
As we were putting everything in we had about 5 people walking, stop to say how well we have kept the yard. Adding the plants will only make it better. I may go back and grab more plants for the back yard in the next couple weeks.
That looks great. Definitely makes the front look a lot better.
One question any particular reason you chose not to continue the paver wall on the other side of the downspout all the way to the sidewalk?
Still gotta finish the upper section. Plan on matching the other side of the walk to give it some symmetry from side to side. I thought about bring only one layer of pavers but didn't like the look of it. Still have to play around with that area. It's hard to come up with flow and if it looks good.
That big of an ash tree I would for sure have someone cut down...sounds like it would be much more than a $1k mistake if something went wrong lol.
If you can, you should see if you can save the main trunk and get it slabbed and sell the slabs off to local woodworkers. Can probably make a good amount of money back on the tree work doing that. Hell, SE wisco and I might come down and get them myself.
Make an offer and Im about 4-4.5 hrs from the Cities. Trunk is about 18-20" diameter.
Make an offer and Im about 4-4.5 hrs from the Cities. Trunk is about 18-20" diameter.
Based on the picture you posted, the only useful part is the bottom ~8-10ft. The rest of it can go into a wood chipper. I'm not sure what to even pay for something like that as you'd need to find a local portable sawmill to slab it all first.
Based on the picture you posted, the only useful part is the bottom ~8-10ft. The rest of it can go into a wood chipper. I'm not sure what to even pay for something like that as you'd need to find a local portable sawmill to slab it all first.
Killed by emerald ash borers by any chance?
Link below has a couple methods to estimate usable bf in a tree.
If it was ash borer then I'm not sure the wood is even usable. It would have to be burned to eliminate the bugs, not sure even kiln drying would ensure that it would be safe.
If it was ash borer then I'm not sure the wood is even usable. It would have to be burned to eliminate the bugs, not sure even kiln drying would ensure that it would be safe.
I don't know how I missed this thread but you never disappoint, Breezy...
fucking awesome.
You made me sentimental about my old place.
YOTM shit, right here.
Most definitely killed by EAB... I knew it was going to happen but not this quick. Was hoping to get one more year out of it. Oh well, more firewood if I can't sell it.
I don't know how I missed this thread but you never disappoint, Breezy...
fucking awesome.
You made me sentimental about my old place.
YOTM shit, right here.
Haha, You got that right. One of the nicest, if not nicest front yards on the block! Can't wait to get it finished in the next week or two.
I bought the big metal one from lowes for $115 back in the day...you reel it in manually but it automatically goes side to side to lay it on the reel...
liked it so much i bought another one.
When I got divorced that's the only thing I took from the house.
Not really, but I did take them. and love them.
A quick search I came back with this one. Compact 18" x 18" footprint with a detachable handle accompanied with a pair of 90� elbows to help the hose from the spicket.
Most definitely killed by EAB... I knew it was going to happen but not this quick. Was hoping to get one more year out of it. Oh well, more firewood if I can't sell it.
Yeah, then nevermind on my thought from before. Time for a big bonfire.
Originally Posted by rockstar143
I bought the big metal one from lowes for $115 back in the day...you reel it in manually but it automatically goes side to side to lay it on the reel...
liked it so much i bought another one. When I got divorced that's the only thing I took from the house.
Not really, but I did take them. and love them.
As mentioned early in the thread we have dealt with Opossums for the last 3 years, and this last run in was enough... The mom was the size of a full grown raccoon. The deck deconstruction began. Found 3 dens they made. Need to dispose of the wood rock/gravel so I can finish laying dirt. I need to pick up a few pieces of lumber to finish where we decided to end it. Also planning on building a step that goes around the concrete slab at the back door. We like the "added" yard already. Really makes it look huge back there!
I bet you didn't have any ticks or pests the past 3 years, though.
Ticks are really bad right now actually, haven't seen this many since we moved in. They weren't doing their job well enough. I had to evict them! Also, the hassle of cleaning up a dog at 2am sucks. I'd rather deal with the ticks. I also keep my yard fairly clean, and well maintained so other rodents/pests shouldn't be a problem.