When you click on links to various merchants on this site and make a purchase, this can result in this site earning a commission. Affiliate programs and affiliations include, but are not limited to, the eBay Partner Network.
Fixed links on pictures. Mod please update first post!
Originally Posted by pimpin-tl
I decided to upgrade my fogs and lights with 6k bulbs and since I didn't see many good how-tos figured I would make one since I use to do a few.
How To replace/install HID bulbs in your 4th gen 2009+ Acura TL factory headlights.
Tools Required:
1 - Small flat head screwdriver
1 - Drop light
Parts Required:
1 - D2S HID Bulbs. These were 6k HID Extra ones.
Procedure:
1) Jack the car up and remove the front wheel from the car on the side you plan to work on.
2) Look inside around your fender liner, and you will see some snap in connections. See both pictures below with green arrows. 2 of the snaps have a slot while the rest do not have any.
3) Remove those connections with a flat head screwdriver as seen below in the picture. Stick iit between the outer plastic and inner plastic and twist the screw driver to pull the inside portion of it out. It will not come completely out. Just get it to release then you can pull the whole snap out of the fender liner.
4) Next you need to PULL the fender liner down. It will be a bit hard, but it will come down. It's going to give you room where it's bent into a V near the the strut assembly. Don't worry it will form back into shape once you are done.
5) This is the one area I forgot to get a picture. But as seen below, this is the silver CONNECTOR that goes into the back of the HID bulb. There was a BLACK cover with a sticker on it that you twist off to show this part.
6) You want to switch that silver connector (Picture Below) (circled in green) to the right (clockwise) in RED, and you will feel it stop around 2pm direction. Once it stops, pull it straight off. It will have some ground cables attached to it so there is little play. What I did to move it out of the way was stick it in the bottom of the headlight housing.
7) Should look like this once you have it out of the way.
8) Next you need to unsnap the little metal clip from the bulb (See picture below) (Green circles) (this holds the bulb in it's slot). Slide the circle ends in GREEN towards the inner part (RED Arrows) and once you reach the inner part pull down (Blue Arrows) towards you. This will lower that clip assembly out of the way.
9) Next grab the bulb base and remove it straight out. Keep an eye on the orientation of the bulb so you can place the new one back in the exact same way. It has a SLOT on the top that guides it into the correct position of the headlight. Don't touch the lightbulb directly so the grease wont get on it!
10) Once removed, re install the bulb with the slot opening to the top. You should feel it slip into that slot and feel flat in the socket. Once you do that, re install the clips the same way you removed them.
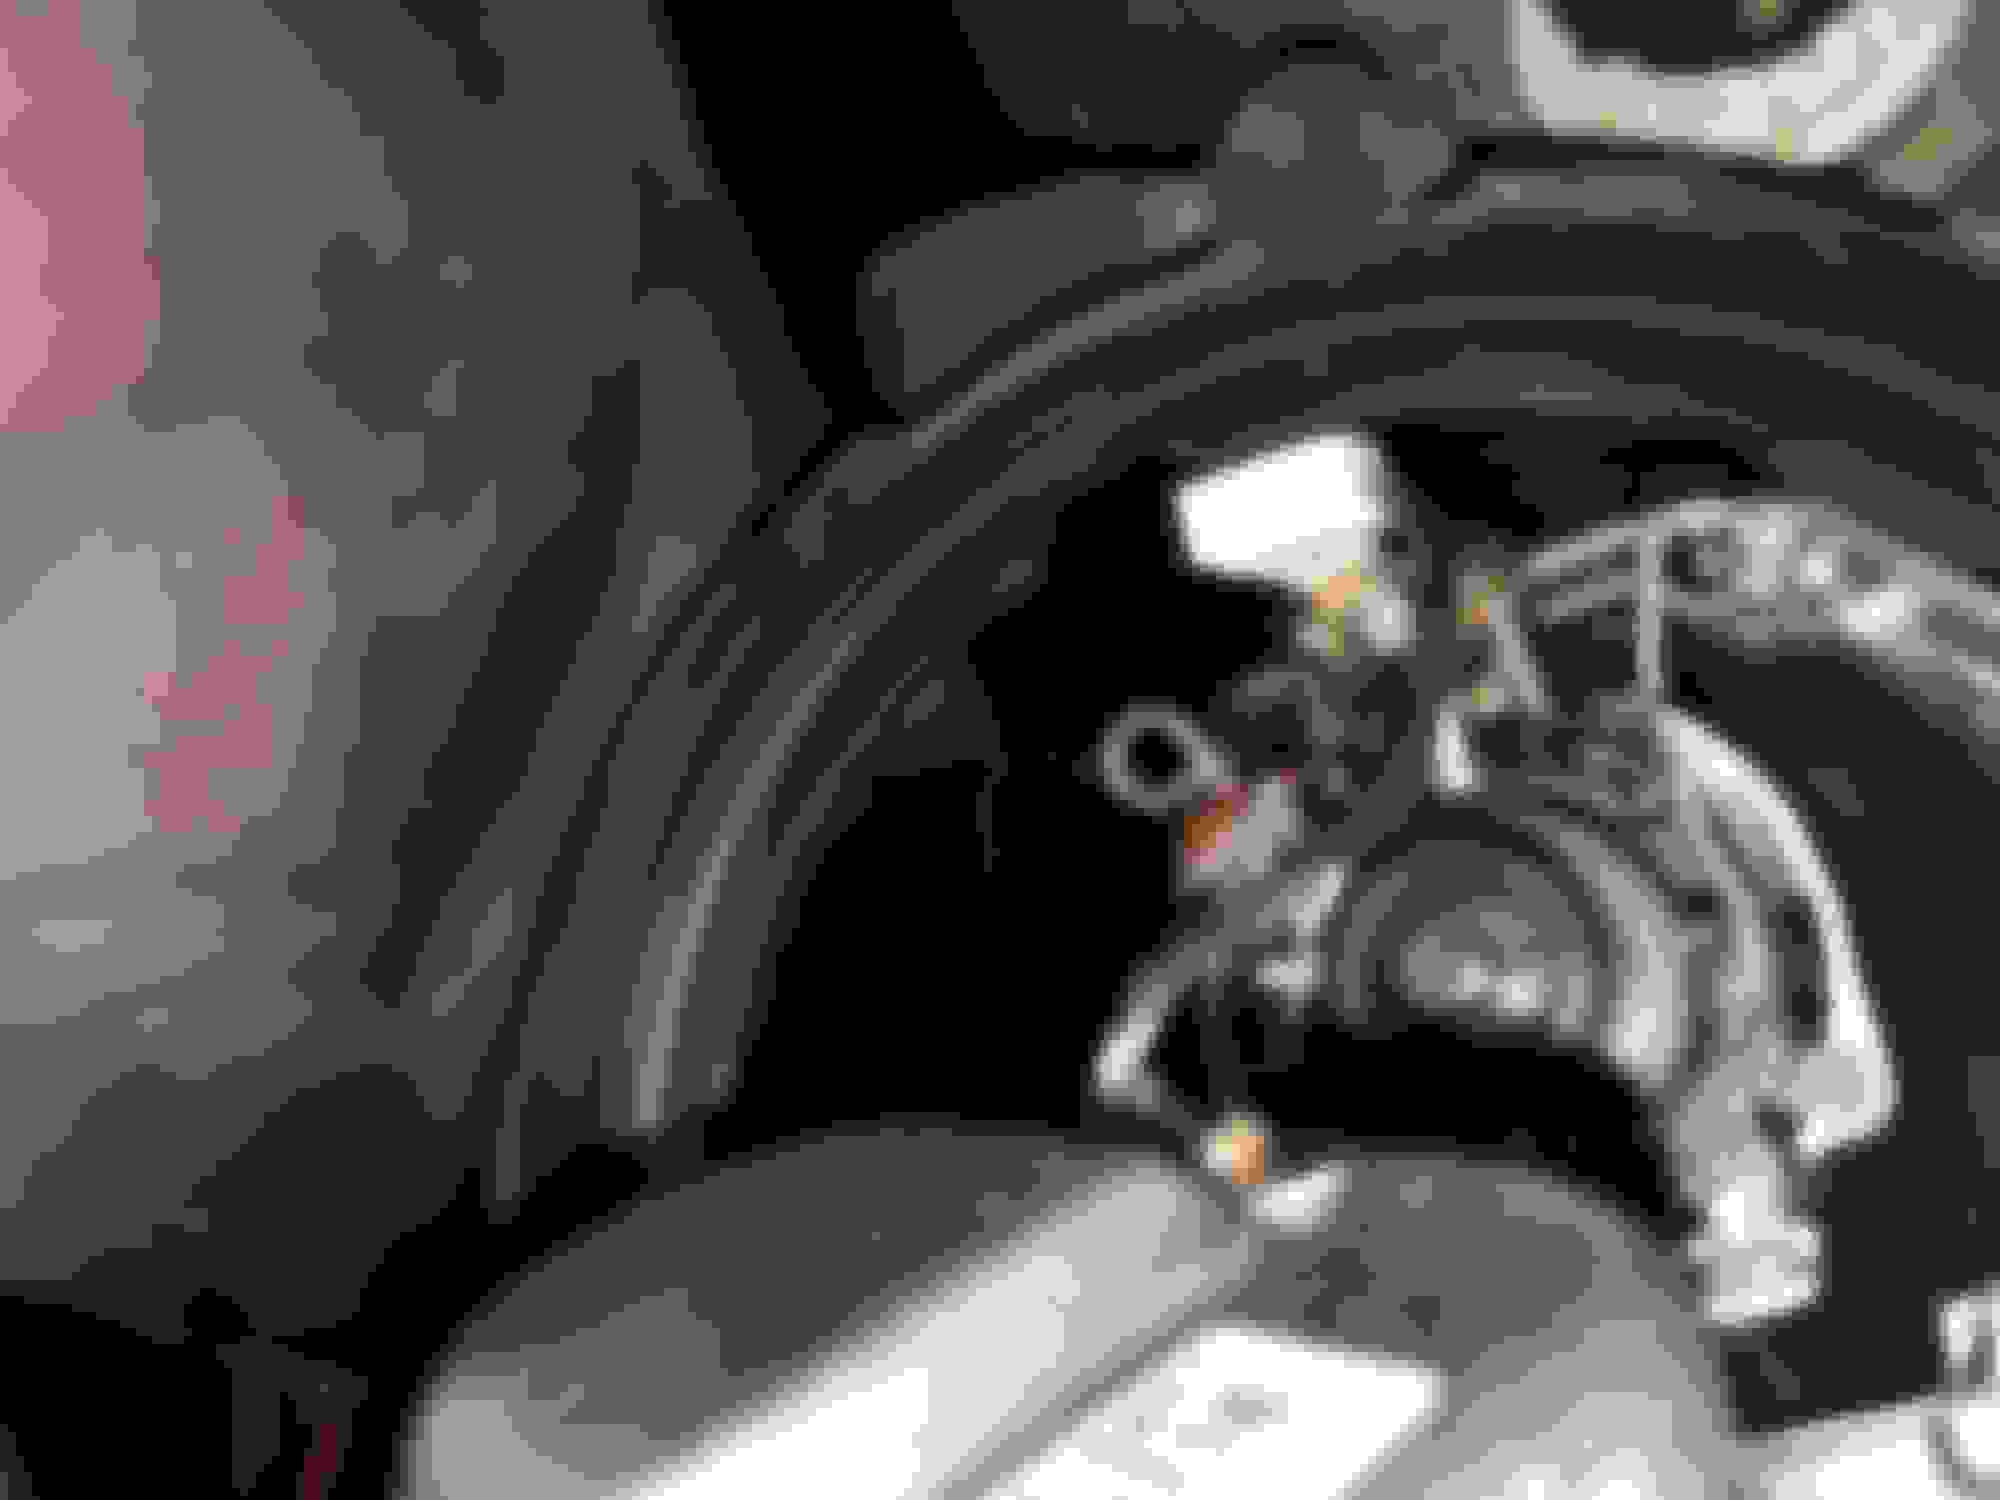
11) Reinstall in reverse order as you did taking things off and you are good to go. Make sure as seen below, the brake cooling duct (red circle) liner is all push in around this vent, and the clip that sticks out is in it's slot (green arrow).
12) Completed! Hope this helps you folks do this on your own!
Pictures on how the headlights look vs the stock ones below:
A thousand thanks for this thread! So much more helpful than the Service Manual, particularly when it comes to the wire retainer clip step. Still not as easy as changing the headlights in my old pontiac (that was a while ago), but this really helps.
I know some have claimed to have been able to do this procedure without removing the wheel. Perhaps they could, but to my mind, an average person, with average (or bigger) hands will need to take the wheel off.
I investigated the owners manual. On the first hopeful reading it did seem to say that you could access the HID bulbs through the engine compartment. However, that's because the entire section on HIDS basically says to take it in for service because of the high voltage and skips right to the halogen replacement procedure.
So I went through all of the steps and hit an interesting snag that had me going to the dealership for them to remove the fender and do it the right way.
That wire clip was a bitch on my car. Getting it open involved a lot of swearing but it worked. When I got the new bulb seated and clipped it back up I was relieved.
Unfortunately when I was screwing on the ballast connection, the clip popped open with a sickening rattle. So I had the bulb connected to the ballast but not the car and not enough space to do anything about it. I couldn't reach behind to unscrew the bulb and thanks to the grounding tethers I couldn't back the bulb out of the hole to get more space.
So make sure you give the clip a couple of test pulls when you're resetting it. Make sure that it is fully latched because if it isn't you're in for a treat. Ended up wedging the cardboard roll that came with the new bulb inside the black screw cap and leaving the lights turned off while driving to the dealership.
I feel your pain, man. I have never ever seen such small room and awkward positioning for some goddamn headlights in these TLs.
Thank you very much for this thorough walk-through.
One part that I thought might be helpful for future DIYers is a different photo for part 8. Something that I couldn't tell from the original picture was that the piece retaining the wire clip curves towards the front of the car. The wire clips need to be pushed towards the front of the car while being compressed if you are experiencing resistance (as I did this afternoon). Once they have cleared these retaining pieces, then you can pull them back towards you with ease.
Pimpin-tl, do you have a DIY on replacing DRL halogens to HID's or some advice on my issue? Might be a dumb question but I'm new to all this and i'm having issues with installing my DRL HID Kit. Purchased the 5k 9005 HID Kit with 35w-55w stealth ballasts through hidextra. After install the DLR's wouldn't work but when I hit the high beams - they worked. Followed the plug and play instructions but I'm not sure why it didn't work. Would I need to use the relay harness to fix this issue, or is it something else? Any insight....thanks
I decided to upgrade my fogs and lights with 6k bulbs and since I didn't see many good how-tos figured I would make one since I use to do a few.
How To replace/install HID bulbs in your 4th gen 2009+ Acura TL factory headlights.
Tools Required:
1 - Small flat head screwdriver
1 - Drop light
Parts Required:
1 - D2S HID Bulbs. These were 6k HID Extra ones.
Procedure:
1) Jack the car up and remove the front wheel from the car on the side you plan to work on.
2) Look inside around your fender liner, and you will see some snap in connections. See both pictures below with green arrows. 2 of the snaps have a slot while the rest do not have any.
3) Remove those connections with a flat head screwdriver as seen below in the picture. Stick iit between the outer plastic and inner plastic and twist the screw driver to pull the inside portion of it out. It will not come completely out. Just get it to release then you can pull the whole snap out of the fender liner.
4) Next you need to PULL the fender liner down. It will be a bit hard, but it will come down. It's going to give you room where it's bent into a V near the the strut assembly. Don't worry it will form back into shape once you are done.
5) This is the one area I forgot to get a picture. But as seen below, this is the silver CONNECTOR that goes into the back of the HID bulb. There was a BLACK cover with a sticker on it that you twist off to show this part.
6) You want to switch that silver connector (Picture Below) (circled in green) to the right (clockwise) in RED, and you will feel it stop around 2pm direction. Once it stops, pull it straight off. It will have some ground cables attached to it so there is little play. What I did to move it out of the way was stick it in the bottom of the headlight housing.
7) Should look like this once you have it out of the way.
8) Next you need to unsnap the little metal clip from the bulb (See picture below) (Green circles) (this holds the bulb in it's slot). Slide the circle ends in GREEN towards the inner part (RED Arrows) and once you reach the inner part pull down (Blue Arrows) towards you. This will lower that clip assembly out of the way.
9) Next grab the bulb base and remove it straight out. Keep an eye on the orientation of the bulb so you can place the new one back in the exact same way. It has a SLOT on the top that guides it into the correct position of the headlight. Don't touch the lightbulb directly so the grease wont get on it!
10) Once removed, re install the bulb with the slot opening to the top. You should feel it slip into that slot and feel flat in the socket. Once you do that, re install the clips the same way you removed them.
11) Reinstall in reverse order as you did taking things off and you are good to go. Make sure as seen below, the brake cooling duct (red circle) liner is all push in around this vent, and the clip that sticks out is in it's slot (green arrow).
12) Completed! Hope this helps you folks do this on your own!
Pictures on how the headlights look vs the stock ones below:
Stock:
HID Extra 6k D2S:
Question... I was wondering if replacing headlights/fog lights for this model, could you use led bulbs instead of the hid's using the factory hid harness
One of my OEM bulbs just dies out. Sometimes it would not turn on, and when it would turn on it would be very dim.
This DIY says everything you need to know. Annoying you have to go in so deep to change bulbs, but it can be done in about an hour or two. If I ever do it again should be less than one hour. The only thing I would recomend is buying replacement plastic clips instead of trying to reuse them.
Because I don't want to do this again, I went with decent bulbs - Osram CBI's.
Nice DIY write up, I have 2010 TL , on your write up " (switch that silver connector (Picture Below) (circled in green) to the right )" on my I have to turned to the left (counter clockwise) ... thanks you
Thanks for posting this write up, it was a very big help. I did the driver's side light today. The new one is pretty close in color and brightness to the older one, but I think I'll change the other side tomorrow anyway.
Thanks again!
Edit: I called my local dealer before changing it myself - they quoted me $500 a side to replace the headlight bulbs!!!


 04-13-2014, 06:37 PM