Grill Removal Tips (or pictures!!!)
#1
10th Gear
Thread Starter
Grill Removal Tips (or pictures!!!)
Someone backed into my wife's TLX and cracked the front grill chrome surround. Bought the new piece, but would like to double check the process for removing the grill center for installation of the new chrome ring. Tips appreciated, but photo's from the service manual would be ideal! 

#6
Damn, that's a lot of work to replace a broken grill piece. Good luck getting it apart and back together without any additional damage.
#7
Advanced
Trending Topics
#8
Let me ask you this. I'm thinking about painting or covering with tint the chrome beak in the grille. The part that holds the Acura emblem. I am debating on whether or not to paint or tint it while on the car or remove it and paint/tint it.
If I wanted to just remove that part, can it be done without removing much else? How is the Acura emblem held on? Glue? Clips?
I have a black 2015 and I think that long chicken beak would look much better black with the Chrome Acura emblem on top.
If I wanted to just remove that part, can it be done without removing much else? How is the Acura emblem held on? Glue? Clips?
I have a black 2015 and I think that long chicken beak would look much better black with the Chrome Acura emblem on top.
#9
Advanced
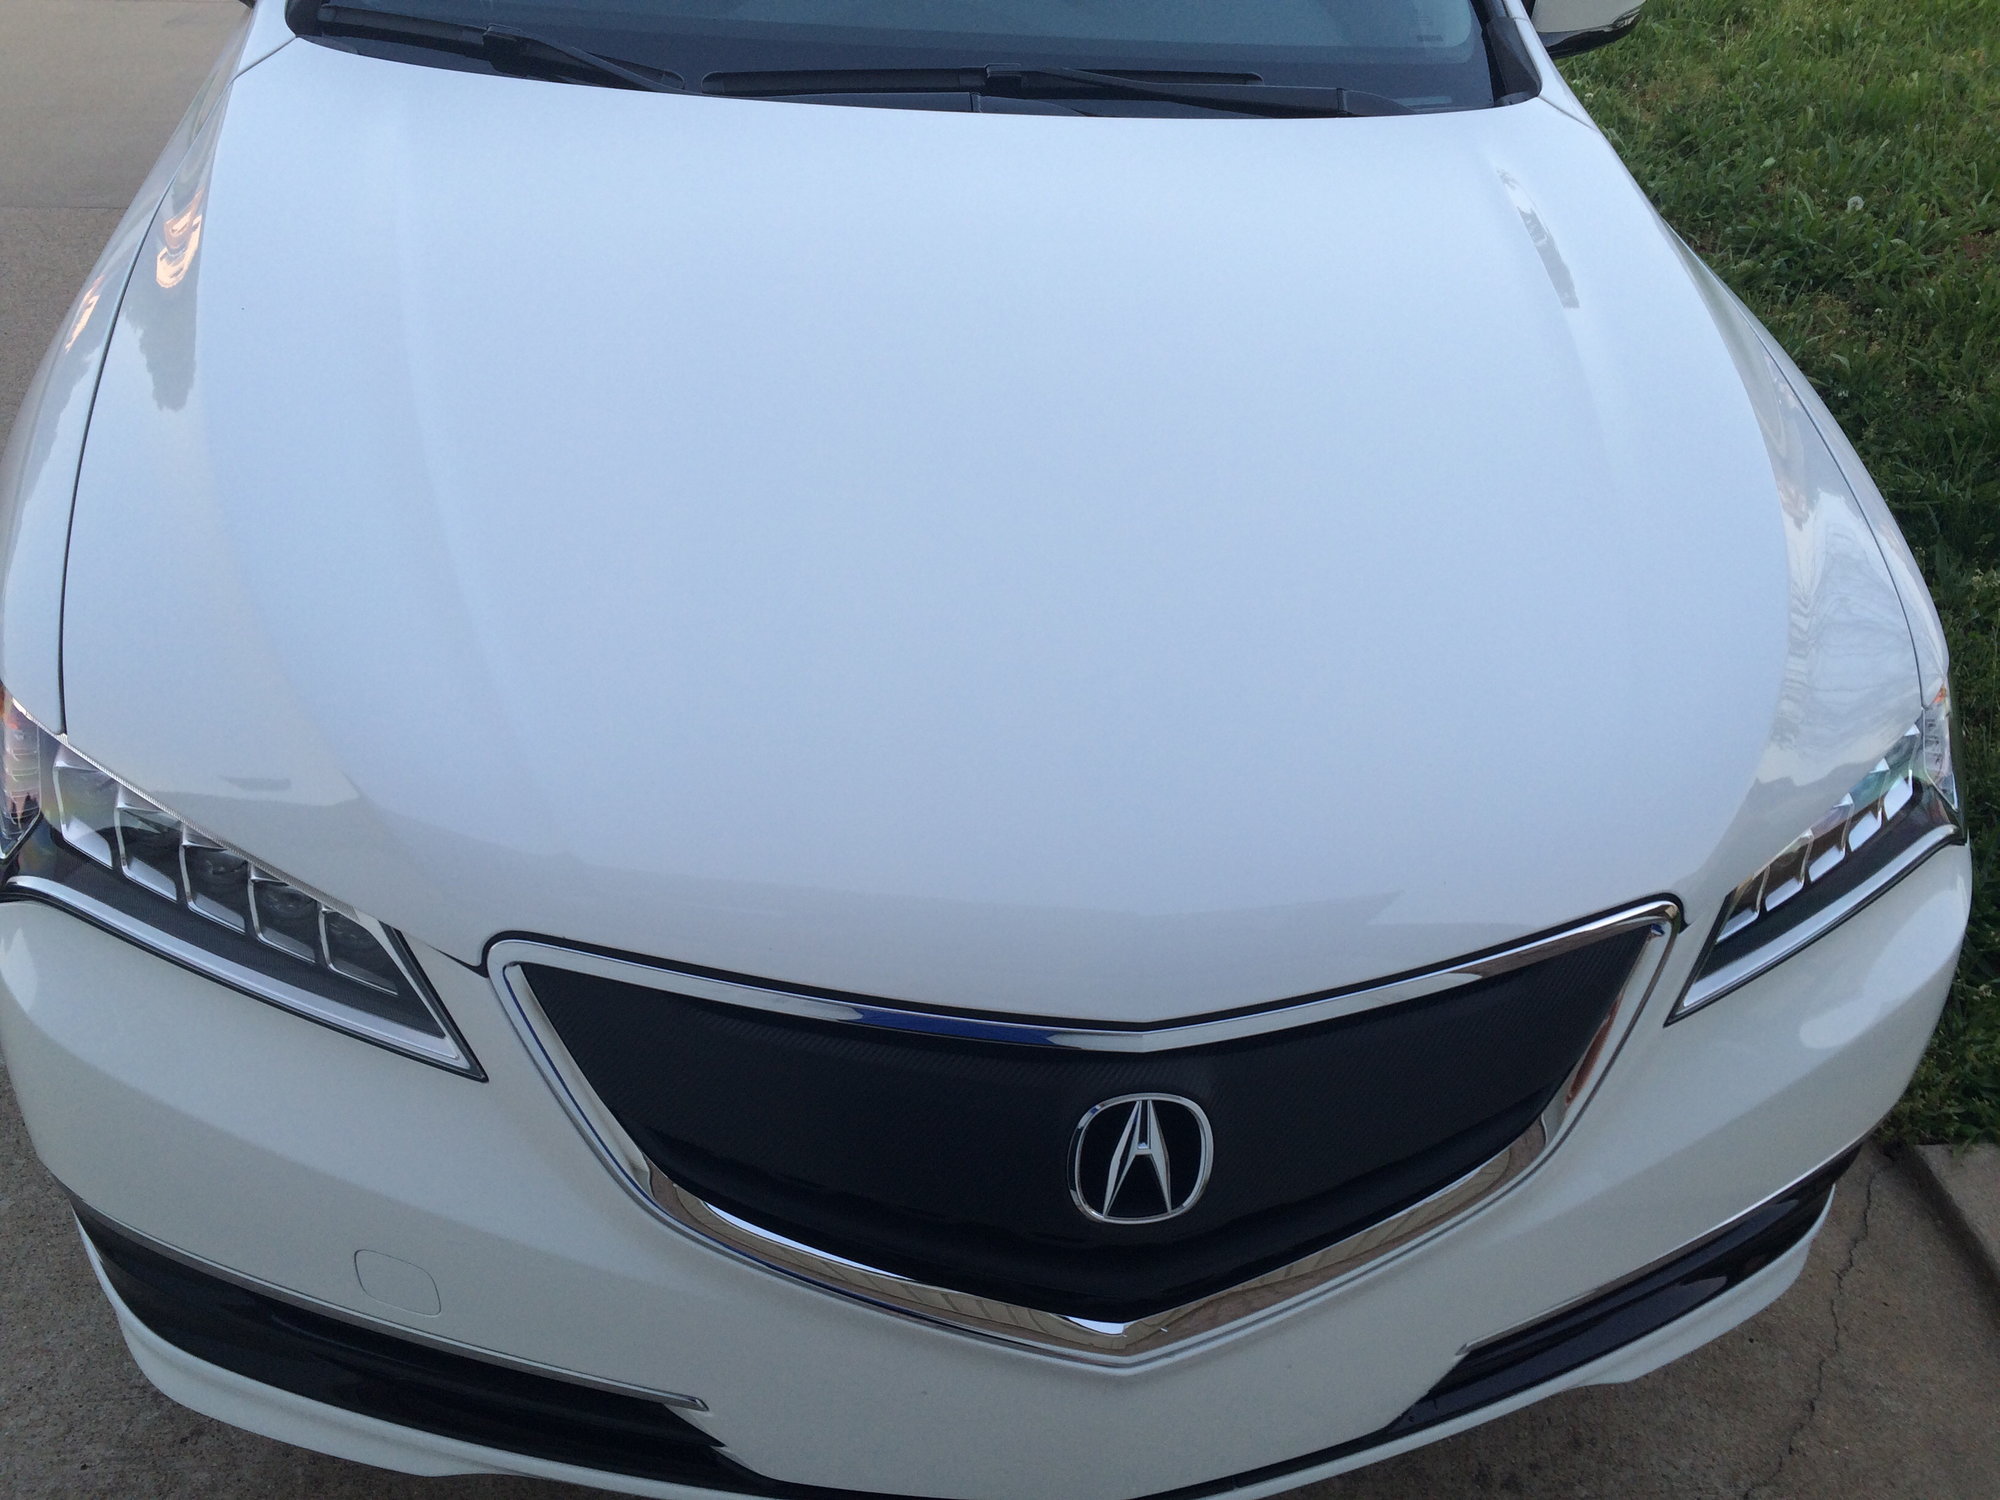
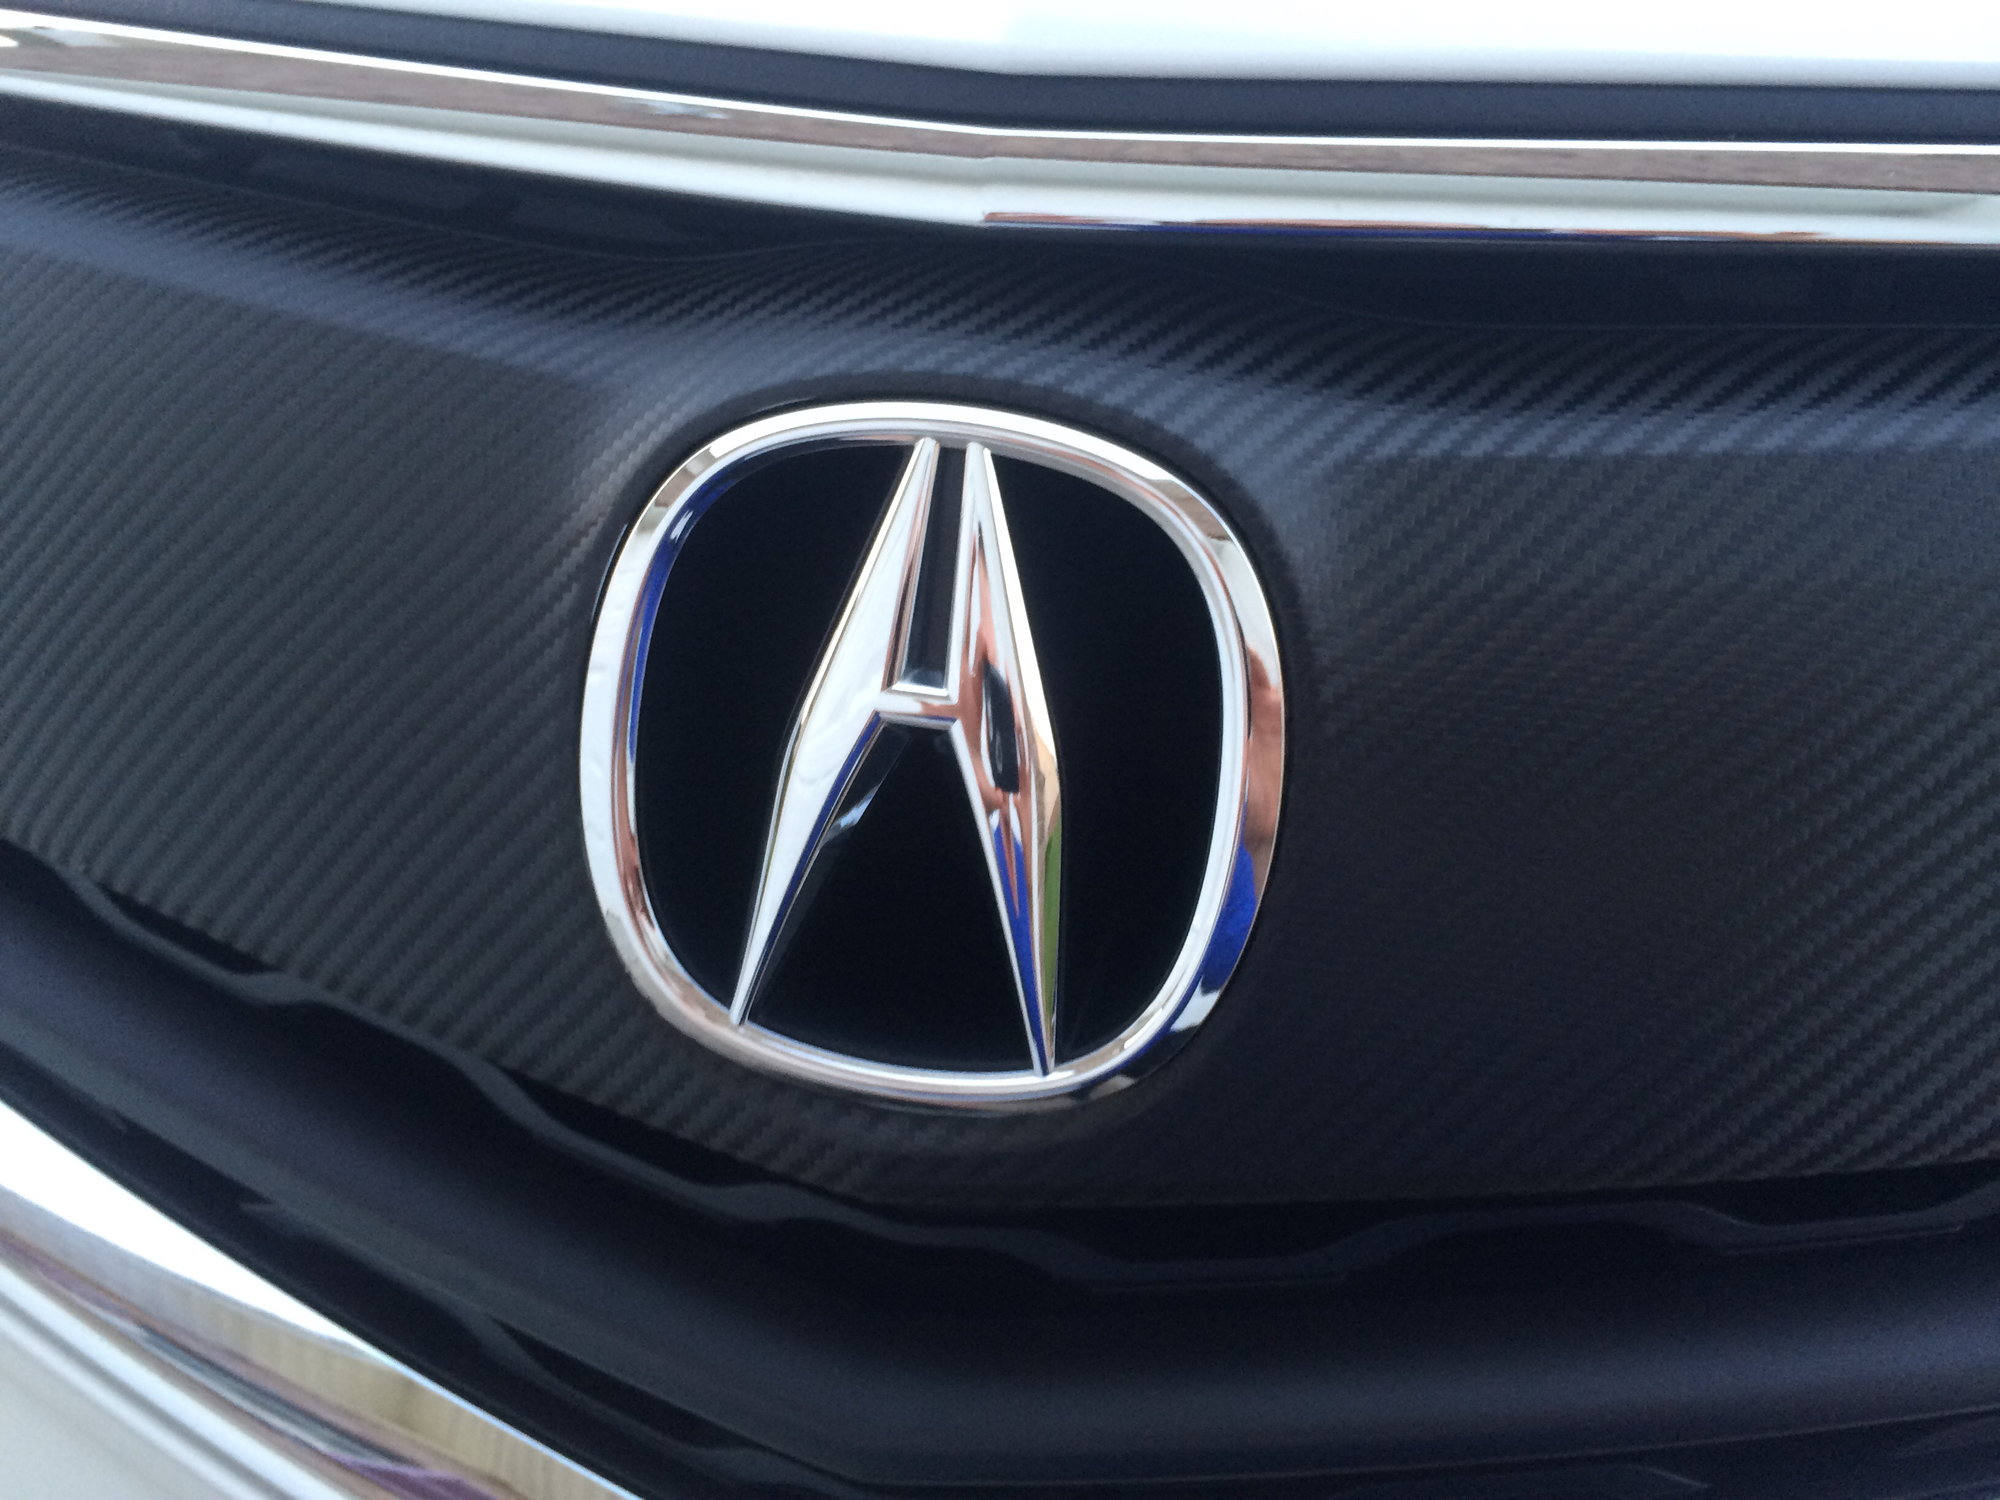
You have to remove the grill to get the symbol off. It's held on by pins. I covered the beak on my in carbon fiber and left the symbol silver. It looks so much better. Totally worth it. I will post pics up Wednesday.
The following 7 users liked this post by BellaTLX:
9SpeedTran (05-12-2015),
andre12dbsi (05-17-2015),
boe_d (05-10-2015),
finebead (05-31-2015),
kurtatx (05-26-2015),
and 2 others liked this post.
#12
Yes, this is the look I want for my black TLX. Is it possible to reach down or reach up from underneath and un pin the emblem and then put on the carbon fiber without disassembling the grill?
#16
Advanced
Even though it's time consuming, way easier to remove the bumper and get at the grill that way.
#17
Advanced
My grill is dipped not wrapped. I had to remove the beak and remove the emblem. You can google carbon fiber dipping and a bunch of places will pop up. Mail your beak to them and it will be dipped and permanent. No peeling. No bubbling and way better looking than any wrap. Depending on where you are you may have local places that do it.
#18
BellaTLX...I really like your modification of the grill. It looks really sharp and especially on the white TLX. Good job and thanks for posting the instruction.
#19
Advanced

#20
Burning Brakes
My grill is dipped not wrapped. I had to remove the beak and remove the emblem. You can google carbon fiber dipping and a bunch of places will pop up. Mail your beak to them and it will be dipped and permanent. No peeling. No bubbling and way better looking than any wrap. Depending on where you are you may have local places that do it.
Last edited by boe_d; 05-13-2015 at 02:31 PM.
#22
Advanced
Very reputable shop. Mail it to them and they will dip it and send it back. Turn around time depends on what you want done, the color or texture and their workload. 60$ shop minimum. Dipping is a one and done. It's not a 3M wrap you can peel off. It is a hard coating. Permanent. You never have to worry about peeling or bubble. The beak is just plastic with cheap chrome dip. It's the same process the factory does just in carbon. Grill takes about 48 hrs to cure.
The following users liked this post:
boe_d (05-13-2015)
#23
Advanced
Cool video on the process. Comparing this side by side to a wrap is night and day. Really sweet looking in person. Pics and vids just don't do it justice.
#27
Just pulled my grille out yesterday. The instructions listed here are truly pretty bland and basic and left out quite a bit. I'll be taking some pictures and will try and write something up. Instead of carbon fiber, I decided to paint my grille beak the same color (black) as my car. I don't really want the two tone effect of the carbon fiber and would prefer it to look OEM. I think this should be a good upgrade on a black car.
#28
Advanced
Just pulled my grille out yesterday. The instructions listed here are truly pretty bland and basic and left out quite a bit. I'll be taking some pictures and will try and write something up. Instead of carbon fiber, I decided to paint my grille beak the same color (black) as my car. I don't really want the two tone effect of the carbon fiber and would prefer it to look OEM. I think this should be a good upgrade on a black car.
#29
Advanced
I was being sarcastic BTW. But seriously post pics. It was fairly simply for me. Curious to see how you did it
#30
Here are some pictures of the current state of my TLX. One difference from my TLX is that I have the ADV package with fog lights along with the AERO package. This added to further difficulties in removing the double sided tape along with extra caution of unplugging the fog lights. Two things which the service manual did not mention. There is more.
I realize that not everyone has a lift in their garage, but Iíll have to say I might have thought twice if I had to do this on my back. I started this job with the car on the ground and undid all the necessary parts under the hood, then raised the car up to undo the screws and plastic plugs under the car and in the fender well, and then set the car down a bit to remove part of the AERO package and the bumper. I then set the car to a height so that I could place the bumper on a table in front of the car (as you can see in the pictures). The bumper is a little awkward and if you are doing this job by yourself, you certainly donít want the bumper slamming to the ground breaking your fog lights.
I did not take pictures when disassembling the front, but will take some step by step pictures when I put it back together. The plastic grille beak is getting its third coat of paint and then I will put on a few coats of clear poly afterwards (donít want any rocks chipping the paint), so it could be into next week before I reassemble the grille and post pictures.
Acura does make a graphite grille for this car but the price is around $690 without installation. No thanks.
Please excuse the messy garage in the pictures, I tend to let it go in the winter and then do a good cleaning in the spring. Wow, I wrote all of the above without calling anyone a jerk.
#31
Advanced
Here are some pictures of the current state of my TLX. One difference from my TLX is that I have the ADV package with fog lights along with the AERO package. This added to further difficulties in removing the double sided tape along with extra caution of unplugging the fog lights. Two things which the service manual did not mention. There is more.
I realize that not everyone has a lift in their garage, but Iíll have to say I might have thought twice if I had to do this on my back. I started this job with the car on the ground and undid all the necessary parts under the hood, then raised the car up to undo the screws and plastic plugs under the car and in the fender well, and then set the car down a bit to remove part of the AERO package and the bumper. I then set the car to a height so that I could place the bumper on a table in front of the car (as you can see in the pictures). The bumper is a little awkward and if you are doing this job by yourself, you certainly donít want the bumper slamming to the ground breaking your fog lights.
I did not take pictures when disassembling the front, but will take some step by step pictures when I put it back together. The plastic grille beak is getting its third coat of paint and then I will put on a few coats of clear poly afterwards (donít want any rocks chipping the paint), so it could be into next week before I reassemble the grille and post pictures.
Acura does make a graphite grille for this car but the price is around $690 without installation. No thanks.
Please excuse the messy garage in the pictures, I tend to let it go in the winter and then do a good cleaning in the spring. Wow, I wrote all of the above without calling anyone a jerk.
I realize that not everyone has a lift in their garage, but Iíll have to say I might have thought twice if I had to do this on my back. I started this job with the car on the ground and undid all the necessary parts under the hood, then raised the car up to undo the screws and plastic plugs under the car and in the fender well, and then set the car down a bit to remove part of the AERO package and the bumper. I then set the car to a height so that I could place the bumper on a table in front of the car (as you can see in the pictures). The bumper is a little awkward and if you are doing this job by yourself, you certainly donít want the bumper slamming to the ground breaking your fog lights.
I did not take pictures when disassembling the front, but will take some step by step pictures when I put it back together. The plastic grille beak is getting its third coat of paint and then I will put on a few coats of clear poly afterwards (donít want any rocks chipping the paint), so it could be into next week before I reassemble the grille and post pictures.
Acura does make a graphite grille for this car but the price is around $690 without installation. No thanks.
Please excuse the messy garage in the pictures, I tend to let it go in the winter and then do a good cleaning in the spring. Wow, I wrote all of the above without calling anyone a jerk.
#32
Advanced
Just pulled my grille out yesterday. The instructions listed here are truly pretty bland and basic and left out quite a bit. I'll be taking some pictures and will try and write something up. Instead of carbon fiber, I decided to paint my grille beak the same color (black) as my car. I don't really want the two tone effect of the carbon fiber and would prefer it to look OEM. I think this should be a good upgrade on a black car.
Thread
Thread Starter
Forum
Replies
Last Post
Oakes
Wash & Wax
10
10-12-2015 11:17 AM
winkyyy
3G TL (2004-2008)
0
09-11-2015 04:40 PM


