When you click on links to various merchants on this site and make a purchase, this can result in this site earning a commission. Affiliate programs and affiliations include, but are not limited to, the eBay Partner Network.
Late to the party. I saw your user name so I had to start lurking. Well, I'm subed now and I have to see this to it's finish.
So you were looking for suggestions on what next, take a 4G TL, chop off the hideous front and the fat ugly ass, and graft anything in its place. Just be sure to get it with SH-AWD and tech package. That might get you voted to president of this esteemed corner of the internet. :wink:
I am sure you can get 1 for under 150... OEM or fake.
I'm actually not keen on the OEM piece - without the matching side skirts, I feel like the like the lip fans out at too much of an angle.
The stock skirts also have a somewhat softer curve so I wanted something that matches the shape better.
I might just not put anything on to begin with and see what comes up... since I'm wrapping, it should be easy enough to retrofit a lip.
Late to the party. I saw your user name so I had to start lurking. Well, I'm subed now and I have to see this to it's finish.
So you were looking for suggestions on what next, take a 4G TL, chop off the hideous front and the fat ugly ass, and graft anything in its place. Just be sure to get it with SH-AWD and tech package. That might get you voted to president of this esteemed corner of the internet. :wink:
That would definitely be a worthy pursuit. But my budget's too limited
And actually I already pressed the button on a 1997 Accord wagon...
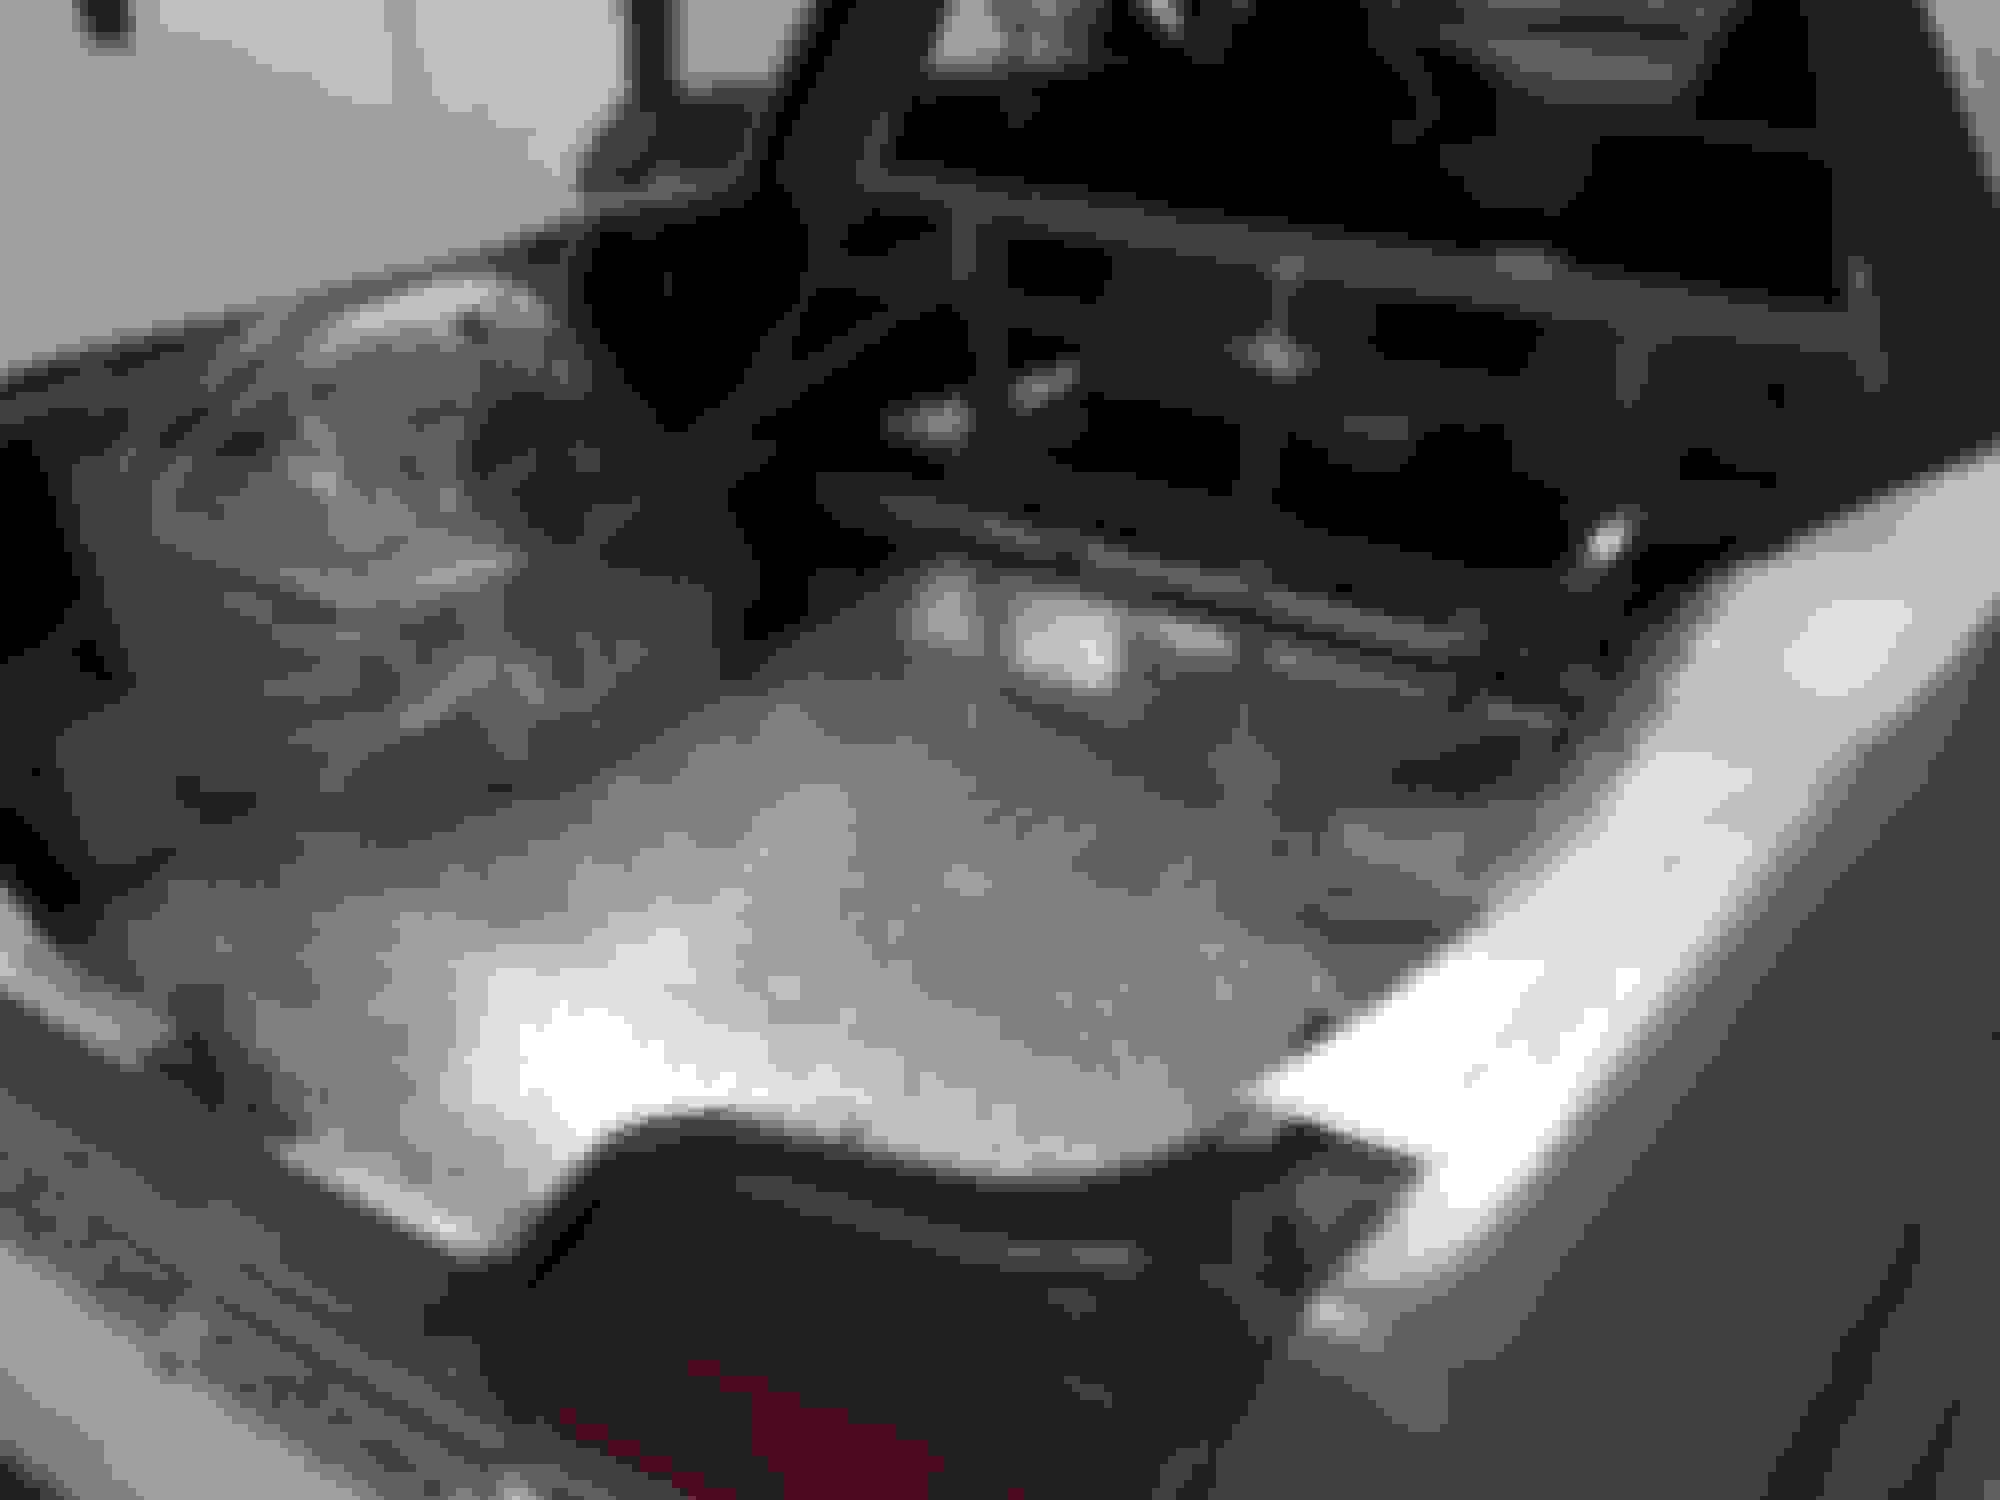
Making the truck bed has proven to be way more time consuming than I thought... the work shown here took place over three weekends, two more before it's done.
You can barely see it here, but the bed floor is constructed out of 80/20 aluminum channel that sits on specific points on the body in white, leaving just enough gap to the fuel pump, etc.
Bed height is the original trunk floor height. The surface is aluminum diamond plate:
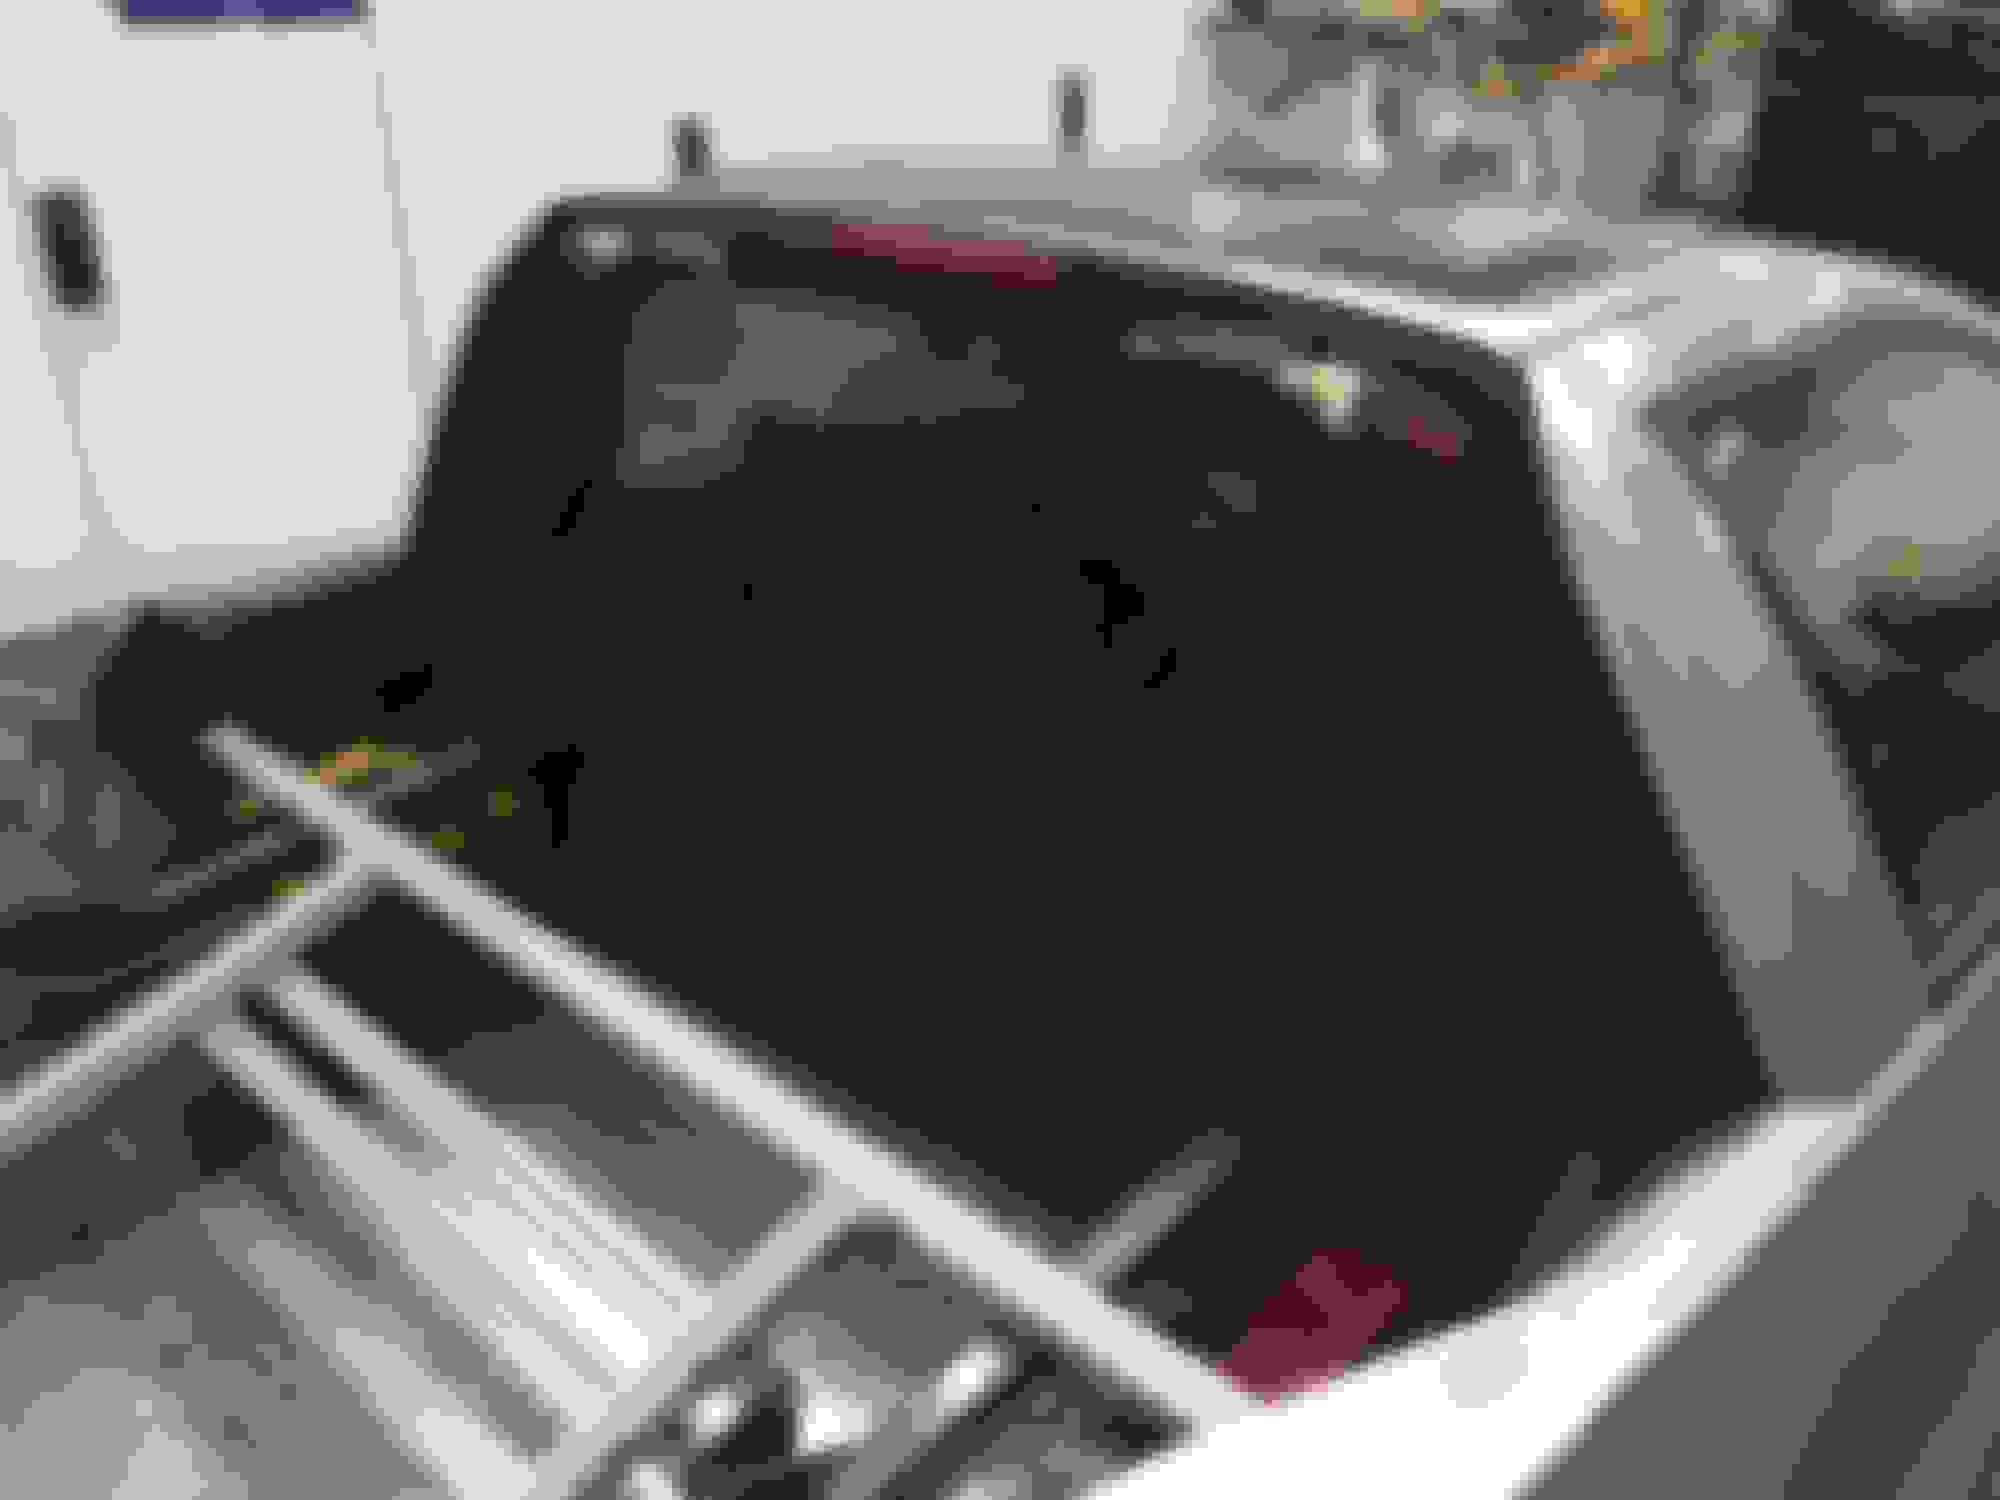
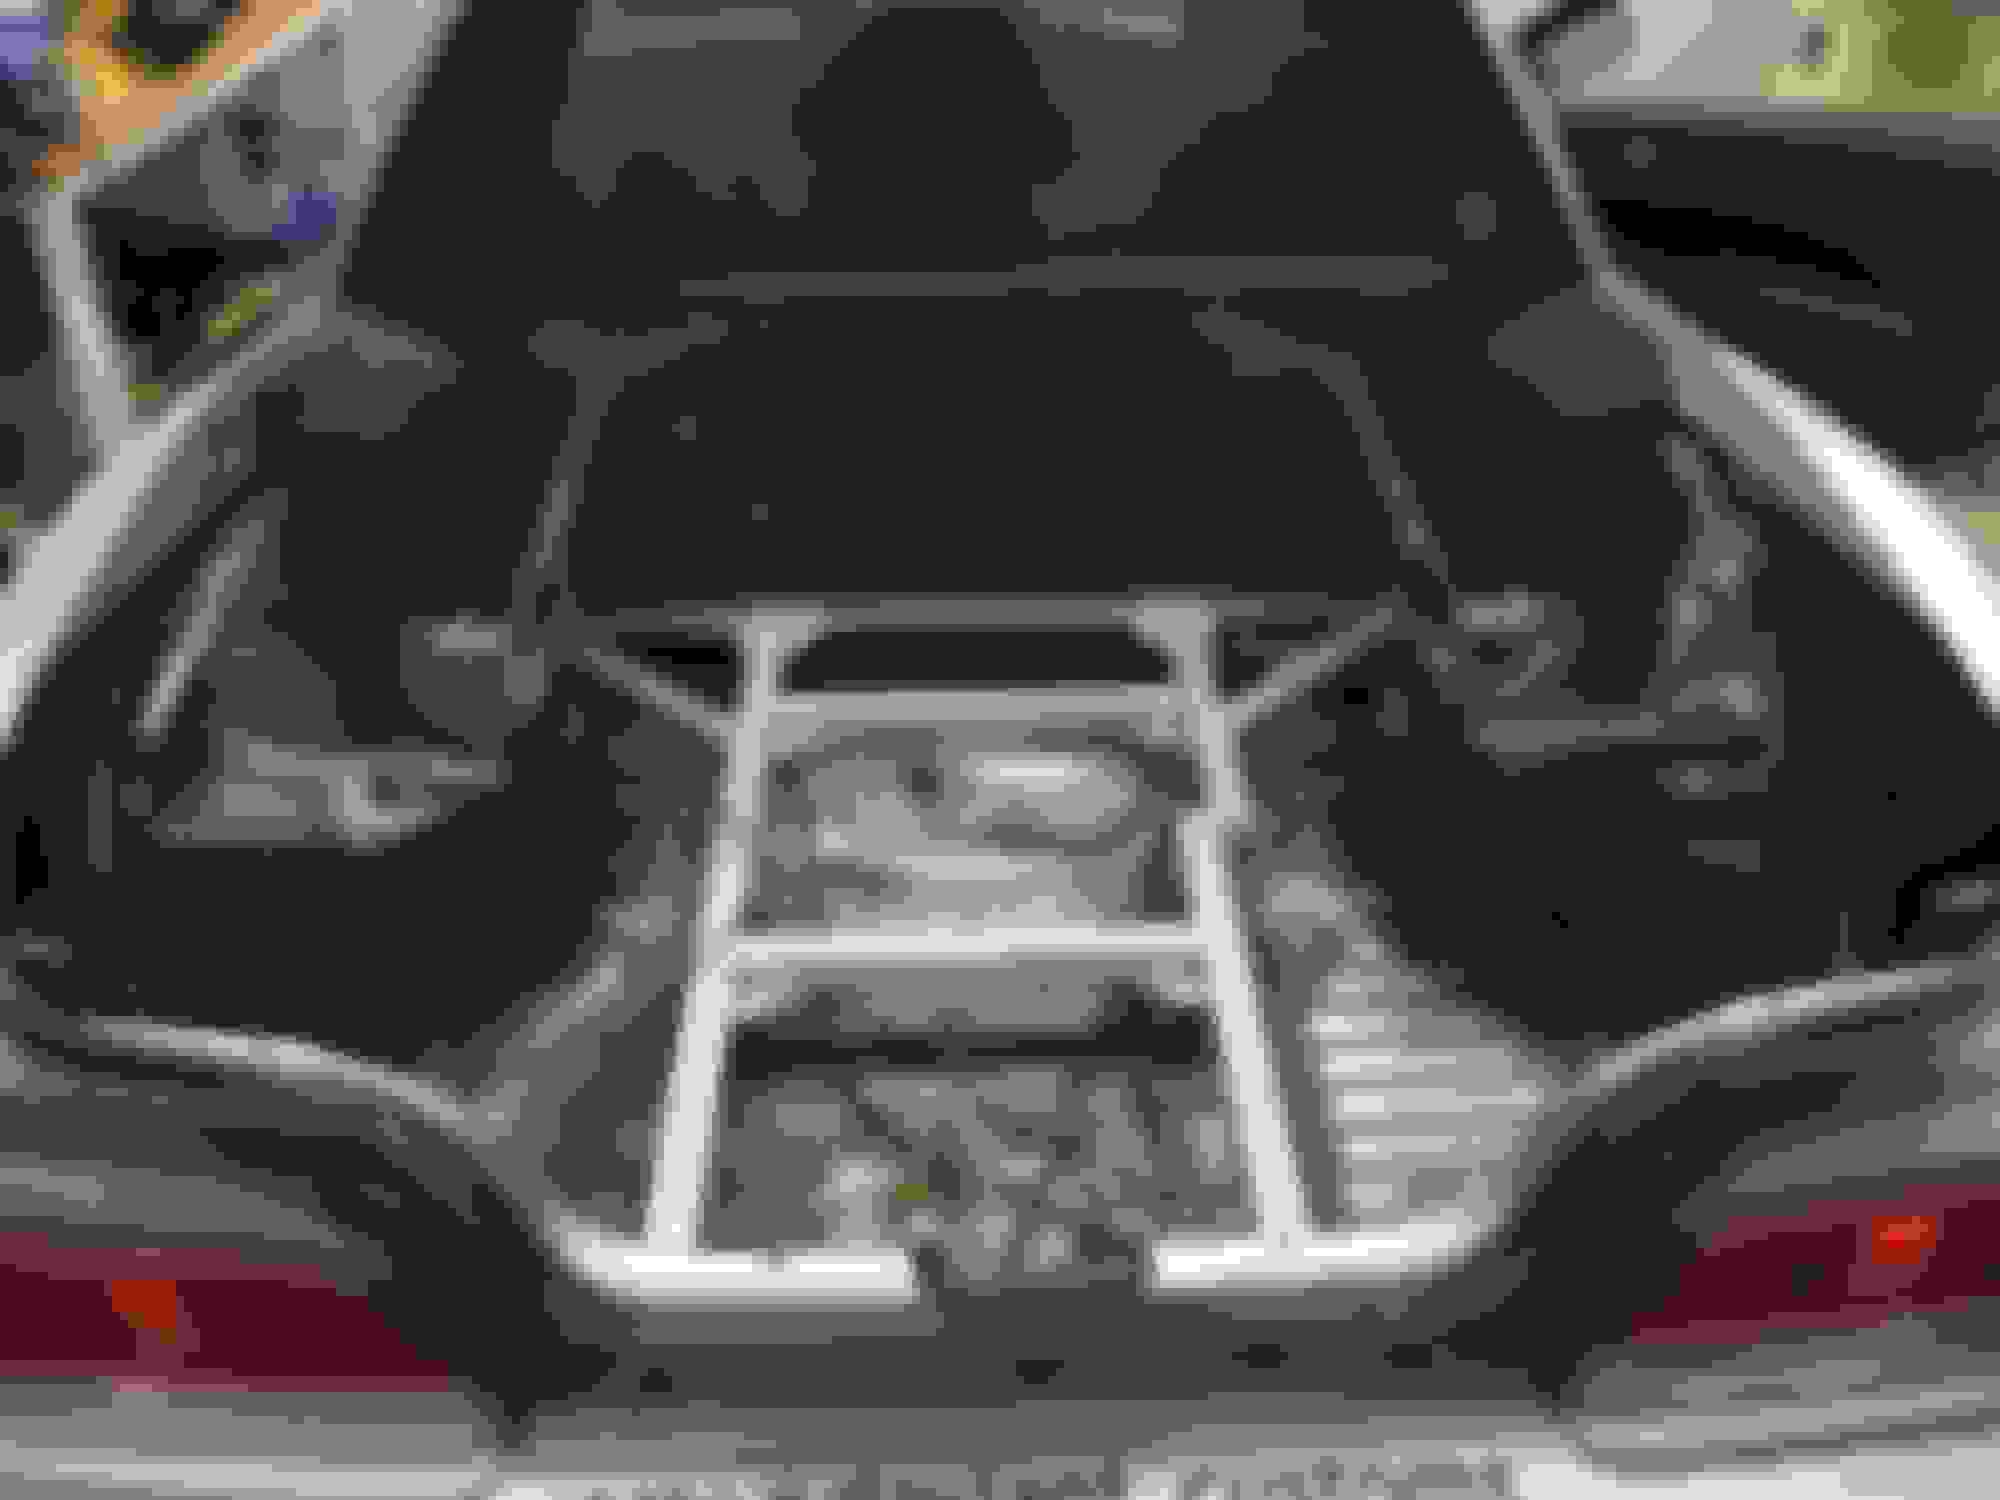
After welding in the additional crossmember to define the base of the rear window, I started to 'skin' the bulkhead.
Had to separately "skin" the areas around the strut tower braces... was a real PITA to match up panels and weld, slow but it turned out ok. A lot of grinding, bondo and sanding in my future.
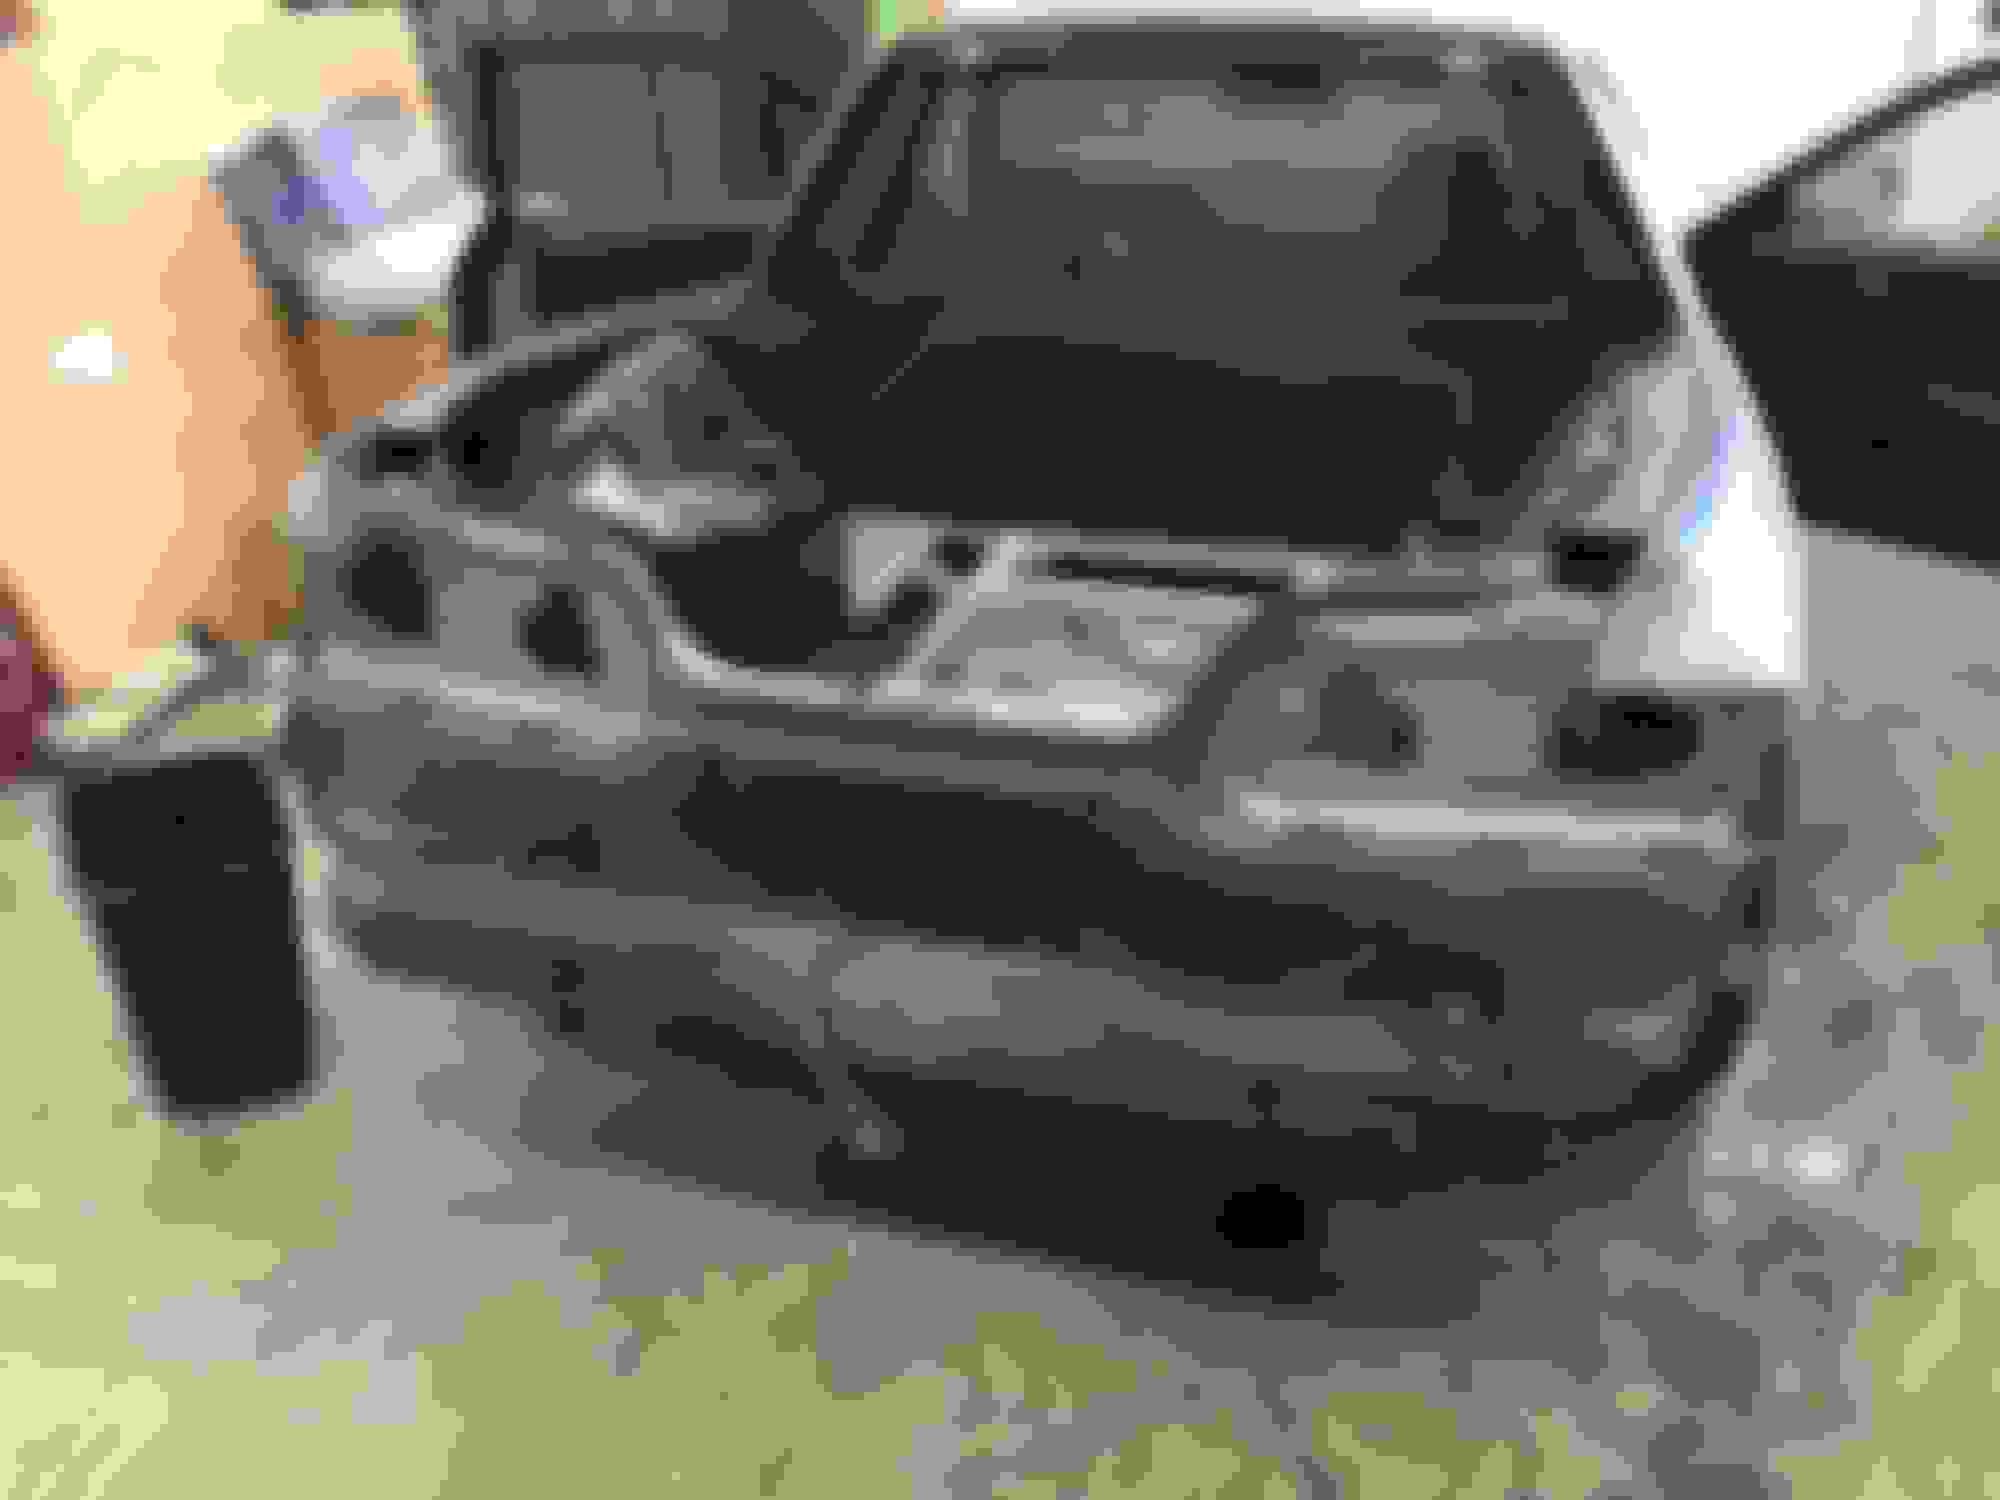
Next, closing off the water seal / drainage channels at the sides of the original trunk opening. Now you can even sit there!
To dos:
- skin the inside of the "tailgate"
- skin the areas just behind the doors
- complete and bolt down the diamond plate
Coming along nicely. Will definitely be unique when complete.
Curious, did you corner weigh the car before? I'd be curious how the change affected the weight balance.
I have the weights on the F/R axle from smog just before the car was cut, and yes I'd definitely be interested to know. My guess is that total weight goes up but the distribution would be about the same, due to the increased weight of overbuilt structural members closer to midship.
Originally Posted by TylerT
I love it.
Question for you - how many cuts / gashes do you have from working with so much metal?
I'd imagine gloves / a long sleeve is a must for a project like this ...
The cuts aren't really any worse than what I normally get at work building prototypes... but I've been burnt a couple times resting body parts on recently welded/ground areas or poking myself with just-used filler rod.
So far I've been almost always in a T-shirt and shorts for ease of movement (lots of climbing in and out of the bed) and staying cool this past summer.
The worst thing about that is actually the sunburn I get from TIG welding. I should start using my coveralls.
Other than that, the fumes from welding sheetmetal with e-coat/paint on the other side are pretty bad. Kinda hard to stuff a respirator under a welding helmet though, maybe I should get N95s.
Originally Posted by cu2wagon
Are you making a longbed or just pimping a wagon because it's the bestest.
I was just gonna pimp the wagon (it is the bestest), but that's an idea...
Rims and springs to begin with, an H22 swap, then we'll see where we go from there.
I was just gonna pimp the wagon (it is the bestest), but that's an idea...
Rims and springs to begin with, an H22 swap, then we'll see where we go from there.
I'm now 285 hours into the build (and counting), and hit a milestone today - completing all welding. It's been a long road filled with noxious fumes, sunburn and heartache. Now I have a lot of filling and sanding to look forward to...
To close up the forward corners of the bed, I made matte board templates through trial and error, then cut out the final shape in sheetmetal. Used a press brake to bend the sheet to the right angle:
Did the same for the second panel, then tack welded everything in place. If there's one thing I learnt from welding the fenders, you can never have too many tacks. Big flat sheets of metal just want to bend all over the place once you apply heat.
And a good old dead blow hammer to beat errant corners into submission.
Now weld it all up... except the parts that I couldn't get to fit close enough. But nothing a bit of epoxy filler and bondo can't solve.
Grind it down and spray paint for rust protection. Not having a garage really sucks in that regard... I have to paint surfaces between build weekends simply to stop them from corroding in the moist air.
Didn't document it but I also cut out tread plate pieces to fill the floor in the forward corners. Turns out there's a spot exactly the right size for my gas can in the forward right corner.
Next up: closing up the rear of the bed.
Also, it's high time I said a big thanks to you thread subscribers for your moral support. It helps a lot to know that that are people out there rooting for the build!
On that note, I wanted to ask: have any of you ever tried to get a build to SEMA? (It's definitely a stretch goal, but hey I've put so much time into the build already, no harm trying.) I'm planning to create a PDF portfolio of the build-in-progress and approach a couple of parts manufacturers to see if any of them might be willing to sponsor the car as a 'feature vehicle' (ie. not at the booth, but outside in the lot). Sponsorship of actual parts would be awesome, but I'd be more than happy if they would let me fly under their banner even if I had to pay for all the associated costs.
Any tips or sharing from experience would be appreciated!
^ I have never had a car good enough for SEMA but i would assume once you are done, you may contact some of the wheels company to see if they are interested to feature your car on magazine or SEMA.
But when it comes to SEMA, the car has to be perfect, almost OEM perfect. So you probably have to fix all detail stuff before contacting them.
^But when it comes to SEMA, the car has to be perfect, almost OEM perfect. So you probably have to fix all detail stuff before contacting them.
Yep, that kind of points to the dilemma I have... when I started the project I wasn't planning to get anywhere near SEMA, and to bring it up to that standard a lot more refinement has to happen. Hindsight is 20/20 but sometimes I wish I'd started with a Prelude of better condition, cos even the unaltered parts of the car need a lot of work.
But if I don't have a path to SEMA, it's hard to justify to my wife and kiddos why I have to spend a hundred more hours than expected to get the car there. So I'm wondering what the sweet spot is before I can show the car to potential sponsors, to convince them I can finish all the refinement work before the actual show.
Yah nowadays, rich kids just throw $$ onto their cars and let someone else "customize" their cars to feature on magazines and what not.
So you have a very tough competition for that. But the good things is they dont have the documentation and story like yours..
I mean you are going to touch the engine as well in addition to refinement, if SEMA and magazines are what you are going after.
That is a bottomless money pit.
An interlude in updates while I wait for my next build weekend in two weeks...
A friend suggested during my beer-storm party to make the bed a hot tub, which is obviously ridiculous from an engineering / utility standpoint, but the idea of "party in the back" kinda stuck. So I decided it would be cool to be able to watch movies while sitting in the bed of the truck.
So I got a Pioneer DVD head unit and proceeded to make a crazy harness:
Besides the requisite e-brake bypass, I wired in a power cutoff switch and banana plug sockets so that I could power the head unit externally.
Because this:
Kiddos are lovin' it.
I don't have better photos of the process, but basically I have a computer monitor mounted on a VESA arm, bolted onto the inside of the rear bulkhead. While driving it stows away under the window line, but when you flip it up it's visible through the rear window. I use a RCA to HDMI box to convert the signal, which takes 5V USB power from the head unit. For power supply, I'll use one of those big 400Wh battery packs with 120V (for the monitor) and 12V (for the head unit), or you can achieve the same thing with an extension cord. Best part is, that remote that ships with the head unit, that no one ever uses, suddenly comes in very handy.
And now we have a "drive-in" movie theater we can take car camping!
Bit of a half-assed update with too few process pictures, but the build is still alive!
The elephant in the room... or in the bed... are the ugly wheel arches with all those structural ribs for stiffness. I really didn't want to box everything up with flat pieces since that would create a blocky look that I didn't like and visually reduce the space in the bed. So I decided to wrap carbon fiber over them instead.
Started with one layer of E-glass to smooth things out. Fiberglass cloth lays better and doesn't flake as much as CF, so I needed it to smooth out the surface and define the basic shape:
Followed by two layers of CF to make sure there are no visible gaps in the weave. Picture shows only the first layer. I haven't done lay ups in a long time and made the near fatal mistake of applying too much epoxy when it was near the end of its pot life. Ended up with a lot of pools and drips that I may have to go back and sand / recoat later.
Both sides ready for the final layer of CF.
This is the part where I regret taking too few photos. After the CF lay up, I sent the car out for sanding and filling at my bodyshop, got it back, then fabricated the rear corner close-off panels.
After blocking the bed I applied rattle-can Rhino coating on the bed and back wall.
After this shot was taken, I replaced my bike mounts and CHMSL, trimmed and re-fitted the missing tread plate pieces, and painted the fuel filler area, license plate area, and door jambs satin black in preparation for wrapping this weekend. Getting real close...
Never wrapped a car before so it's definitely a learning experience...
Second attempt at the rear fender... learnt to go outward from the main crease (up and down) rather than along the crease (sideways). Good thing I had my main man J.R. to help out!
A and B-pillars were done in a separate piece to save on material.
Took out the door handles to wrap them, and fixed the flappy passenger side handle with a screw for the spring leg to push against.
Doors were pretty easy! But I really really need a garage for this. Too much dust and moisture outside.
Hood sanded down as much as I could... rust goes deep. I used 'rust reformer' spray, hopefully that keeps new rust at bay.
First round of wrapping done. Left with skirts and bumpers - saving the hardest bit for last.
Took it out to the local classic Japanese import monthly meet and rubbed shoulders with the real deal...
Off on a two-week business trip tomorrow so the rest will have to wait till late April... Hope I'm not too late to try out for Wekfest...
Love the wrap! Are you planning to remove the front bumper to wrap or leave it on?
I need to wrap the rear bumper/lip, side skirts and front bumper, and will be removing everything to do that... relatively easy compared to having had to remove the door handles and front fenders to wrap. Just haven't had time to do it yet.
Just got back from a two-week business trip with 15-hour long days everyday...still feel burnt out but I gotta finish it by the end of April...
On the bright side, it was nice to get two Insta posts from people who took photos at the meet
Originally Posted by rockstar143
and hood too?
I hope you're doing the car one uniform color. That orange really turns this project around for me, visually. Sexy as fuck.
I wanted to... but up close the hood is actually in poor shape and wouldn't reflect light uniformly with the gloss orange over such a large area. So I'm going with a faux carbon vinyl wrap until I feel like spending money on a new hood.
Originally Posted by CLpower
Where in the bay area are you?
I live in San Mateo and work in the south bay. You ever come down this way?

 11-27-2017, 09:32 PM


 Hope I'm not too late to try out for Wekfest...