When you click on links to various merchants on this site and make a purchase, this can result in this site earning a commission. Affiliate programs and affiliations include, but are not limited to, the eBay Partner Network.
Wifey gave me a hall pass to spend most of the weekend away from home working on the car. She's a keeper!!
During the week, I got a familiarization with the vinyl cutter at work... this one's just a placeholder for now. One of the things I'll want to do is list names of people who've been of assistance, on the doors where sponsors would normally go. I was also thinking of "Larsen Biscuits" and "Peniston Oils" a la Top Gear... but I'm not sure I'd want to drive that to work or to church.
The weekend itself was mainly spent on fabricating the rear of the new B-pillars, which were open before. One piece of sheetmetal for the inside, and another for the top half of the rear face (which is where the backlite ended); welded and ground down. Unfortunately I didn't realize the older sheetmetal had warped when I welded it to the window frame - the unconstrained side basically tacoed and now I have gaps where the B-pillar meets the bulkhead. Lots of filling, sanding and caulking to do.
Besides that I also re-cut the sunroof structure to allow better access to the cables for manual actuation; and welded the window frame to the inside of the B-pillar because the single riv nut connection was beginning to loosen and creak. But the part that excited me the most was placing the bike fork mount:
Custom bike in custom truck this morning outside my office. Indulged in a little showboating heh.
I may get another hall pass in two weeks, which is when I plan to finally weld up the fenders. Then properly shape the trunk into a bed wall, and link it to the rear fenders. Then define the truck bed bottom. Then weld a new crossmember to define the rear window. Then...
Got a crapload to work on before getting anywhere near that J-swap!!
Nicely done, and an interesting bike.
Are you planning on a real tailgate?
Eventually. Was originally planning to cut through the tailights and partially into the bumper to make an opening, but it's workload that I can't take on in the near future. I'm aiming to complete the build by May with a composite tub for a bed, and a fixed rear bed wall.
Held a happy hour at work to celebrate crossing the midpoint of the build... gave my friends at work beer and sausages in exchange for comments and ideas:
Color-coding post-its.
3M 1080 vinyl color choices. Left to right: Glacial Frost, Matte Blue Metallic, Smoldering Red, Vampire Red, Brushed Titanium, Brushed Steel. (Thread subscribers feel free to vote too!)
Such a sweet comment from a friend for a part I didn't even build haha.
Don't judge the carbon fiber vinyl - I used some small scrap pieces to cover up the peeling window trim. Temporarily.
Definitely gonna do this one.
Best suggestion of the party!
Currently in the middle of another build weekend granted by the wifey... more updates to come, though the car's looking arguably worse because I had to strip some temporary vinyl off to resume welding on the quarter panels.
Happy hour idea is awesome, can't wait to see the hot tub!
I never pass up a good excuse to feed people tasty unhealthy food and alcohol. I also benefit from having to bring home the leftover goodies...
Got another hall pass this weekend, where I worked on the rear fender close-out. Some of these photos are actually from past sessions, but it captures the fender close-out process almost in entirety.
First, closing up the part originally where the rear side window was. This part had a vertical flange seam that was also where the window was adhered to, so I had to cut out the center section, leaving horizontal sheetmetal on both sides. I cut a strip of fresh sheetmetal to cover the gap:
Then tacked it in place before welding it up. Constraining it was tricky because it's so small and warped a bit each time I tacked... had to adjust the shape a little bit along the way.
Next was the large fender pieces, to cover the gaping hole between the exterior under the C-pillars and the top of the wheel arch structure. I previously cut and shaped them so that the outside contour matched the fenders.
Because they're huge and thin panels, the seam had a tendency to open up with each tack weld, so I used magnets and kapton tape to hold the two sheets together while tacking. Here the panels have been tacked and the tape removed.
And now the full weld down the side. After that I also trimmed the inside edge to line up in some places with the wheel arch structure, then welded those portions. But the inside edge will be covered by the fiberglass bed in the end anyway.
Repeating the process for the little extension pieces that link up to the vestige of the trunk. Eventually they will be welded to the trunk.
Unfortunately I forgot to take a picture of the current state of the car but I'll lead with that next time. Hopefully just one more weekend to finish up all welding and the bed layout... then the rest can be done at home in the carport.
Nice! that is a great weld job, cleans are nice and clean.
Thanks. I was really apprehensive about those long welds on thin sheetmetal, but ironically they were much easier than the ones I did on the rear bulkhead. Being in a relaxed position with good arm support makes all the difference (I was able to sit in an office chair with my elbow on the armrest haha).
That and the fact that I finally remembered, I can't drink coffee within two hours before welding. A rule I imposed on myself while fabricating my bike frame 4 years ago, but clean forgot for the bulk of this build!!
You've got some beautiful sacrilege going on there.
When my dad did his (late 50's in Cali), he ended up with commercial plates.
Originally Posted by deviant_customs
Thanks for the support! I may be only halfway through this build, but I can't help thinking about the next one should be, though that would be super far out. Leaning toward a two-car mashup of some kind. Feel free to suggest at any time
I always felt that Honda missed it. The front of the 4th gen and the rear of a 5th gen would just look right.
I always felt that Honda missed it. The front of the 4th gen and the rear of a 5th gen would just look right.
Agreed... are you suggesting I graft a 4th gen front end onto my build?? Come to think of it, my front end is so messed up anyway...
Case in point. A while back I thought I'd look at my front fender mounting points to see why the panel gaps were so bad. I noticed a debossed logo on the fender that wasn't the Honda "H".
Looking closer, it said "Tong Yang" - I almost split my guts laughing because that essentially means "same same" in Mandarin.
The previous owner... I have no words.
Haven't had time to work on the car for a while, but my mother in law is in town (love her to bits) so I might get a build weekend soon =) In the meantime I've been messing about with the design theme... so here's a sneak peek.
Suspend your judgment, unless you have a thing for Disney princesses, in which case judge away...
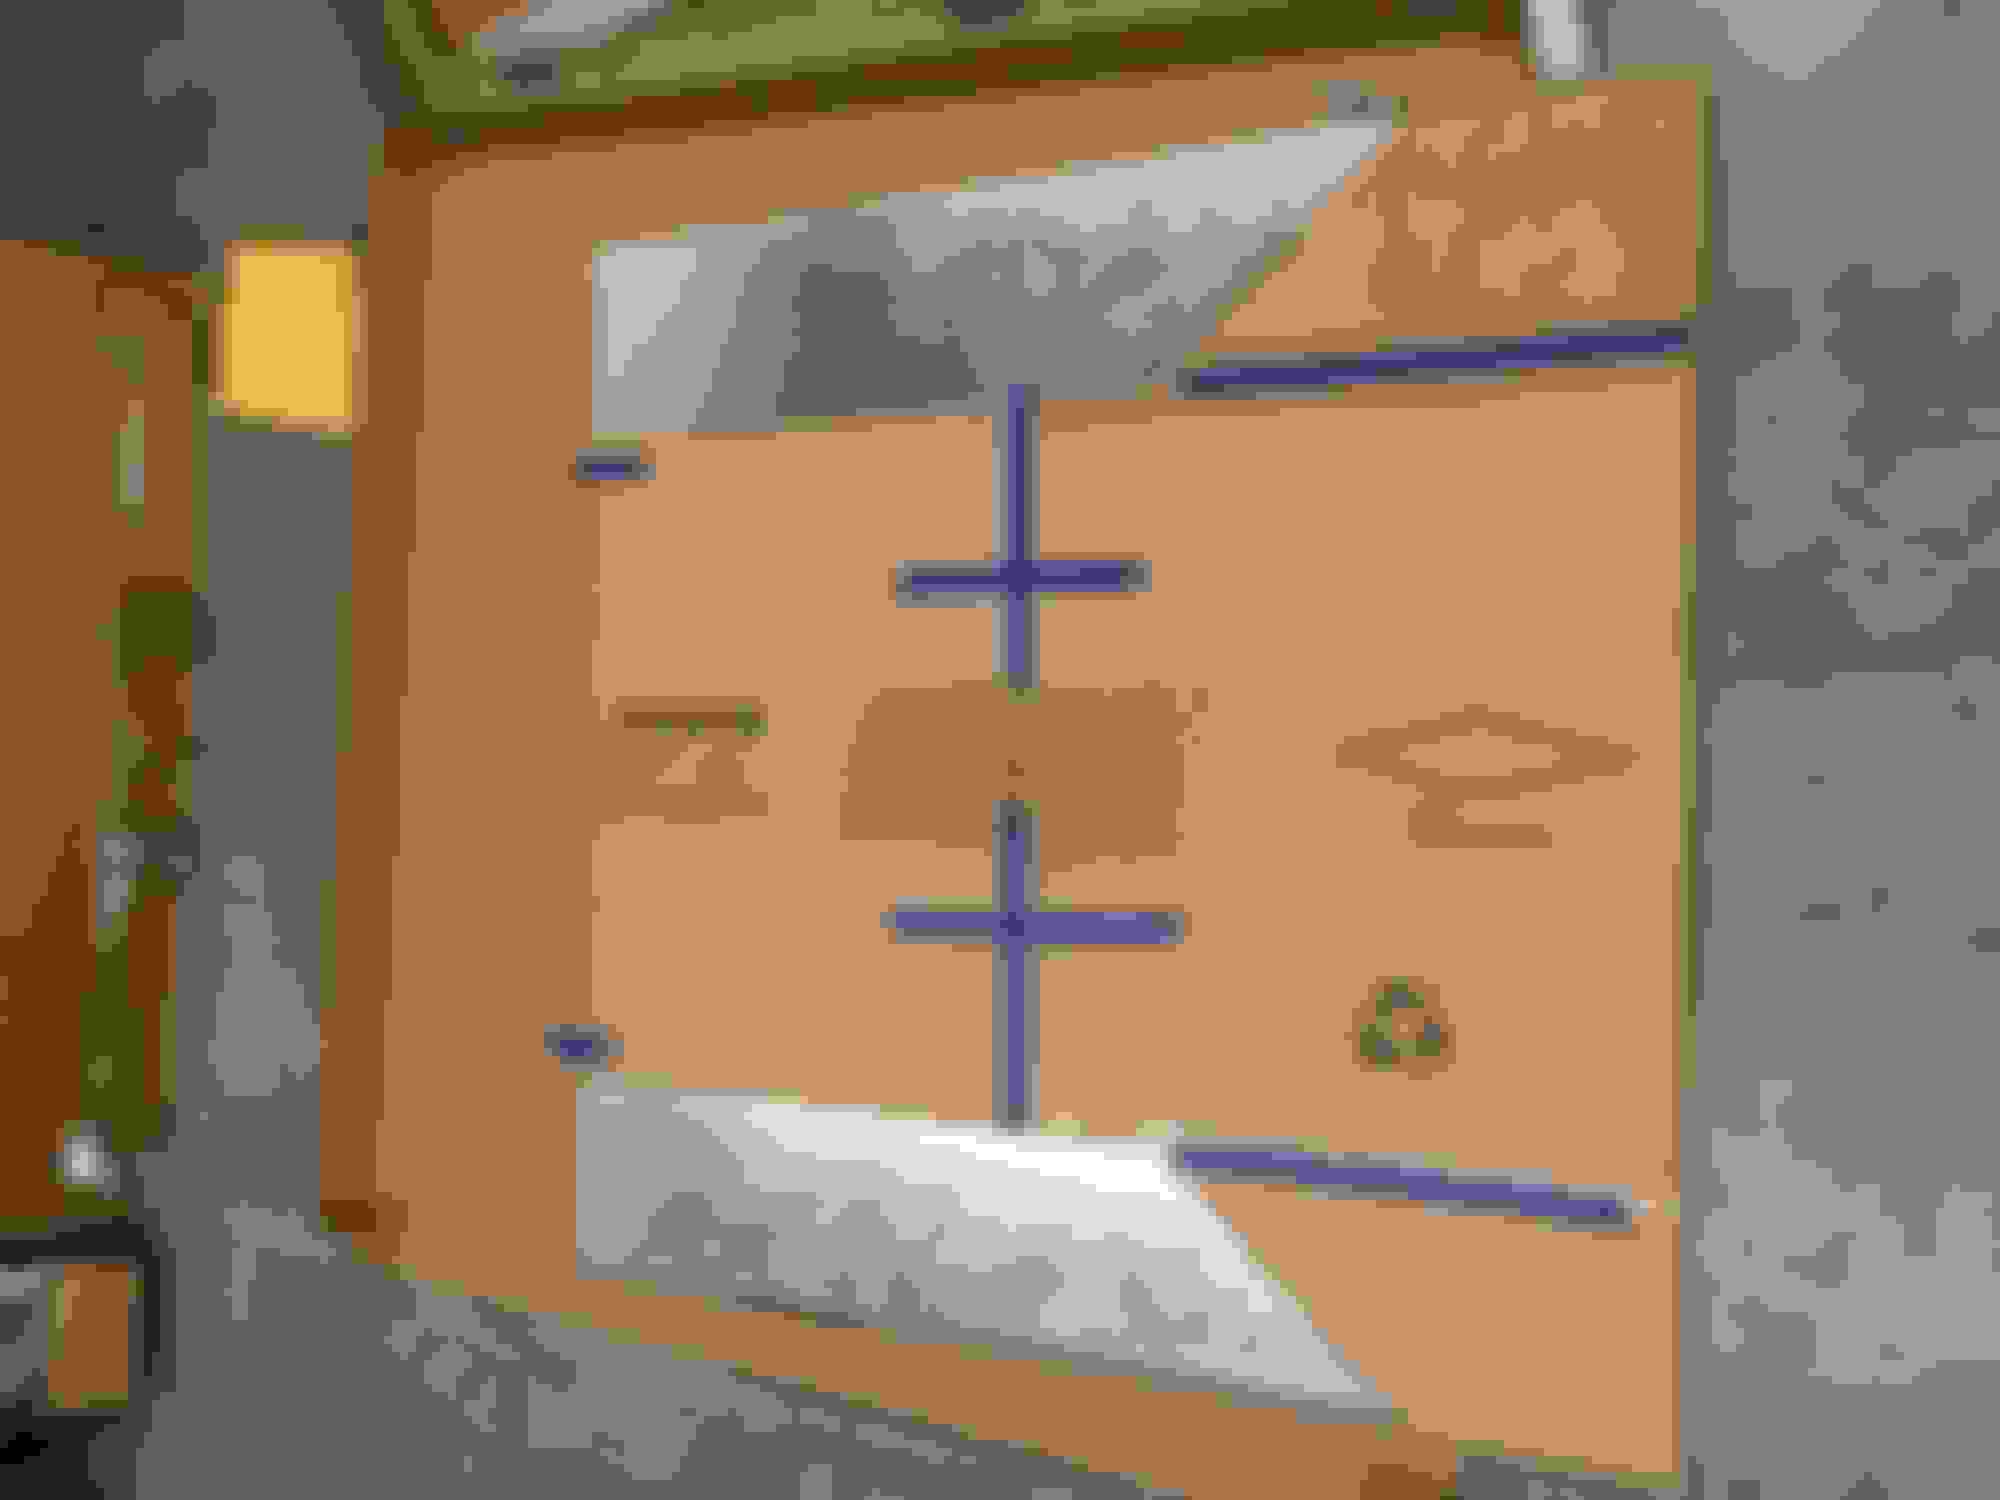
The car will be wrapped matte metallic blue, and this is a prototype of the fender decal (to be pasted just in front of the doors). White and gold vinyls on the blue background:
Not a very detailed update, but just to show the project is still alive...
Without full-on build weekends in the shop for a while, I switched to performing some much needed mechanical mods/fixes I could do in my carport. Changed out a couple of rubber gaskets (VTEC, cam plug, valve cover, dizzy) and planning on the oil pan gasket in the near future. But the key mod was to replace the no-name, too-soft and too-low springs that came with the car to Vogtland springs, and swapping in Hawk Performance rotors and pads:
Rides about 3/4" higher and stiffer, no more bottoming out on big bumps. The Hawk stoppers feel great, got rid of the pulsing I was experiencing under hard braking.
This past weekend was an actual build. My diamond plate arrived at work just in time, and I made cardboard templates to get the right shape:
Now I have an actual load floor! It's resting on 80/20 aluminum channel bolted to / resting on the body structure, unfortunately I didn't take a photo of it.
I also welded up the final rear window lower crossmember, and the bulkhead "skin". No more freezing my right arm off when driving at night... still helluva noisy though
Whatever someone will pay for it. Minus the "someone else's project" depreciation. So low end would be $Scrap and high end right around 1997 Prelude in Fair condition. Which is what, $Scrap+200?
Put it this way - I'm pretty sure the highest value the car will ever fetch is if I parted it out and sold anything that could still be used in an unmolested Prelude
The whole point of this build, and starting a Prelude of that condition, was to do something crazy to a car without fear of screwing it up (hard to make it worse than it was), learn a ton in the process, and hopefully get something useful at the end of it. The third one is already true... here's what it can do besides the bike carrying pictures I've already posted...
That's a Billy bookcase from Ikea...
Bike fork mounts double as clamps for the 80/20 frame I made. The vertical rails can be moved to fit snugly around the particular cargo.
The frame is sized partly to carry 4' wide sheet stock, and with some adaptations I should be able to carry 4x8' plywood for construction projects.
The car will remain a canvas for as long as I can keep it. When the H22A4 dies (not if), I'll convert it to electric... If I get rear ended, I'll get round to building a real tailgate... you get the idea.
Decided to finally fix my weird "always-braking" stance... Bought Vogtland springs and Hawk performance pads and rotors, it was kinda fun doing hard stops to break-in the brakes...
At the tire shop waiting for the rear tires to be changed. Don't think this look is going to catch on.
Stance and tires fixed! The Vogtlands raised the front ~3/4" and lowered the rear about the same. I'm baffled as to how the old springs, which were a complete set, could have resulted in such a weird rake before. I suspect they were springs for a different car with more even weight distribution that the previous owner slapped on indiscriminately.
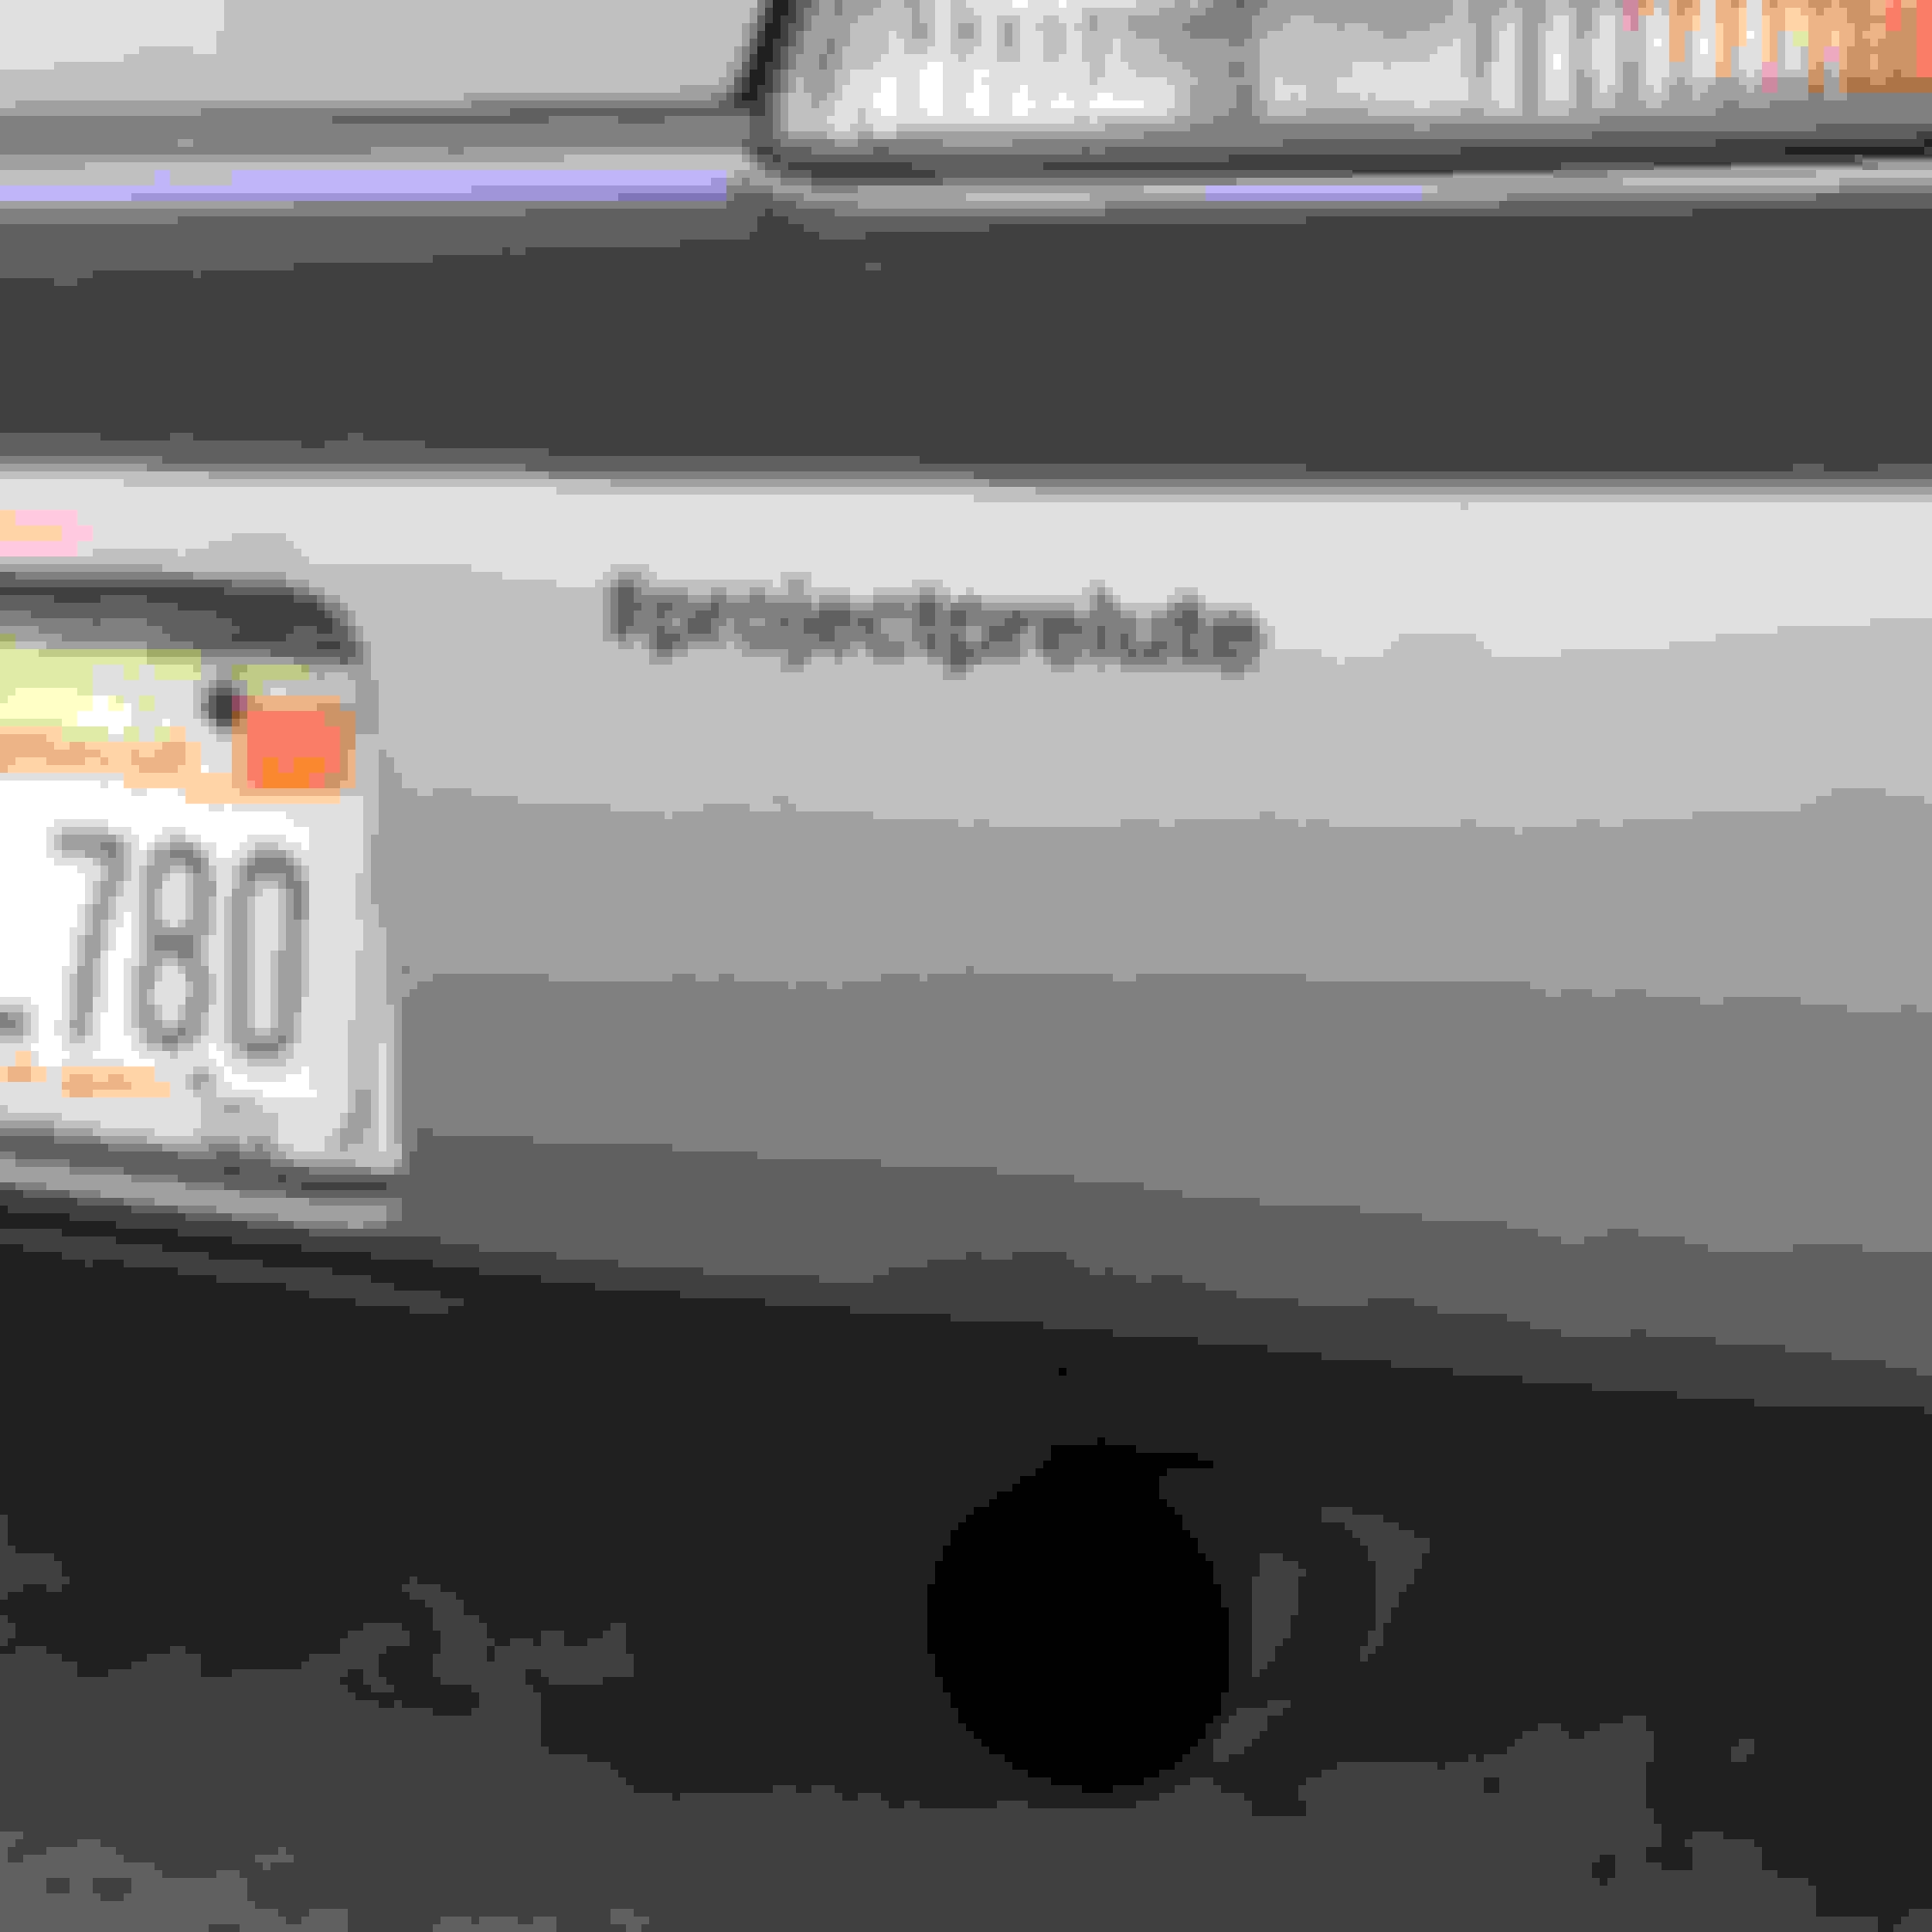
Also experimented with an old HD lip transferred from the UA7, think I'll save myself the $100 and scrape heartache of a PU lip. I'll have to redo the HD lip with a continuous run of tape after wrapping the bumper, and devise a way to hold the sides down - kinda weird how they flap up like that.
Any suggestions for a nice PU rear lip? Leaning toward this diffuser style lip on Amazon:
Though I actually like this one better, but can't bear to pay more than $150 for a cosmetic add on.

 08-15-2017, 02:12 AM